Vitals is a Shopify app that includes more than 40 conversion-boosting tools. You can effortlessly import and gather product reviews, elevate sales by incorporating upsells and bundles, and enjoy additional features such as Wishlist, urgency & scarcity notifications, email & push marketing, Instagram feed, trust badges, and Payment logos. The greatest advantage of Vitals lies in its simplicity – just one app installation covers all these functionalities.
Now, integrating Vitals with GemPages has become easier, all thanks to the newly introduced Vitals element. Following the steps outlined in this article, you can seamlessly integrate these two powerful tools in just a few clicks.
Install and configure Vitals: All-in-one Marketing
Step 1: Install the app from the Shopify app store.

Step 2: After completing the installation process, you can access the App’s settings from your Shopify admin. Just head over to your Shopify admin panel and navigate to the Apps section where you’ll find “Vitals: All-in-one Marketing.” Click on it to access the app’s dashboard, which presents various options on the left side.
Step 3: The apps recently changed the dashboard’s layout, and Vitals apps can be seen in different areas:
- By clicking the Widgets link on the left sidebar of the Vitals app:

- For a simpler version, users can also click the Apps link:

Add Vitals On GemPages’ Editor
Version 6
Step 1: Access a page from the GemPages Dashboard.
Step 2: Select the Library button on the Toolbar.

Step 3: Go to the Elements tab and search for “Vitals”. Toggle on the corresponding switch.

Version 7
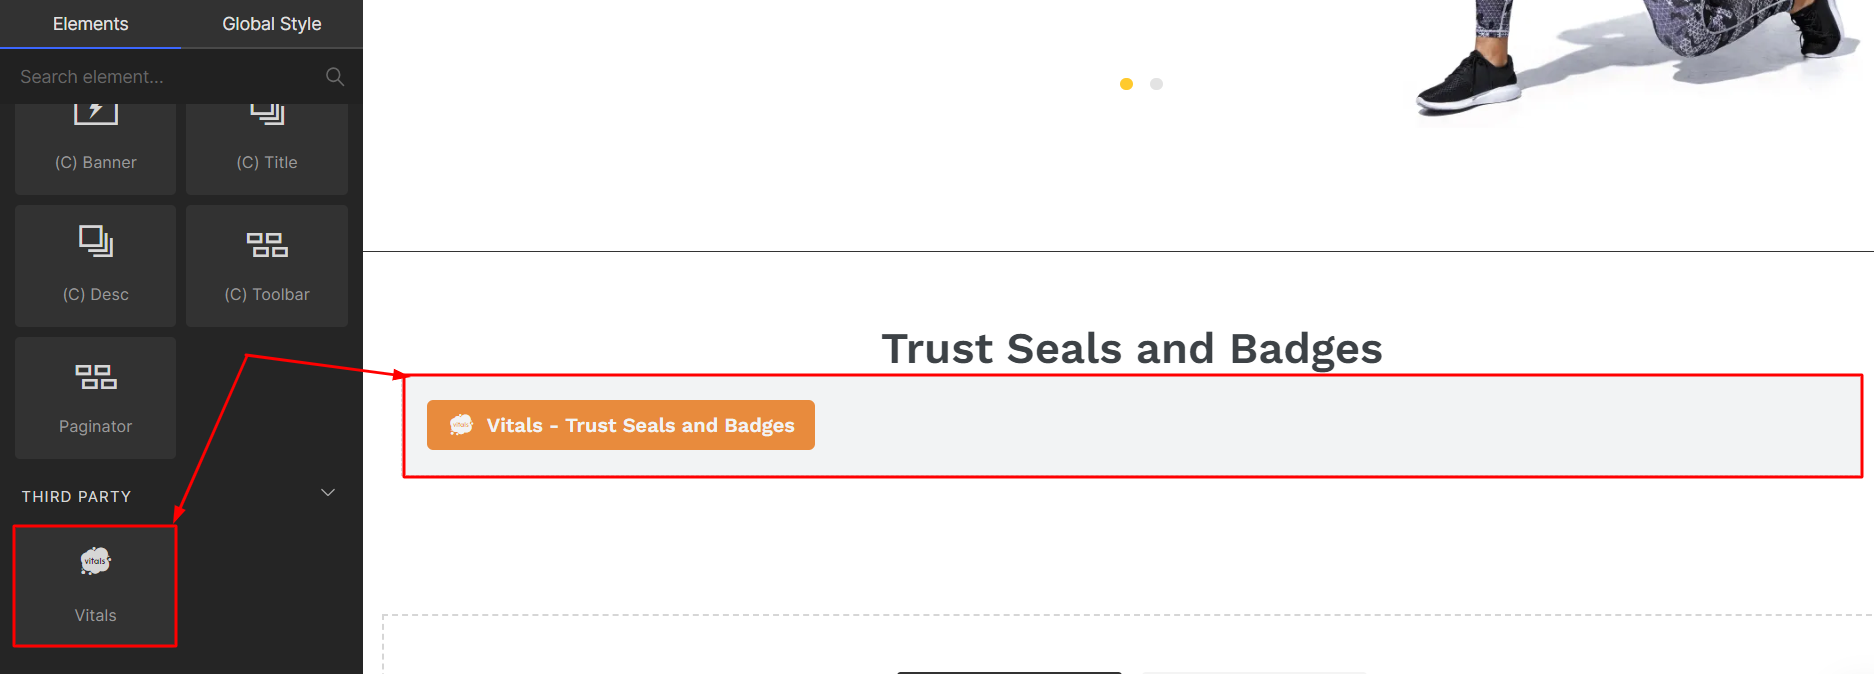
In Editor version 7, there’s no need to go through the above steps. You’ll find the Vitals built-in element conveniently located within the left sidebar of your editor, under the Shopify Apps category. To quickly find the app, you can utilize the search bar and locate it in minutes.

Set Up Vitals In GemPages
Step 1: Go to GemPages Dashboard and choose the page you want to edit to access the Editor.
Step 2: Drag & drop the Vitals element from the left sidebar to the desired area.
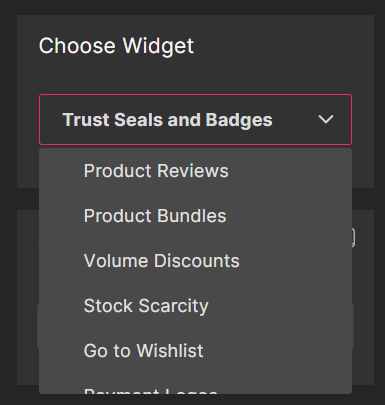
Step 3: Go to Settings > Choose Widget to select your preferred widget from the dropdown menu.
Don’t forget to Save and Publish to make your changes public.
Supported widgets
The Vitals built-in element offers a variety of 10 widget types, each tailored for different page purposes. To showcase specific content on your page, you must enable the corresponding app within the Vitals app settings and then select the appropriate widget from the GemPages element settings.
Please check the table below for a list of the 10 widgets and their corresponding Vitals apps:
| Widget name | Vitals app name | Details |
| Product Reviews | Product Reviews | Display stars and reviews |
| Product Bundles | Upsell Builder | Display product bundles |
| Volume Discounts | Upsell Builder | Showcase volume discounts |
| Stock Scarcity | Stock Scarcity | Generate notifications for products with low stock |
| Add to Wishlist | Wishlist | Allow customers to add products to their wishlist for future reference |
| Go to Wishlist | Wishlist | Direct customers to their saved wishlist. |
| Payment Logos | Payment Logos | Present logos of the accepted payment methods on your page. |
| Recently Viewed | Recently Viewed | Show the products recently viewed by your customers. |
| Shoppable Instagram Feed | Shoppable Instagram Feed | Tag products on Instagram photos and showcase the gallery on your page. |
| Trust Seals and Badges | Trust Seals and Badges | Customize and display trust badges on your page to enhance customer trust and confidence. |
If you’re interested in exploring more third-party apps that directly integrate with GemPages, you can check out our integration list.
Should you require any further assistance, please contact our GemPages Support Team at any time via email or live chat.
