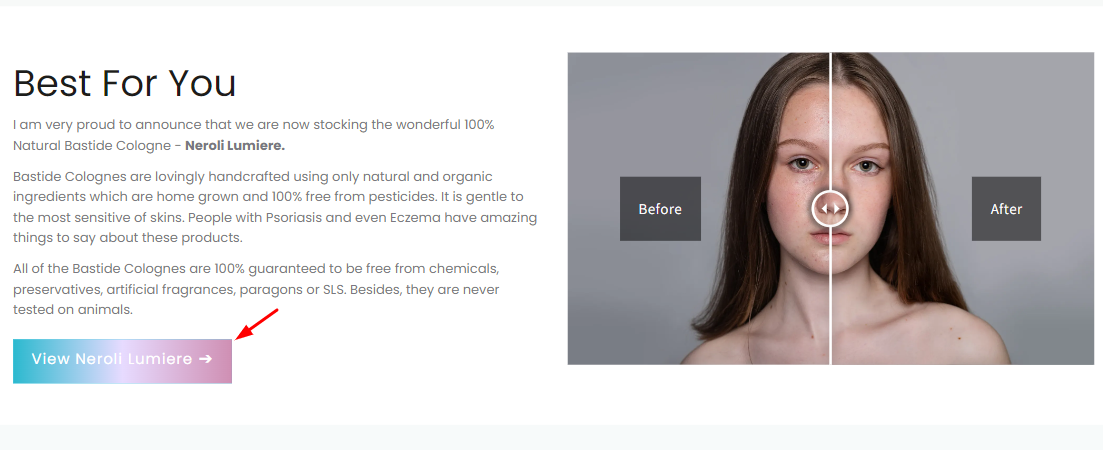
#1 Add a gradient background for the button

Step 1: Initially, you need to prepare the code for the gradient. Visit this website and generate the desired gradient color scheme. After that, copy the code for the next step.
Kindly note that only the line of code for the linear gradient is required.

Step 2: From your GemPages’ Dashboard, open the template to access the Editor. Right-click on the Button element, select Edit Code then.
Proceed to add the provided codes under the CSS tab. Ensure that you replace the below elements in the code with the actual data.
- “elementID” refers to the ID of your button element, which can be found at the top of the code panel.
- The “color scheme code” refers to the code obtained in Step 1.
elementID .gf_button{
background: linear-gradient(to right, #121FCF 0%, #CF1512 100%);
}
Hit “Save” when finished.
#2 Create a WhatsApp chat button
If you want to create a button to enable your visitors to contact you via Whatsapp, please follow the steps below.
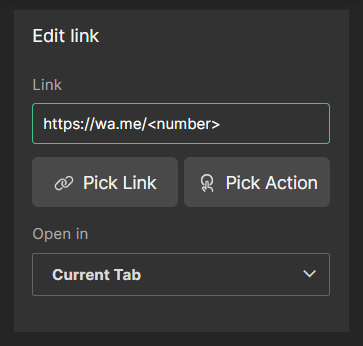
Step 1: First, you will need to create a WhatsApp link. Use the link below and replace the <number> with a full phone number in international format.
https://wa.me/<number>
Step 2: From your GemPages’ Dashboard, open the template to access the Editor. Click on the Button to reveal the setting configuration on the left sidebar.
After that, add the Whatsapp link under the Edit link section.

#3 Add underline to the text label
If you wish to underline the text label of your button but cannot find the corresponding setting in the configuration, try following these steps:
Step 1: Access the Editor by opening the template from your GemPages’ Dashboard. Right-click on the button element and select “Edit Code.”
Step 2: Add the provided codes under the CSS tab, ensuring that you substitute the placeholder elements in the code with the actual data. The “elementID” pertains to the ID of your button element, which can be located at the top of the code panel.
elementID .gf_button{
text-decoration: underline !important;
}


Thank you for your comments