


What is a Product Metafield in Shopify?
A Shopify Metafield allows you to store extra information about your store’s content that doesn’t fit into the default fields. One of the most widely used types is the Product Metafield — perfect for adding unique specifications like skincare types, nutritional info, ingredients, or even image URLs for custom badges.
If you’re looking to display personalized product details or enrich your Shopify product pages with custom data, metafields are your go-to solution.
Why Should You Use Product Metafields?
Metafields let you:
- Add custom product attributes (e.g., materials, sizing charts, expiration dates)
- Manage structured data easily
- Control content visibility using conditional logic
- Display unique content per product without editing templates
Combined with GemPages, metafields give you full visual and structural control over how data appears on your product pages — no coding required.
How to Add Product Metafield in Shopify
Step 1: Create a Product Metafield in Shopify
To use a metafield, you must first define it in your Shopify Admin.
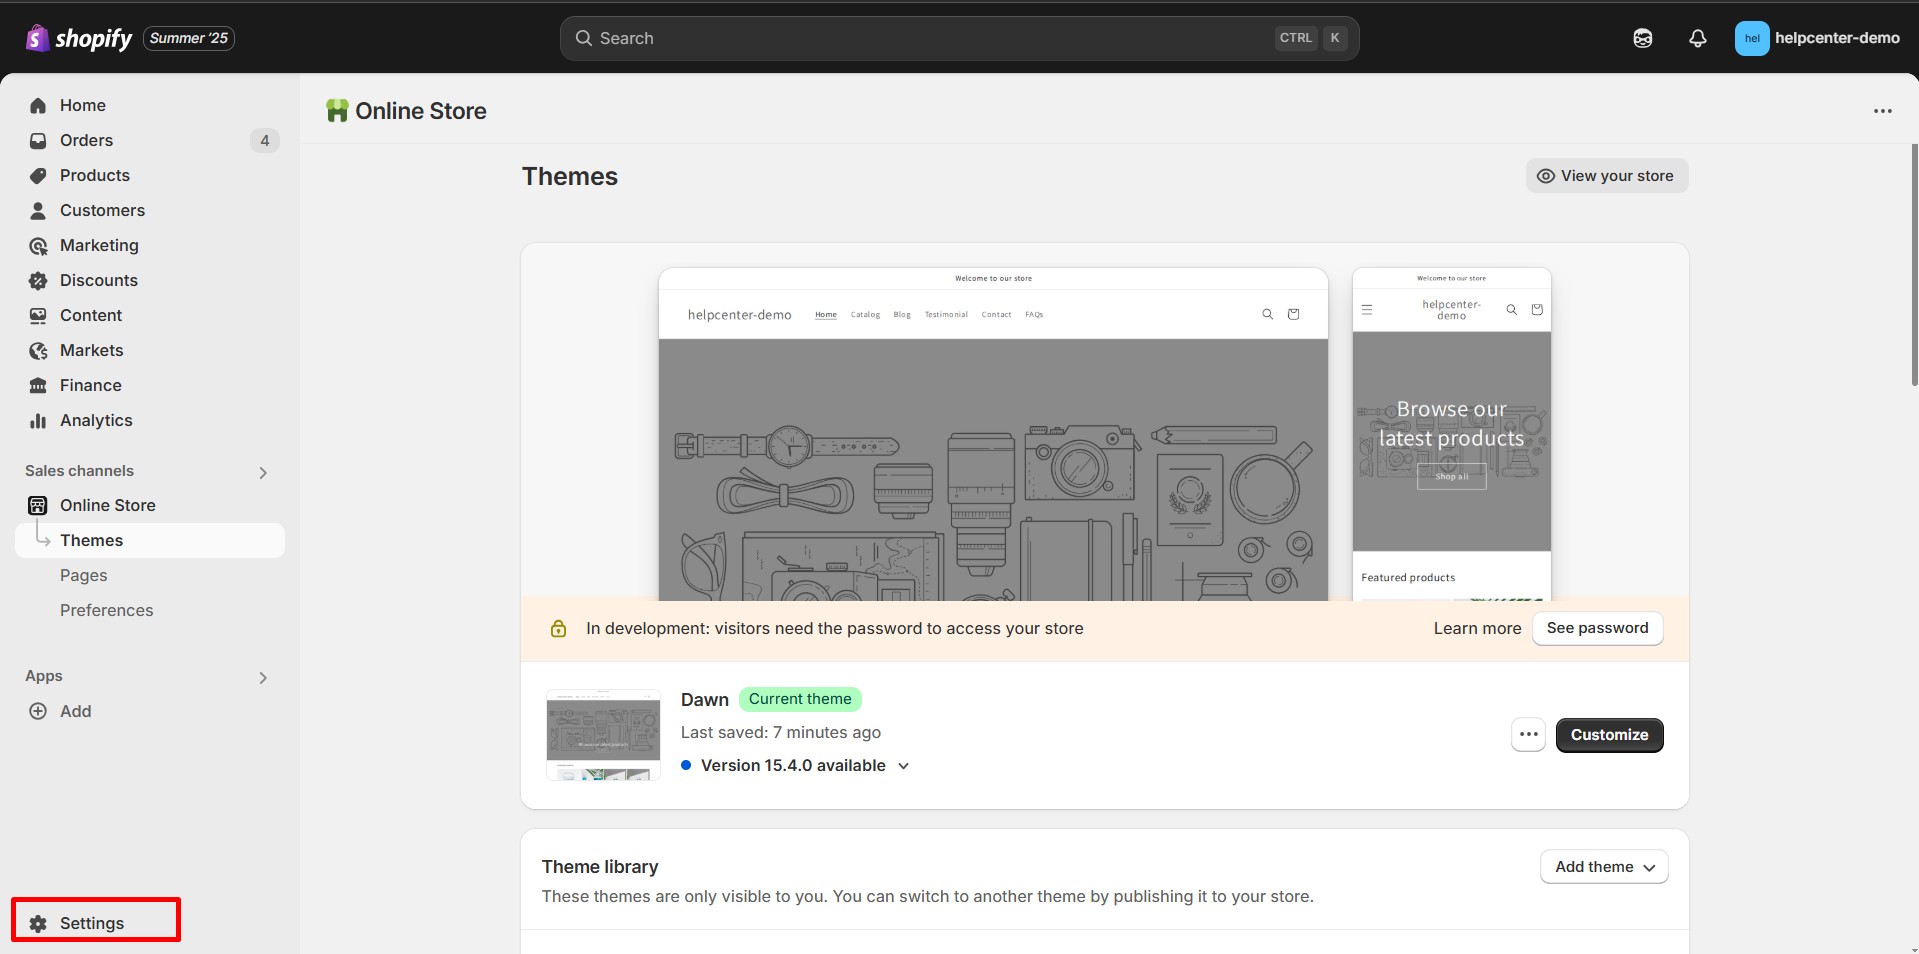
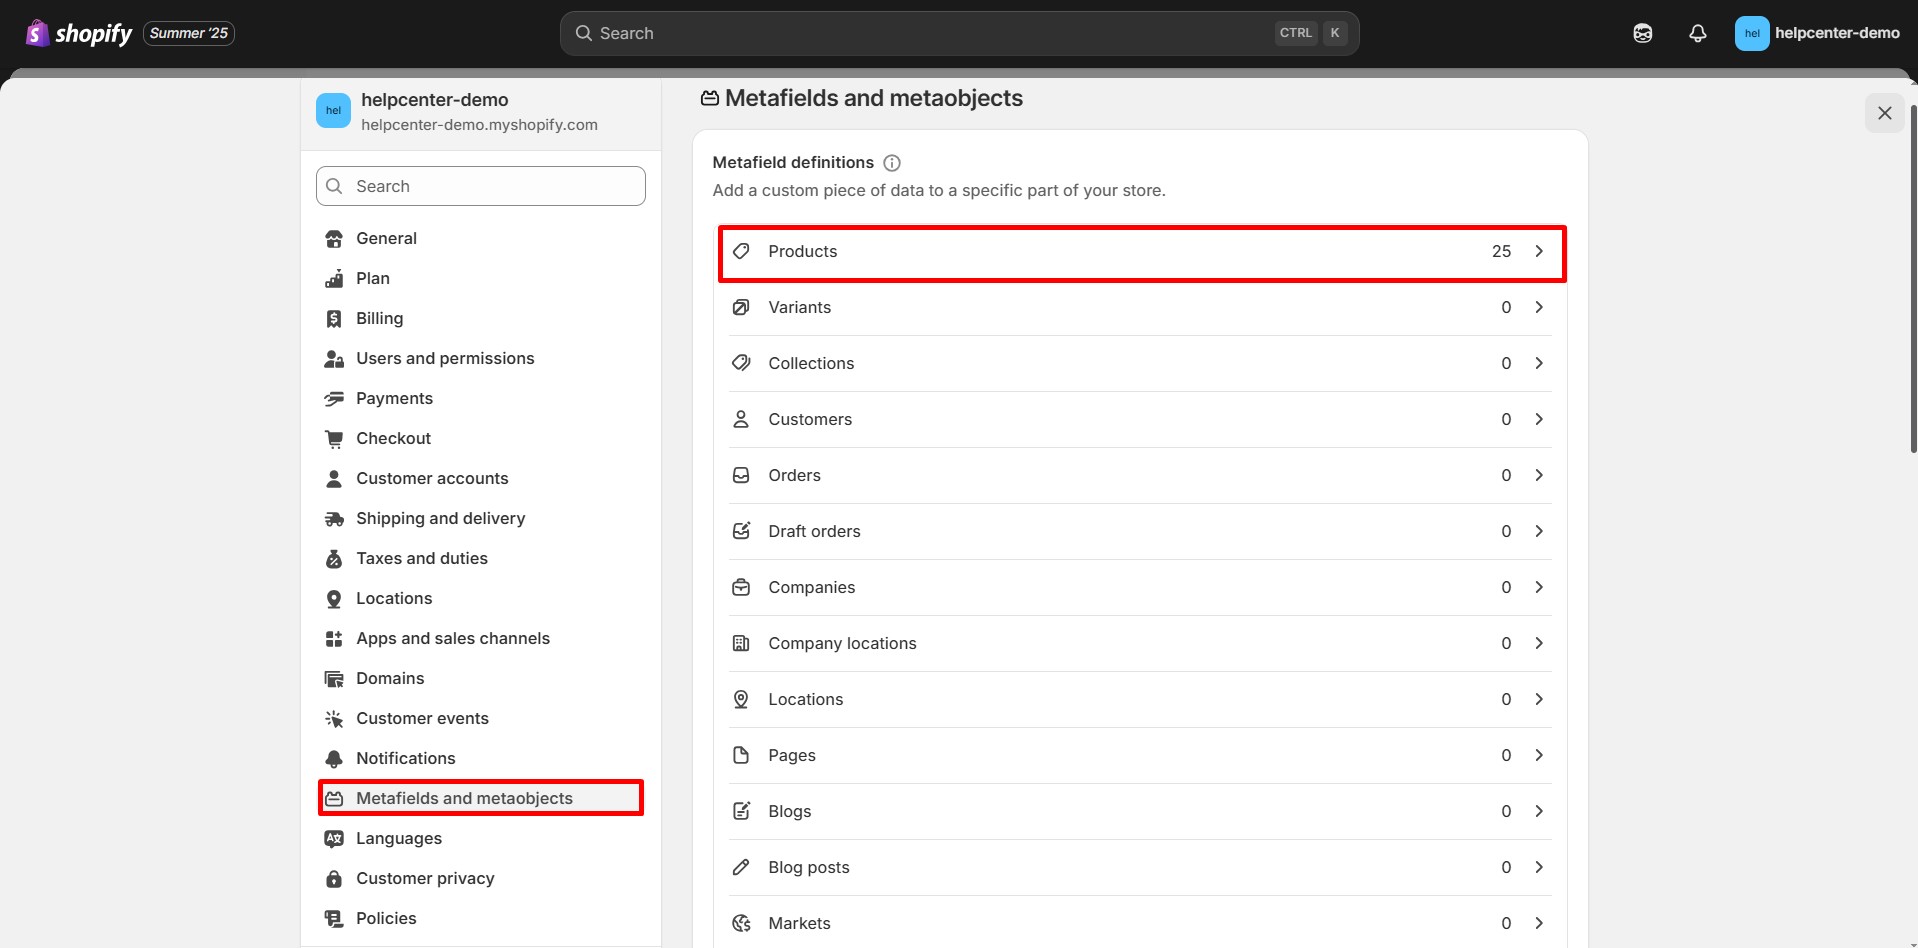
- From your Shopify Admin, go to Settings > Metafield and Metaobjects > Products.
- Next, click on “Add Definition”.
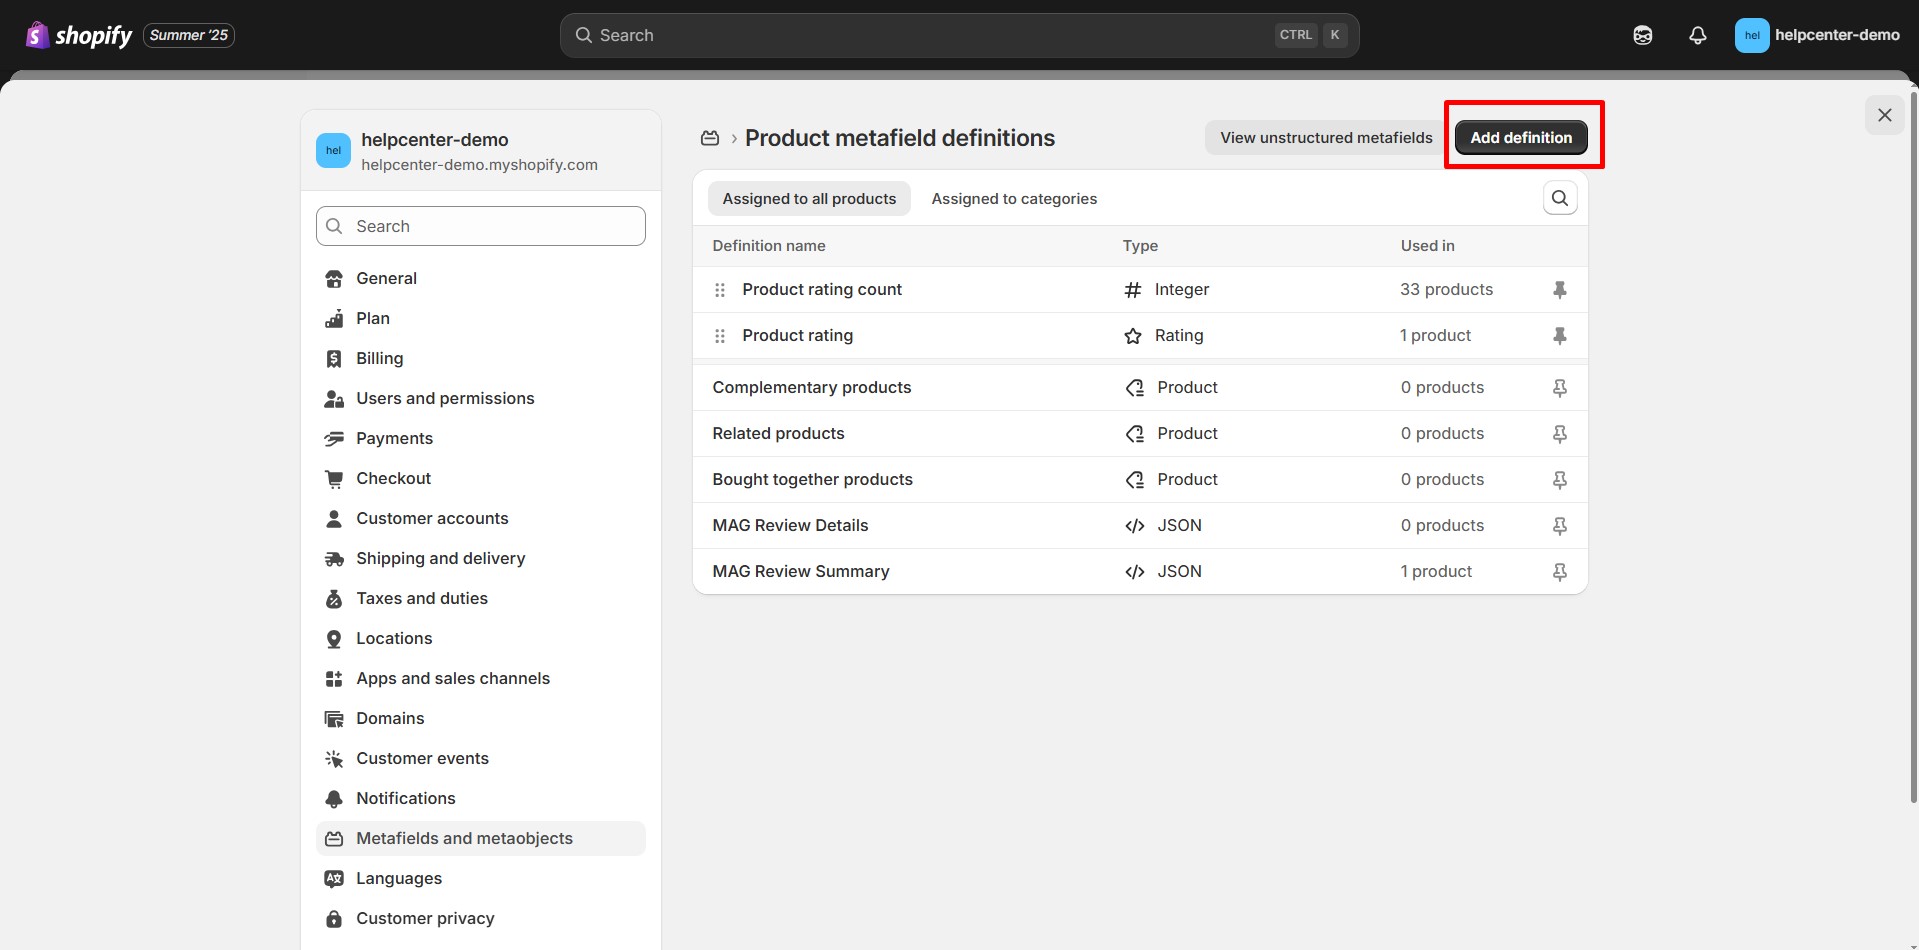
- Fill in Name, Description, select Content type, and select Categories.
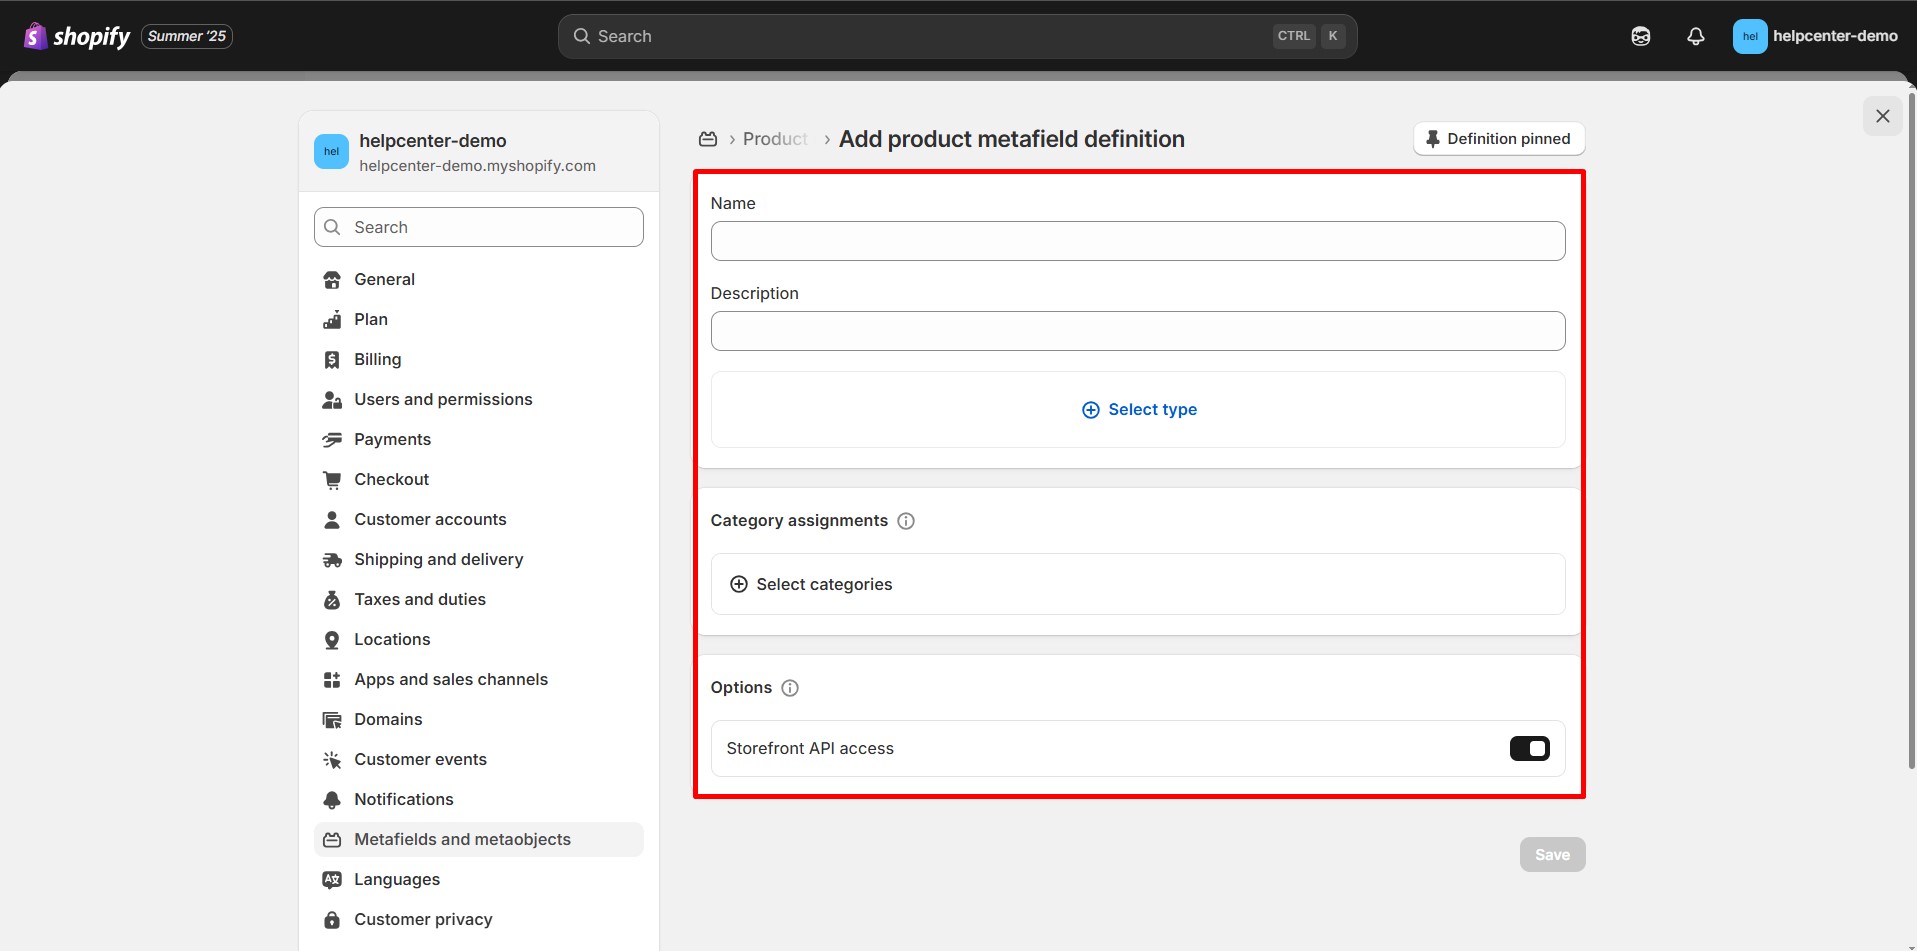
- Hit “Save” when finished.
Step 2: Add Metafield Values to Your Product
Once you’ve successfully created the product metafield, you may notice that it has been added to your product settings. Then, to add value to your recently created metafield, follow the steps outlined below.
- Go to Shopify Admin > Products and select the product you want to add more information through metafields.
- Scroll down to the Metafields section on the product setting page.
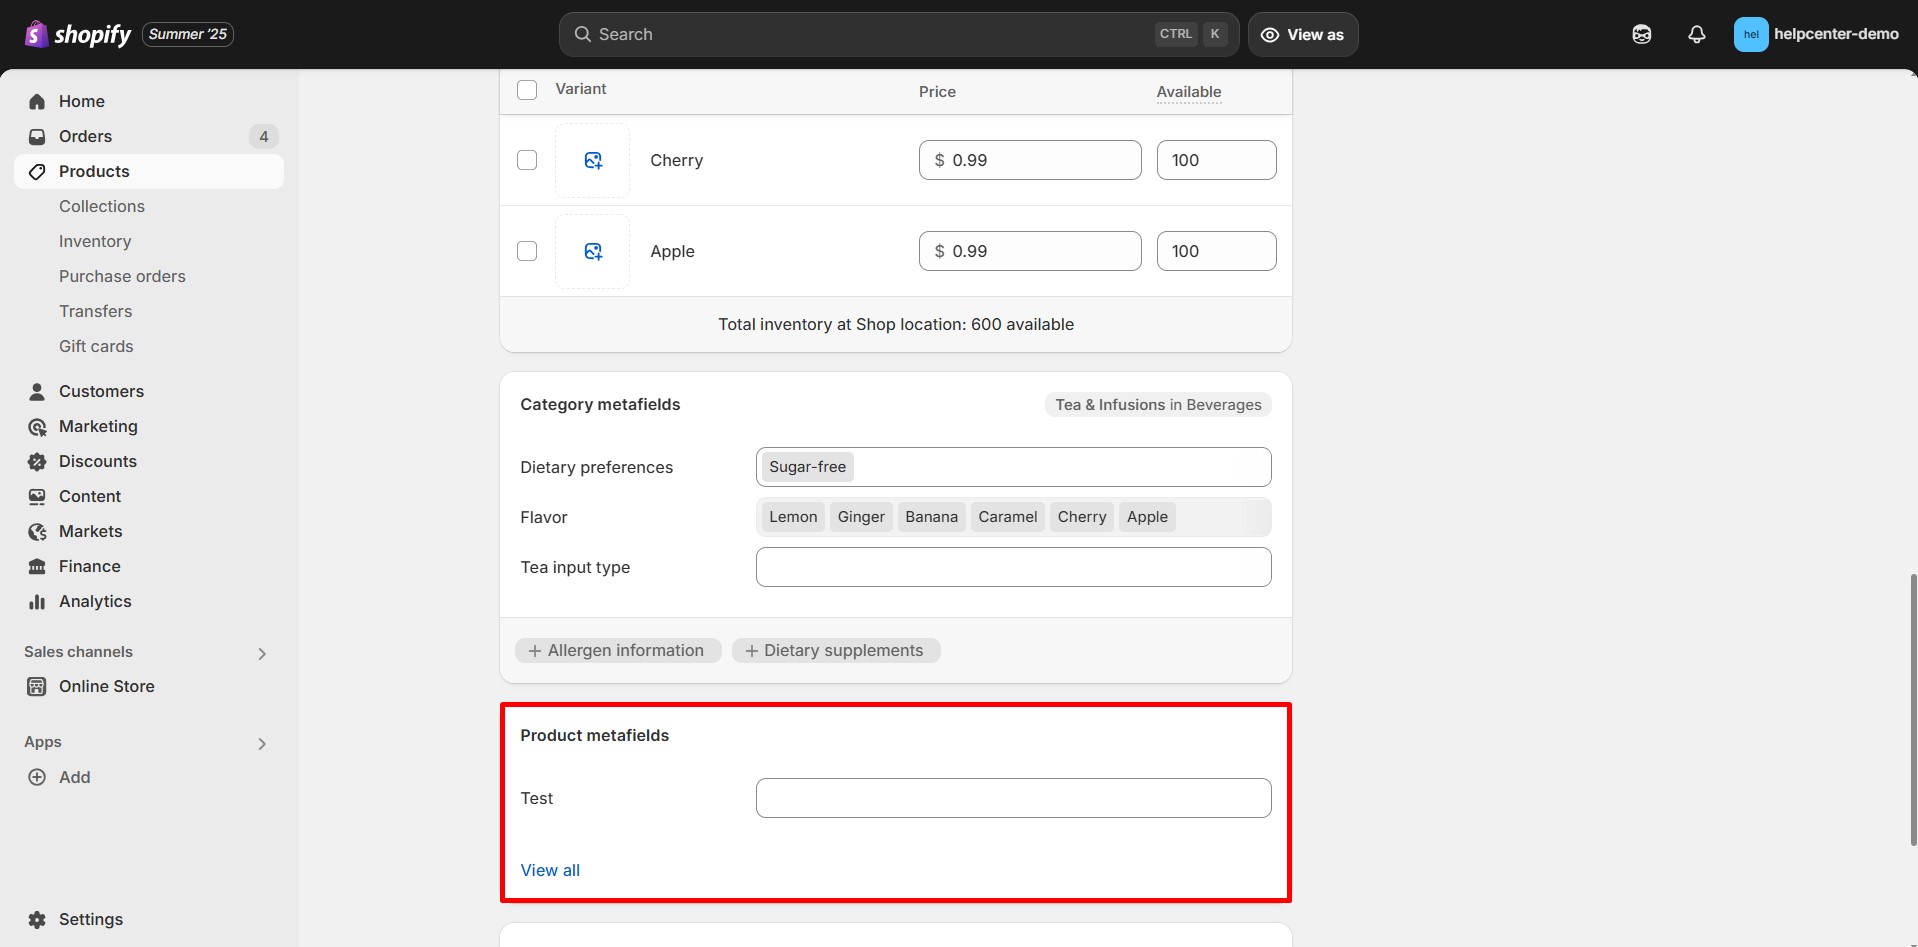
- Input the value into the field. Don’t forget to hit “Save” when finished.
Step 3: Display the Metafield on your page
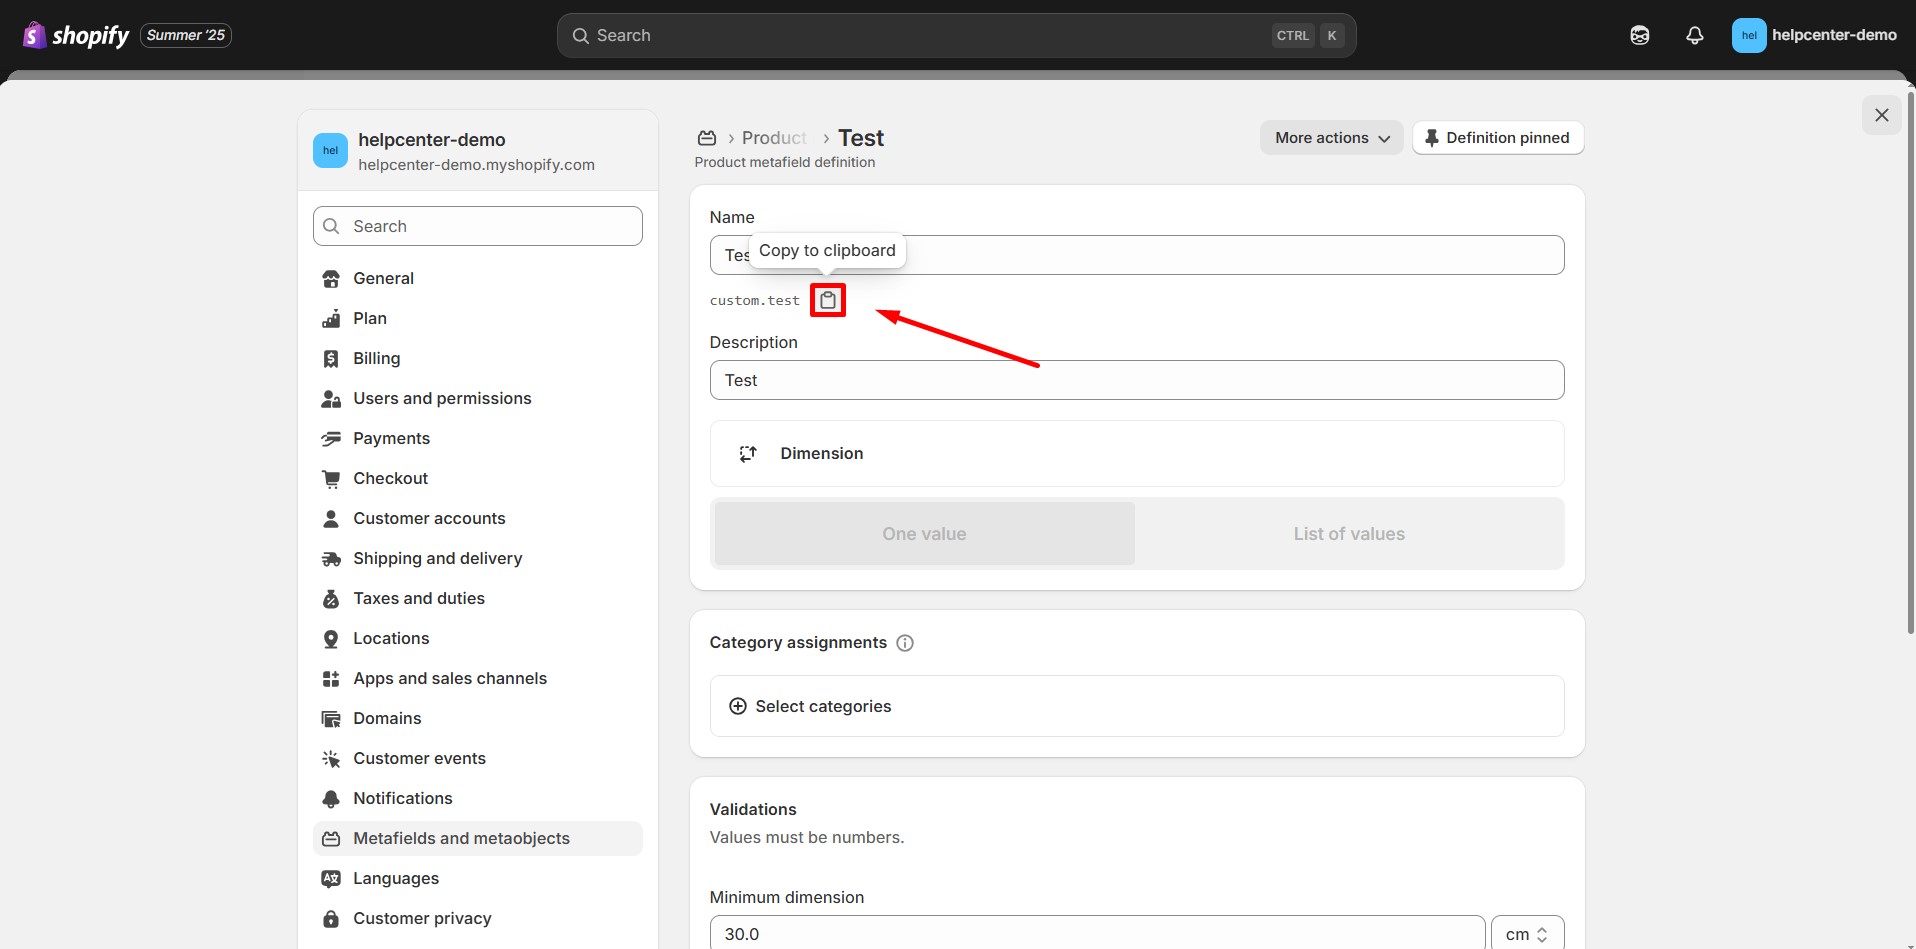
- Return to Shopify Admin > Metafields and Metaobjects > Product and locate the Metafield you want to display on your page.
- Next, copy the line of code in the Namespace and key section.
- Go to GemPages Dashboard > Product pages, select the preferred template to enter the Editor.
Starting from this point, the steps may differ based on the specific version of the editor you are using. Please locate the instructions that correspond to your GemPages version and proceed with the following steps accordingly.
If you are using GemPages V6
- From the left sidebar, drag & drop a Liquid element onto your preferred spot on the page.

- Right-click on the Liquid element and select Edit Code.

- Next, paste the code you copied earlier to the Template panel.
Please note that you should add product.metafields. before the line of code you just copied, and the code should be placed between {{ }}.
For example:
{{product.metafields.my_fields.skintype}} Hit “Save” and check the preview page to see how it looks.
 Hit “Save” and check the preview page to see how it looks.
If you are using GemPages V7
- Locate the Custom Code element on the left sidebar, under the Advanced section. Drag and drop it to your preferred location.
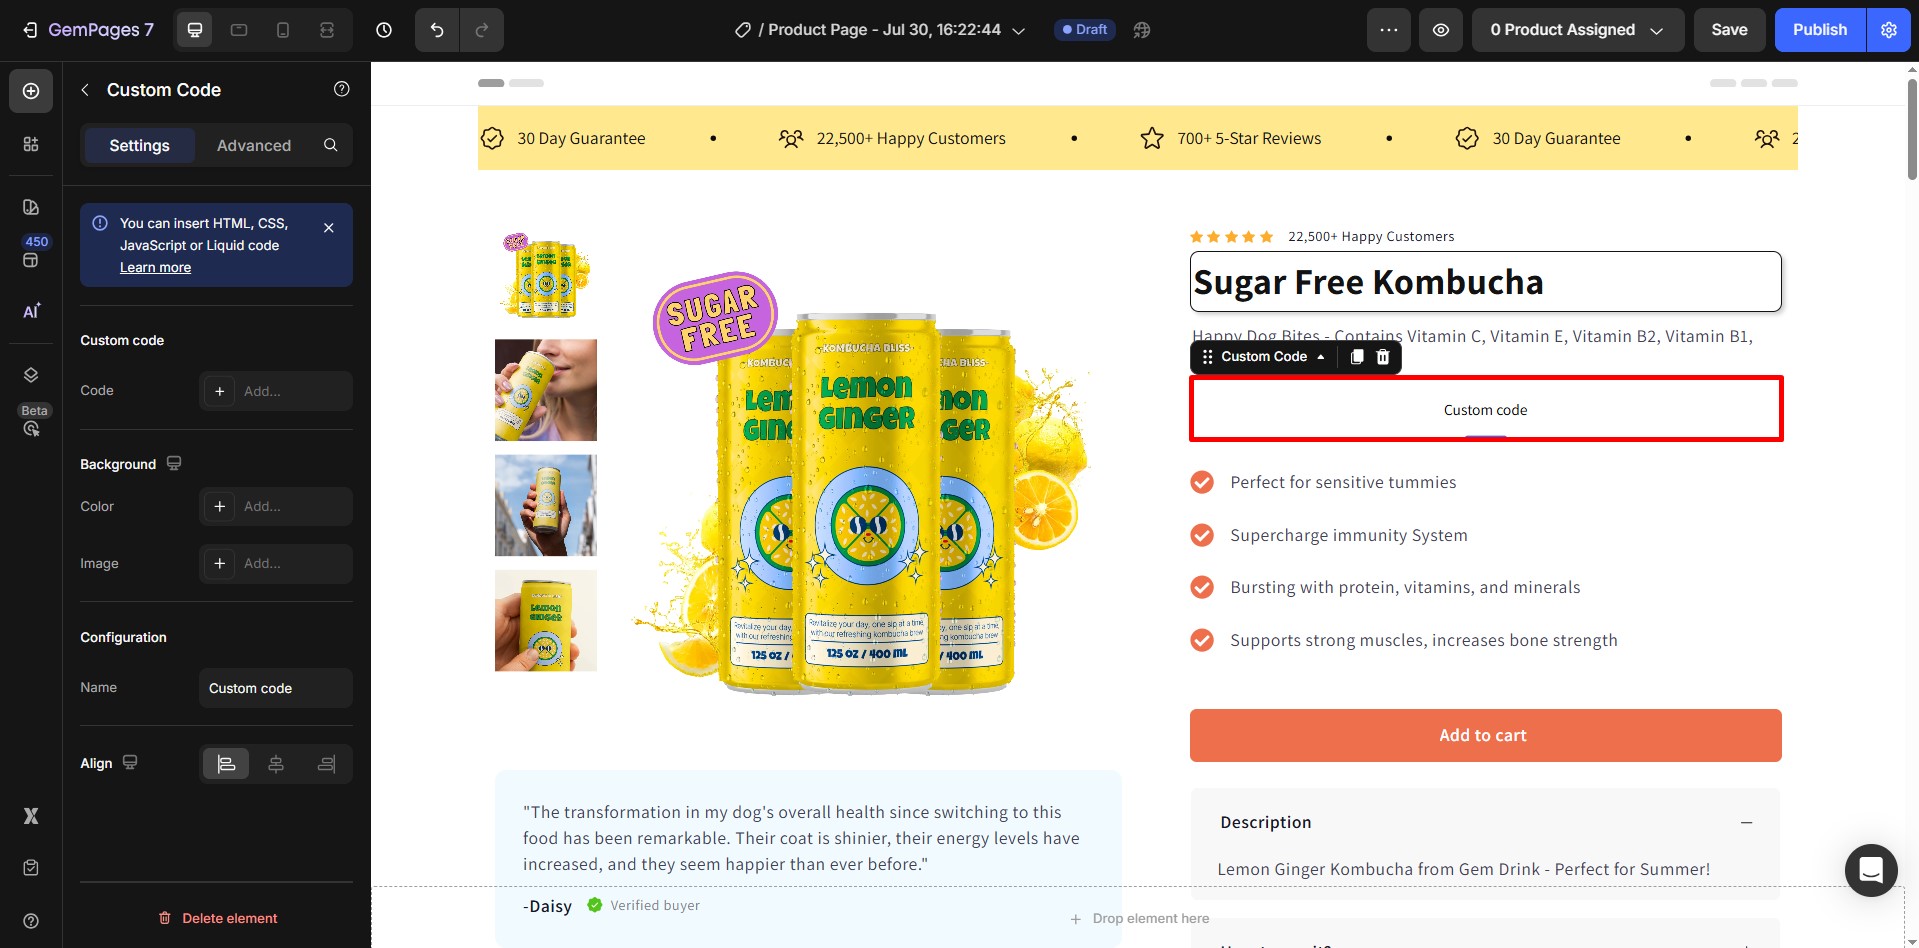
- Click on the element to reveal the code panel on the left sidebar.

- Paste the code you copied earlier into the HTML/Liquid tab. You also need to add the prefix
product.metafields.before the line of code you just copied, and the code should be placed between {{ }}.
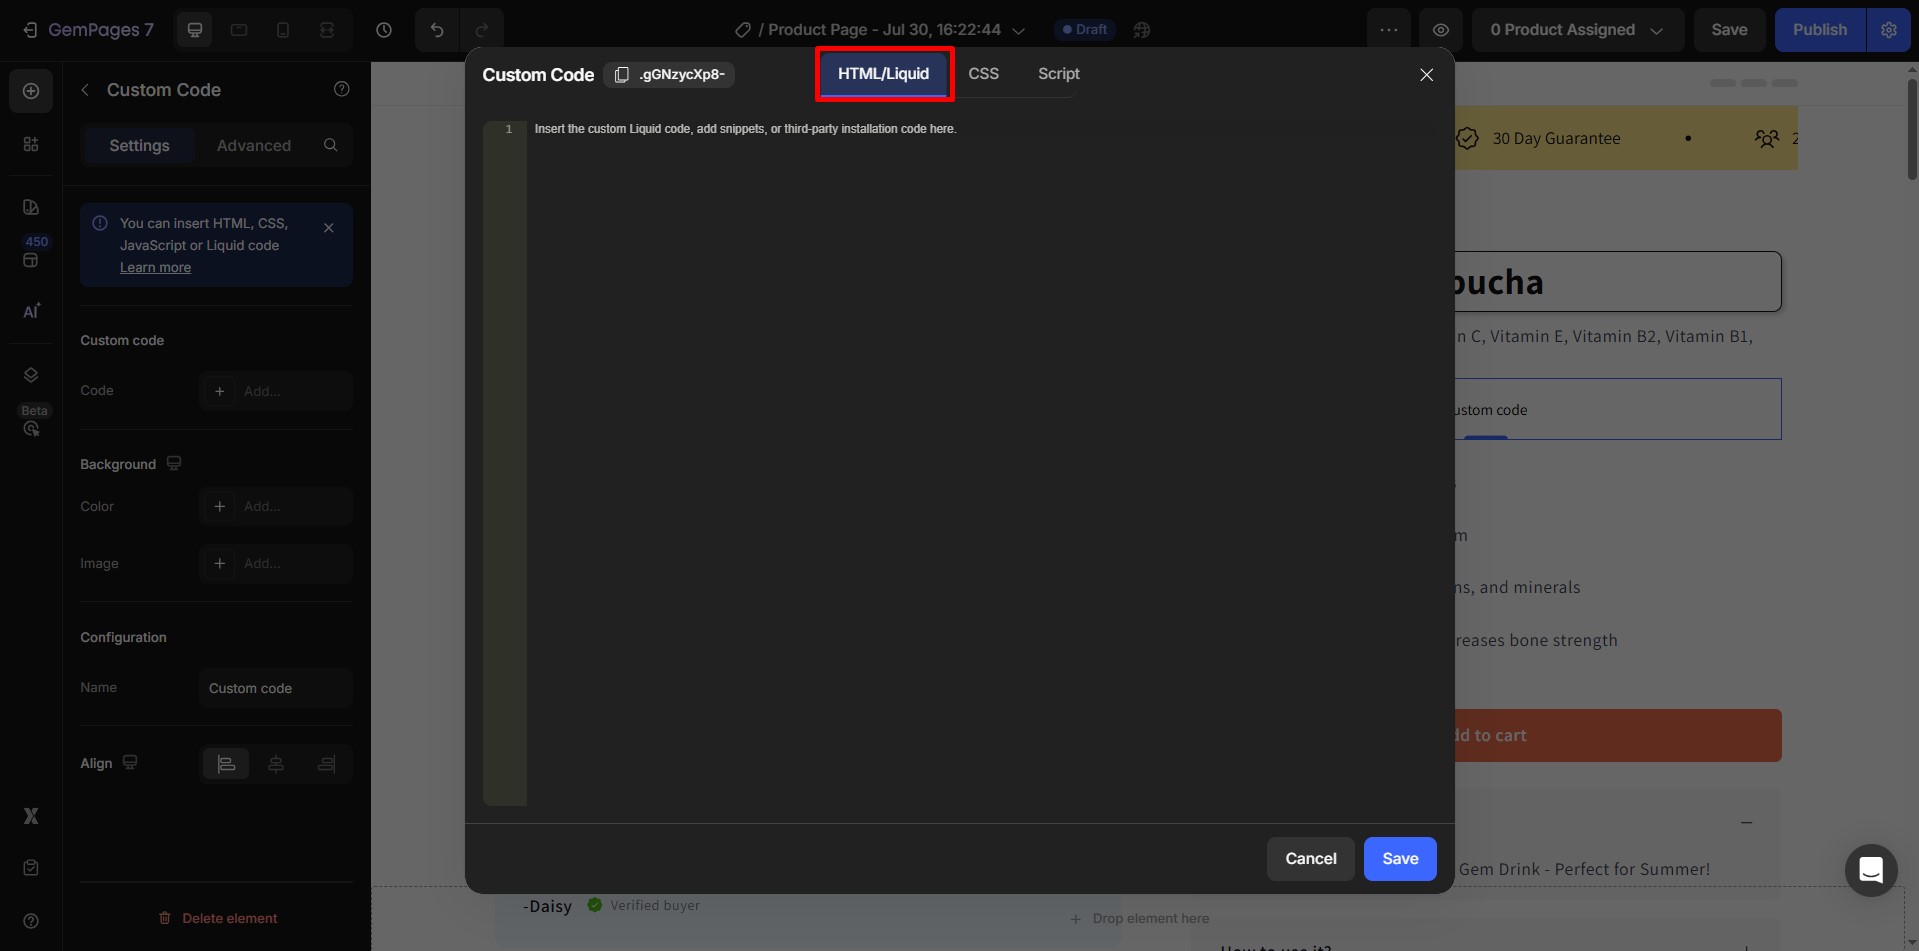
For example:
{{product.metafields.custom.product_test}}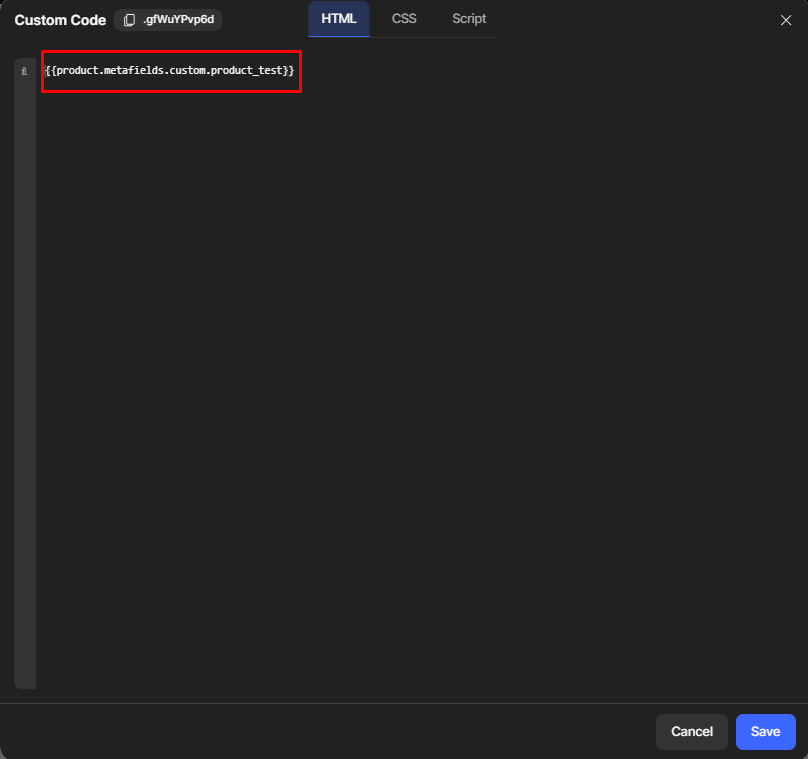
- Click Save and publish your page to check the result on your storefront.
How to Connect the Image Source to a Metafield?
Shopify also supports image metafields, but rendering them on your page requires custom HTML code.
After uploading your images for the metafields, you can use the following code to display the image:
{{product.metafields.custom.test_metafield_image | metafield_tag}}


Thank you for your comments