


This article will guide you step-by-step on how to add and configure the Collection Toolbar element to allow customers to sort products within a collection.
About Collection Toolbar Element
The Collection Toolbar is an element that provides customers with options to sort products within a Shopify collection.
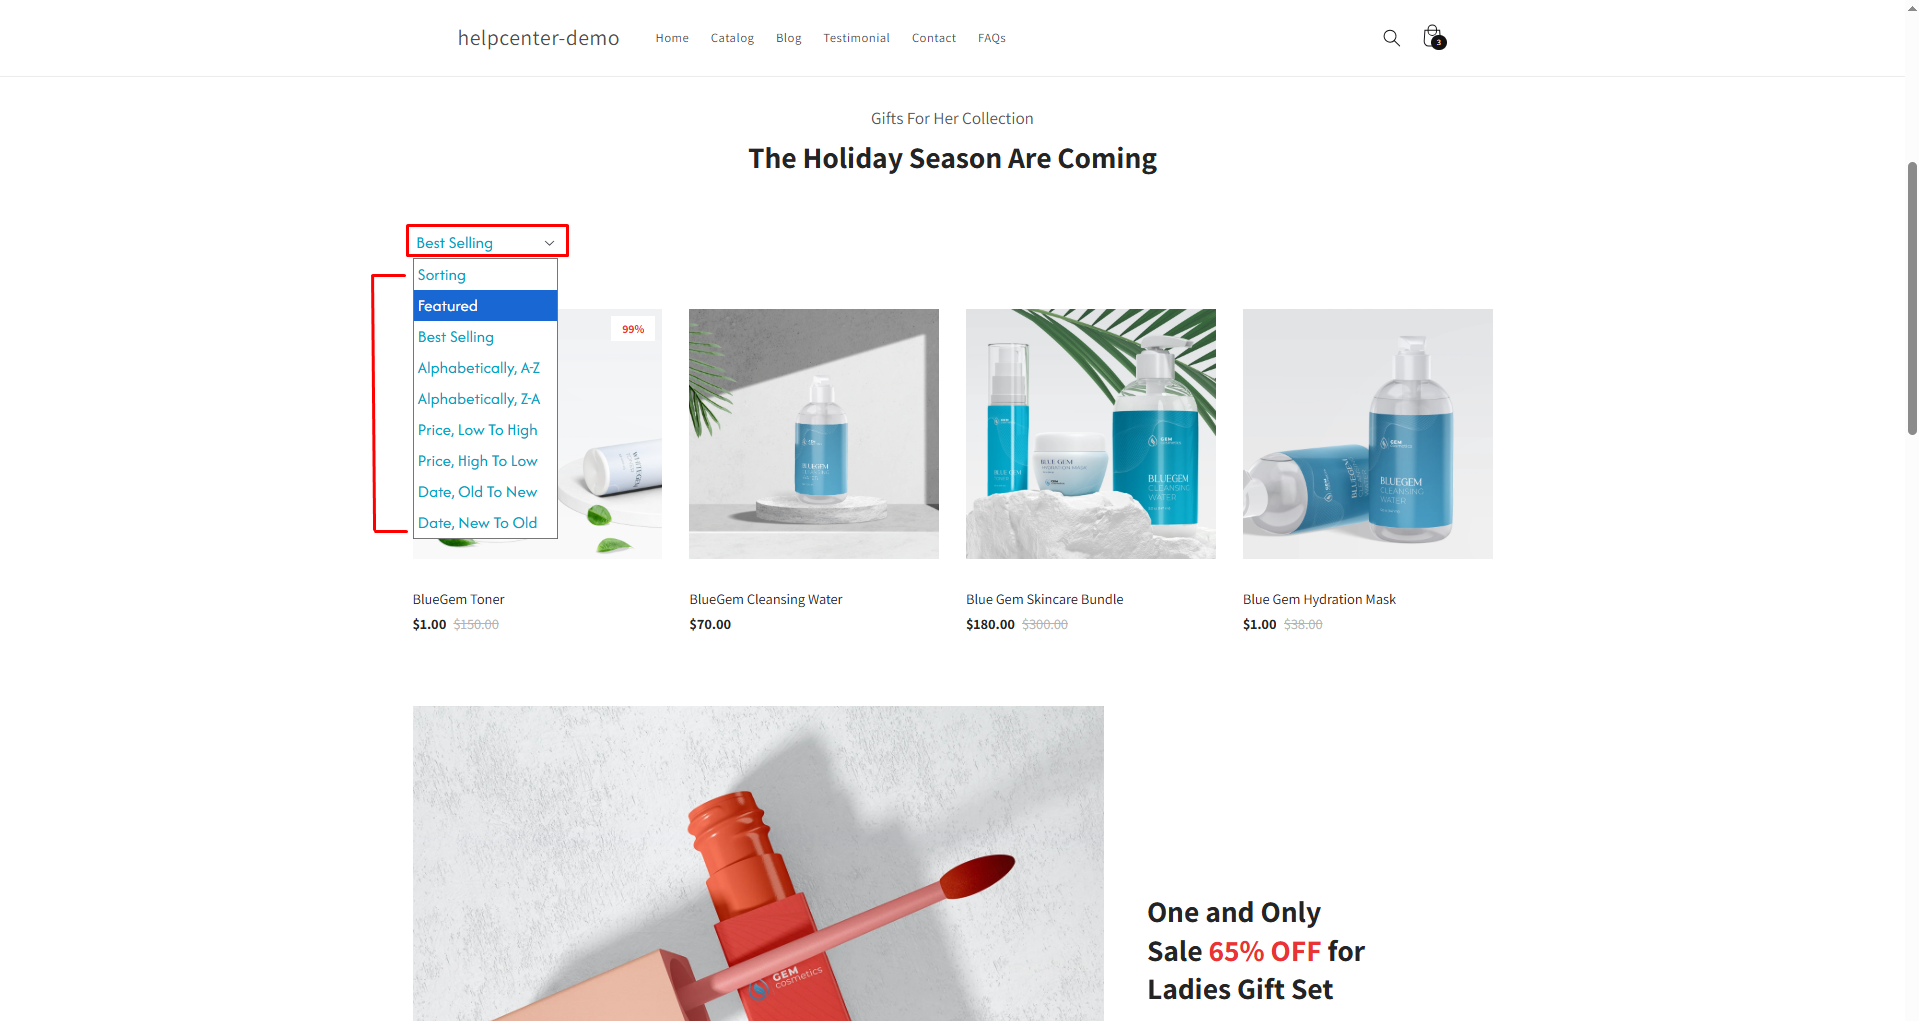
It can only be applied to collection page types in GemPages. Ensure that your Shopify collection is set up before proceeding.
Add a Collection Toolbar with Collection Toolbar Element
Step 1: Update Collection’s Sort Orders in the Shopify admin
The Collection Toolbar element pulls data directly from your Shopify Admin, so sorting options must be configured in Shopify first.
If you would like to update it, you can follow the steps below:
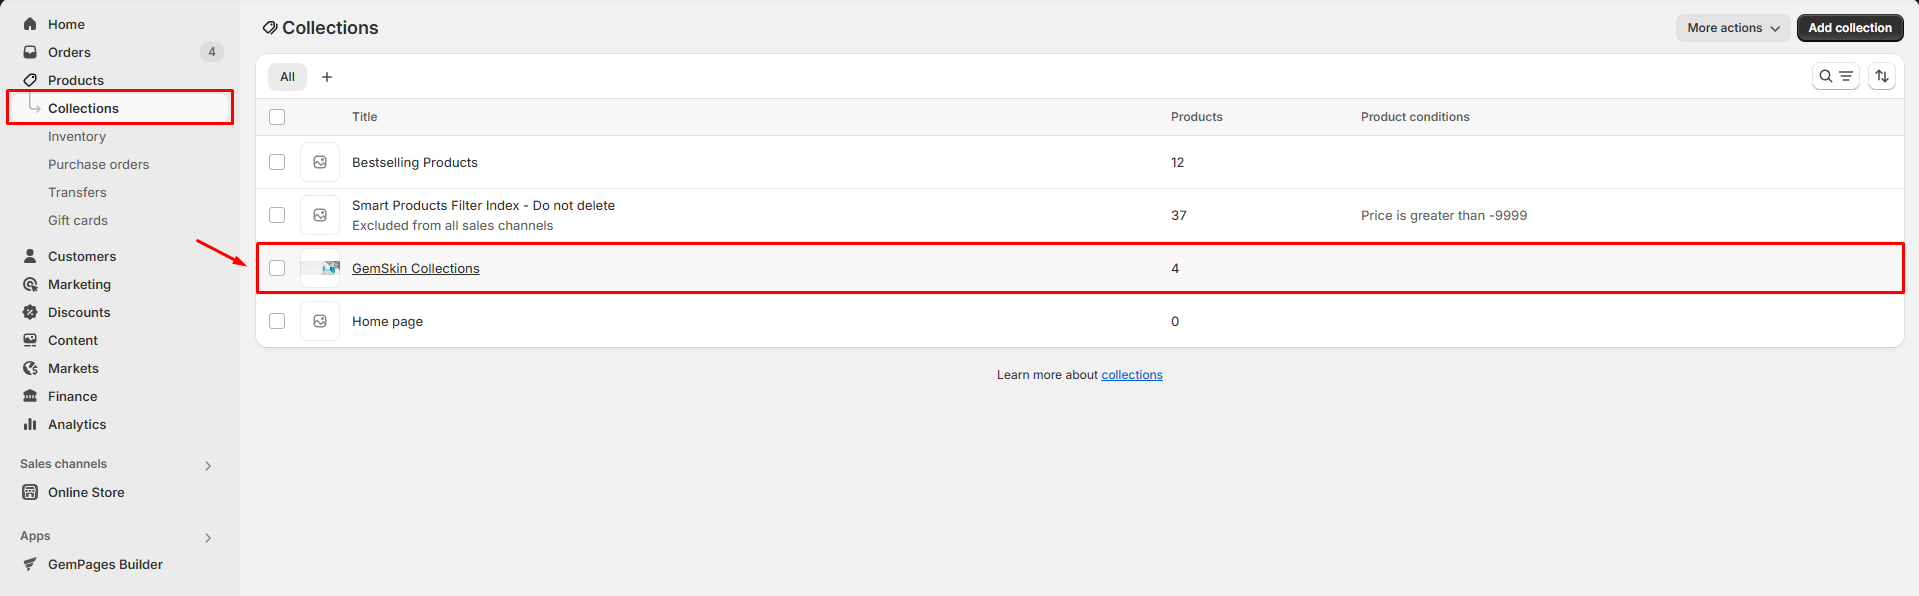
- From your Shopify Admin, navigate to Products > Collections. Select your preferred collection to change the sort order.
- Under the Product section, you can choose the sort type from the drop-down menu.
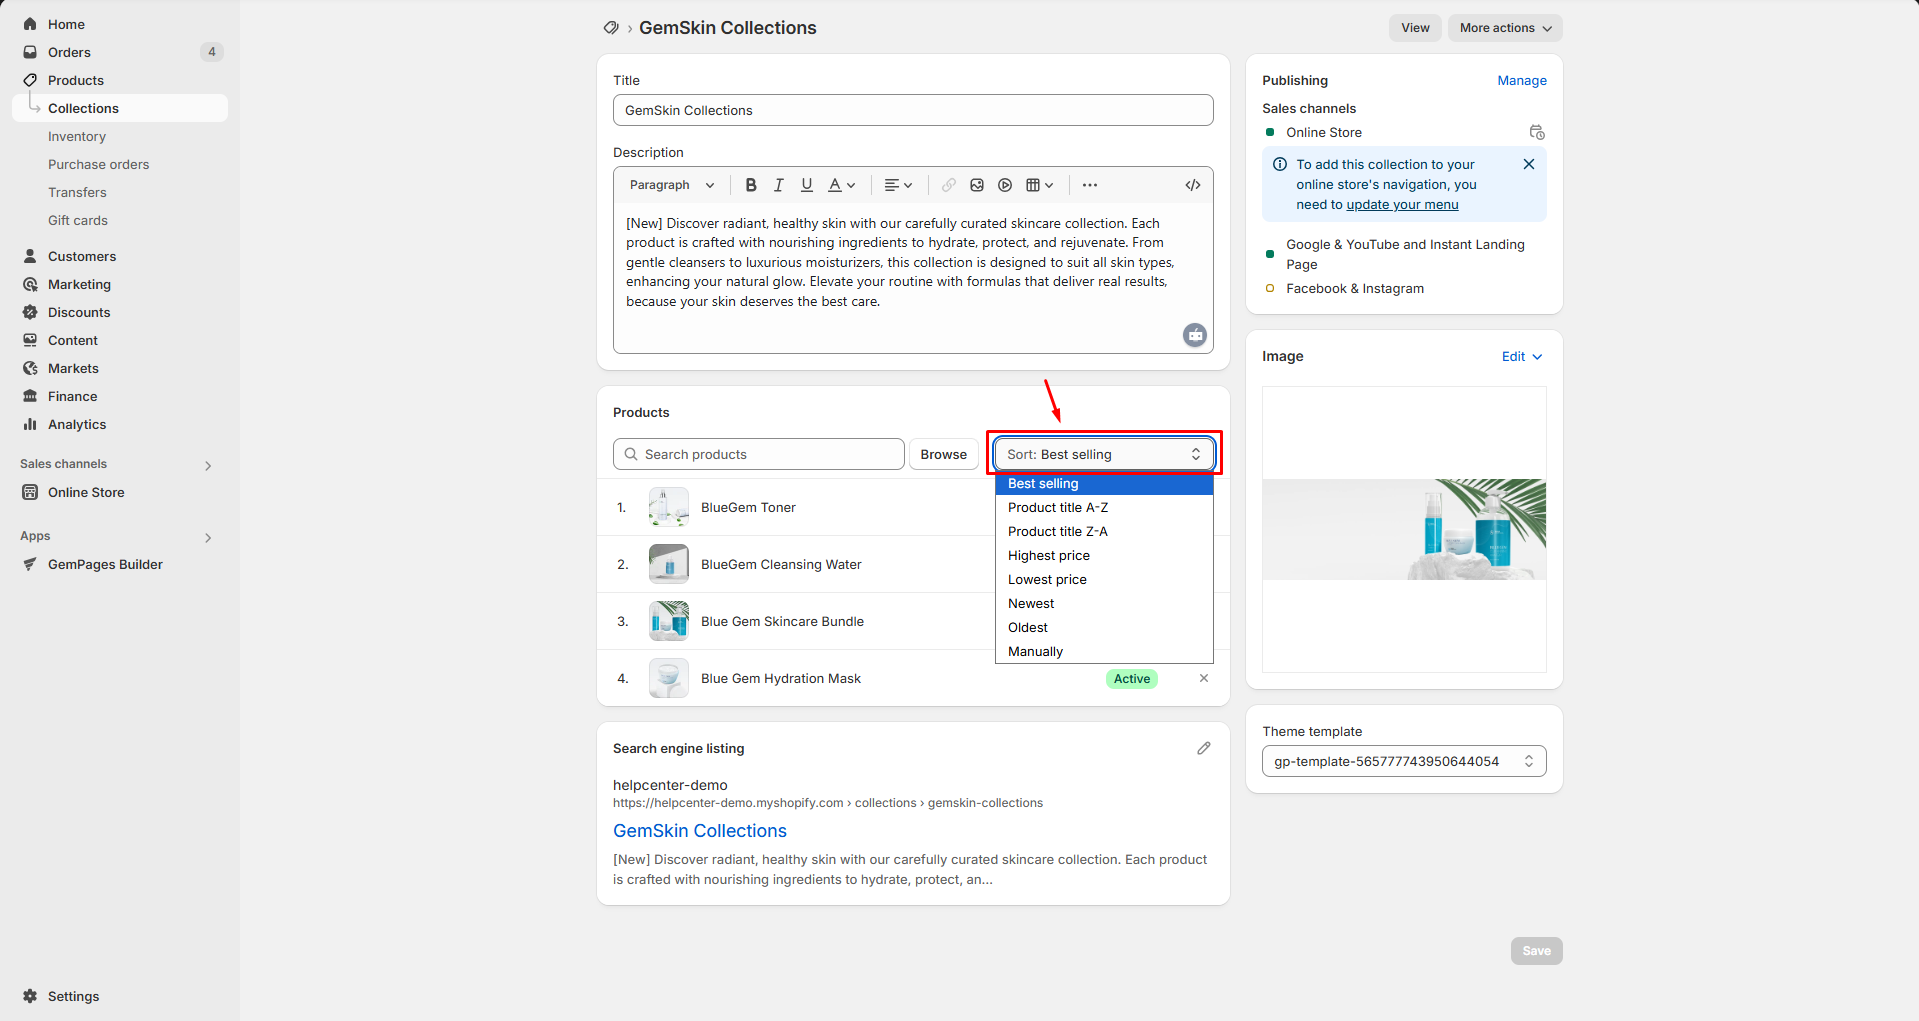
- If you want to arrange it on your own, select Manually, then hold the (⋮⋮) icon to move it to the place that you want in the product list.
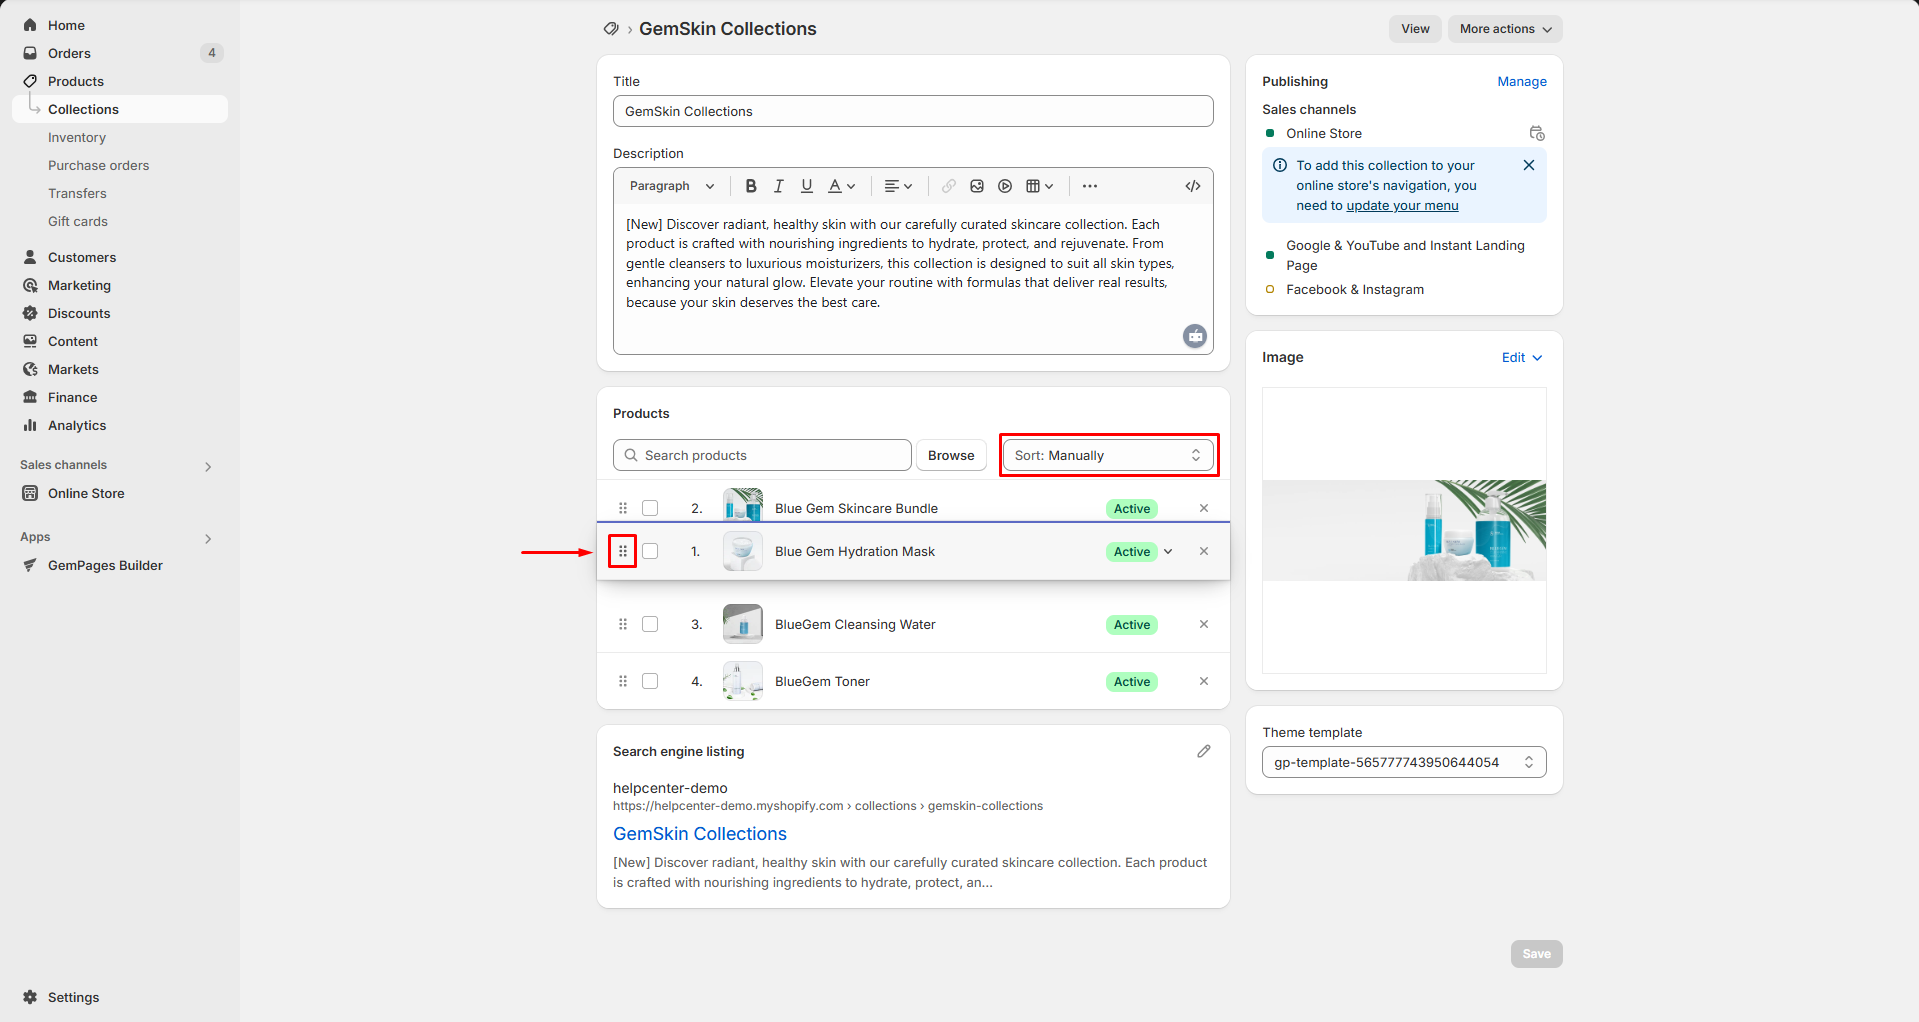
Changing sort orders can be recorded automatically right after your adjustment.
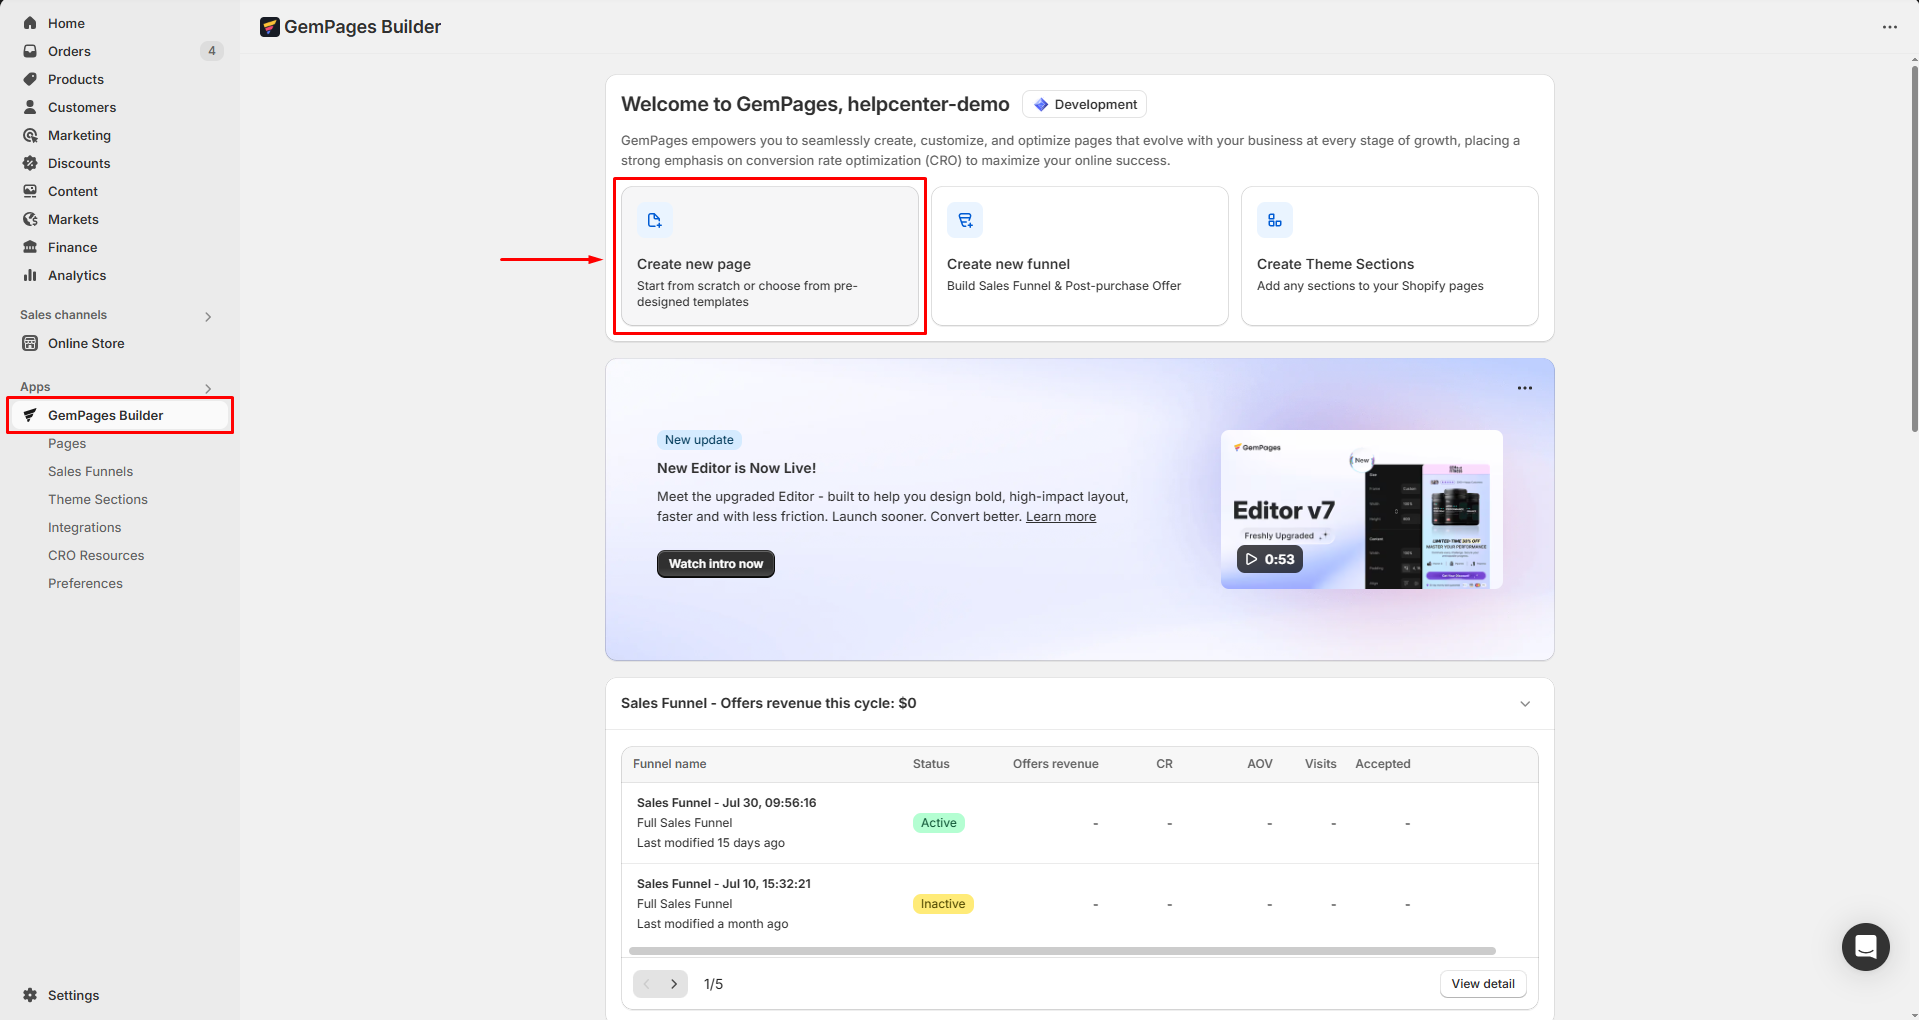
Step 2: Open or Create a New Collection Page in GemPages
- Open the GemPages dashboard in your Shopify admin.
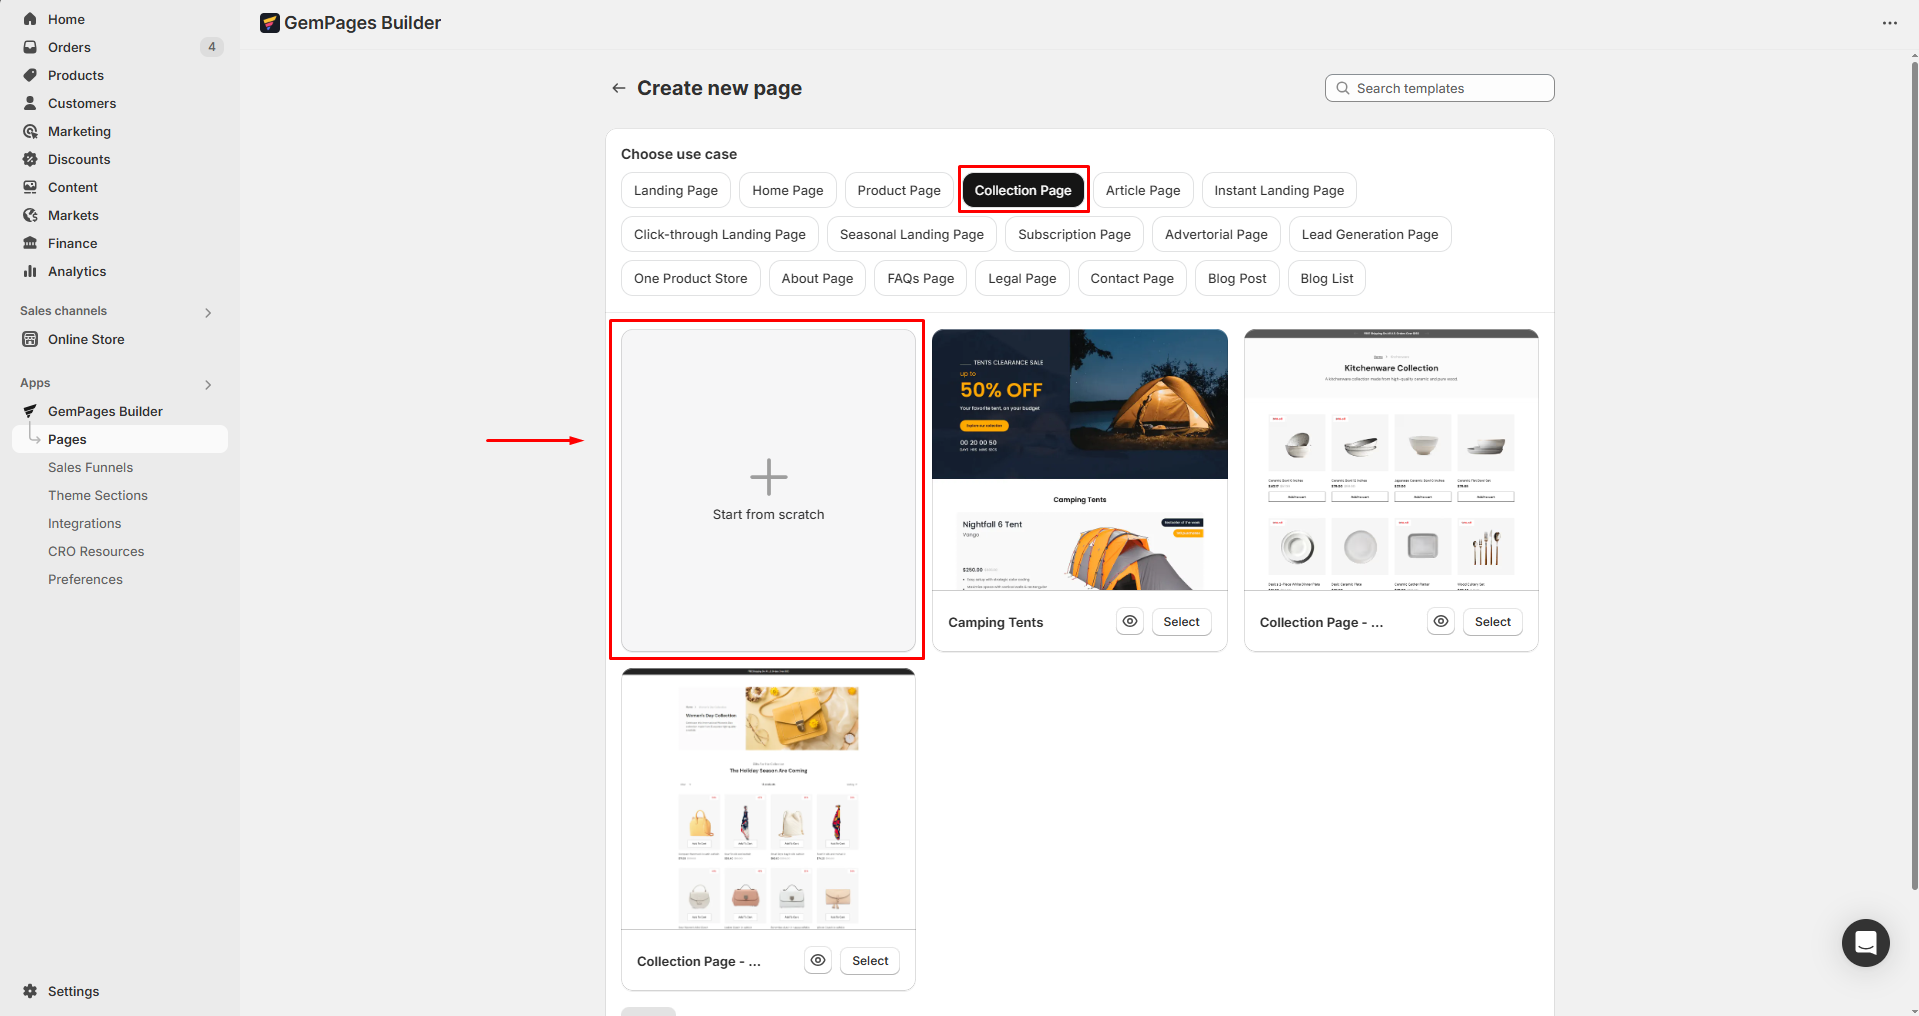
- Find the collection page you want to edit. If none exists, click the “Create New Page“ button and choose “Collection Page“ as the template.
- Click the Collection Page and choose “Start from scratch” or select a template to edit.
Now you can start designing your collection page in the GemPages editor. To learn more about how to create a collection page in GemPages, please refer to this article.
Step 3: Add Product List Element
- Drag and drop the Product List element onto your collection page.
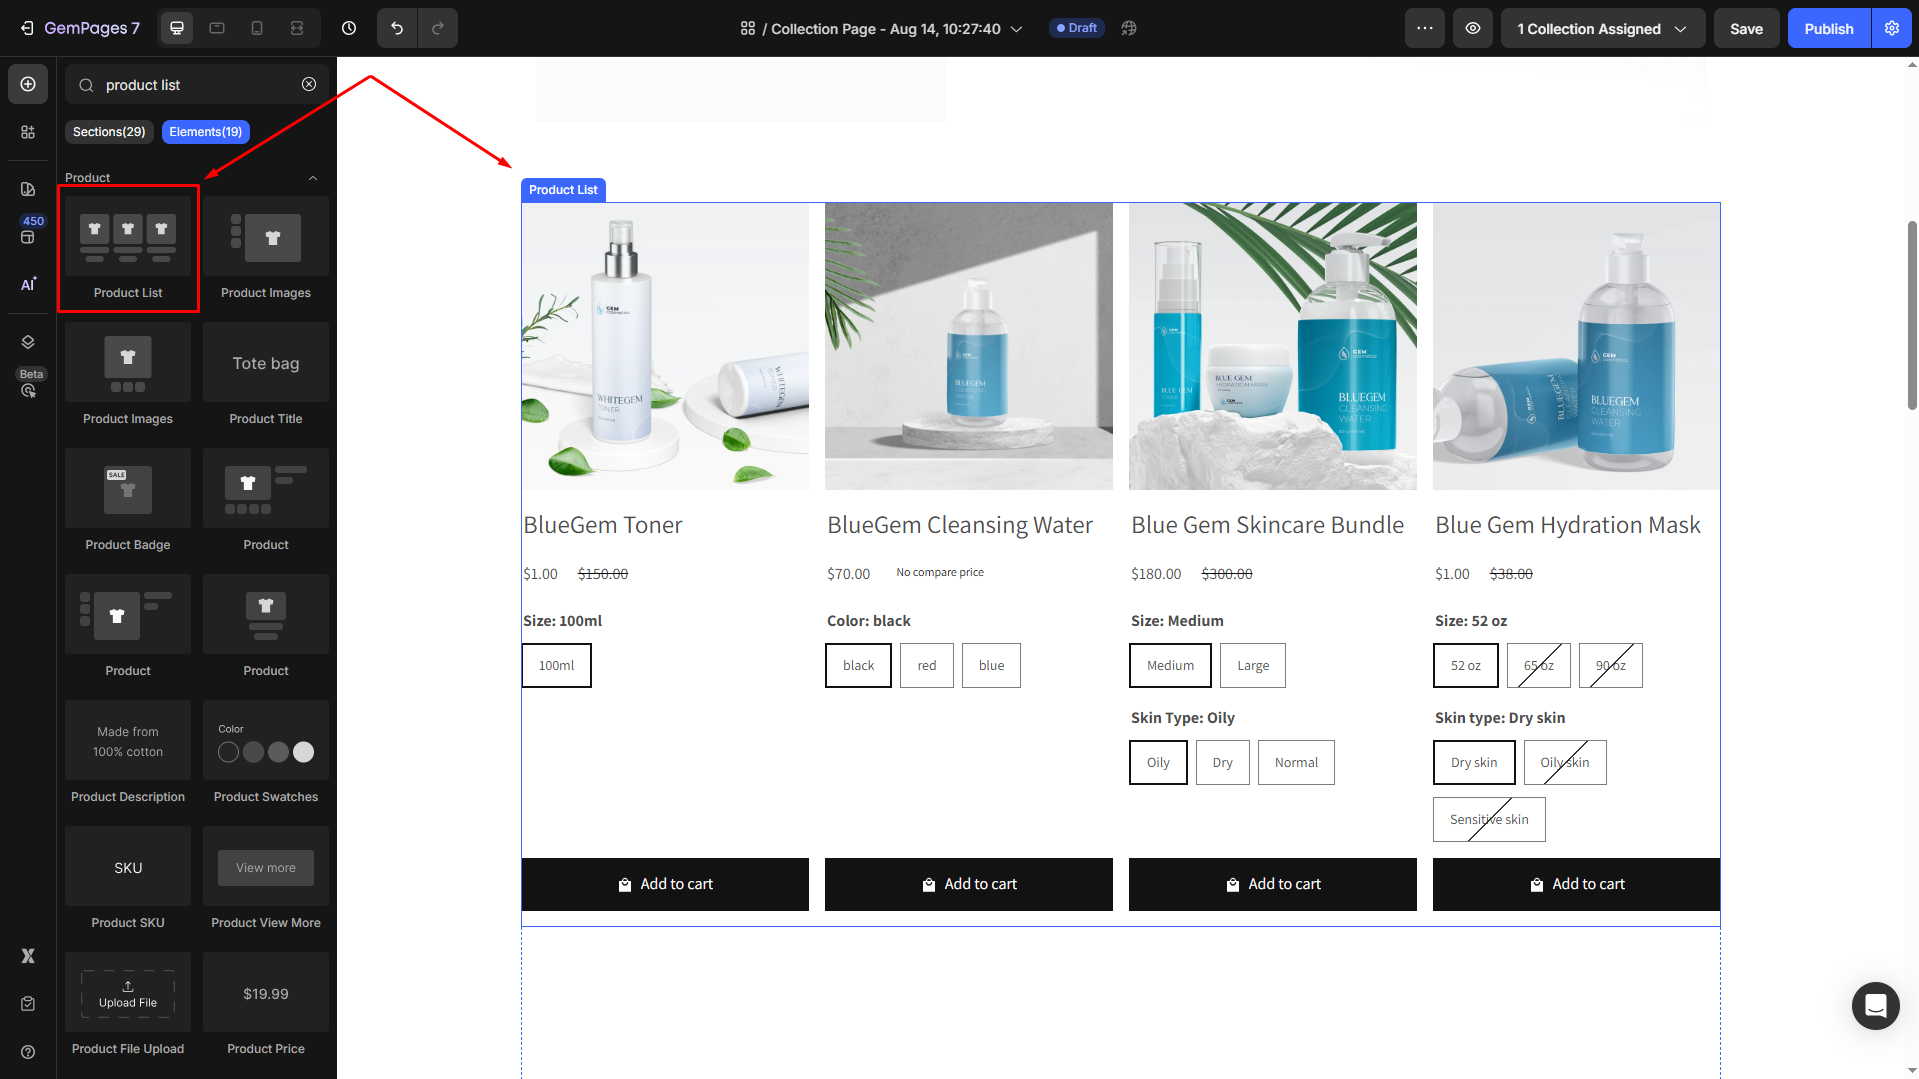
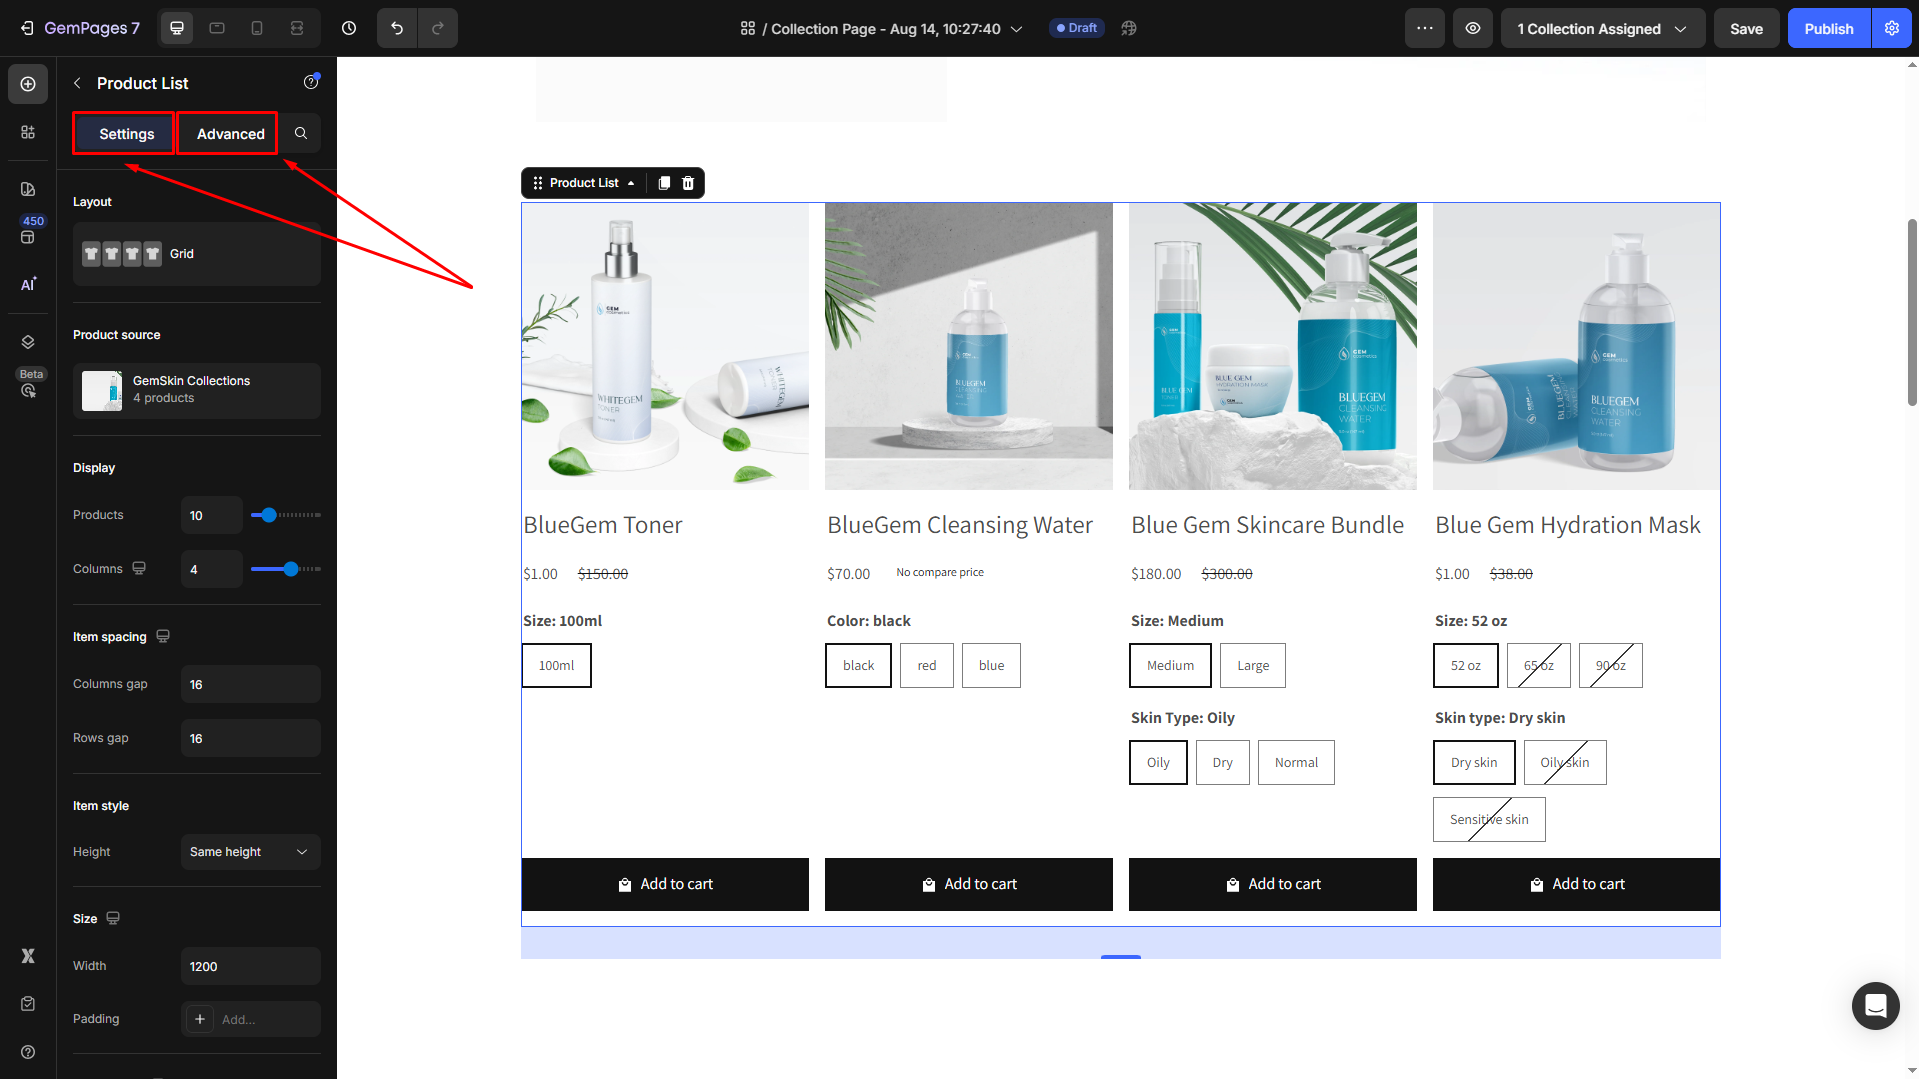
- Now, configure the product list settings. Connect it to the Shopify collection you have created earlier and customize the layout and style of the product list.
Check out our article about the Product List Element for more information.
Step 4: Insert Collection Toolbar
- Once you are located in the editor, search for the “collection toolbar“.
- Drag and drop the Collection Toolbar above or beside the Product List element, depending on your desired layout.
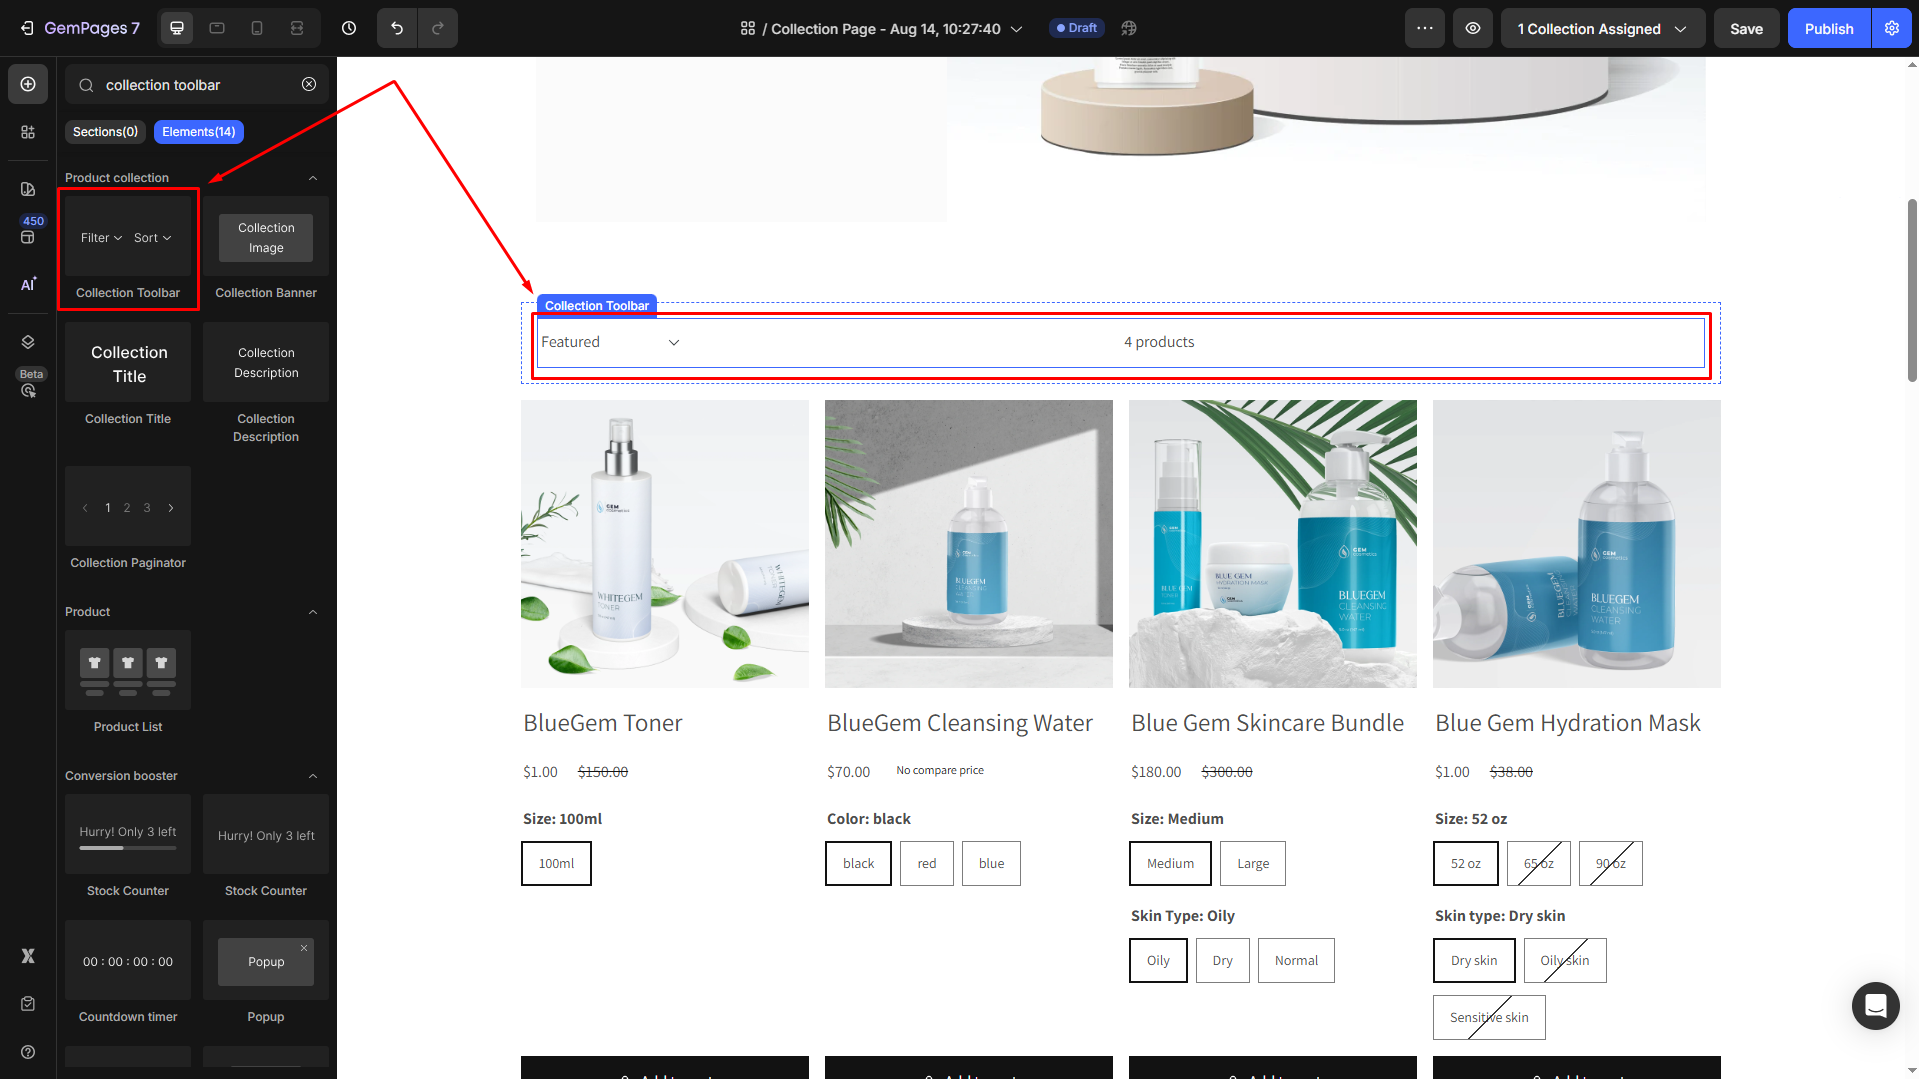
- Then, configure the toolbar settings as you prefer.
Refer to this article for further details and how to customize the Collection Toolbar element in GemPages.
- Hit the Save button at the top-right corner of the editor to save your changes. You can also preview the page before publishing it to ensure the best result.
FAQs
1. Why is my Collection Toolbar not showing on the page?
- Make sure you’ve added the Collection Toolbar element to a Collection Page type.
- Confirm that the Product List element on the page is connected to a Shopify collection.
- Ensure that your Shopify store has products assigned to that collection.
- Refresh the live page to see changes after saving in the editor.
2. Can I use the Collection Toolbar on non-collection pages?
No. This feature only works on Collection Page types in GemPages, as it pulls data directly from your Shopify collections.
3. How do I change the sorting options available in the toolbar?
Go to Shopify Admin > Products > Collections, open the desired collection, and adjust the Sort settings under the Product section. The toolbar will follow these settings automatically.
4. Will the Collection Toolbar automatically update when I add new products?
Yes. Once your product list is linked to the Shopify collection, any new products added in Shopify will appear in the list and be reflected in the toolbar sorter.
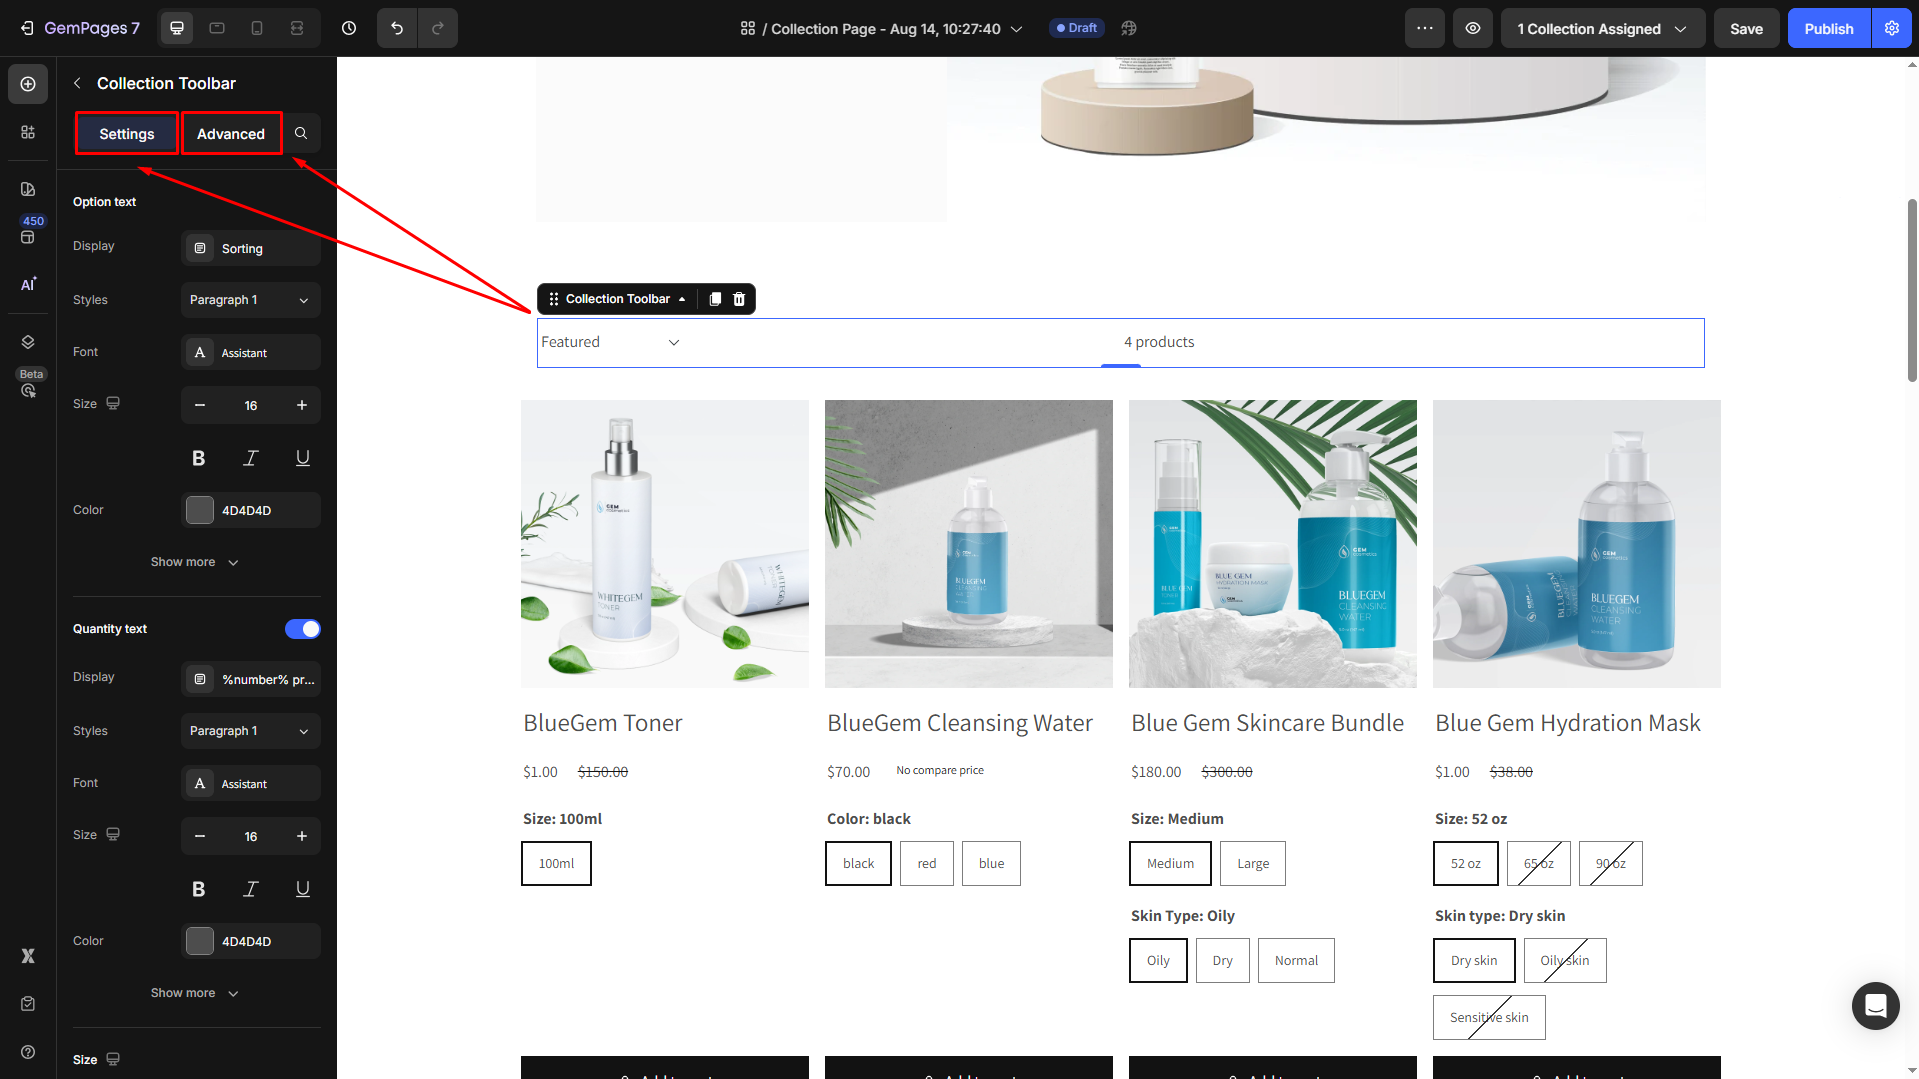
5. Can I customize the look of the Collection Toolbar?
Yes. In the editor, select the Collection Toolbar element to adjust typography, colors, spacing, and alignment so it matches your store’s branding.


