


This article shows you how to link your pages created in GemPages to a Shopify menu for both GemPages V6 and V7.
How to Link Your Page to the Shopify Menu?
Follow these steps to link your page to the Shopify menu:
Step 1: Copy the Live Page URL
If you’re using GemPages v6:
- Open your GemPages Dashboard and select a published page.
- Click Edit to enter the Editor.
- In the top-right corner, click the three-dot icon → select “View Live Page.”
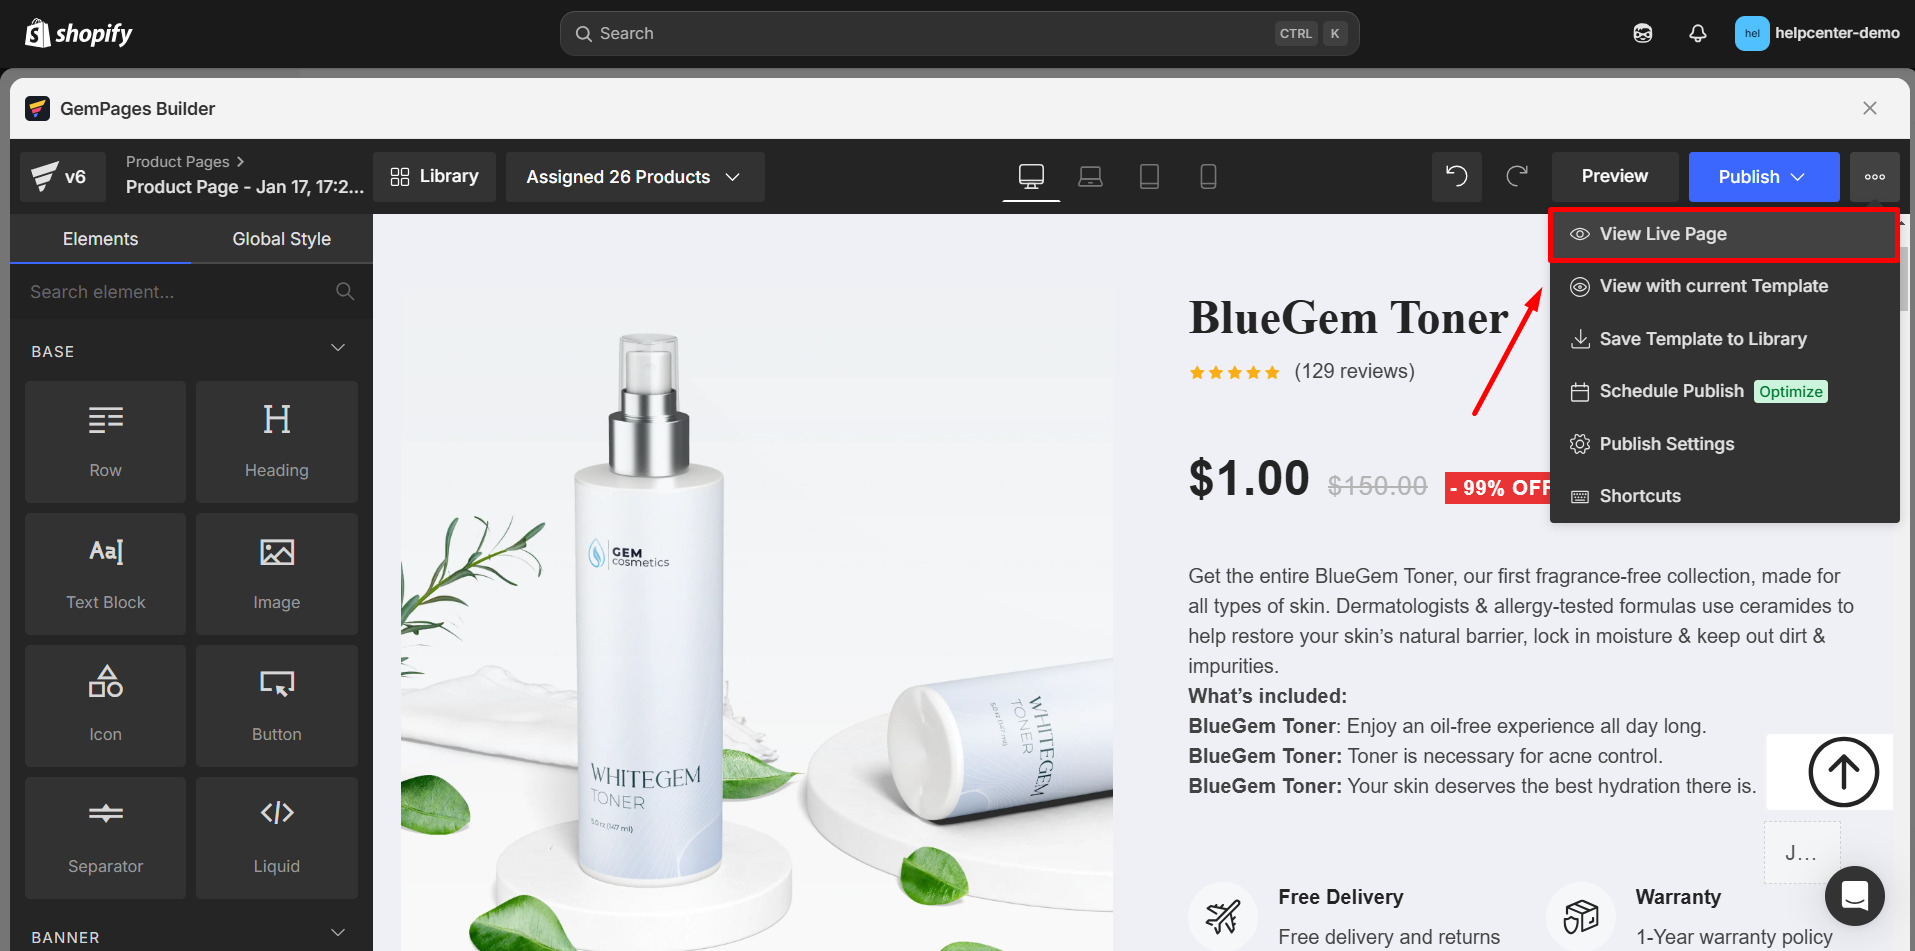
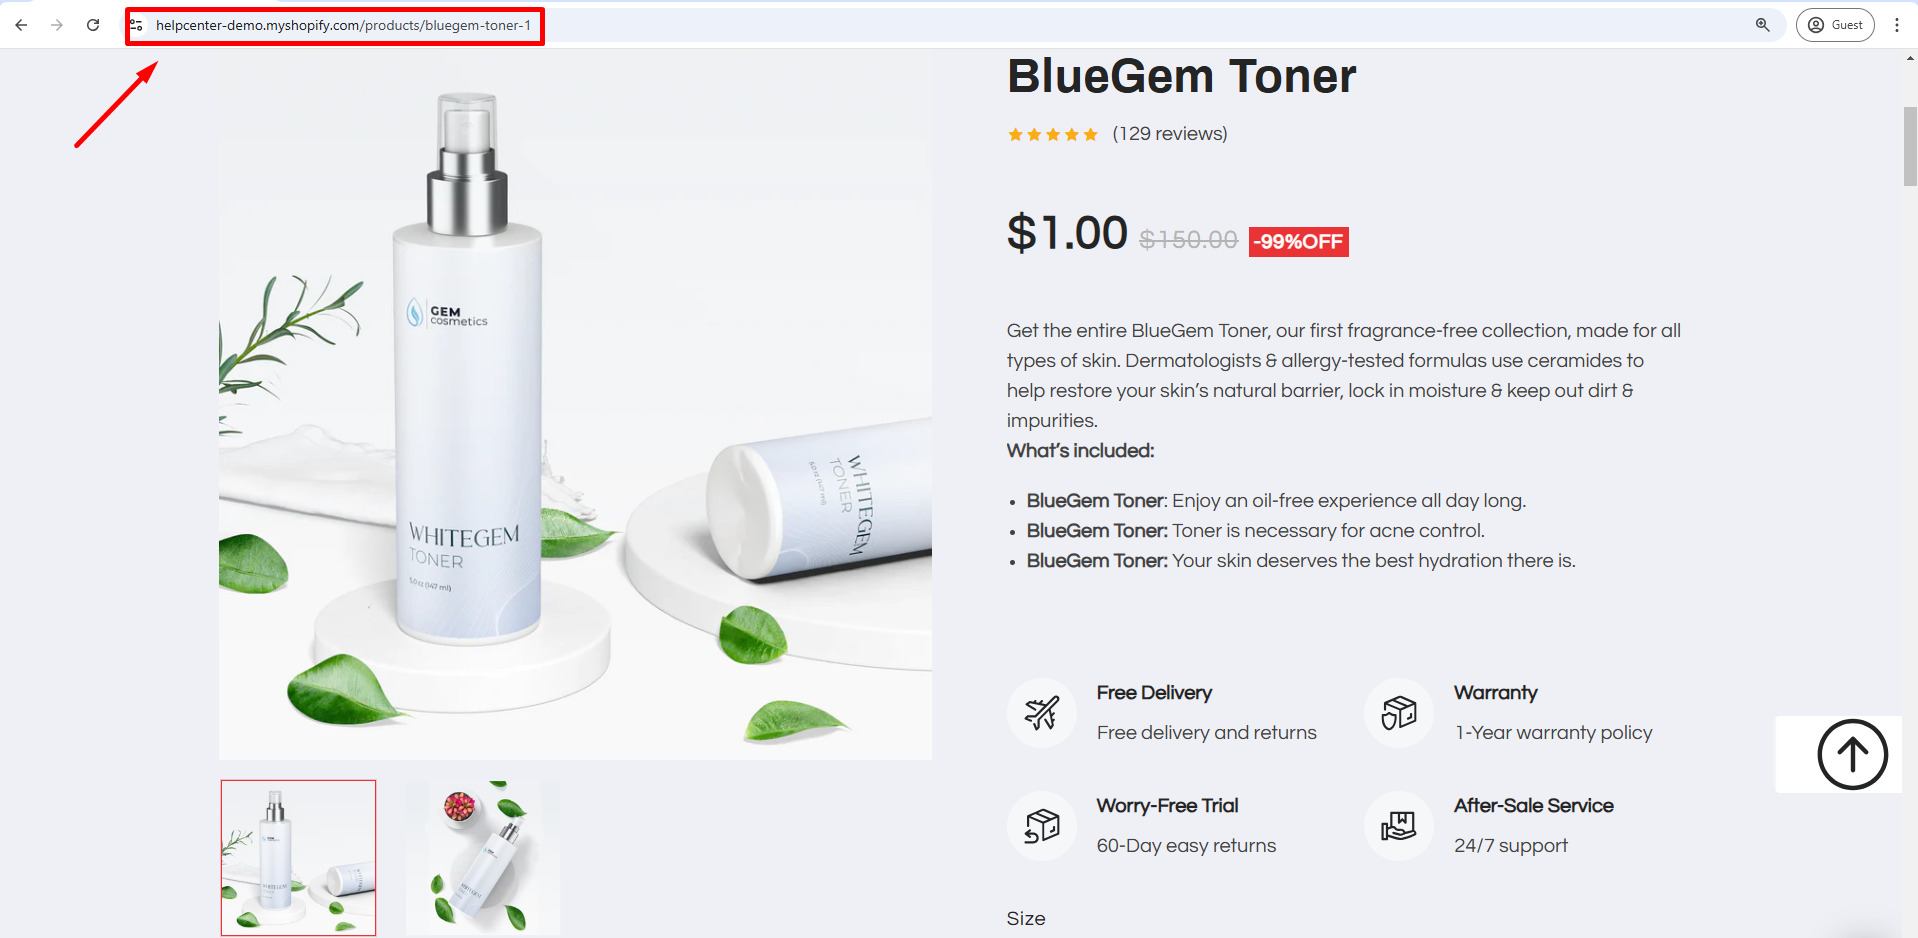
- Copy the URL from your browser’s address bar.
If you’re using GemPages v7:
- In the GemPages Dashboard, locate your published page.
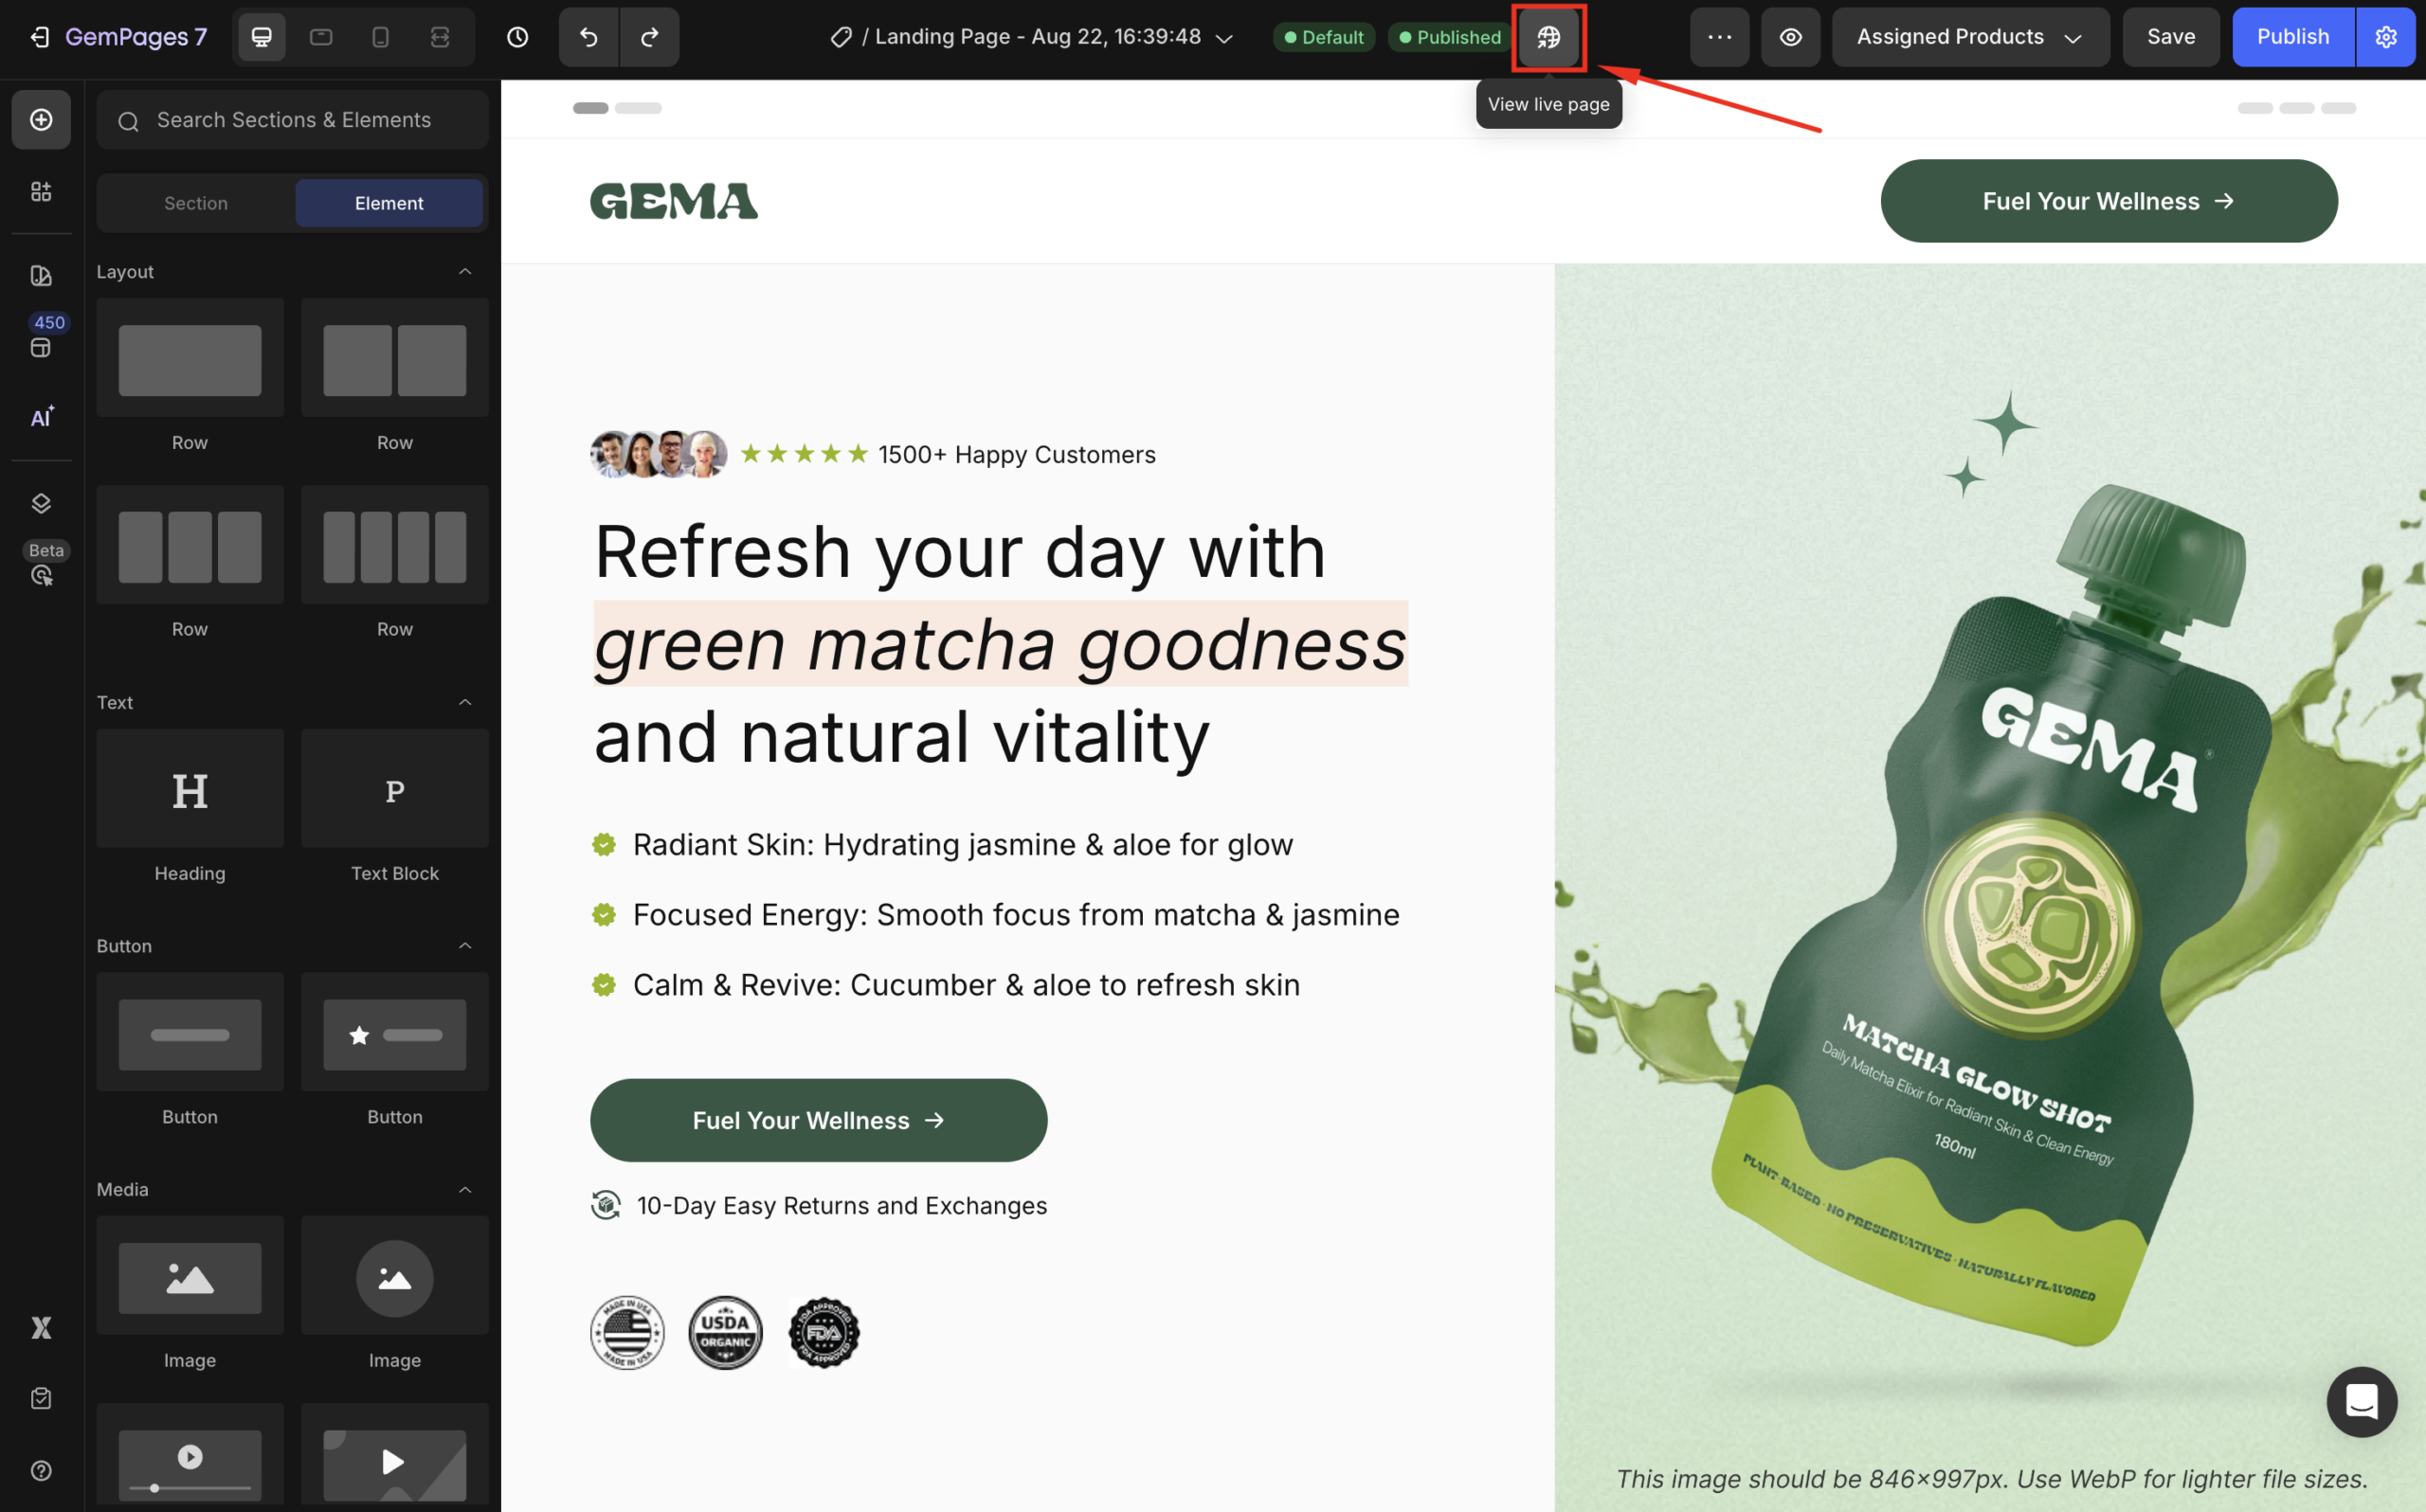
- Click the globe icon to view the live page.
![]()
- Copy the URL from the address bar.

Step 2: Add the Page to Your Shopify Menu
Once you’ve copied the URL, follow these steps in your Shopify Admin:
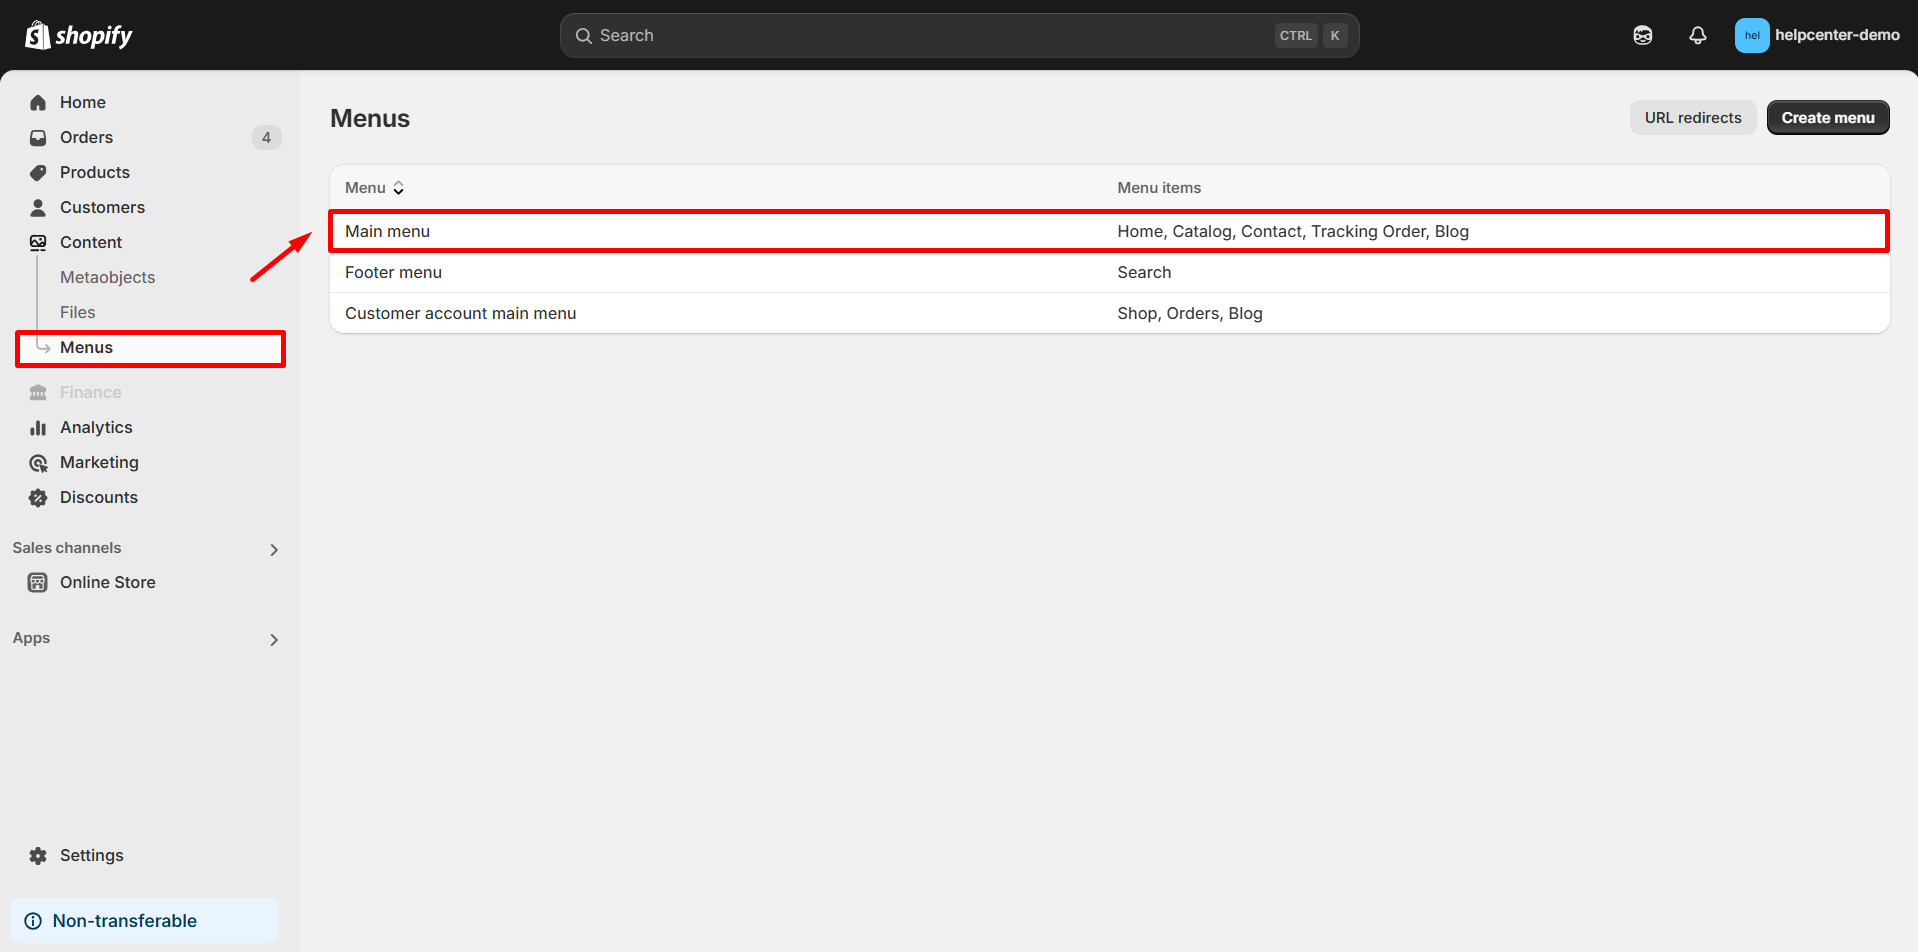
- Go to Online Store → Content → choose the menu you want (e.g., Main Menu).
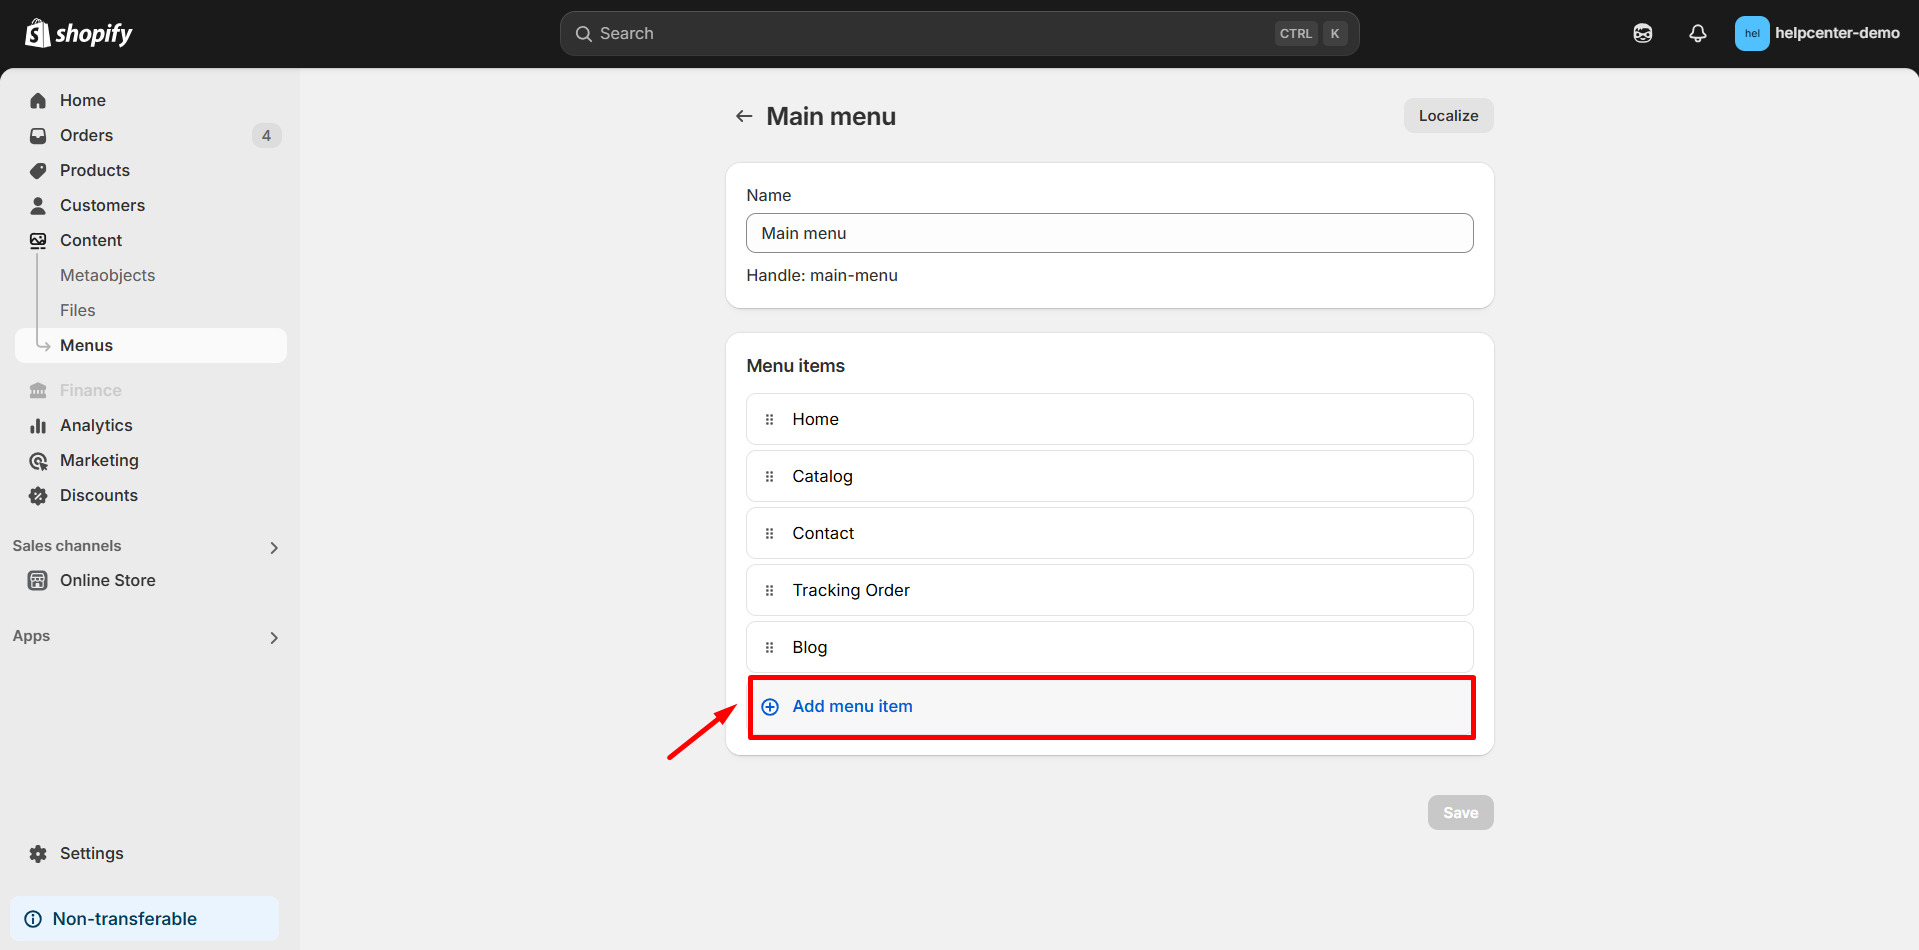
- Click Add menu item.
- Enter a Title for your link (e.g., “About Us”, “Promotions”).
- Paste the GemPages URL into the Link field.
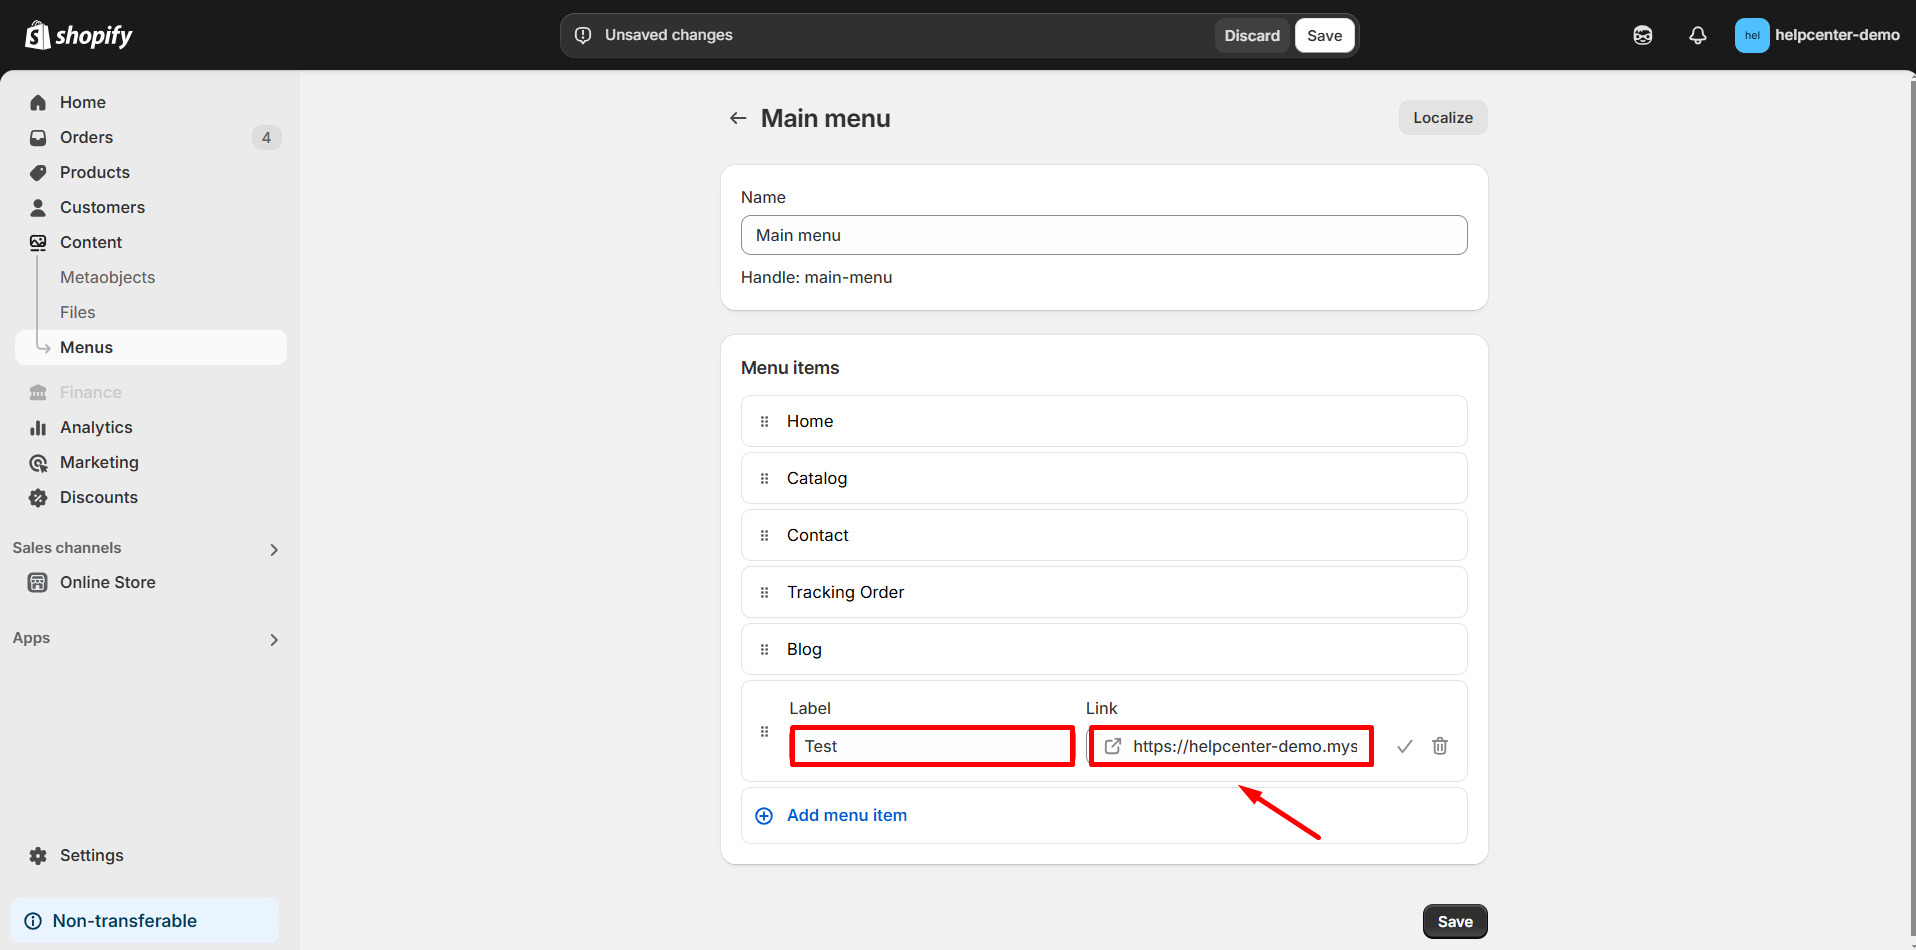
- Click Save menu.
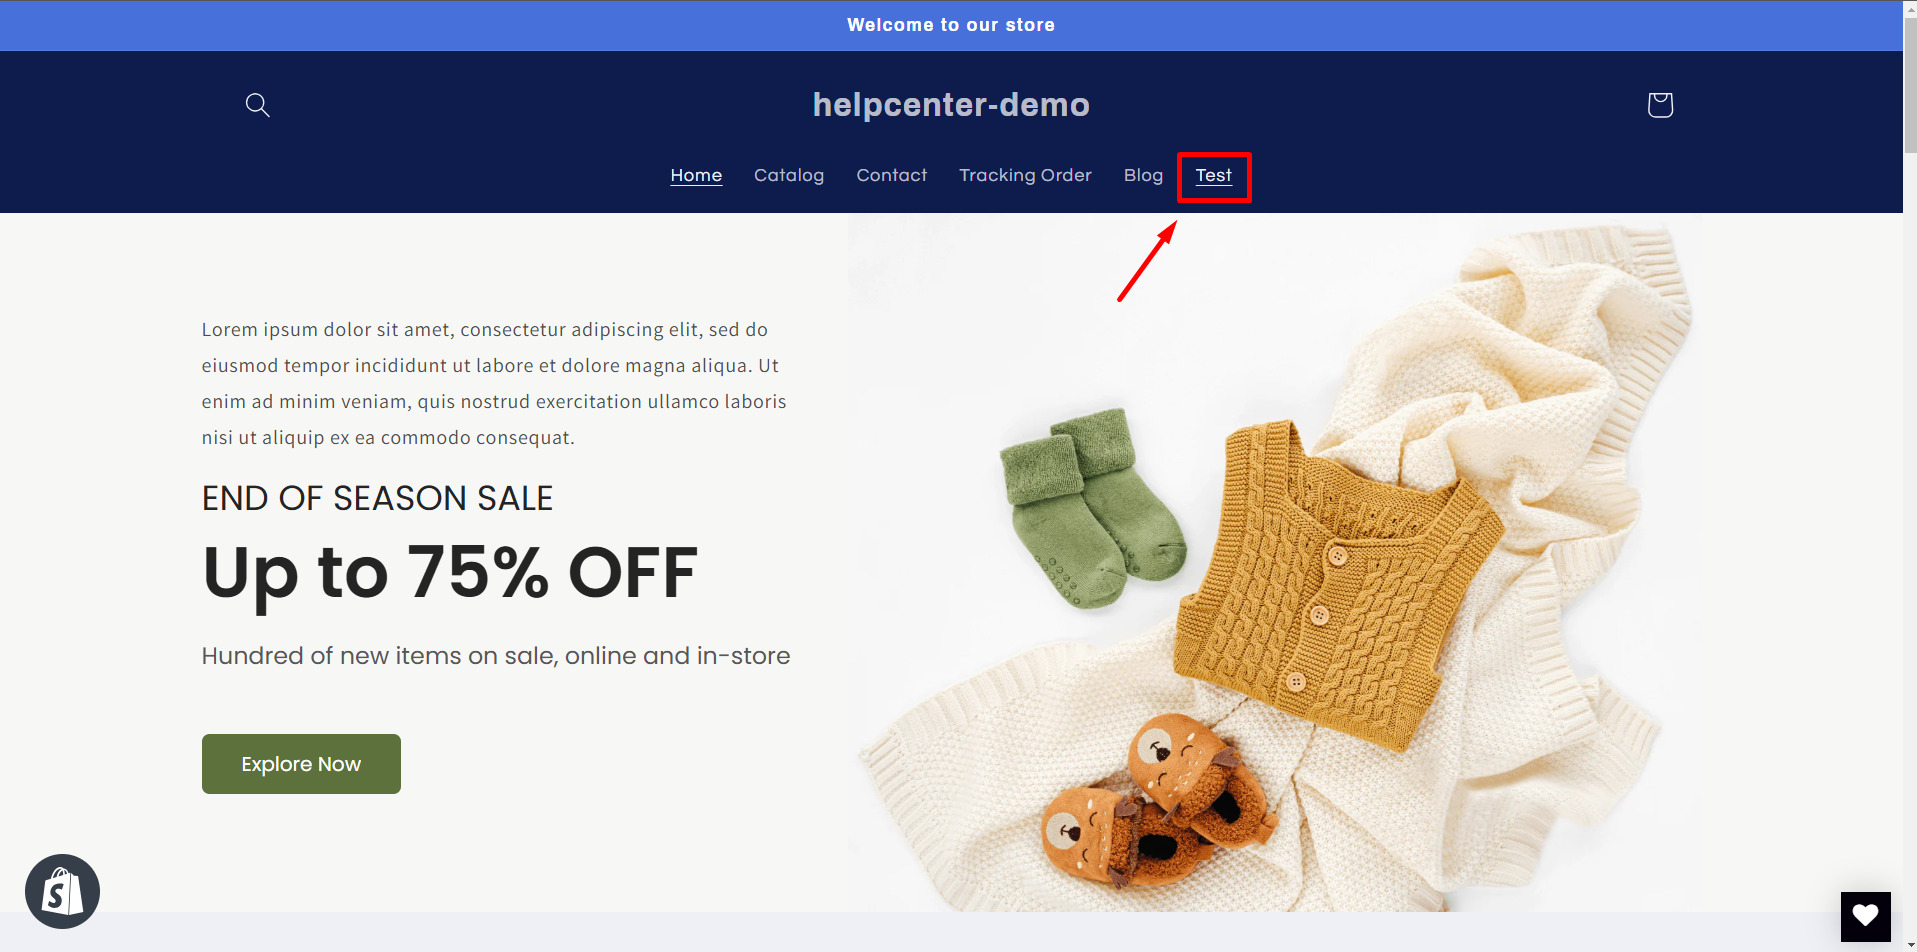
Your page will now be accessible directly from your store’s navigation.
Best Practice: Link Your GemPages Landing Page to the Shopify Menu
If you’ve just built a landing page in GemPages and want it to appear in your Shopify navigation (e.g., Main Menu, Footer Menu), follow these steps:
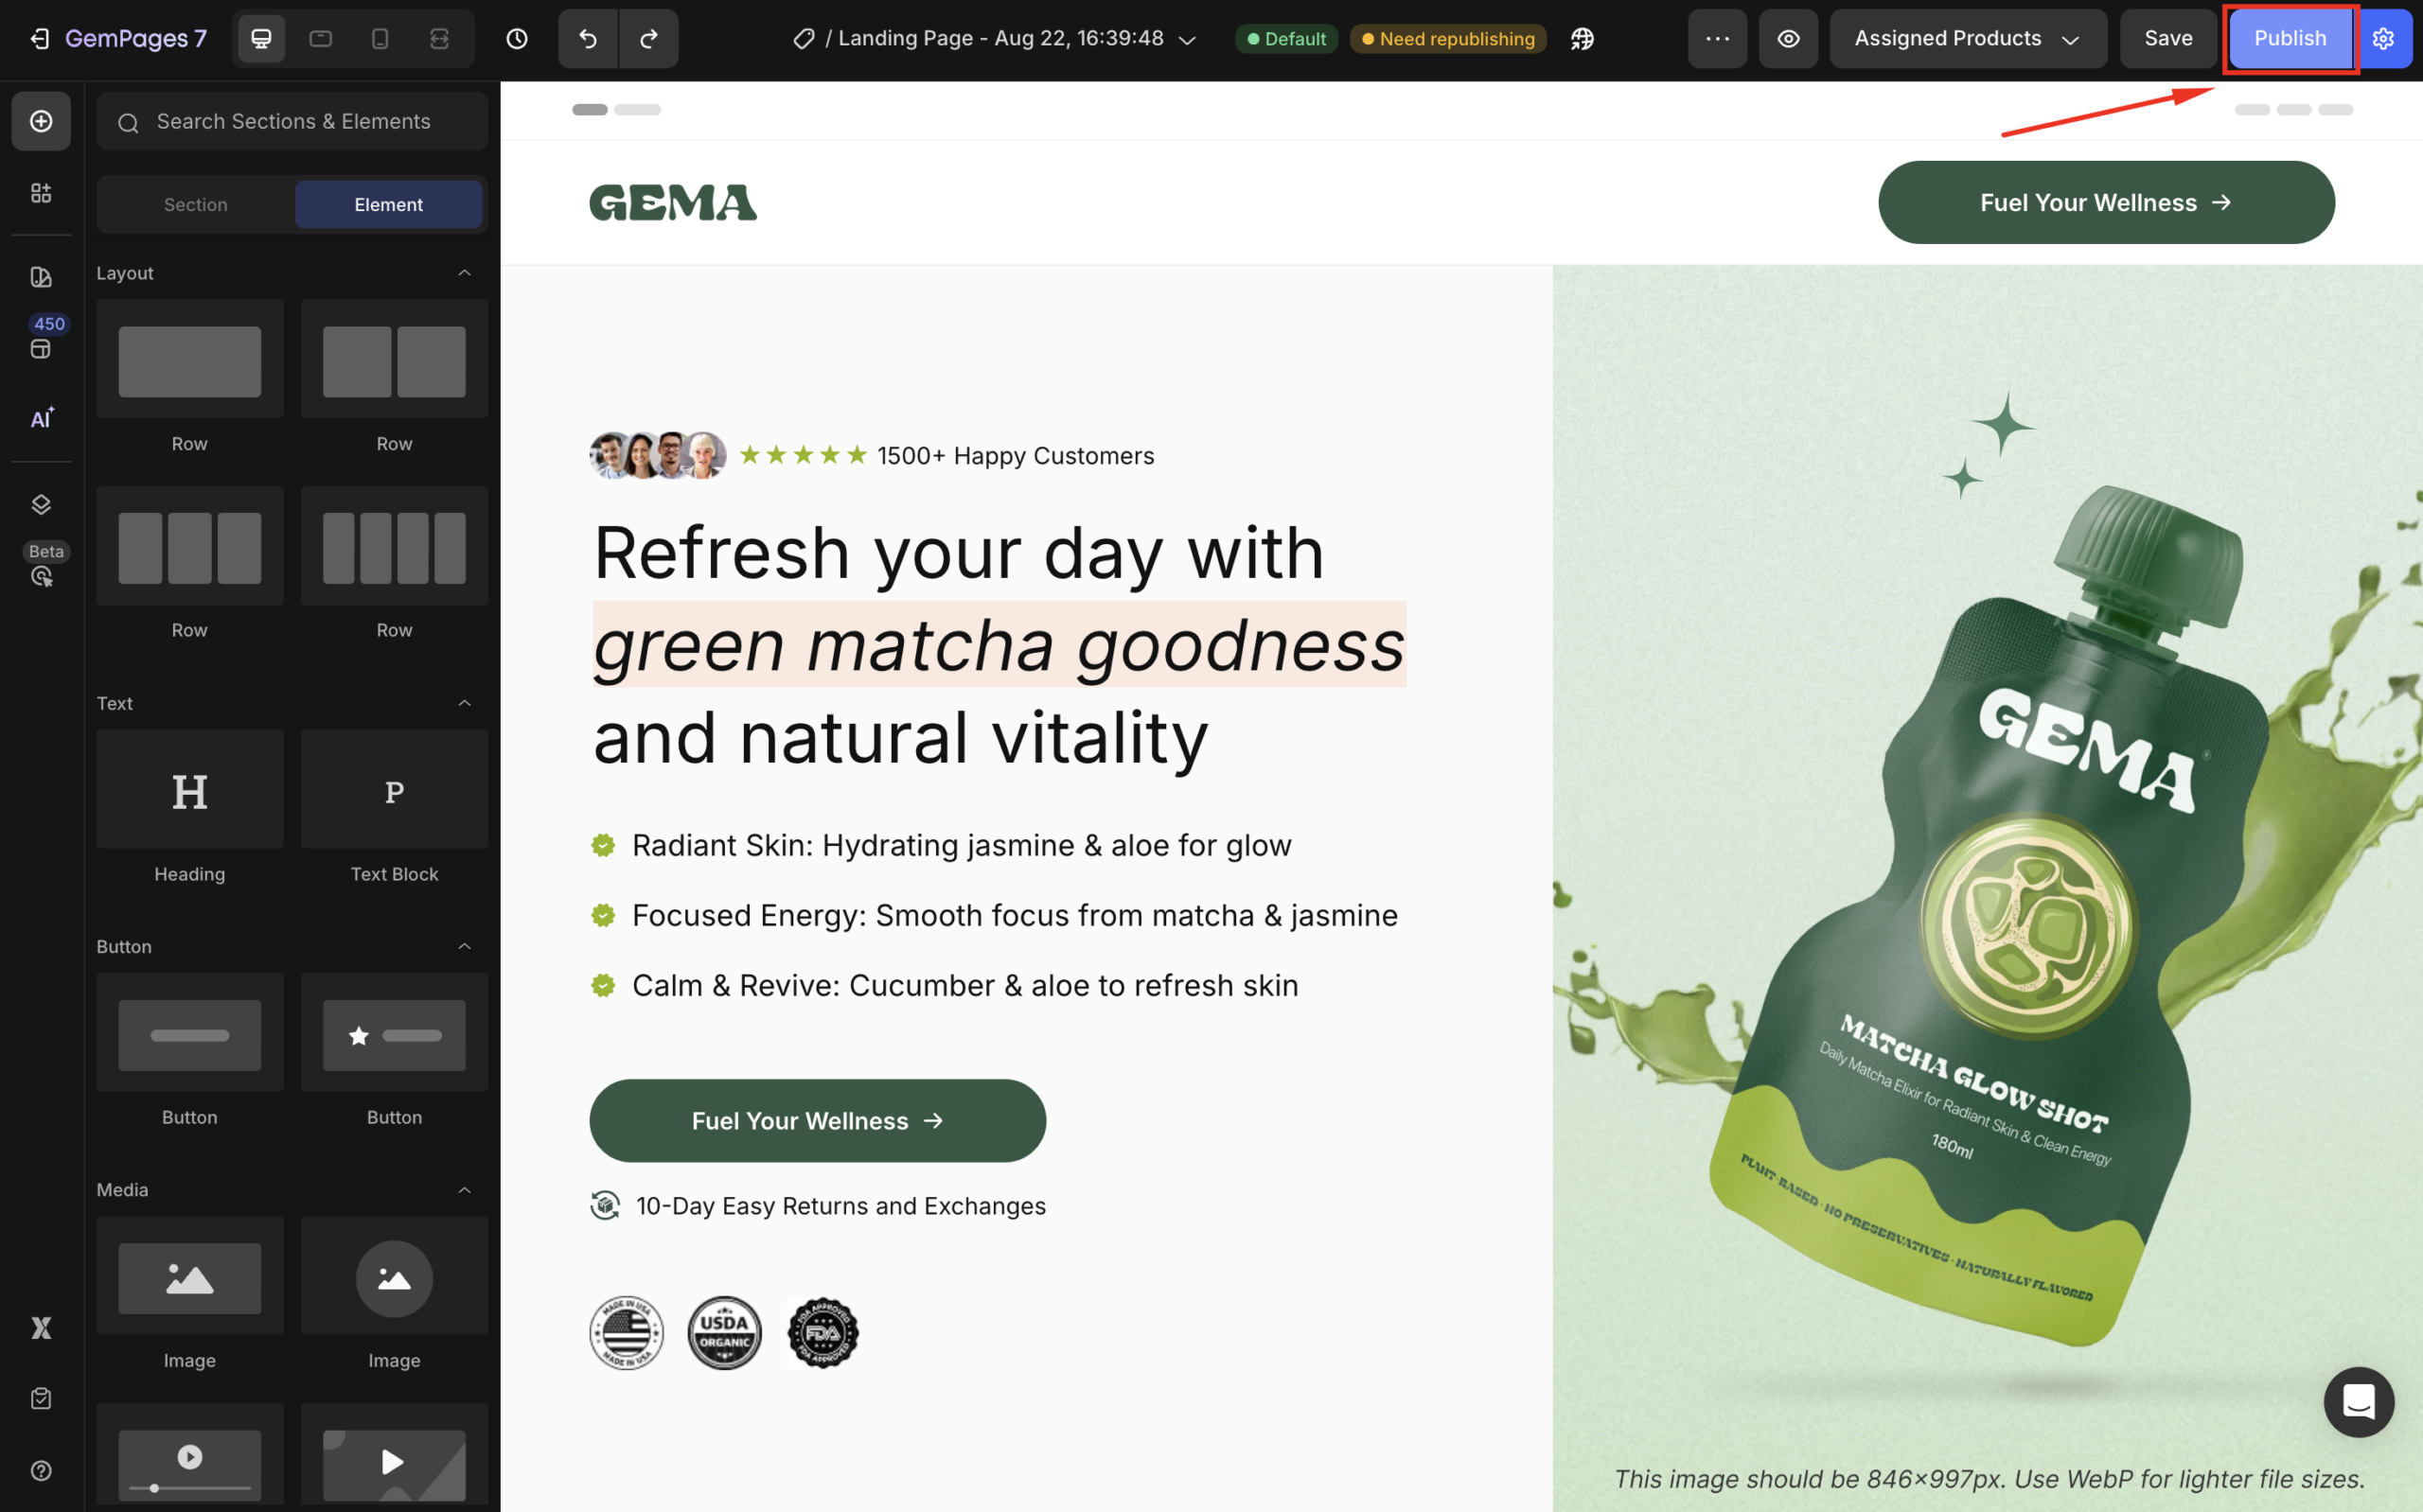
Step 1: Publish your landing page in GemPages
- In the editor, hit the Publish button in the right corner of the top bar to make your landing page live.
- Then, click the globe icon to open the live page, and copy the page URL from the browser’s address bar.
Step 2: Add the page to your Shopify menu
- In your Shopify Admin, go to Content > Menus.
- Select the menu you want to edit (e.g., Main Menu).
- Click Add menu item.
- Enter the Title you want displayed (e.g., “Landing Page”, “Promo Offer”).
- Paste the GemPages page URL into the Link field.
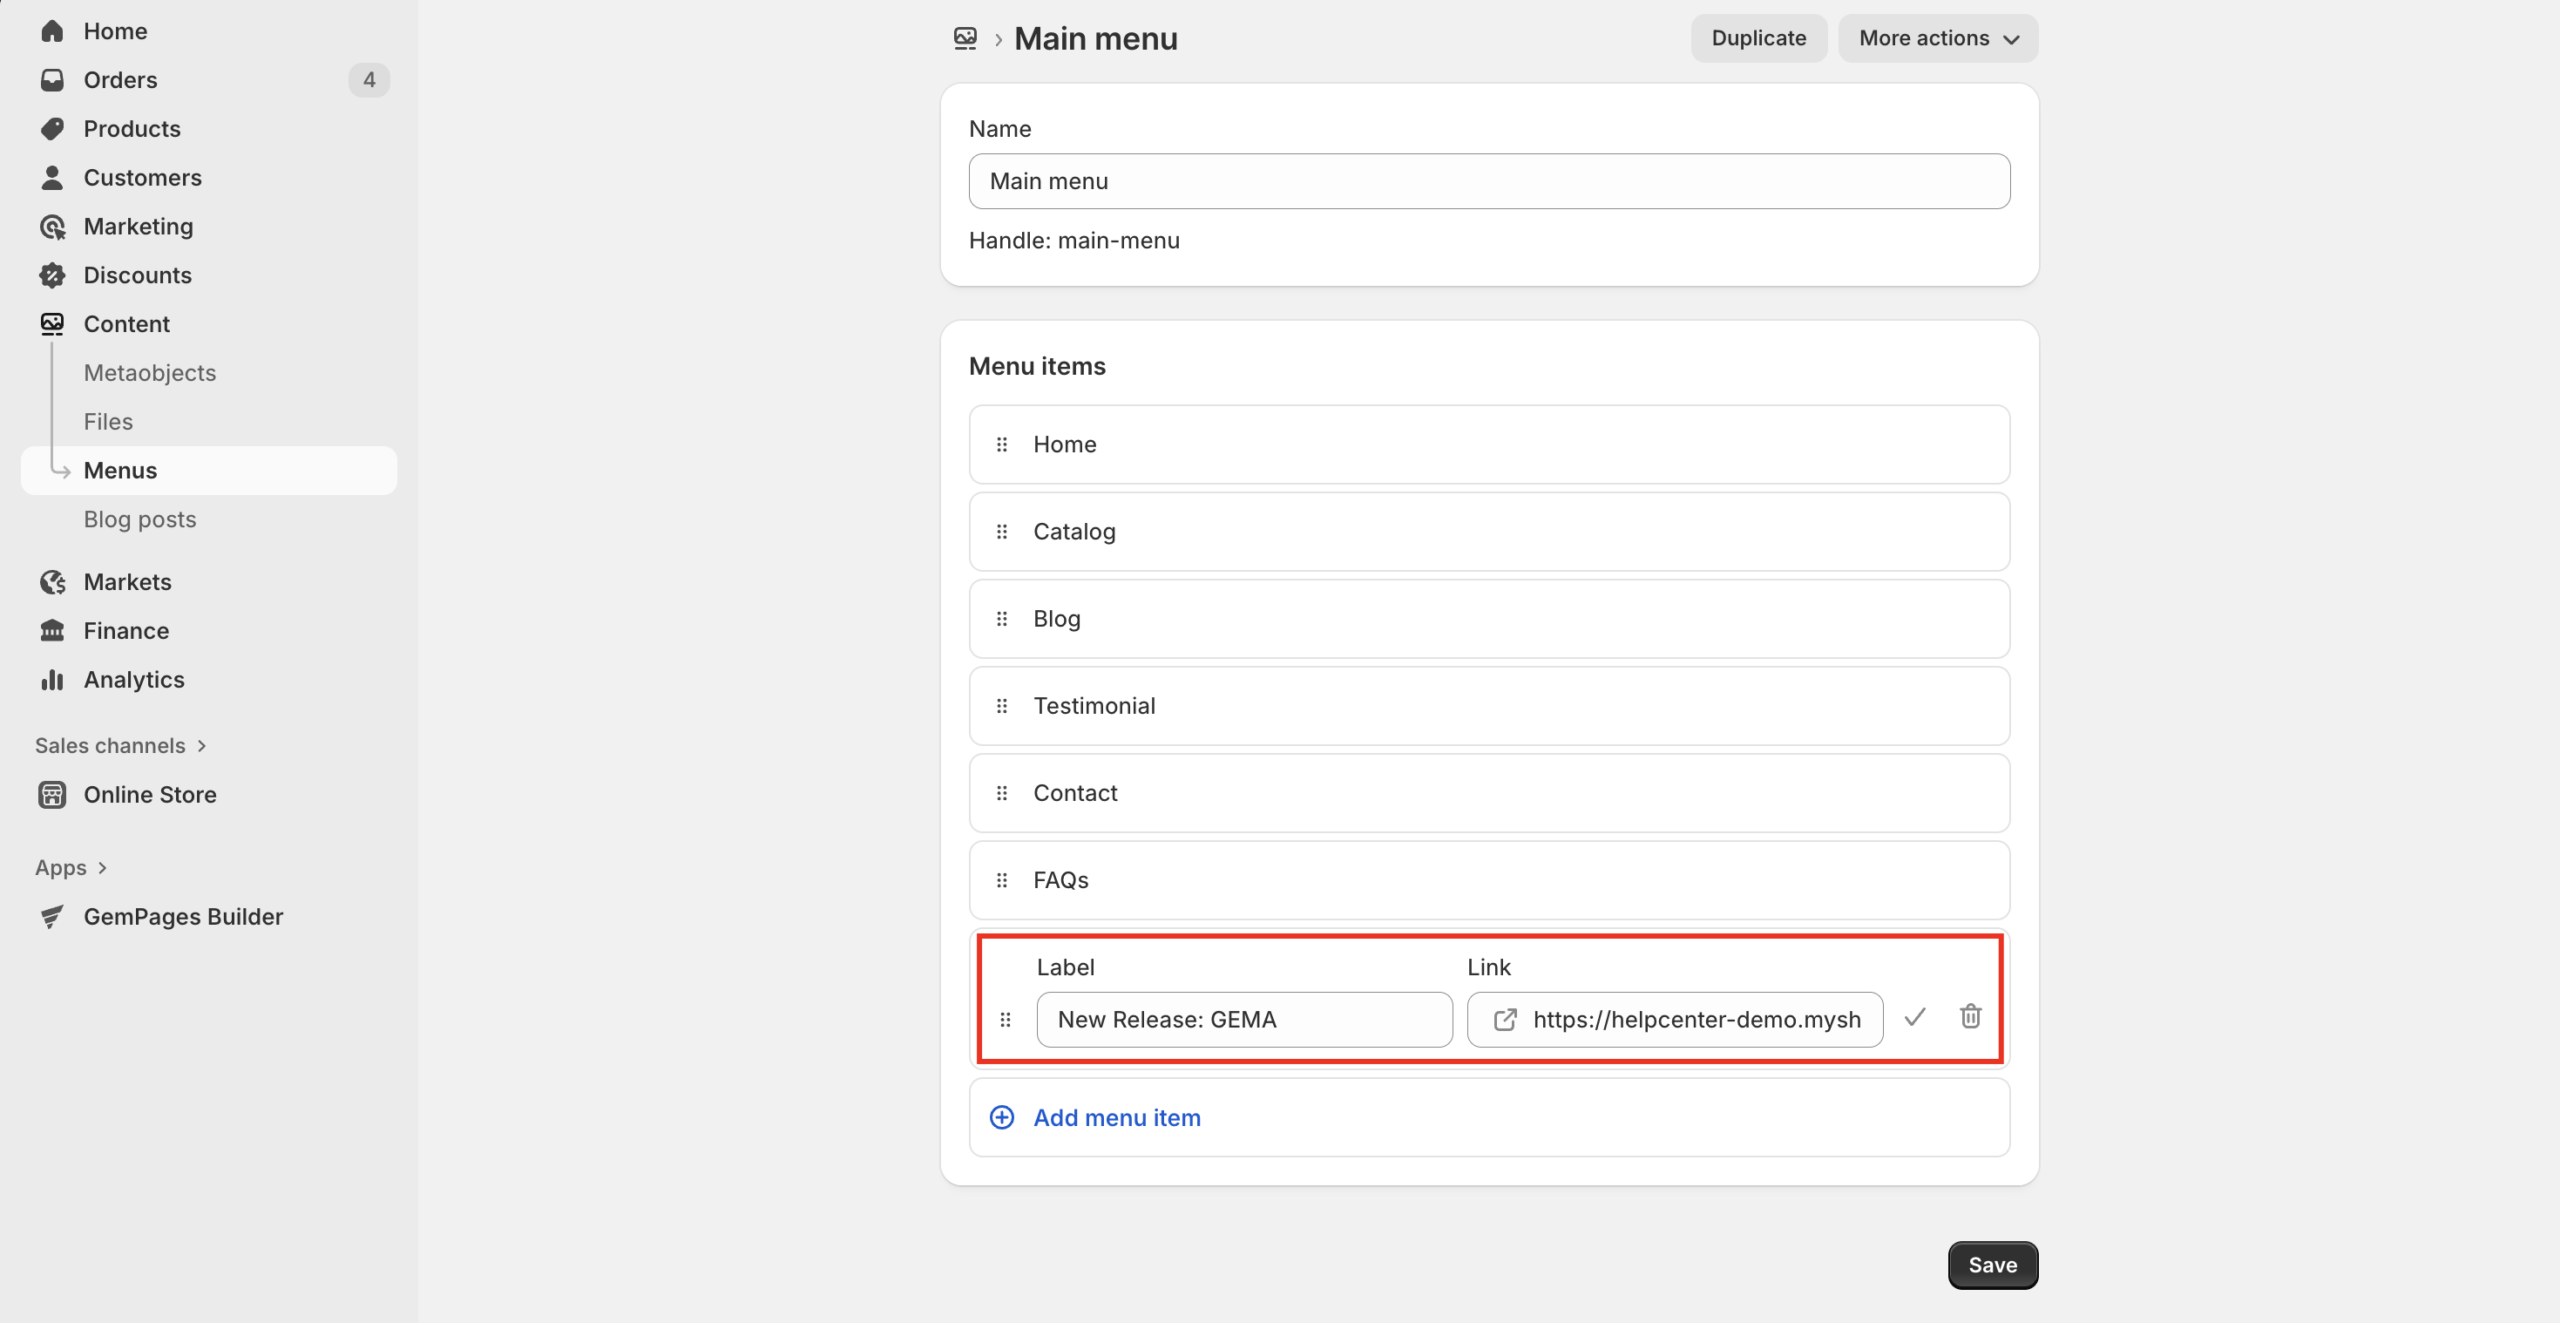
- Click Save to save your changes.
Now, your new landing page will be added to your Shopify navigation and easily accessible by shoppers.
Result:


Thank you for your comments