


What is the Product Quantity element?
The Product Quantity Element allows shoppers to specify how many units of a product they want to buy. Customers can either click the plus (+) or minus (-) buttons to increase or decrease the quantity, or they can manually type a number into the input field.
How to Add the Product Quantity Element to Your Page
Step 1: Open the Page in GemPages
First, navigate to the page where you want to add the quantity selector.
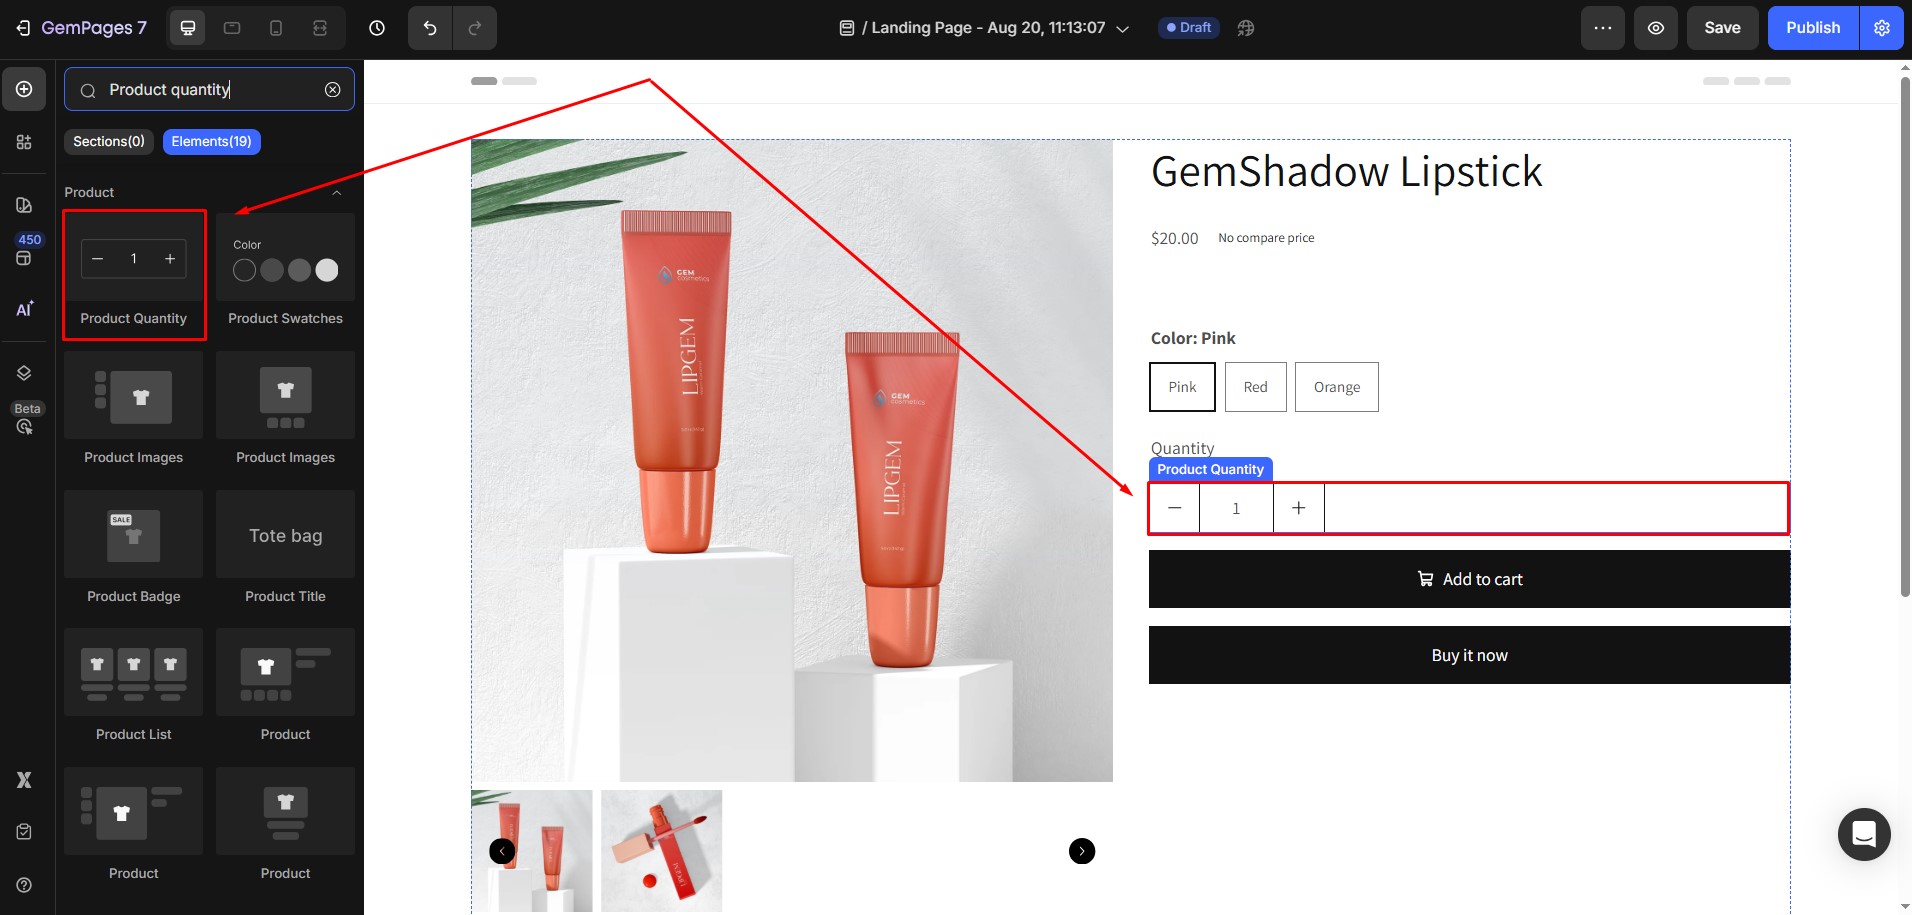
Step 2: Find and Add the Element
In the editor, use the search bar on the left-hand panel to type Product Quantity. Once you see the element appear, drag and drop it into the desired section of your design area.
Once the element is added, click on it to open the Settings panel on the left-hand side. The panel has two tabs: Settings and Advanced.
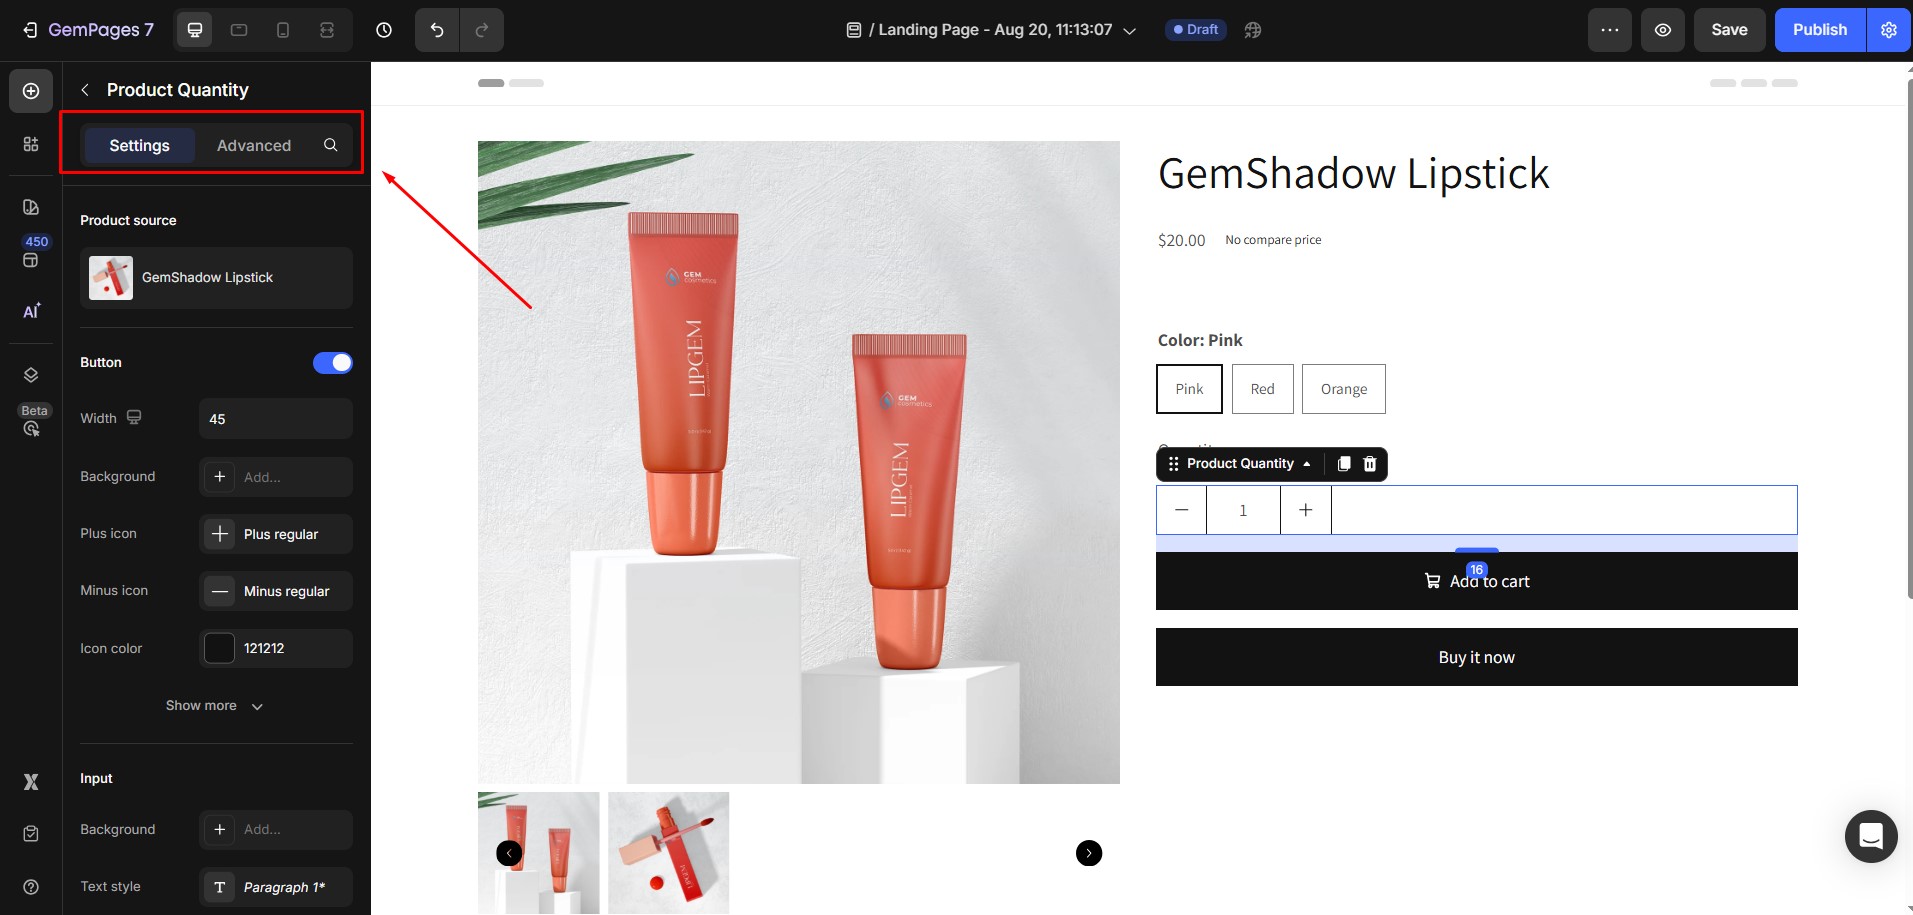
Configure the Settings Tab
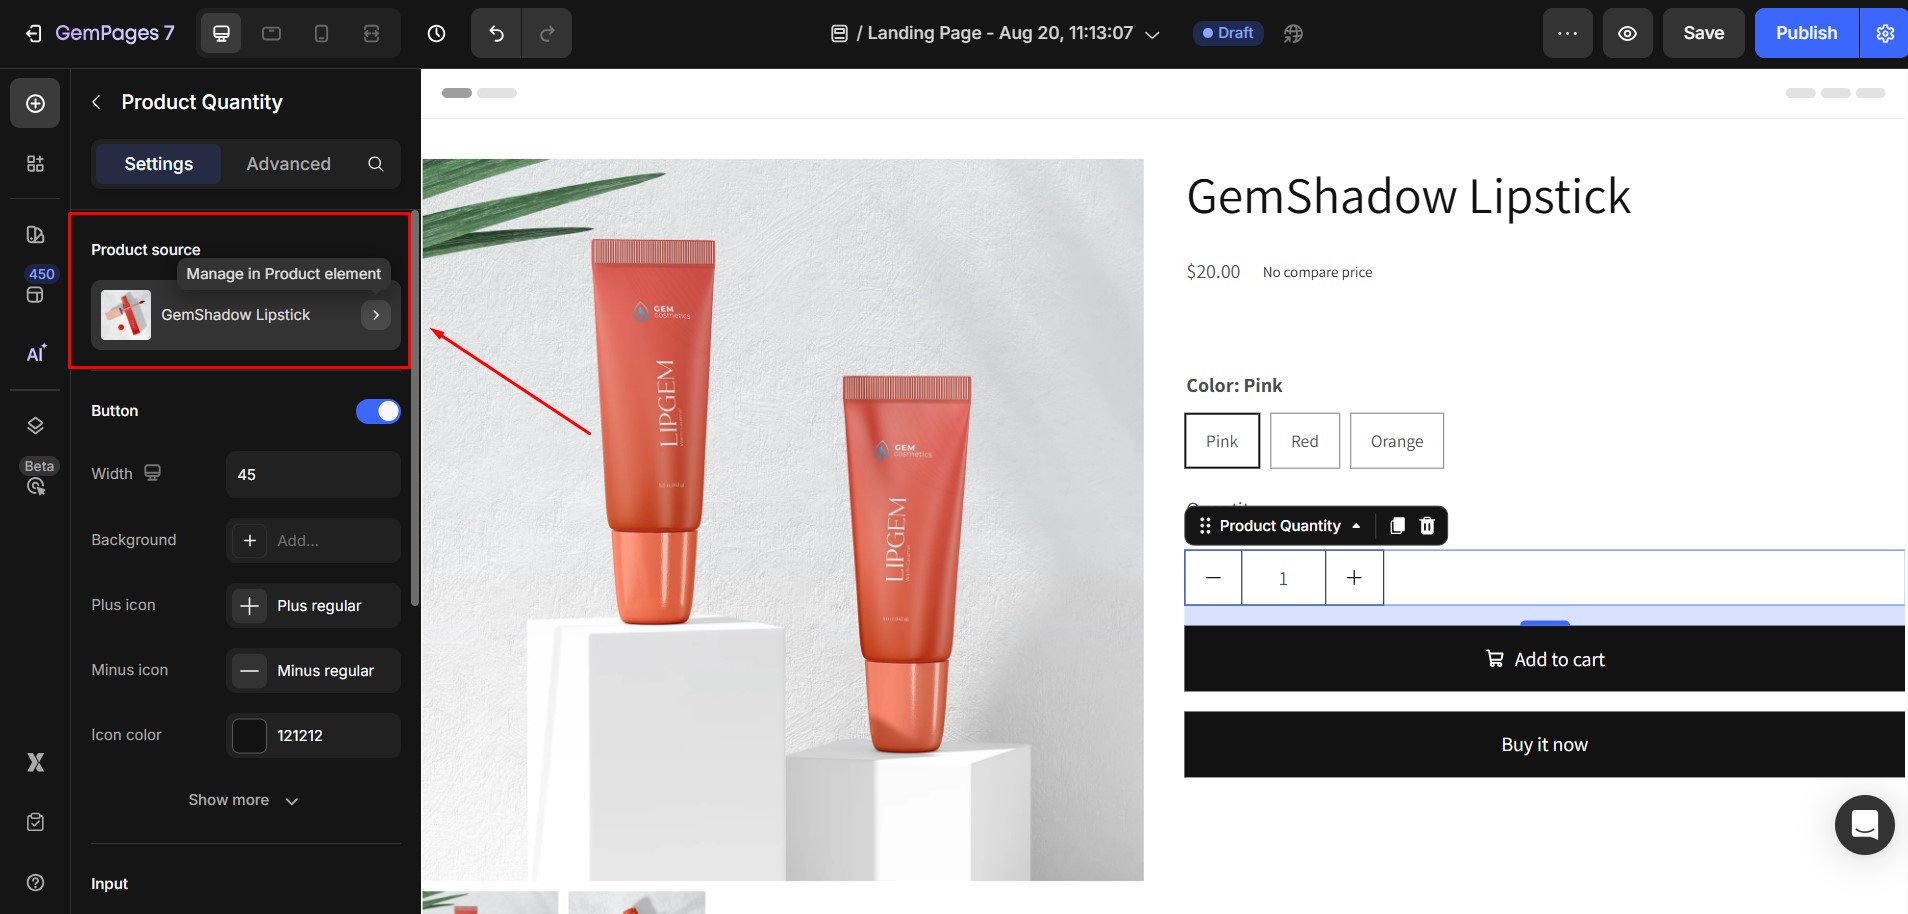
1. Product Source
Select the product that this quantity selector should apply to. This ensures the quantity updates correctly for the chosen product.
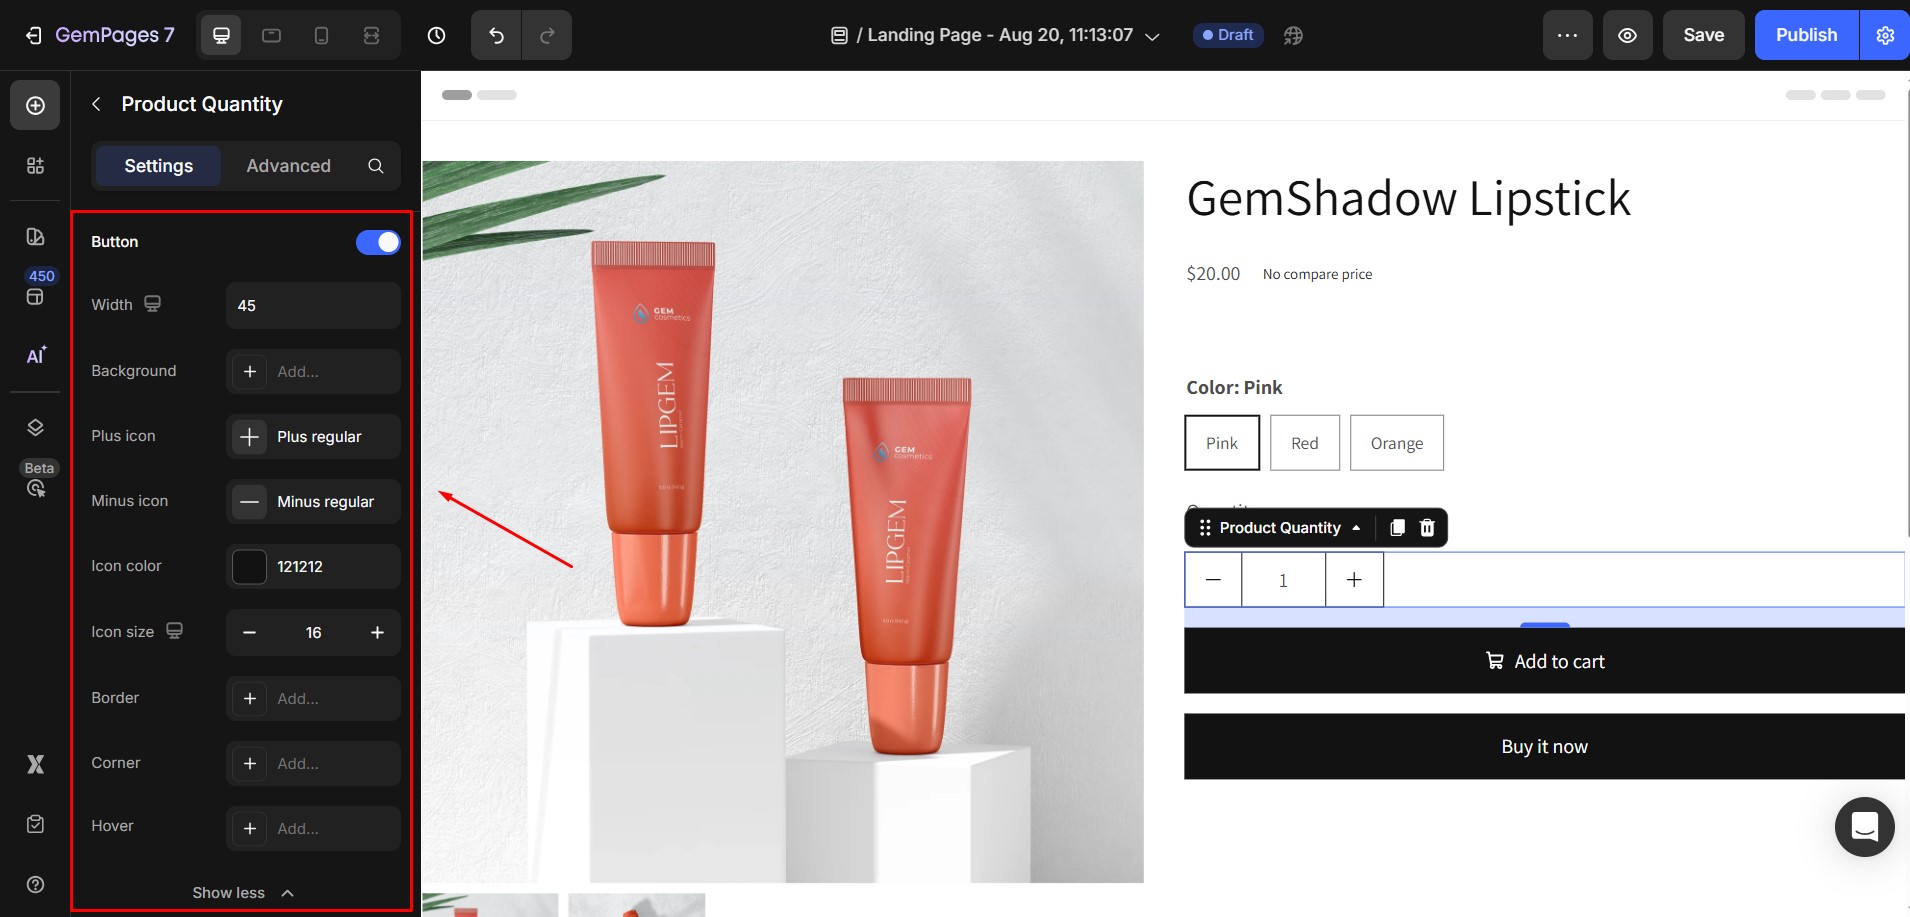
2. Button
- Width: Adjust the button width to fit your design.
- Background: Choose a solid or gradient color for the button.
- Plus Icon: Select a default icon or upload a custom icon.
- Minus Icon: Select a default icon or upload a custom icon.
- Icon Color & Size: Adjust the color and size of the icons to match your page style.
- Border & Corner: Customize the border style and corner radius.
- Hover Effect: Add visual effects when users hover over the button.
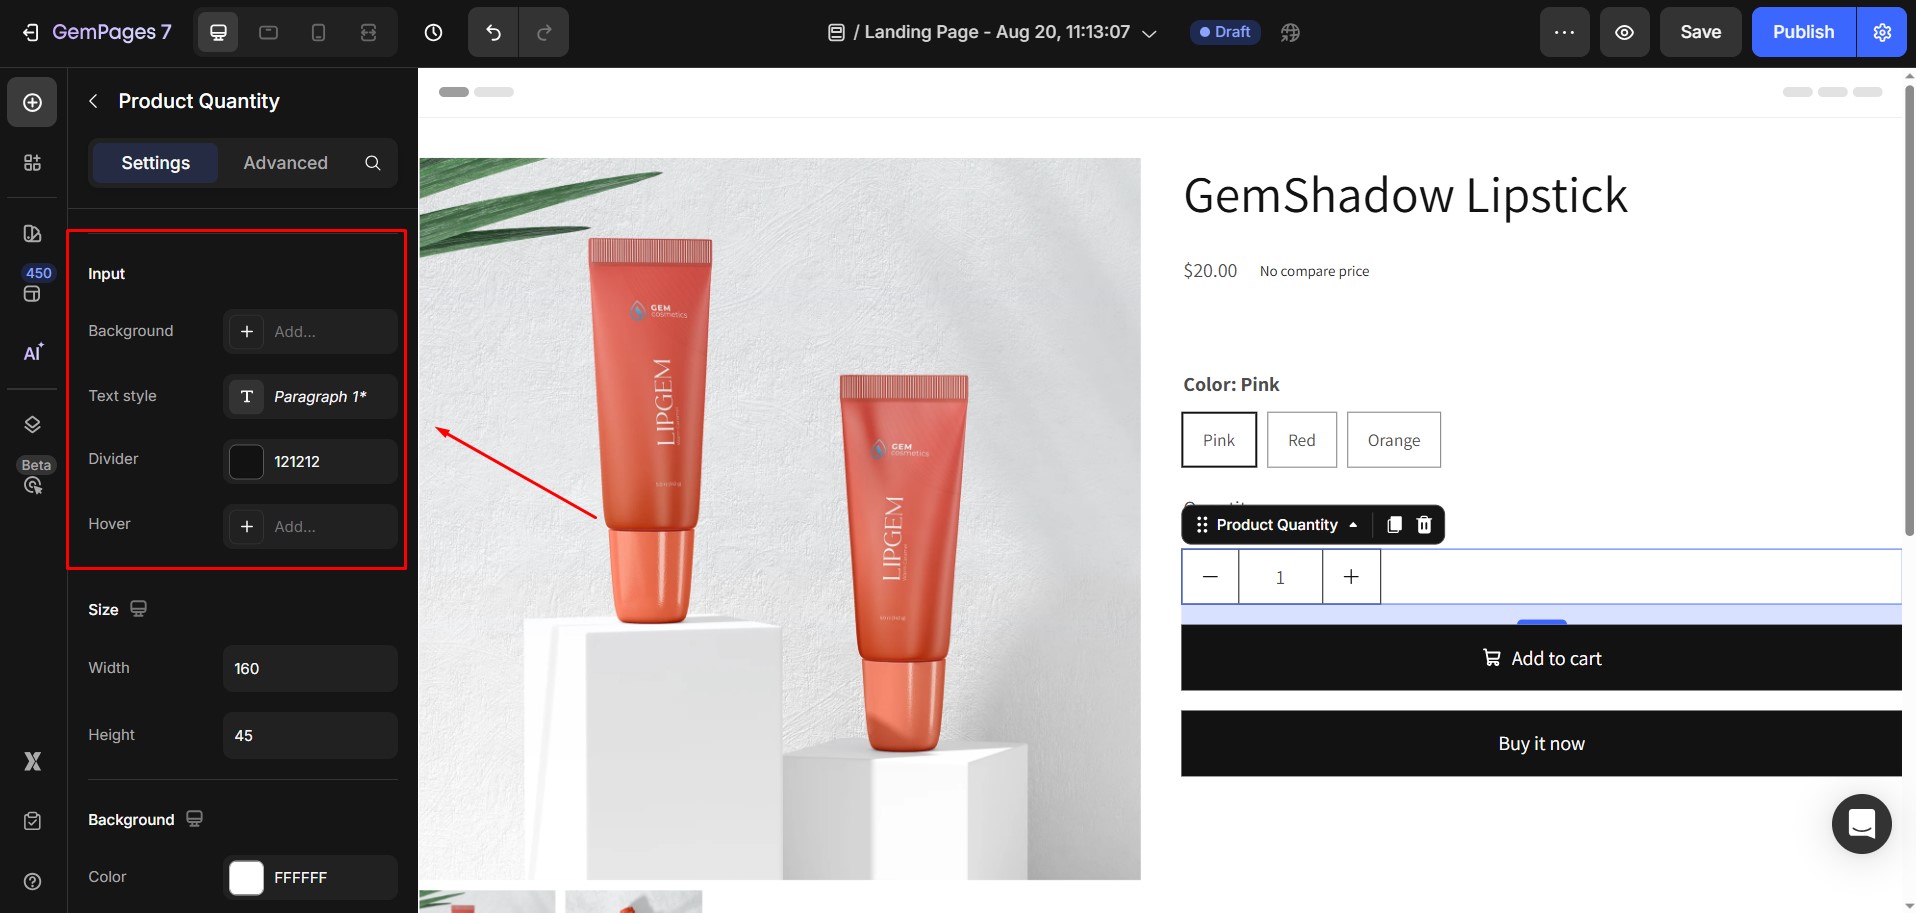
3. Input
- Background: Change the input field’s background color.
- Text Styles: Choose from 3 paragraph styles and 6 heading styles for the input text.
- Divider: Set the color and thickness of the divider between buttons and the input field.
- Hover Effect: Apply a visual effect when hovering over the input field.
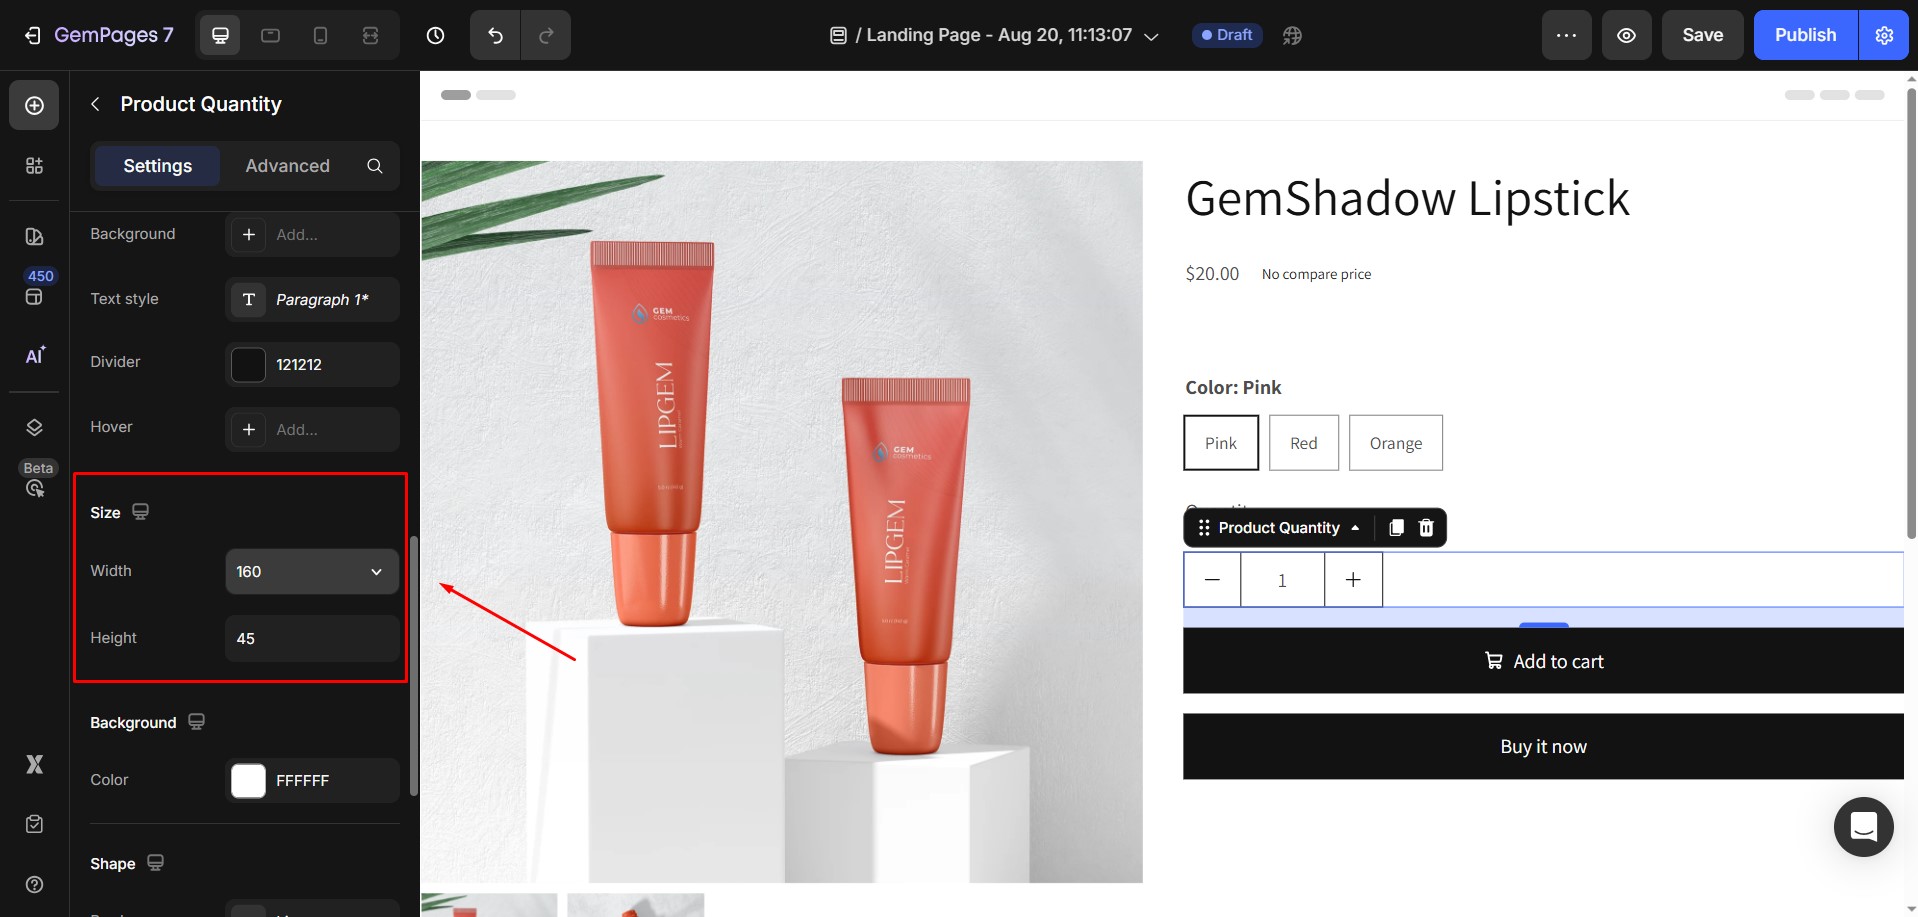
4. Size
Adjust the width & height of the element.
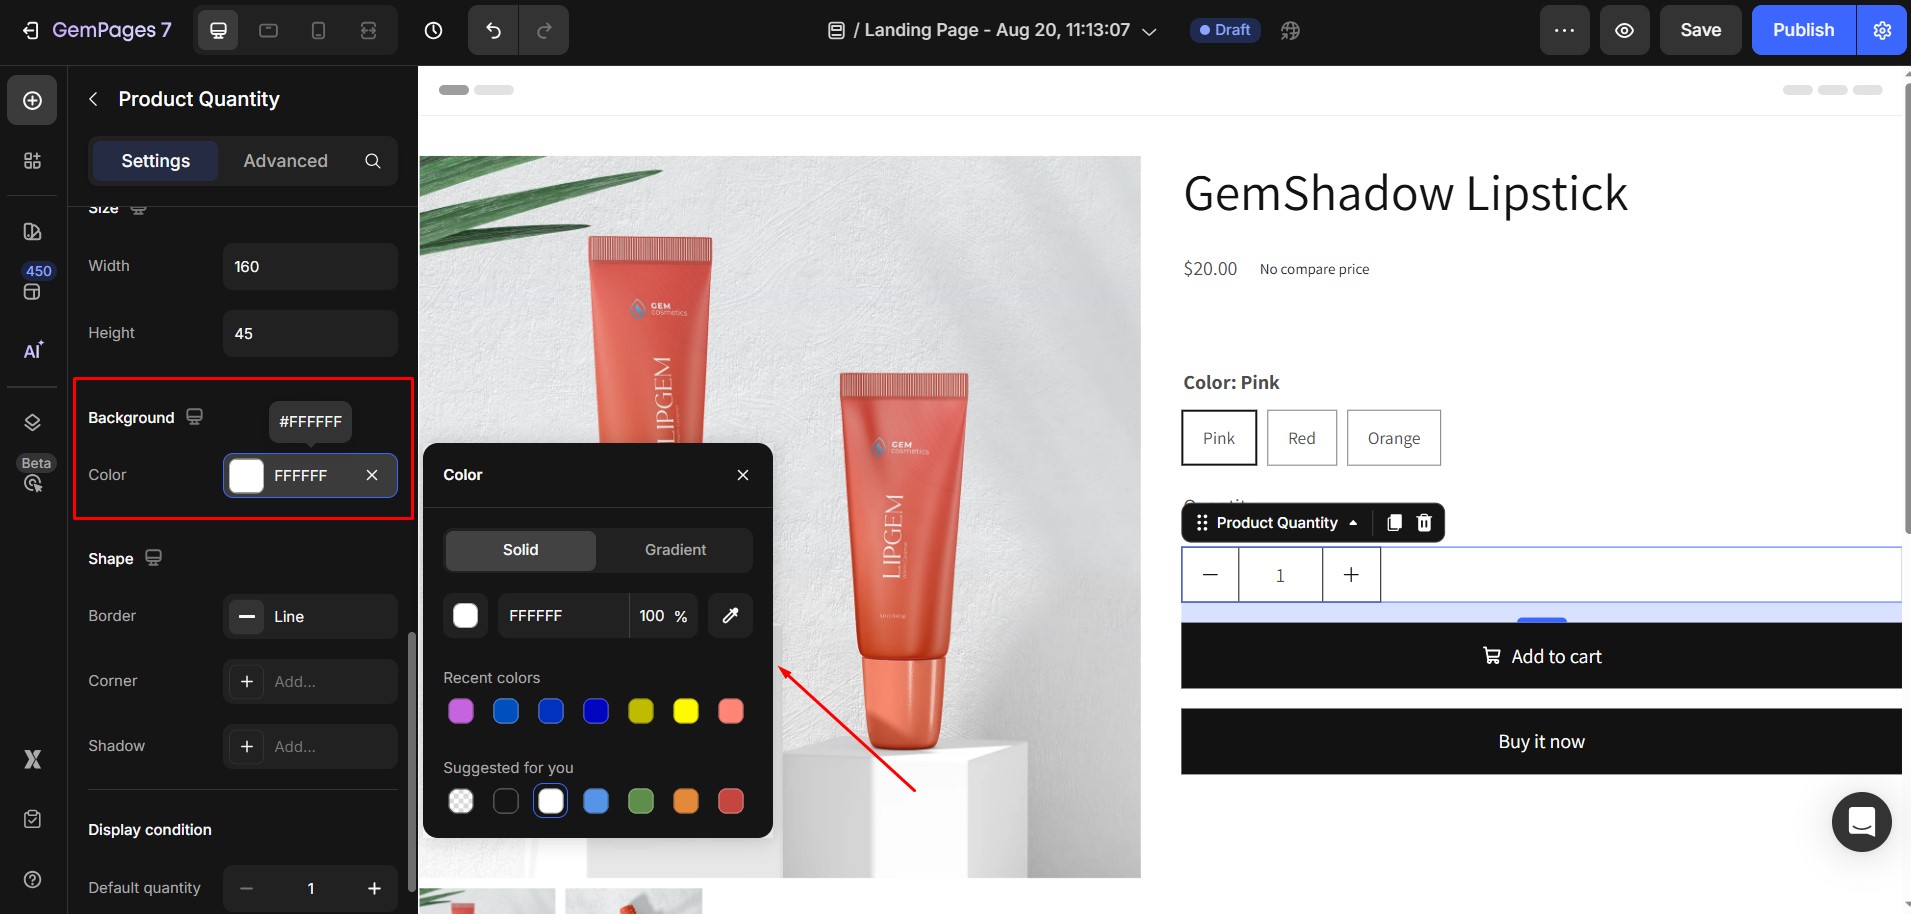
5. Background
Change the element background color.
6. Shape
Adjust the outer shape of the element:
- Border
- Corner
- Shadow
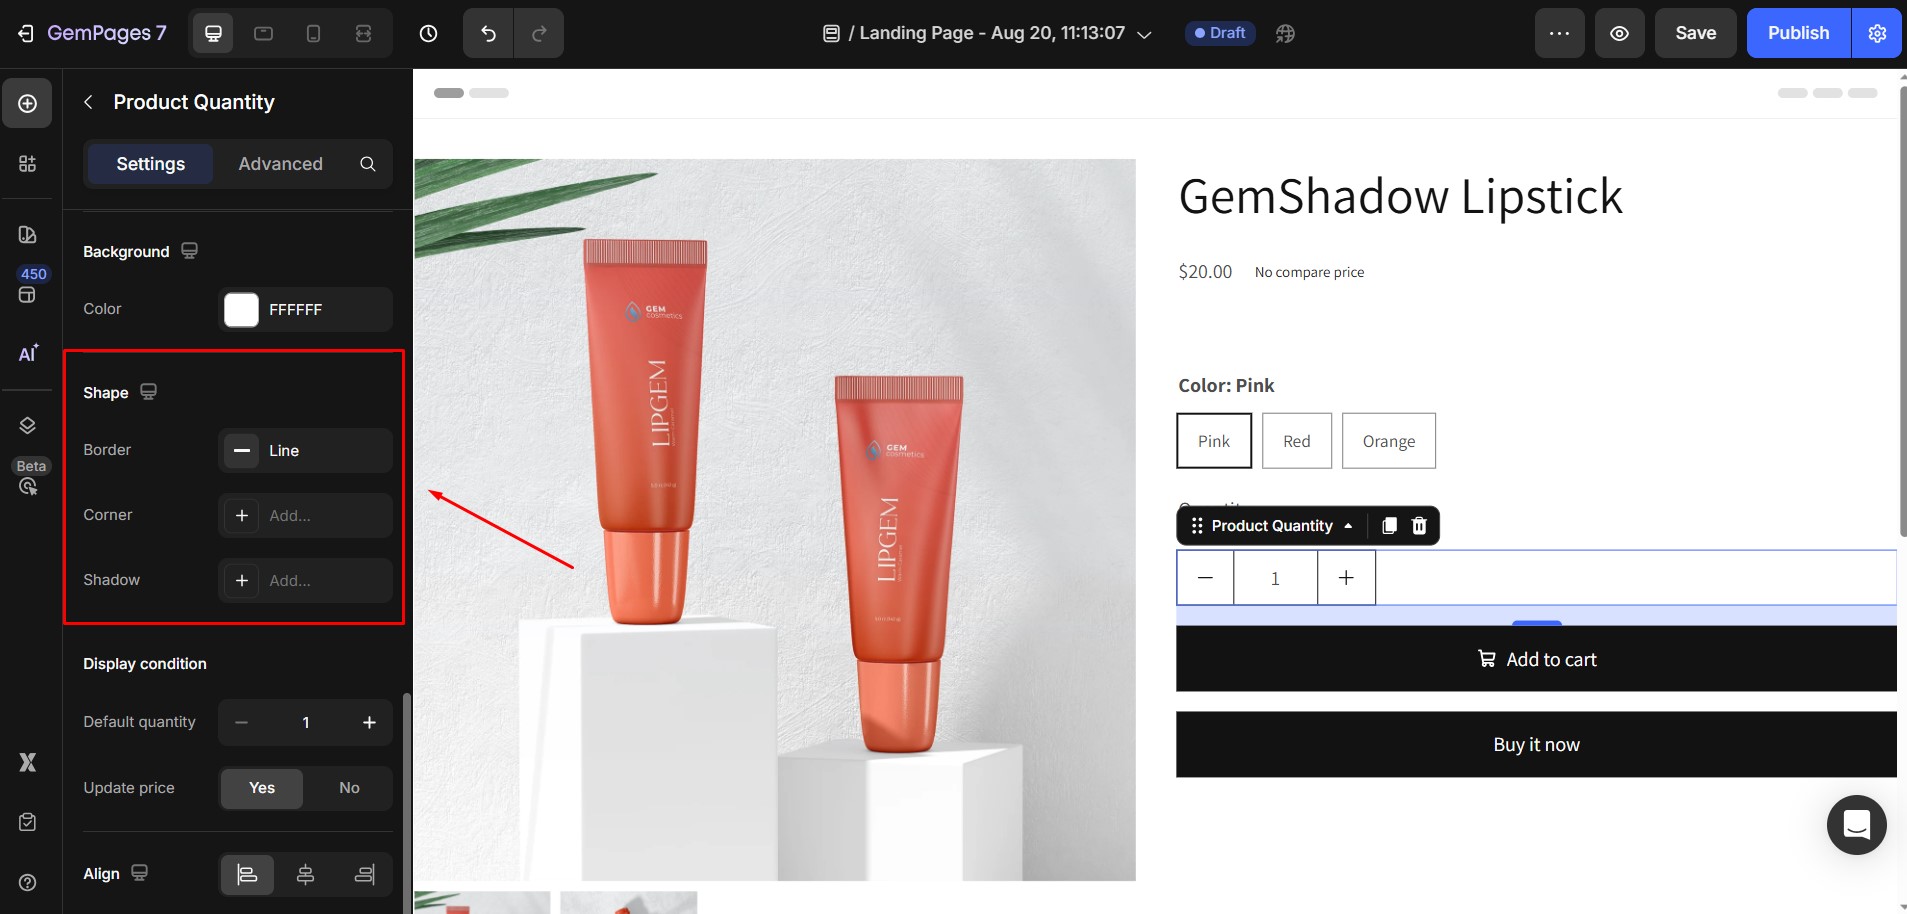
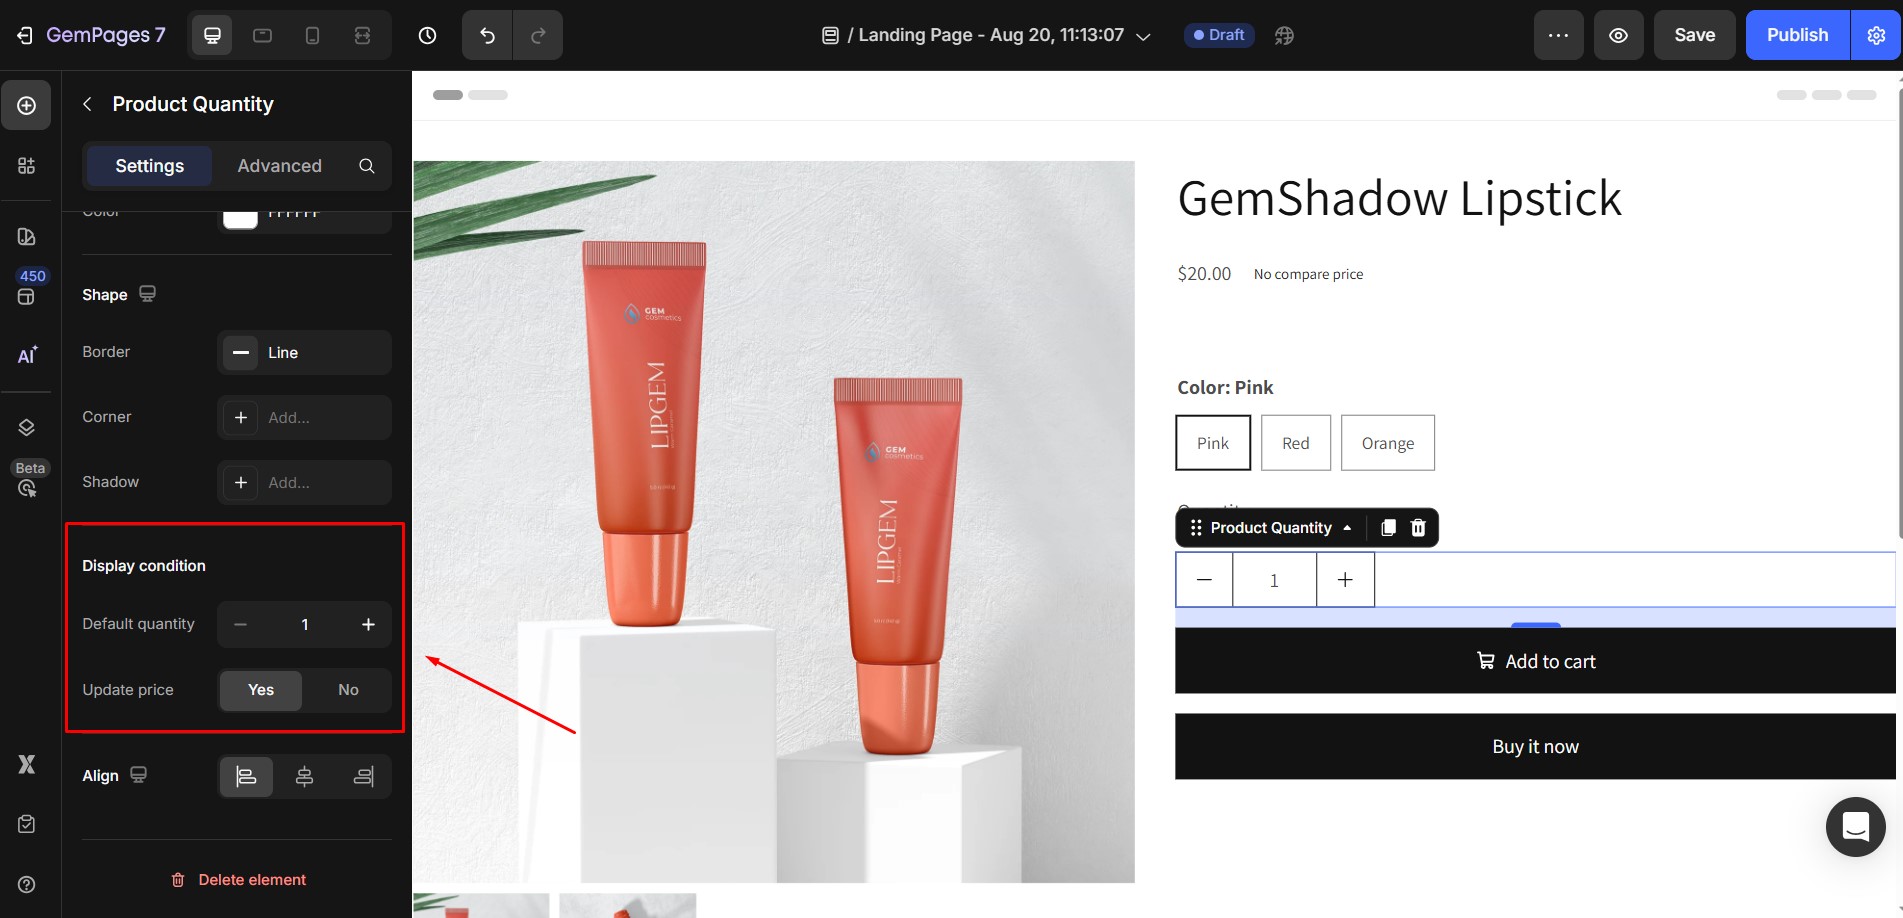
7. Display condition
- Default quantity: Sets the starting number shown for the quantity.
- Update price: Total price updates when quantity change.
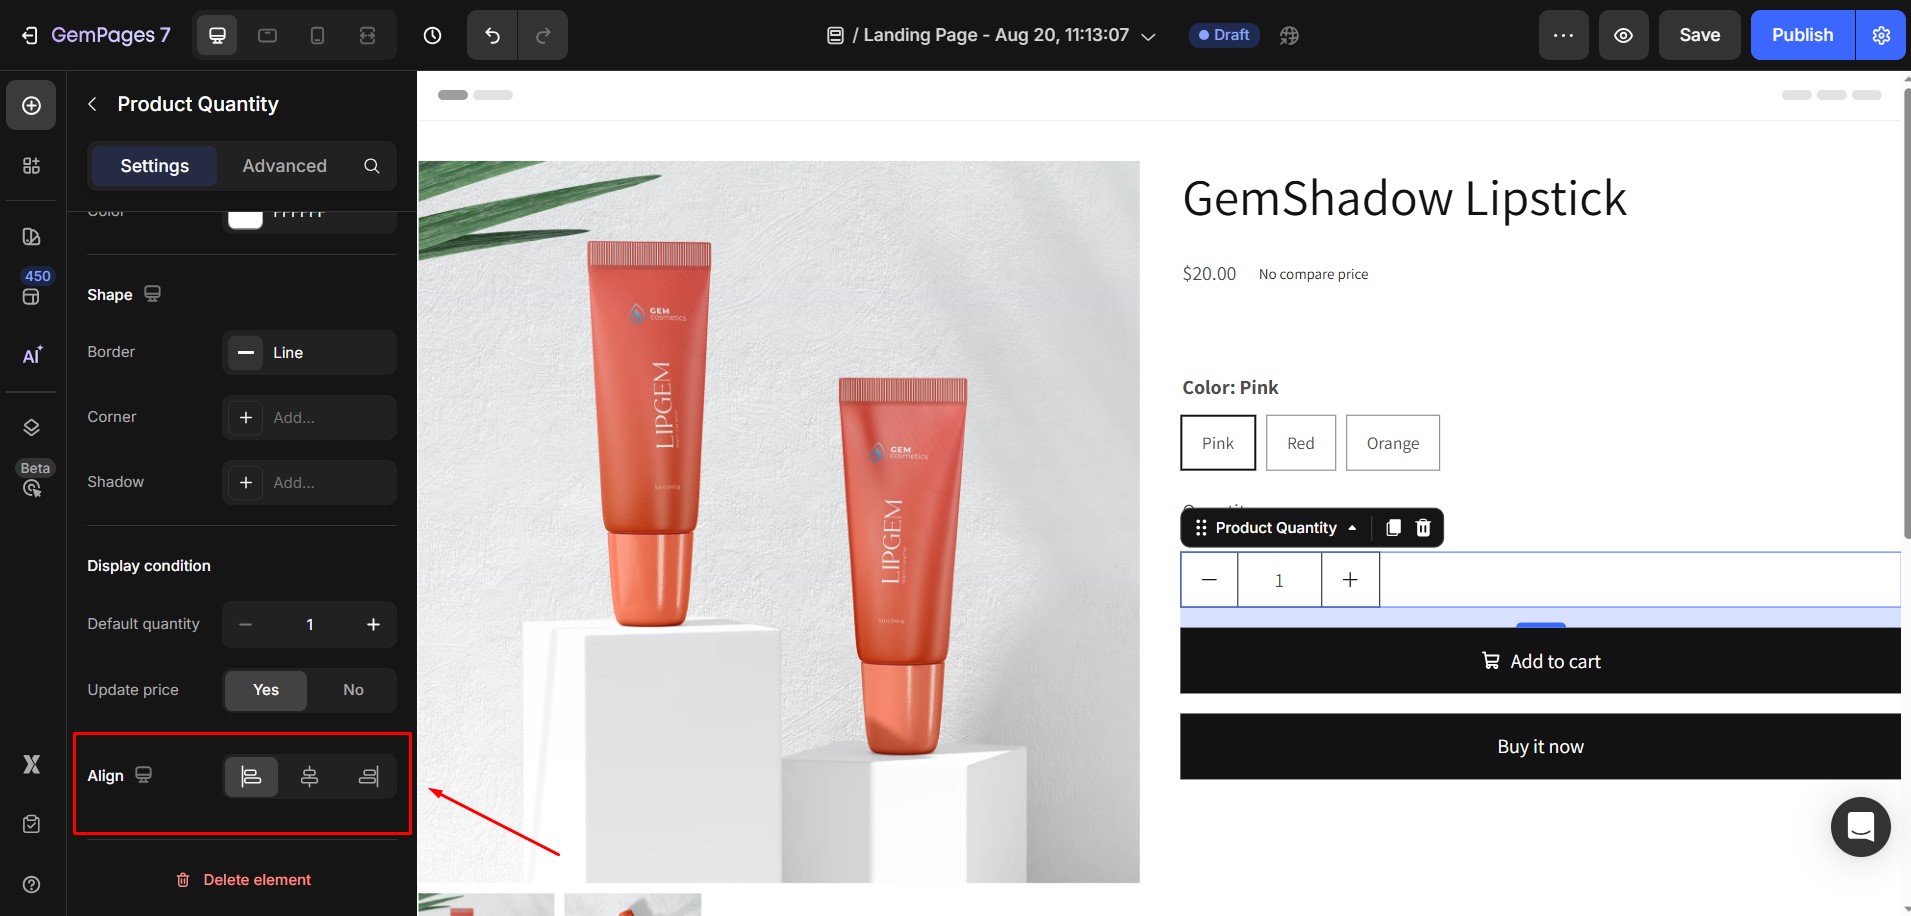
8. Align
- Alignment will be disabled when Width of Button is 100%
- If not, default alignment options is align Left.
Configure the Advanced Tab
For more advanced customization, please navigate to the Advanced tab and follow the instructions in this article.


Thank you for your comments