


Whether you’re launching a new campaign or redesigning your storefront, being able to set a GemPages page as the default ensures your visitors see the right content — exactly where you want it.
What Does “Set Default Page” Mean in GemPages?
When you set a page as default in GemPages, you’re telling Shopify to use that page as the main version for its respective type — such as your Homepage, Product Page, or Collection Page.
This means:
- For Homepages: It’s the first page visitors see.
- For Product or Collection pages: It’s the layout applied to all or selected items.
- For Landing pages and blog posts: You can link them manually to your store navigation.
How to Create a New Page in Shopify with GemPages
Before you can set a page as default, make sure that you’ve already have pages created with GemPages. If you don’t have, follow these steps:
Step 1: Go to Shopify Admin > Apps and select GemPages Builder to access GemPages Dashboard.
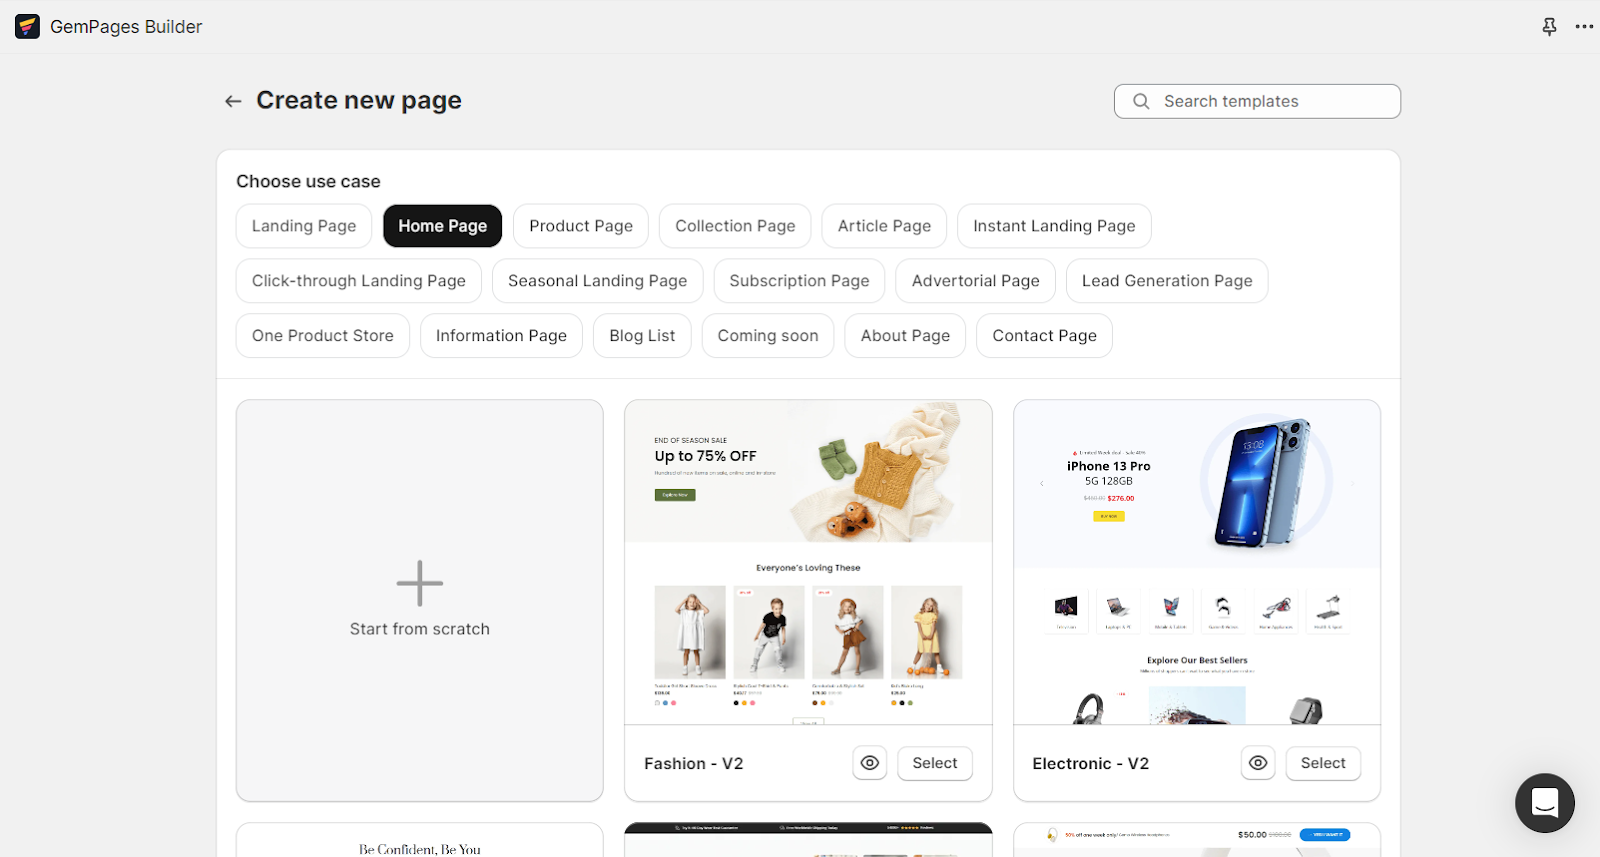
Step 2: Click the “Create New Page” button to find all the options to begin crafting a page based on your specific goal.
Pick a use case from the options listed at the top, and the suggested templates tailored to that purpose will be displayed. You can preview and choose your preferred template to save time.
Alternatively, you can start with a blank page by clicking “Start from scratch”.
Step 3: Customize your page design using drag and drop editor.
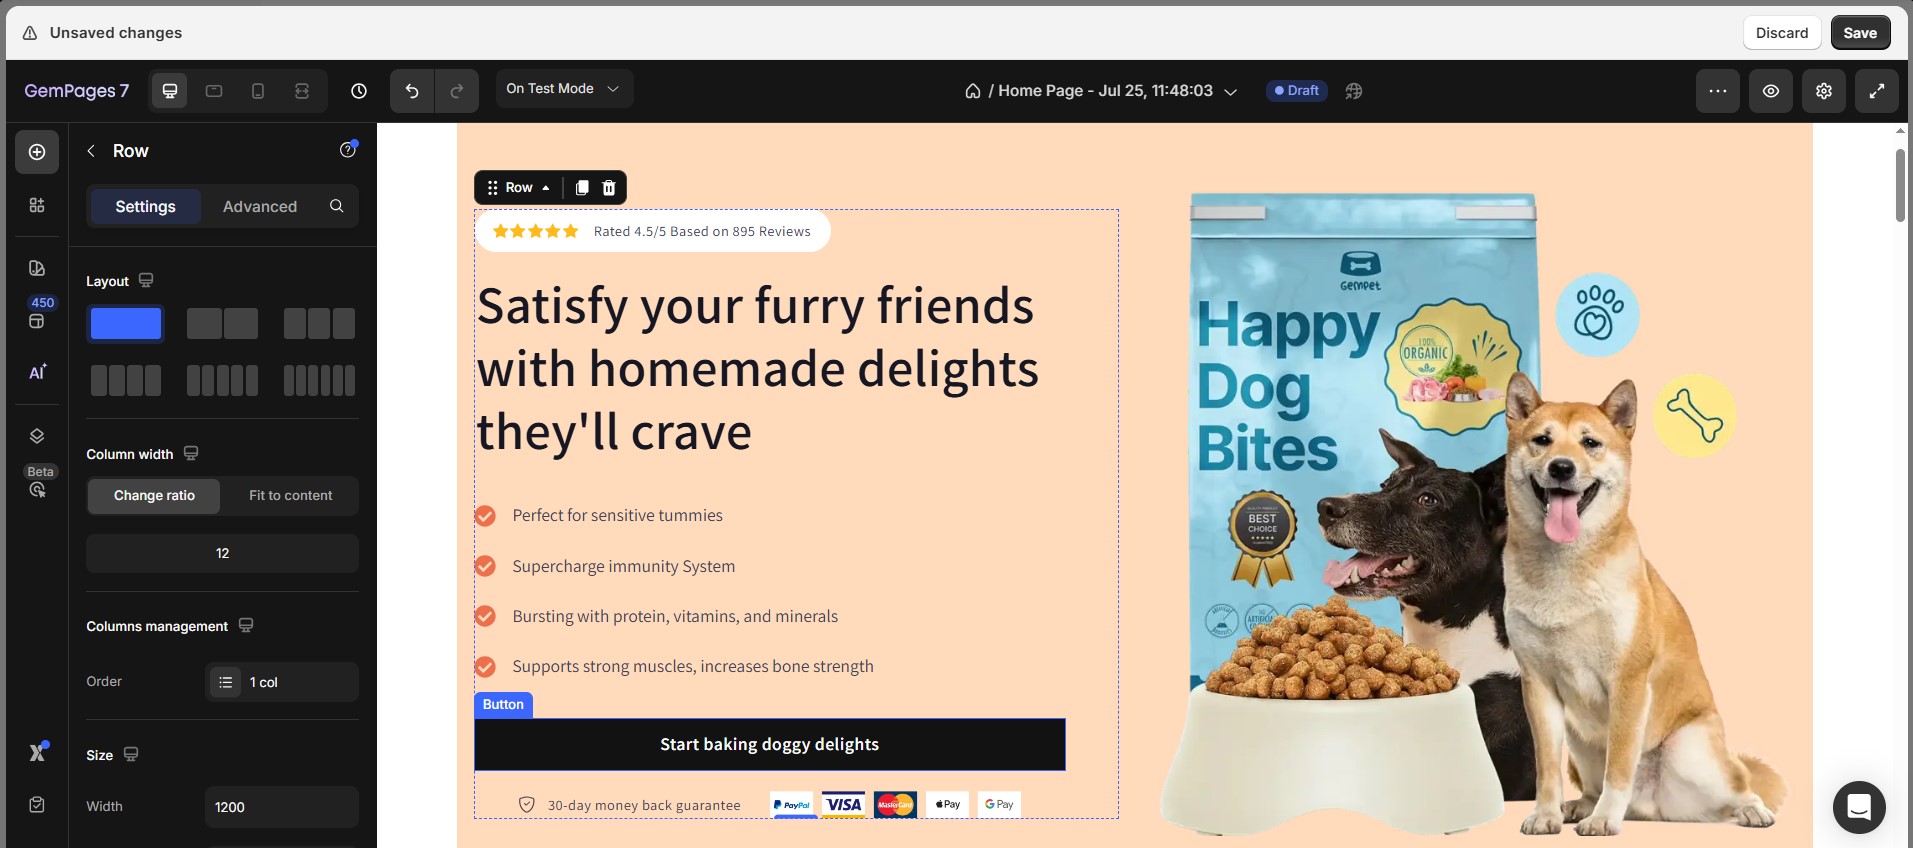
Once you’ve completed your page design, remember to click on “Save” and “Publish” to make it live. Afterward, please proceed with the steps to swap it with the default page provided by Shopify.
How to Set a GemPages Page as the Default
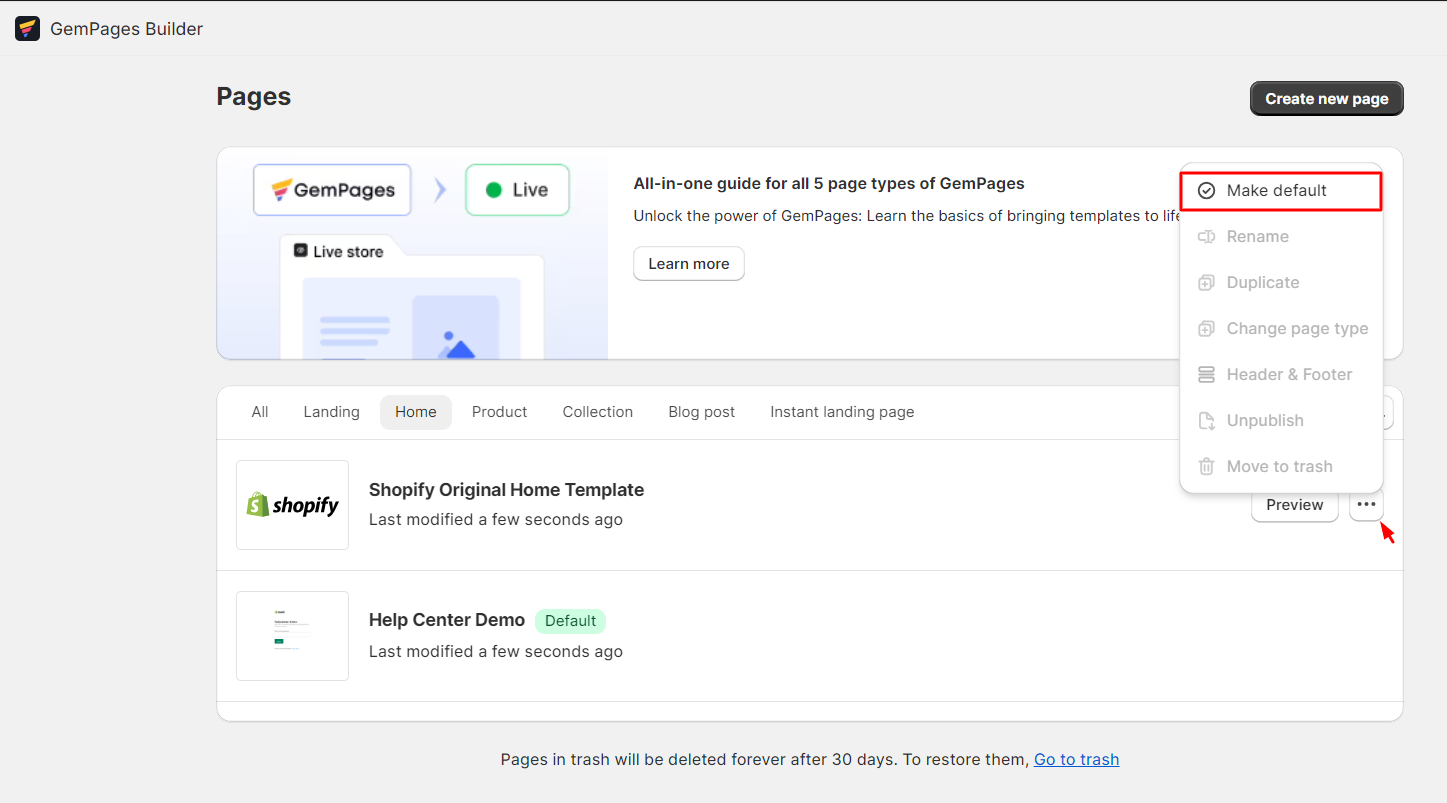
Set Default Homepage
To make your custom GemPages homepage the default:
Step 1: Go to Shopify Admin > Apps and select GemPages Builder to access GemPages Dashboard.
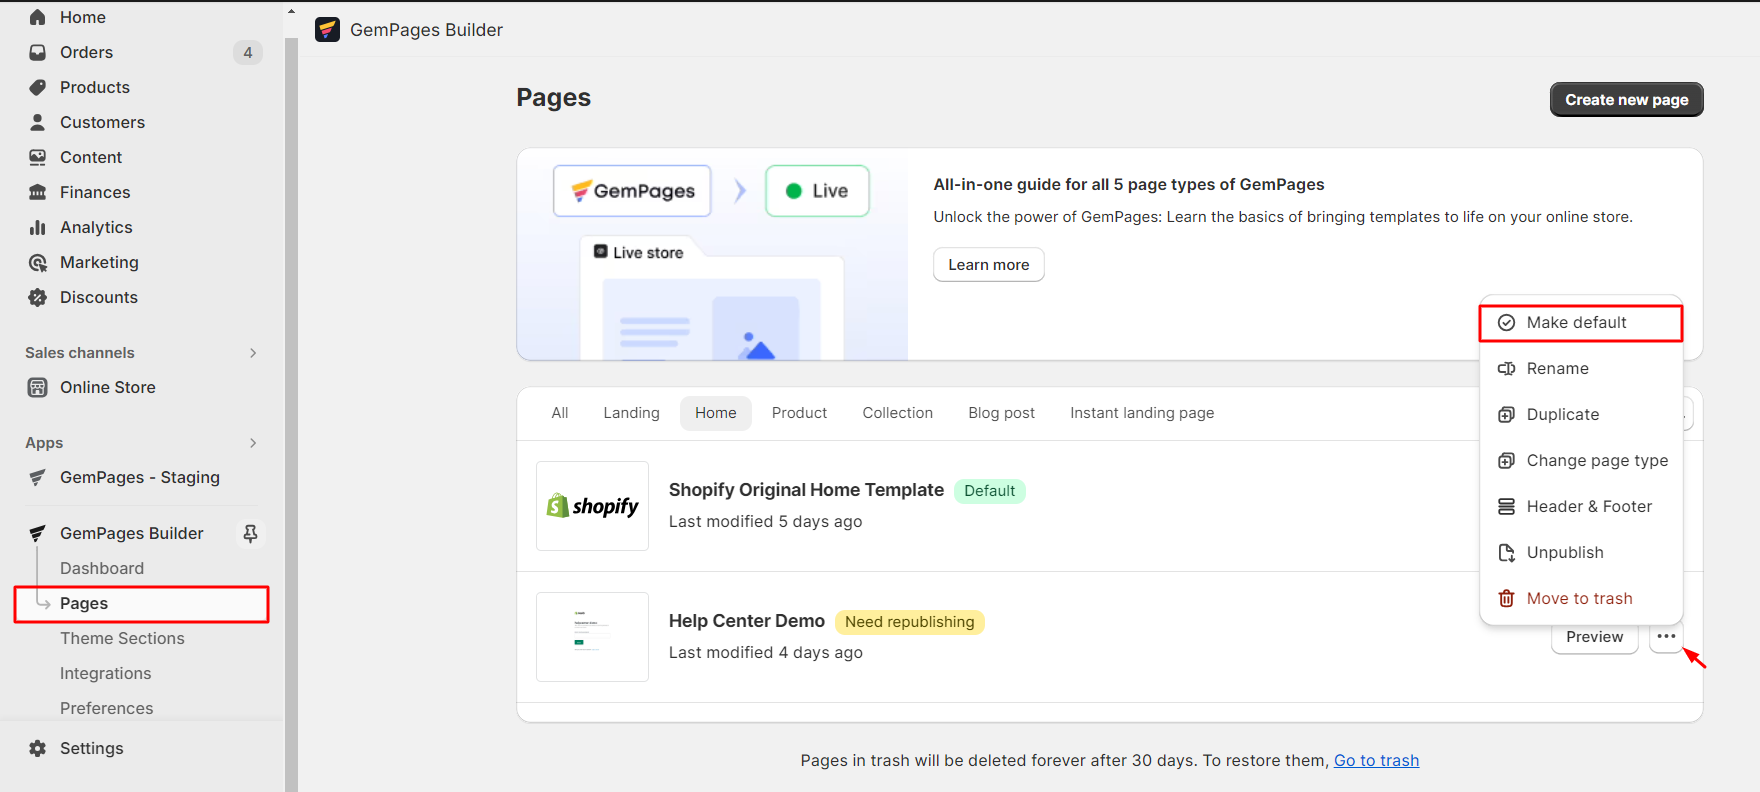
Step 2: Navigate to the Page section. Select the Home page type and find your preferred template.
Step 3: Click on the three-dot button next to the template name. Choose “Makedefault”.
To undo changes and go back to the Shopify default homepage:
Step 1: Go to Shopify Admin > Apps and select GemPages Builder to access GemPages Dashboard.
Step 2: Navigate to the Page section. Select the Home page type and find the Shopify Default Template template, which is always at the top of your list.
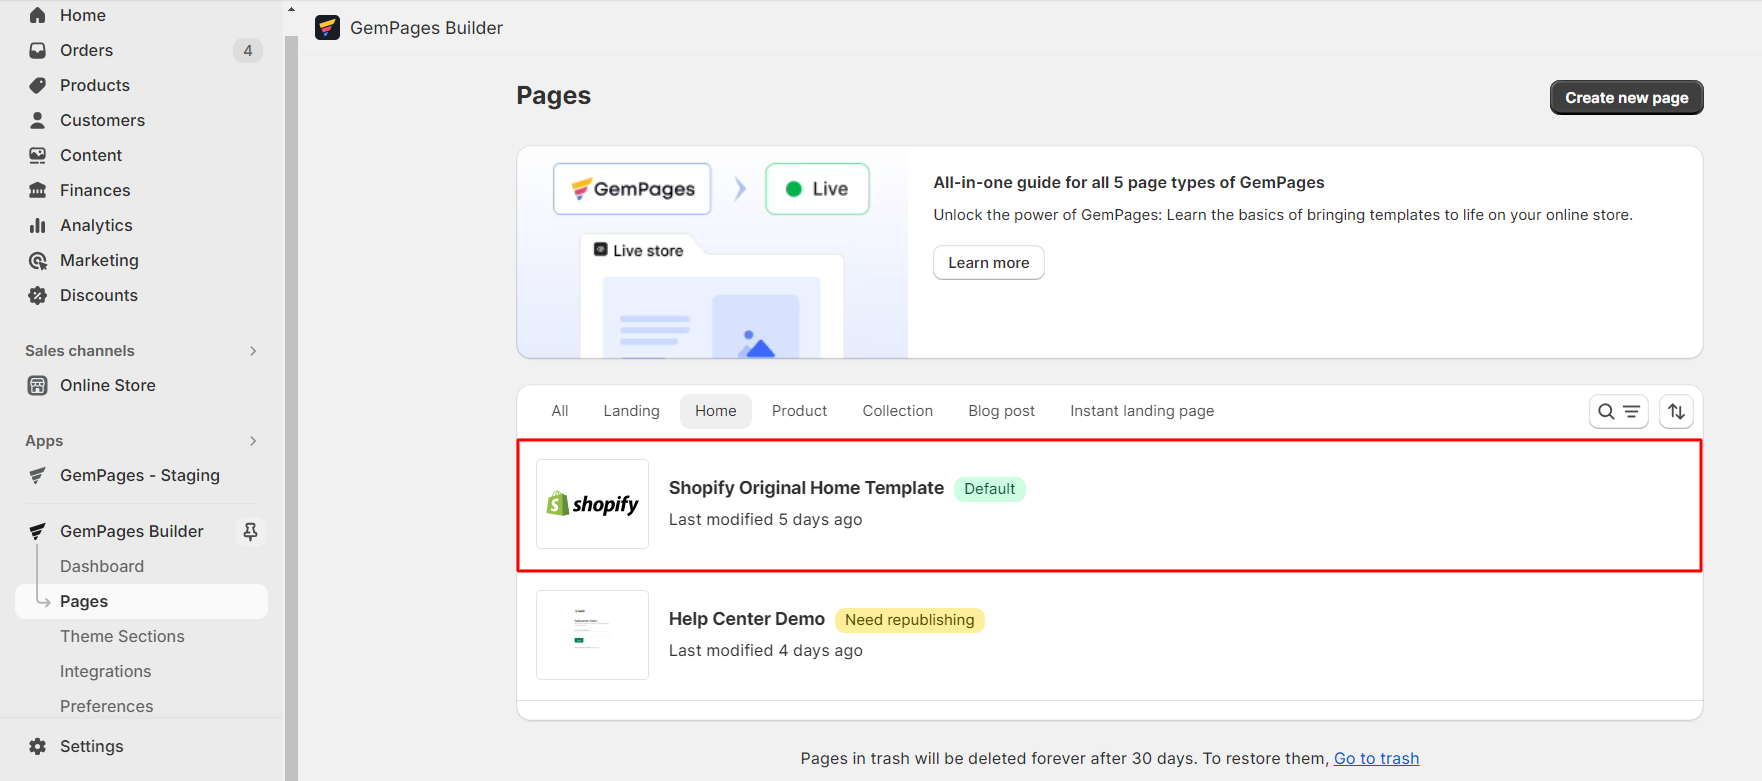
Step 3: Hover over the Shopify template, hit the three-dot button, and select “Make Default”.
Set Default Product Page
GemPages gives you two options for Product Pages:
- Apply one layout to all products.
- Assign specific templates to individual products.
To set a template as the default for all products:
Step 1: Go to Shopify Admin > Apps and select GemPages Builder to access GemPages Dashboard.
Step 2: Navigate to the Page section. Select the Product page type and locate your preferred template.
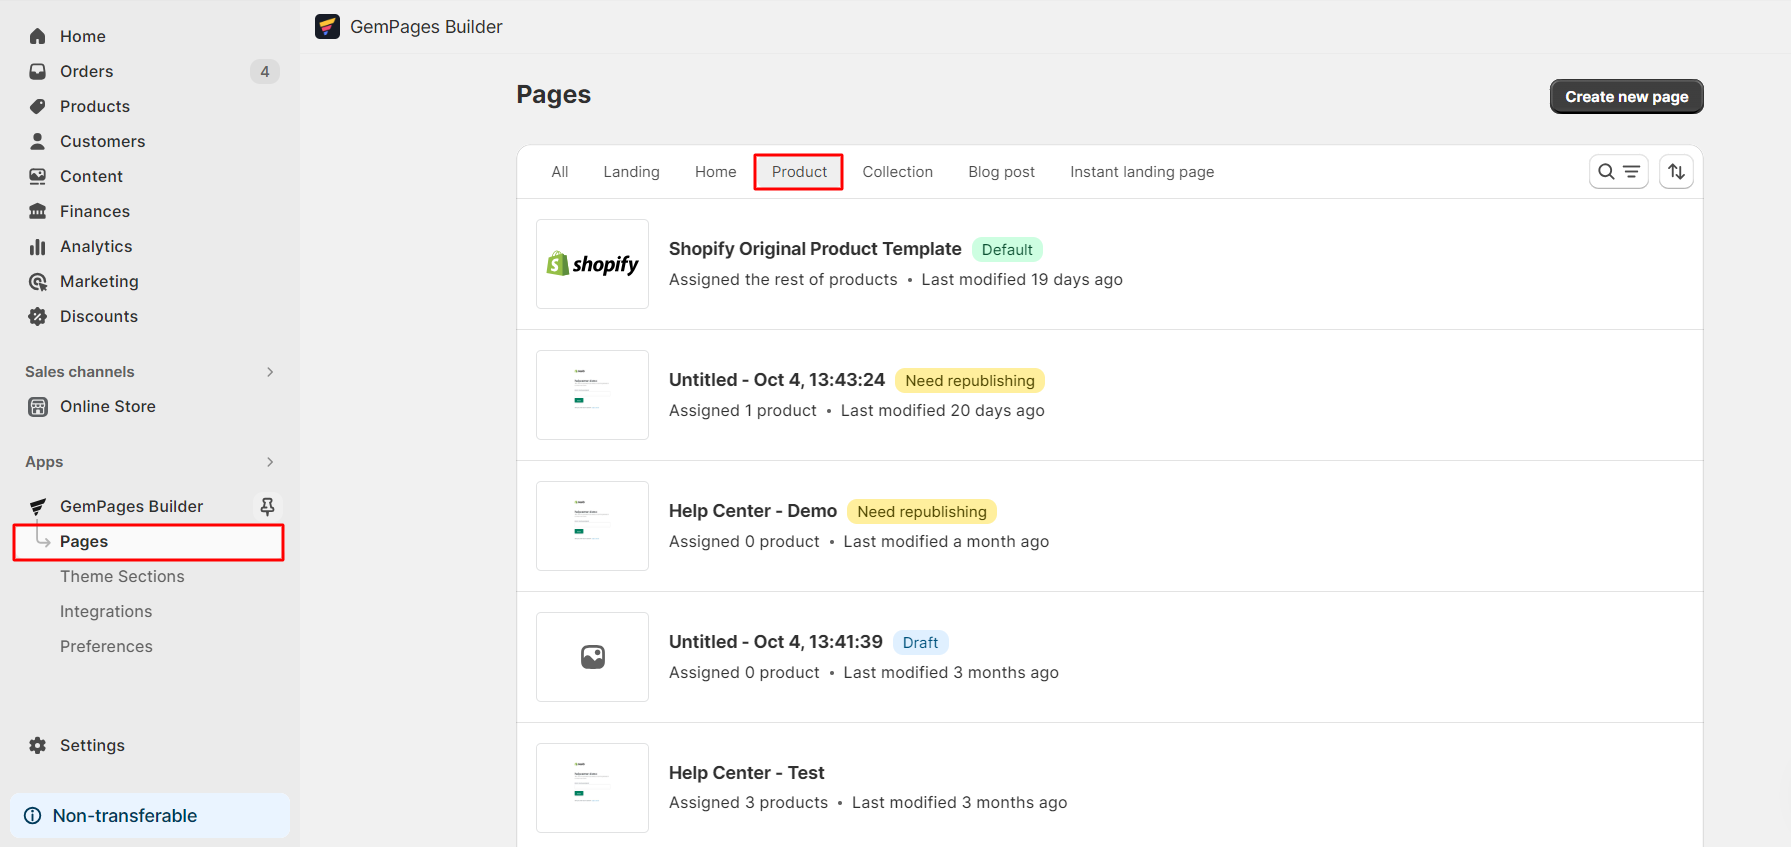
Step 3: Click on the three-dot button next to the template name. Choose “Make default”.

Step 4: Click on “Confirm.”
To Assign Template to Specific Products
Step 1: From the GemPages Dashboard, navigate to the Page section. Select the Product page type and locate your preferred template.
Step 2: Click the “Assign Product” button beside the template name.
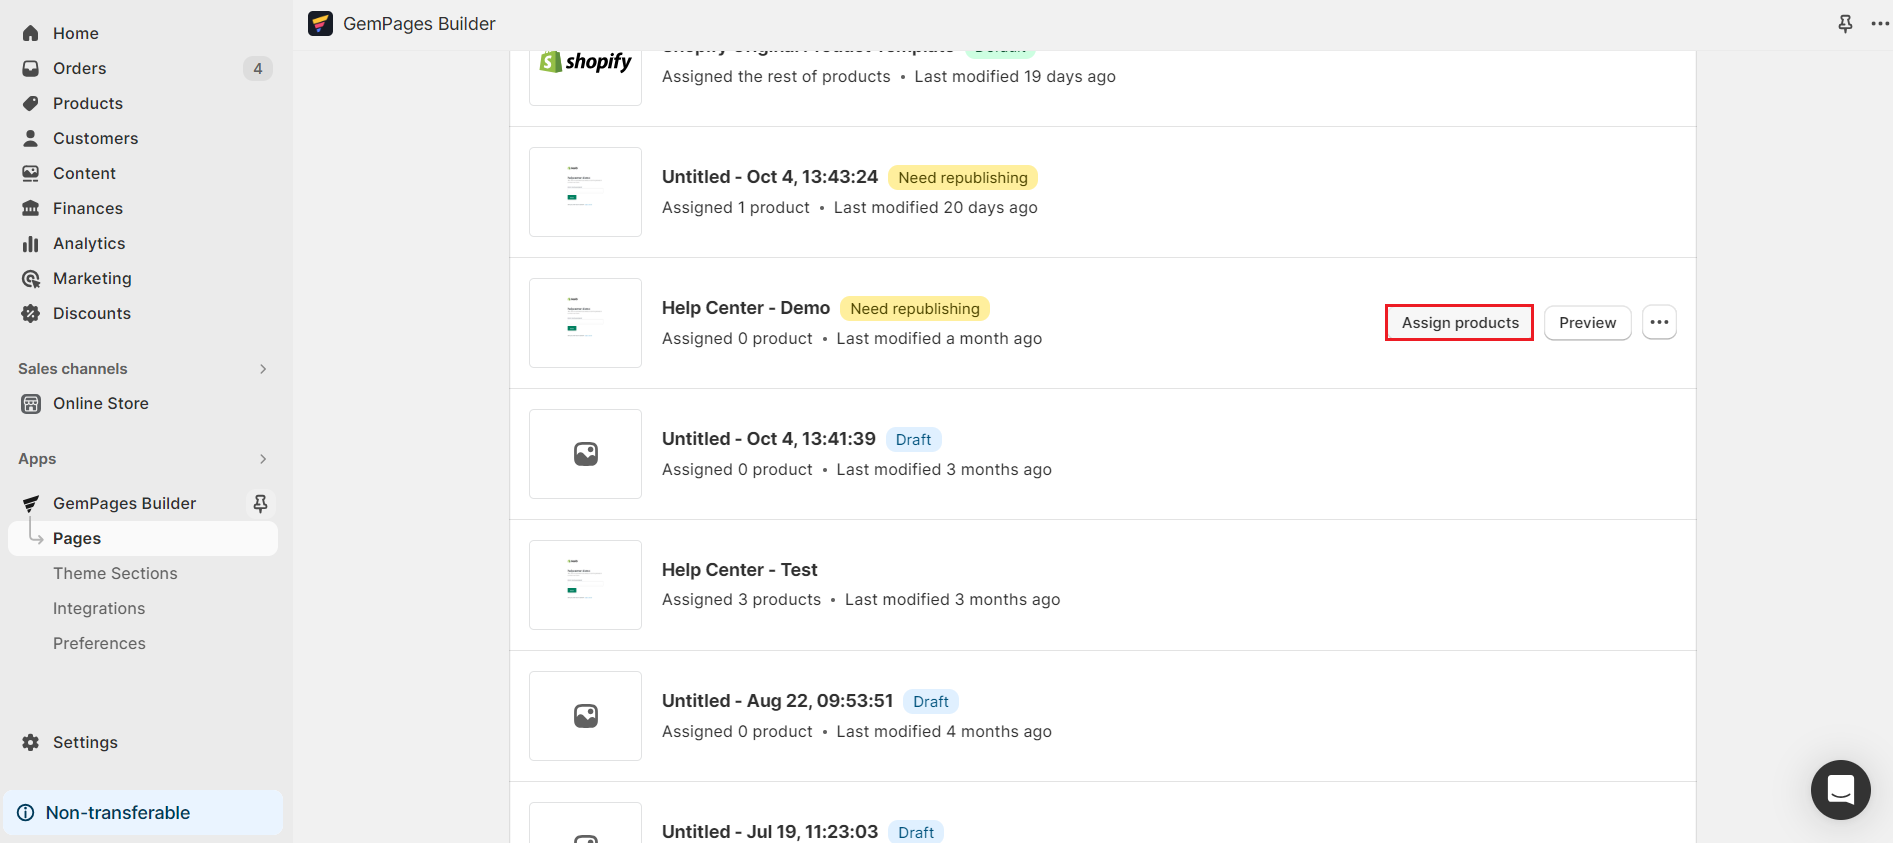
An open window will appear, allowing you to select the products. Check the box next to the products you want to assign to the template. To find products faster, you can use the search bar.

Hit “Confirm” when finished.
Set Default Collection Page
As with products, you can either apply a template to all collections or assign it to selected ones.
Set a Template as the Default for All Collections
Step 1: Go to Shopify Admin > Apps and select GemPages Builder to access GemPages Dashboard.
Step 2: Navigate to the Page section. Select the Collection page type and locate your preferred template.
Step 3: Click on the three-dot button next to the template name. Choose “Make default”.
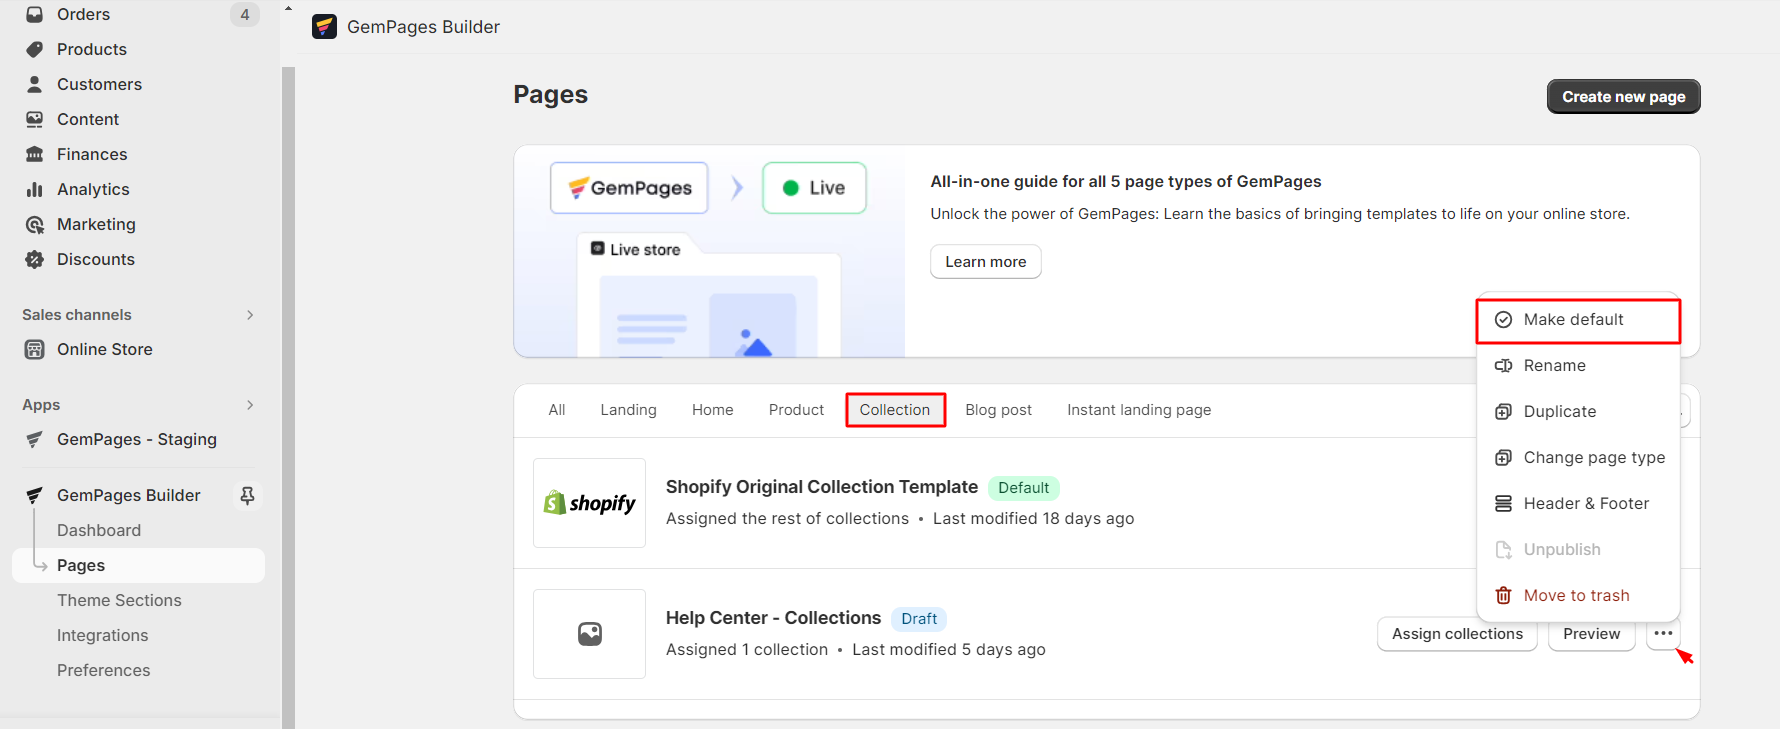
Click on “Confirm.”
Assign Template to Specific Collections:
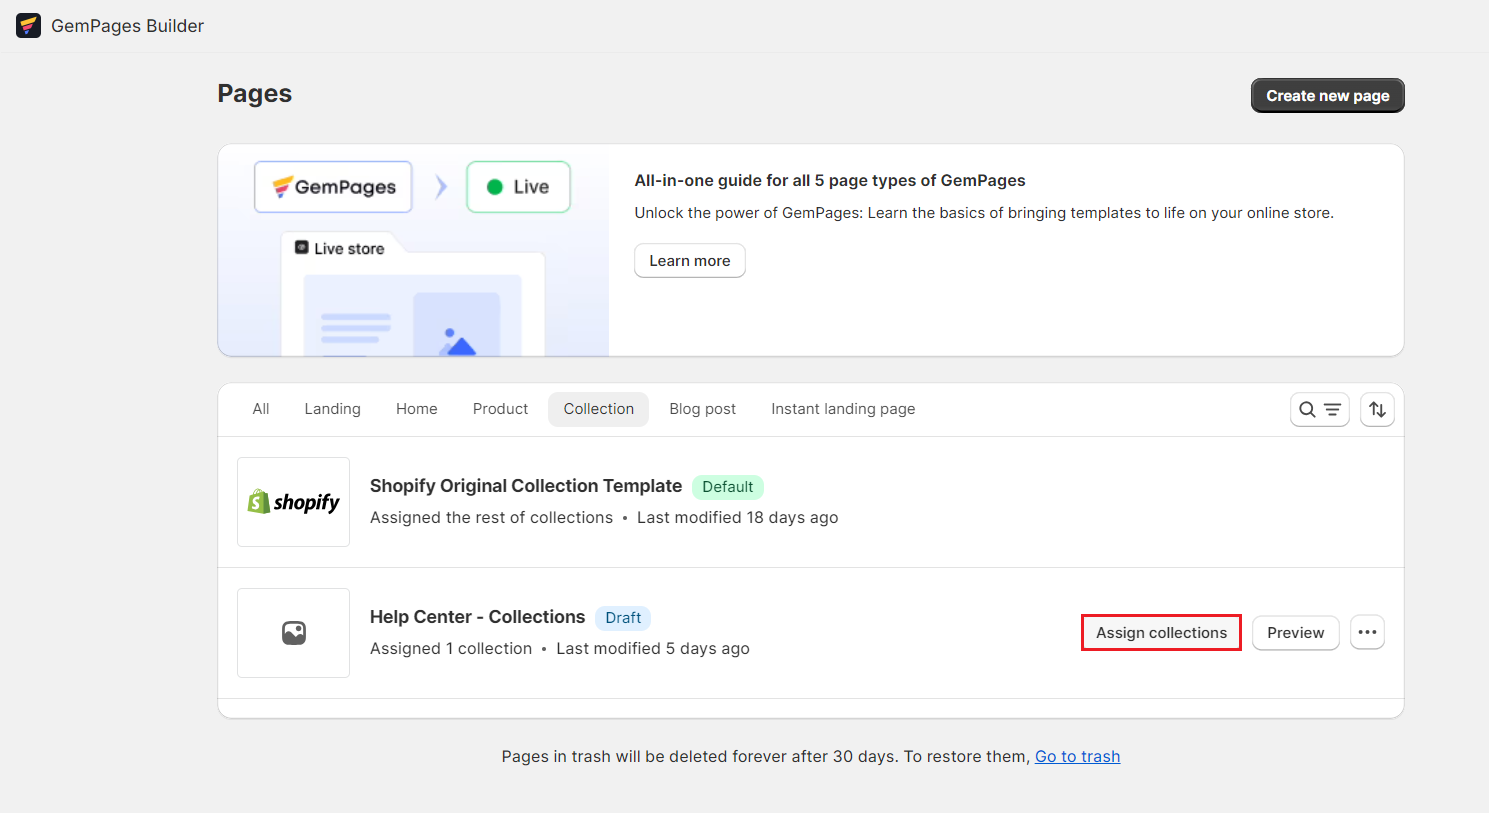
Step 1: From the GemPages Dashboard, navigate to the Page section. Select the Collection page type and locate your preferred template.
Step 2: Click the “Assign Collection” button next to the template name.
An open window will appear, allowing you to select the collections. Check the box next to the collections you want to assign to the template. To locate it faster, you can use the search bar.
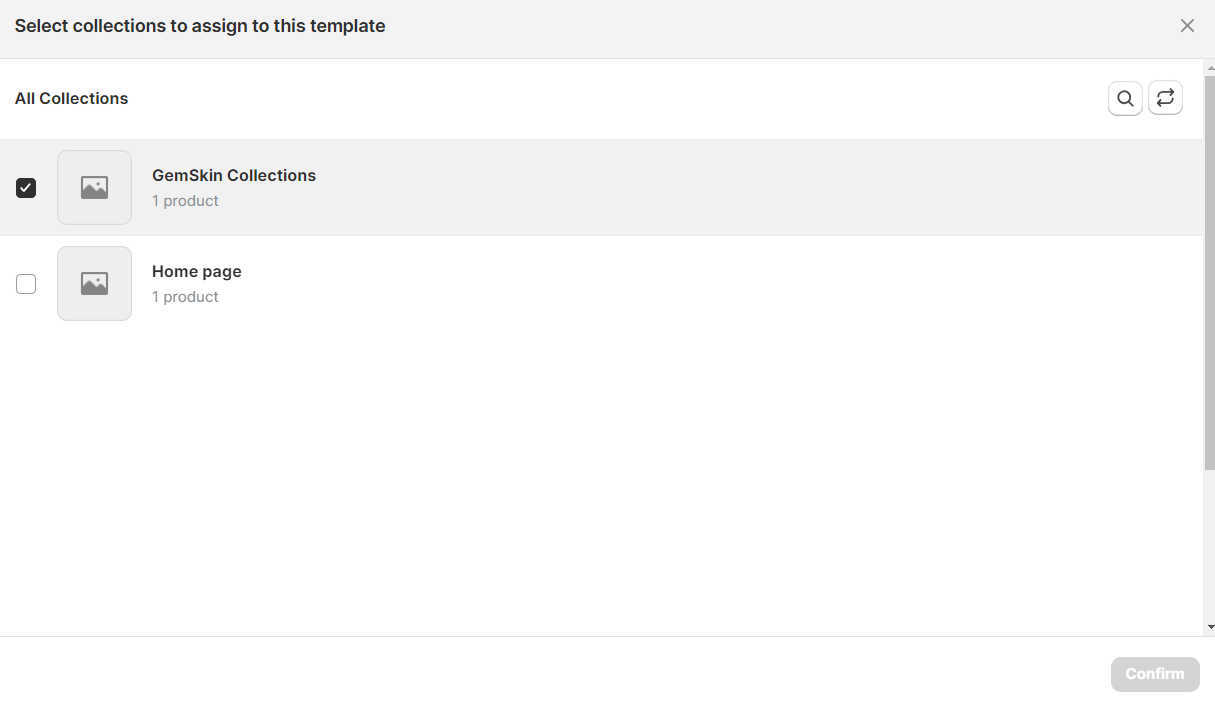
Hit “Confirm” when finished.
Publish a Landing Page
Landing pages in GemPages are standalone and don’t replace Shopify’s default pages. Instead, you can link them to your navigation:
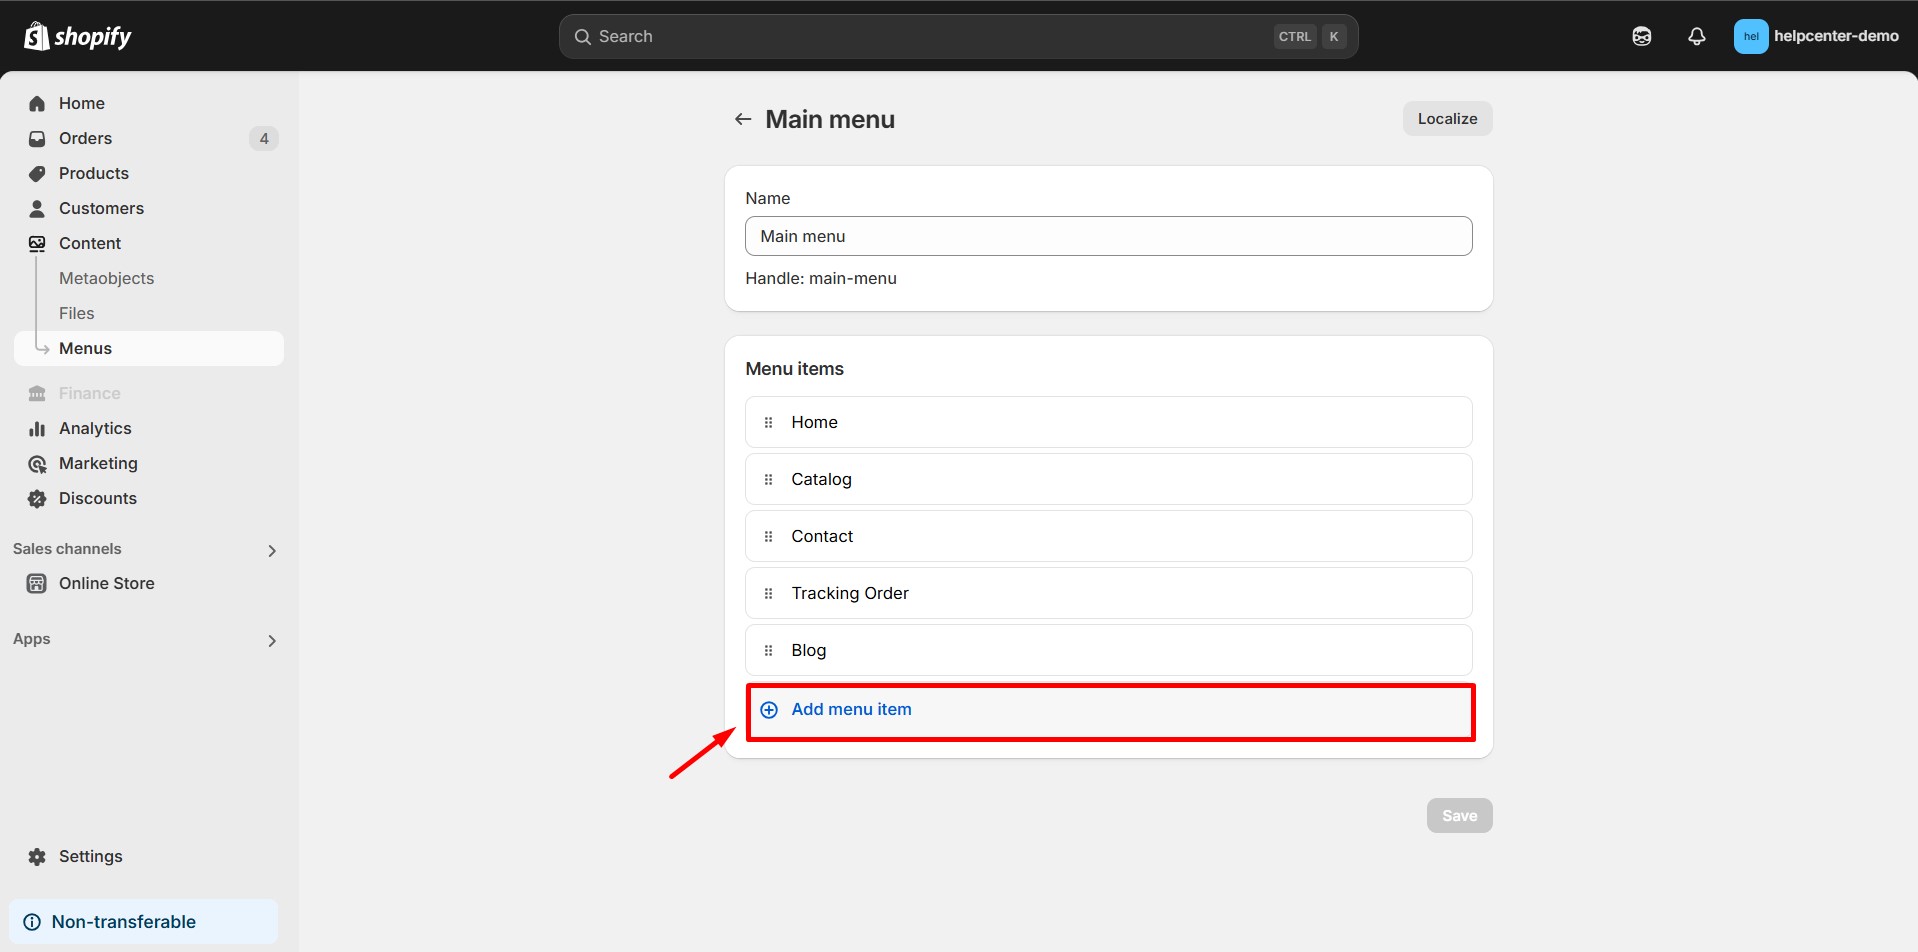
Step 1: In your Shopify admin dashboard, navigate to Online Store> Content > Menus.
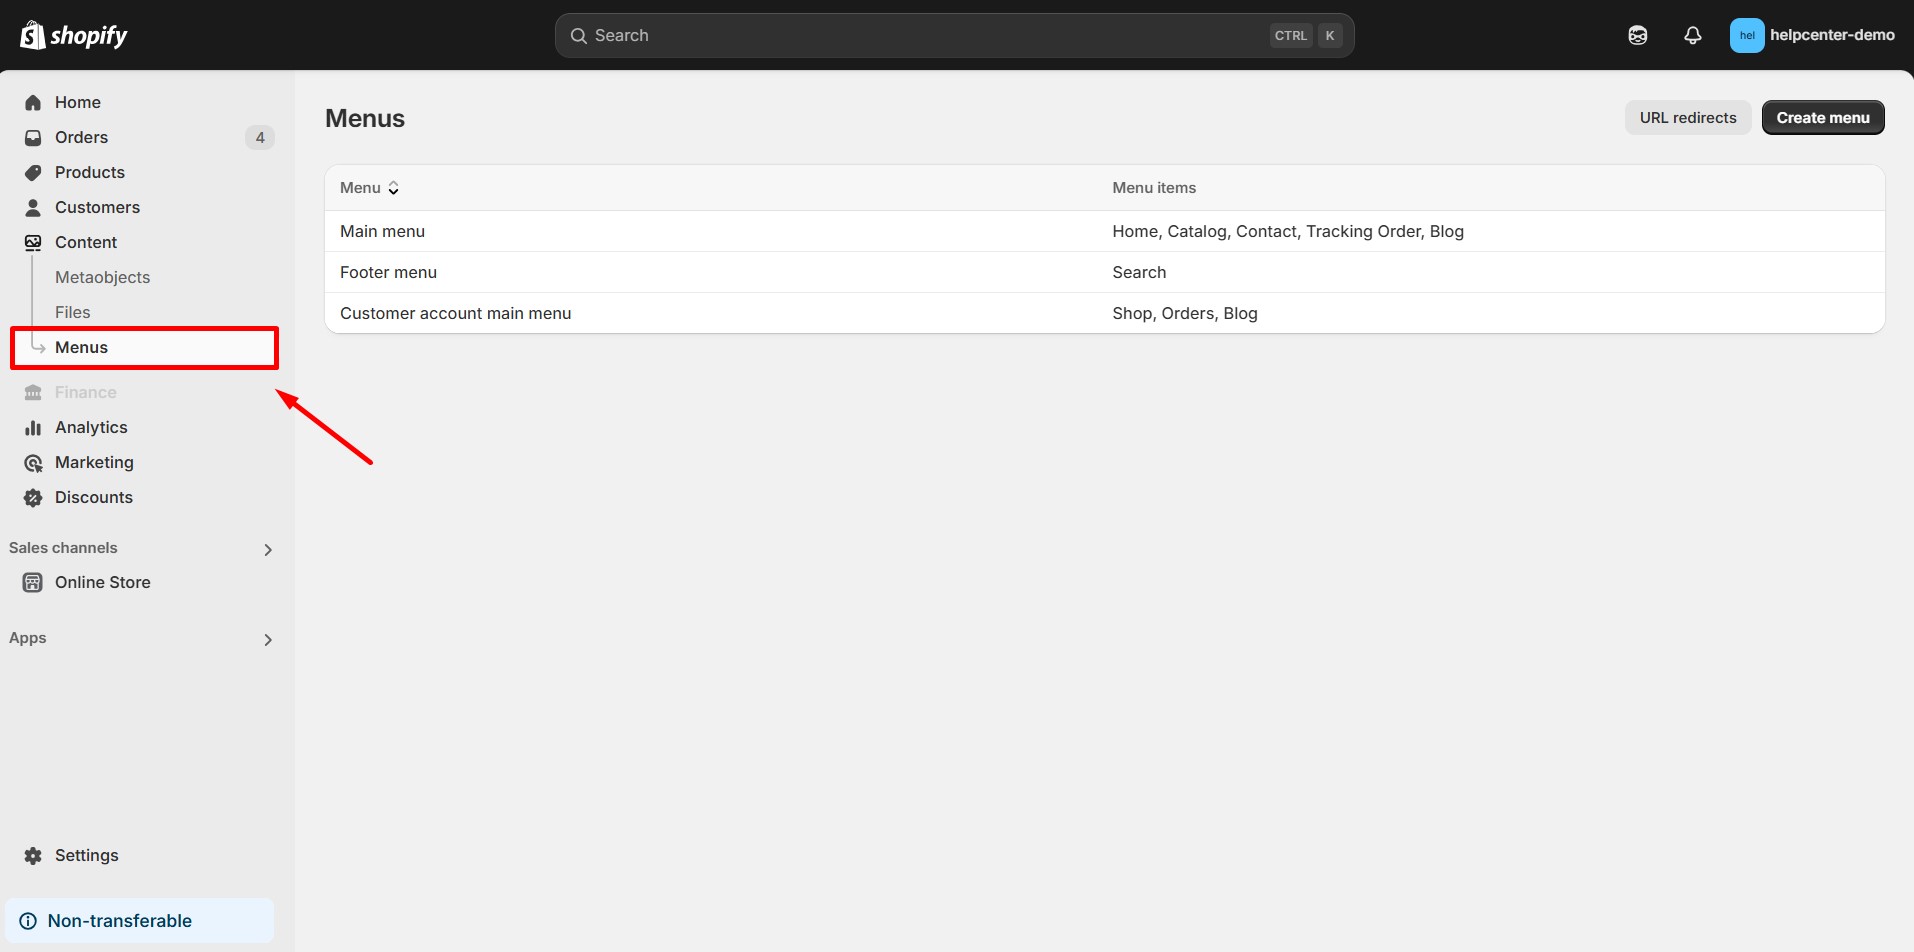
Step 2: Select the menu where you want to add the landing page (e.g., Main menu or Footer menu).
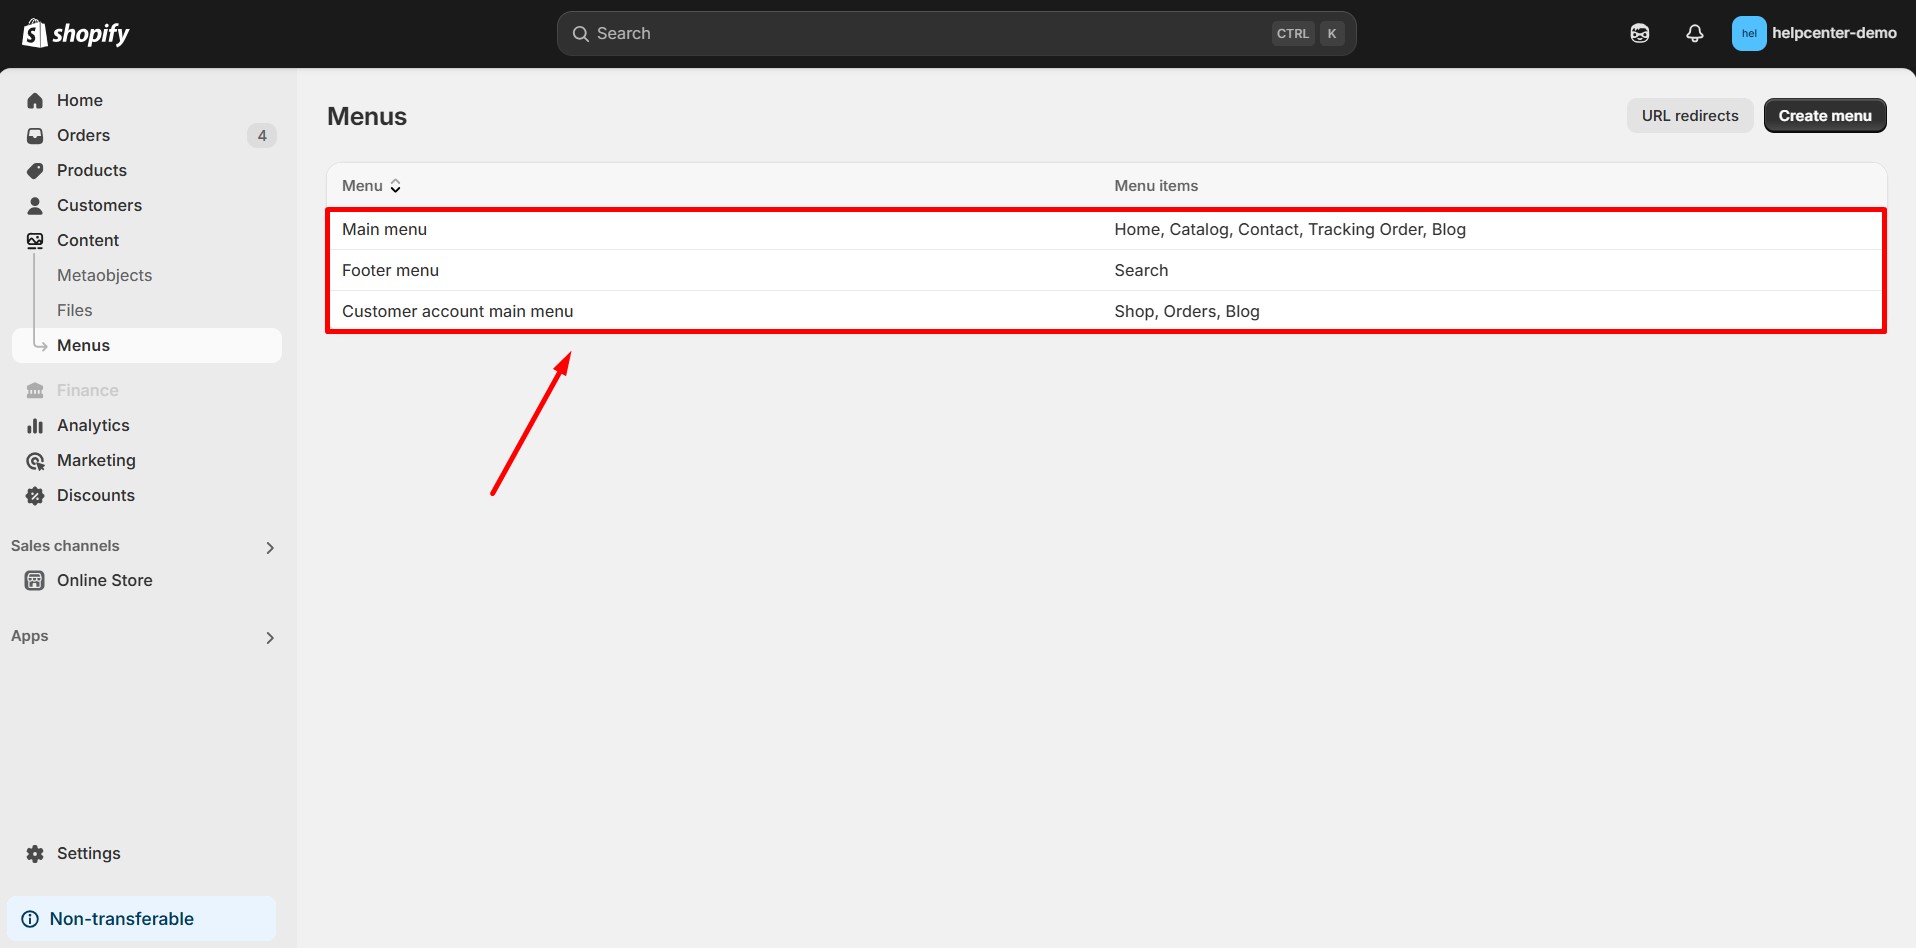
Step 3: Click on Add menu item. Enter a Name for the menu item (this will be the label displayed in your store’s navigation). In the Link field, select Pages, then choose the landing page you created with GemPages.
Step 4: Click Add, then Save menu to apply the changes.
Please read this Shopify article to learn more about editing your menu items.
Publish a Blog Post
A blog post in GemPages is a standalone publication or journal that includes short posts or articles about the store’s products, services, or related subjects. Like landing pages, after publishing, you can link a blog post to any spot on your page or integrate it into the navigation bar following the guidance provided.


Thank you for your comments