


What is the Icon Element?
The Icon Element in GemPages allows you to add icons to pages, enhancing visual appeal and delivering key information effectively.
You can use this element to improve user experience, emphasize important details, and strengthen trust with visitors.
Here are some common use cases for the Icon Element:
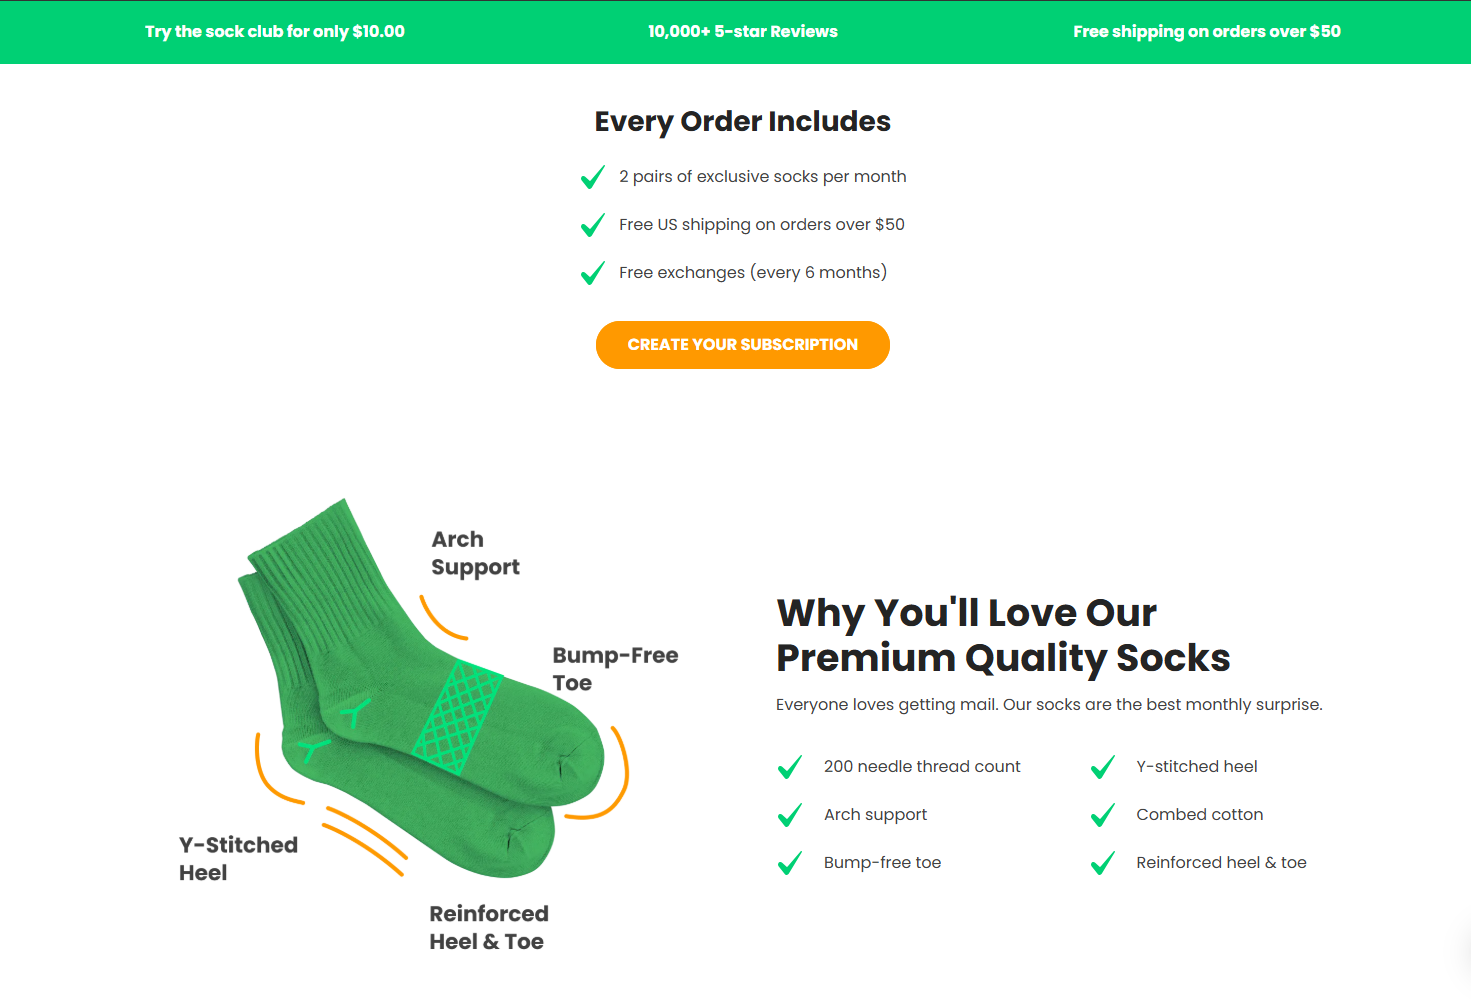
- Trust Badges and Security Indicators: Icons such as “secure payment”, “fast shipping”, or “money-back guarantees” can reassure customers and build trust.
- Highlighting Product Features: Use icons to draw attention to product benefits, such as “eco-friendly,” “handmade,” or “easy to use.” Pair these icons with short descriptions to make your page more engaging and visually clear.
How to Add an Icon Element to Your Page?
Follow these steps below to add an Icon Element to your page using GemPages Editor v7:
- Log in to your Shopify admin > GemPages Builder app > Pages.
- Click on the page where you want to add the Icon Element to enter the editor.
- From the left sidebar, search for this element, and drag and drop it to the desired position on your page
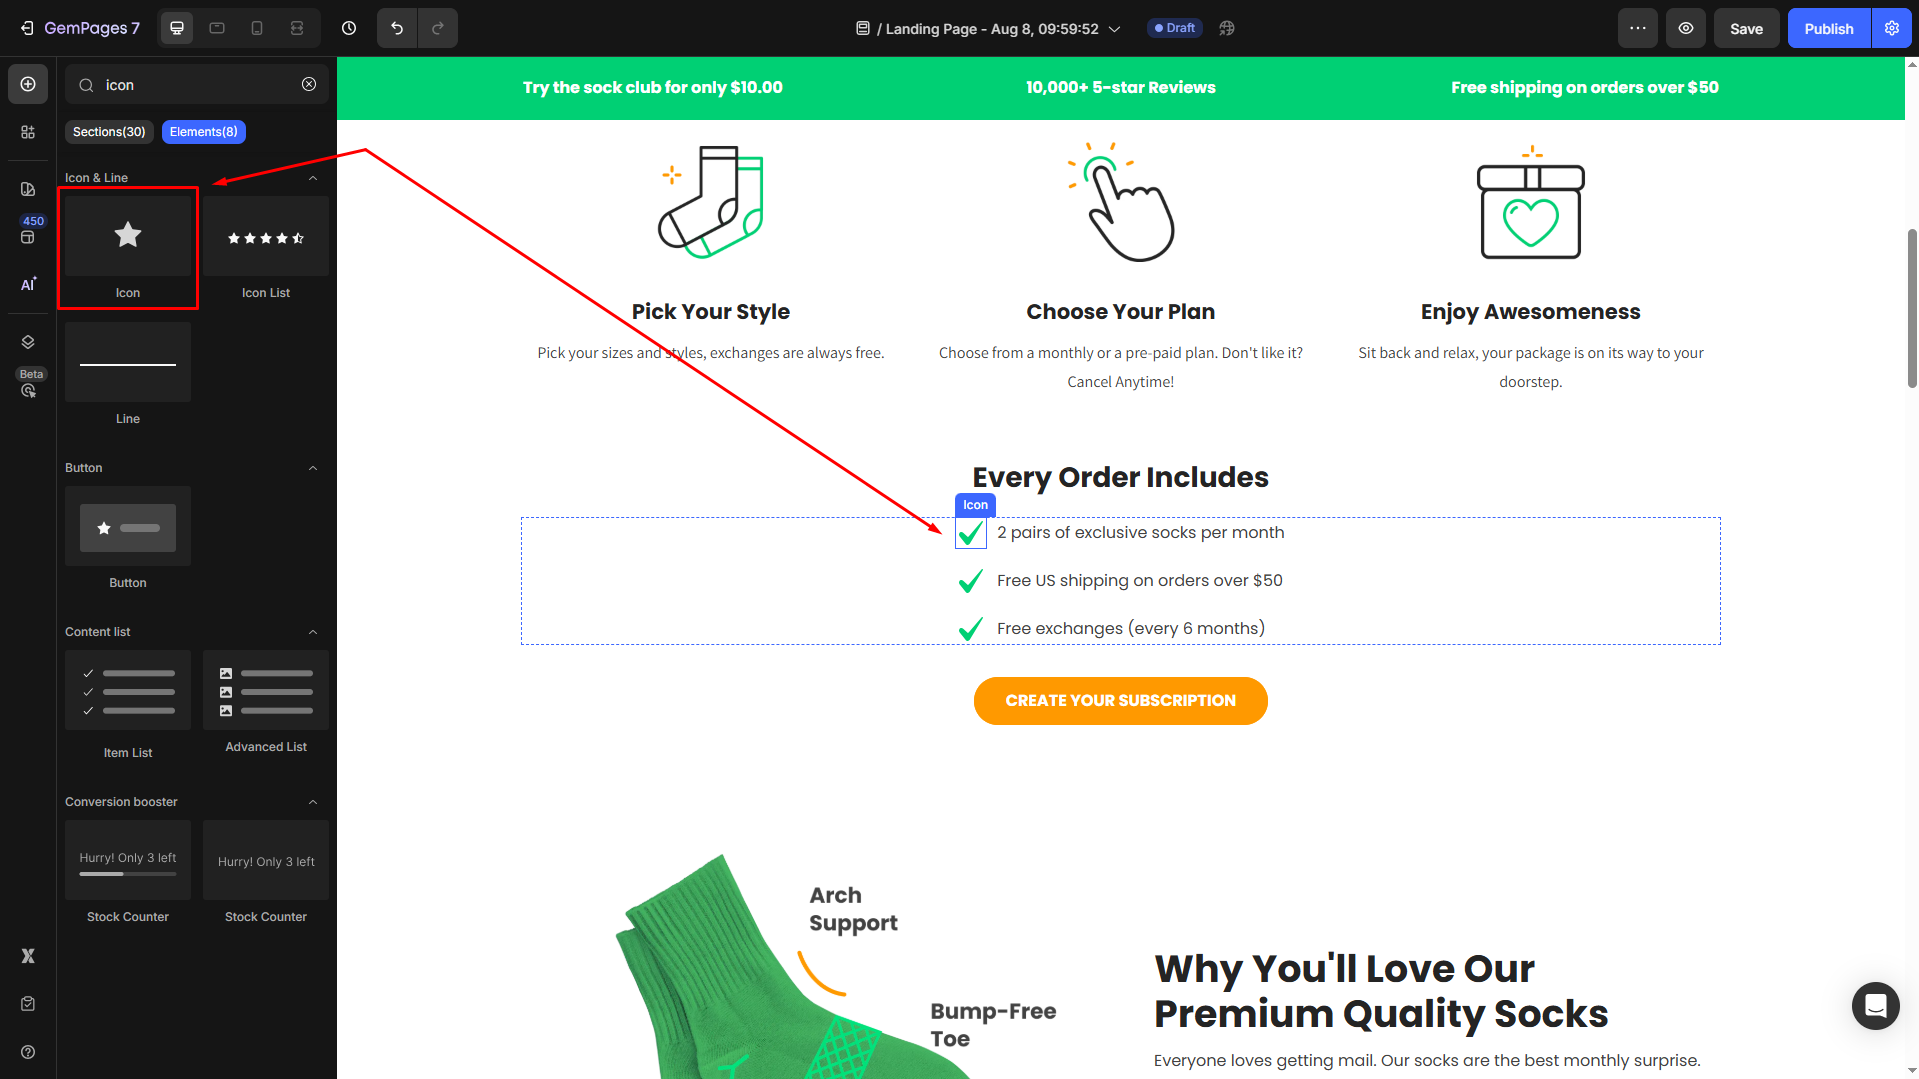
- Locate the element to open its settings for further customization.
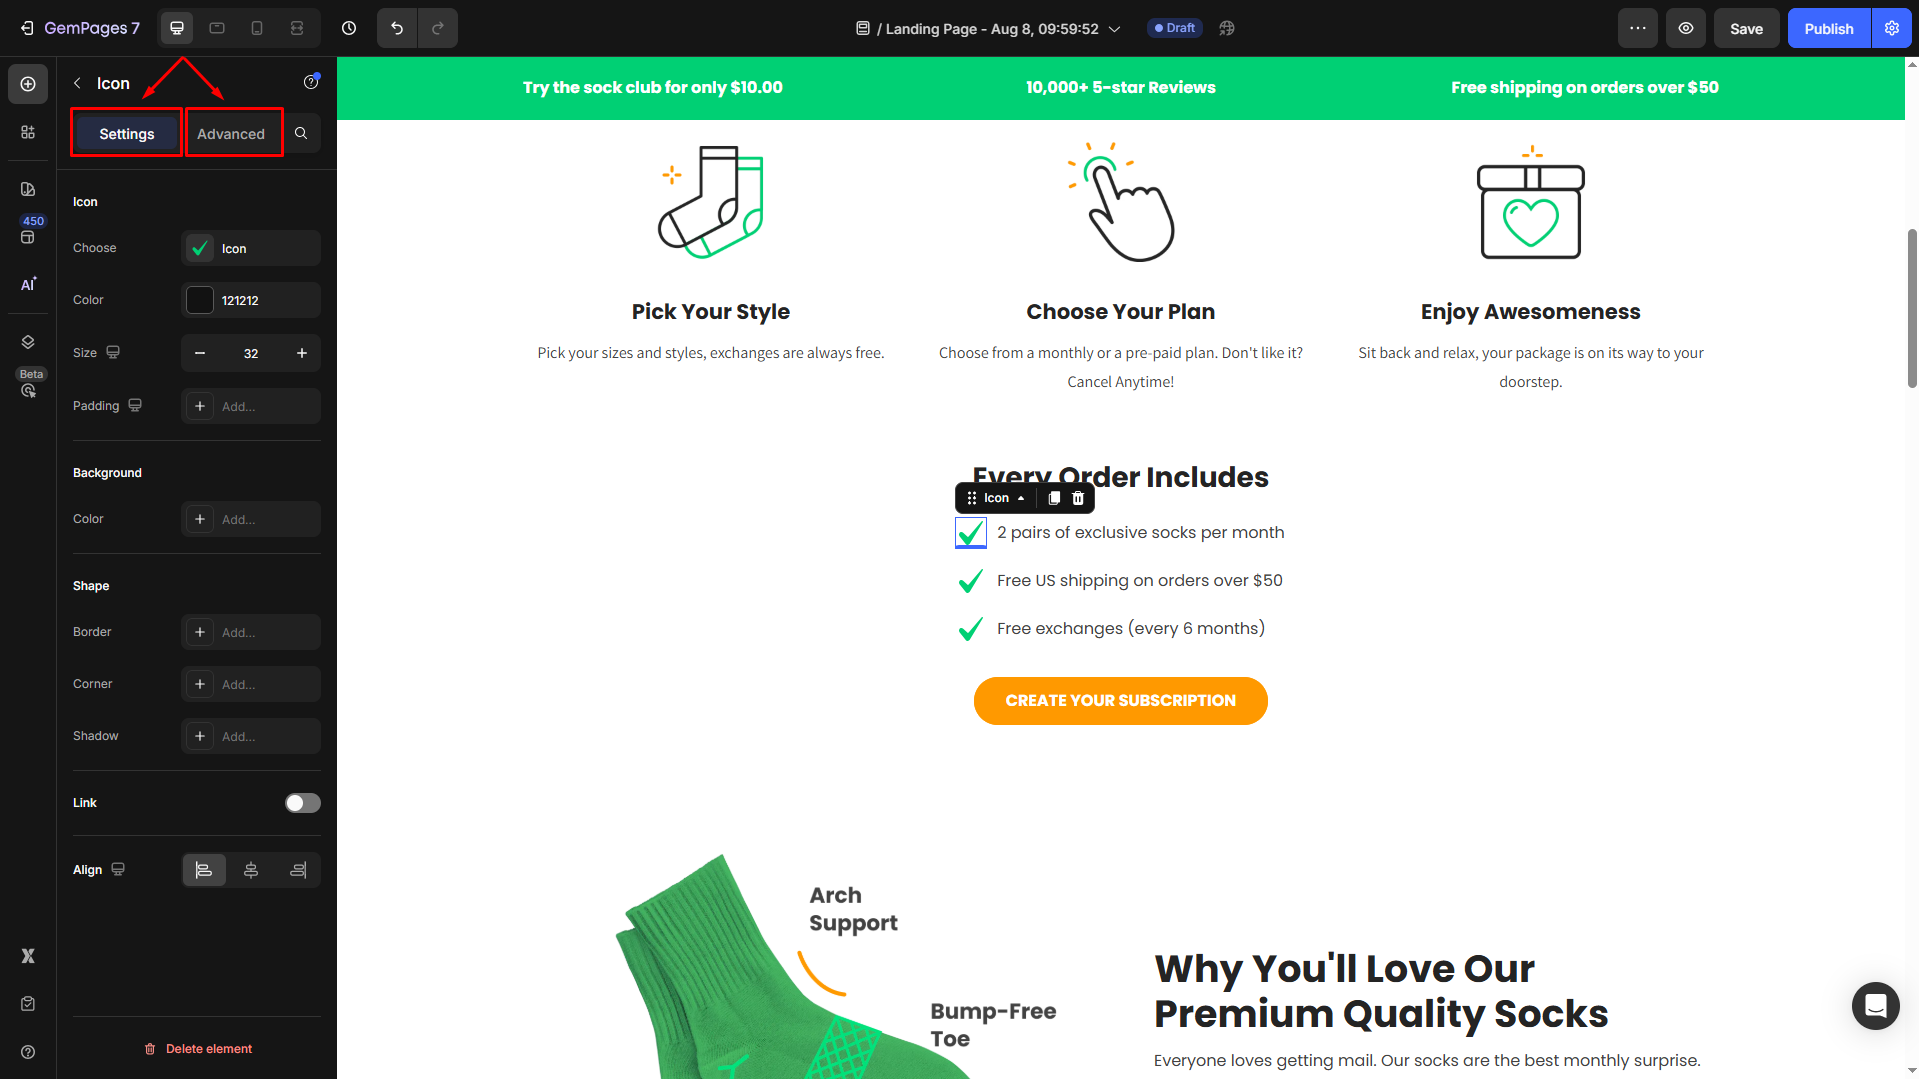
Configure the Settings tab
Under the Settings tab, you can configure the icon’s visibility as you prefer:
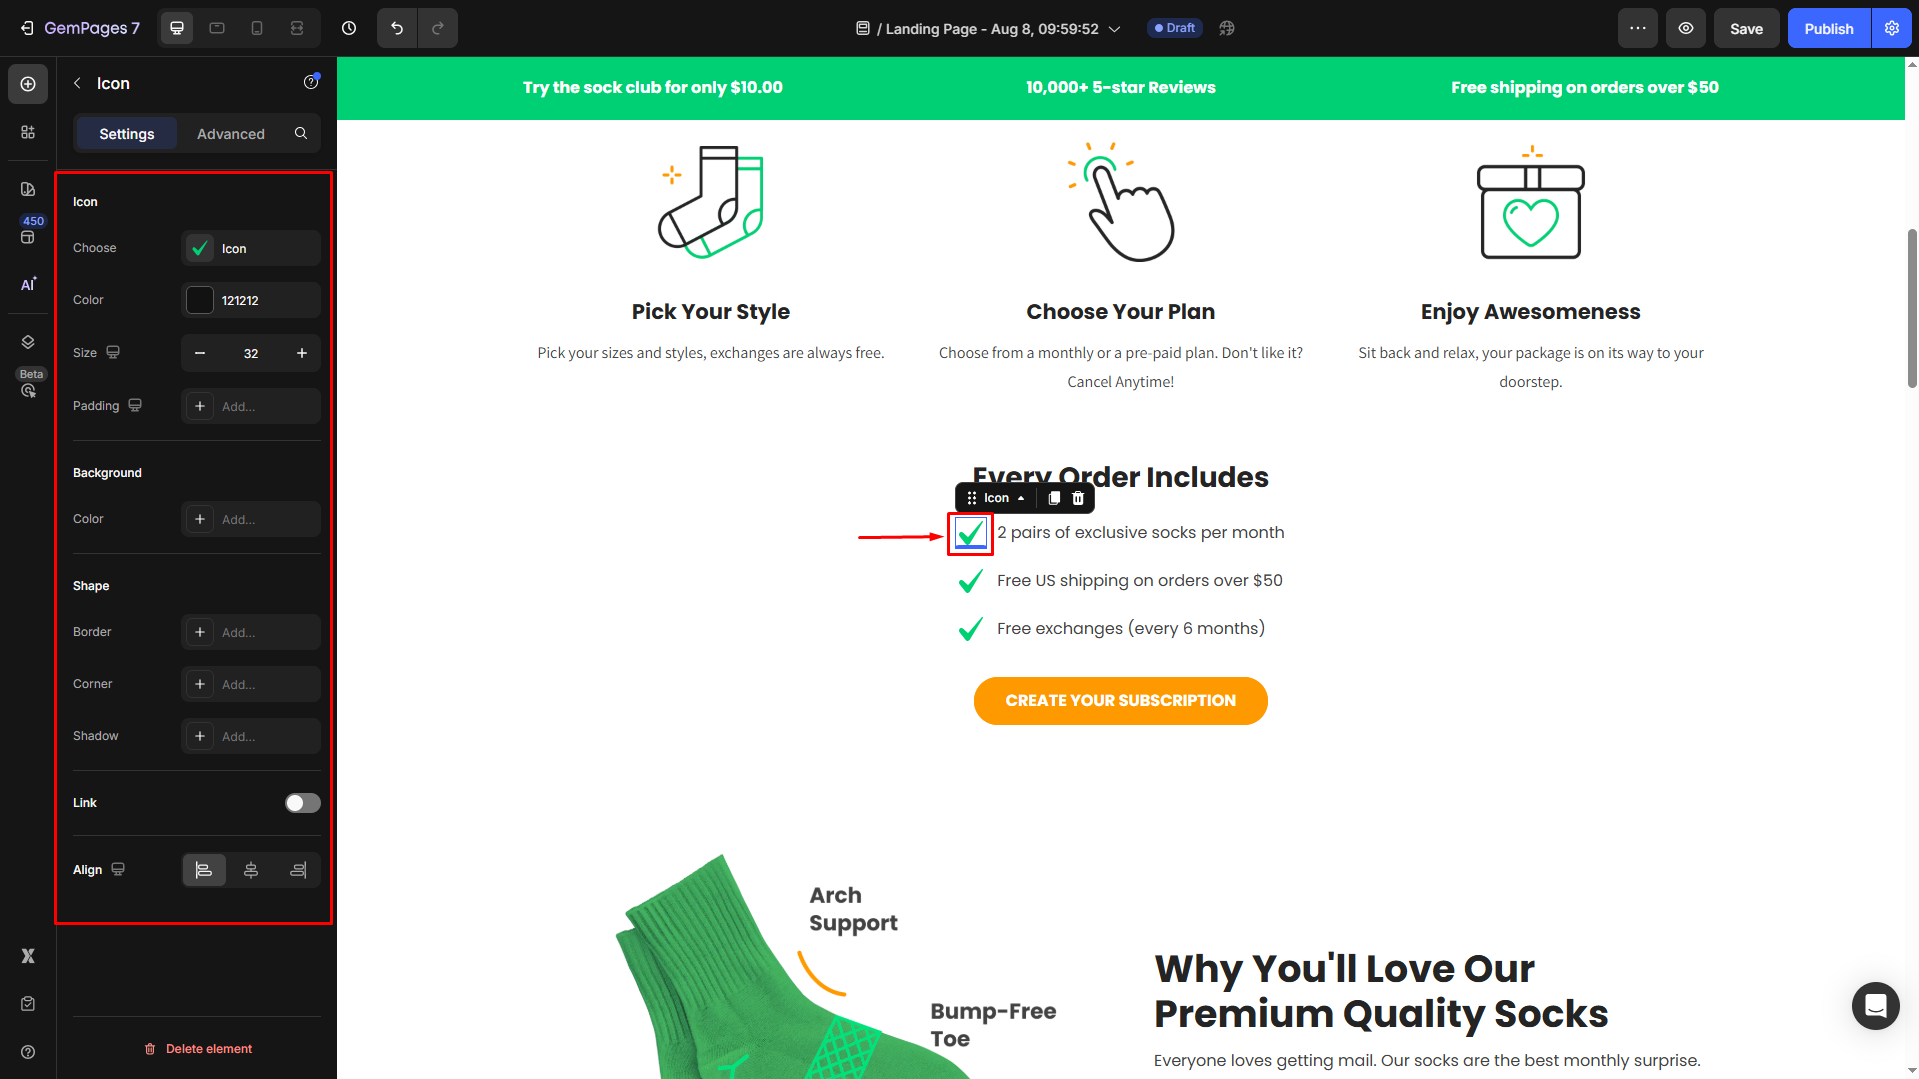
Icon
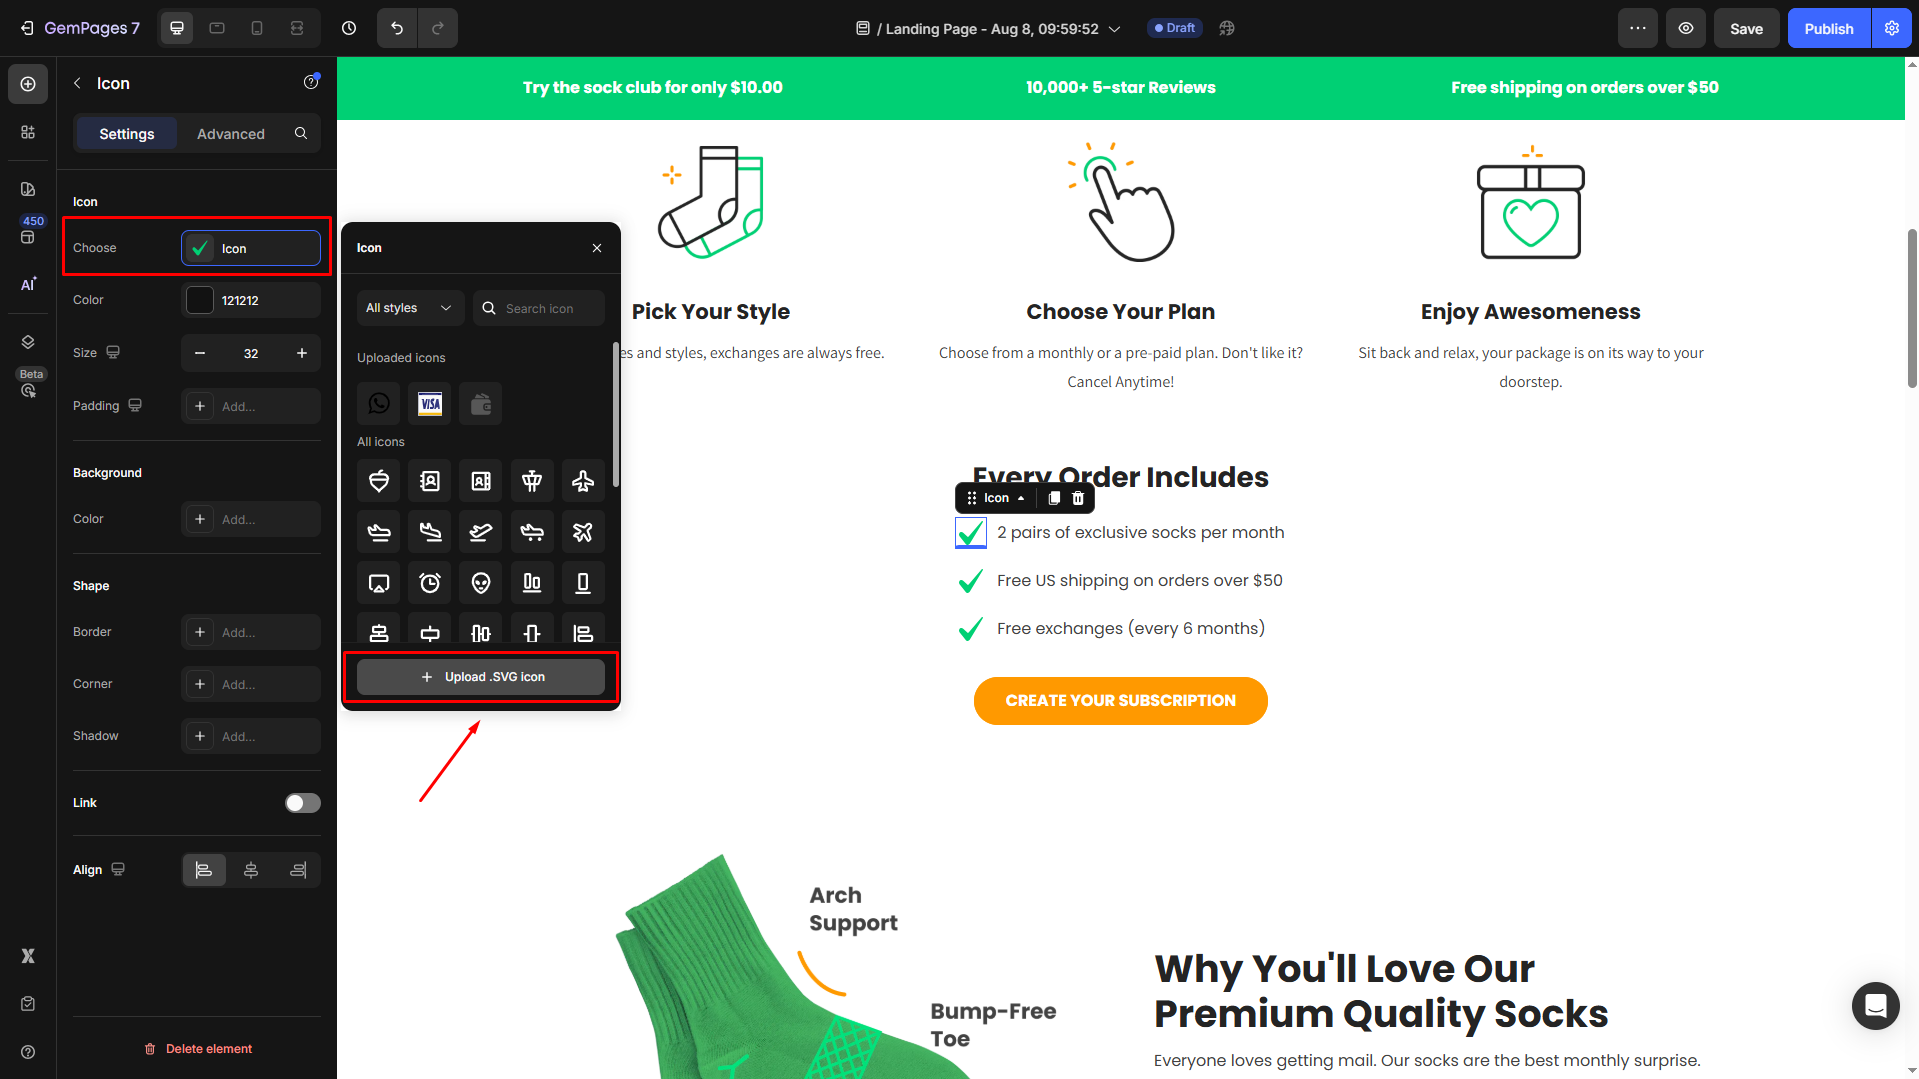
Under the Icon section, you can select icons to display in this element.
- Option 1: Choose from the GemPages system library
Select the icon style from the dropdown or enter the icon name in the search box to find your preferred icon.

- Option 2: Upload your custom icons
Refer to this article for more details about custom icon uploading.
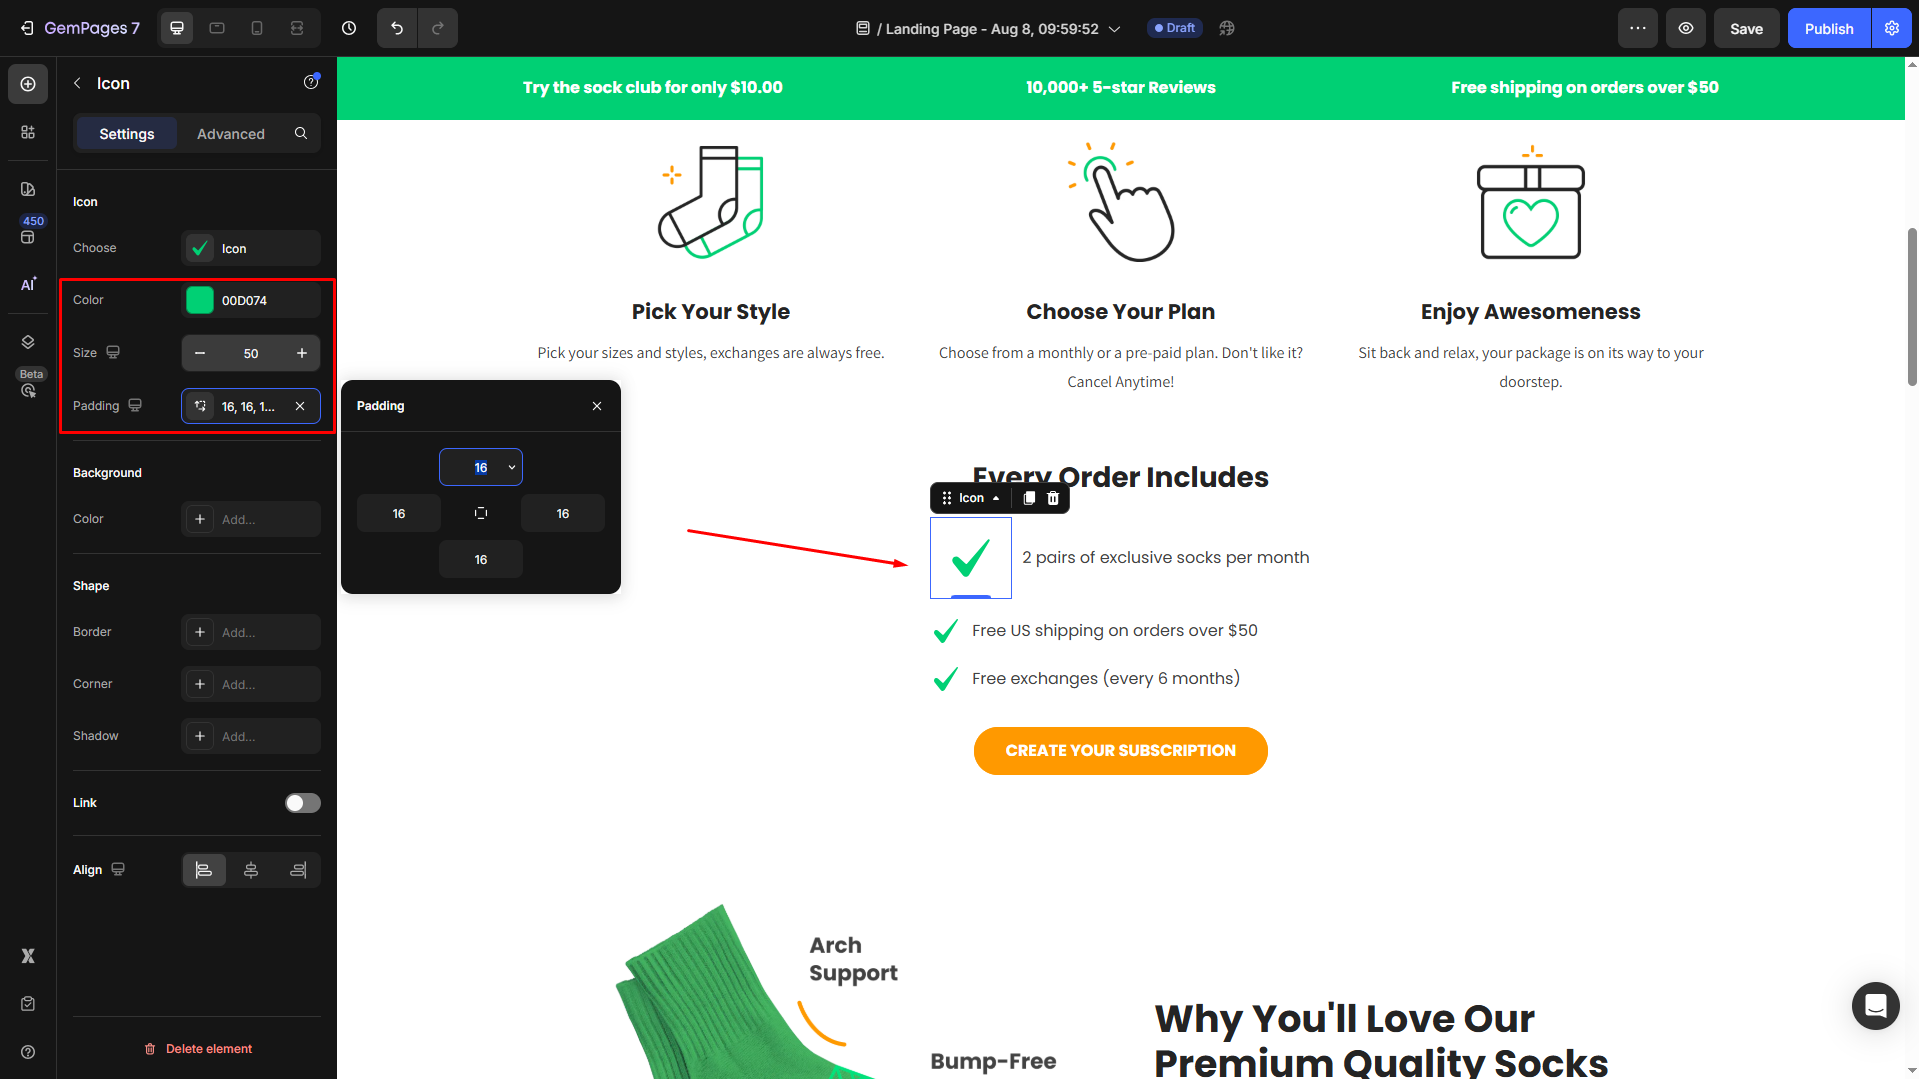
Then, change the icon color your way, and adjust the size and padding of the icon to align with your brand design.
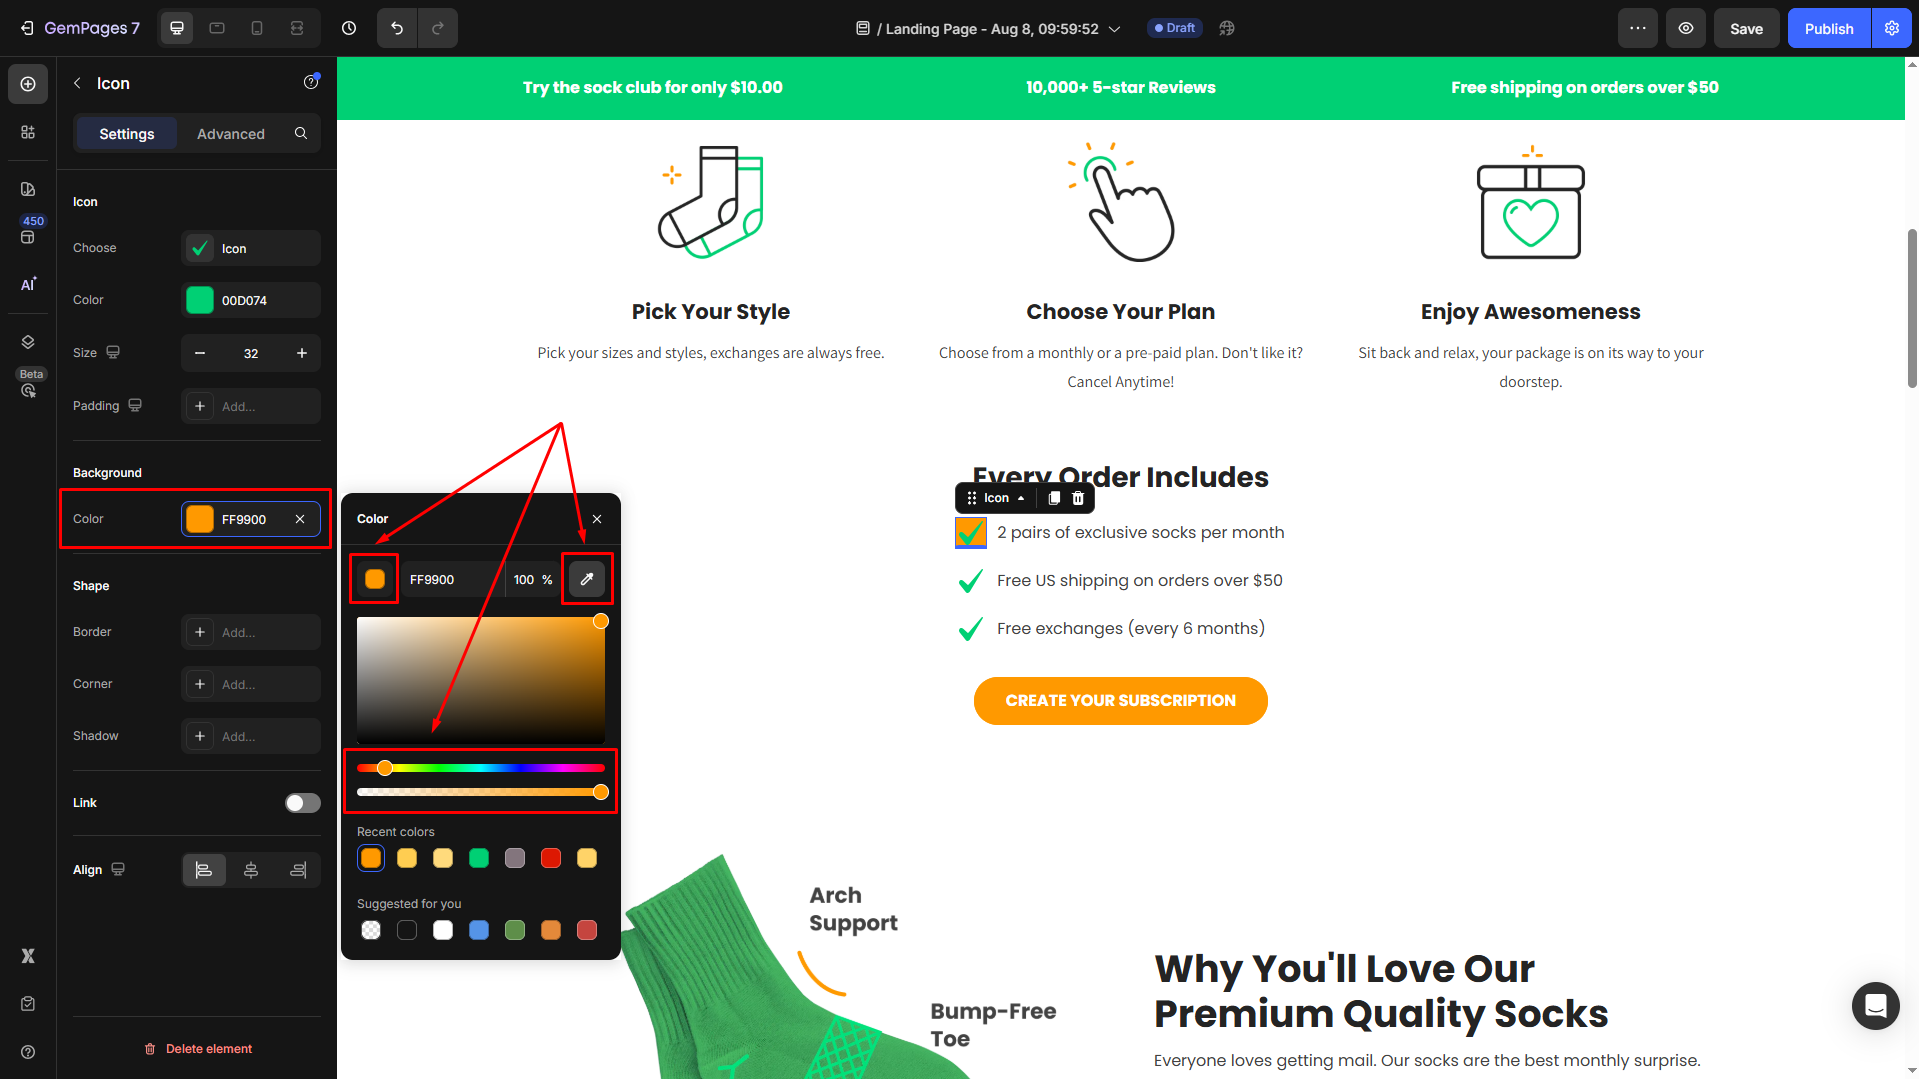
Background
Change the icon background color in the Background section. You can use several options to select your desired color:
- Choose from Recent colors or Suggested for you.
- Click on the color box to open the color swatches.
- Use the color picker to select a color from any other elements on your page.
Link
Toggle on this section and select After click actions from the list:
- Open page: Direct customers to relevant pages (e.g., product details, FAQ, etc.)
- Scroll to: Scroll to a section in your page
- Open popup: A popup will appear after clicking on the icon
- Send email: An email will be sent once your customers hit the icon
- Make phone call: Automatically call the specific phone number

Align
Align the icon to the left, center, or right to fit into your layout.

Configure the Advanced tab
For more advanced customization, please navigate to the Advanced tab and follow the instructions in this article.


Thank you for your comments