


About the Countdown Timer Element
The Countdown Timer element in GemPages lets you add a countdown clock to your page, counting down to a specific date and time. You can use this element on hero banners, product, or collection pages to create urgency, highlight limited-time offers, and promote events.

Doing so can encourage visitors to take immediate action, such as making a purchase, claiming a special deal, or signing up for an event before time runs out.
How to Add the Countdown Timer in GemPages V7
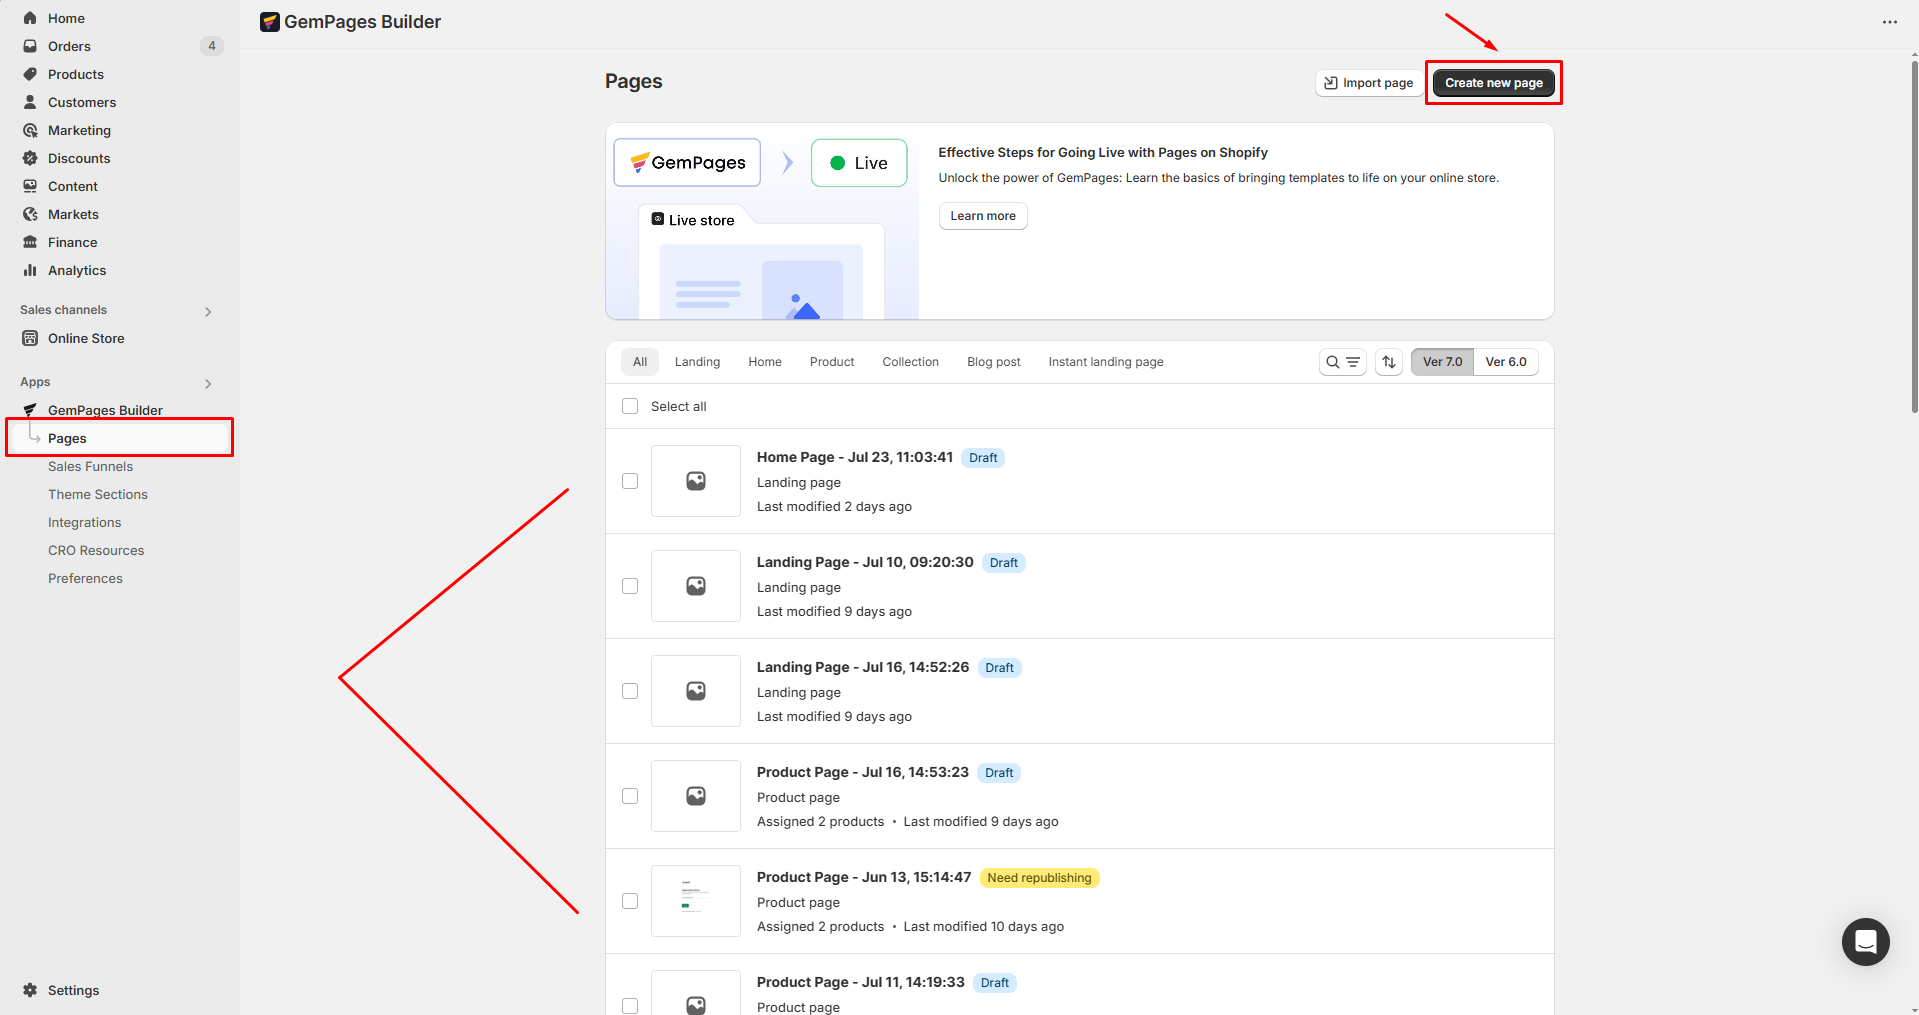
Step 1: From the GemPages Dashboard > Pages, locate an existing page or create a new one.
Step 2: Once you access the editor, use the search bar to find the element, then drag and drop it into the design area.
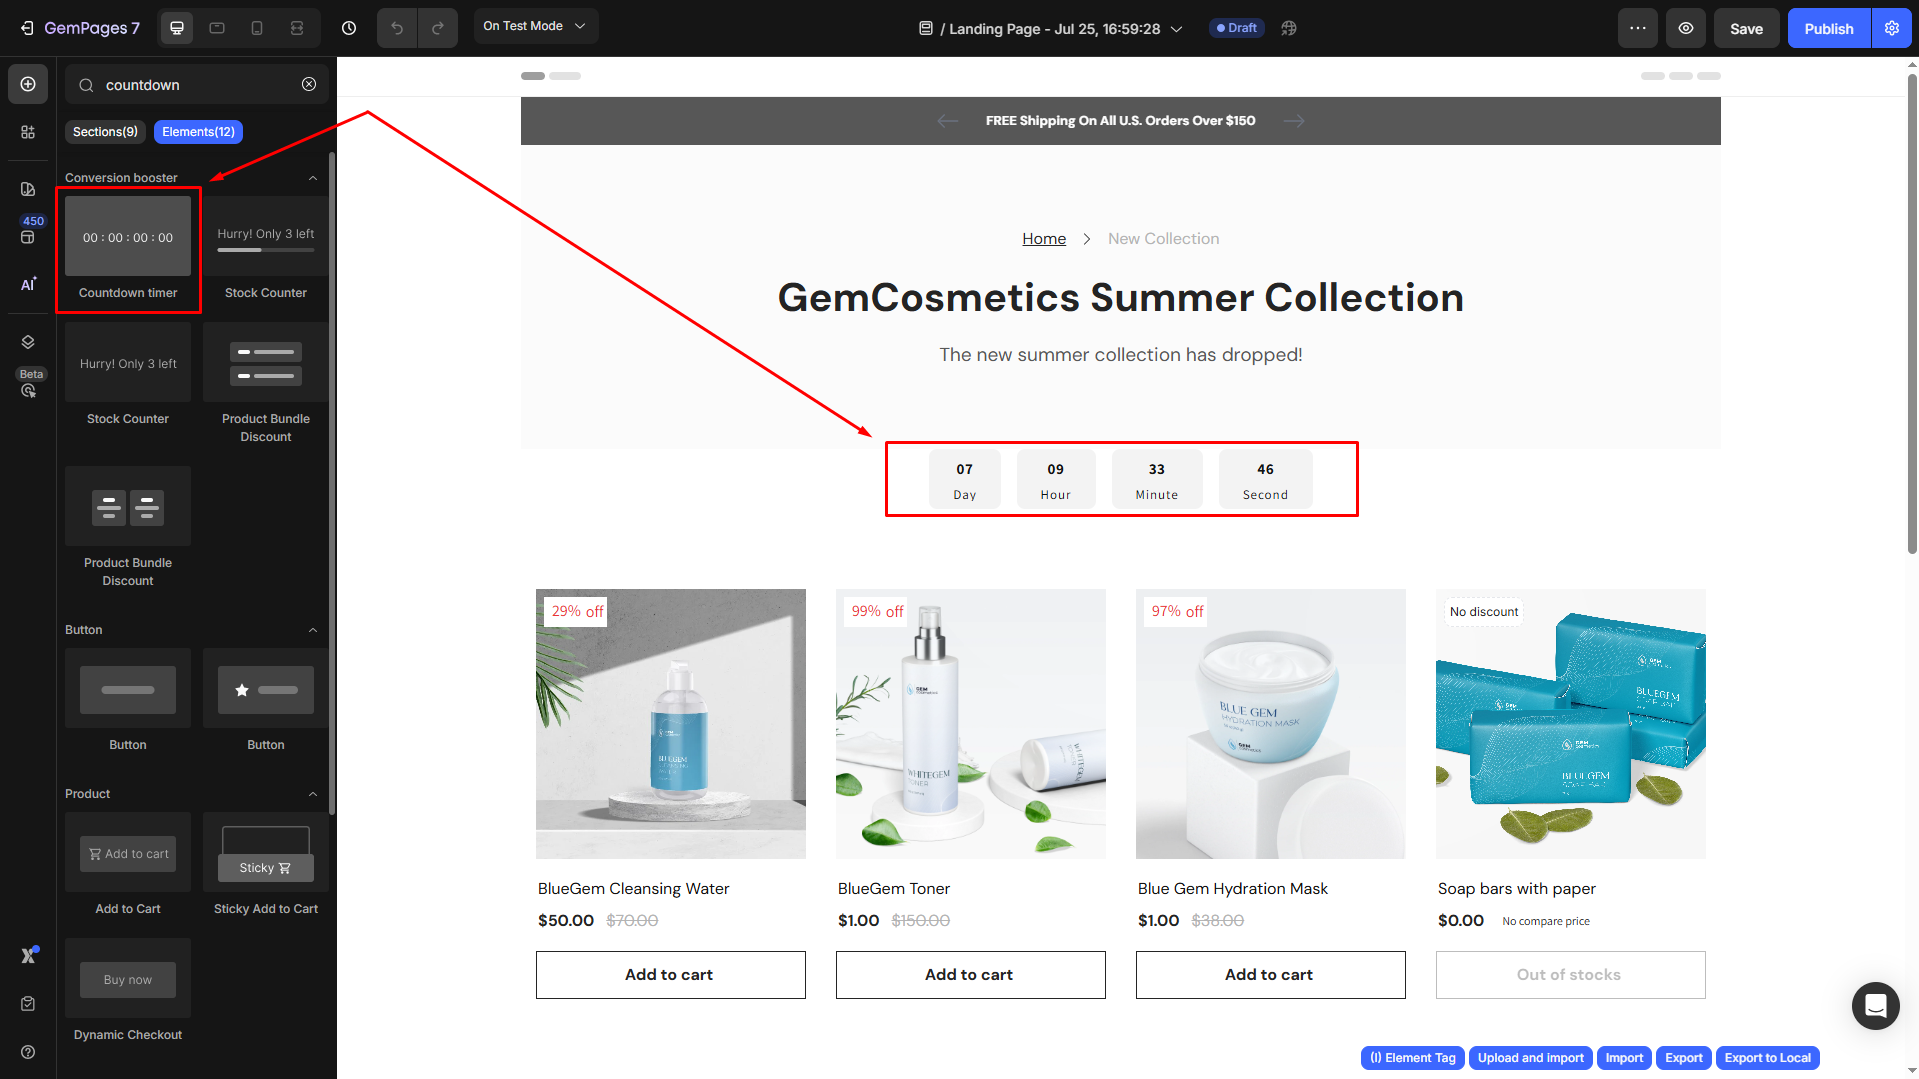
To access the Countdown Timer settings, click on the element. The left sidebar will display the Settings tab, where you can customize its behavior and appearance.
Configure Settings Tab
Countdown Time
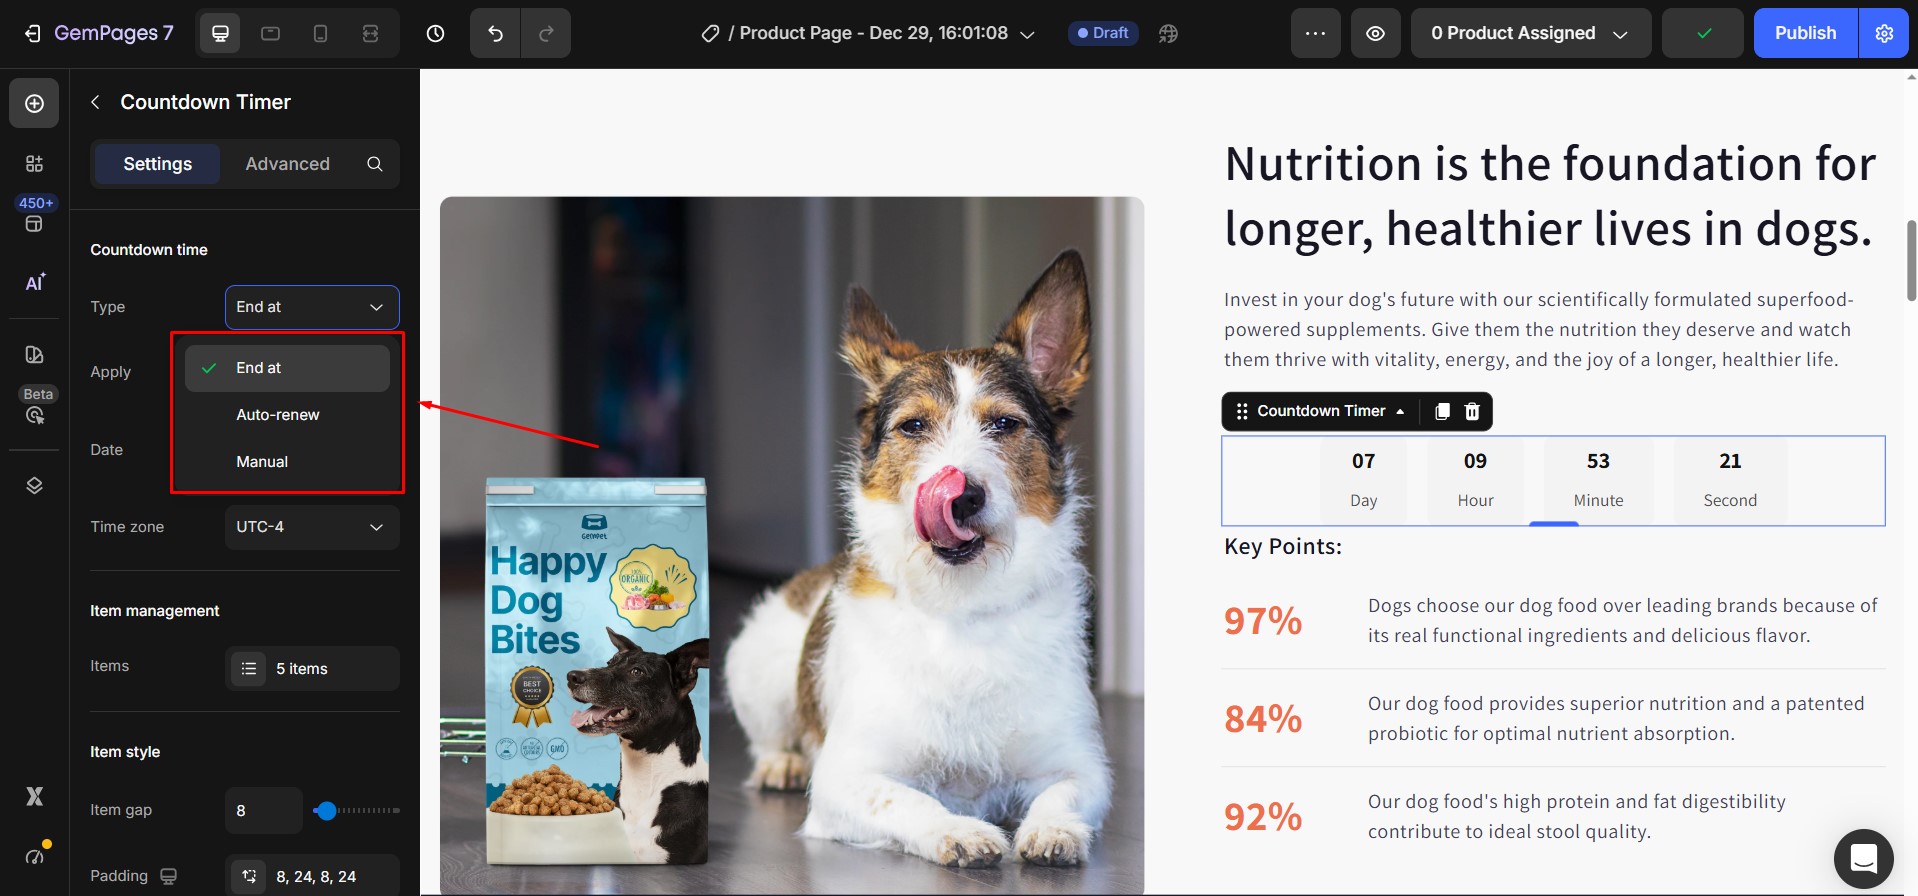
In this section, you can choose from three types of countdown timers, including End at, Auto-renew, and Manual.
 1. End at
If you choose End at, you will need to set a specific date and time for the countdown to end.
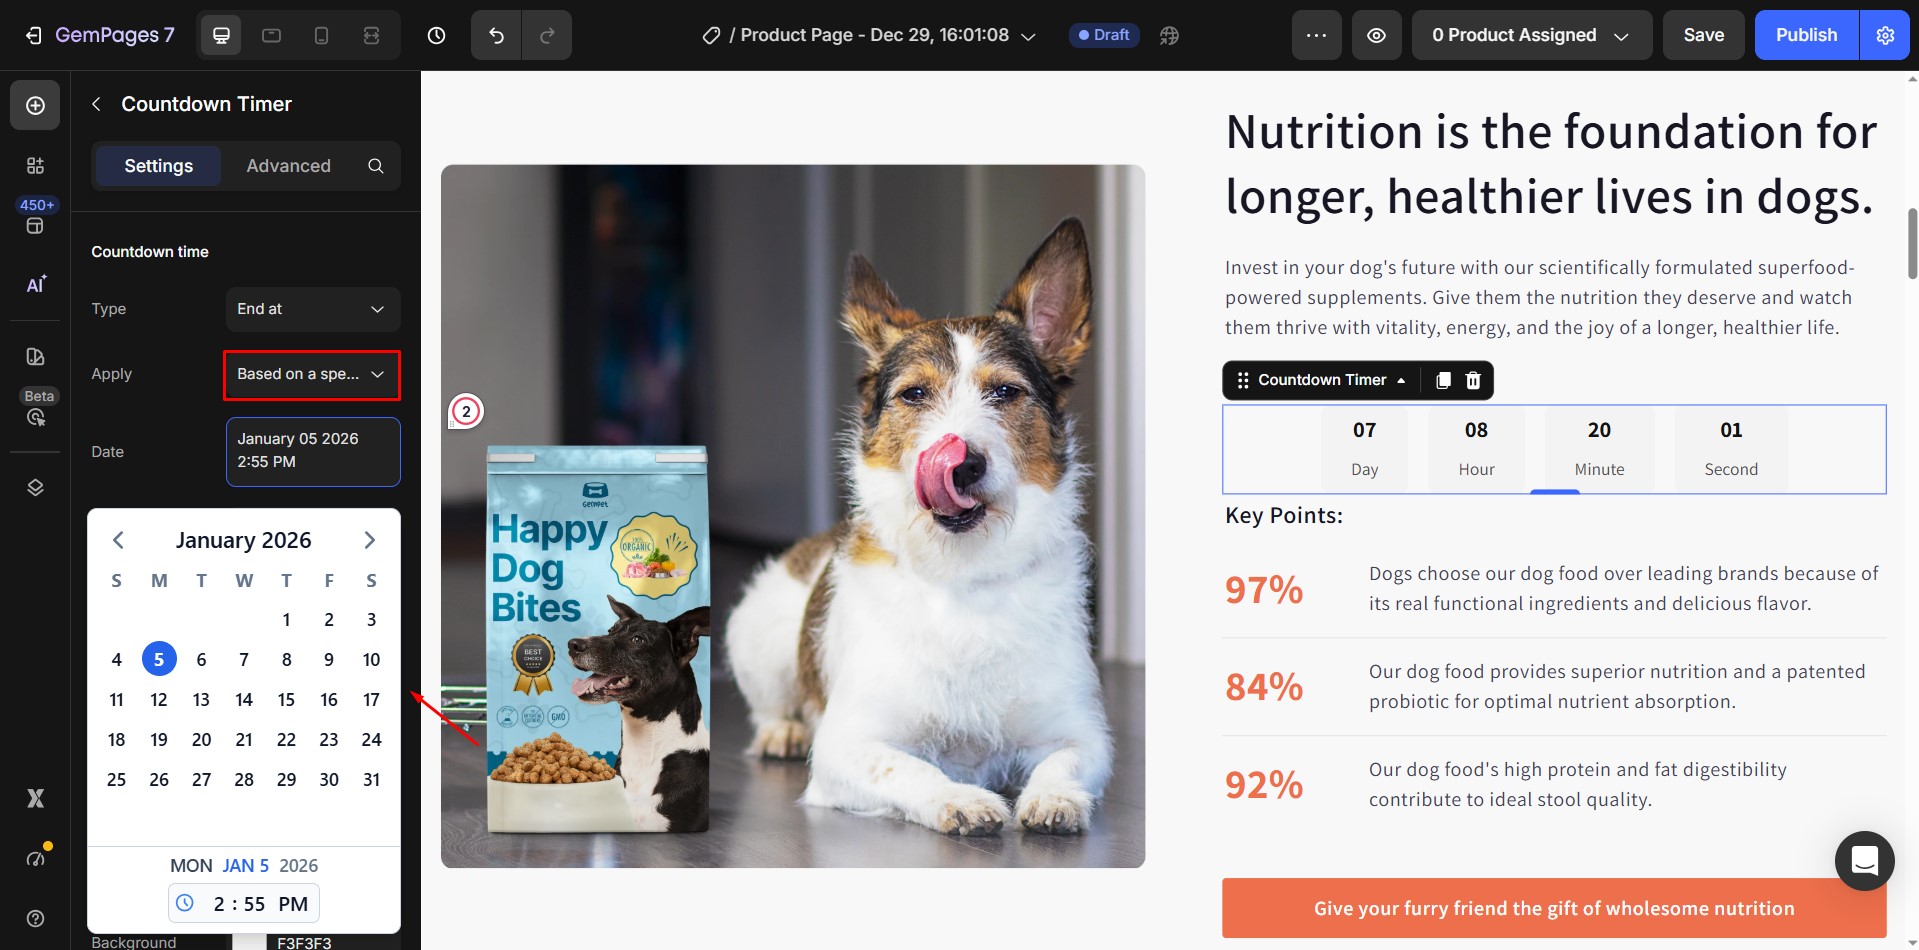
You can choose how the end time is applied by selecting one of the following options:
- Based on a specific time zone
You can select both the date and the time zone. The countdown will end at the exact same moment globally, based on the chosen time zone.
For example, if you set the countdown to end at 12:00 PM (UTC-4), the timer will end at that moment for all visitors worldwide, regardless of their location.
- Across all time zones
You only need to select the date. The countdown end time will be calculated based on each visitor’s local time zone.
For example, if you set the countdown to end at 12:00 PM, visitors in UTC-4 will see it end at 12:00 PM (UTC-4), while visitors in UTC-3 will see it end at 12:00 PM (UTC-3).

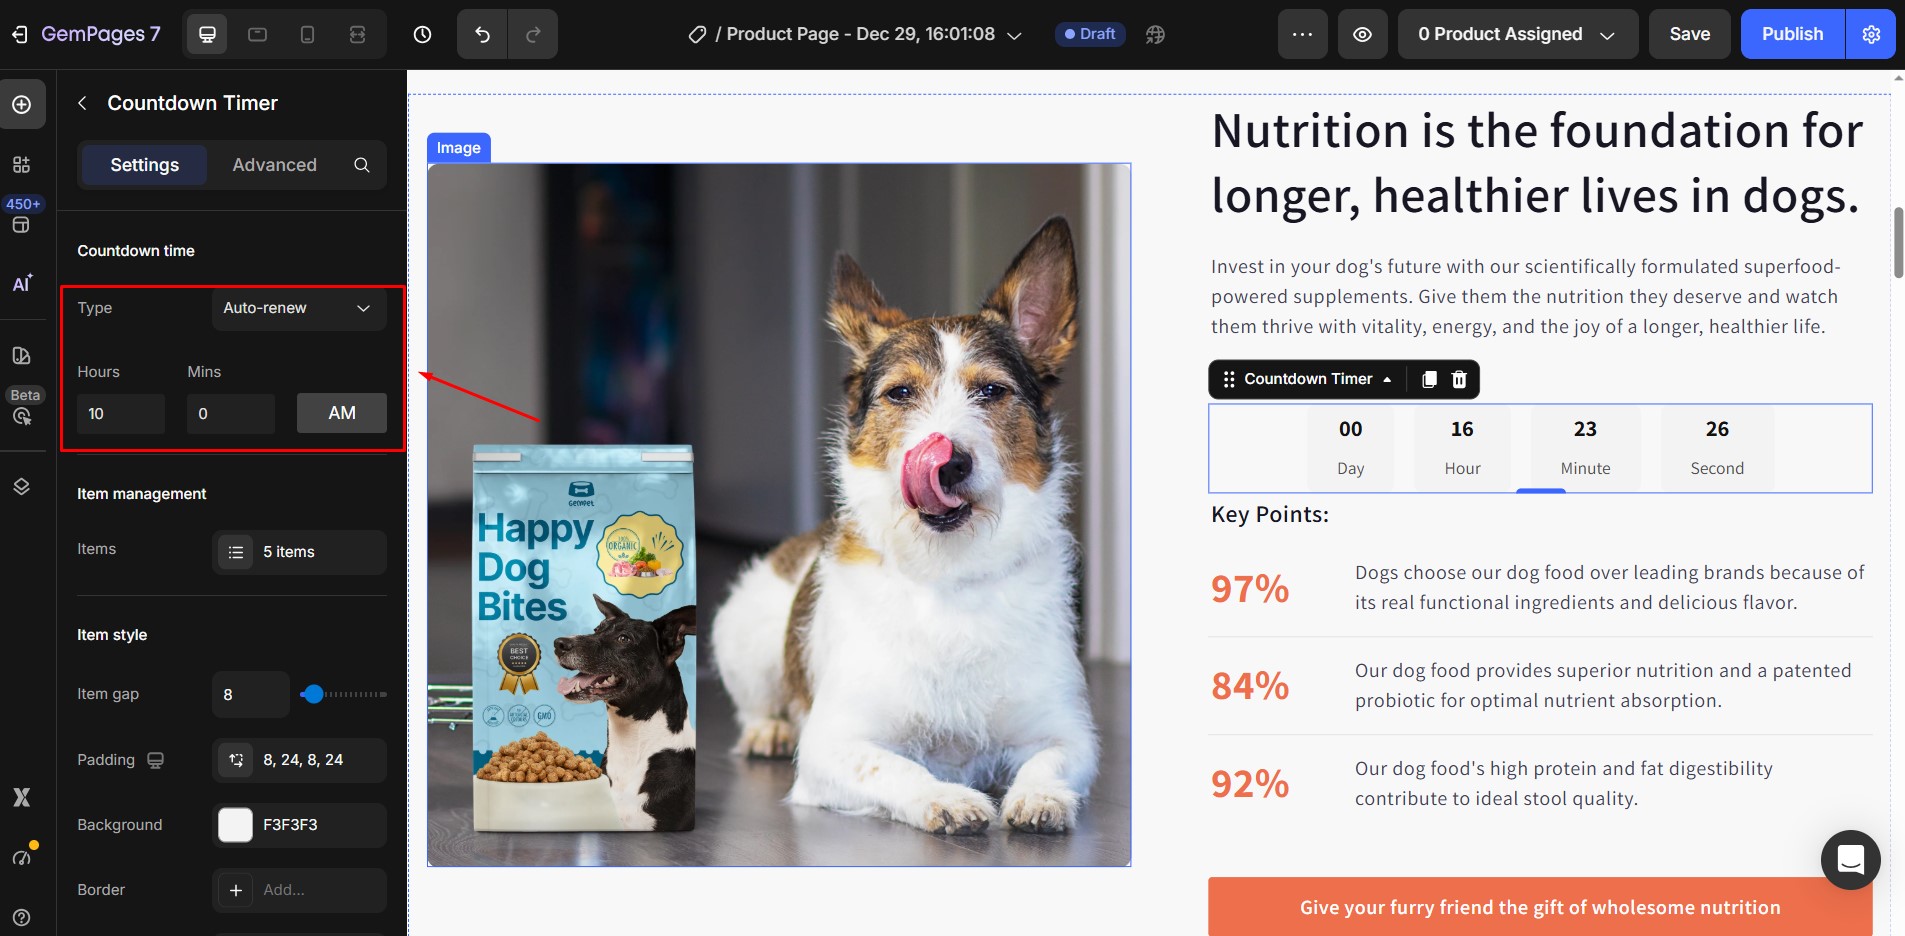
2. Auto-renew
If you choose Auto-renew, you will need to set a daily recurring countdown that automatically resets at your chosen time each day. You can also choose to display the timer based on the visitor’s local device time zone, ensuring the countdown aligns with their current time.
For example, if you set the reset time to 6:00 AM, the timer will automatically restart at 6:00 AM every day according to the user’s device time.
3. Manual
If you choose Manual, you will need to start the countdown once a visitor lands on the page, and set how long it should run. Also, you can choose this option with Loop mode ON to restart the timer automatically when it finishes.

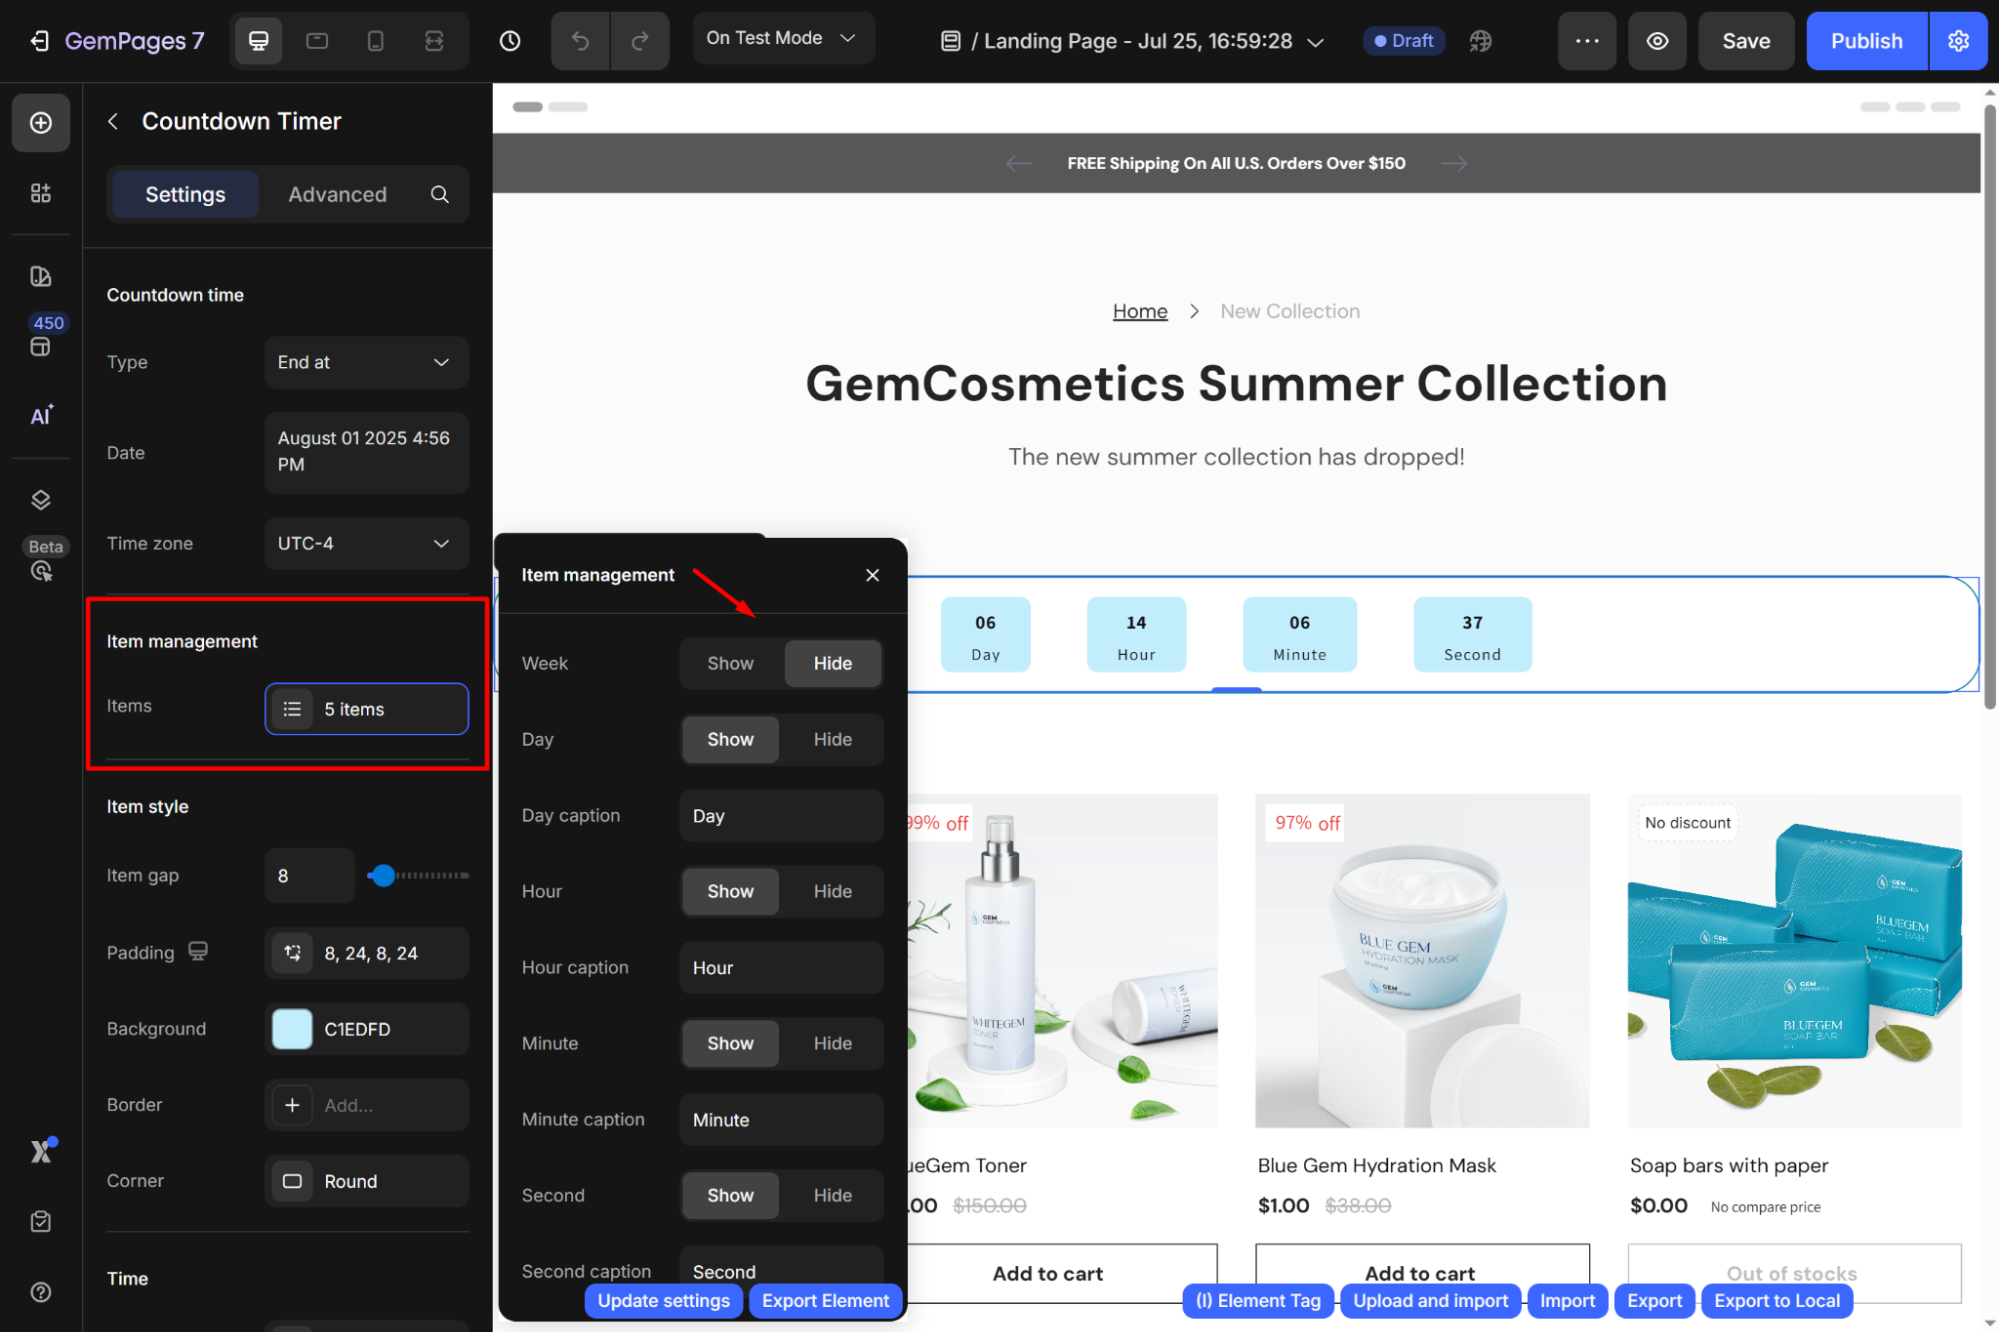
Item management
Choose the items to display with the Countdown Timer element.
Item style
In this section, you can configure:
- Item gap: Adjust the height of the item box.
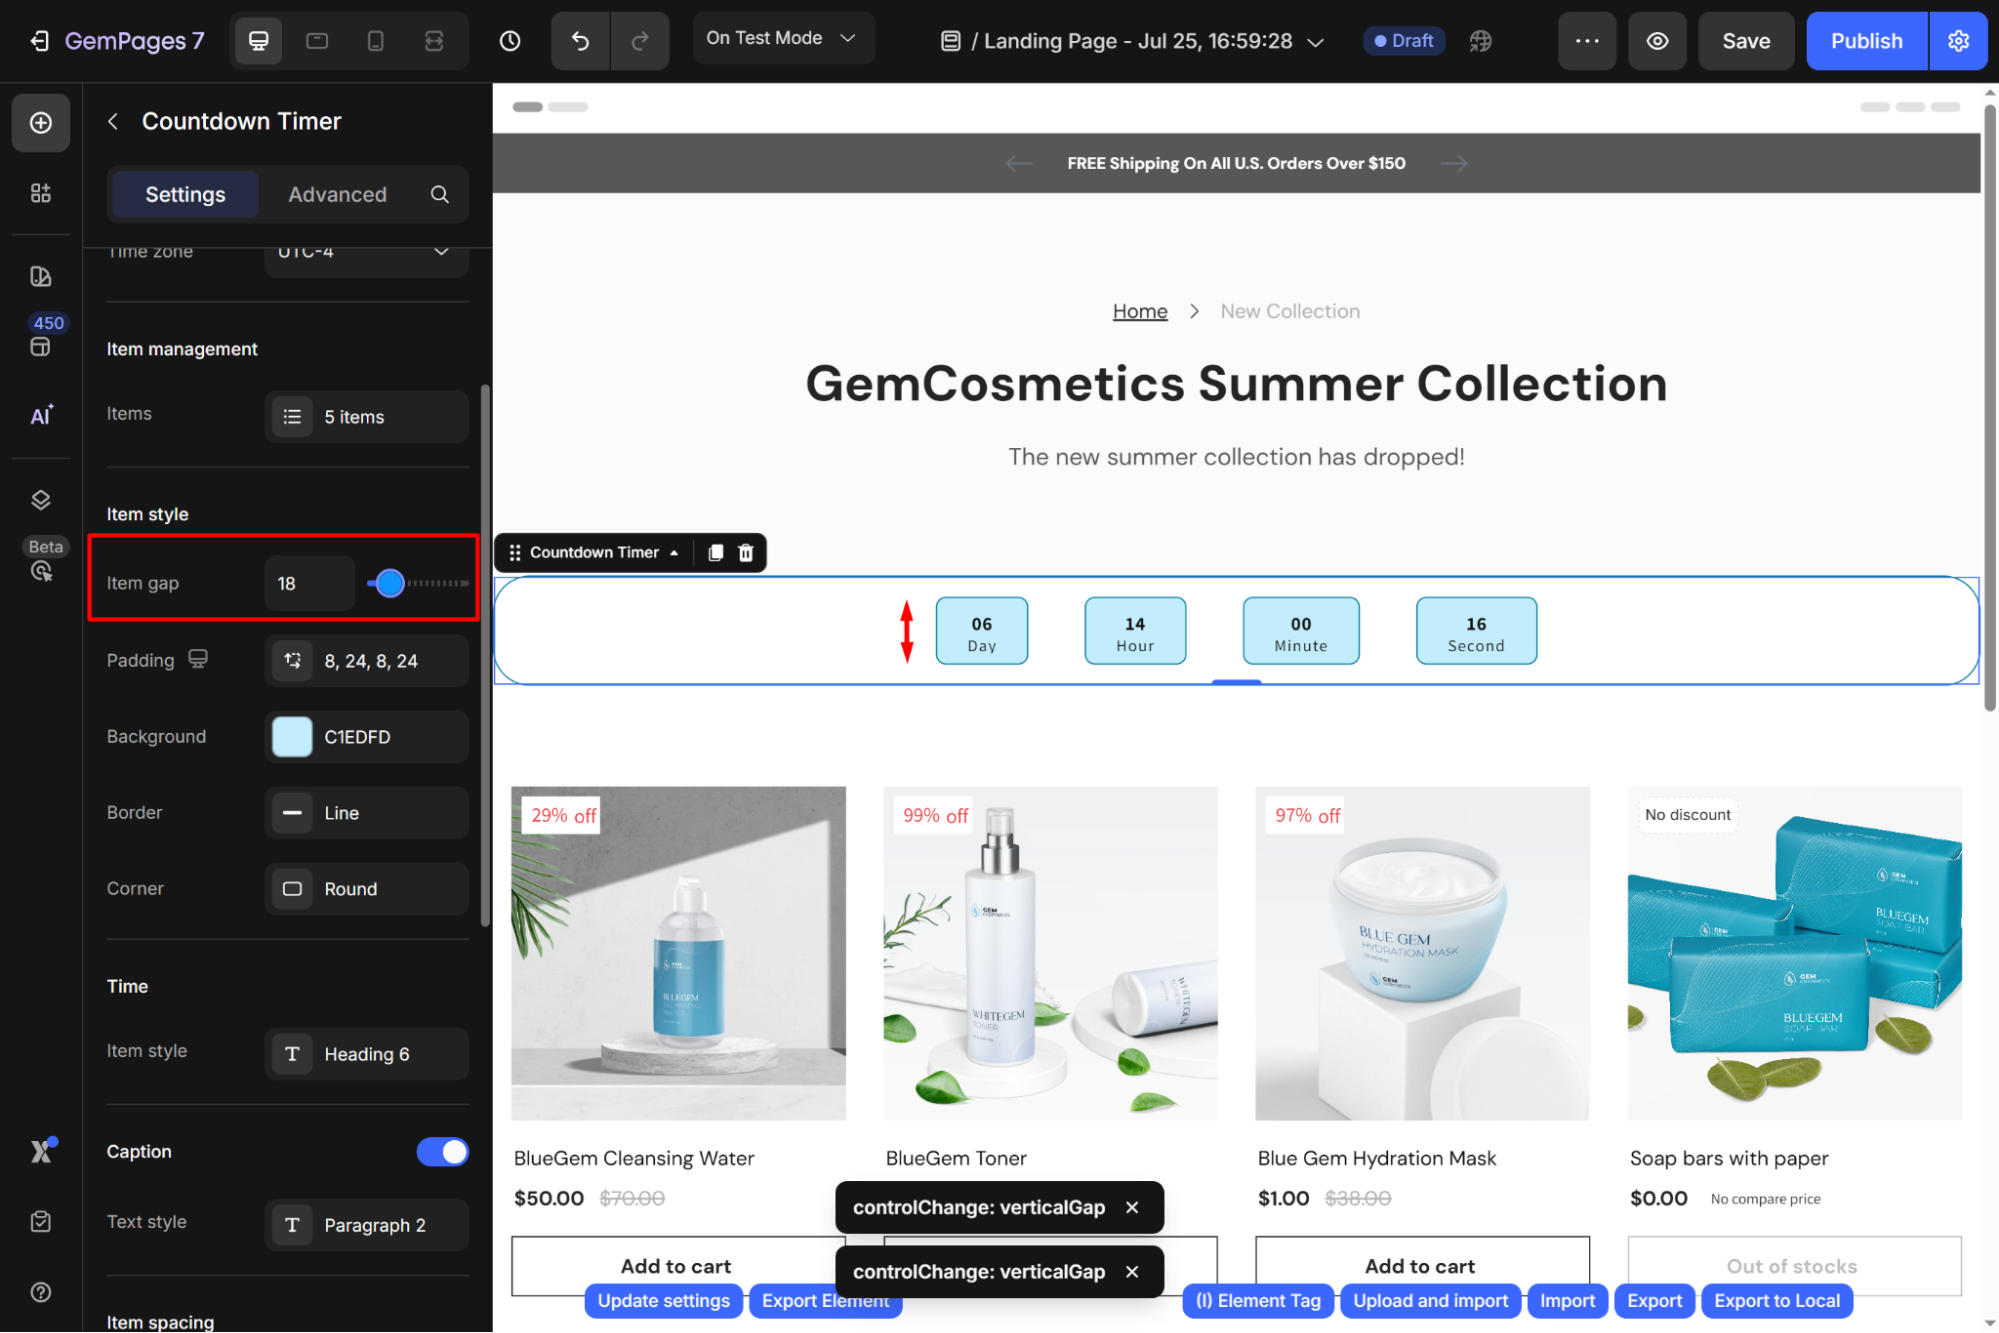
- Padding: Set the padding for all.
- Background: Set the color background for all items.
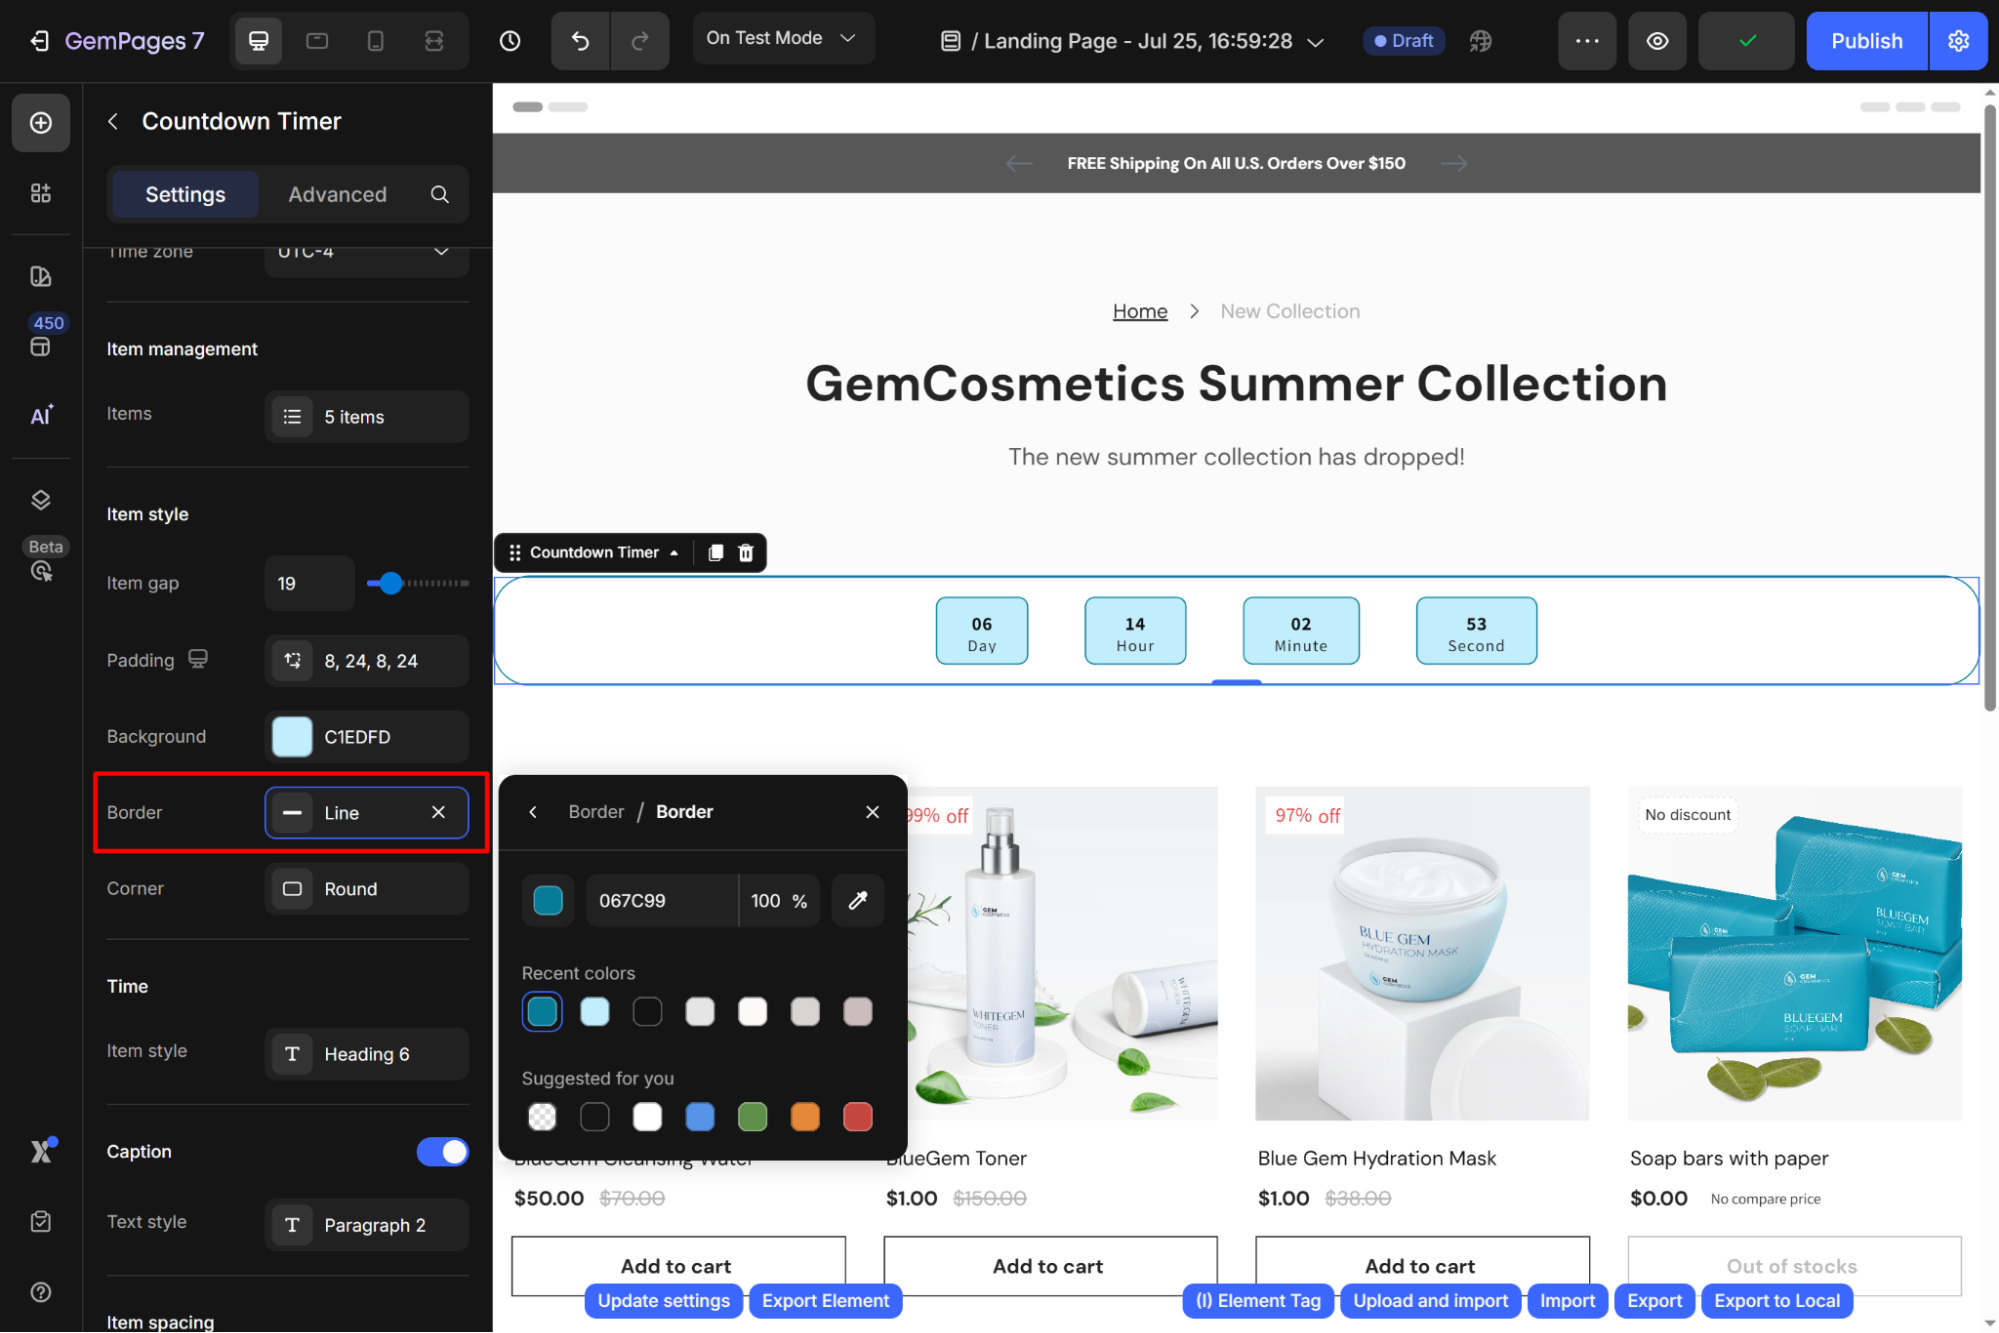
- Border: Click the “Add…” button to add a border for all items.
- Corner: The default round corner is 8px.
Time
Choose the Item style to display the Time for this countdown timer. You can change the style, font, size, and color, and add the transform/shadow effect for this text.

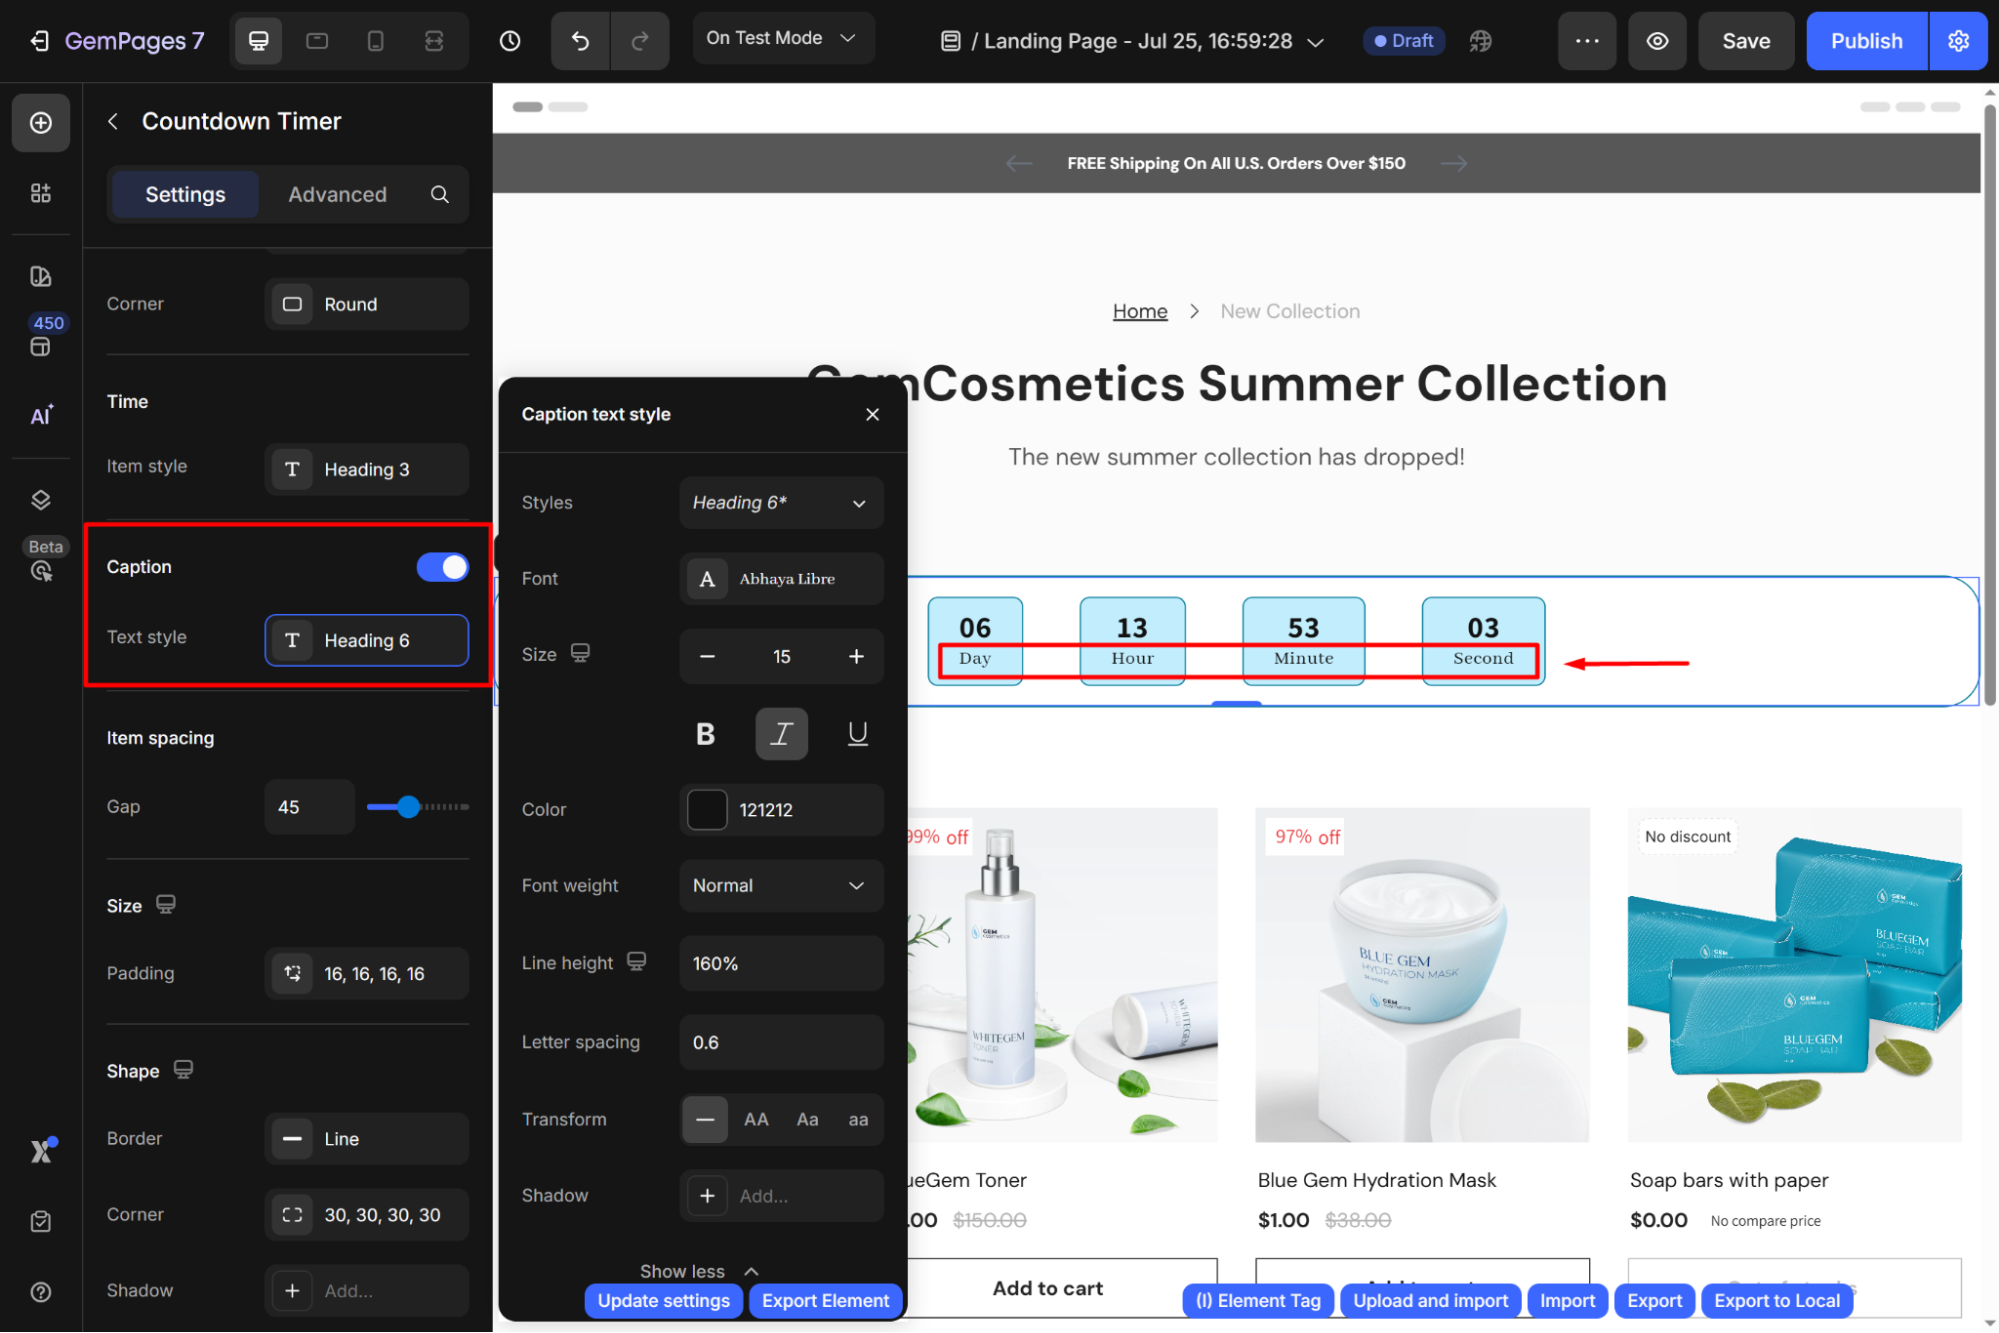
Caption
Toggle this section to configure the Text style of your caption text.
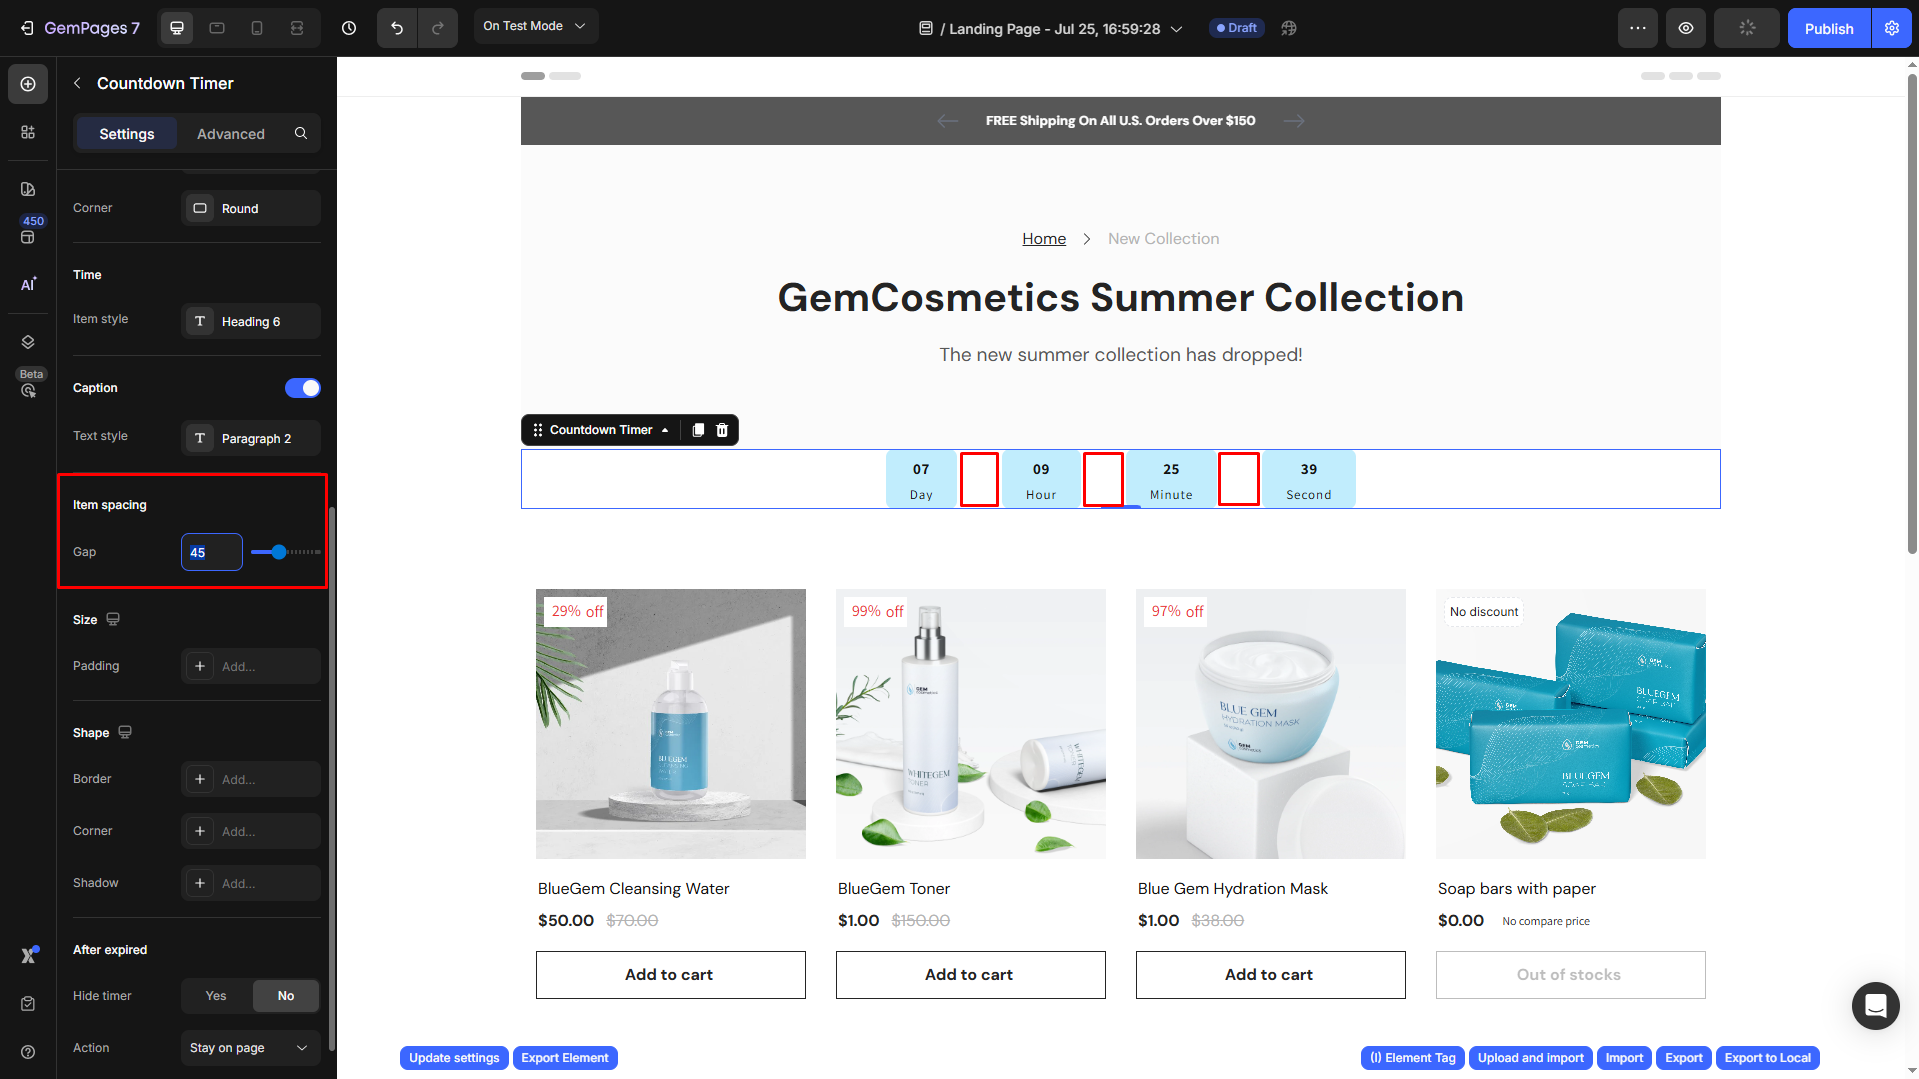
Item spacing
Adjust the spacing between each item box by entering an exact number or dragging the slider.
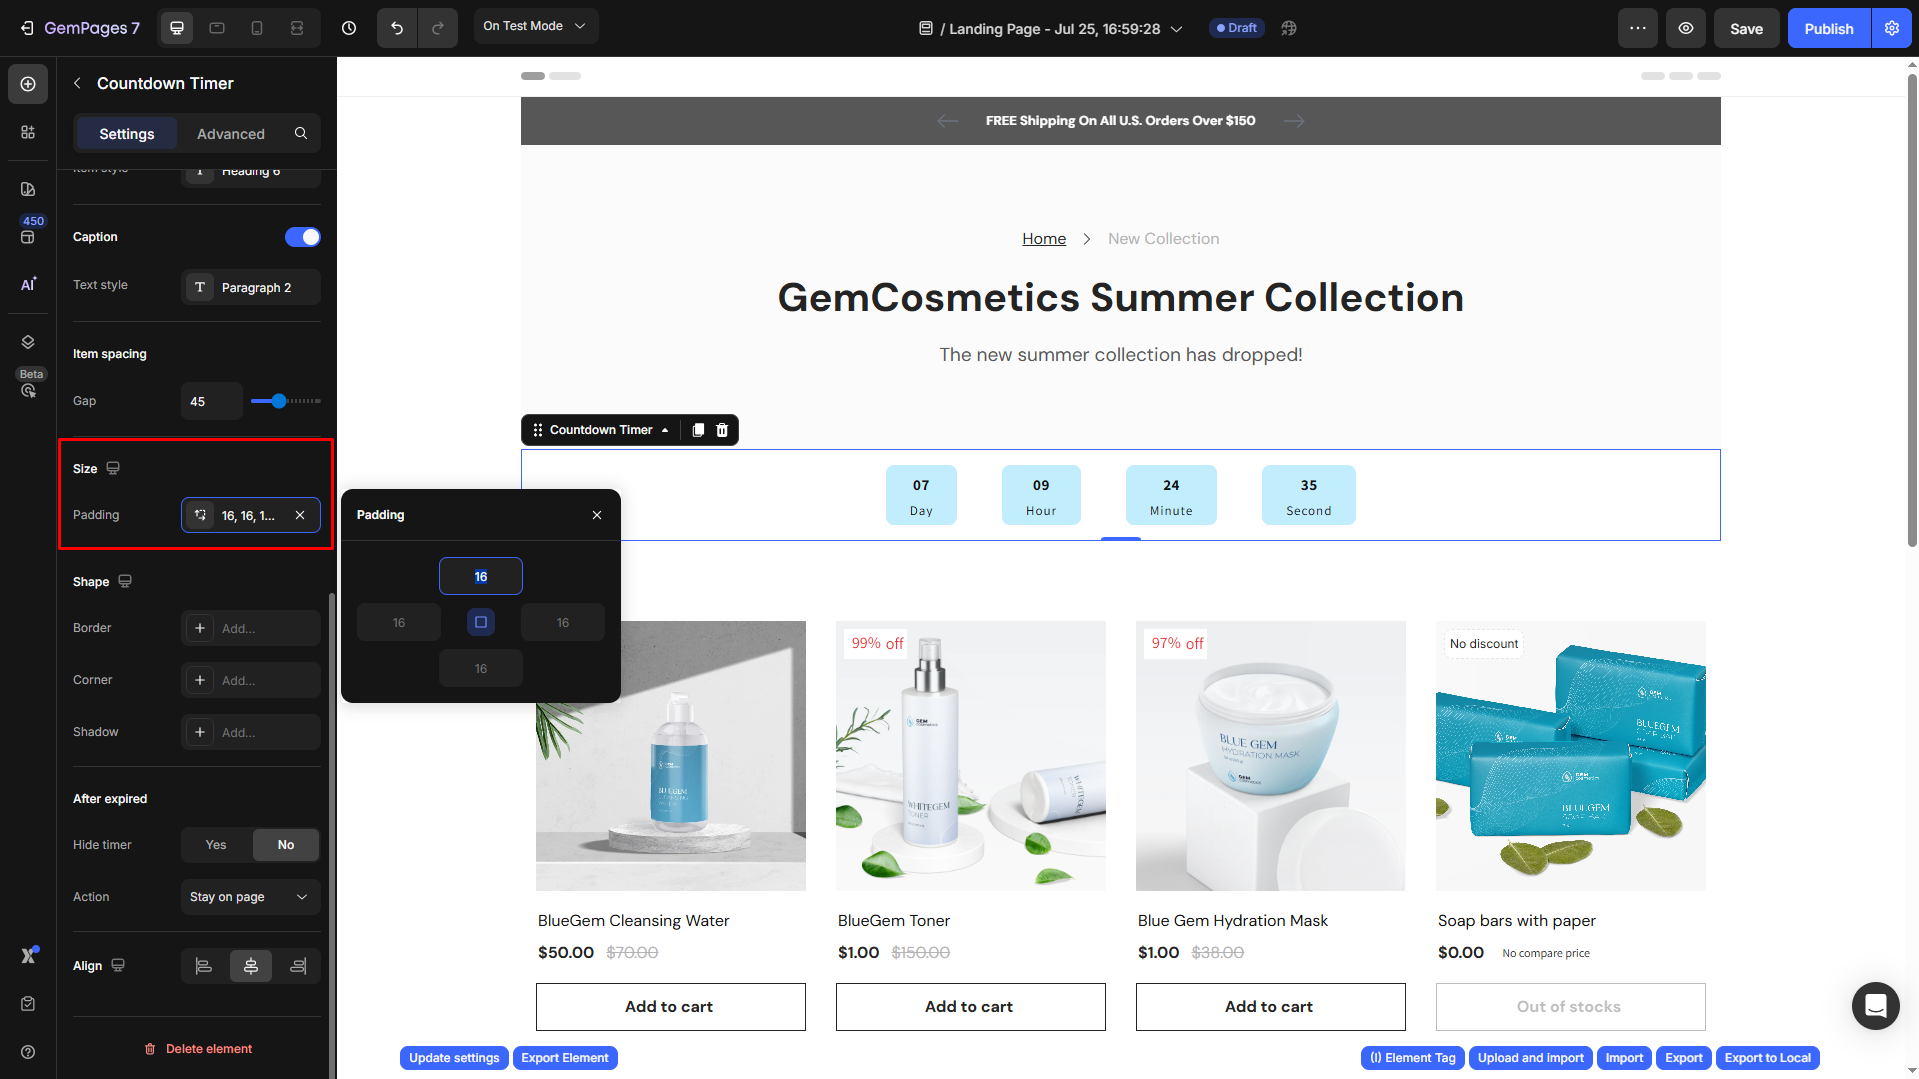
Size
Set padding for the Countdown Timer element.
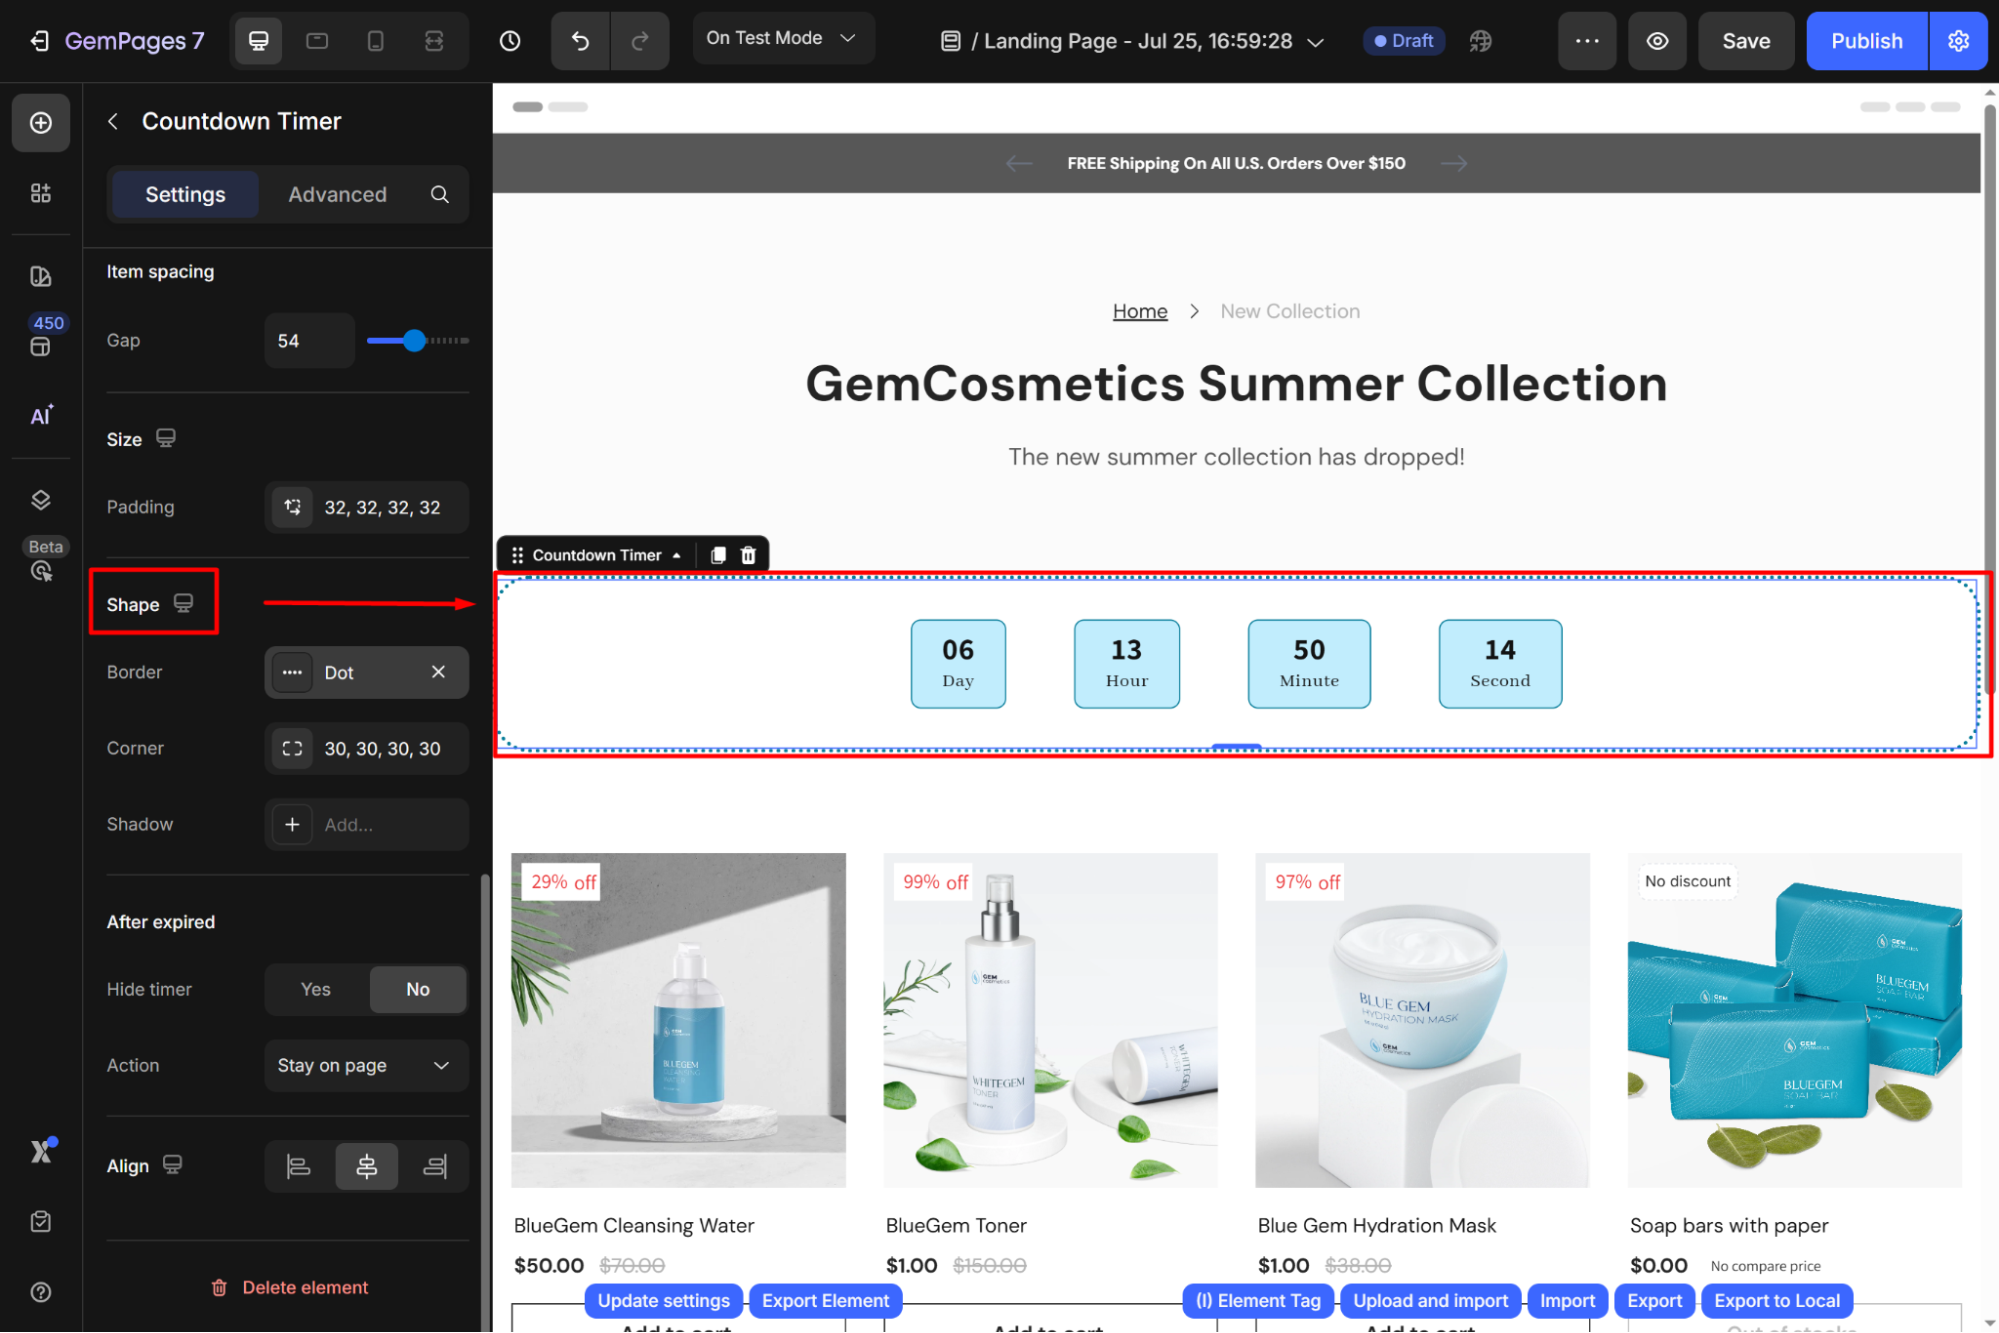
Shape
Select the border type (dot, dash, or line), corner radius, and shadow type & color for the element’s shape.
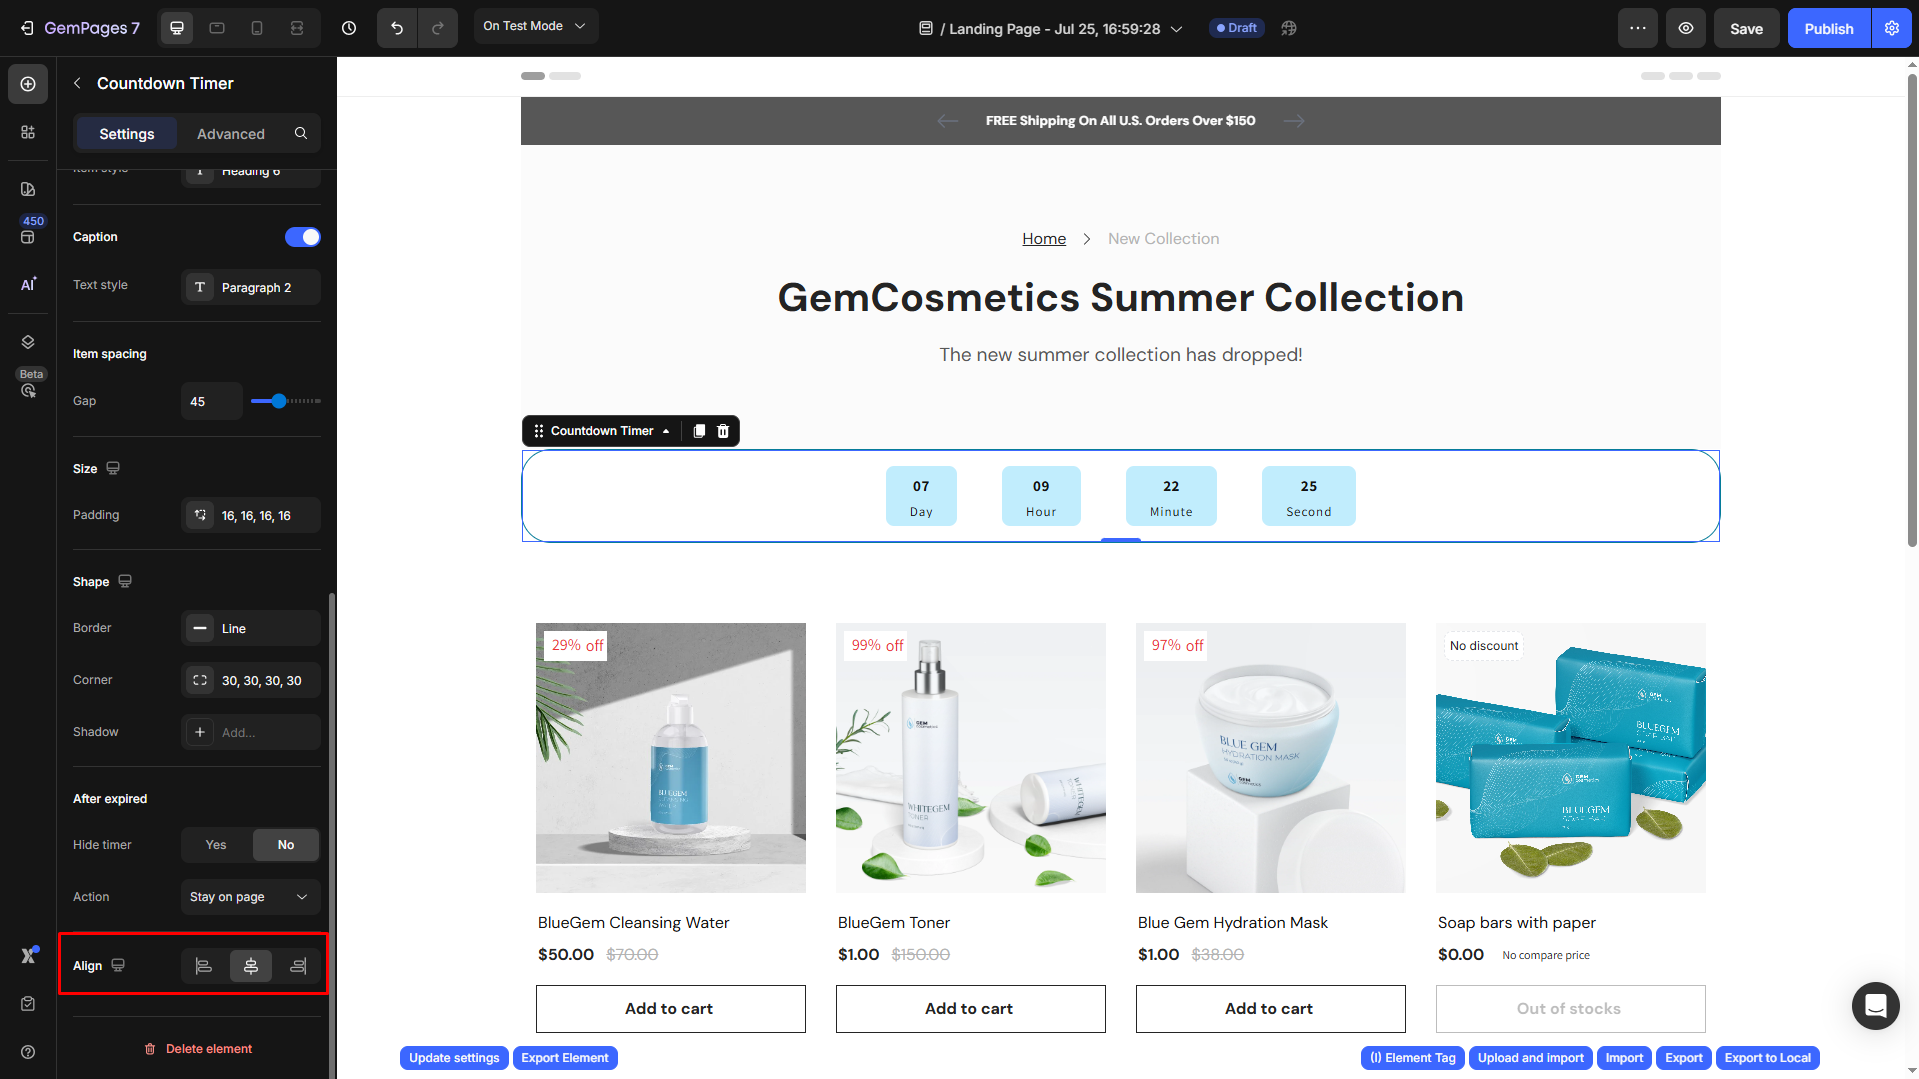
After expired
In this section, you can configure the action after the countdown timer ends:
- Hide timer: Hit Yes if you want to hide the element; otherwise, select No.
- Action: Choose from the dropdown, including: Stay on page, Open page, Scroll to, Open popup, Send email, or Make phone call.

Align
Adjust the alignment for this element: left-aligned, center-aligned, or right-aligned.
Configure the Advanced Tab
For more advanced customization, please navigate to the Advanced tab and follow the instructions in this article.
And there you have it!


Thank you for your comments