


In GemPages v7, you can put text over an image by using a Hero Banner element or a Row element.
Method 1: Using the Hero Banner Element
The Hero Banner element is designed to create impactful Hero banners or collection banners that link to collection pages, among other use cases.
By default, it provides presets that allow you to set a background and edit text on the background image. This makes it an ideal solution for situations where text needs to be placed over an image.
Step 1: Enter the GemPages Editor
From the GemPages Dashboard, navigate to the Pages, and click on the target page to open the editor.
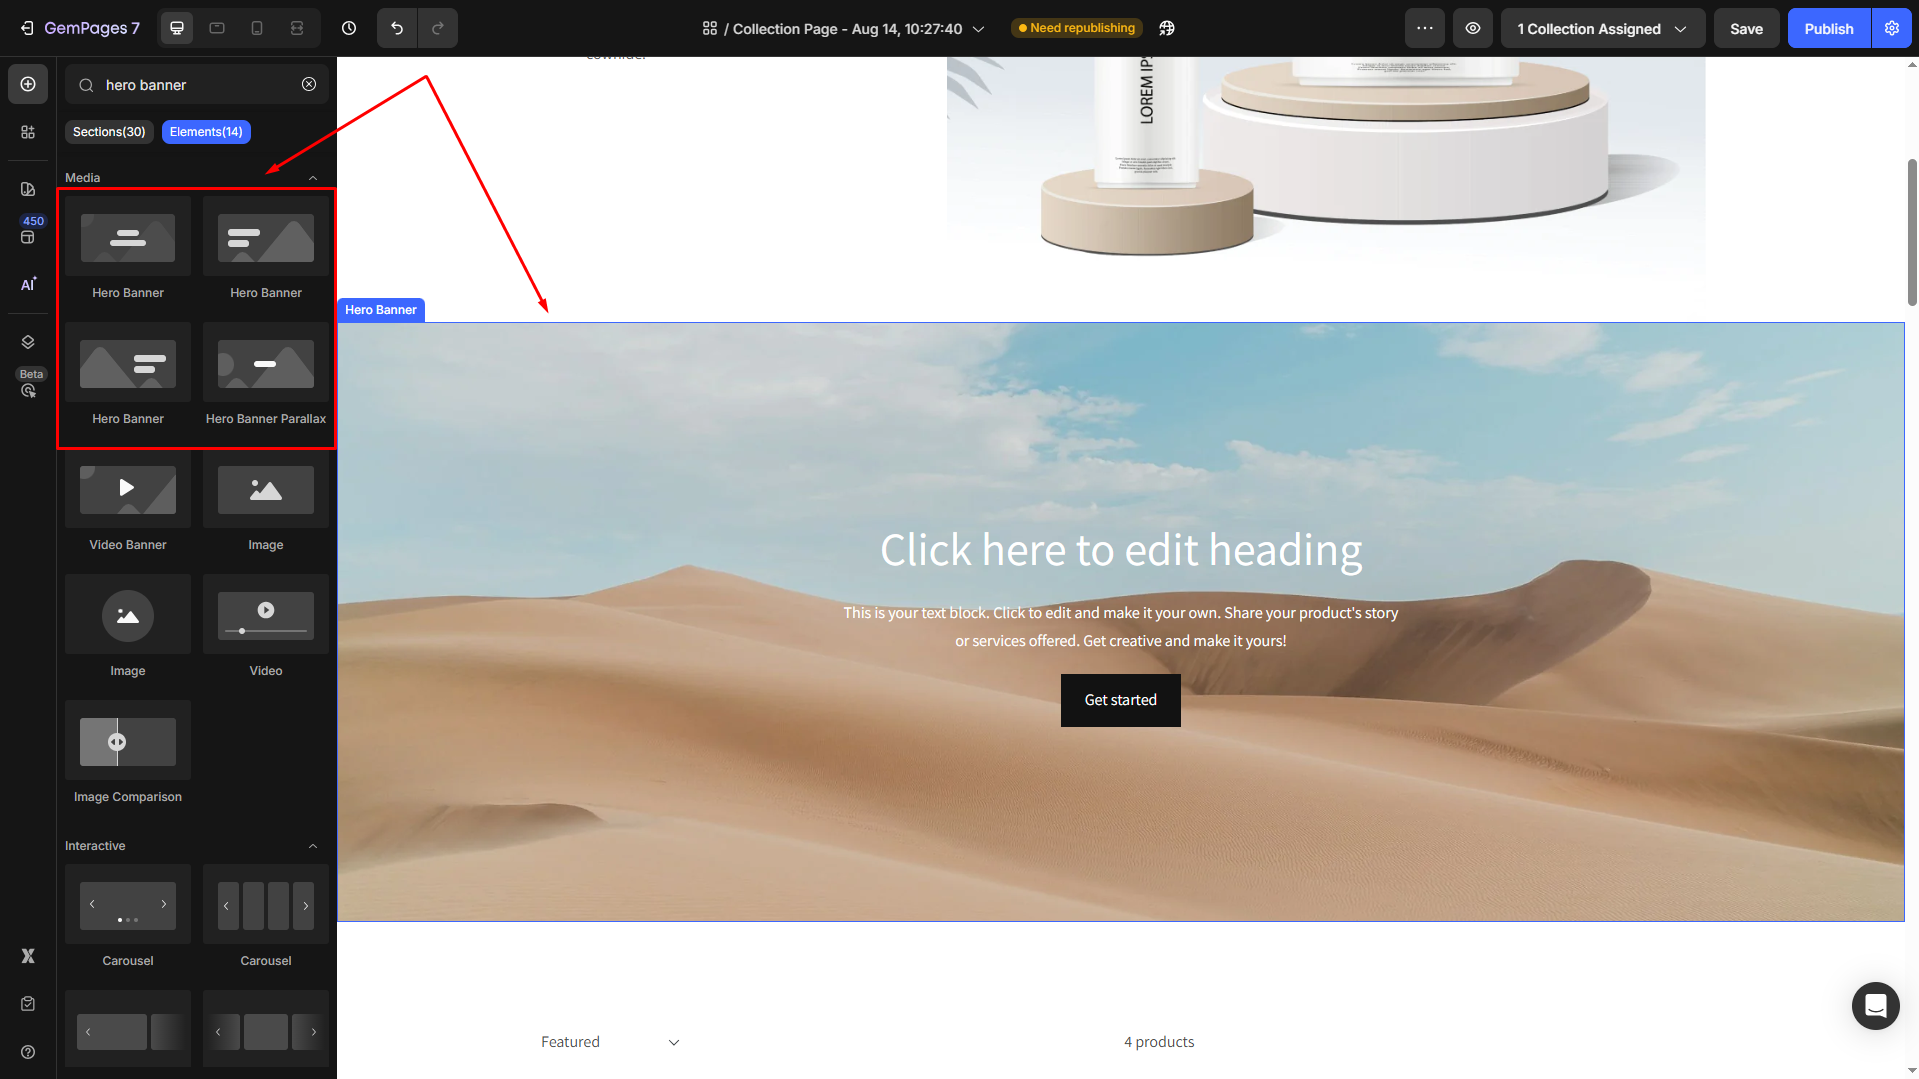
In the left sidebar, find the Hero Banner element under the Media section, then drag and drop it to any position on your page.
Step 2: Upload and modify your image
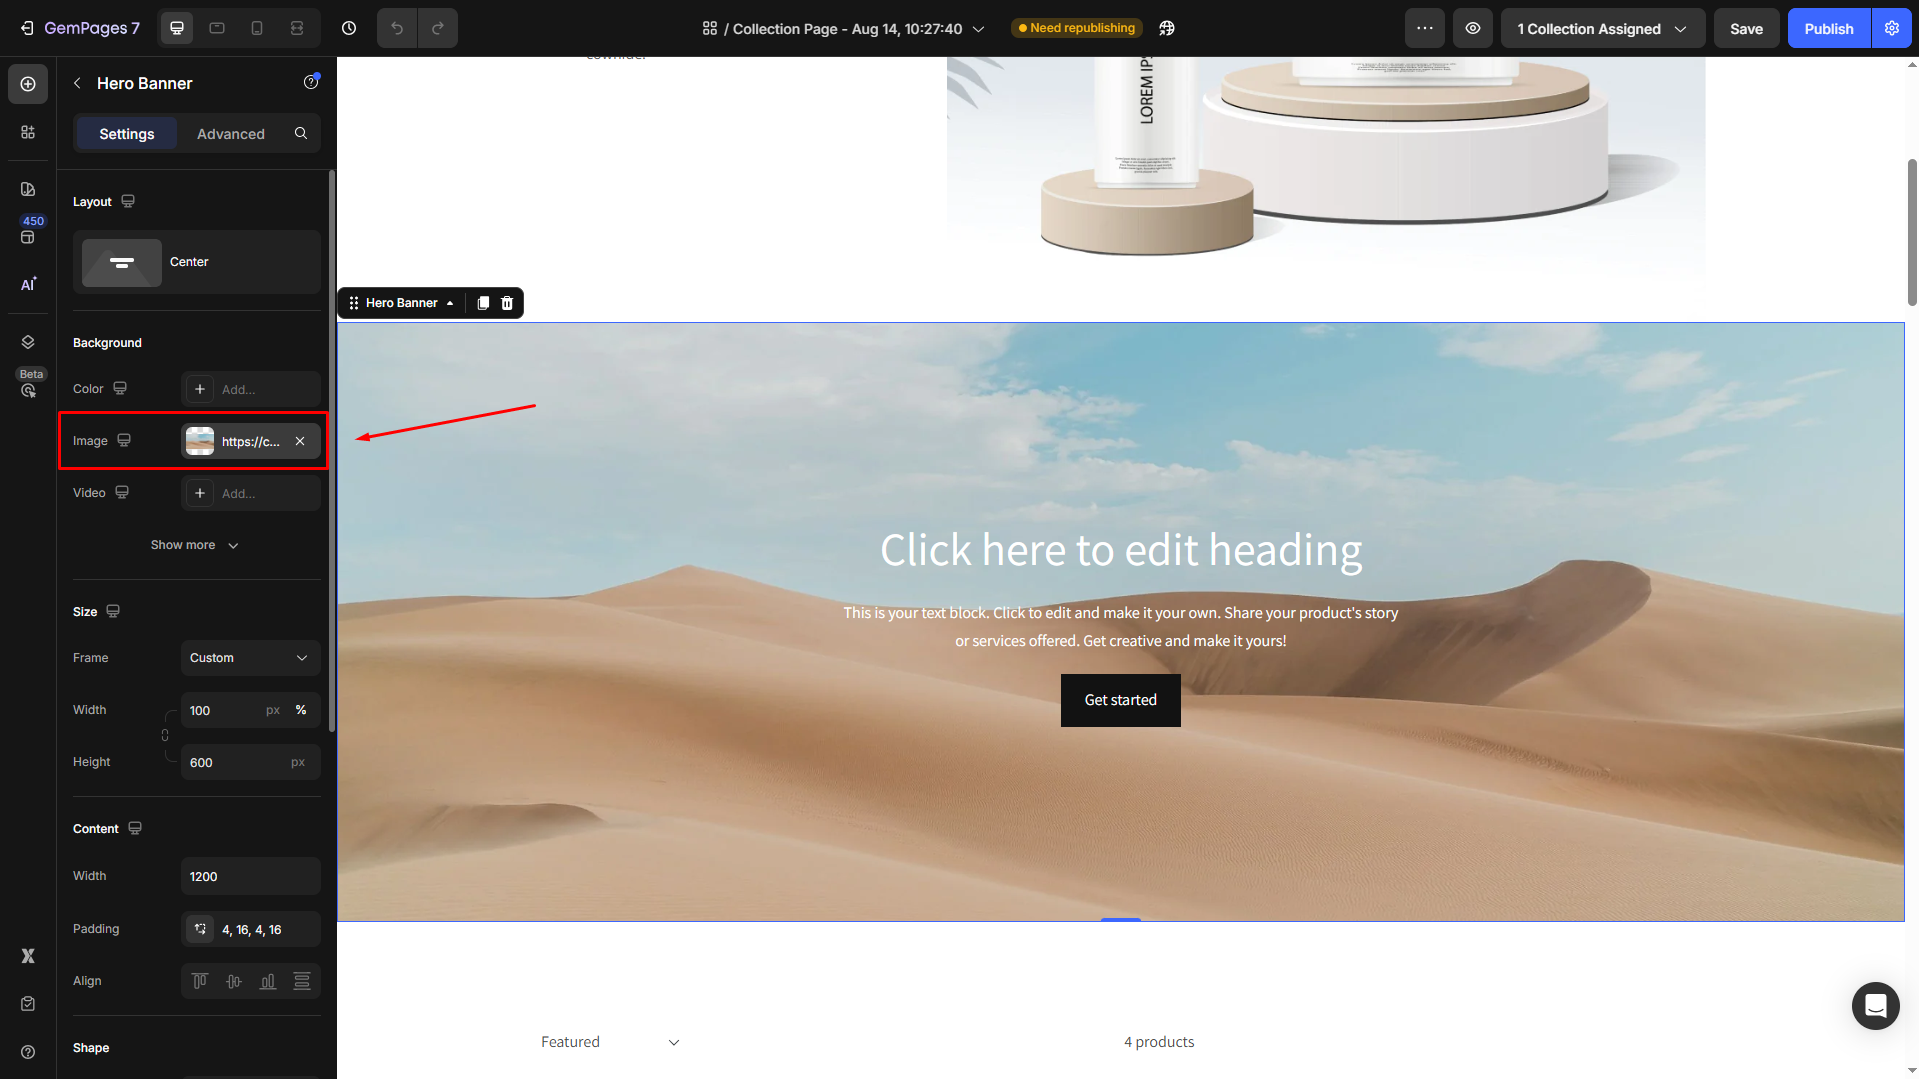
- Click on the element to open the Settings panel. Scroll down to the Background section and click the Image field.
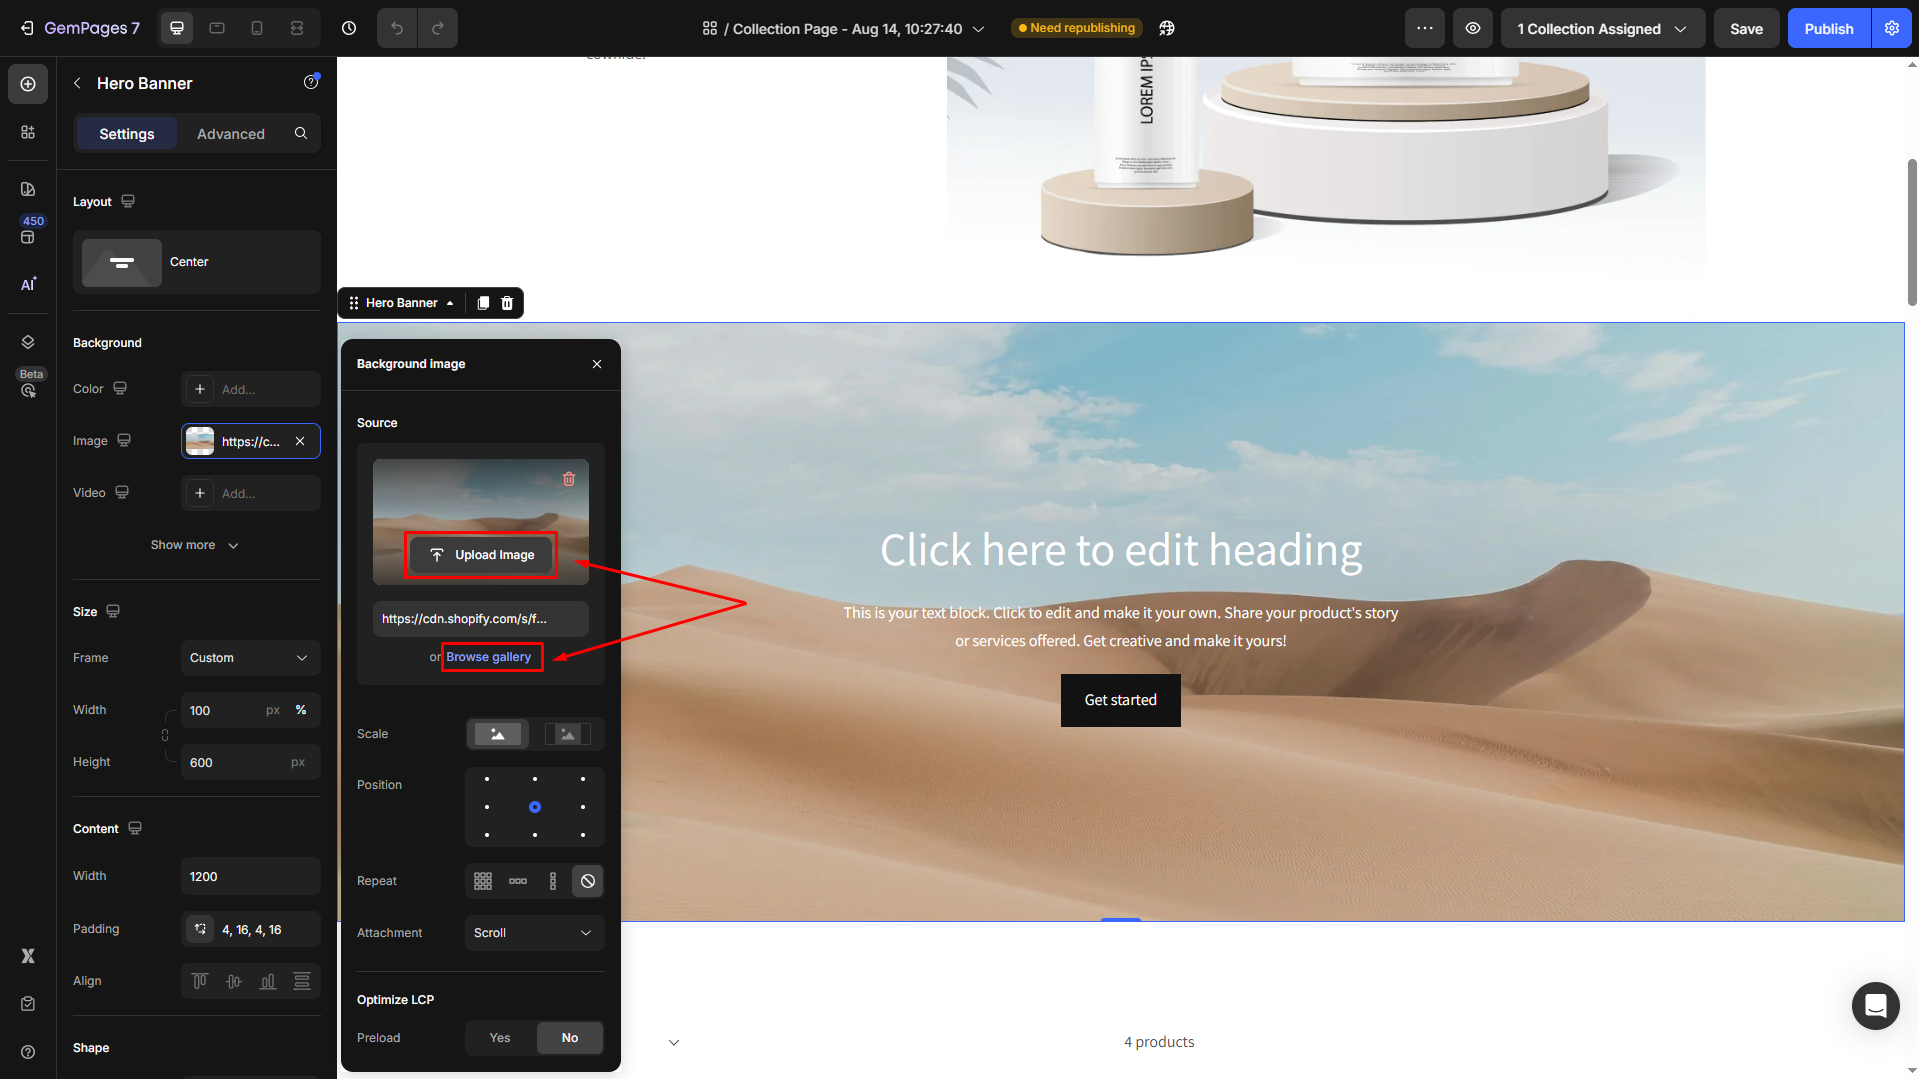
- Under the Source, hover over the sample image and click Upload image to upload your image. If you have uploaded it to Shopify’s Files, select Browse library.
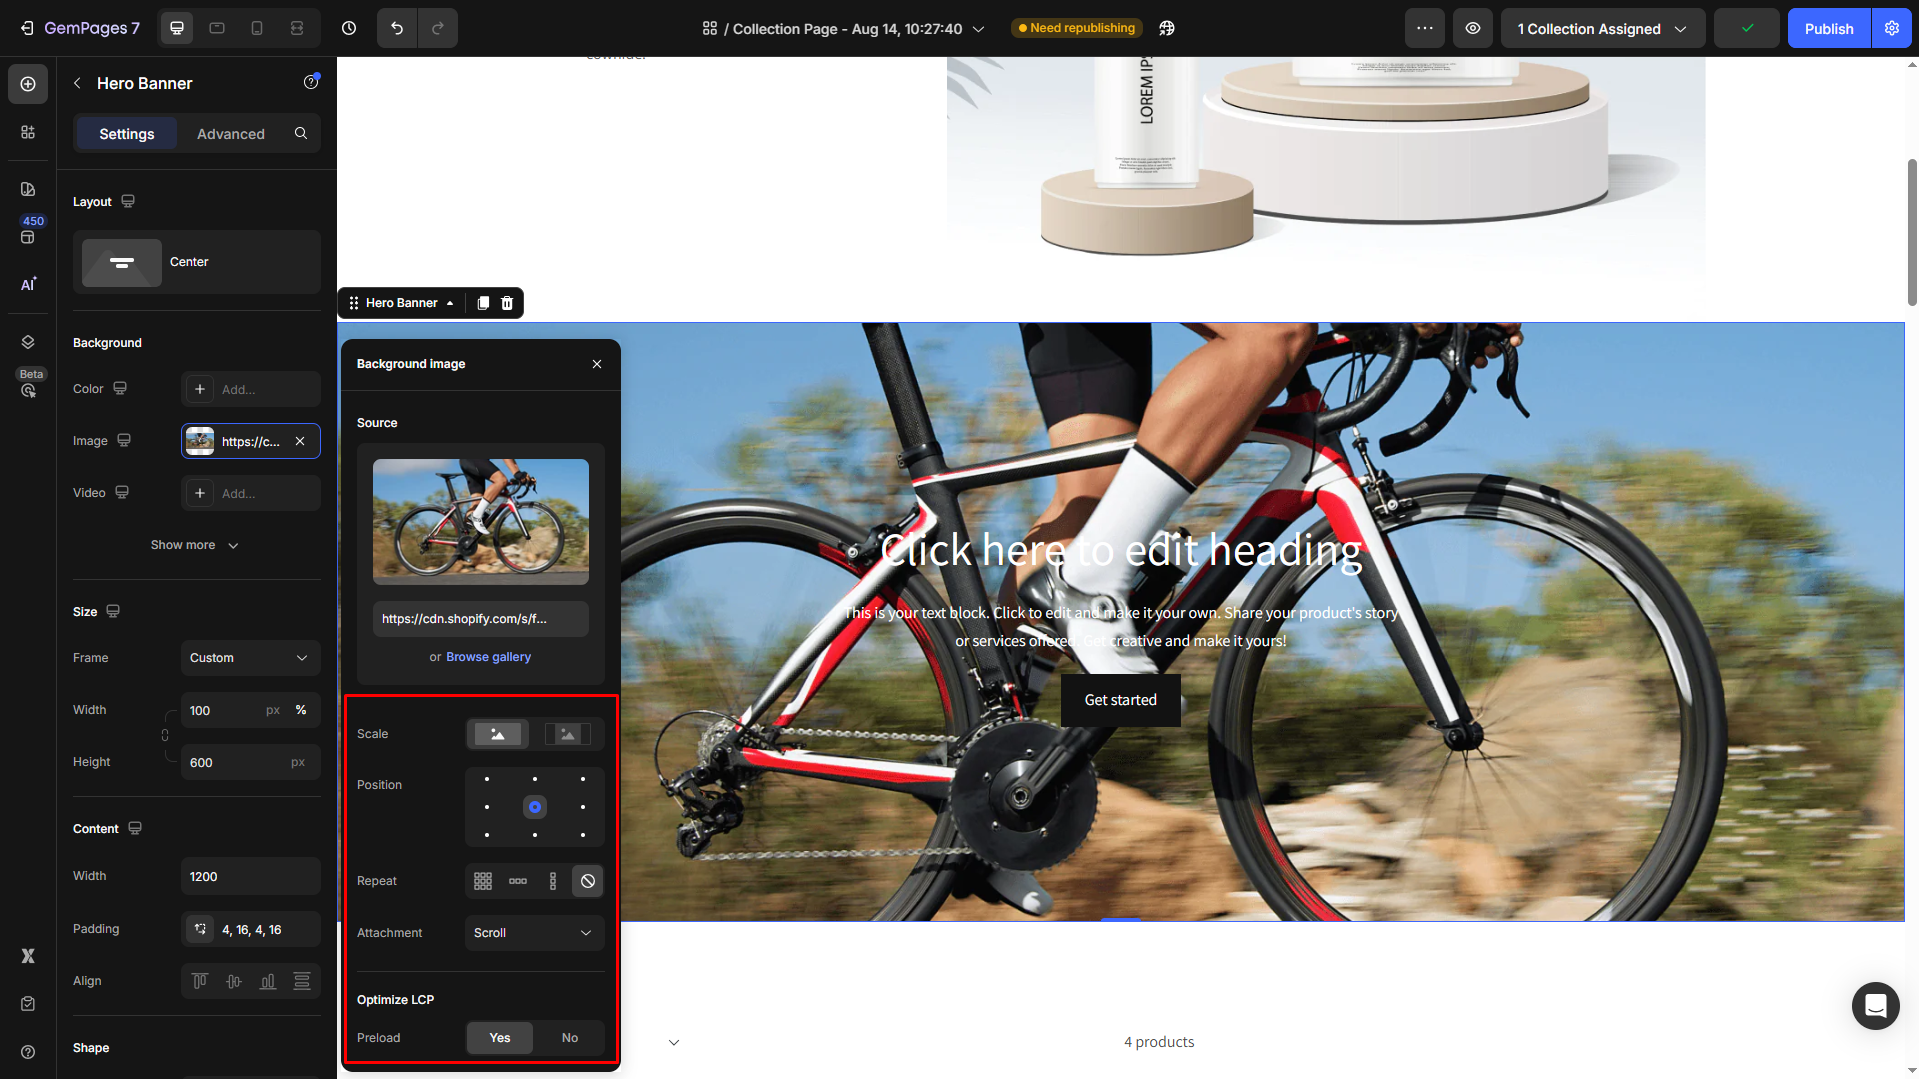
- Modify the image’s settings as you prefer. Refer to this article for more details about configuring your image background in the Hero Banner.
To improve readability, you can apply an Overlay:
- In the Background section, click Show more, and locate the Overlay option.
- Choose a dark color (e.g., black or dark gray).
- Adjust the Opacity slider until the text stands out clearly against the background.
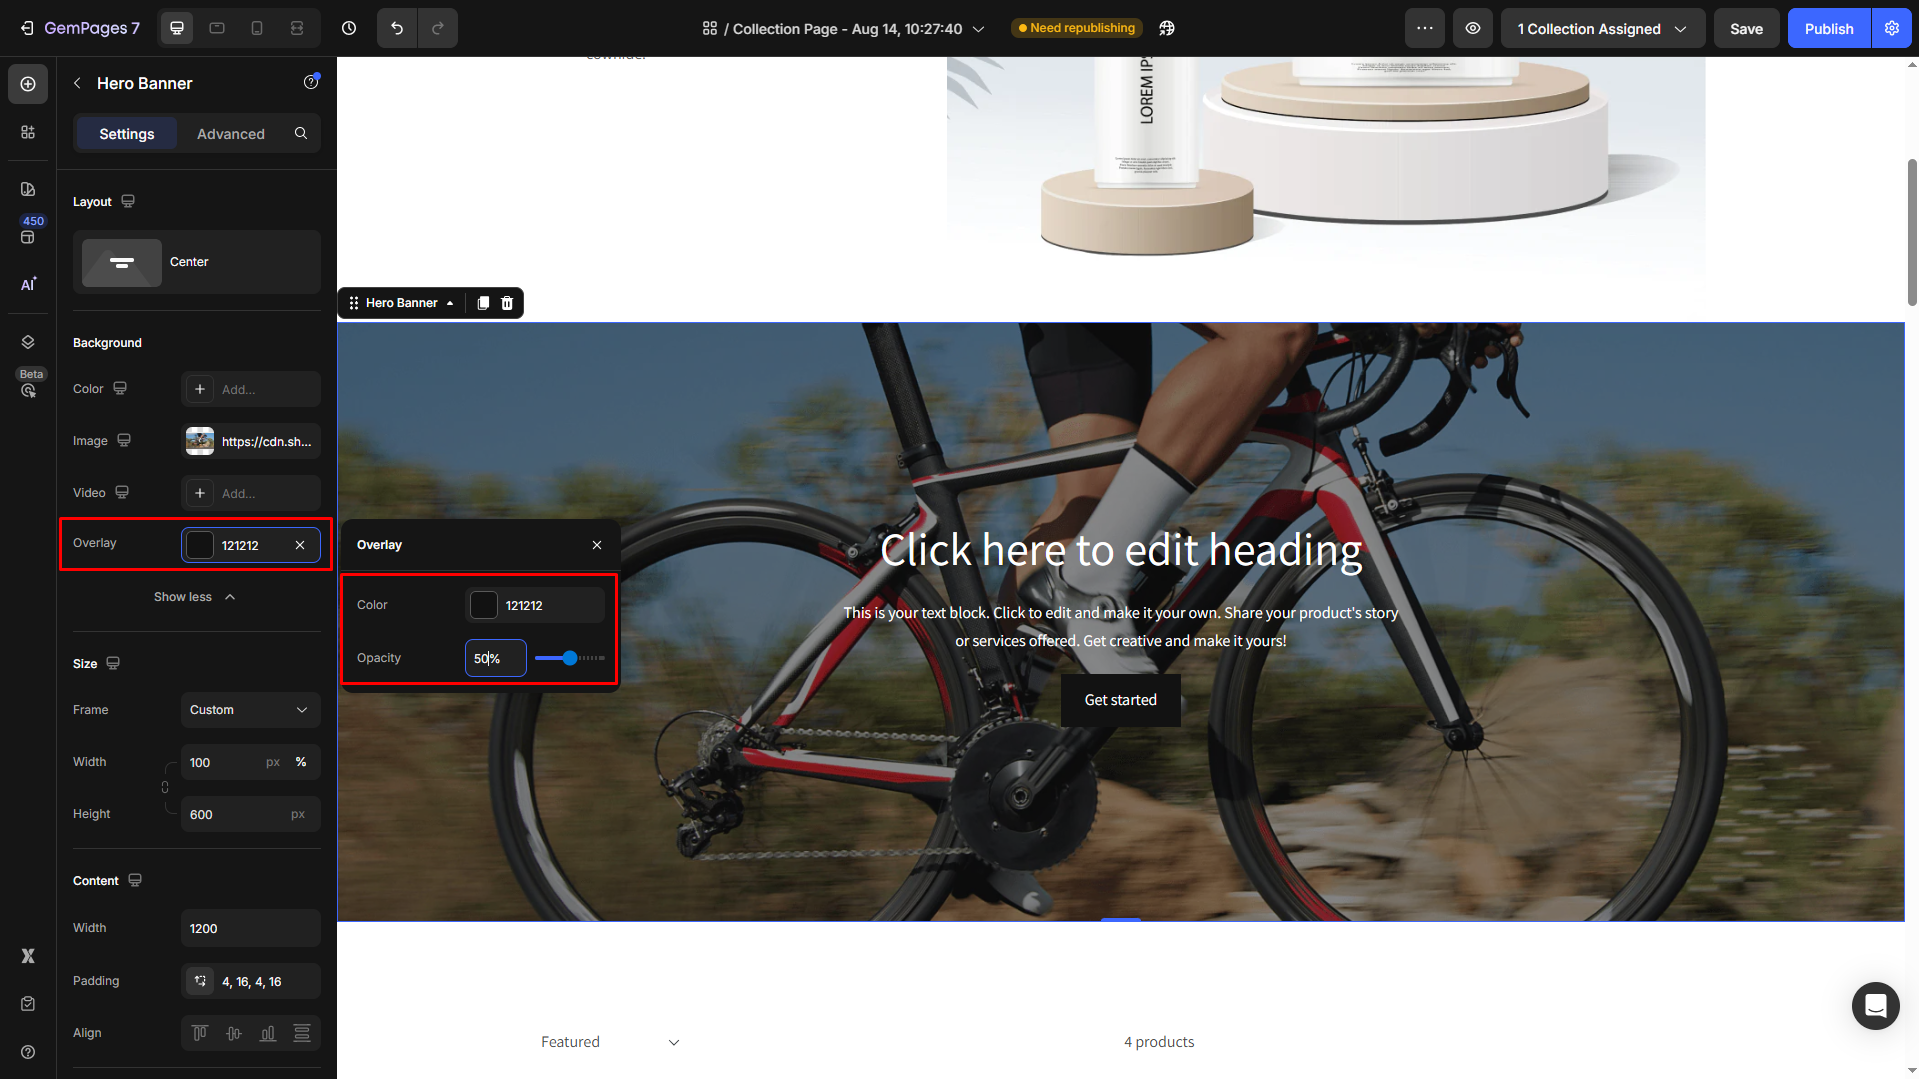
This creates a subtle dark layer over the image, making the text easier to read while keeping the background visually appealing.
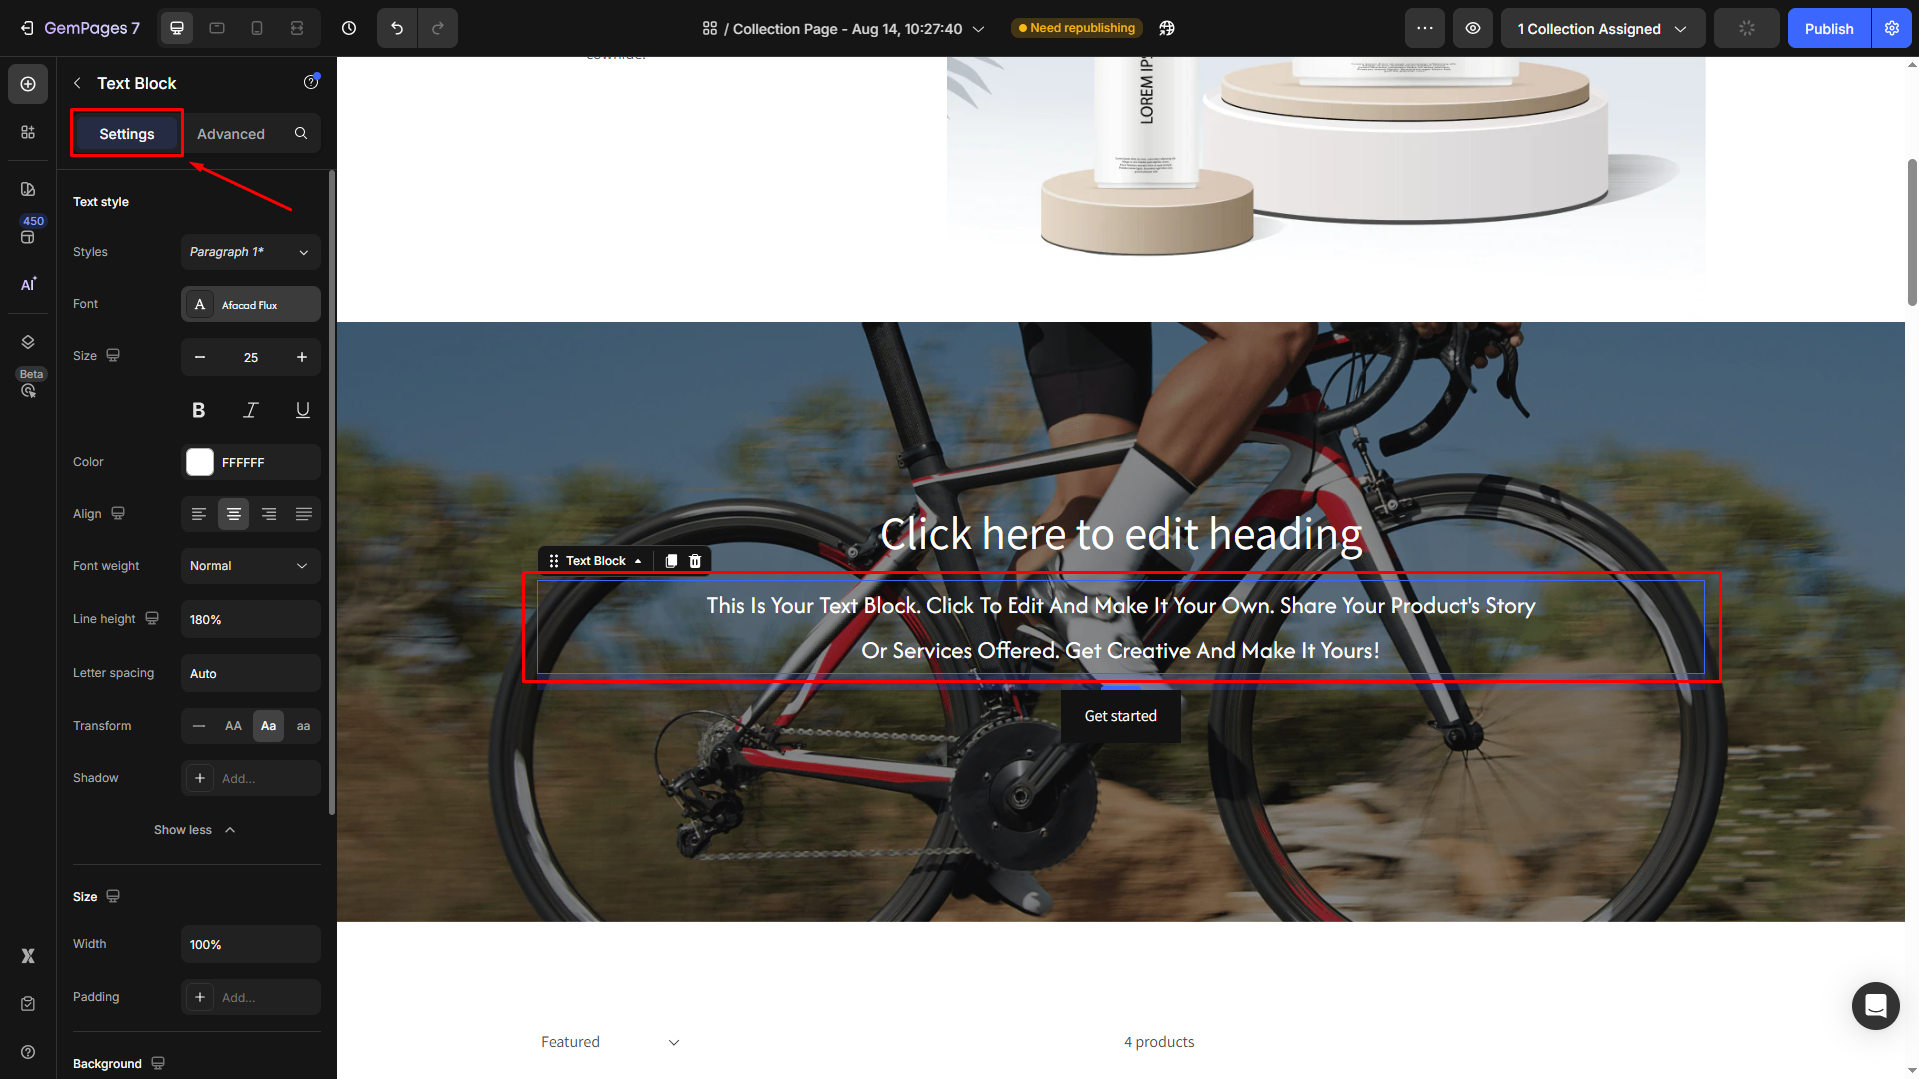
Step 3: Customize the Text Block
Click on the Text Block element to reveal its configuration. Then, customize the text’s font, size, and color right from the settings panel to ensure it stands out against the image.
For a full guide to Hero Banner settings, check out this article.
Method 2: Using the Row Element
Step 1: In the editor, drag and drop a Row element from the left sidebar to your page.
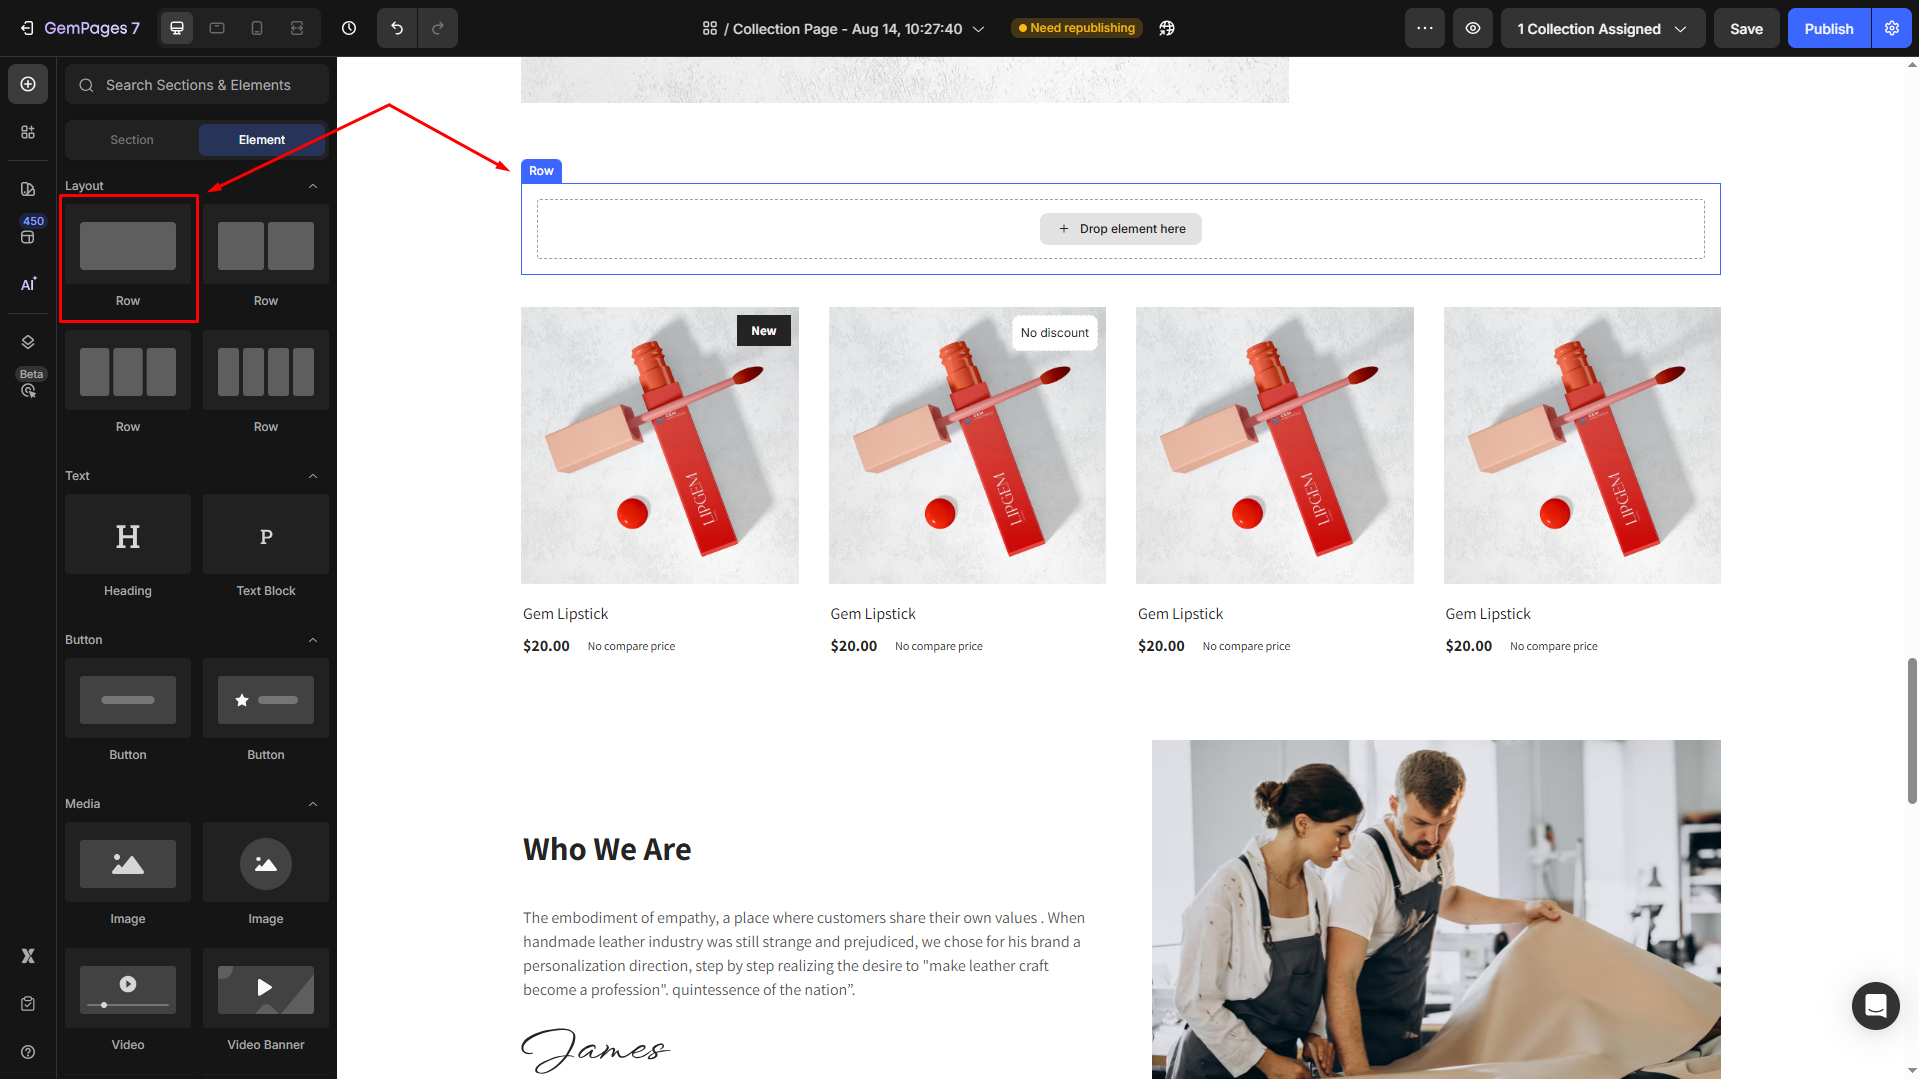
To understand Row Element deeply, check out this article.
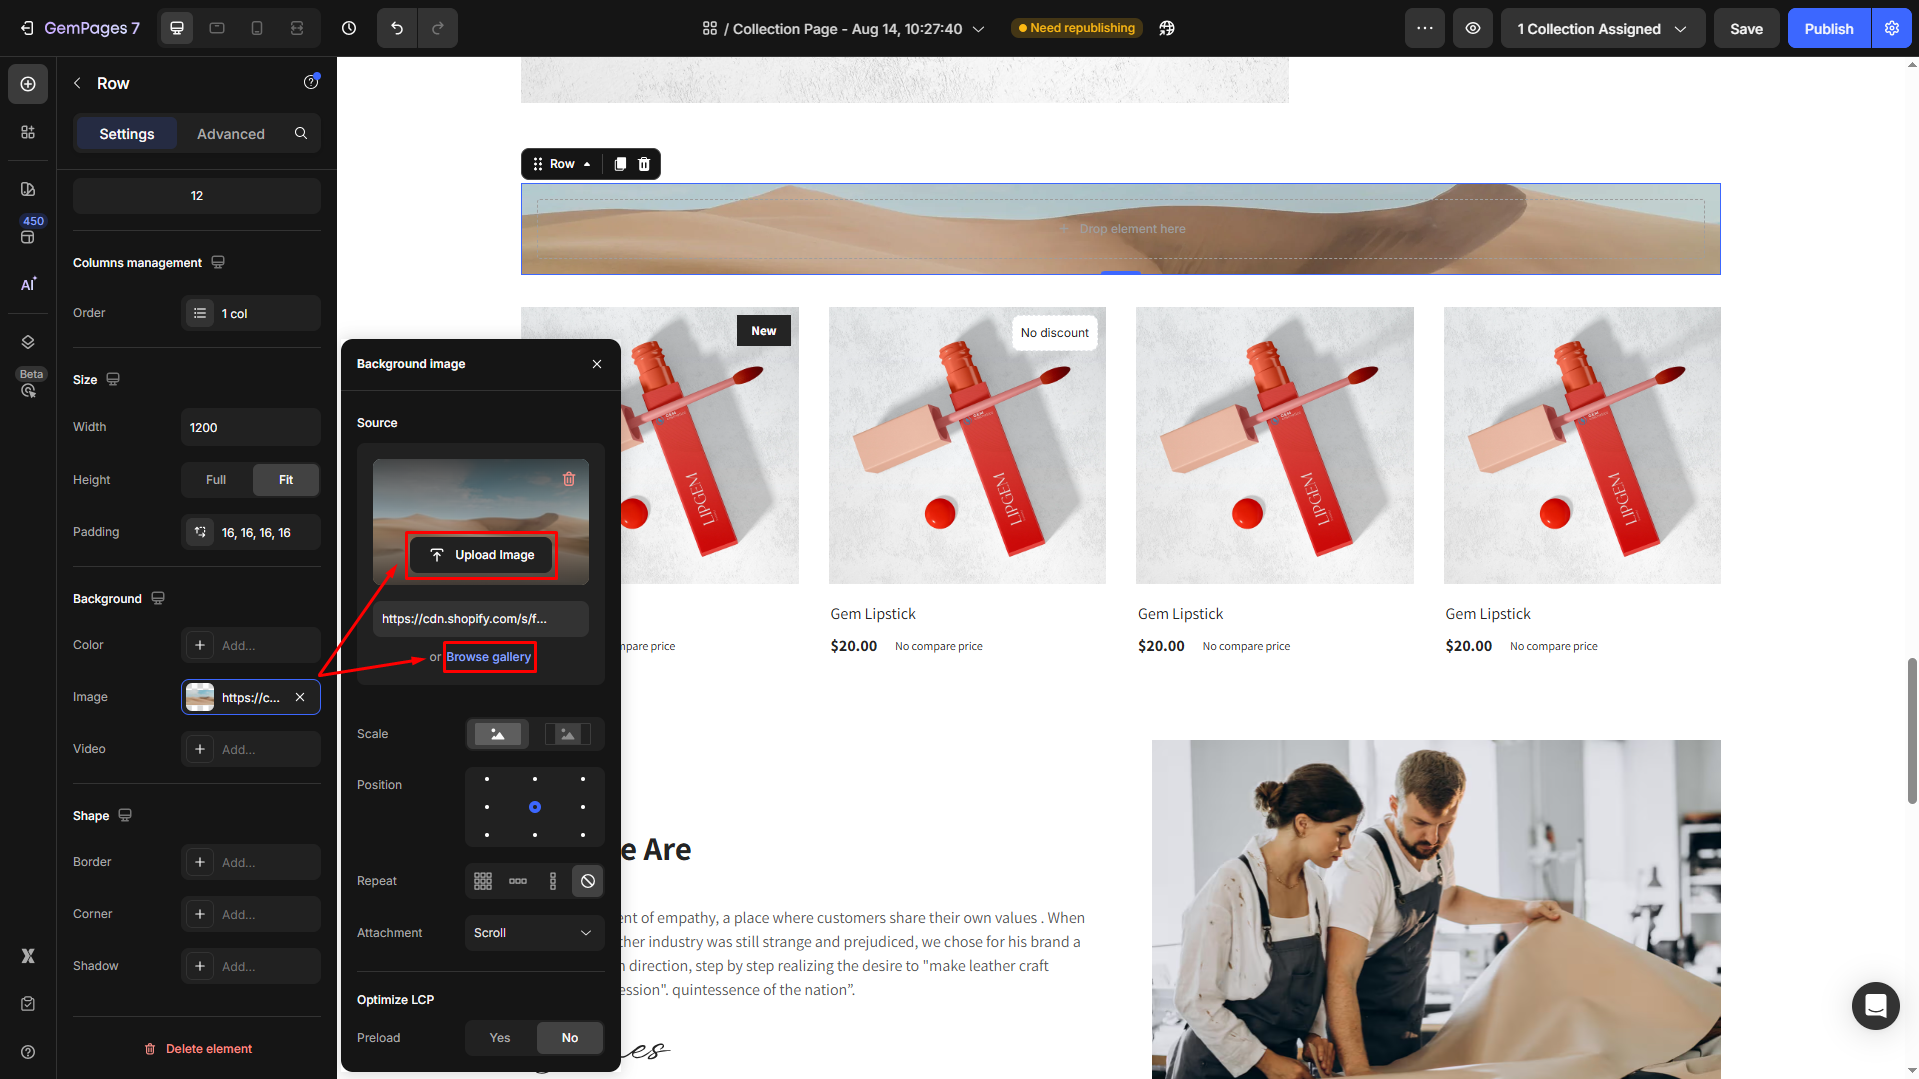
Step 2: In the settings panel, scroll down to the Background section and click on the Image field.
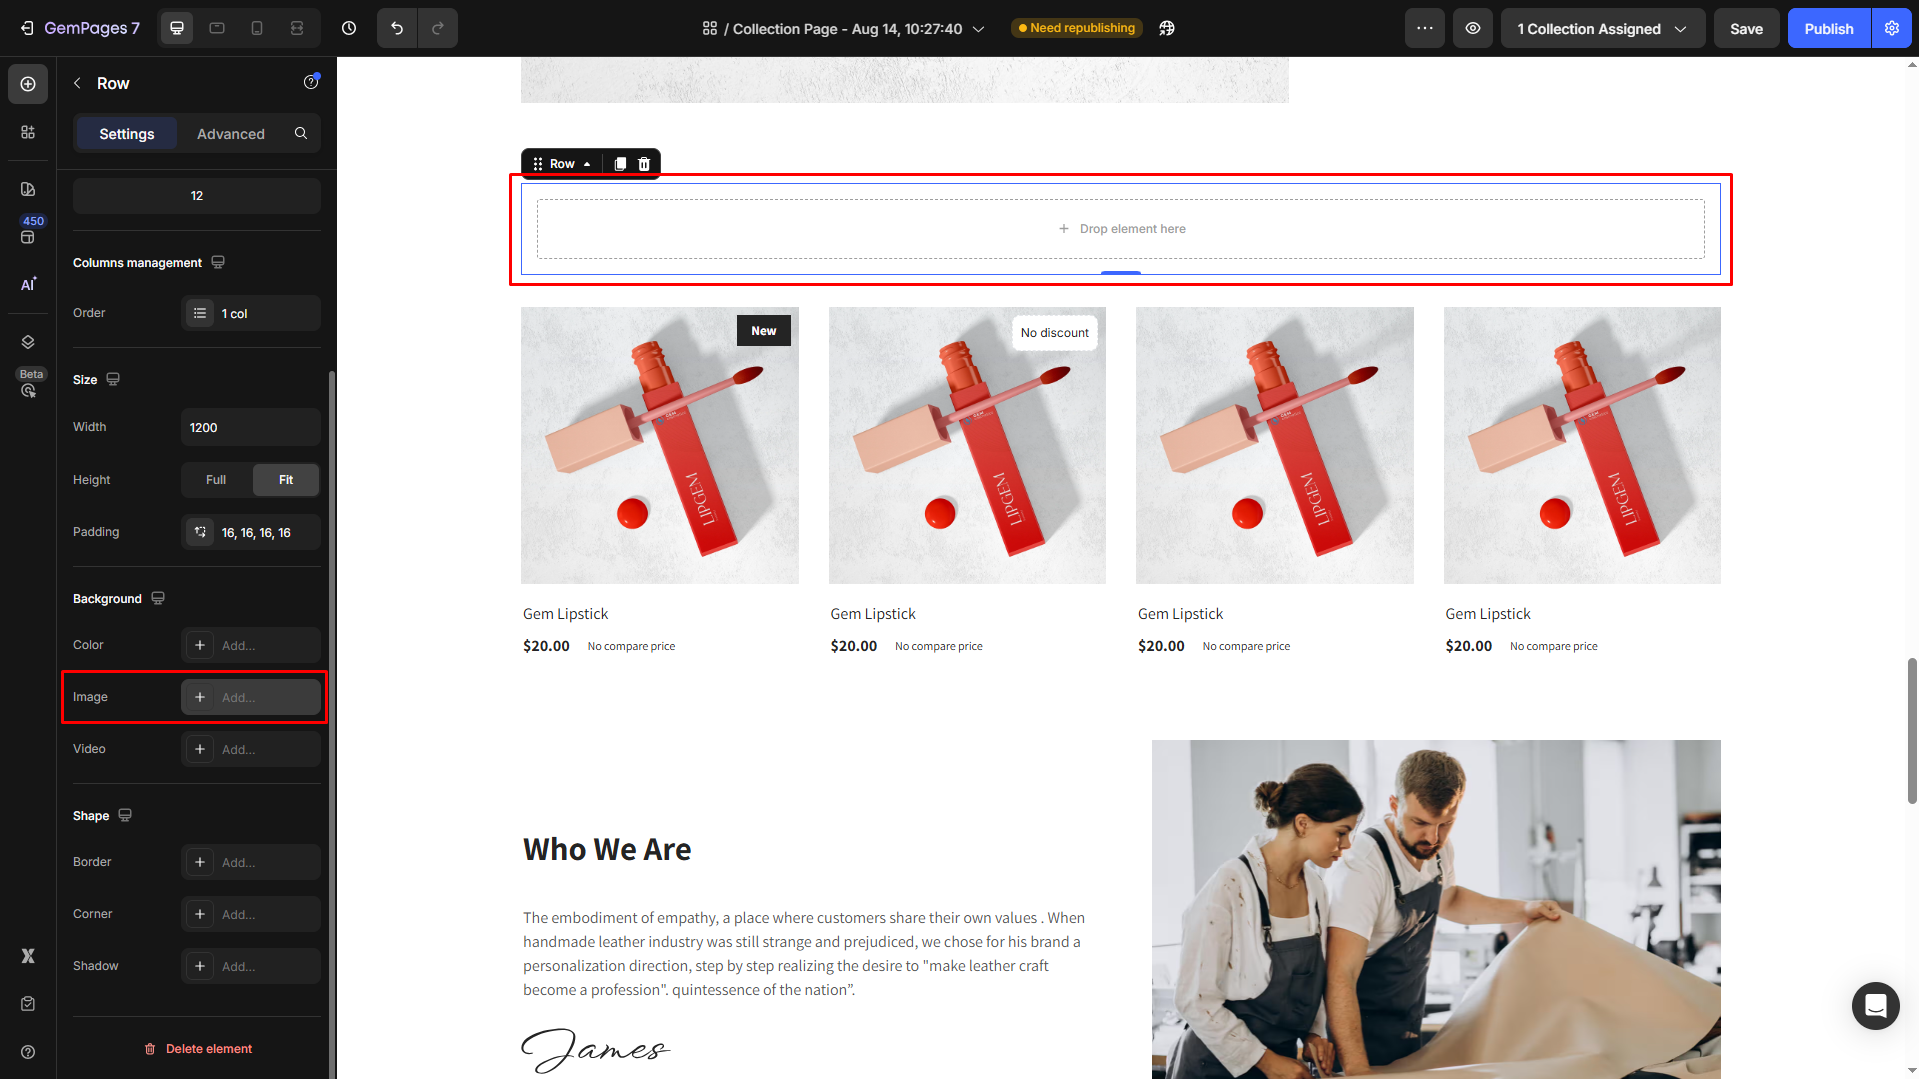
Step 3: Set an image as the background for the entire Row. You can choose from the Shopify Files (Browse library) or upload a new one.
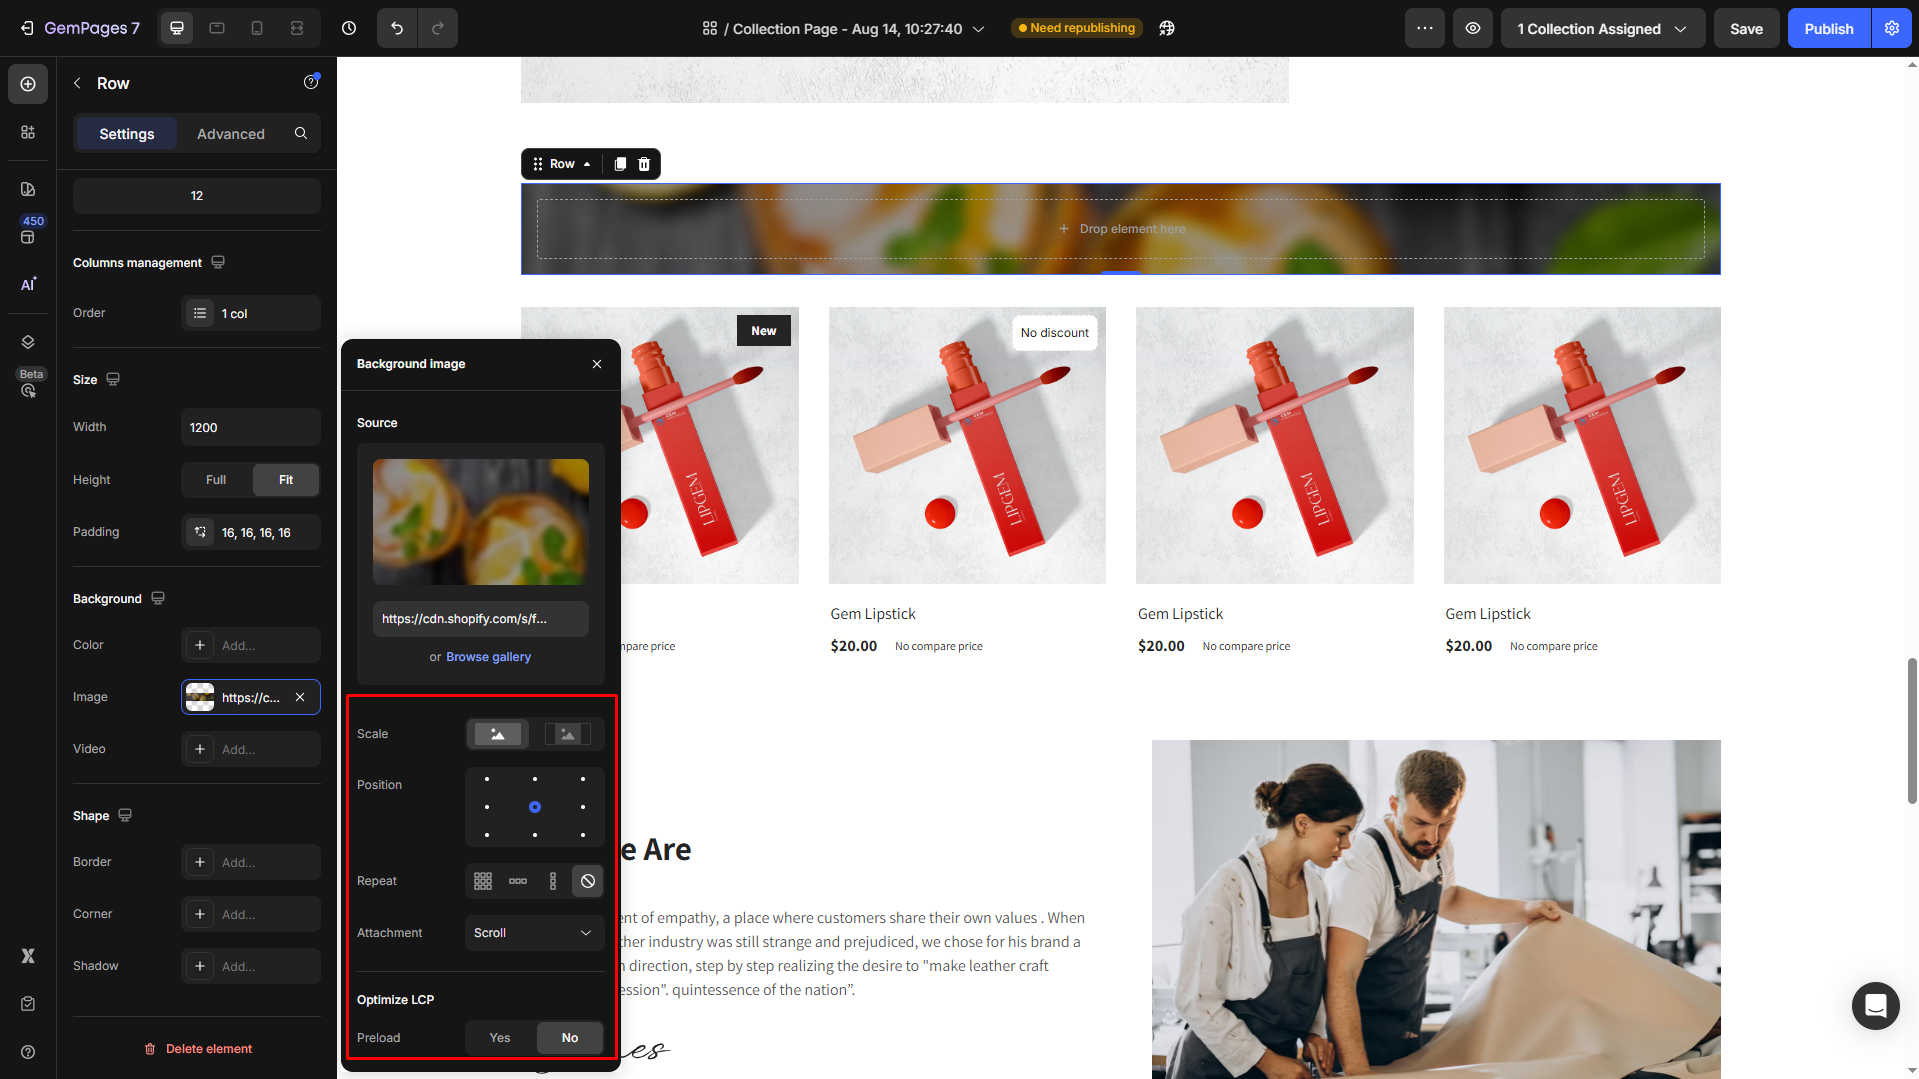
Then, adjust the scale and position, choose the image’s repeat type and attachment, and enable/disable the Preload feature to optimize LCP.
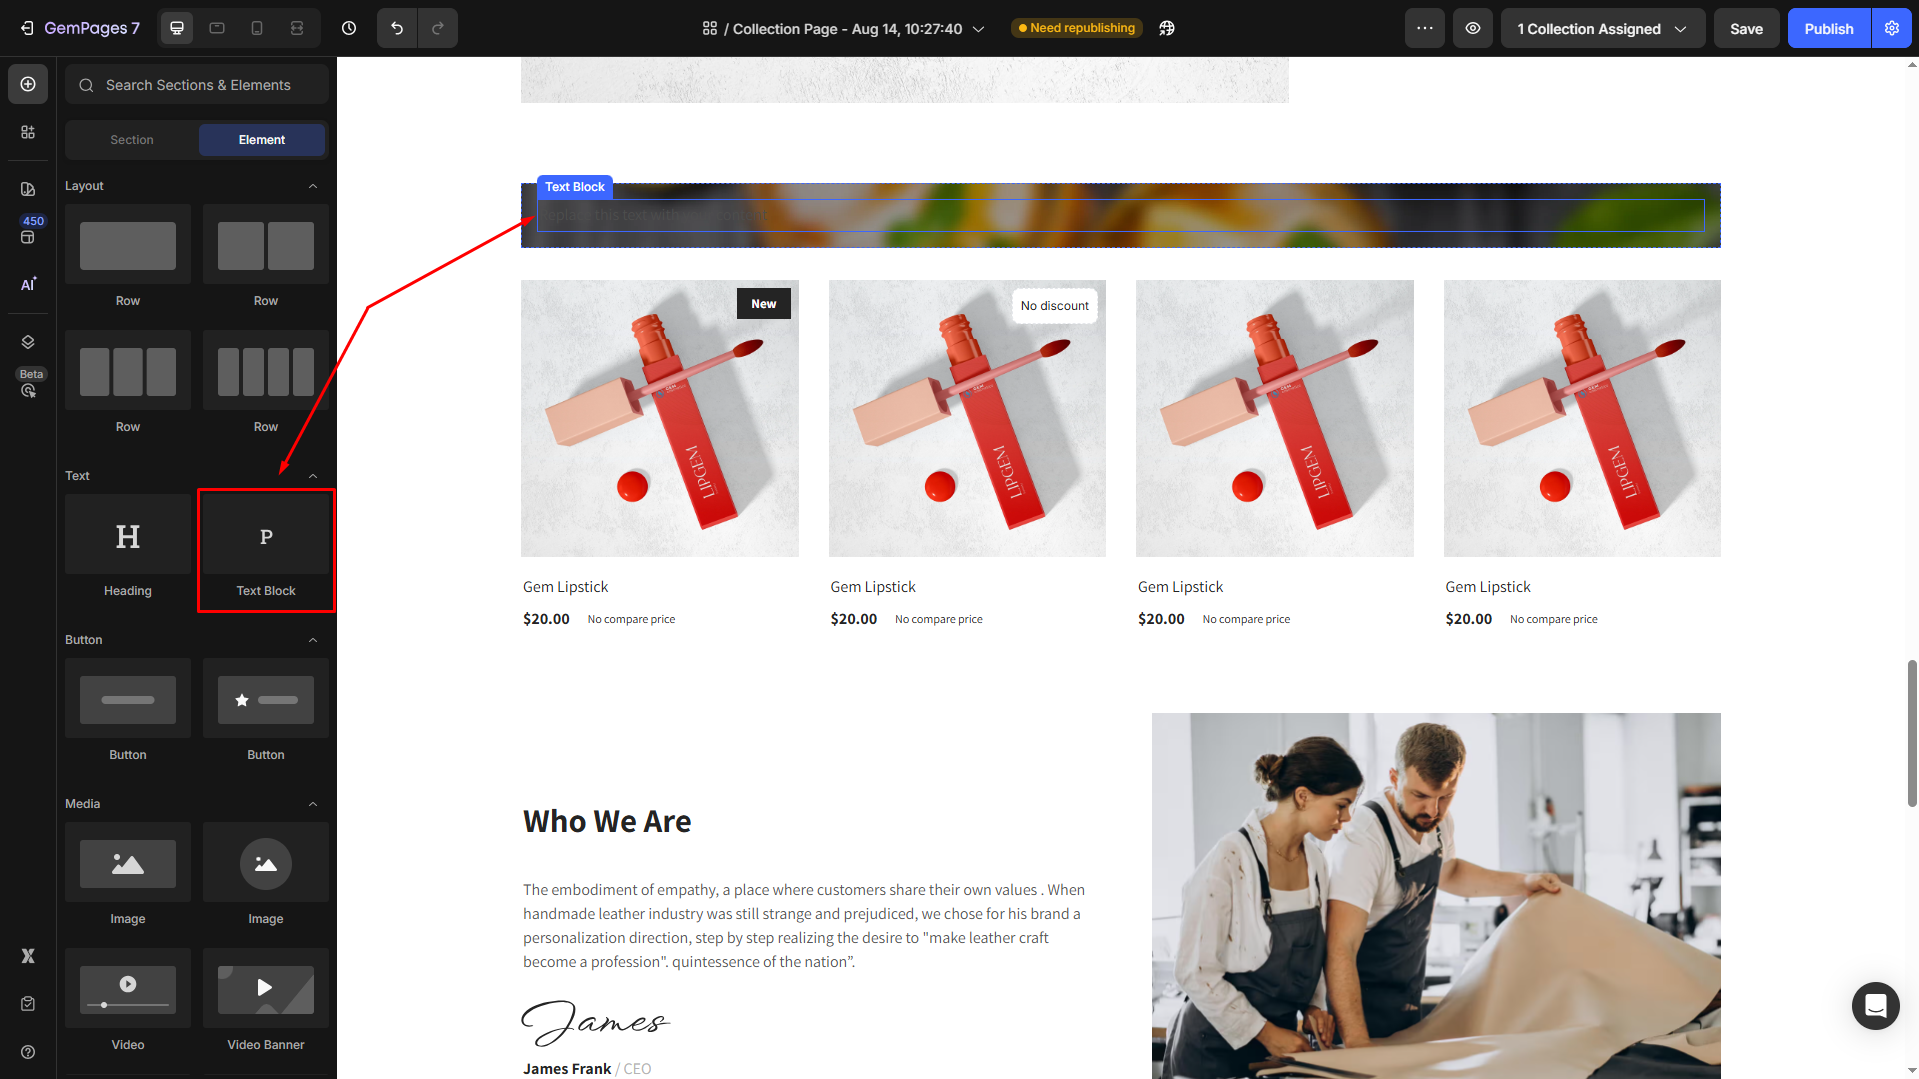
Step 3: Drag and drop a Text Block element inside this Row to make the text over your image.
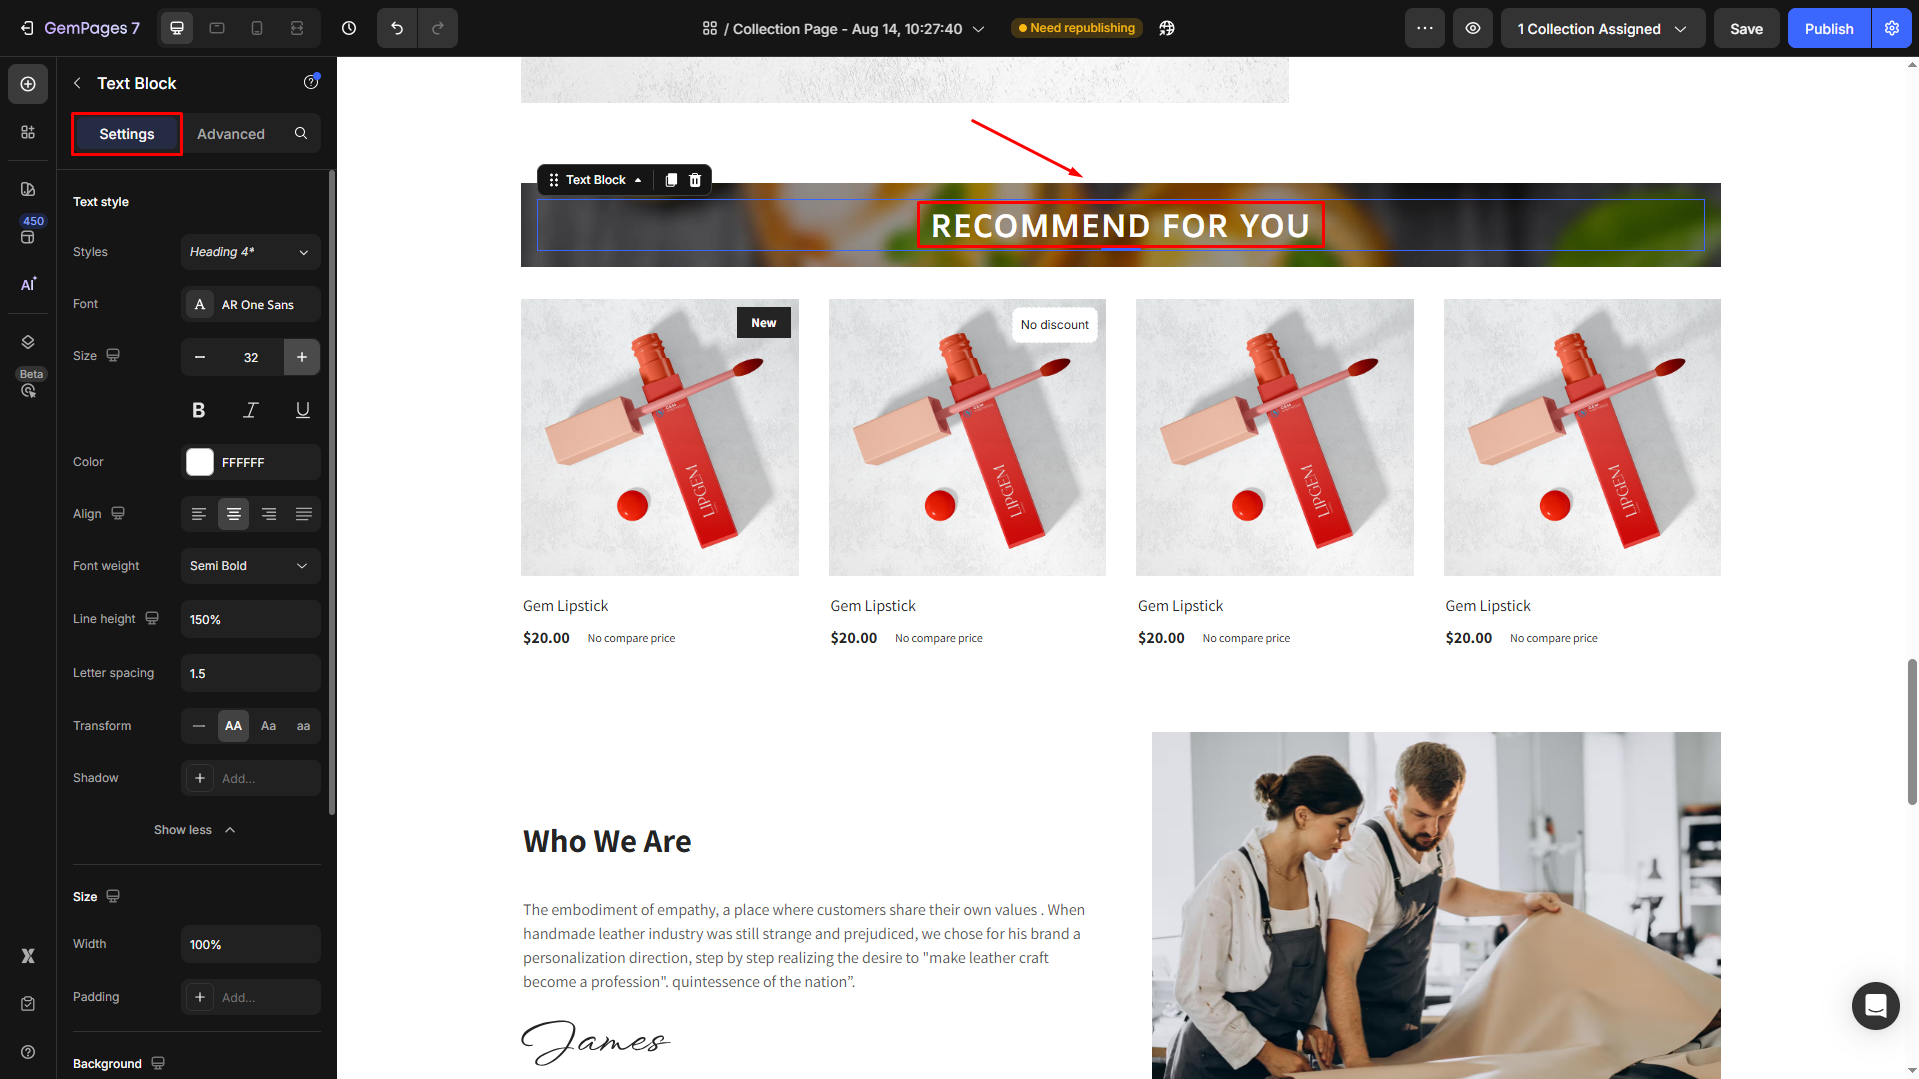
Step 4: Modify the text as you prefer.
Hero Banner vs Row
Both options can address your needs effectively, but using the Hero Banner element is generally quicker and easier. Meanwhile, using the Row element offers more flexibility for certain specific use cases.
| Hero Banner | Quicker and easier, best for common use cases |
| Row | Offers more flexibility and control, suitable for advanced layouts |
Best Practices
- Maintain contrast: Always ensure the text color contrasts strongly with the background image.
- Use overlays: Apply dark overlays on bright images to improve text readability.
- Mobile test: Preview your design on smaller screens to confirm that the text remains clear.
- Keep text concise: Limit the amount of text over images for better legibility.


Thank you for your comments