


What is a Product Element in GemPages?
The Product Element is an essential element, enabling you to add any products from Shopify to GemPages. With the introduction of Editor v7, there are notable changes compared to the previous version.
Below, you will find detailed information covering these significant updates.
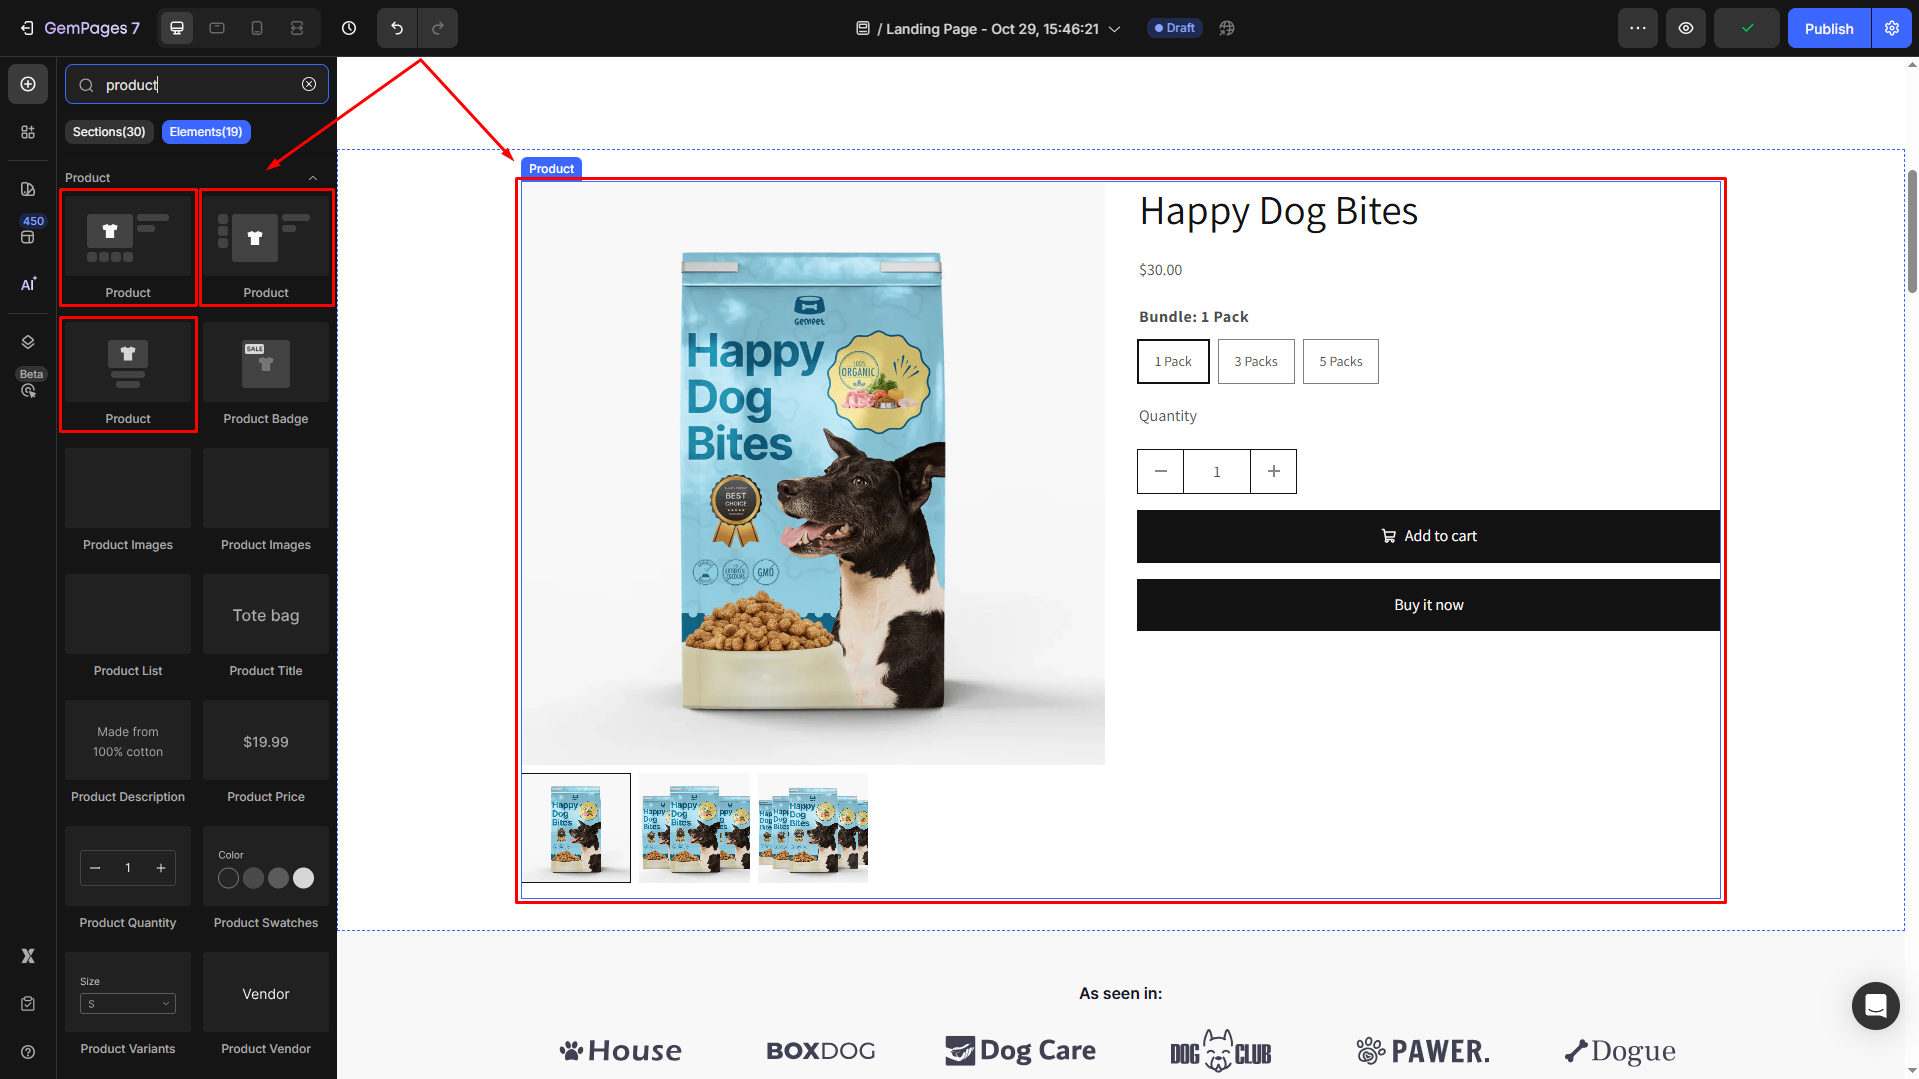
To use the Product Element:
- Open the GemPages Dashboard and click on the target page to open it in the editor.
- In the left sidebar, locate the Product Element under the Elements tab. You can use the search bar to quickly find this element.
- Choose your preferred product layout, then drag & drop the element to the desired position in your page.
Child Elements
The Product Element includes several child elements that help showcase different product attributes. These must be placed within the element to function properly. Available child elements include:
- Product Badge
- Product Image
- Discount Tag
- Product Title
- Product Description
- Product Price
- Product Quantity
- Product Variants and Swatches
- Product Vendor
- Product SKU
- Product Bundle Discount
- Add to Cart
- Product View More
- Dynamic Checkout
- Product File Upload
Note: Product details are pulled directly from your Shopify store. To edit product information, go to Shopify Admin > Products, select the product, and update its details.
Configure the Settings tab
Under the Settings tab, you will see effective parameters to fine-tune content appearance for the best possible conversion rate.
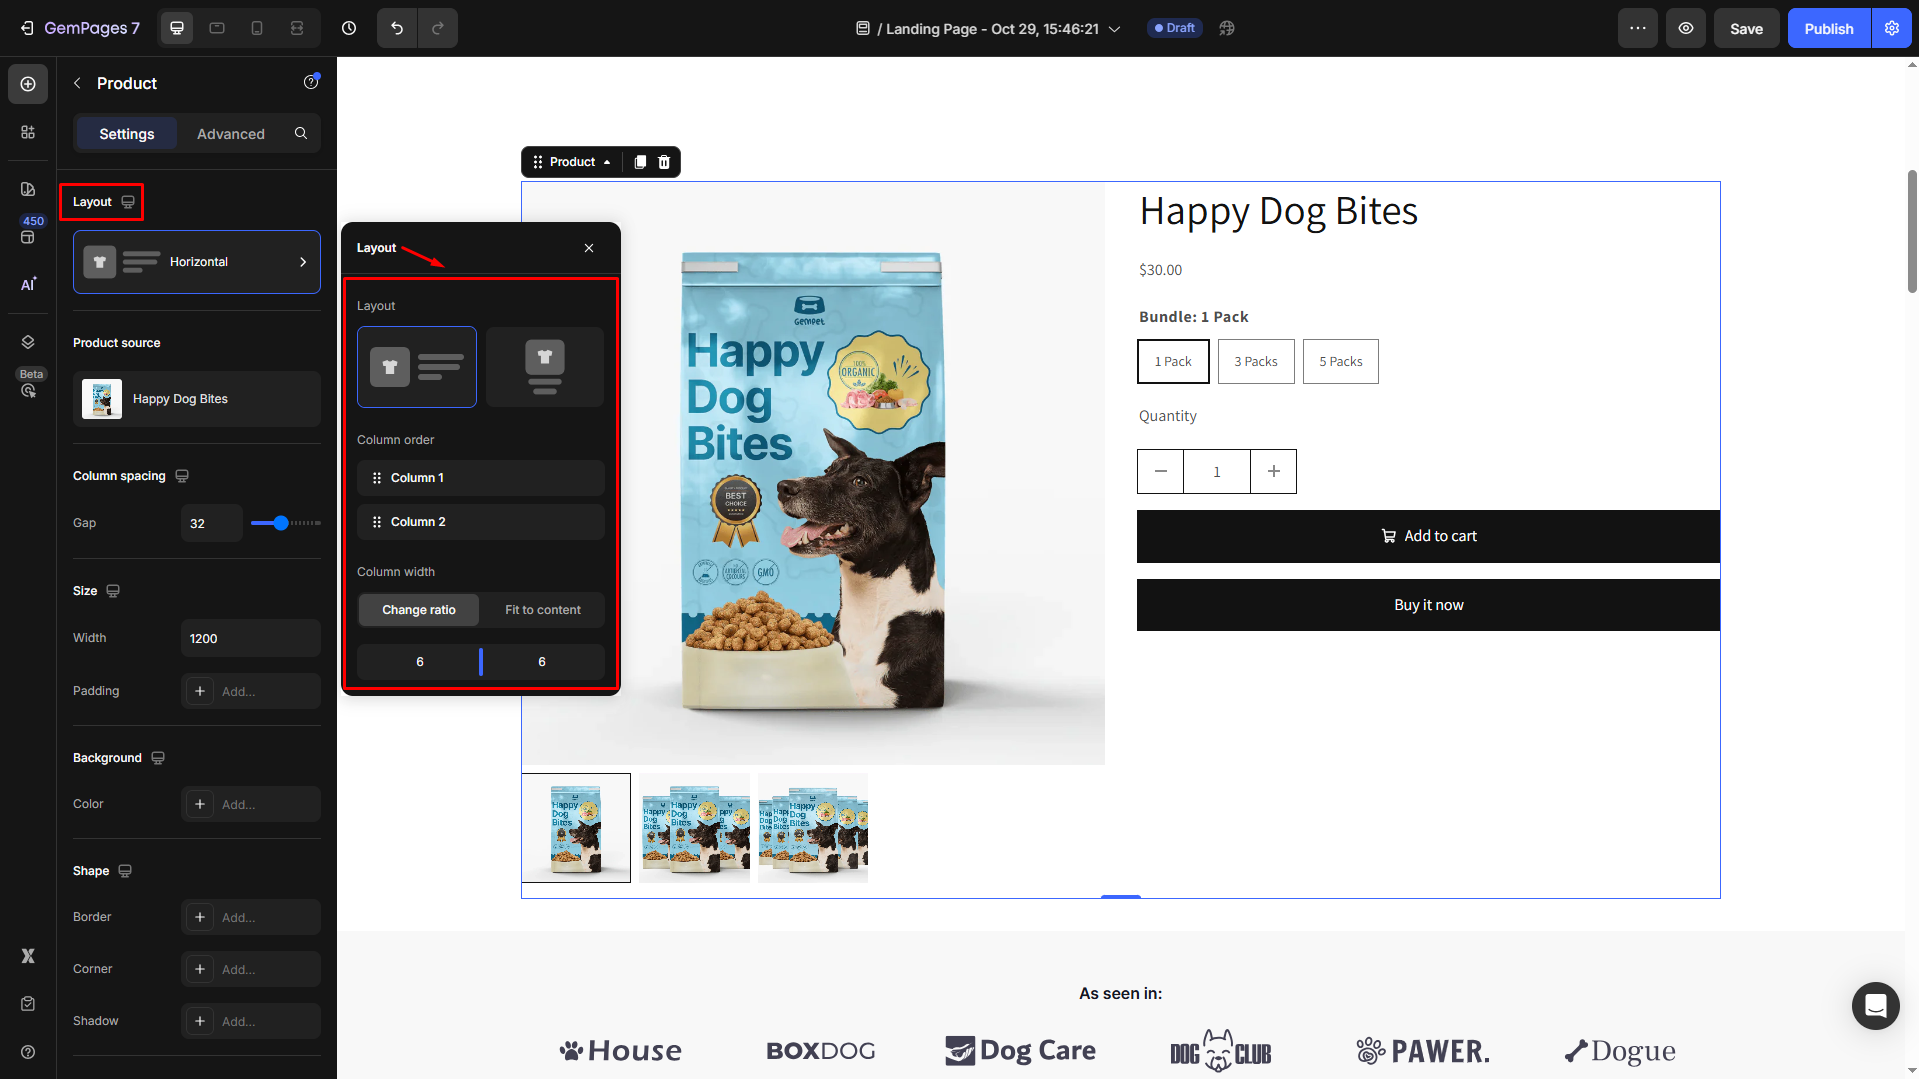
Layout
Under the Layout section, select the preferred layout that your product will display: horizontal or vertical.
Also, in the expanded settings panel, you can rearrange, duplicate, or delete the column under the Column order.
Under Column width, you can change the width to fit the content or change the ratio.
Product source
In Product Page Template
If your page is a product page, you can change the product source from two options: Display by assigned product or Manually Pick.
- Display by assigned product
As you select the display by assigned product option, the current template will be applied to all assigned products dynamically. The product will be randomly selected to display on the current editor page.
Hover over the current product source and click the edit icon to open the Select product dialog. From there, you can select other assigned products available.
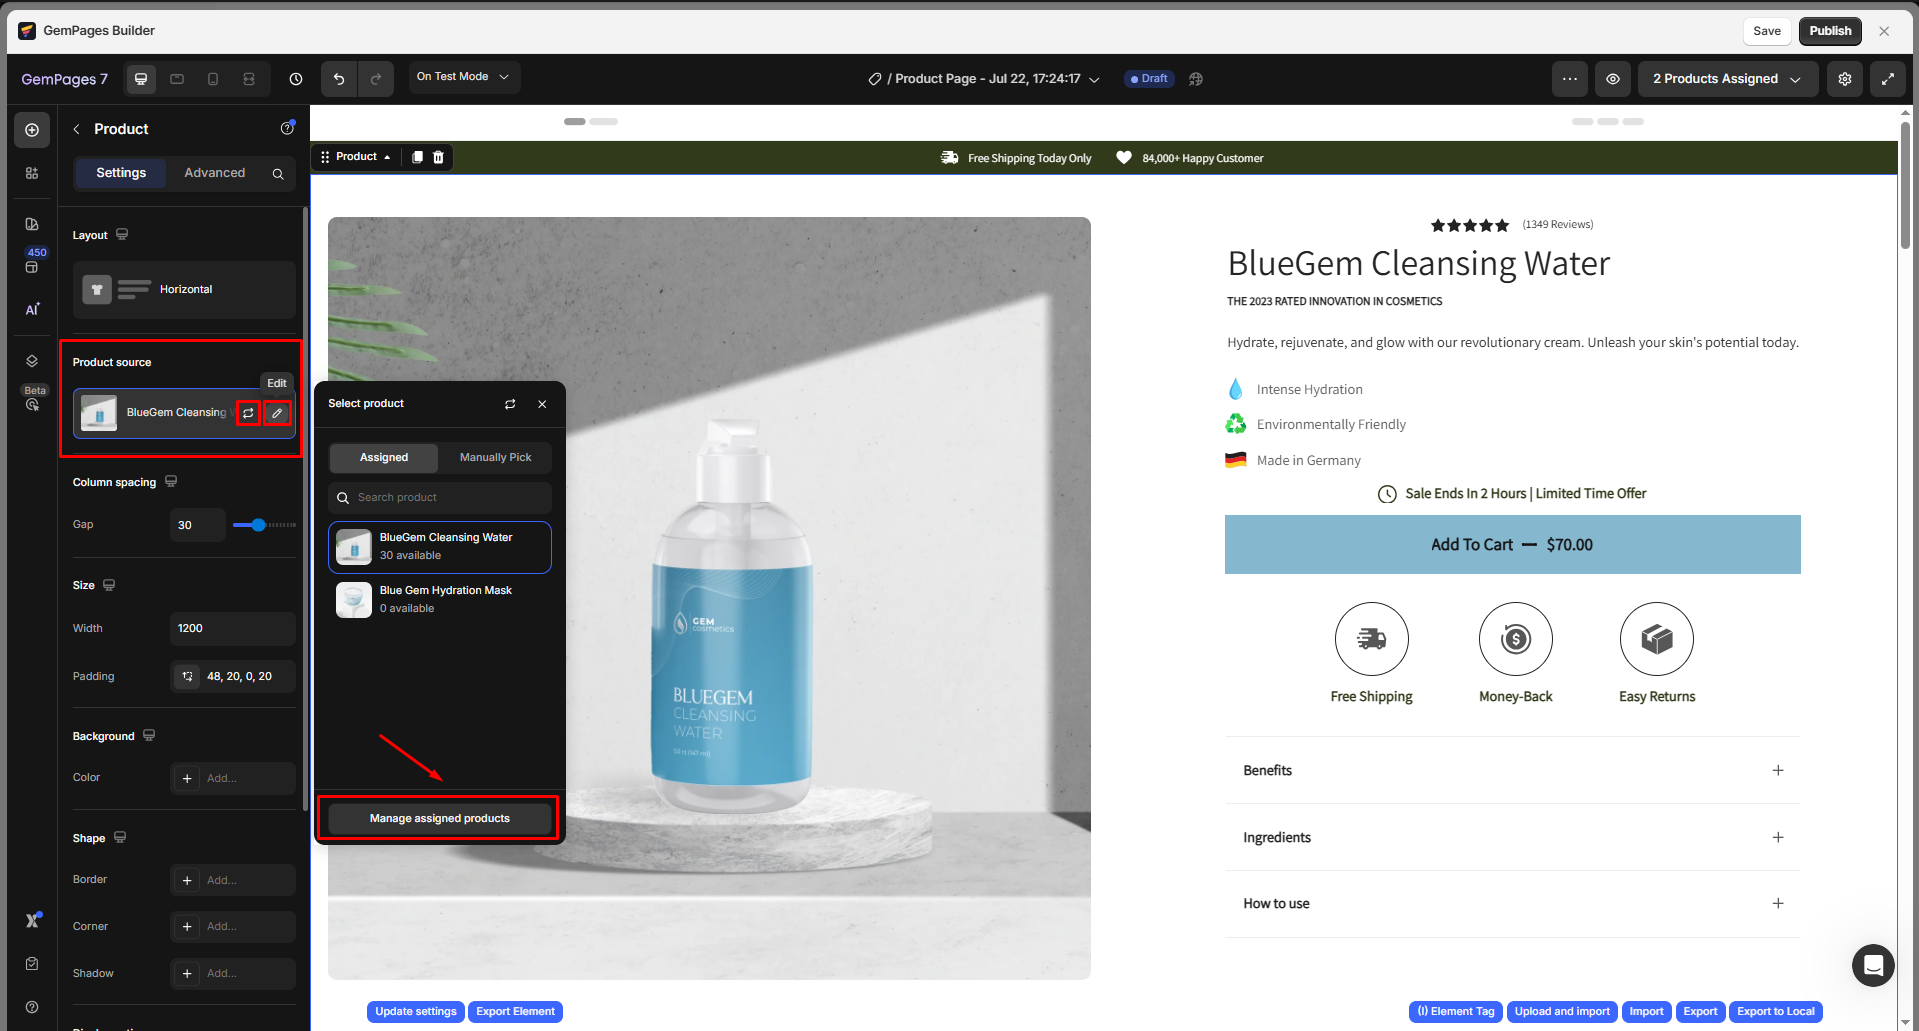
Note: You need to assign a product to the template to make sure it’s applied to your live page.
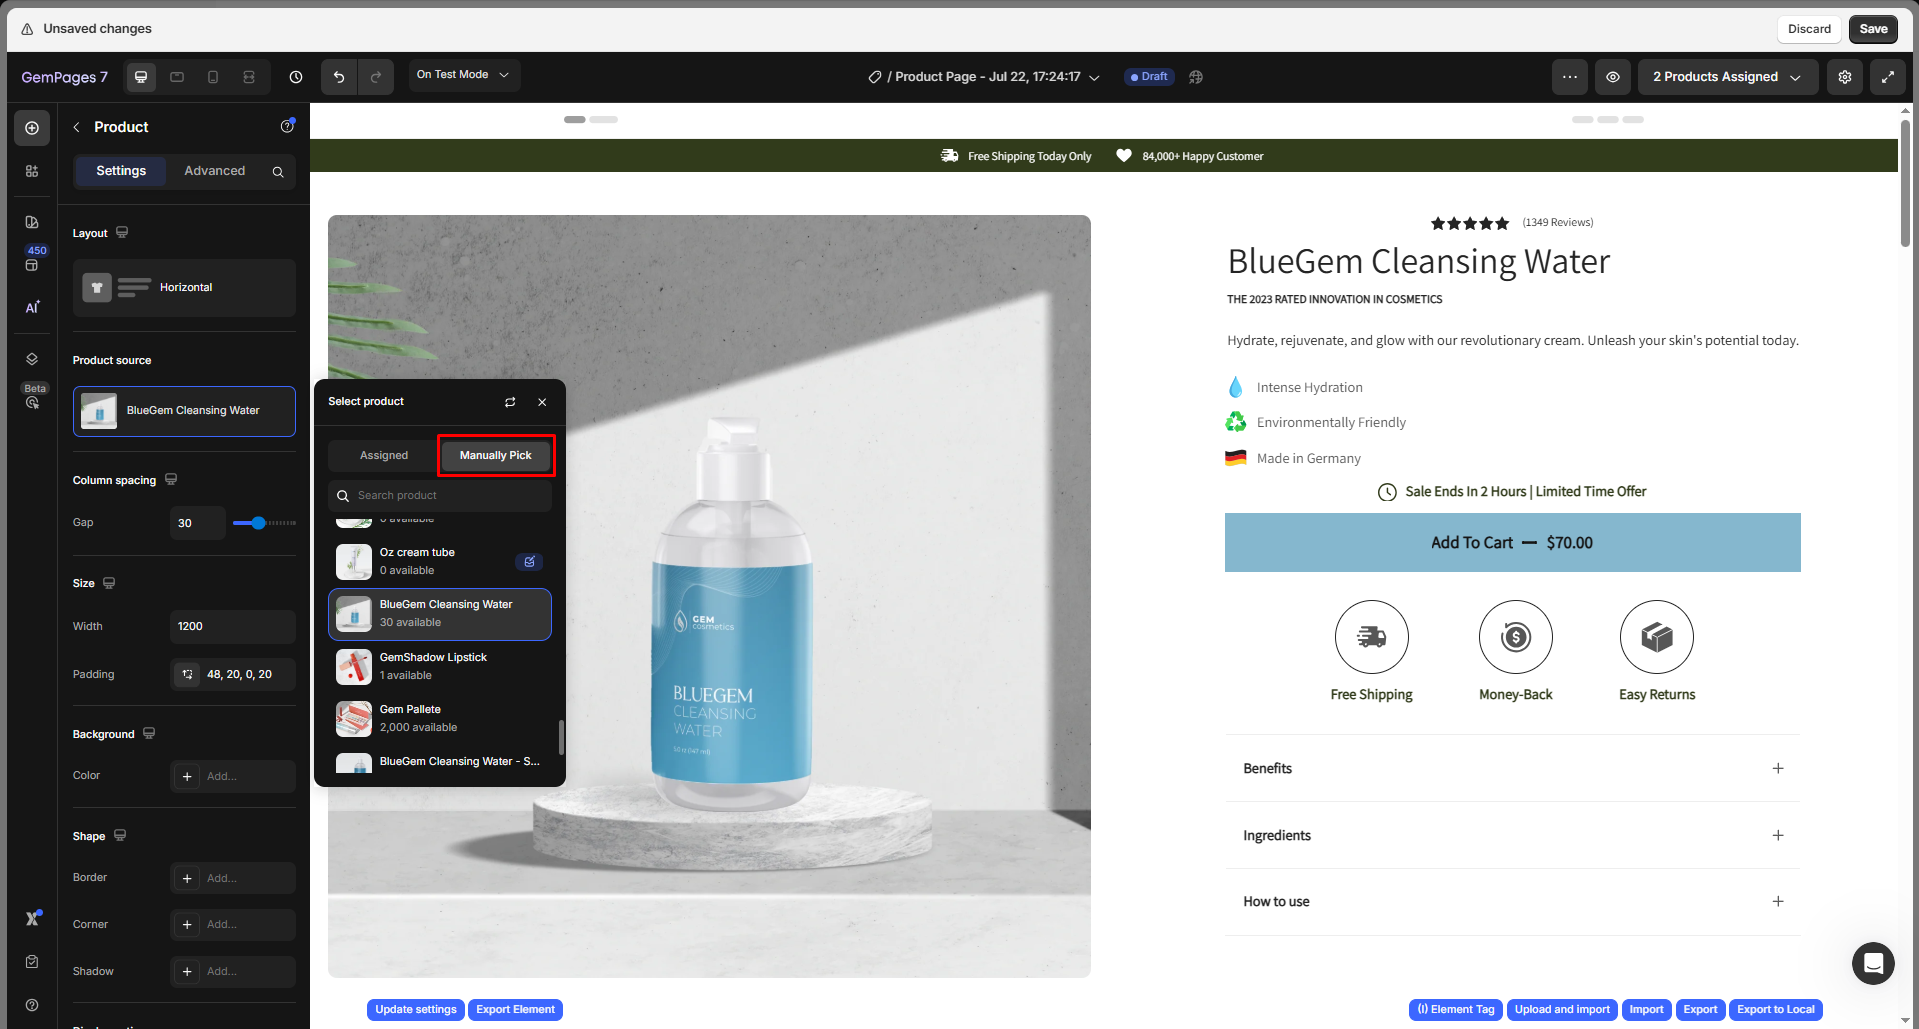
- Manually Pick
This option allows you to display multiple product elements on the same template and specific variant options.
To make a selection, click on Manually Pick, and a window will open displaying a list of products for you to choose from.
In Another Page Type
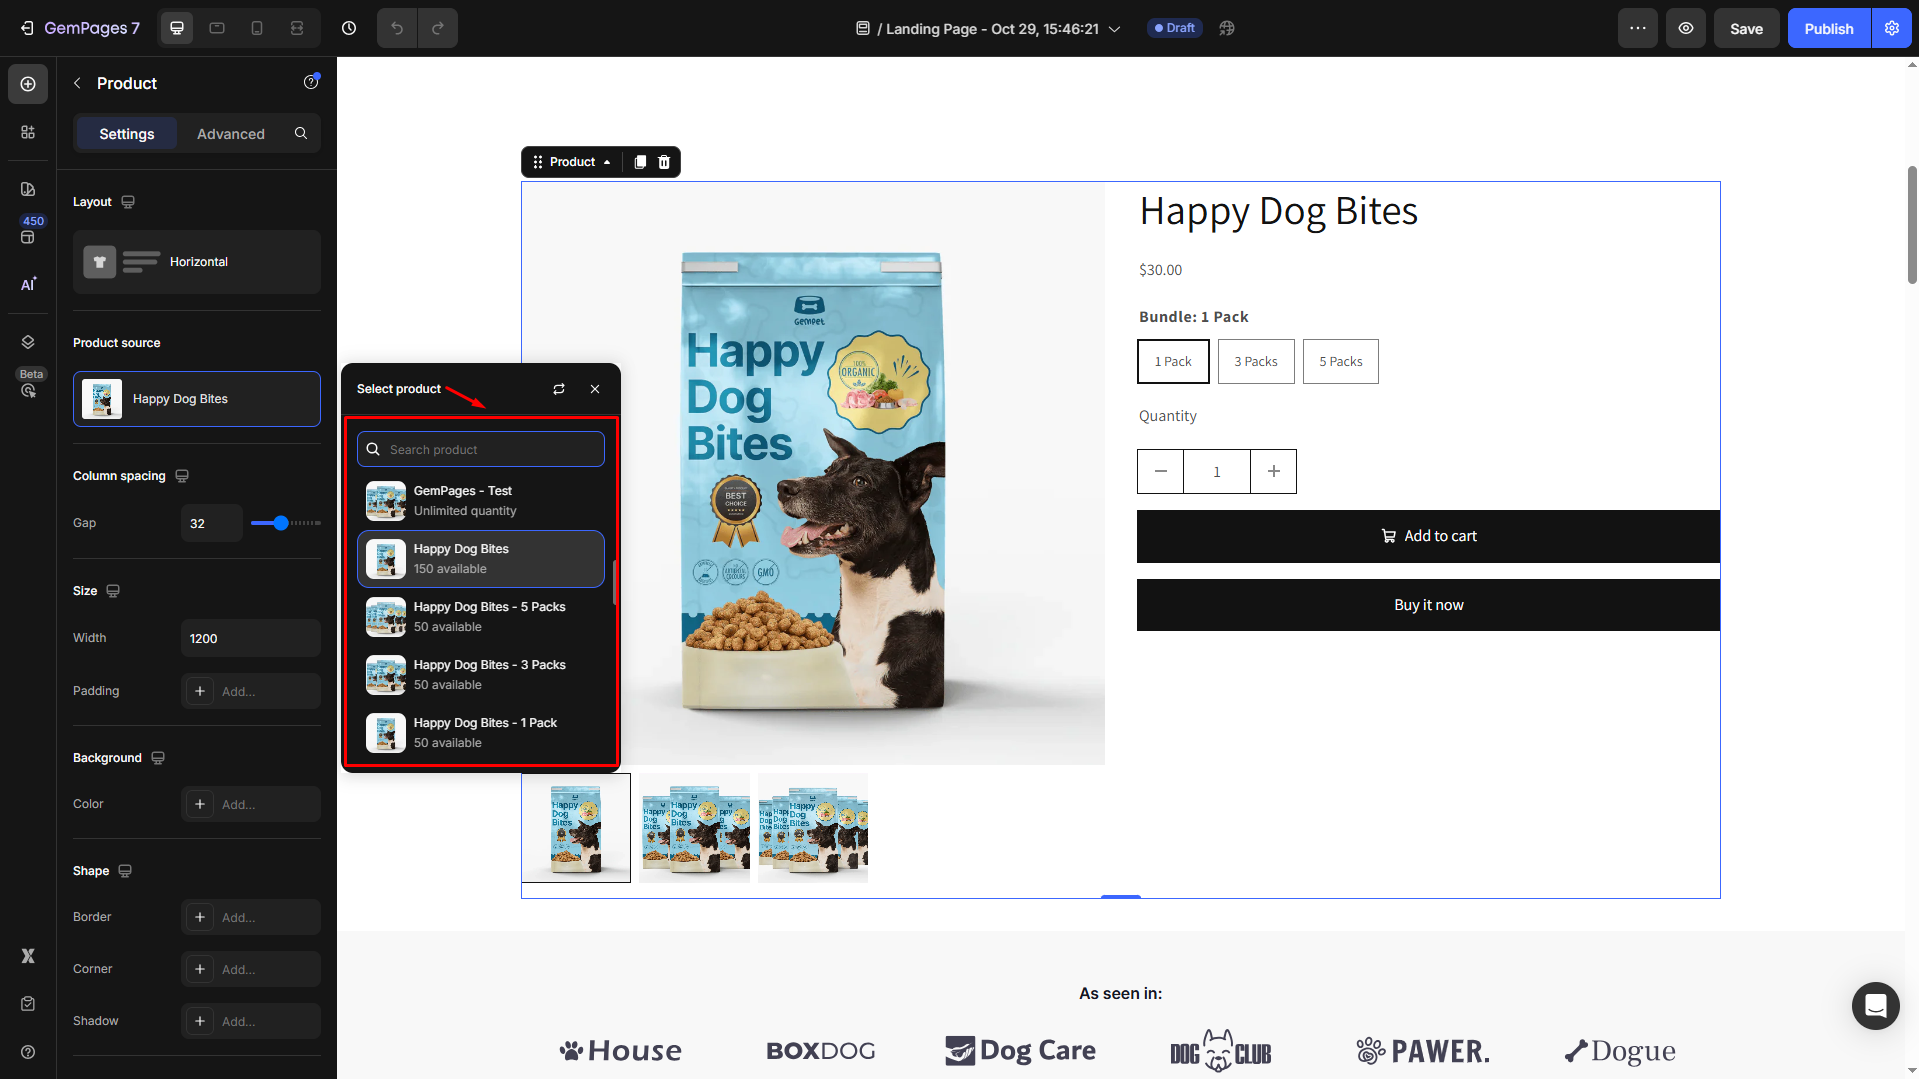
If your page is another page type (i.e., landing page, homepage, etc.), simply hover over the current product and click the pen icon to edit.
![]()
Then, select your target product from the product list.
Column spacing
Set spacing between columns using the slider or enter an exact value.
Default: 30px

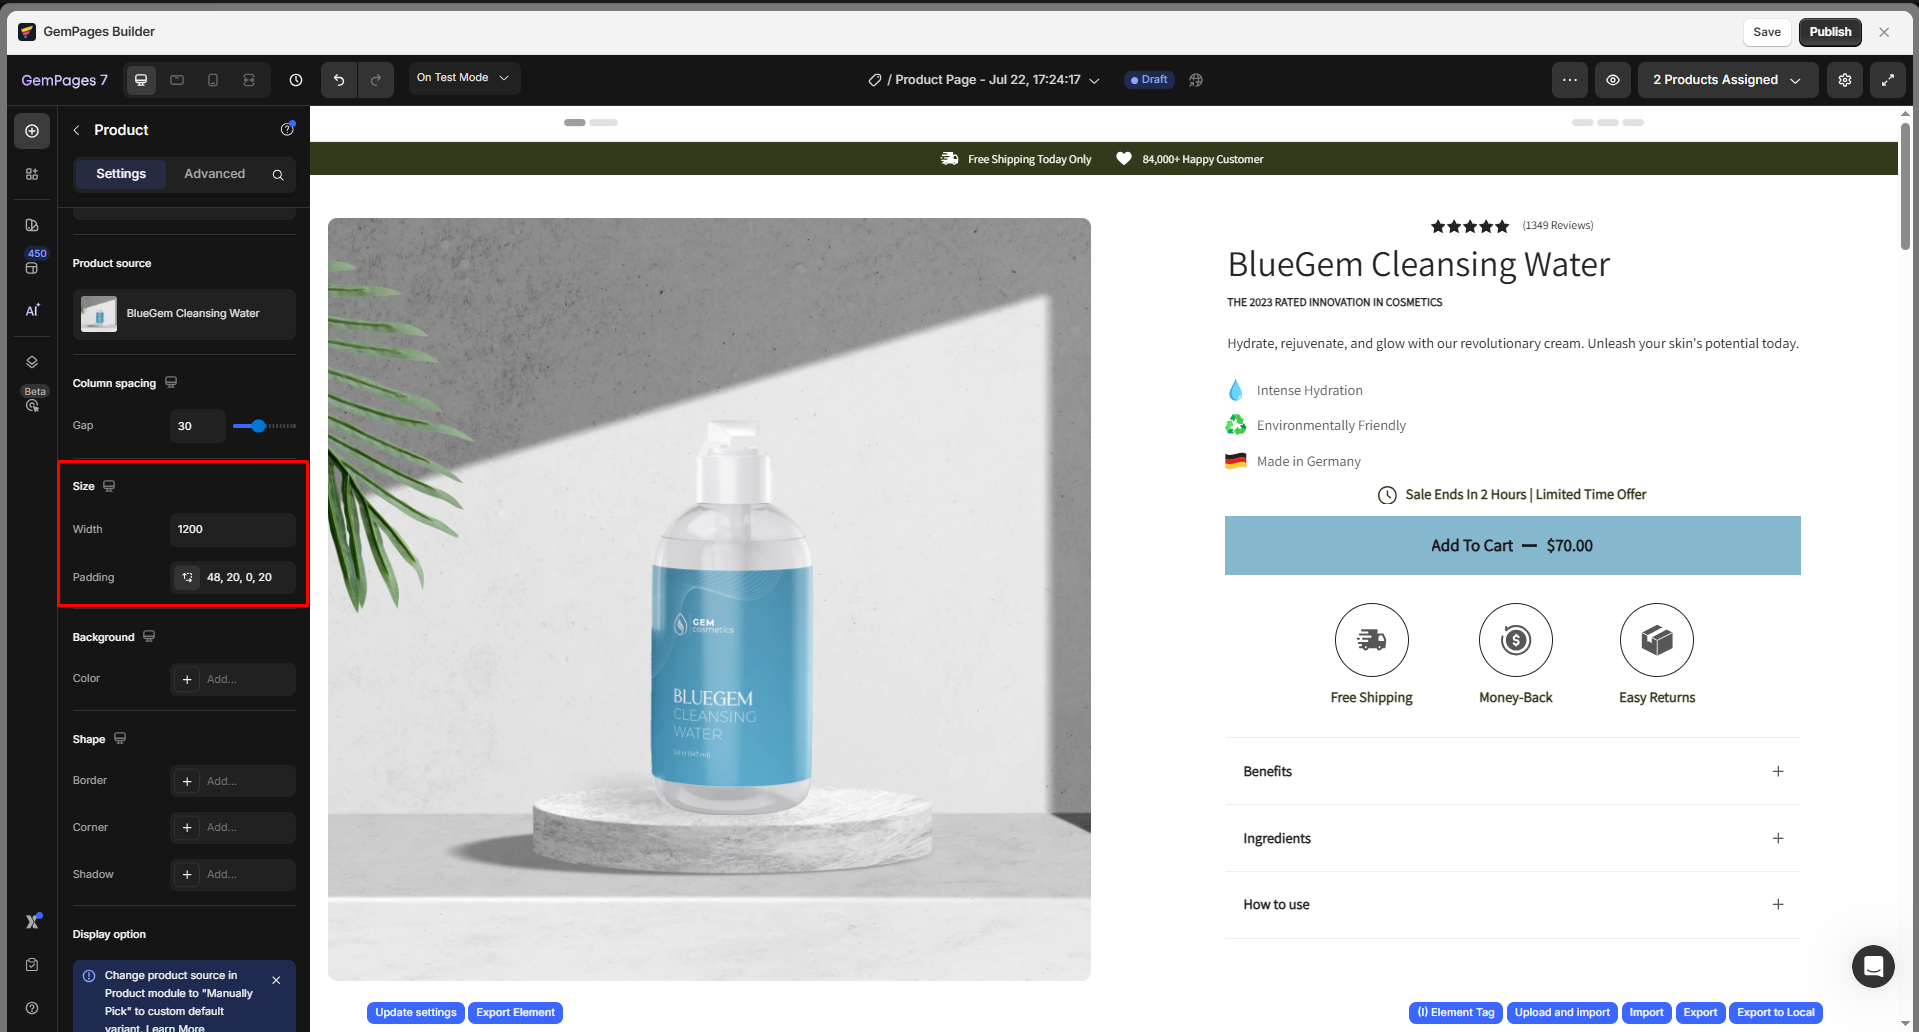
Size
- Width: Define how wide the product element should be.
- Padding: Adjust internal spacing (Top, Right, Bottom, Left).
Background
You can set the background color for your product element: enter a color code, pick from your page, or choose from a color swatch.

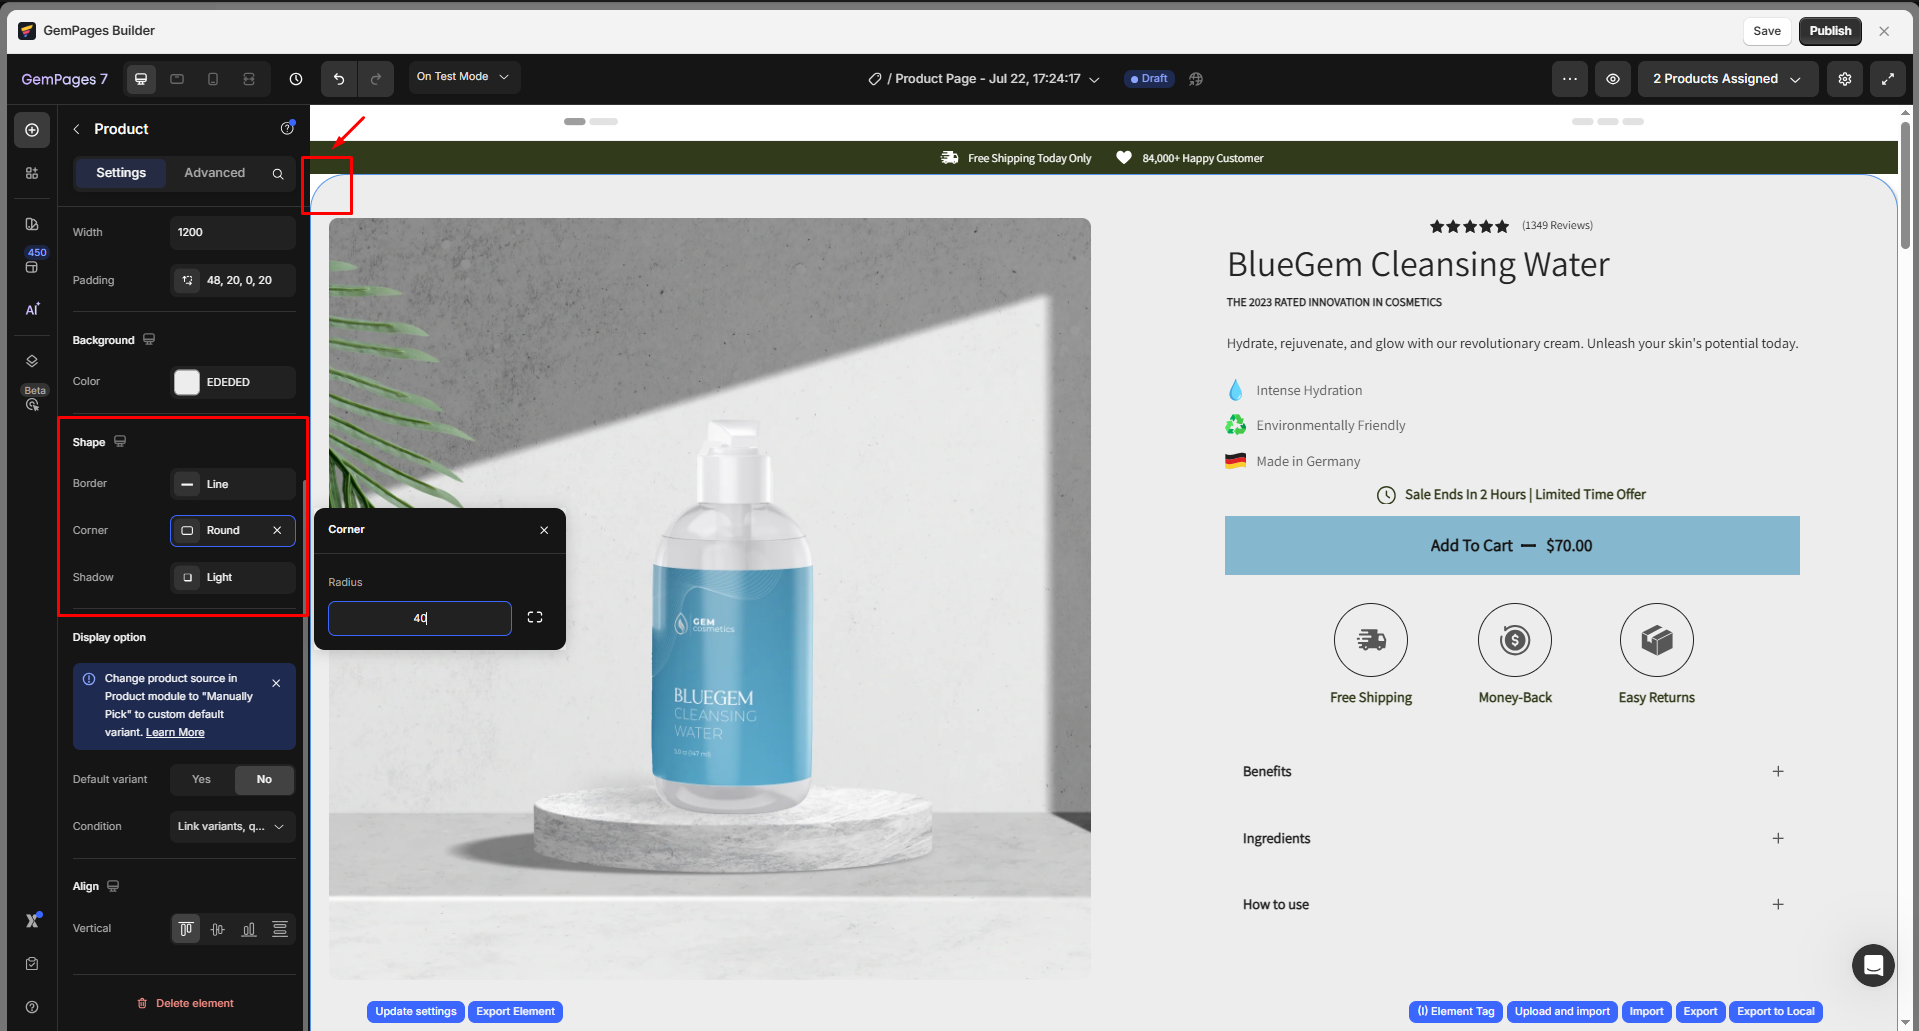
Shape
Customize the style of the product element:
- Border: Add a solid, dashed, or dotted border
- Corner Radius: Round the edges (in px)
- Shadow: Apply soft or hard shadows to enhance visibility
Display option
This section allows you to control how variants and quantities behave when multiple products are displayed using the Product Element.
Default Variant: Toggle this YES if you’d like a specific variant to be pre-selected when the page loads.
Note: To use this feature, ensure your Product source is set to Manually Pick instead of Assigned Product.
Condition: This defines how variants and quantity are linked across products:
- Link variants, quantity between same product: Variants share the same quantity and behave as one unified product block.
- Unlink variants, quantity between same product: Each variant is treated individually in terms of quantity, even if they belong to the same product.
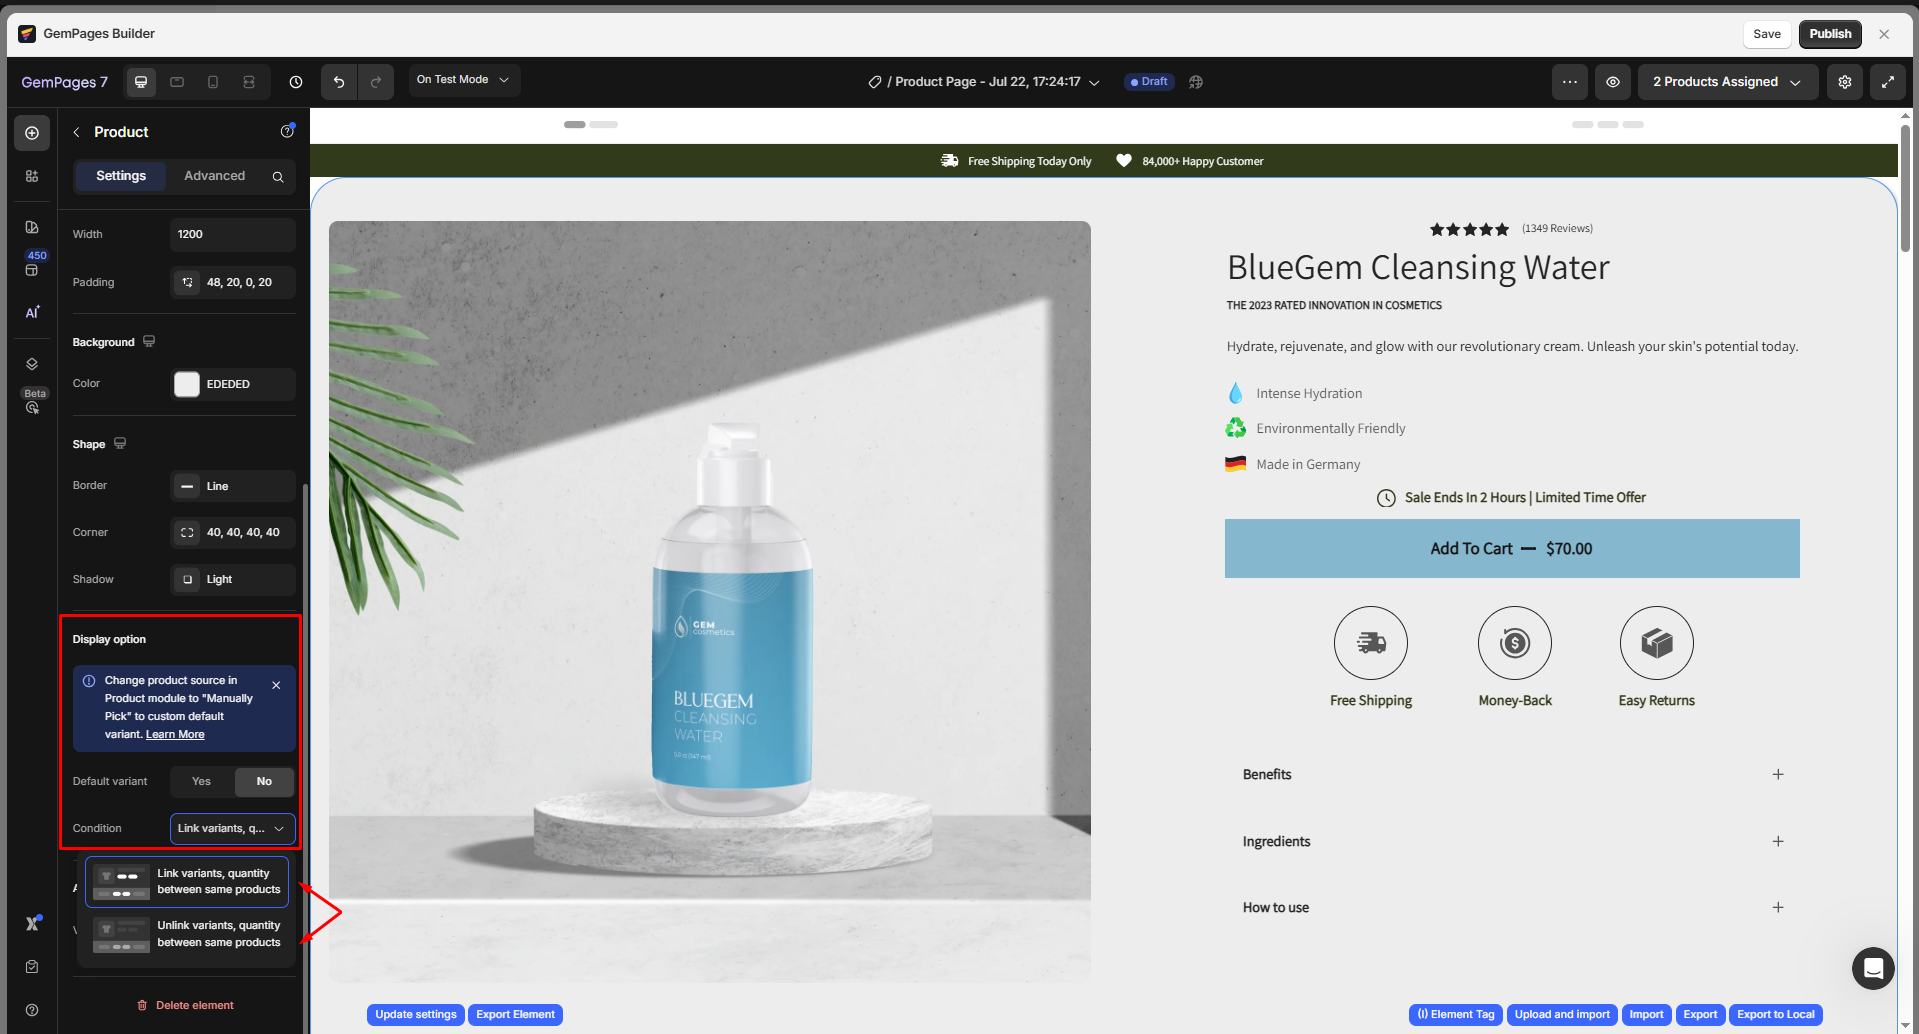
Note: Change the product source in the Product Element to Manually Pick to customize the default variant. Learn more.
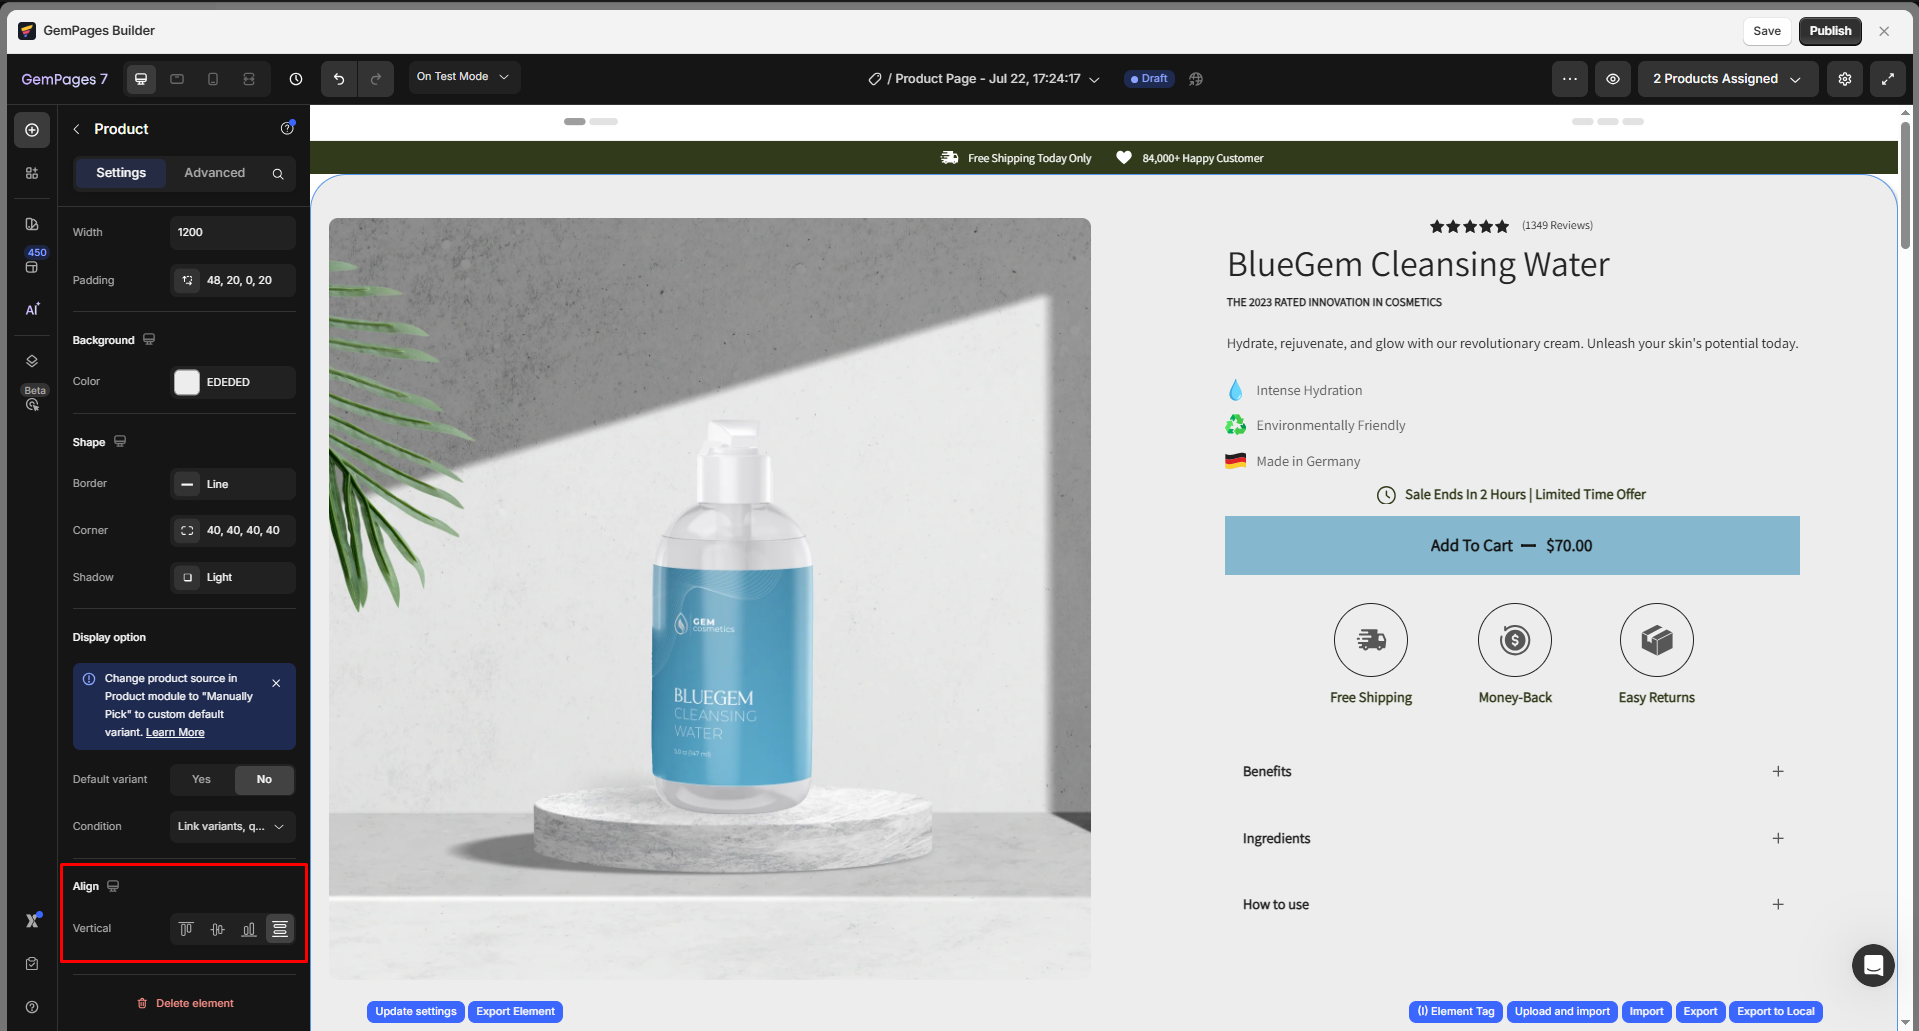
Align
Under the Align section, configure the vertical alignment for your Product Element. You can select from:
- Align Top
- Align Center
- Align Bottom
- Distribute Vertical Spacing
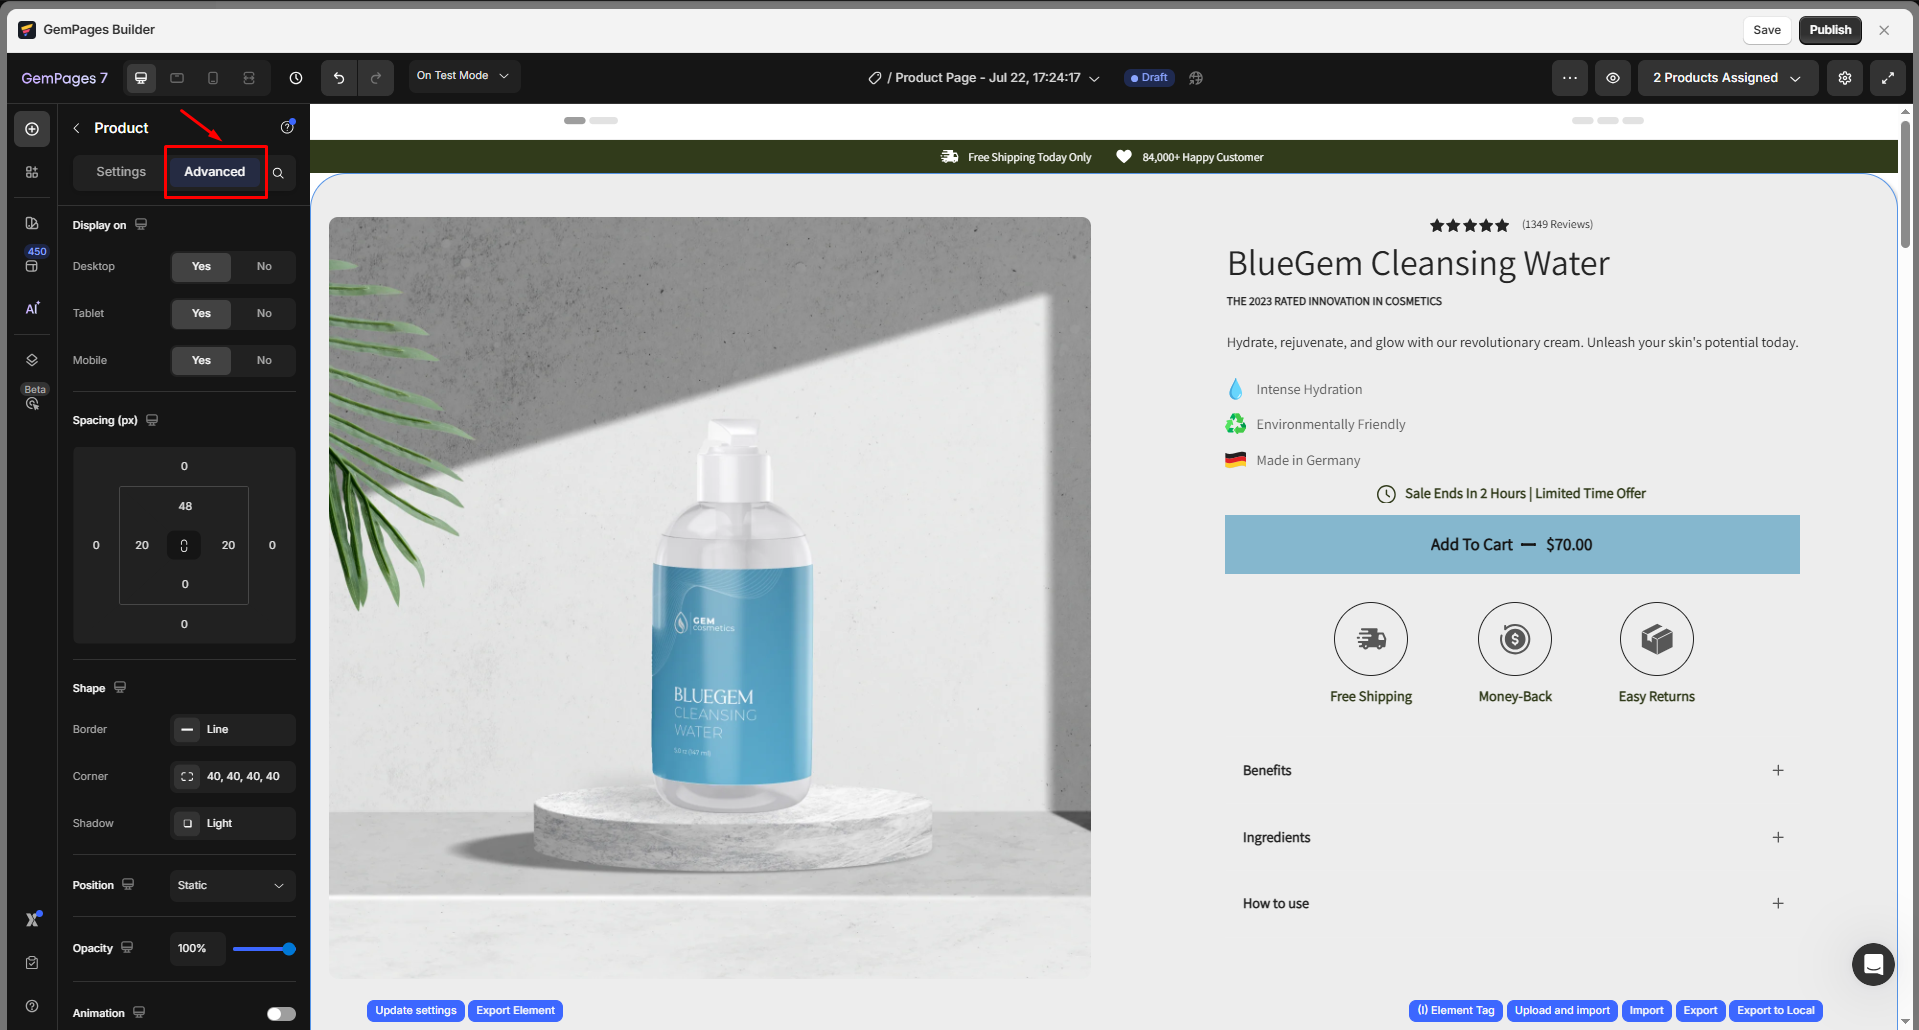
Configure the Advanced Tab
For additional styling options, navigate to the Advanced tab and follow the instructions in this article.


Thank you for your comments