


The Button element is an interactive element that prompts users to take specific actions on your website. If you want to put Buttons side by side in GemPages, you have two effective methods.
To begin, access the GemPages Dashboard and select the template you wish to edit. Locate the button element conveniently situated on the left sidebar of the editor.
How to Put Your Buttons Side-by-Side in GemPages?
- First, access the GemPages Dashboard > Pages, and you’ll locate all your pages built with GemPages.
- Click on the target page to open it in the editor.
Then, you can use one of the two following methods to put your buttons side-by-side.
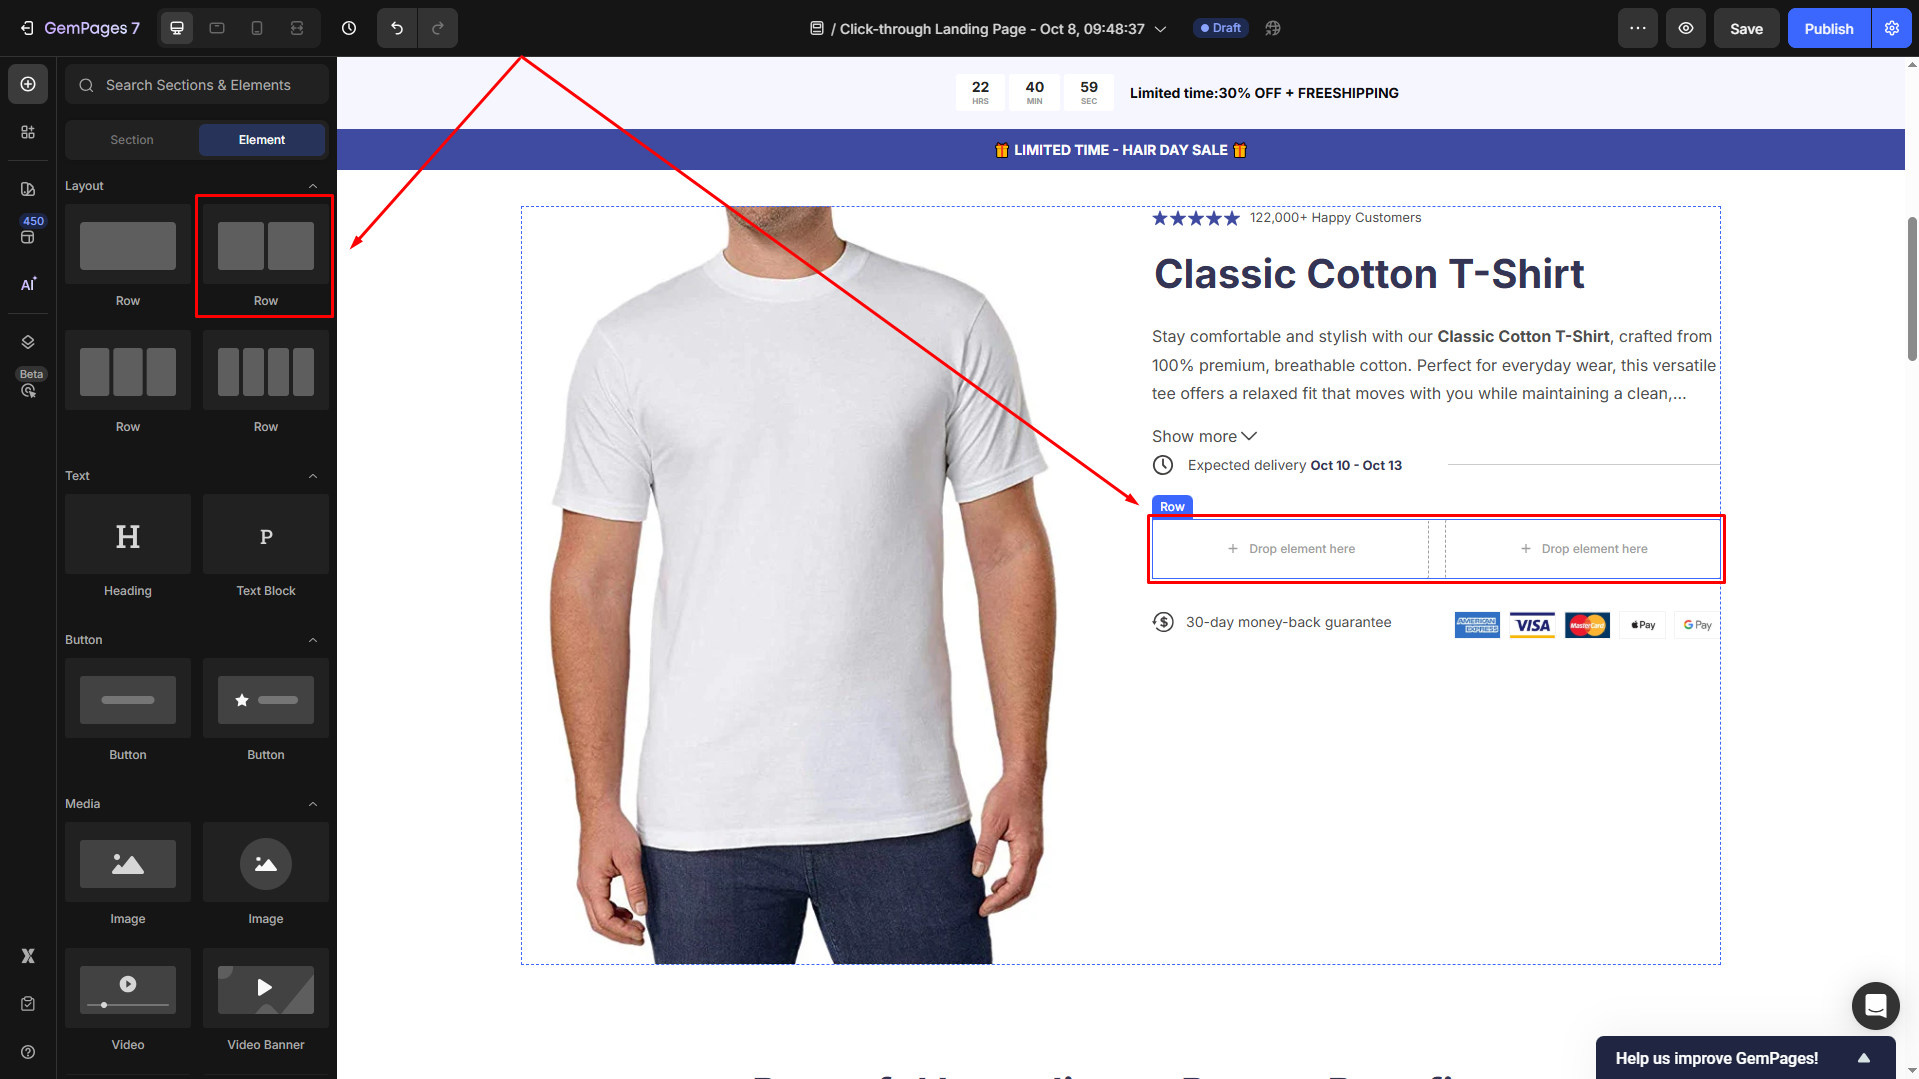
Method 1: Use a Row Element
You can use the Row Element to create a two-column layout in which each button is placed in its column.
Step 1: From the left sidebar, drag and drop a 2-column row element into your desired position.
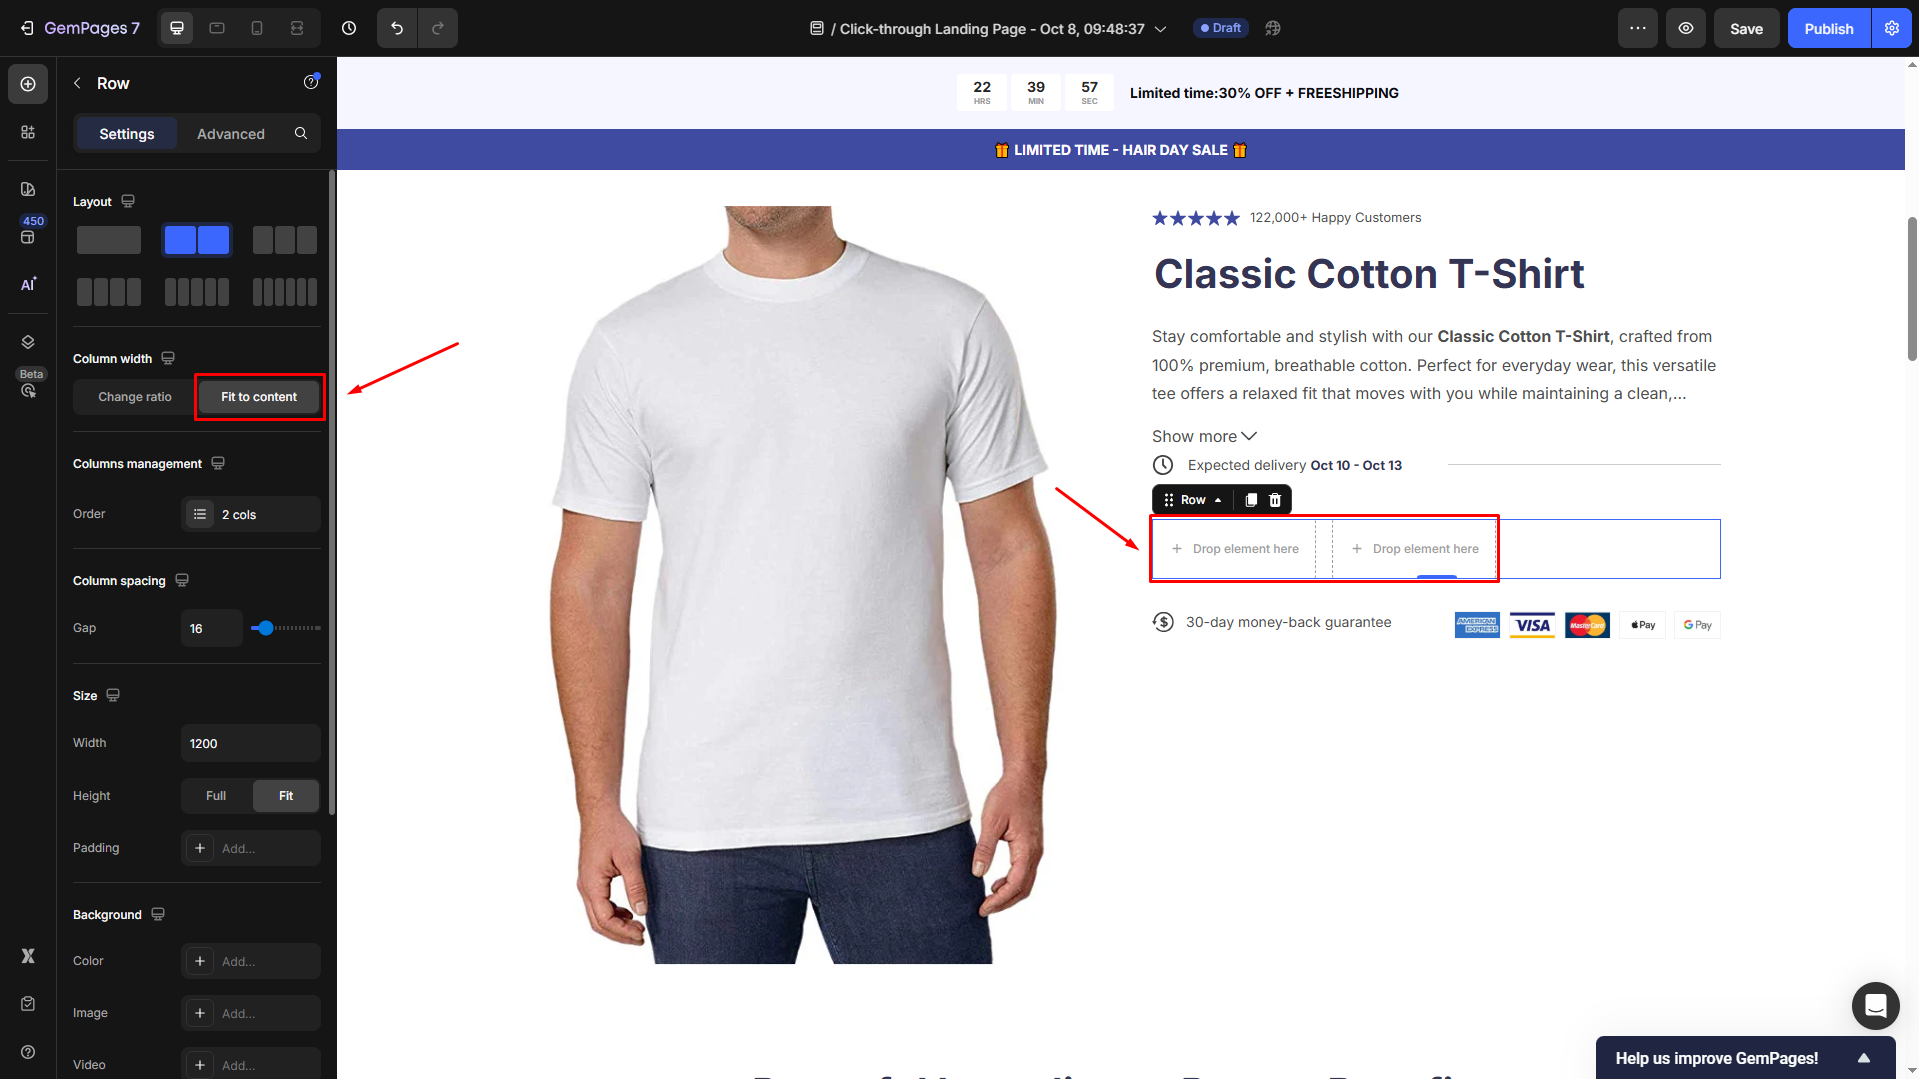
If you want to put 2 buttons side by side, select Column width = Fit to content in the settings panel.
Step 2: Drag Button 1 into the first column and Button 2 into the second column to finish.
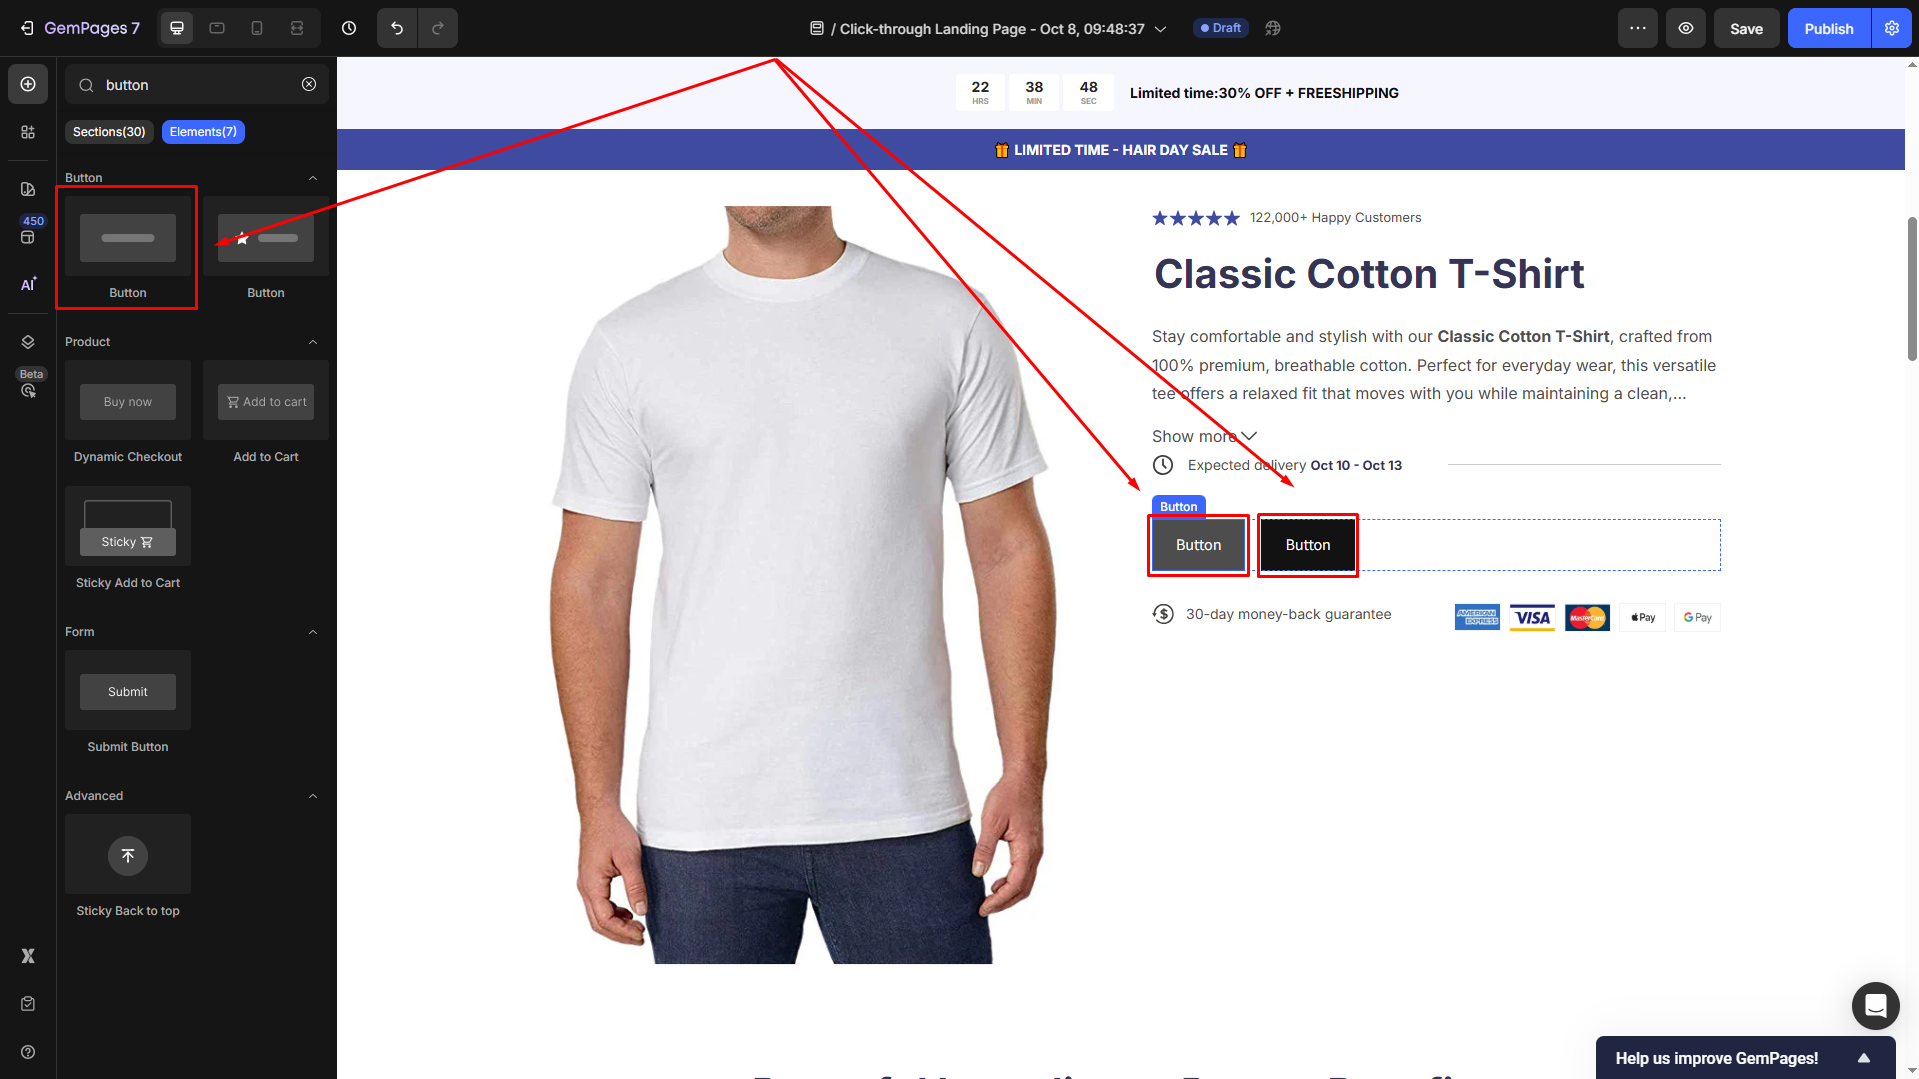
Your buttons are now displayed side-by-side.
Method 2: Use drag-and-drop functionality
You can use the GemPages’ drag-and-drop functionality directly to make your buttons display side by side.
Here’s how to do it:
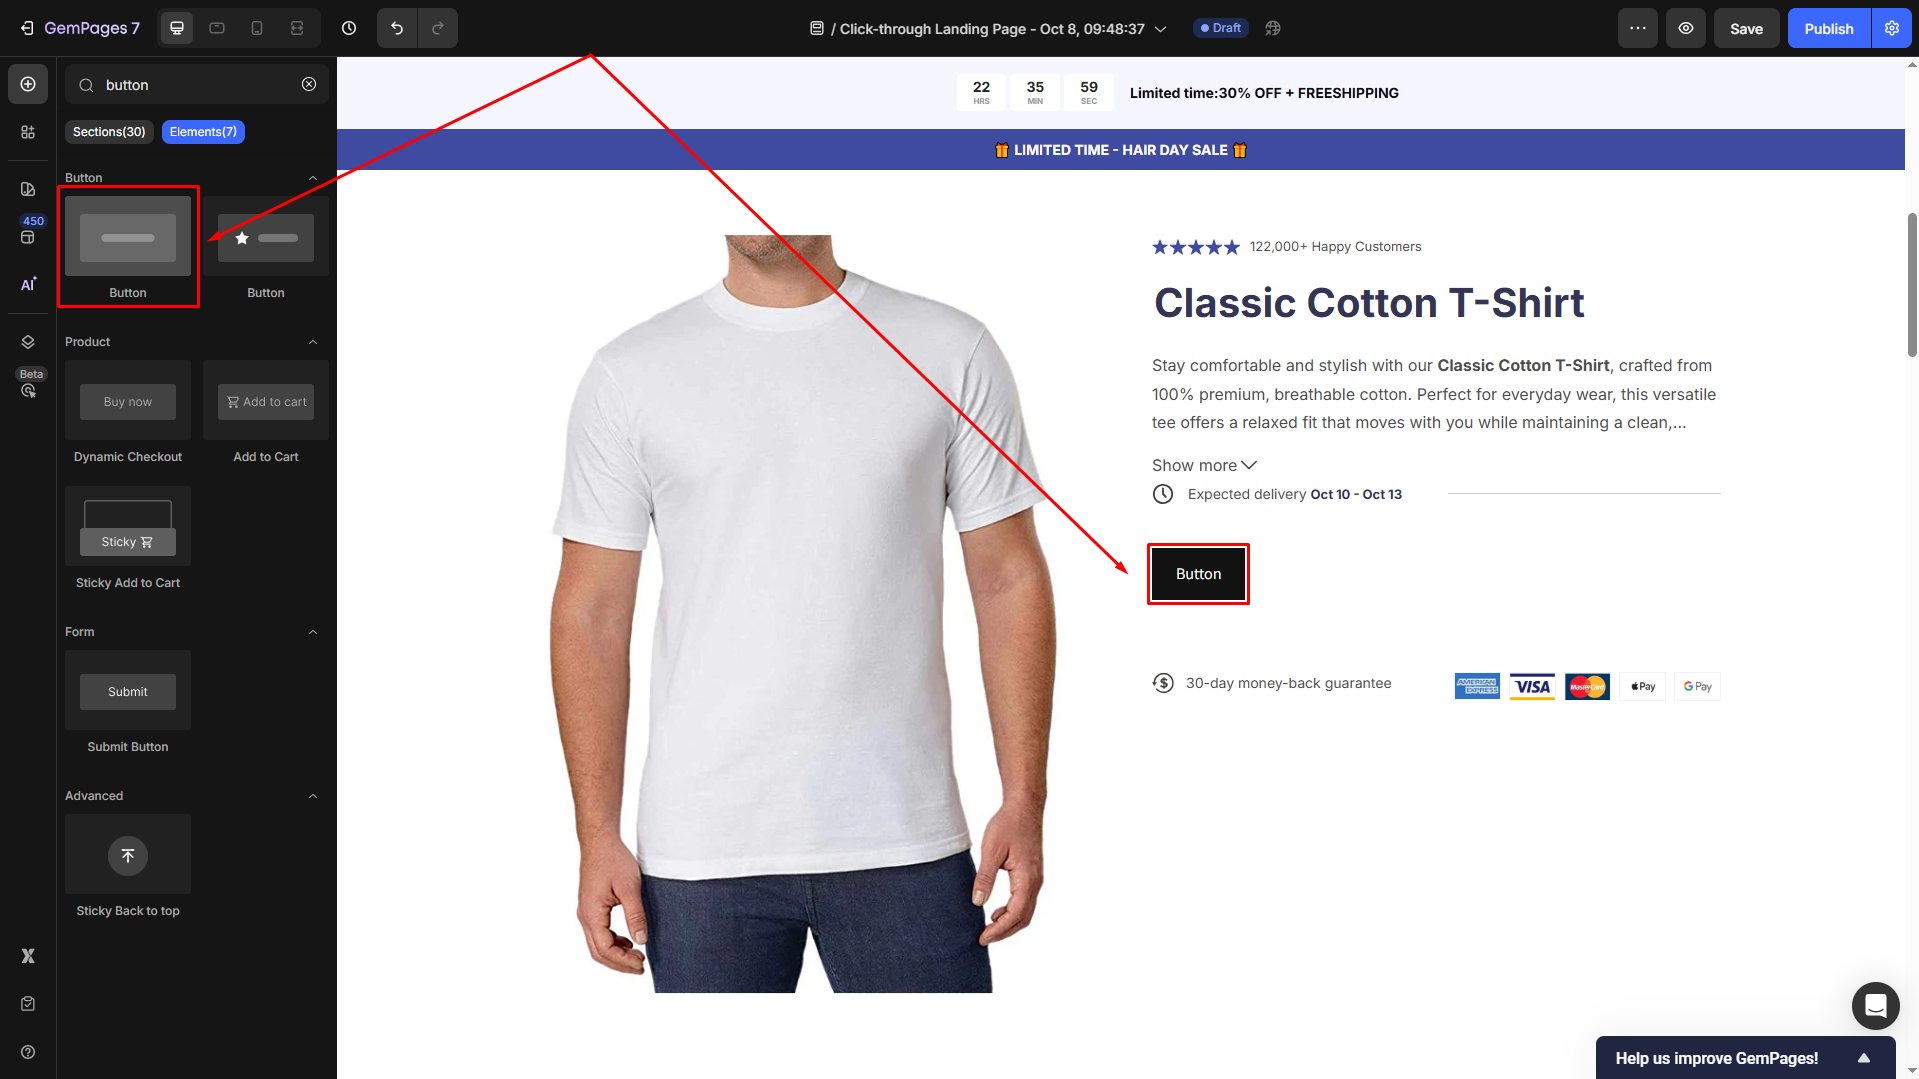
Step 1: Drag Button 1 to your desired location on the page.
Step 2: To continue, you drag and drop Button 2, placing your cursor right next to the edge of Button 1 on the right side. Then, an indicator will appear, allowing you to drop Button 2 adjacent to Button 1.
Step 3: Once finished, save your changes and hit Publish to republish the page with new updates.
This method lets you easily align two buttons side by side, improving your website’s design. Feel free to experiment with both options and select the approach that suits your needs.


Thank you for your comments