


What is a Product Page?
A Shopify product page is a dedicated page that showcases the details of a single product in your online store. It usually includes:
- Product images
- Title and description
- Pricing and availability
- Variants (such as size or color)
- Call-to-action buttons like Add to Cart or Buy Now
This is the page your customers will visit before making a purchase decision, so designing it well is crucial for conversions.
Learn more about the difference between a Product Page and a Product Template here.
How to Create a New Product Page with GemPages
Step 1: Create a Product in Shopify
Before designing a product page with GemPages, you must first create the product in your Shopify Admin. If your product already exists, you can skip this step.
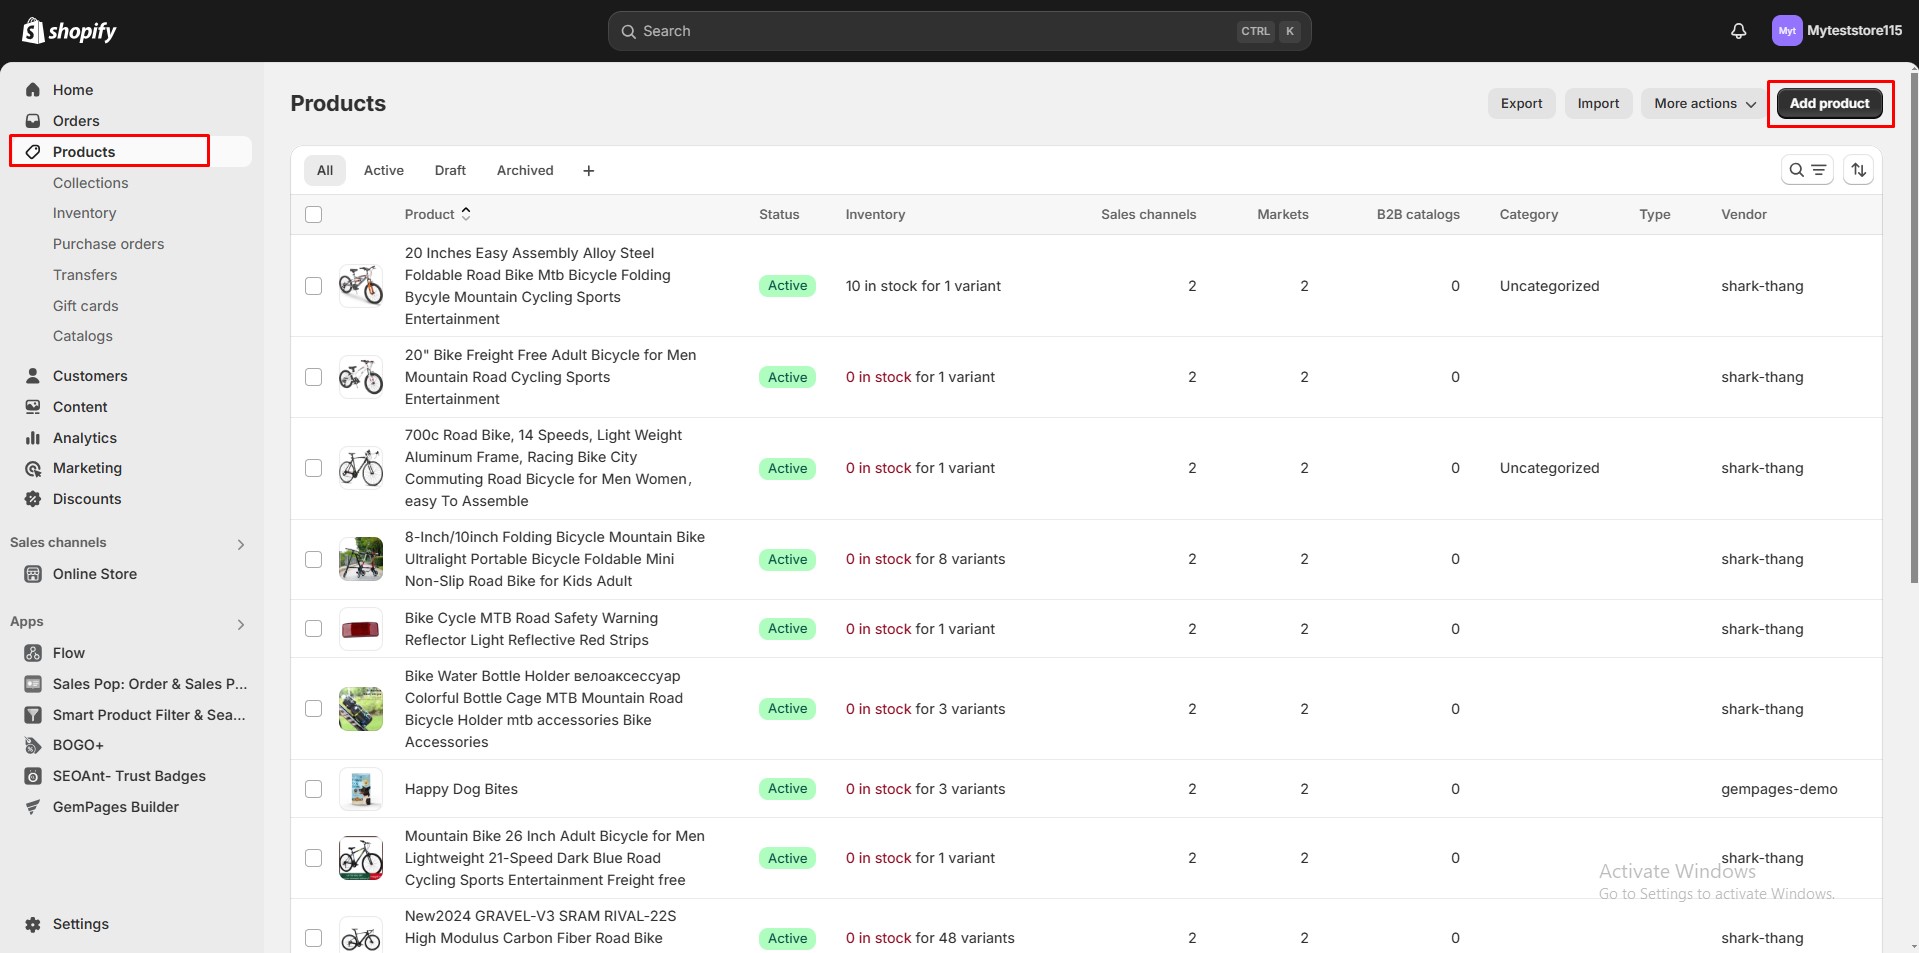
- Log in to your Shopify Admin Dashboard.
- From the left-hand menu, go to Products and click Add product.
- Fill in your product details:
- Title and description
- Product images or videos
- Pricing and inventory
- Variants (if applicable)

- Click Save to add the product to your Shopify store.
Once your product is created, you’re ready to build a custom product page with GemPages.
Step 2: Create a New Shopify Product Page in GemPages
You can create a product page in two ways: from the GemPages Dashboard or directly inside the GemPages Editor.
Both methods will lead you to the same setup process.
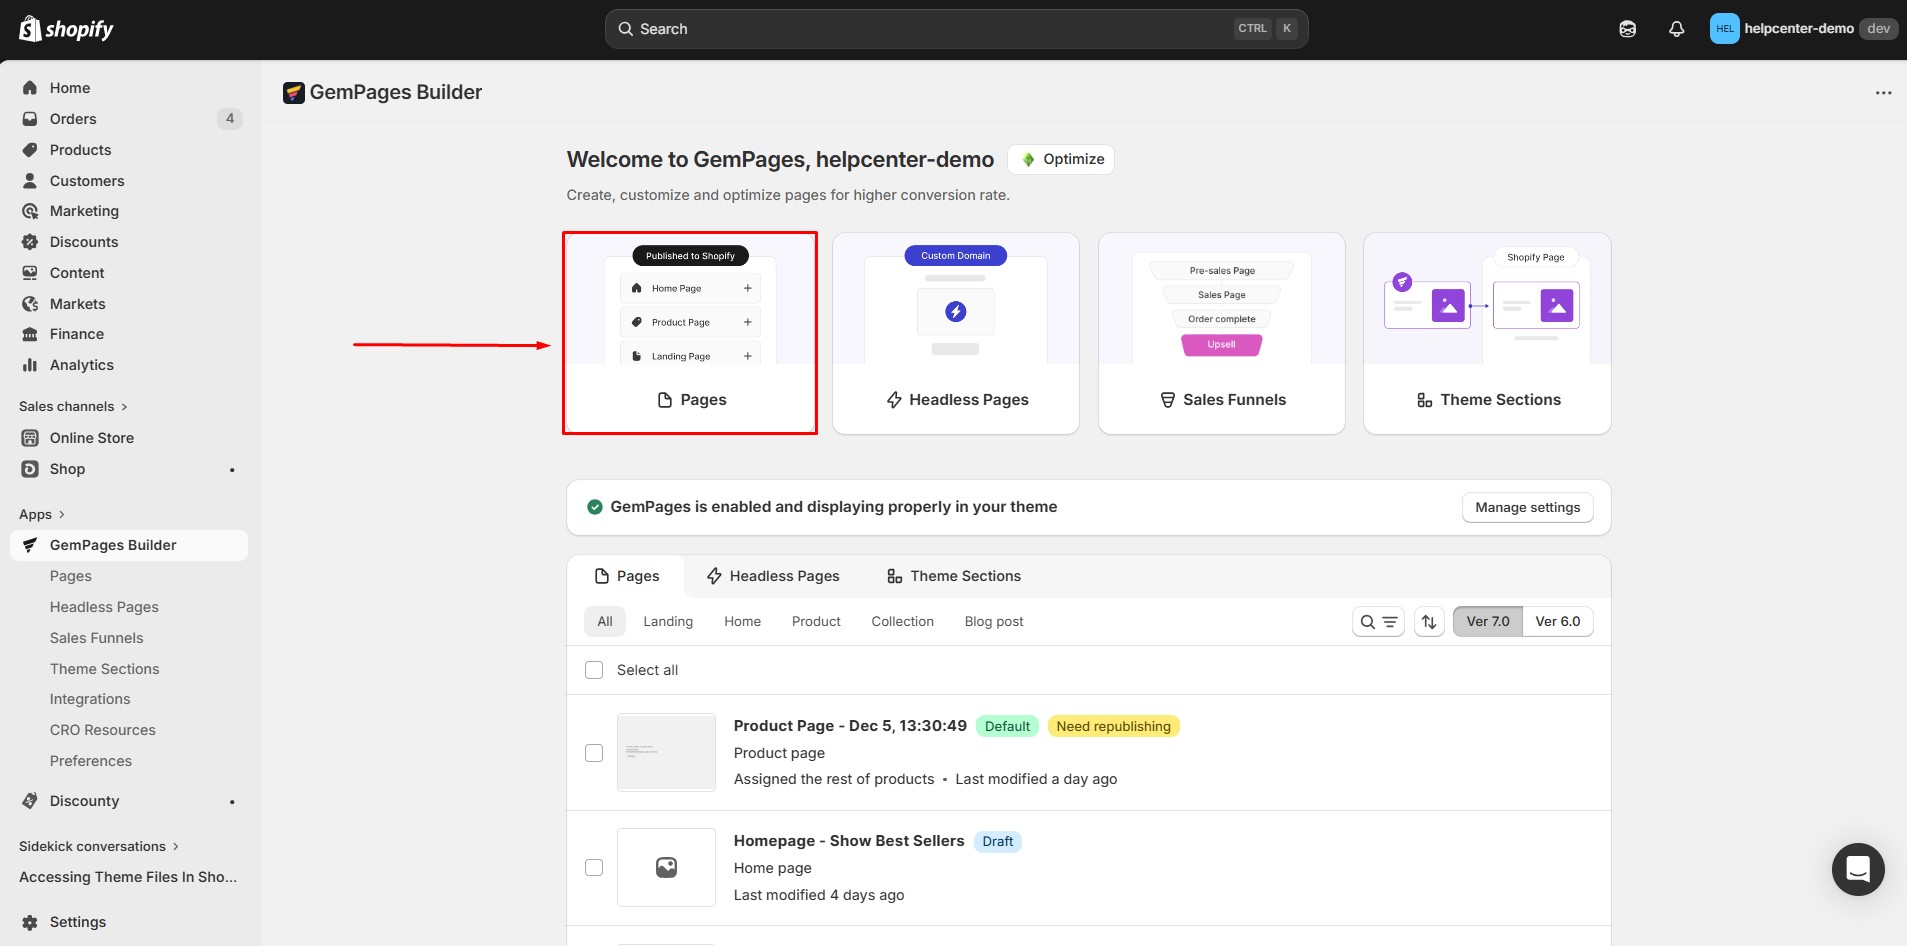
Option 1: Create New Product Page from the GemPages Dashboard
- Open the GemPages Dashboard => Pages.
Option 2: Create New Product Page from the GemPages Editor
If you’re already editing another page and want to create a new product page without leaving the Editor, follow these steps:
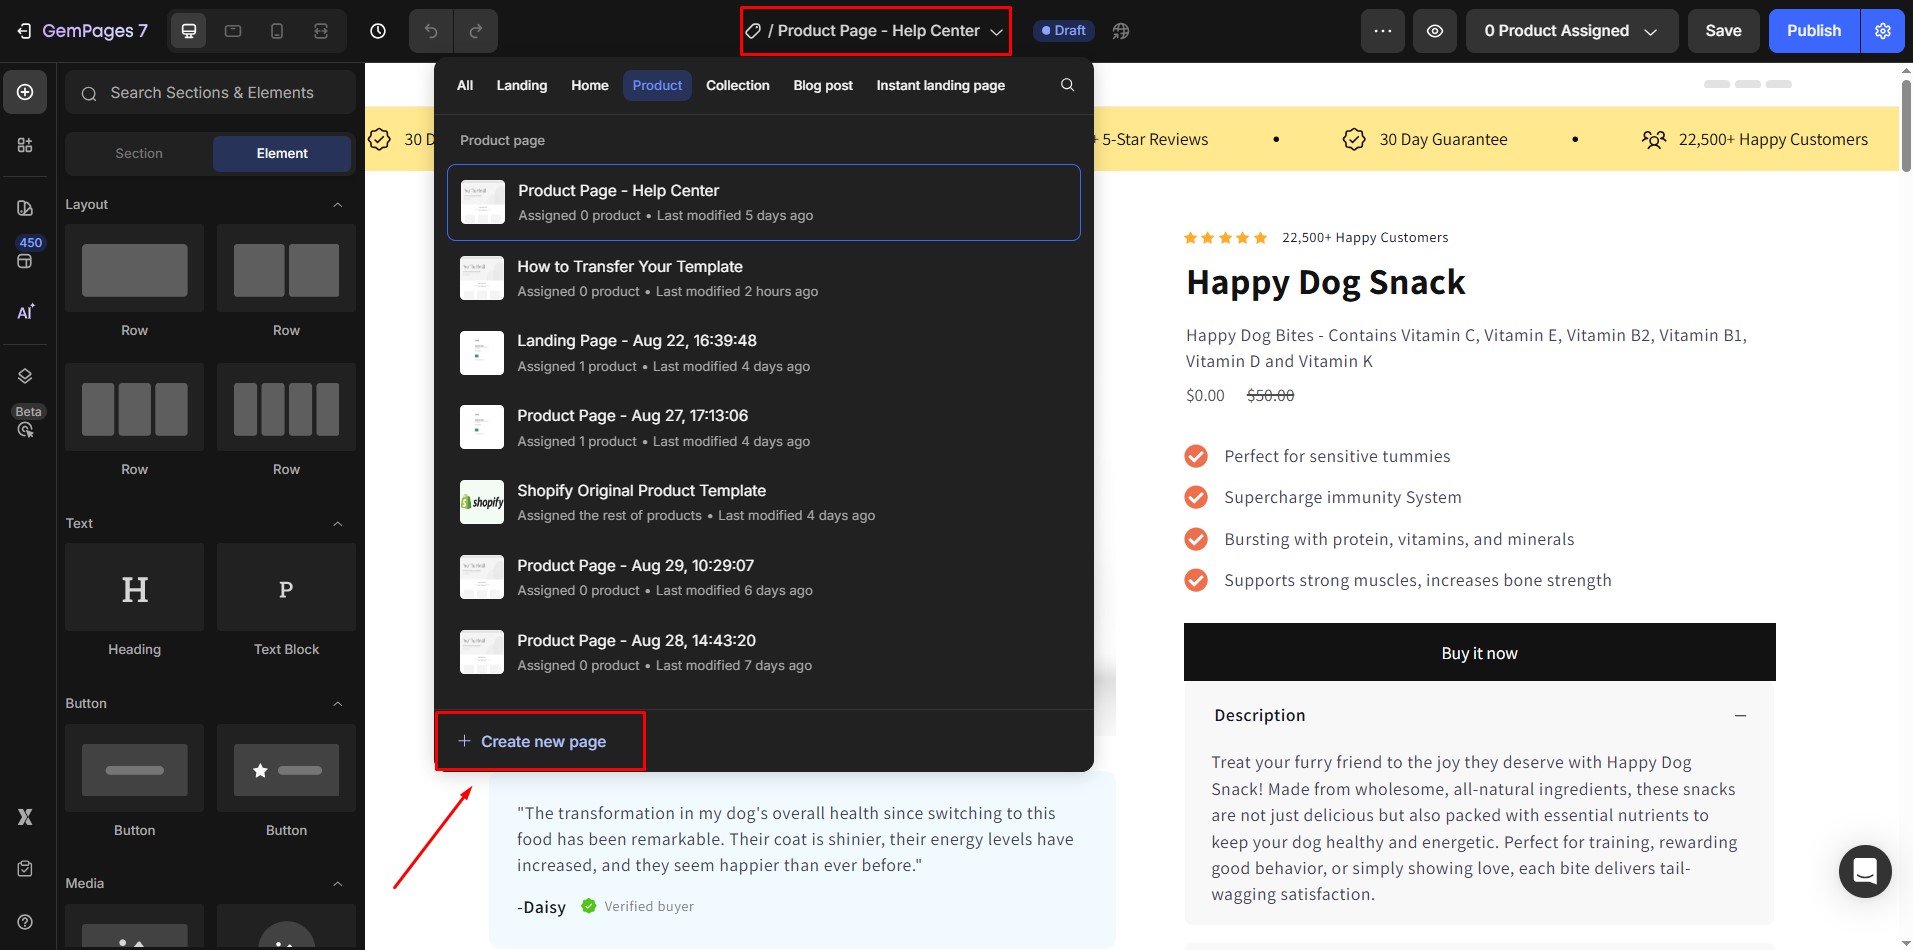
- In the GemPages Editor, click on the current page name at the top.
- A list of your existing pages will appear. Select Create new page.
Step 3: Choose How to Build Your Product Page
No matter which method you used in Step 2, you will now have three options to create your product page.
Option 1: Start from Scratch
Choose Start from scratch if you want to design your product page using a blank canvas.
This option gives you full flexibility to design your layout exactly as you want.
Option 2: Use a Ready-Made Template
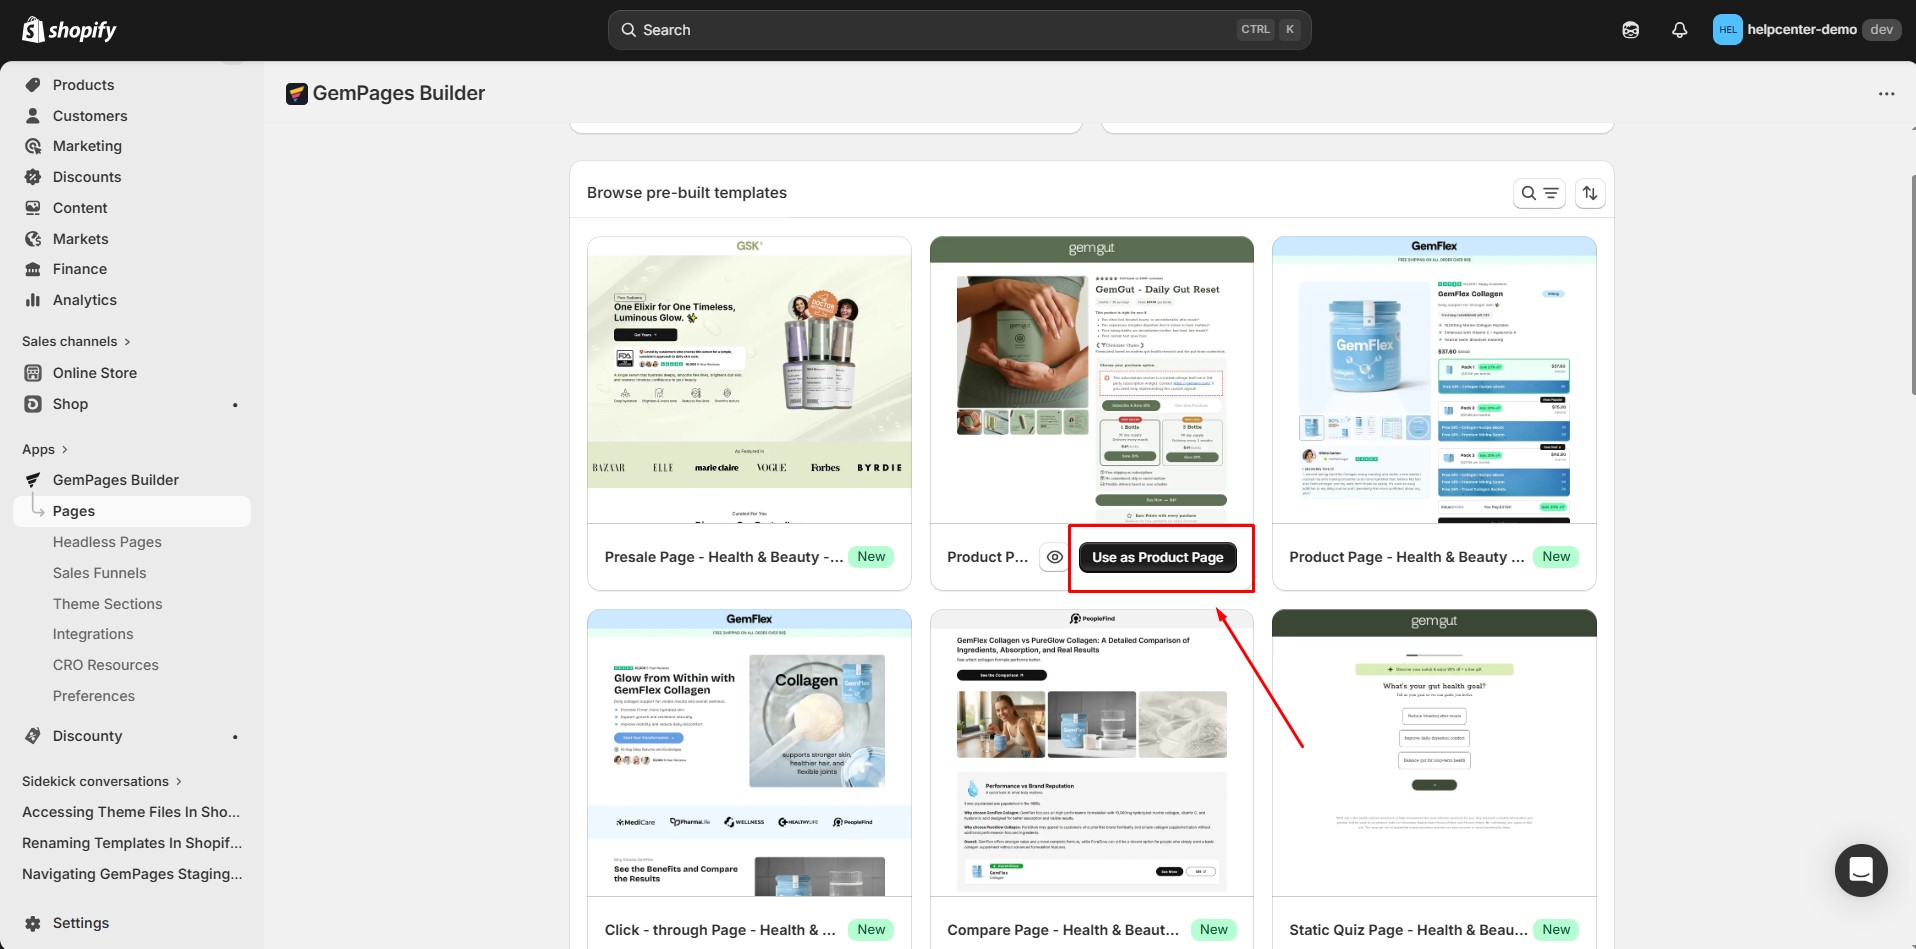
You can choose from a library of professionally designed templates to speed up your workflow.
To use a template:
- Browse available templates
- Hover over the template you want to use
- Click Use as product page
Templates are designed based on best practices and help you quickly create a professional-looking product page.
Option 3: Import a GemPages File
You can also create a product page by importing a previously exported GemPages file.
This option is useful when:
- Reusing saved layouts
- Sharing designs between stores
- Migrating pages
For more details about this method, refer to this article: https://help.gempages.net/articles/export-import-templates
Step 4: Customize Your Shopify Product Page
Once your layout is created, the GemPages Editor will open. Inside the GemPages Editor, you can drag and drop elements to build a high-converting product page. Consider adding:
- Size chart for apparel or fashion items
- Product reviews & star ratings to boost trust
- Detailed product descriptions with images or icons
- Wishlist button for customers who want to save products for later
These elements help create a professional shopping experience and improve your conversion rates.
How to Create a Product Page Using the Image to Layout Feature
The Image to Layout feature allows you to convert an image or a URL into an editable page layout.
This helps speed up page creation by automatically detecting sections and generating a structured layout based on visual input.
You can use:
- A screenshot
- A webpage URL
The system will analyze the input and generate editable sections inside the Editor.
Step 1: Create a New Page From Scratch
Click Start from scratch to create a blank page. Once you enter the Editor, you will see the option to convert a URL or an image into a page layout.
Step 2: Choose Your Input Method
At this point, you will have two options:
- Paste a URL to Create a Layout
Paste a webpage URL into the input box. The system will analyze the URL and extract layout elements.
- Upload an Image
Click the upload area and select an image from your device. This image will be used to generate a page structure.
Step 3: Generate the Layout
- After entering a URL or uploading an image:
- Click Generate.
Important: Make sure you have the legal right to use the images for your page. GemPages is not responsible for any copyright disputes between you and the image owner.
How to Assign Products to a Template
Creating a product page is only the first step. To make it live, you must assign products to that page.
- Assigning products means linking your Shopify products to the GemPages template you just designed.
- This ensures that when customers visit that product in your store, they’ll see your custom GemPages design instead of Shopify’s default layout.
Follow our full guide on how to assign products to a template.
How to Add a Product Page to Your Store Menu
After creating and assigning your product page, you may want to make it accessible from your store’s navigation menu (such as the header or footer).
To add a product page to your menu:
- Go to your Shopify Admin Dashboard
- Navigate to Online Store → Content → Menus
- Choose the menu where you want to add the product page (e.g., Main menu)
- Click Add menu item
- In the Link field, select Products and choose your desired product
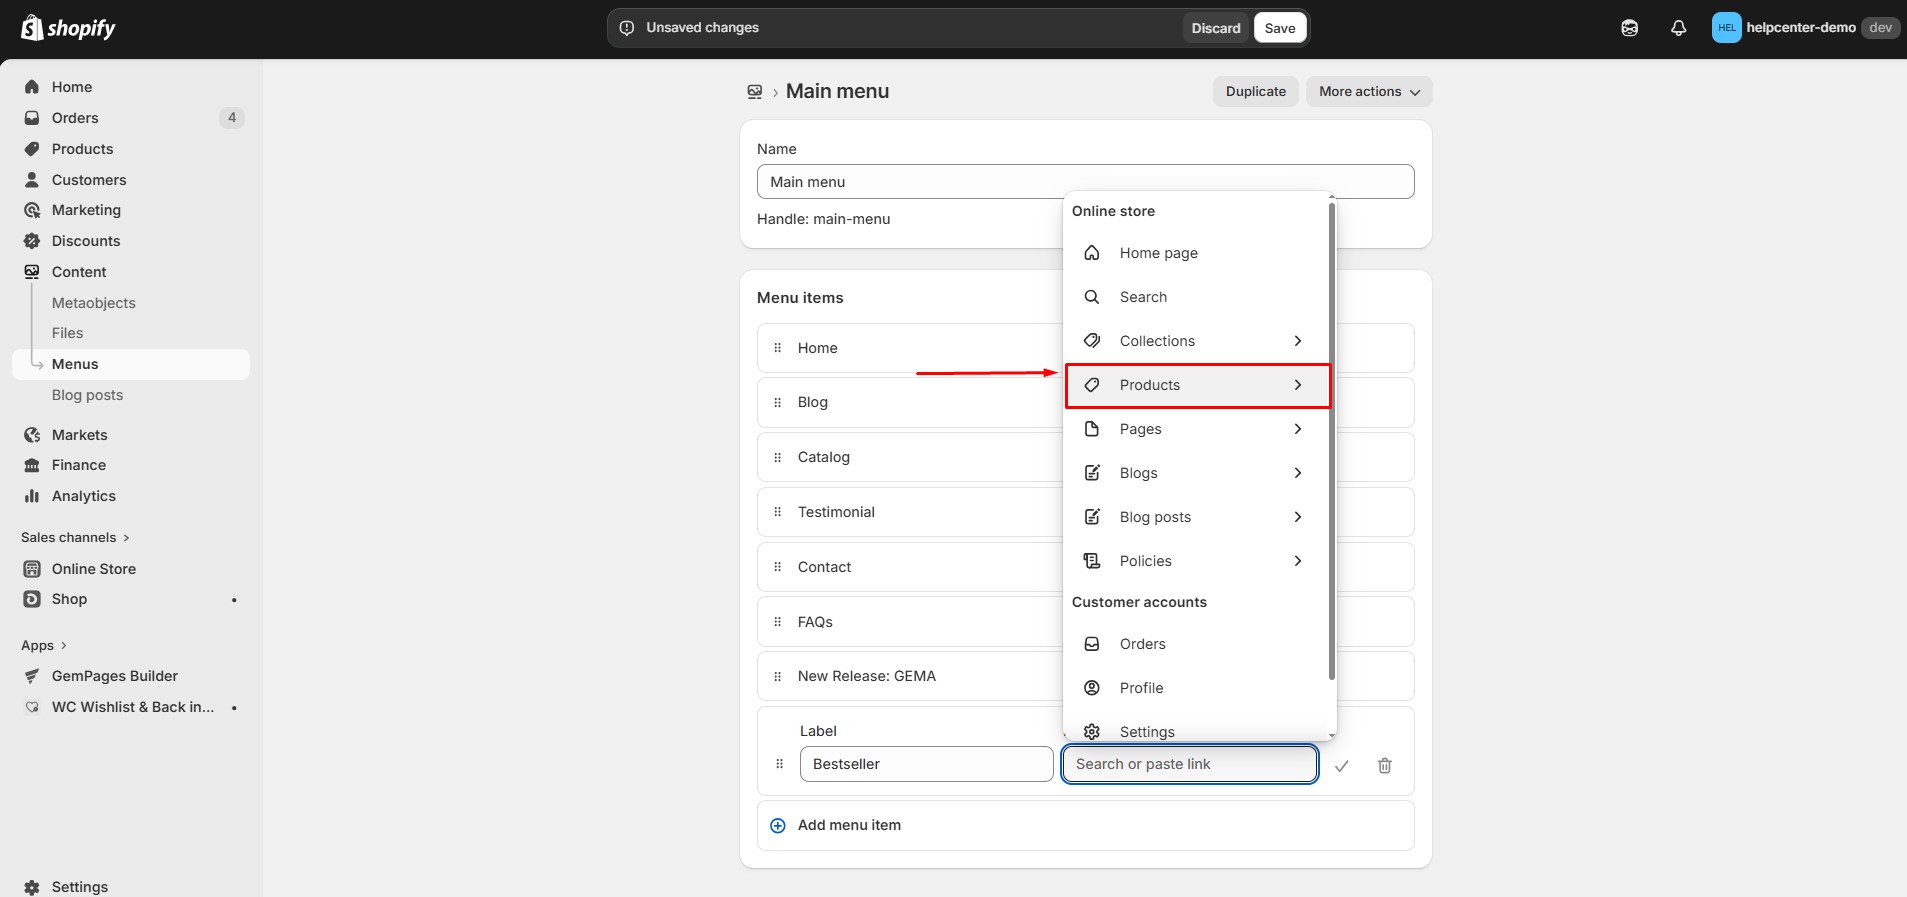
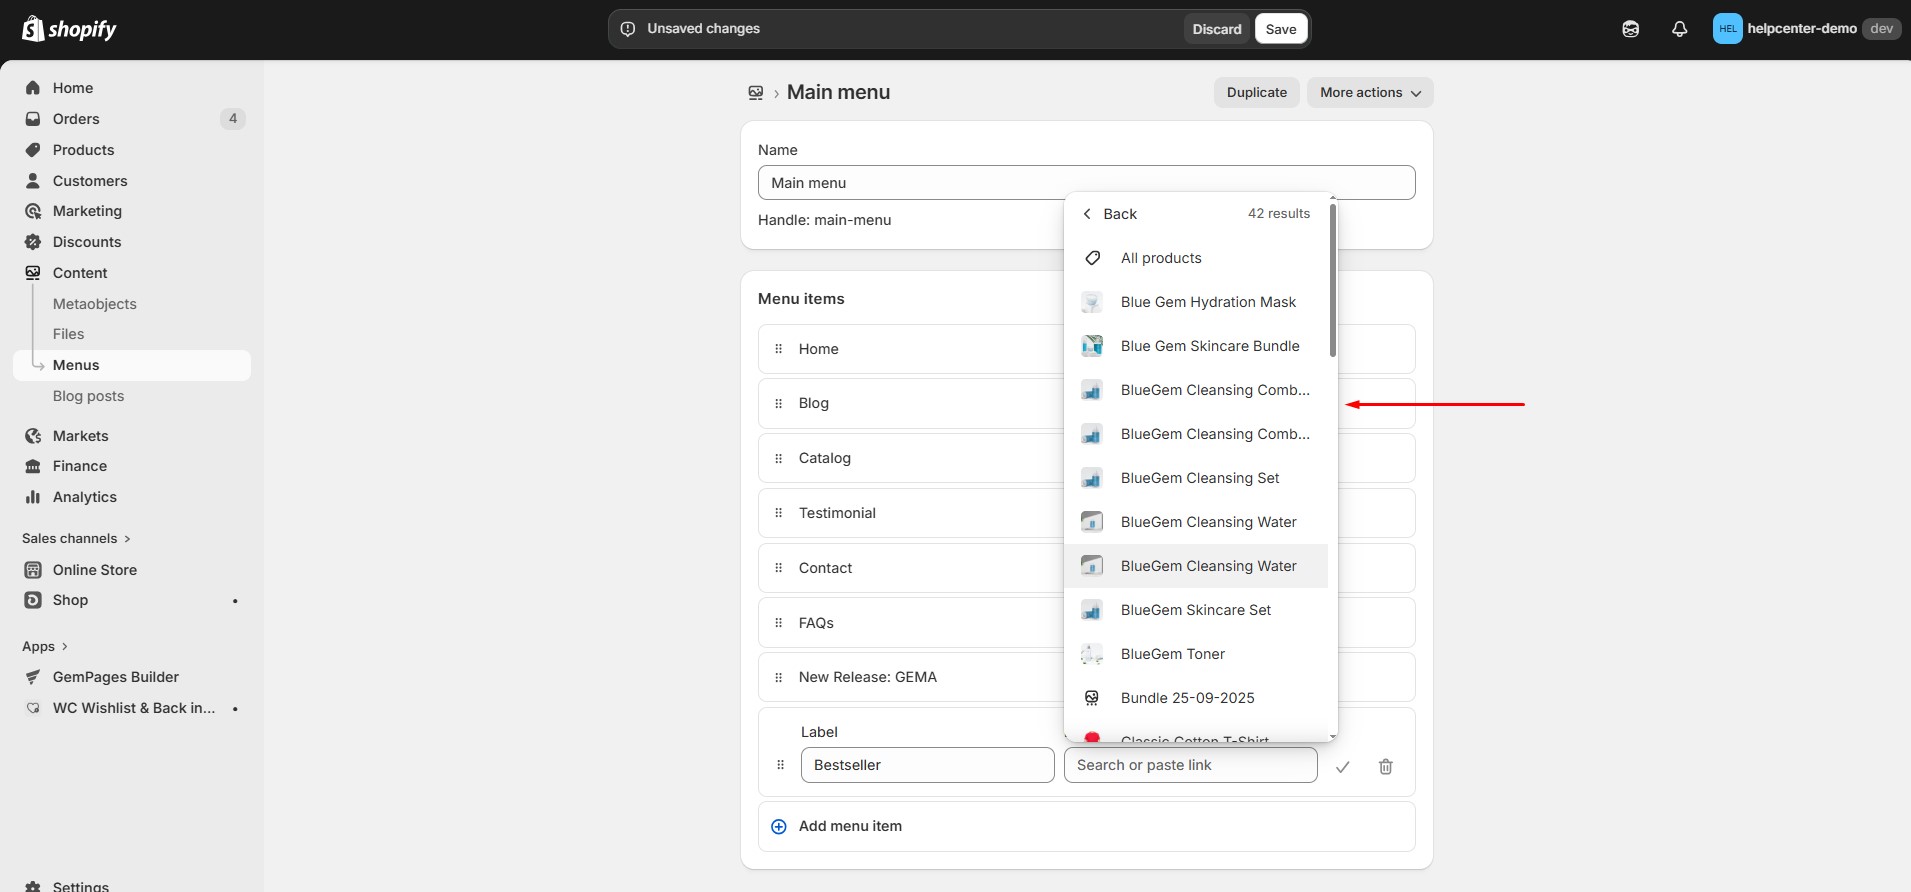
- Enter a name for the menu item
- Click Save
Once added, customers can easily access your product page directly from your store’s navigation.


Thank you for your comments