


How to Delete a Section from Your Page?
To delete a section from your product page in GemPages, follow these steps:
Step 1: Access the GemPages Editor
- From your Shopify admin, go to GemPages Builder under the Apps section.
- Navigate to the Pages section, where you’ll find all your pages built with GemPages.
- Click on the target page to open it in the editor.

Step 2: Locate the Section
In the design area, scroll down to find the section you want to delete.
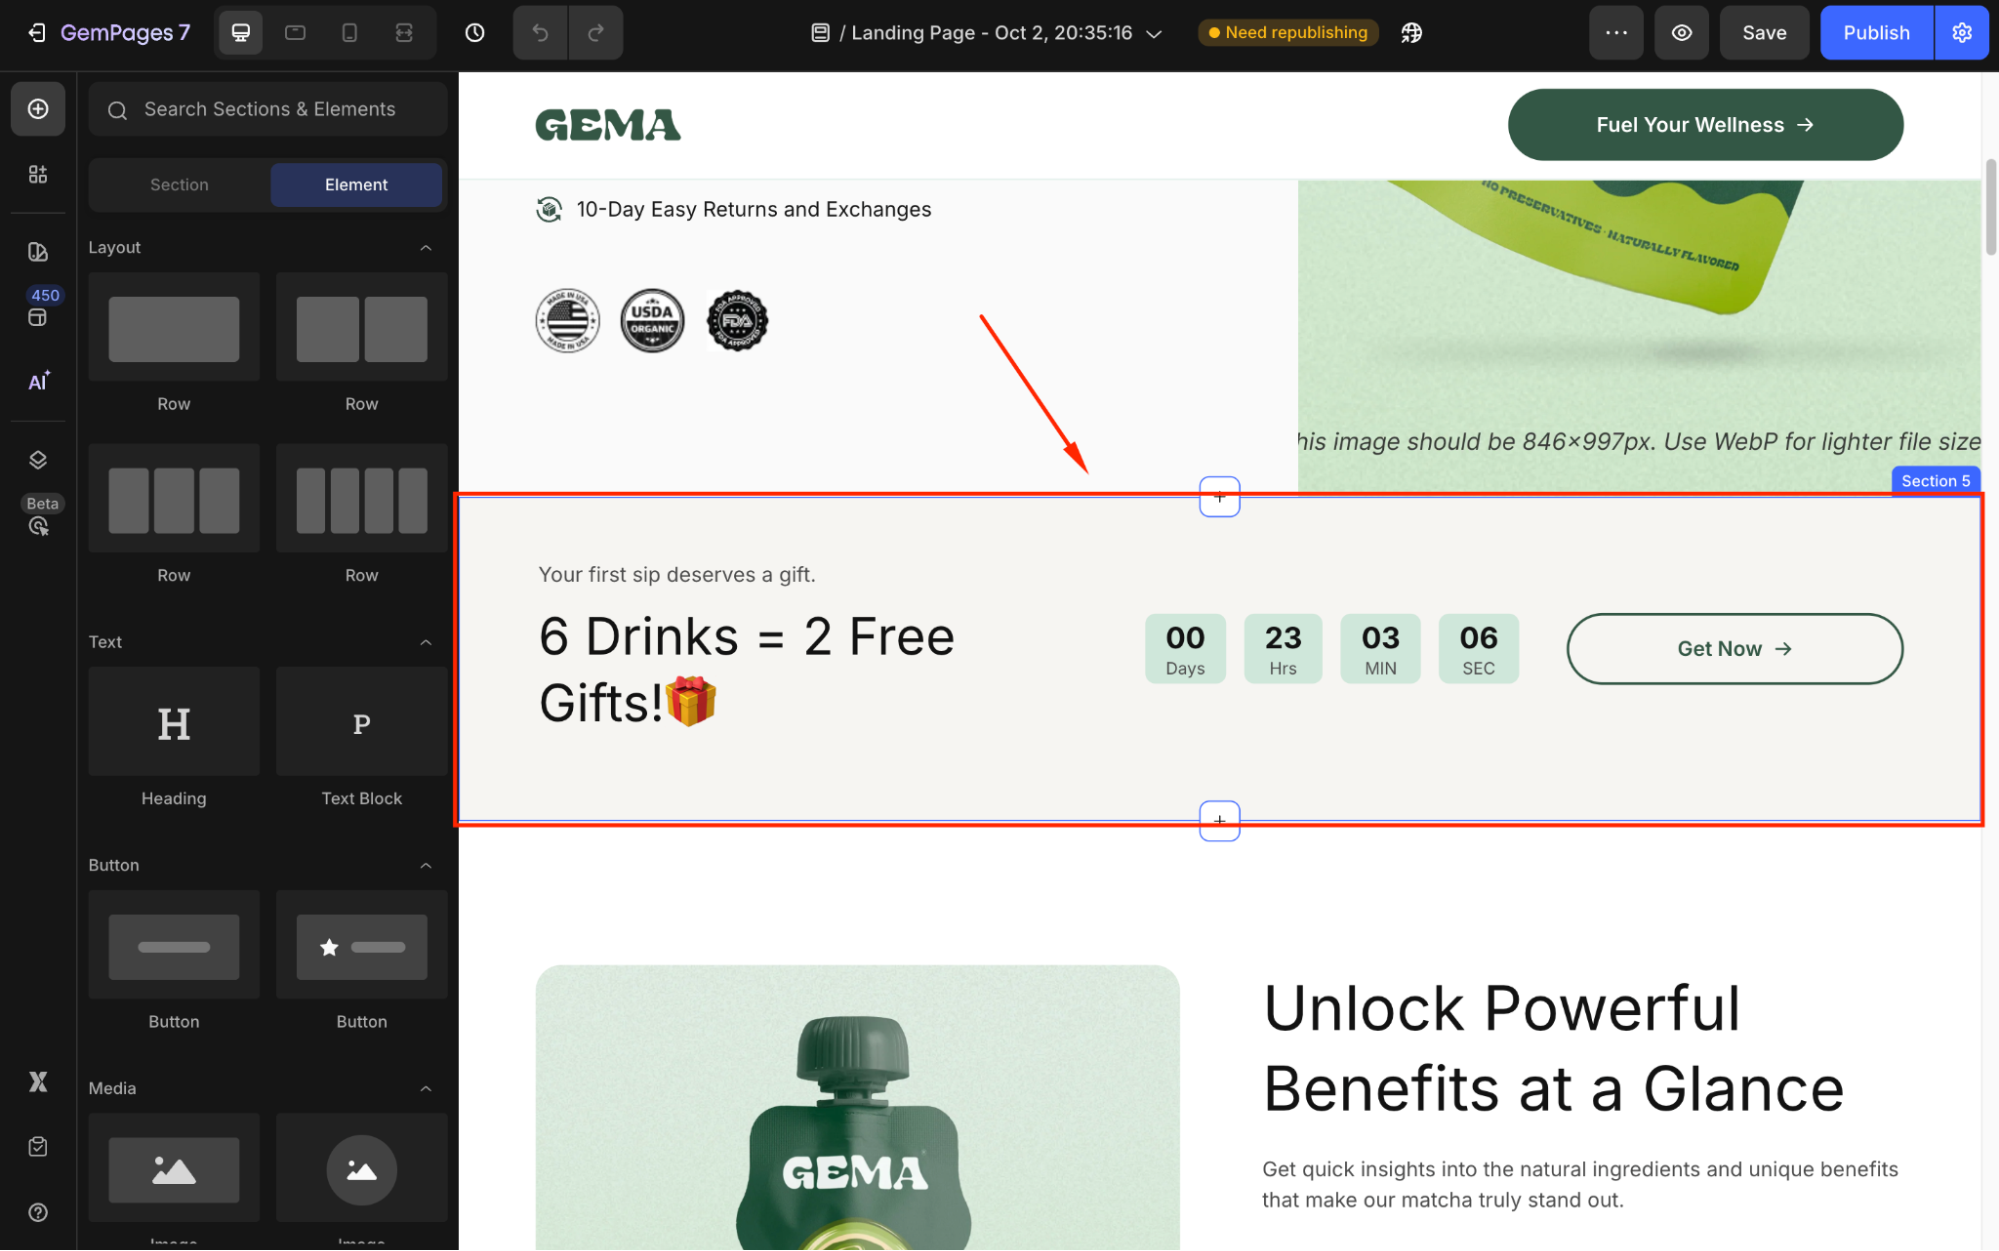
Step 3: Delete the Section
- Click on the section to select it.
- Press the Delete key on your keyboard or click the trash bin icon that appears.
If your section is already empty, you still delete it in the same way: Click on the section and hit the bin icon on the in-line editor.
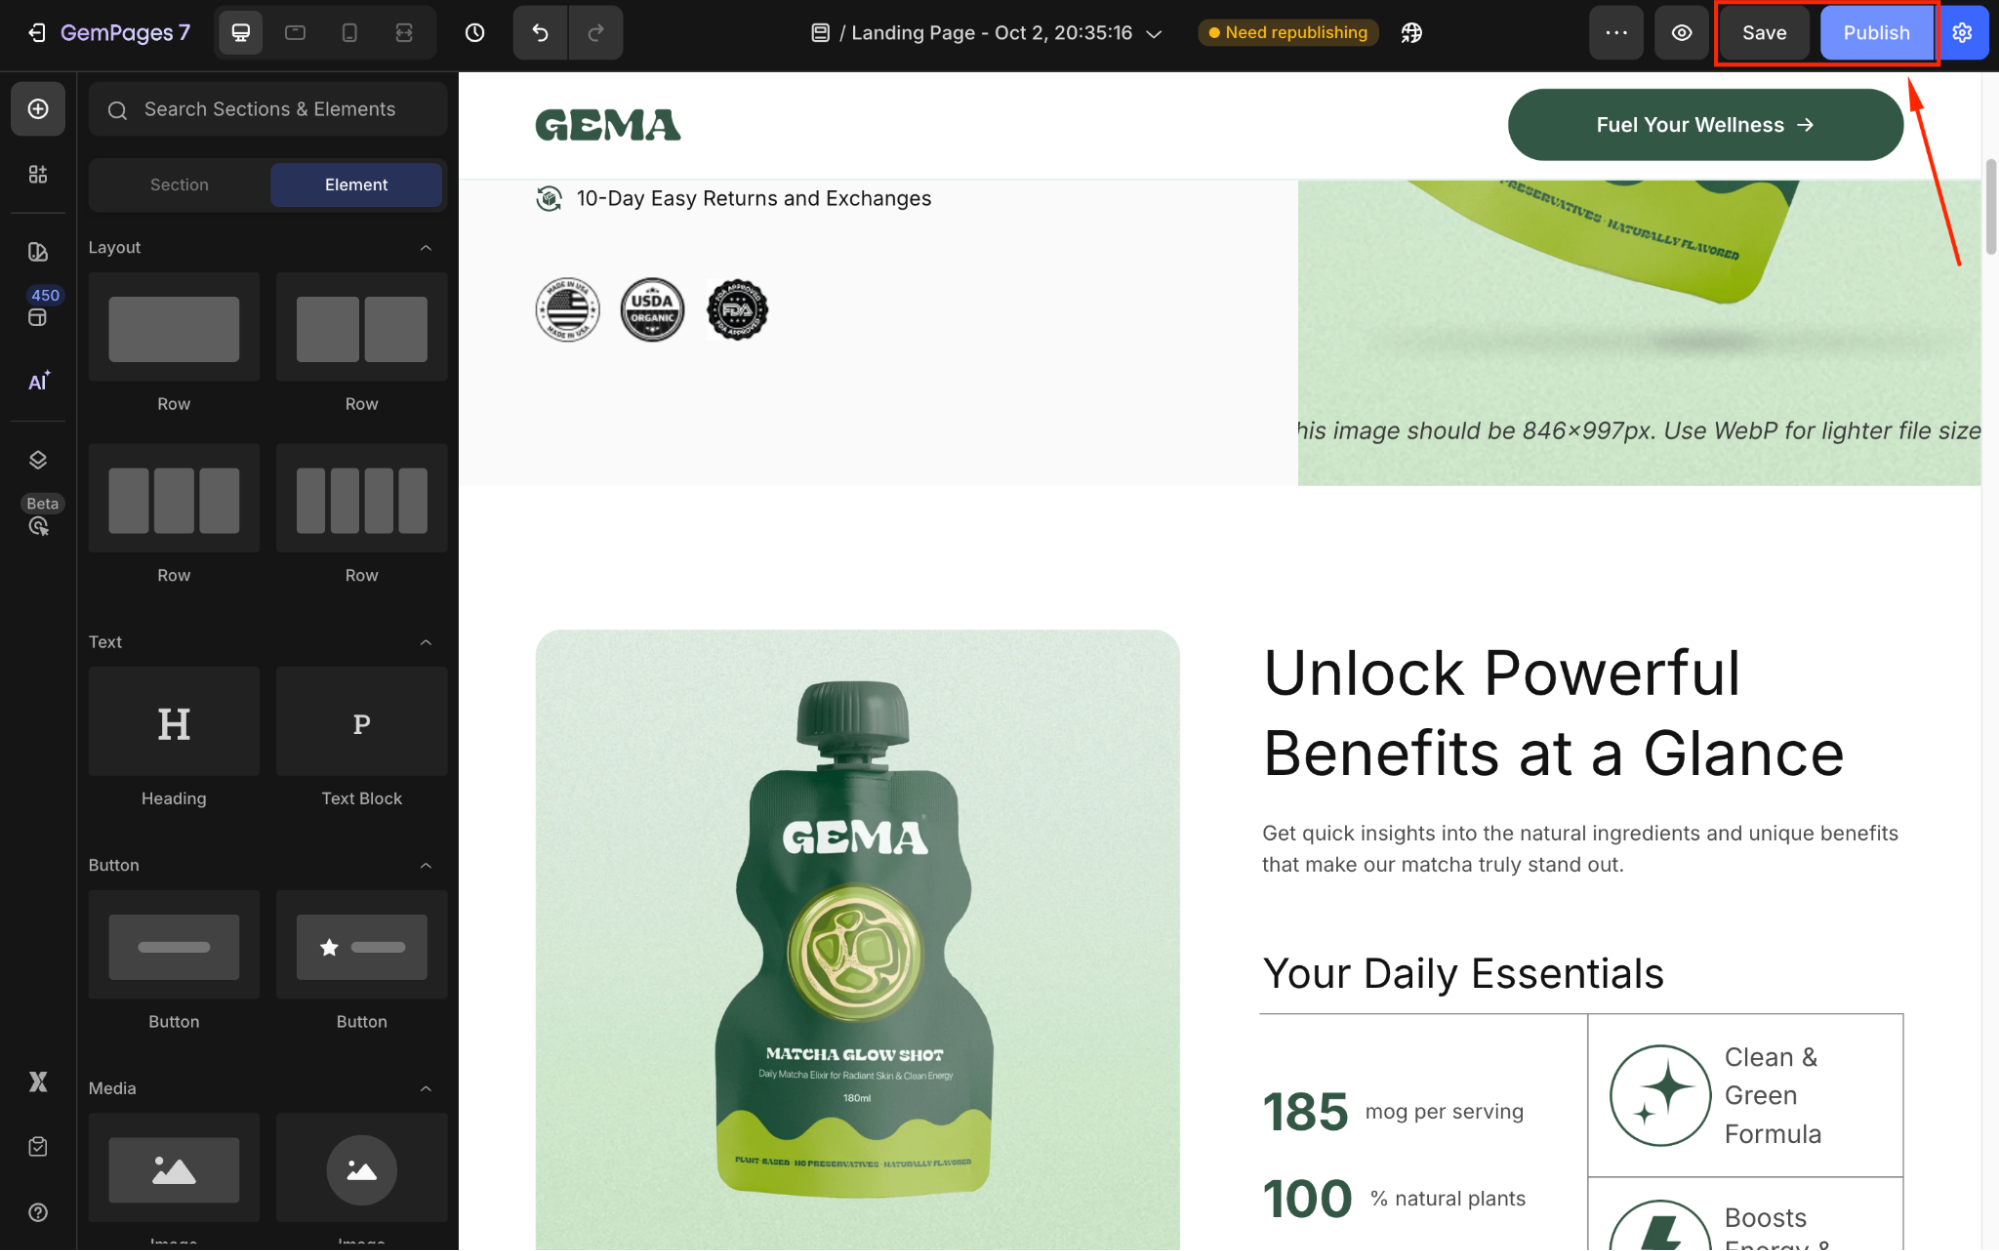
Step 4: Save and Publish
- After deleting the section, click Save.
- Then, click Publish to make the changes live on your store.
Delete a Section using Layer Tree
For quick access, you can use the Layer Tree feature.
Here’s how to do this:
- Right-click on any position in the design area and select Open layer tree.
- Locate the target section, click the three-dot icon, and choose Delete.
Also, if you just want to hide the element instead of removing it, hit the eye icon.

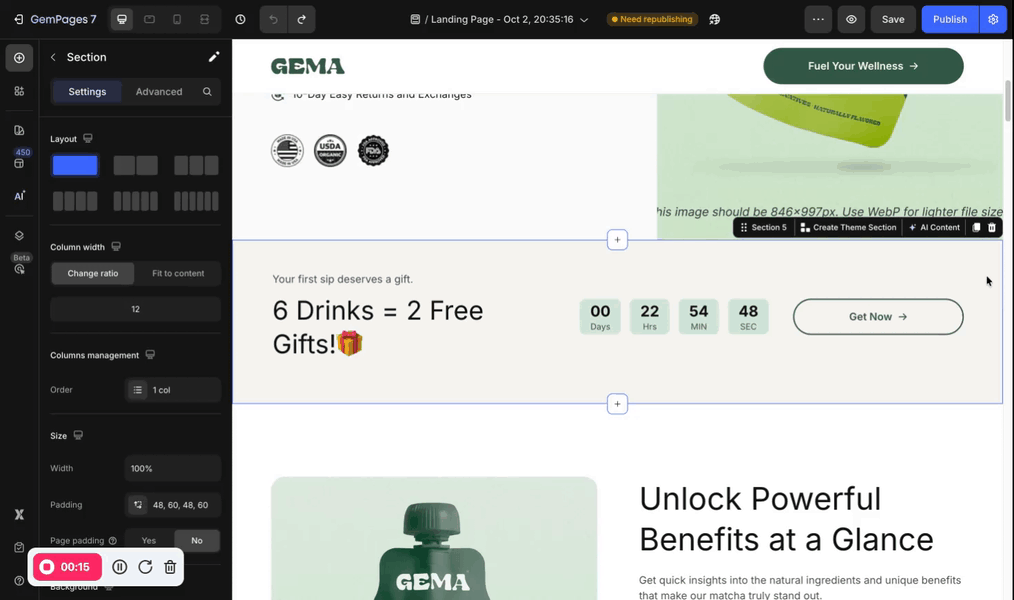
If you delete a Theme Section
Ensure that you only delete the section from the specific page if you don’t want it removed elsewhere. If the section you’re trying to delete is a theme section, which is a reusable component across multiple pages, deleting it requires extra caution:
Step 1: Unlink Before Deleting
- Select the target Theme Section in the editor.
- Click on Detach to Edit in the sidebar.

This action detaches the section from other pages, allowing you to edit or delete it without affecting other pages.
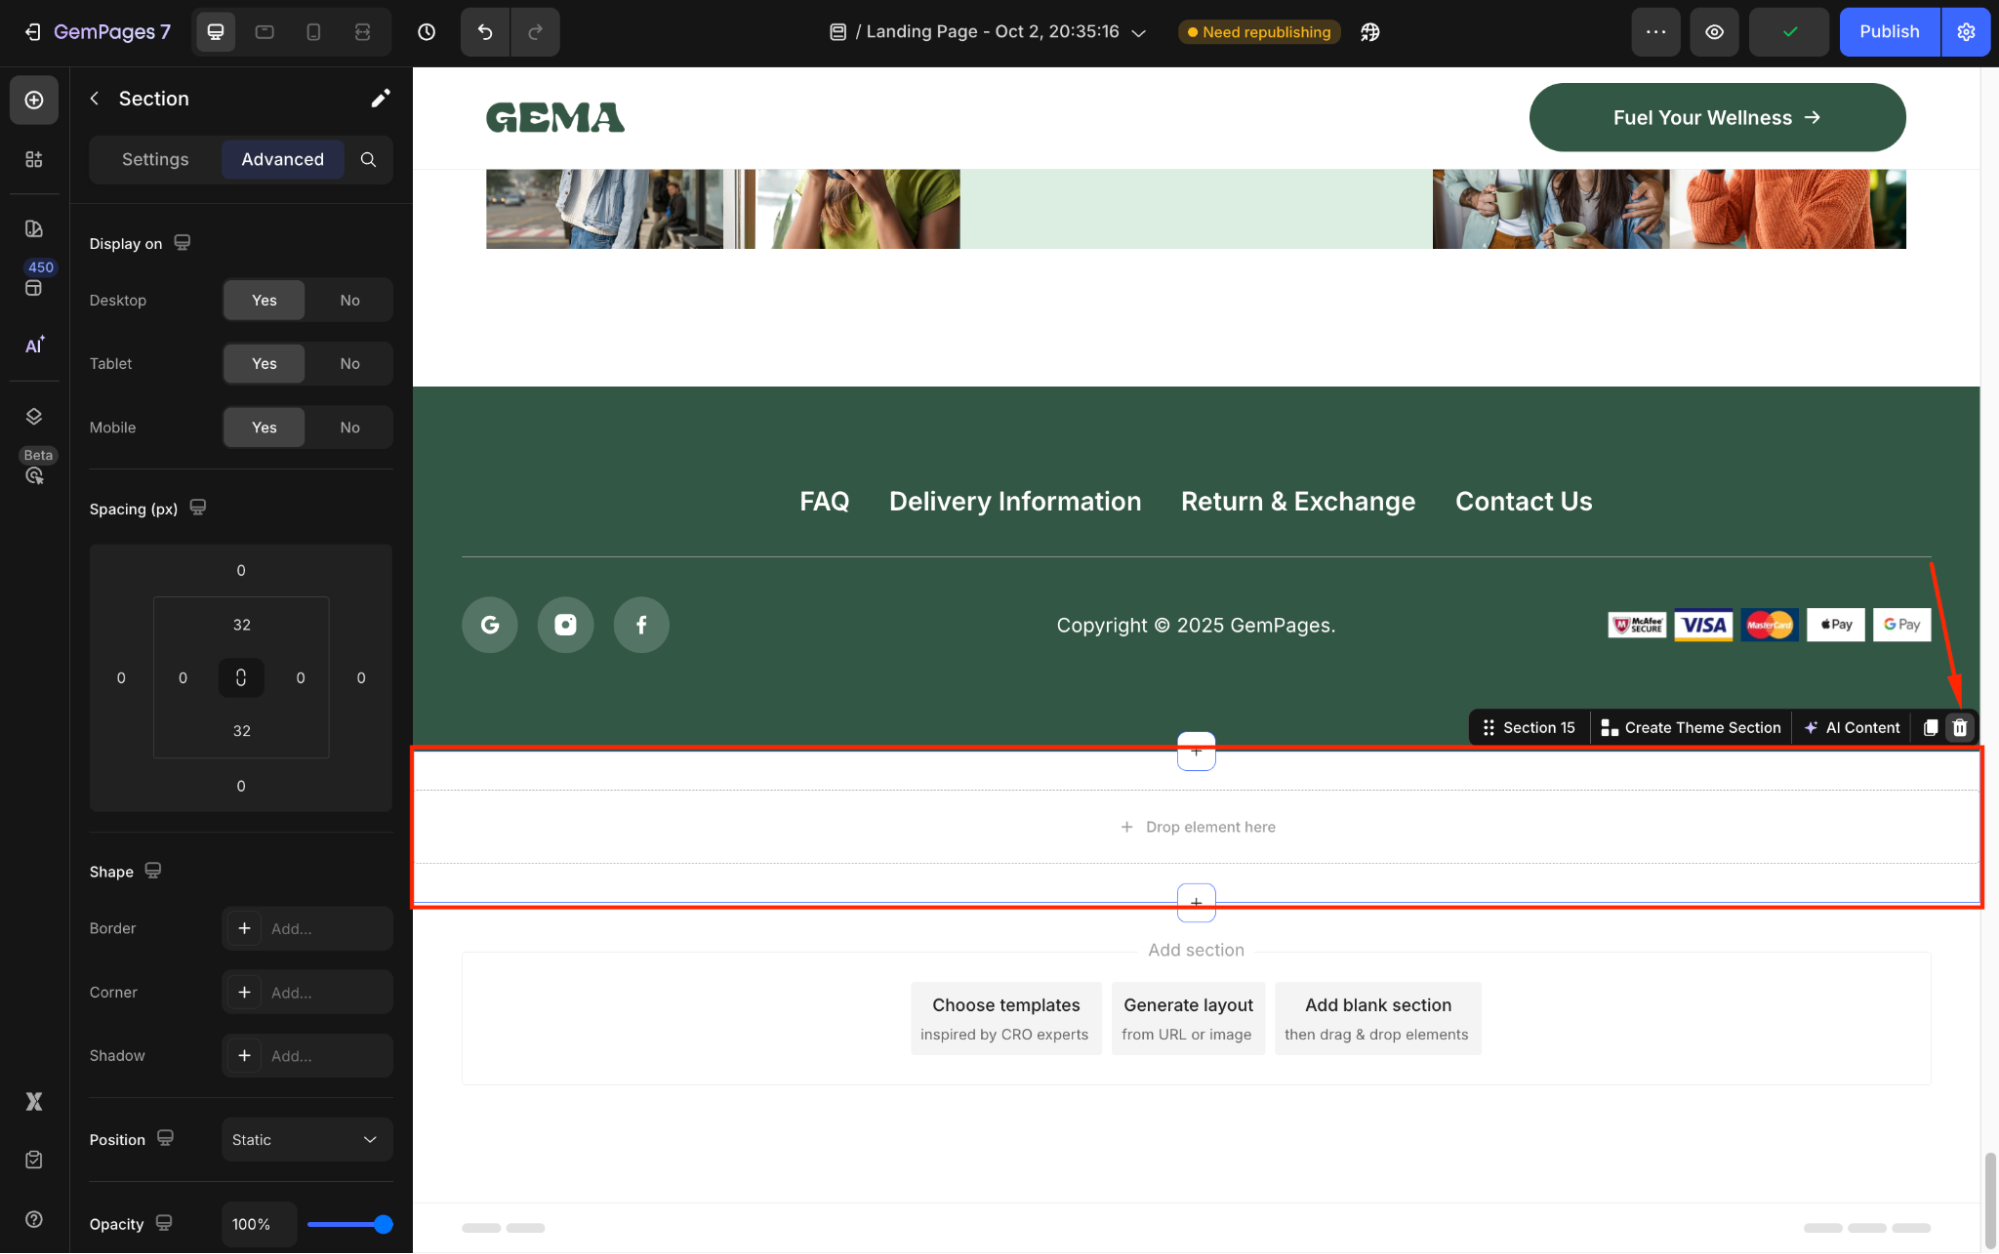
Step 2: Delete the Unlinked Section
After unlinking, proceed to delete the section as described above.


Thank you for your comments