


In addition to incorporating YouTube and Vimeo content, GemPages allows you to use custom code for adding media from other hosting services.
Upload your video to a hosting server
In this case, we’ll use Shopify CDN (Content Delivery Network) as the host.
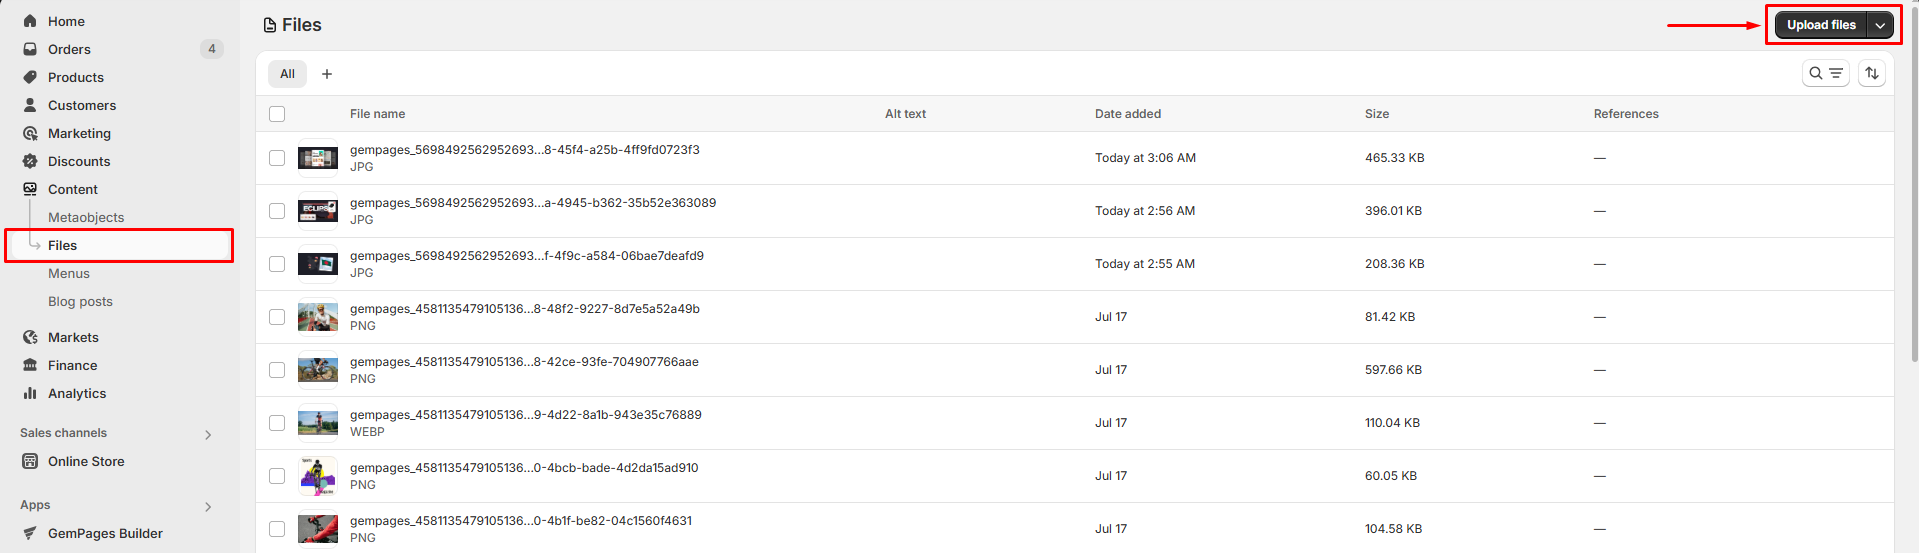
Step 1: Go to Shopify Admin > Content > Files.
Step 2: Click on the “Upload files” button in the top right corner.
Step 3: Select the file to upload from your device.
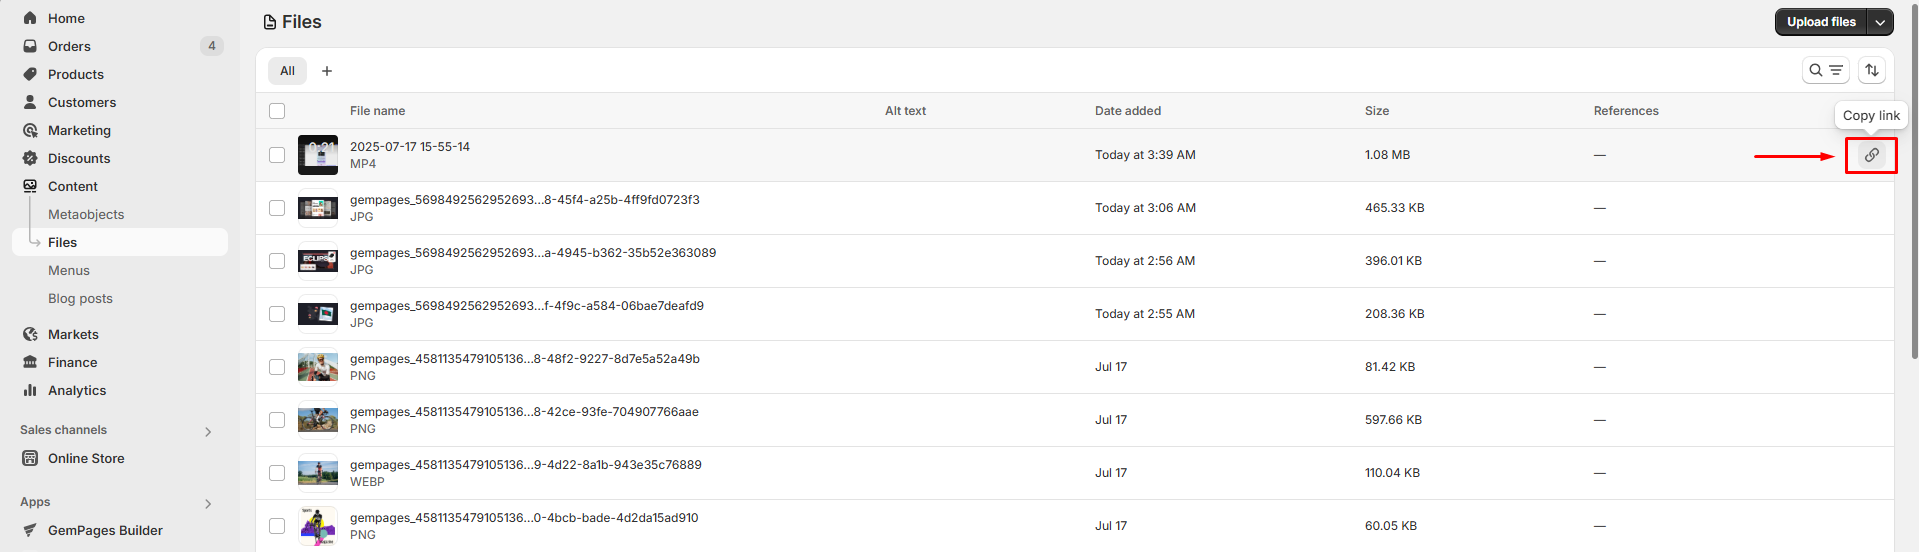
Step 4: After the upload has finished, copy the URL by clicking on the chain icon.
Embed the video on your page
Starting from this point, the steps may differ based on the specific version of the GemPages Editor you are using. Please locate the instructions that correspond to your Version and proceed with the following steps accordingly.
Version 6
Step 1: In the GemPages Dashboard, click on your chosen page and enter the Editor.
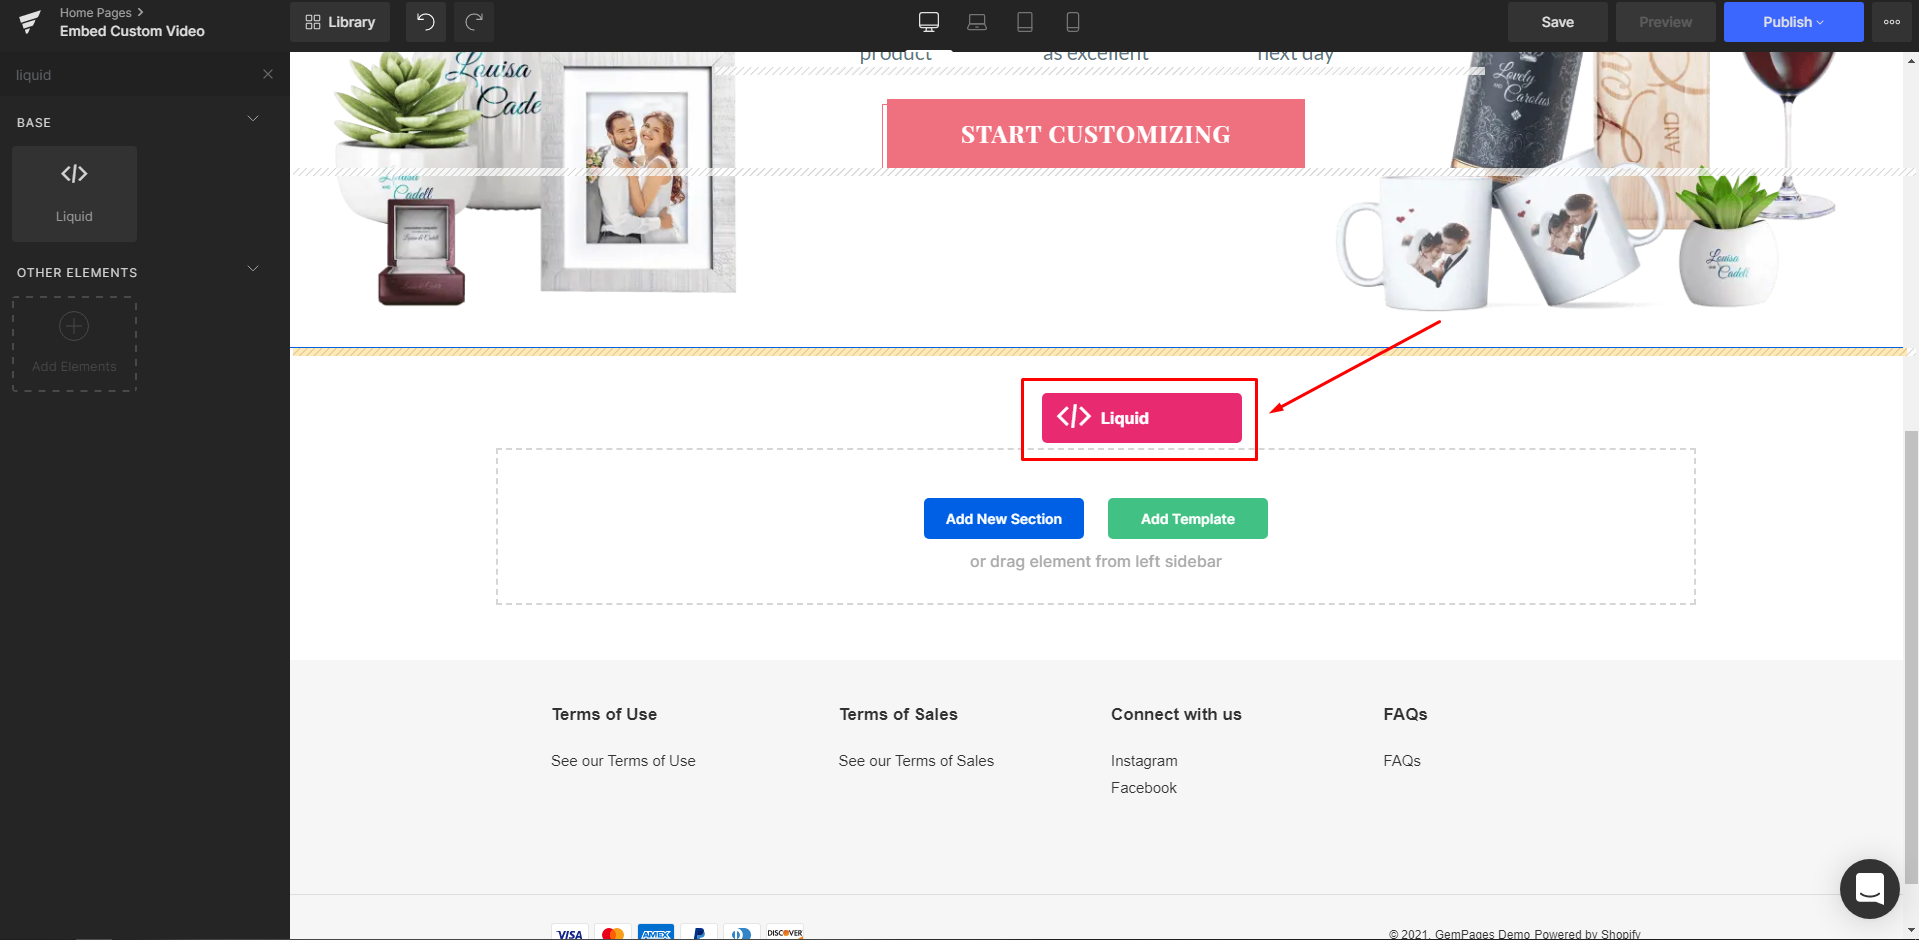
Step 2: Search for the Liquid element to drag & drop it onto your page.
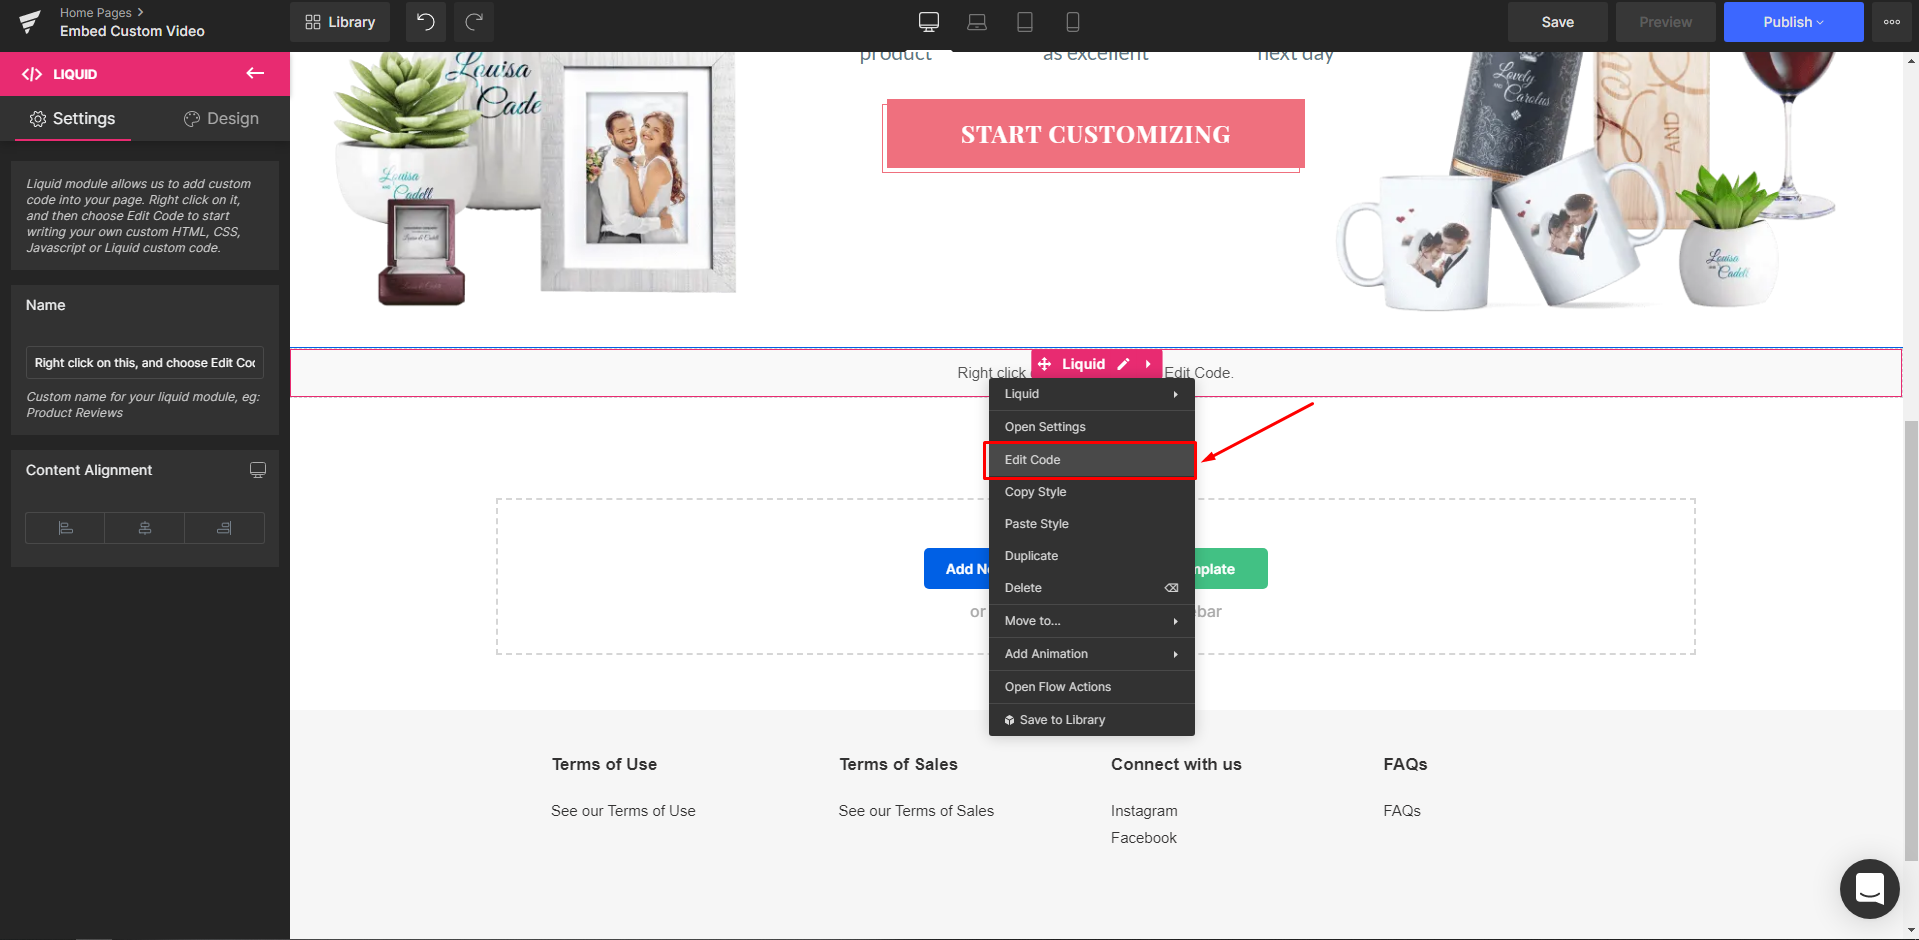
Step 3: Right-click on the Liquid element and select “Edit Code“.
Step 4: Select an option to copy and paste the code into the Code Editor window.
Autoplay with navigation controls:
<video poster="" loop="" muted="" playsinline="" controls="" autoplay="" src="ABCDEF" width="100%"></video>
Autoplay without navigation controls:
<video poster="" loop="" muted="" playsinline="" autoplay="" src="ABCDEF" width="100%"></video>
No autoplay, no loop and with navigation controls:
<video poster="YYYYY" controls="" playsinline="" src="ABCDEF" width="100%"></video>
Replace ABCDEF with the URL you copied from the hosting server.
For the third option, since the file will not autoplay, you can set up a thumbnail image for it. To do that, replace YYYYY with the URL of your image.
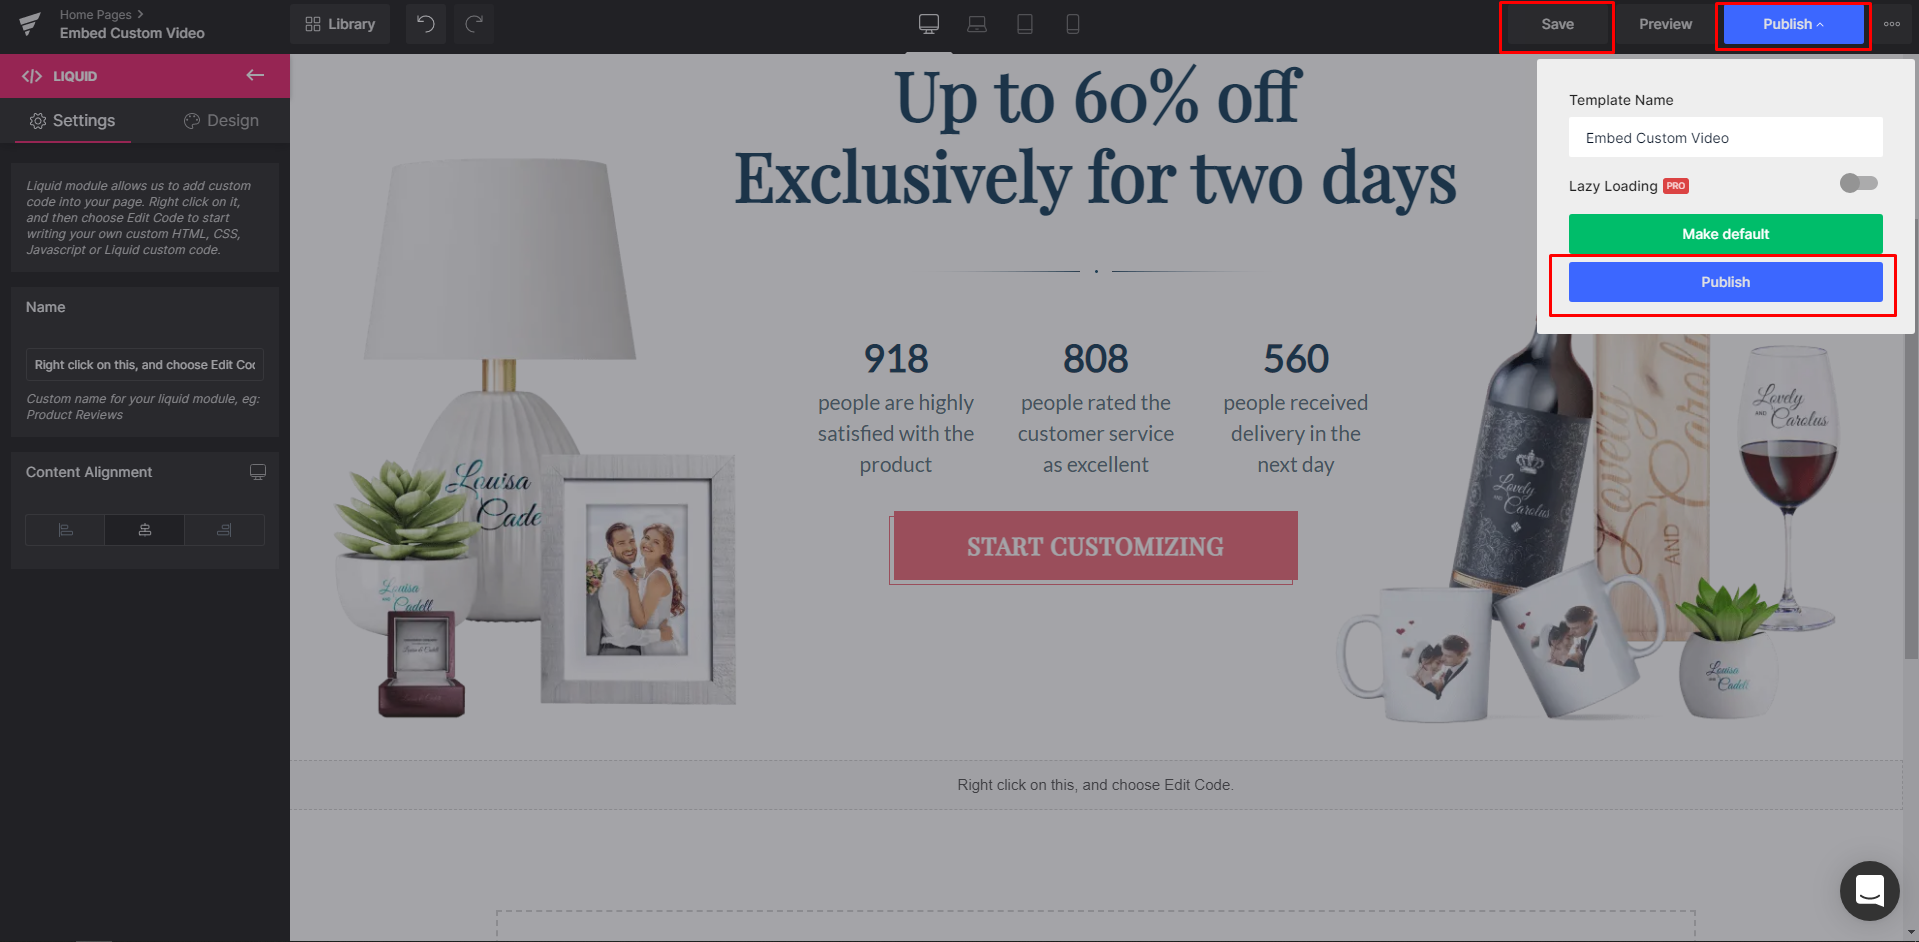
Step 5: Hit “Save” and exit the code editor.

Step 6: Hit “Save” and “Publish”.
Version 7
Step 1: From the GemPages Dashboard > Pages, locate the target page to open the editor.
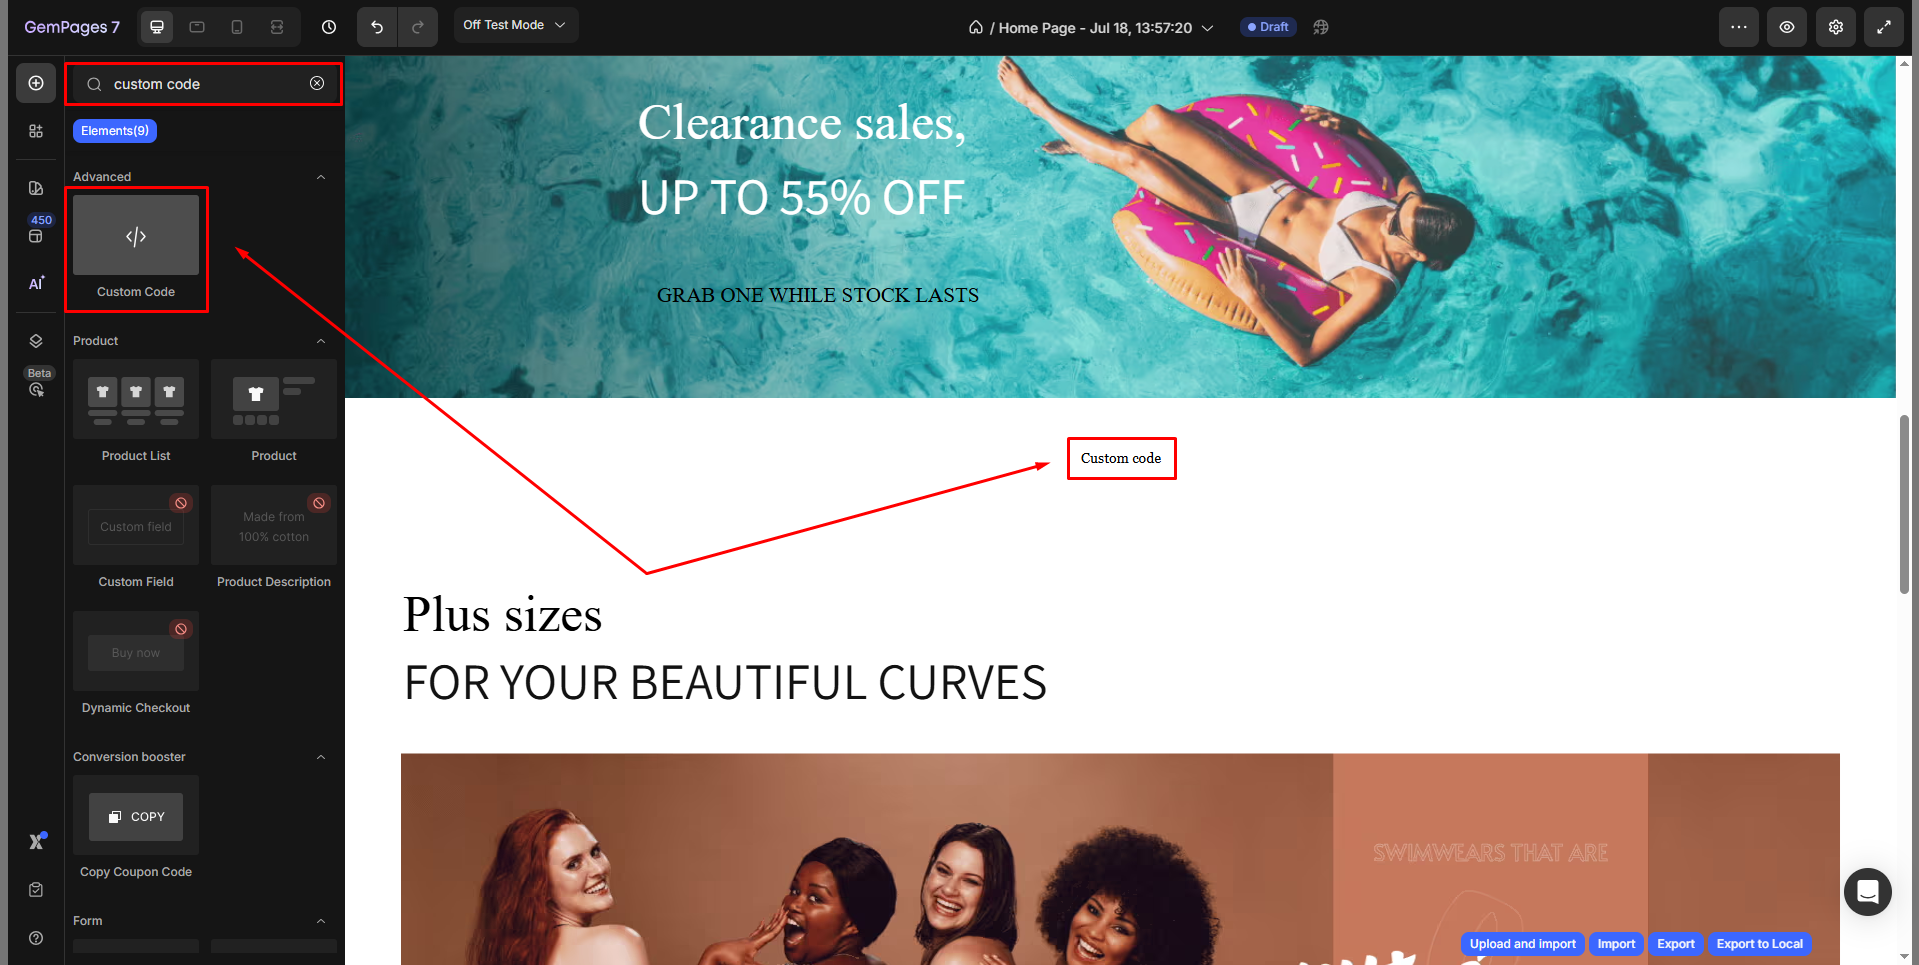
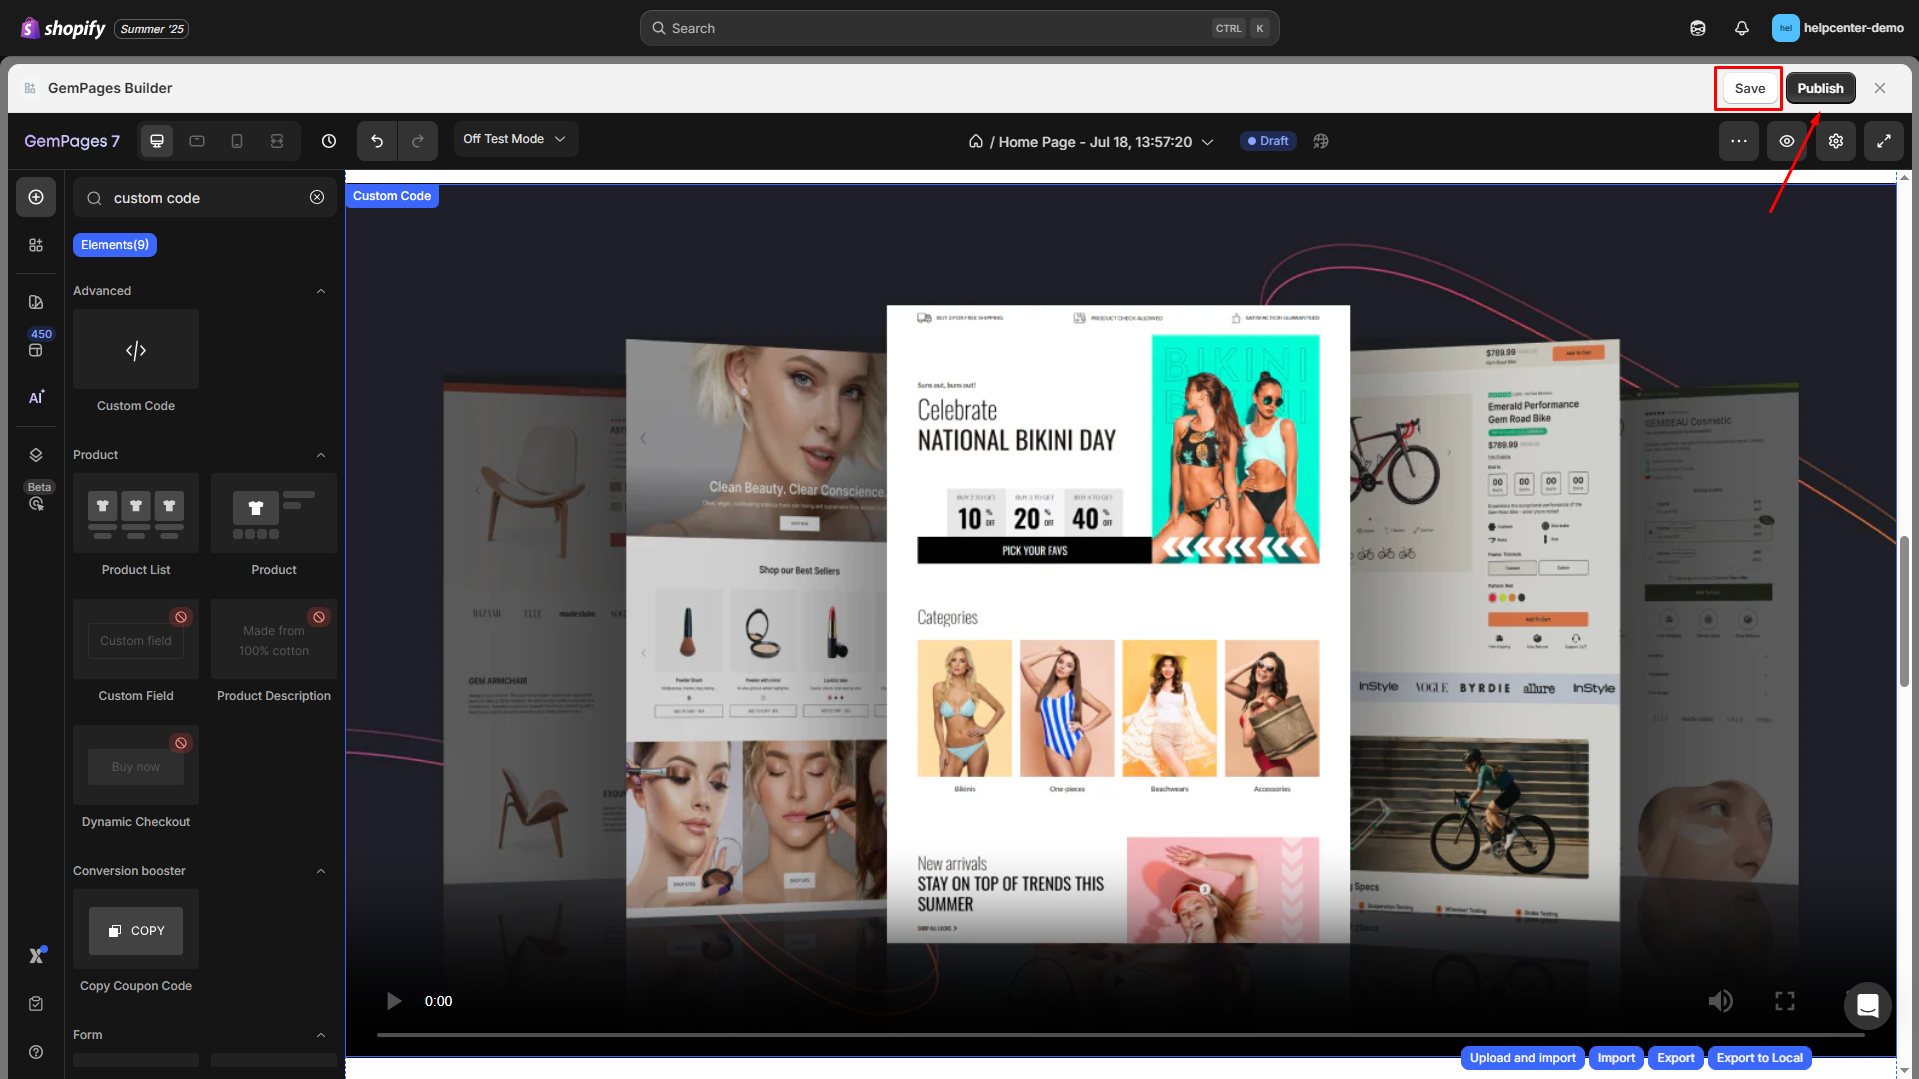
Step 2: Enter custom code in the search bar from the left sidebar, then drag and drop it to your preferred location.
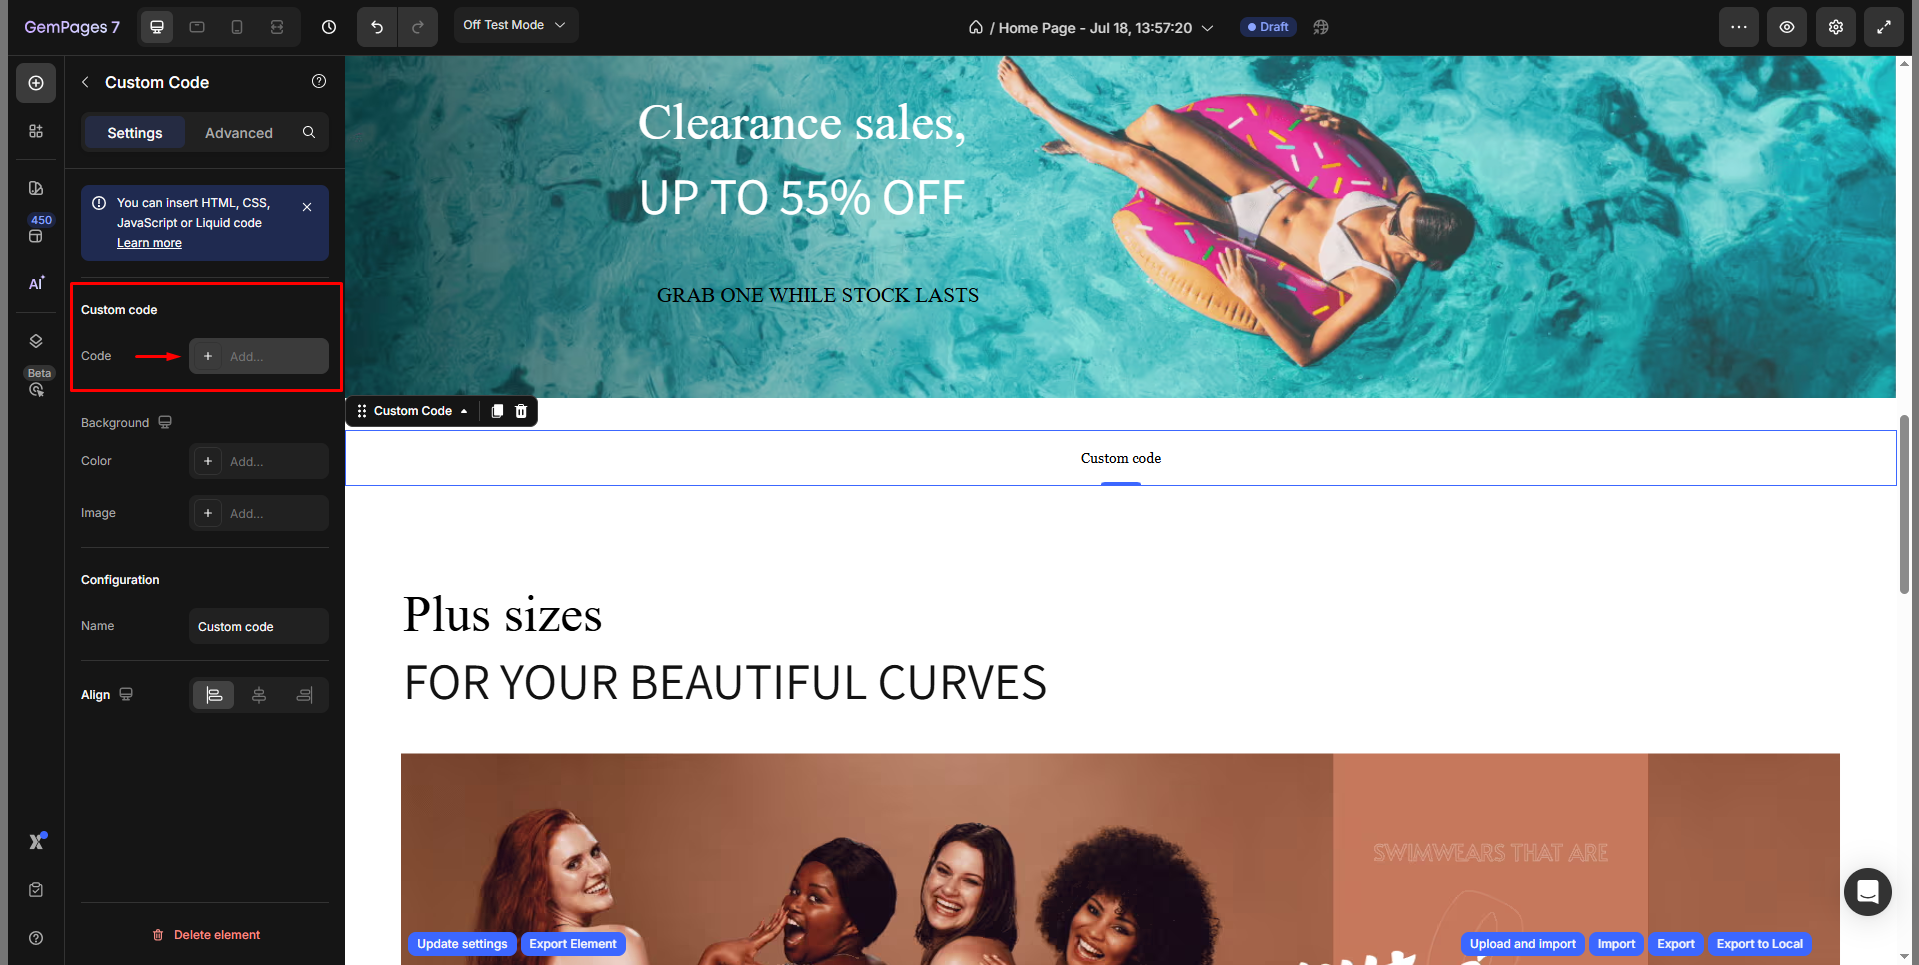
Step 3: Locate the element to reveal the Settings tab. From here, under the Custom code section, click Add code to open the code panel.
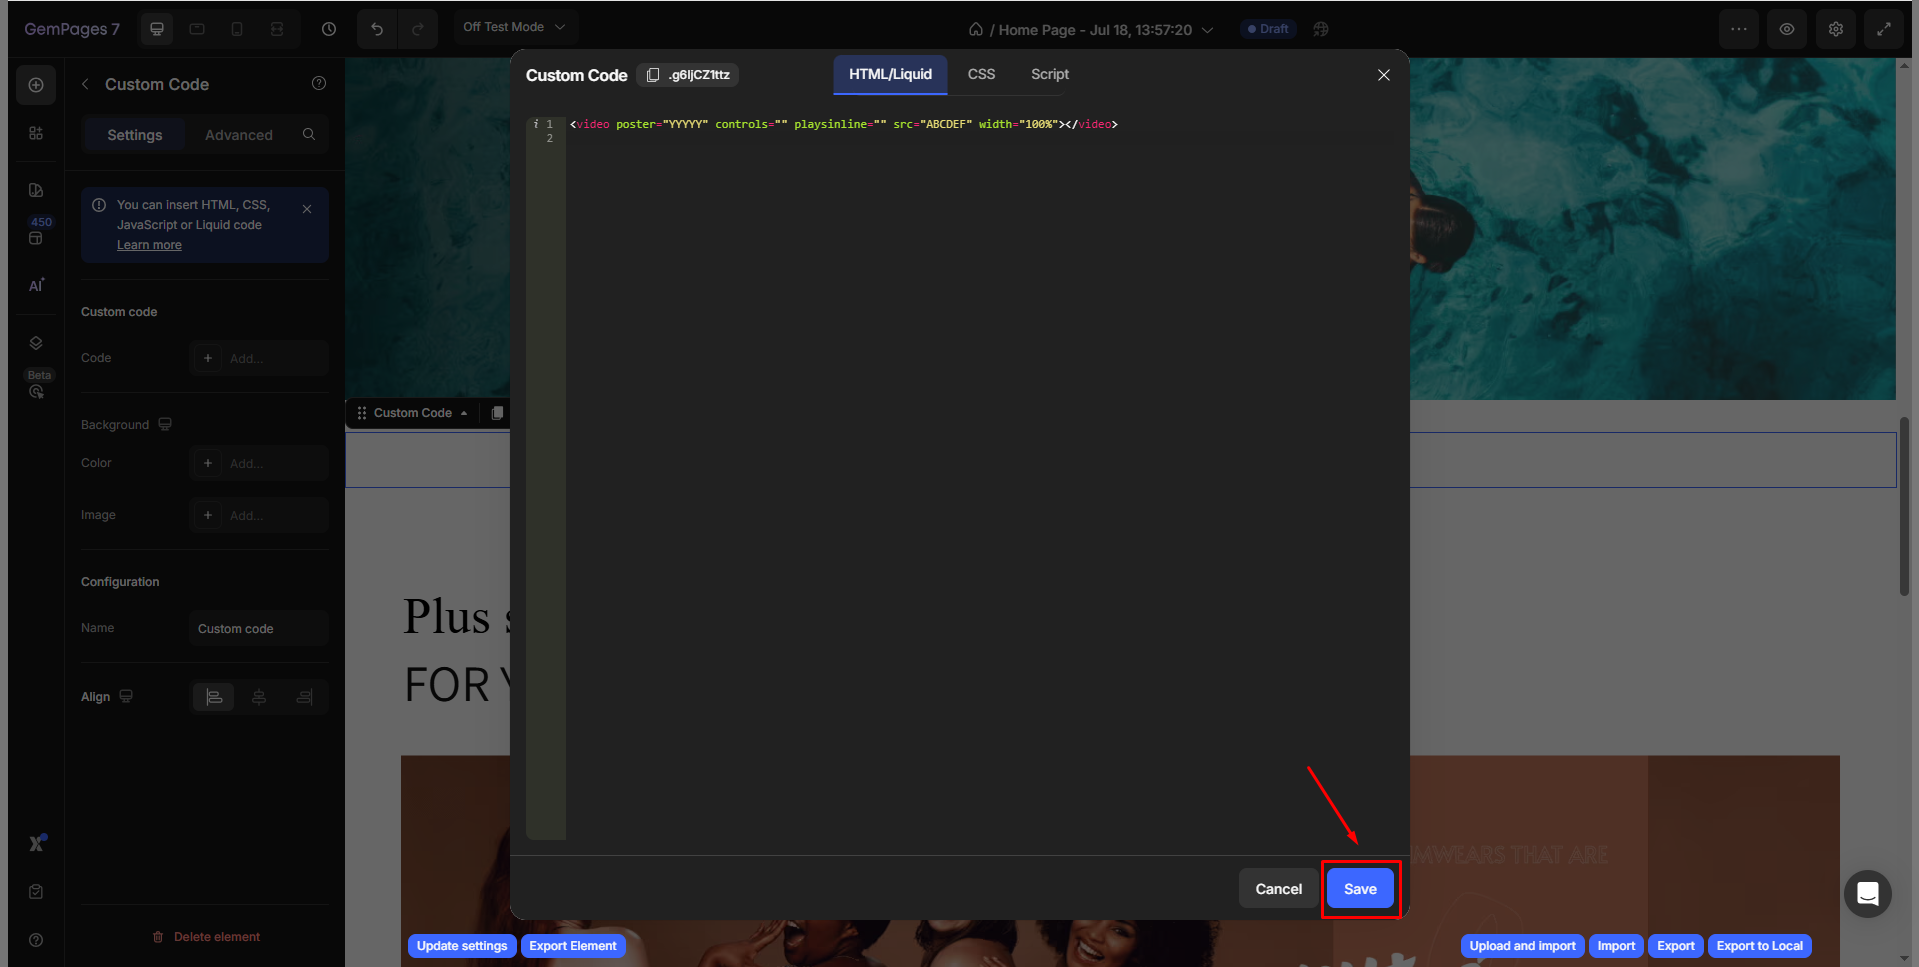
Step 4: In the code panel, paste the following code into the HTML/Liquid tab.

- Autoplay with navigation controls:
<video poster="" loop="" muted="" playsinline="" controls="" autoplay="" src="ABCDEF" width="100%"></video>
- Autoplay without navigation controls:
<video poster="" loop="" muted="" playsinline="" autoplay="" src="ABCDEF" width="100%"></video>
- No autoplay, no loop, and with navigation controls:
<video poster="YYYYY" controls="" playsinline="" src="ABCDEF" width="100%"></video>
Replace ABCDEF with the URL you copied from the hosting server.
For the third option, since the file will not autoplay, you can set up a thumbnail image for it. To do that, replace YYYYY with the URL of your image.
Step 5: Once done, hit the Save button to save your changes and close the code panel.
Step 6: Save and republish your page to live your changes in the storefront.
More guides to help you master GemPages can be found here.


Thank you for your comments