


Why Element Alignment Matters in GemPages
Proper alignment is the foundation of clean, user-friendly page design. In GemPages, aligning your elements, like buttons, images, text, or forms—ensures your layout looks polished, readable, and responsive across all devices.
How to Align Elements in GemPages (Step-by-Step Guide)
For Single Elements
Step 1: Click the element in the editor.
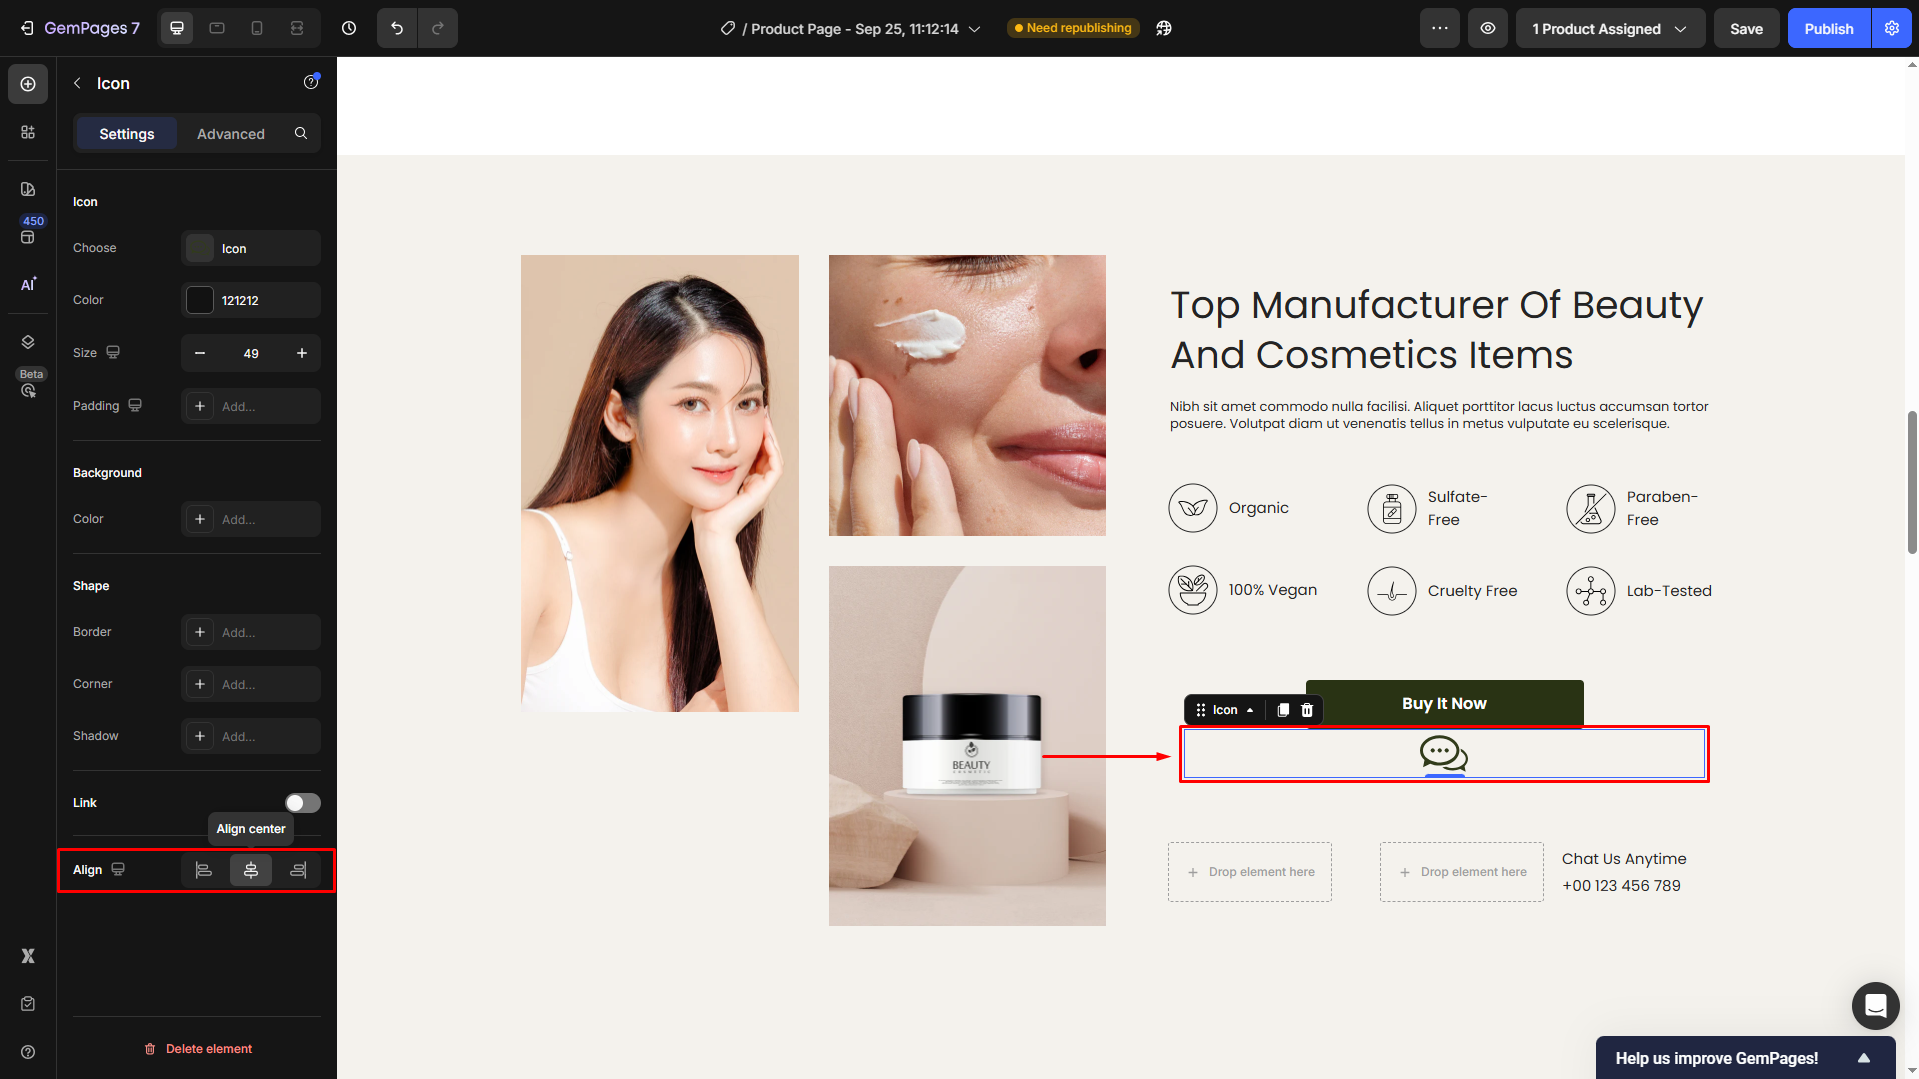
Step 2: In the left sidebar, go to the Settings tab.
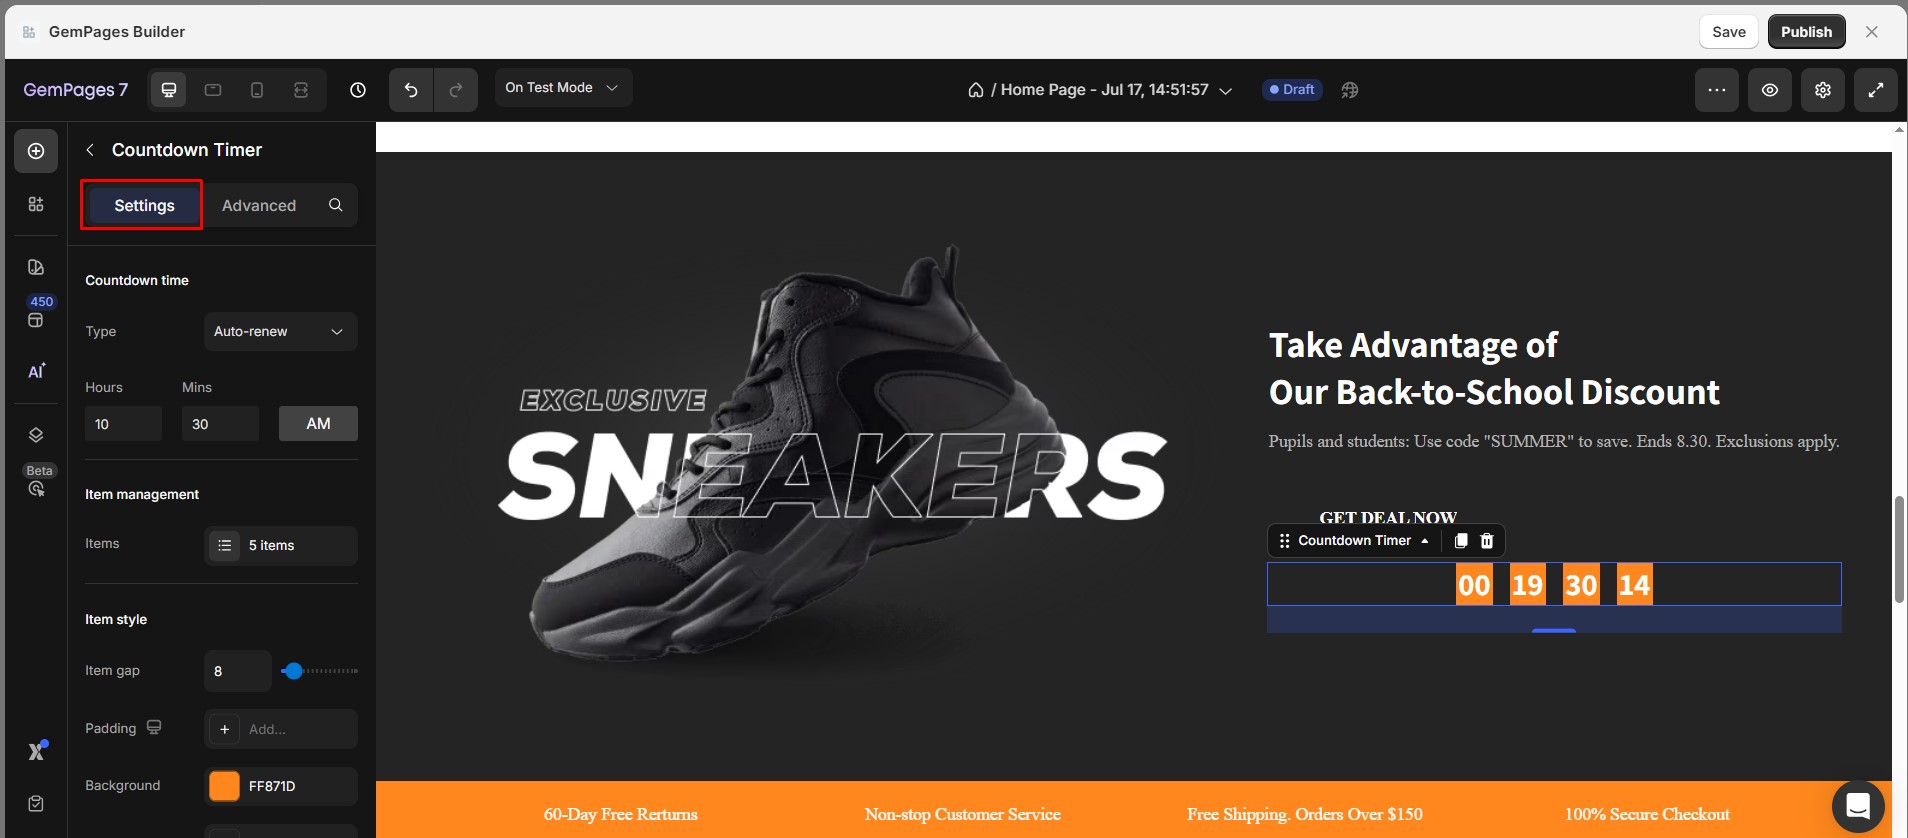
Step 3: Scroll down to the Align section. Choose Left, Center, or Right.
For Rows with Multiple Elements
Step 1: Select the Row.
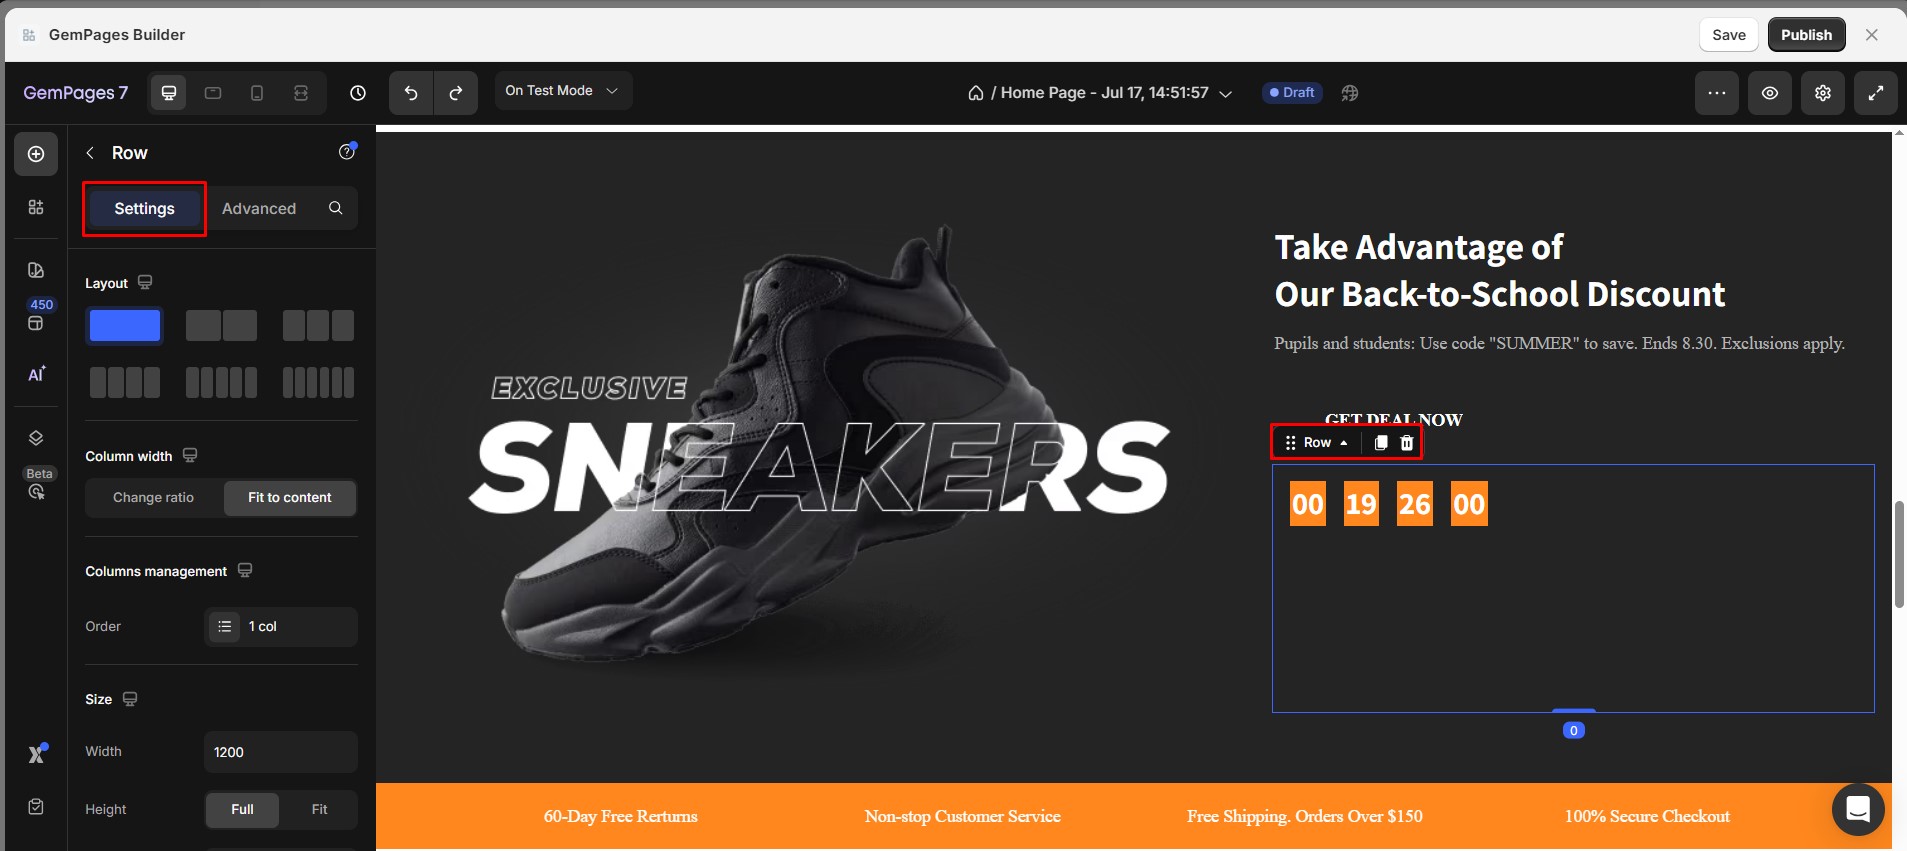
Step 2: In Settings, choose Align Column. Set it to Center or Distribute to space out child elements evenly.
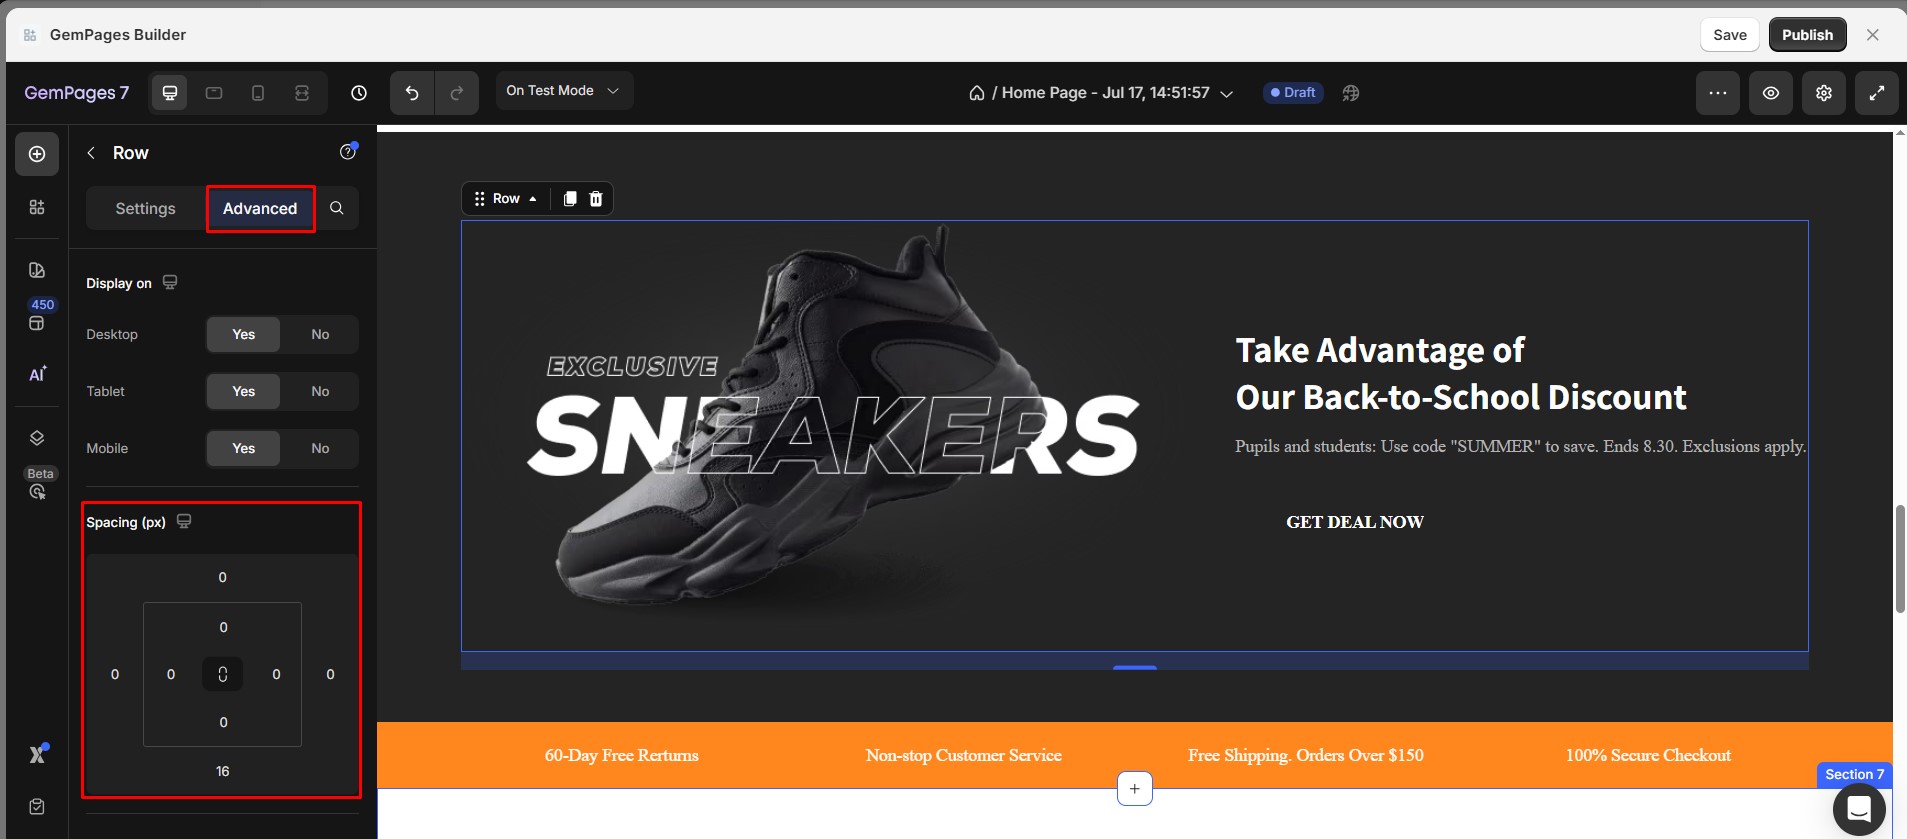
Advanced Alignment: Spacing & Position Settings
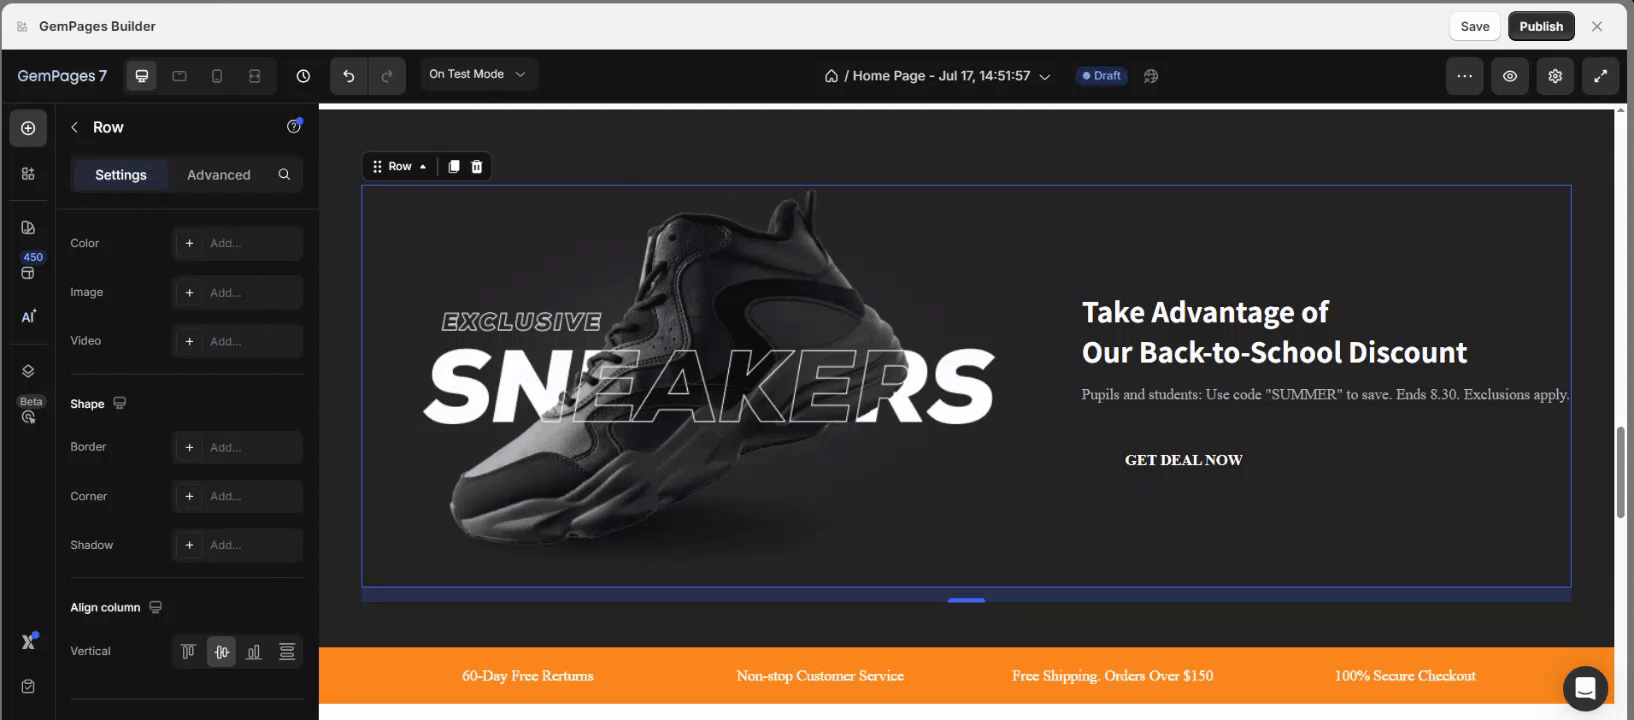
For more control, use the Advanced tab in the sidebar.
Use Margins to Adjust Spacing
- Go to Advanced > Spacing.
- Increase or decrease Top, Bottom, Left, or Right margins.
- Use negative margins to move an element outside its normal boundary.
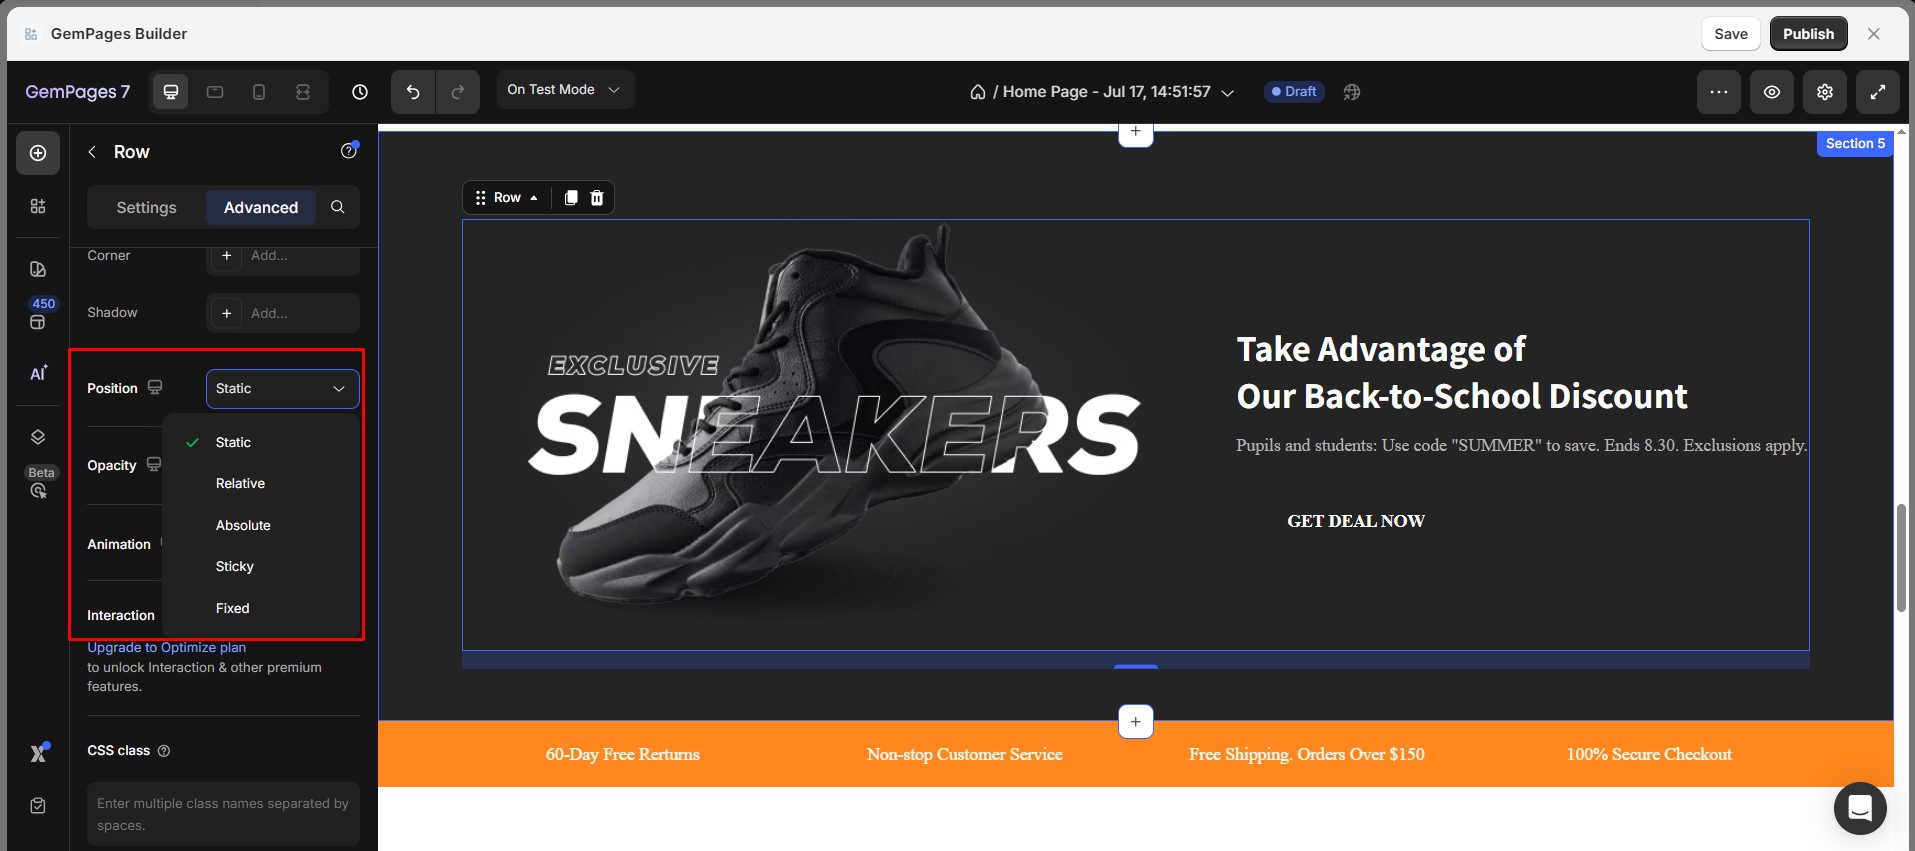
Use Position for Precise Control
- Go to Advanced > Position.
Choose from:- Static (default)
- Relative (offset from original position)
- Absolute (placed exactly inside its parent)
- Fixed (sticks to the screen when scrolling)
- Sticky (sticks after scrolling past a certain point)
How to Center One Element Under Another?
If you want a button, image, or any element to appear directly under another and stay centered, follow these steps:
Step 1: Add a 1-column Row element
From the left sidebar, drag and drop a 1-column Row element into the design area.
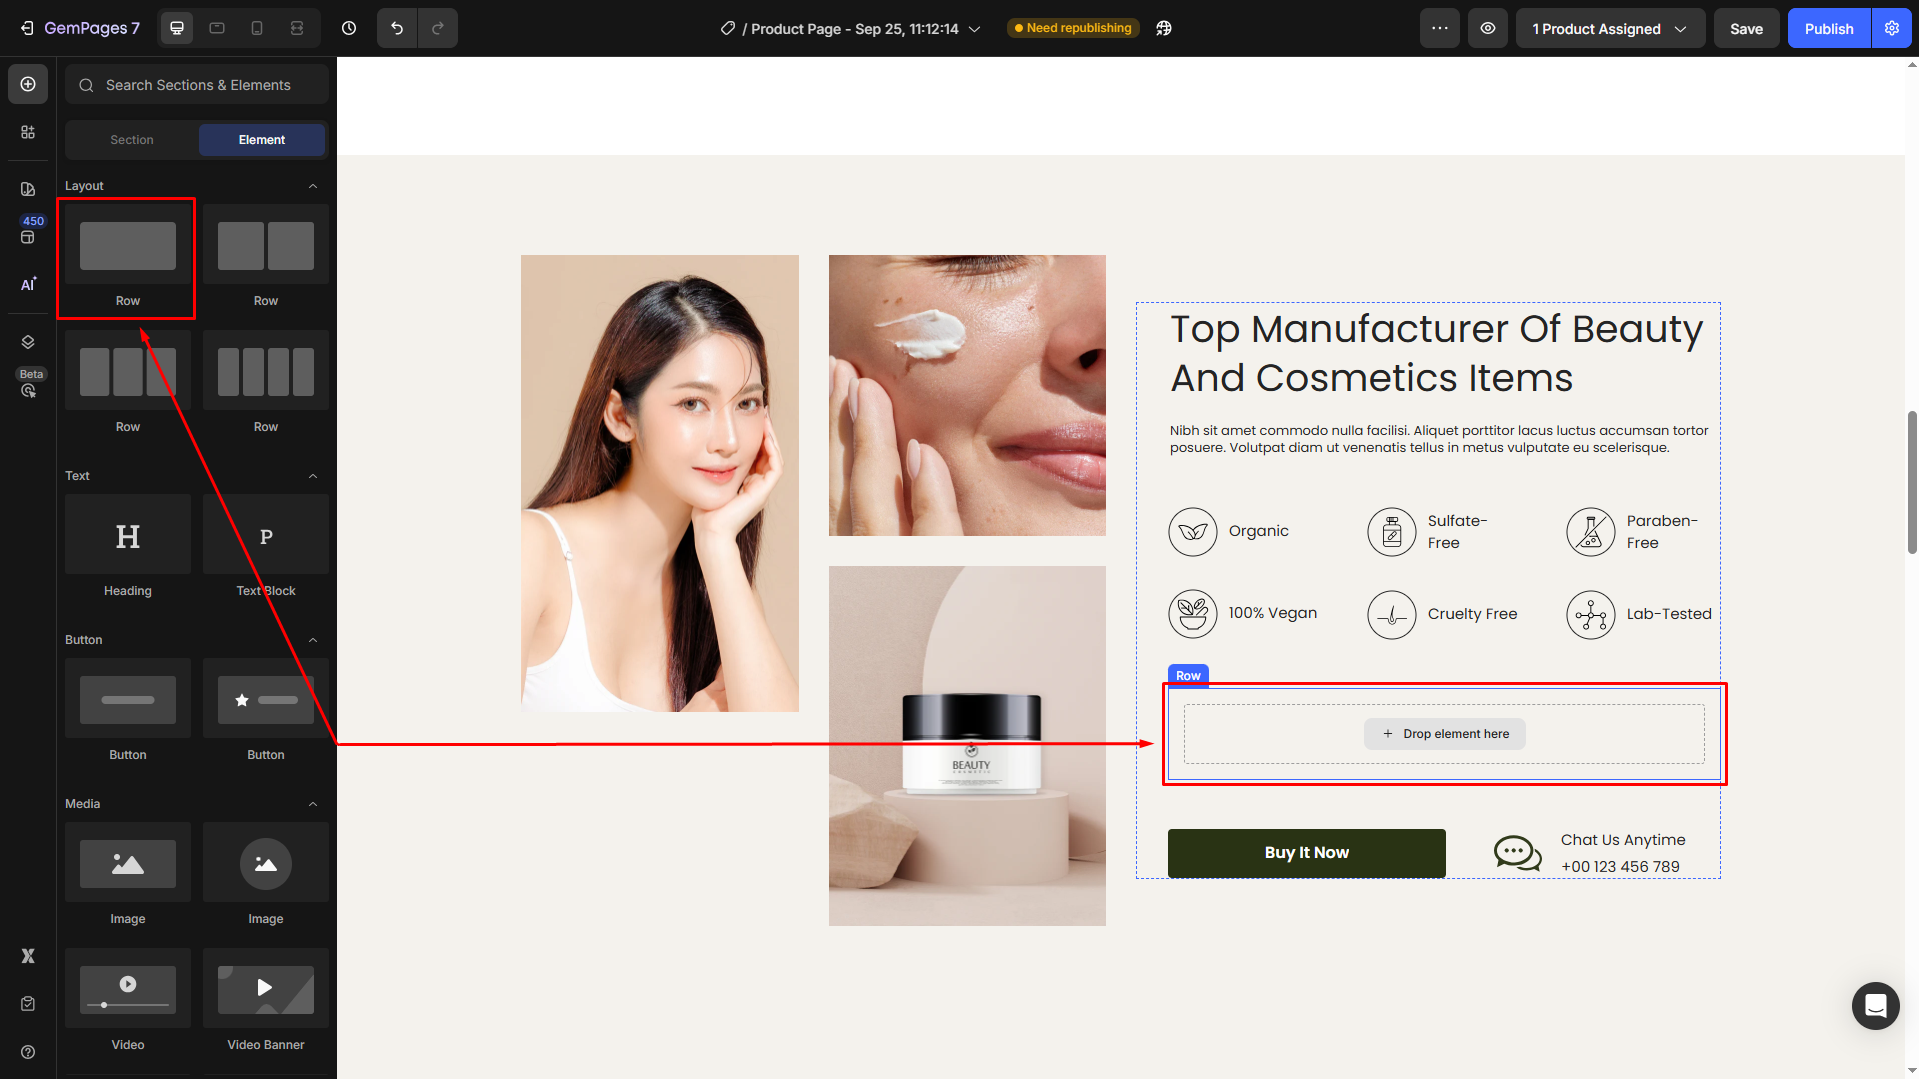
Step 2: Put both elements inside the same column
Drag the second element (e.g., a button) right below the first one (e.g., an icon) within the same column.
Step 3: Align each element nested in the Row to the center
Click on the Button element to open its settings in the left panel. Then, scroll down to the Align section and select center-aligned.
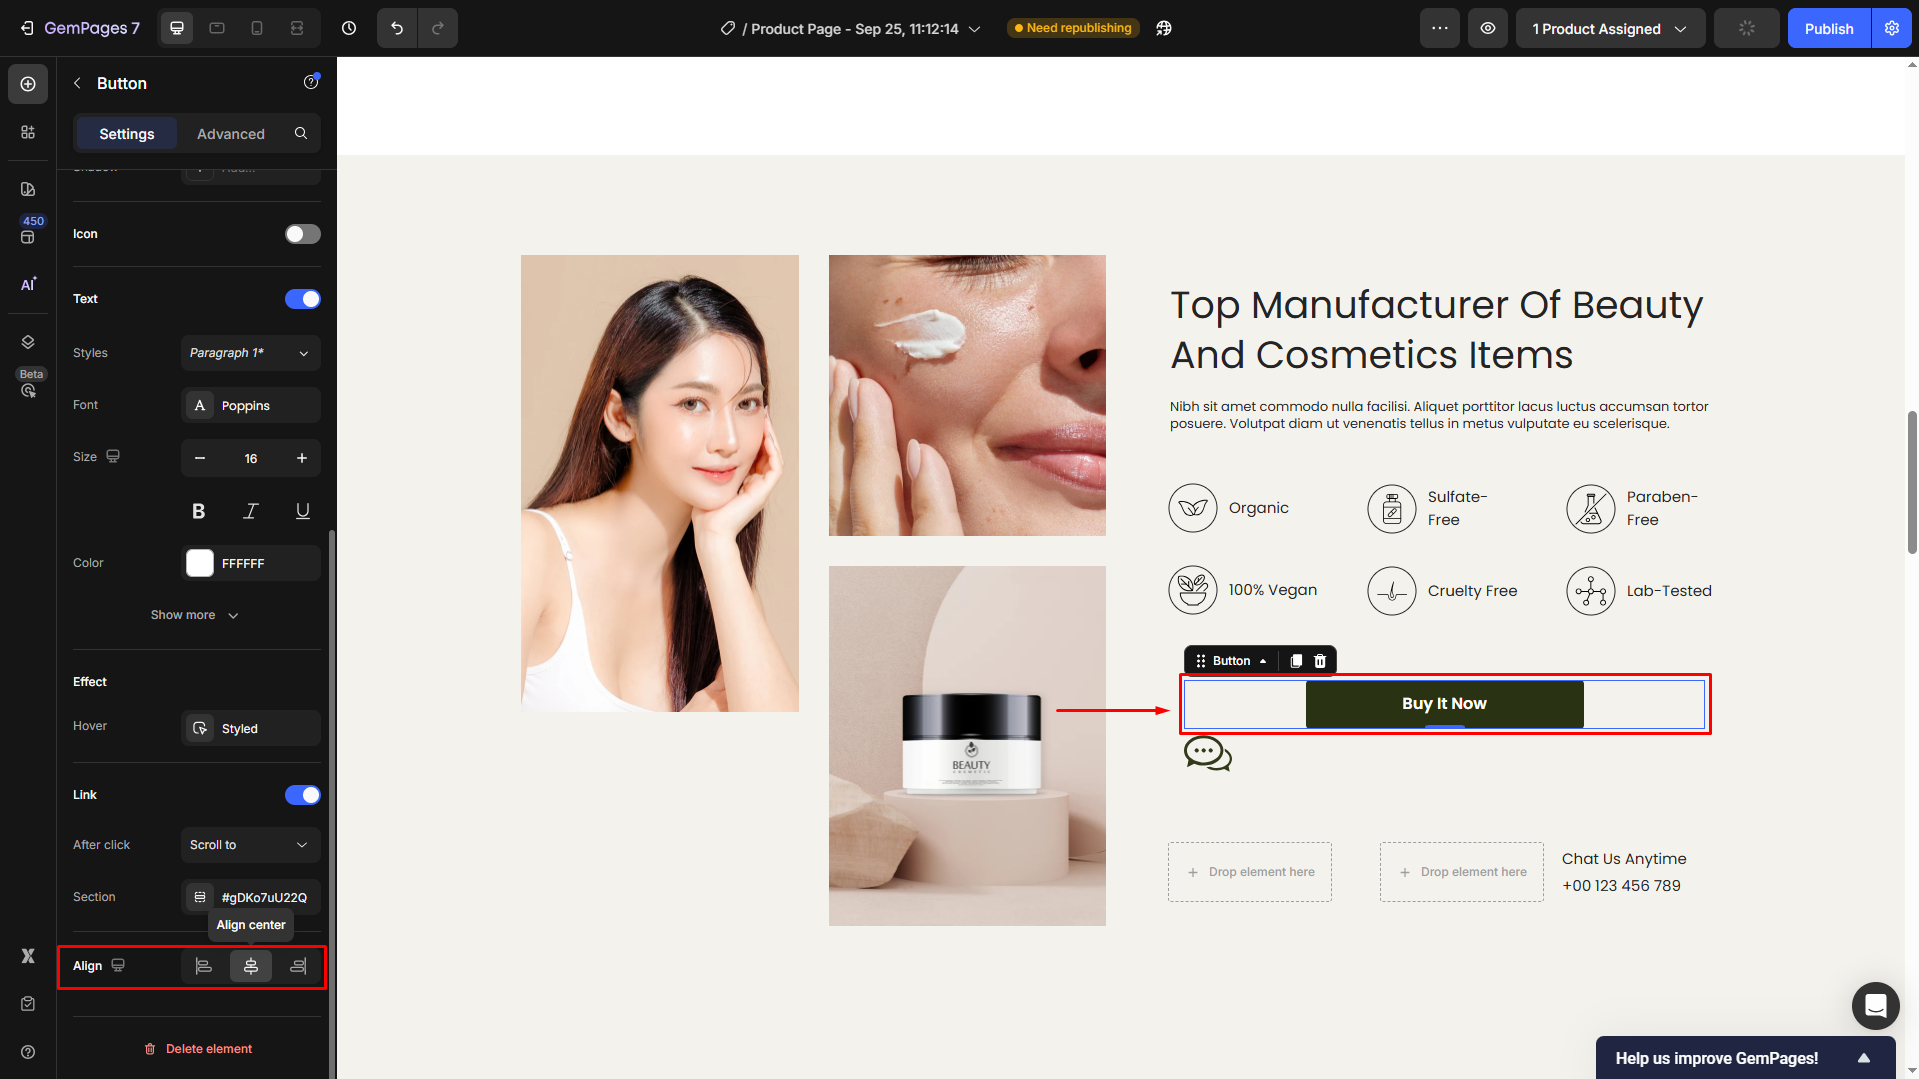
Continue with the Icon element.
Now, the Icon element is centered under the Button element.
Step 5: Adjust spacing if needed
Click on the parent Row element to locate its settings panel. Switch to the Advanced tab and scroll down to the Spacing section.

Under this section, you can set a margin-top or margin-bottom to create the right distance between elements as desired.
This way, you can easily create layouts like a centered button under text or an image under a heading, ensuring everything looks balanced across all devices.
FAQs
1. Can I center one element directly under another in GemPages?
Yes. Place both elements inside the same column, then set each element’s alignment to Center. If needed, use margin-top or margin-bottom in the Advanced settings to adjust spacing.
2. How do I align multiple elements evenly in a row?
Select the row that contains your elements. In the Settings tab, choose Align Column and set it to Center or Distribute. This way, all child elements are spaced evenly across the row.
3. What’s the difference between alignment and position in GemPages?
Alignment defines how elements are placed relative to their container (left, center, right), while Position gives more precise control (Static, Relative, Absolute, Fixed, Sticky).


Thank you for your comments