This article explains how to create responsive web designs in Shopify using GemPages, incorporating features from both Version 6 and Version 7 to optimize your store for desktop, tablet, and mobile devices.
What Is Responsive Web Design in Shopify?
Shopify’s responsive web design ensures your store layout automatically adapts to any screen size, from desktops to tablets and smartphones. It’s not just about resizing text or images but about creating flexible, user-friendly experiences that drive engagement and conversion.
Whether you’re aiming for mobile-first layouts, responsive views, or better usability across devices, this guide will walk you through how to make a page responsive using GemPages.
How GemPages Supports Responsive Design?
GemPages provides tools to help users optimize their pages for mobile and tablet devices, such as responsive settings and element visibility. This way, you can create pages specifically designed for mobile users, ensuring a positive experience for customers who visit your store on their devices.
GemPages Version 7
In Version 7 of GemPages, responsive web design has been enhanced with user-friendly and easy-to-use tools, allowing you to create and optimize pages for various screen sizes. The new editor offers flexible settings for elements, enabling you to seamlessly customize designs for desktop, tablet, and mobile views.
Build a Responsive Layout Using Row Element
To create a layout for a page, you will need to use the Row Element. It plays a vital role in GemPages by providing a foundation for your page design. Its primary function is to contain elements and adapt responsively to various screen sizes on different devices. Follow the steps below to add a row to your page to create a responsive layout.
Step 1: In the GemPages Dashboard, click the “Edit” button on one of your pages and enter the Editor.
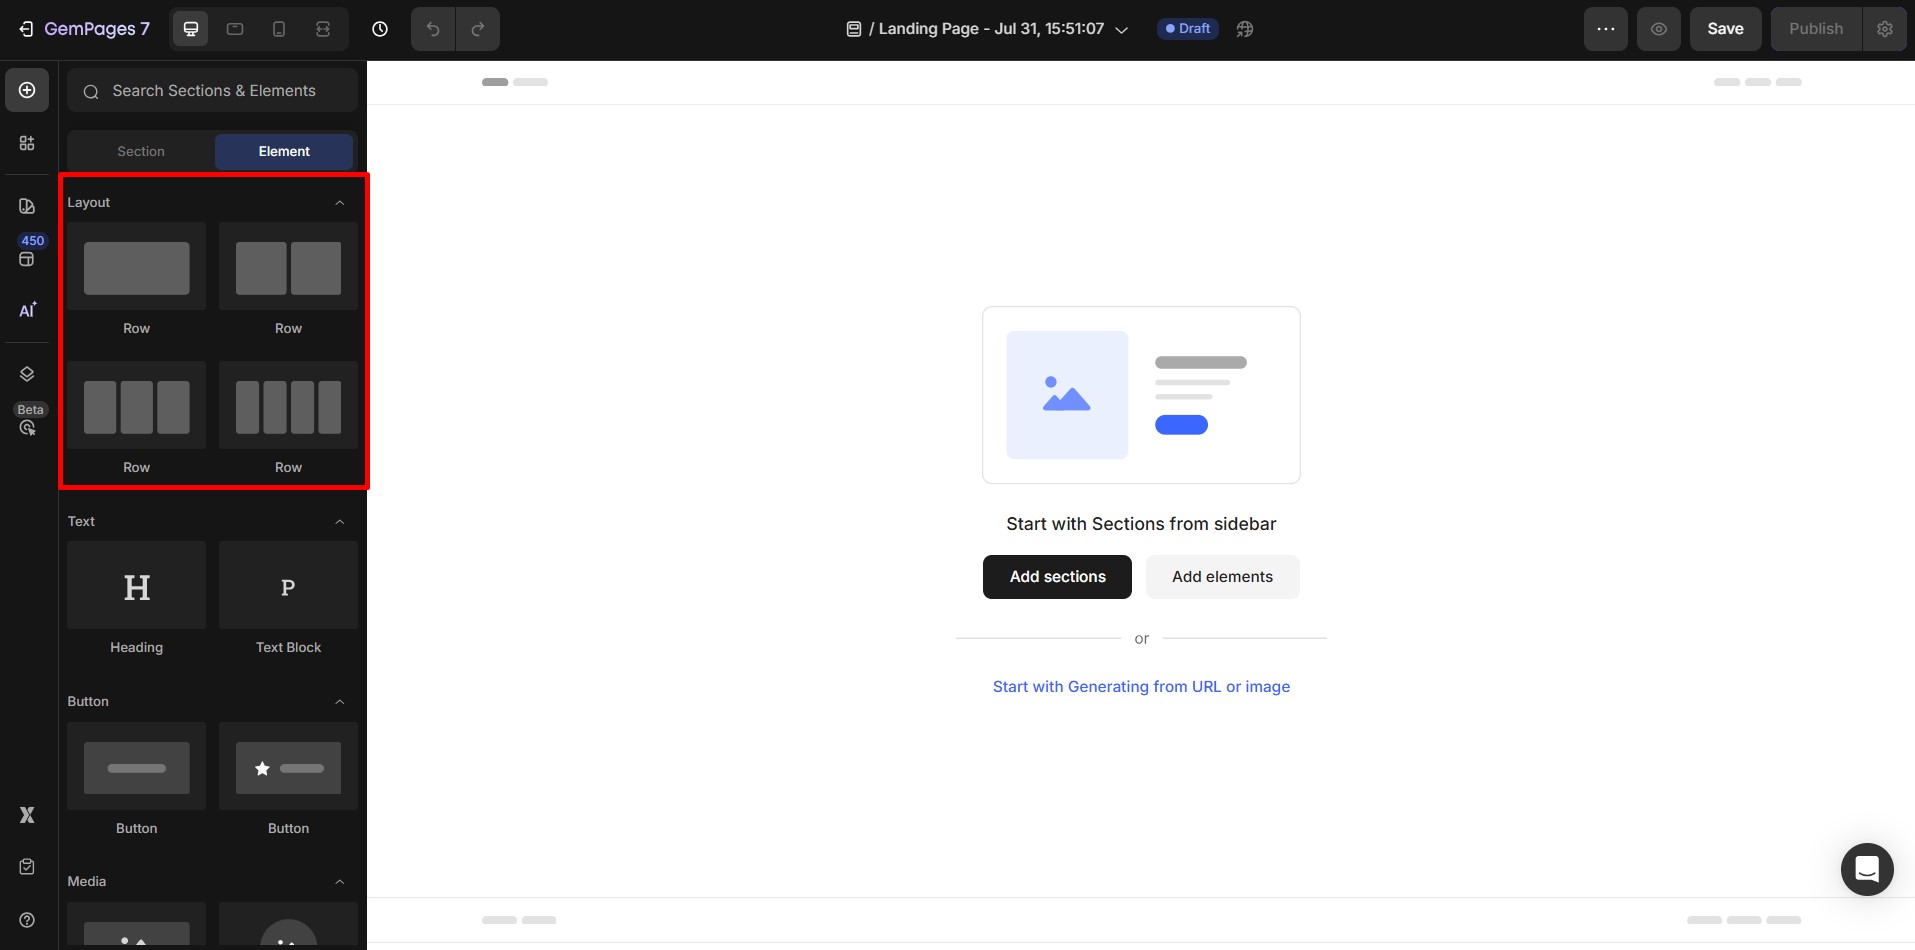
Step 2: Navigate to the left sidebar and locate the Row there under the Layout section. You can then drag and drop the element onto your desired location.
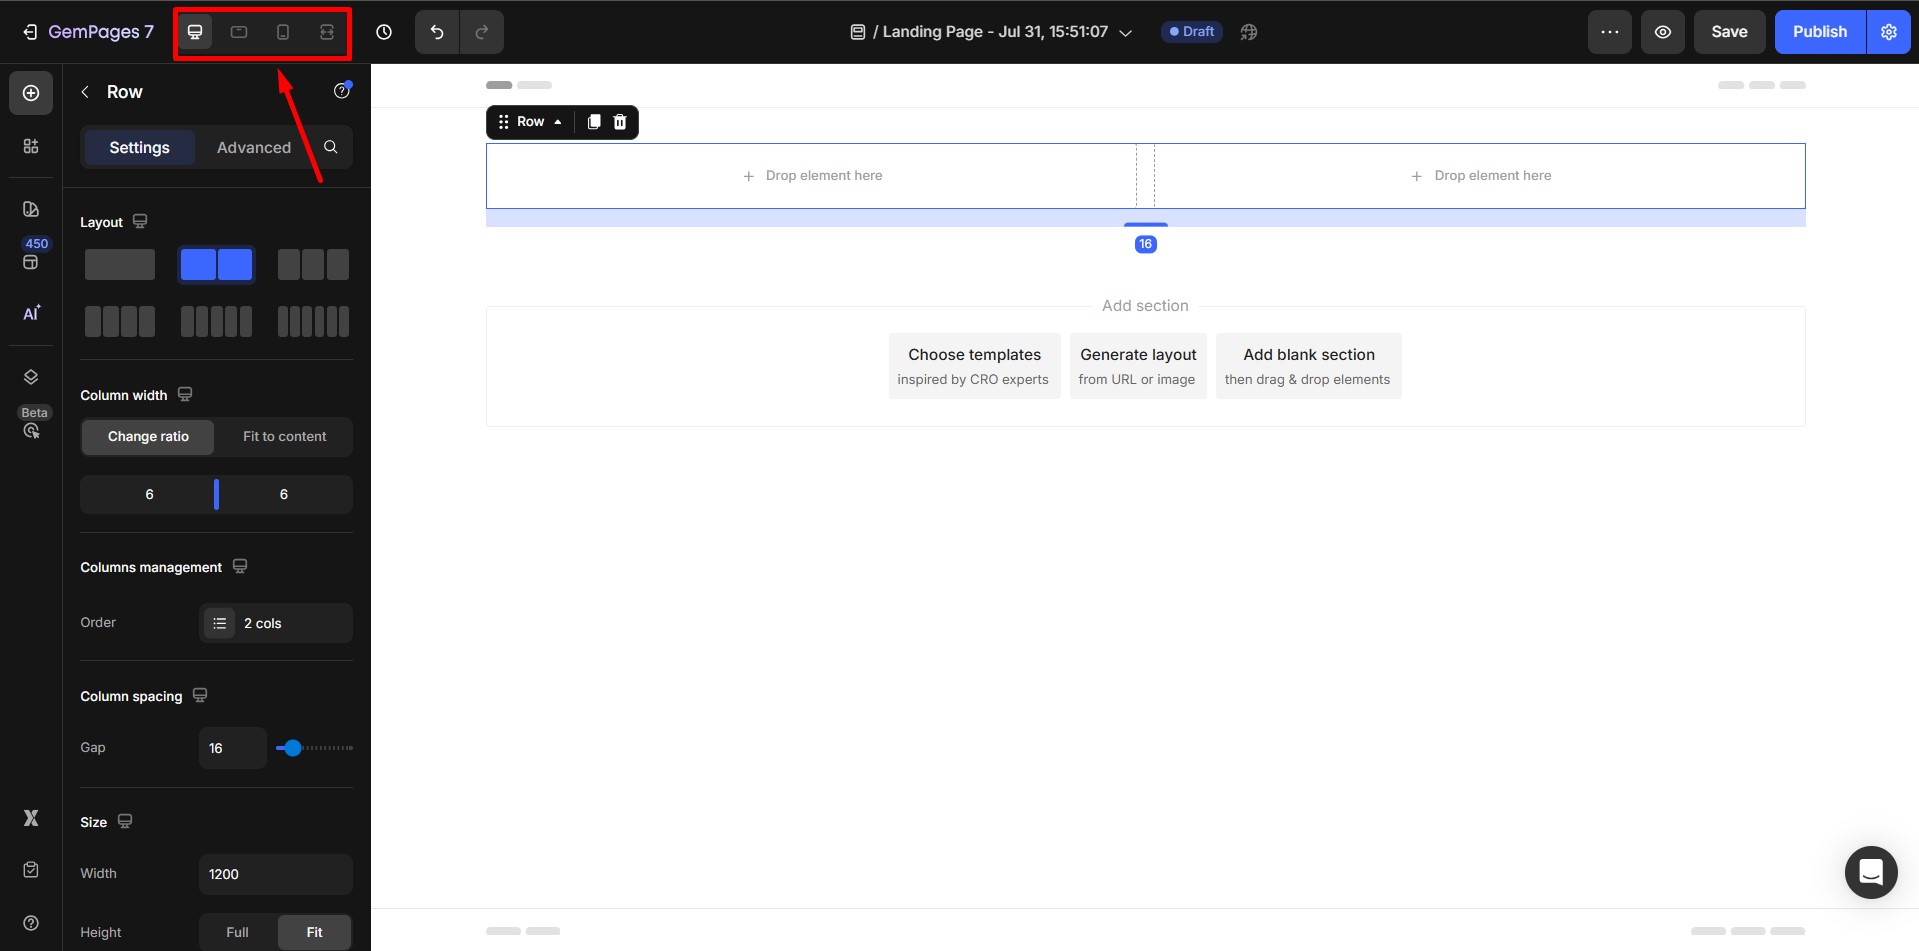
Step 3: Navigate to the left sidebar and select the Settings tab. To customize the layout for Tablet or Mobile, click on the Desktop icon and choose the corresponding icon.
![]()
Adjust Responsive Element Settings
GemPages offers a variety of responsive elements that you can use to create custom pages and sections. These elements include Headings, Images, Text, and more. When designing your pages, make sure to use these responsive elements to ensure that your content looks great on any device.
You can switch between devices by clicking on the Desktop icon next to the settings. However, you can only change the responsive settings for the component that has this icon.
![]()
Show or Hide Elements by Device
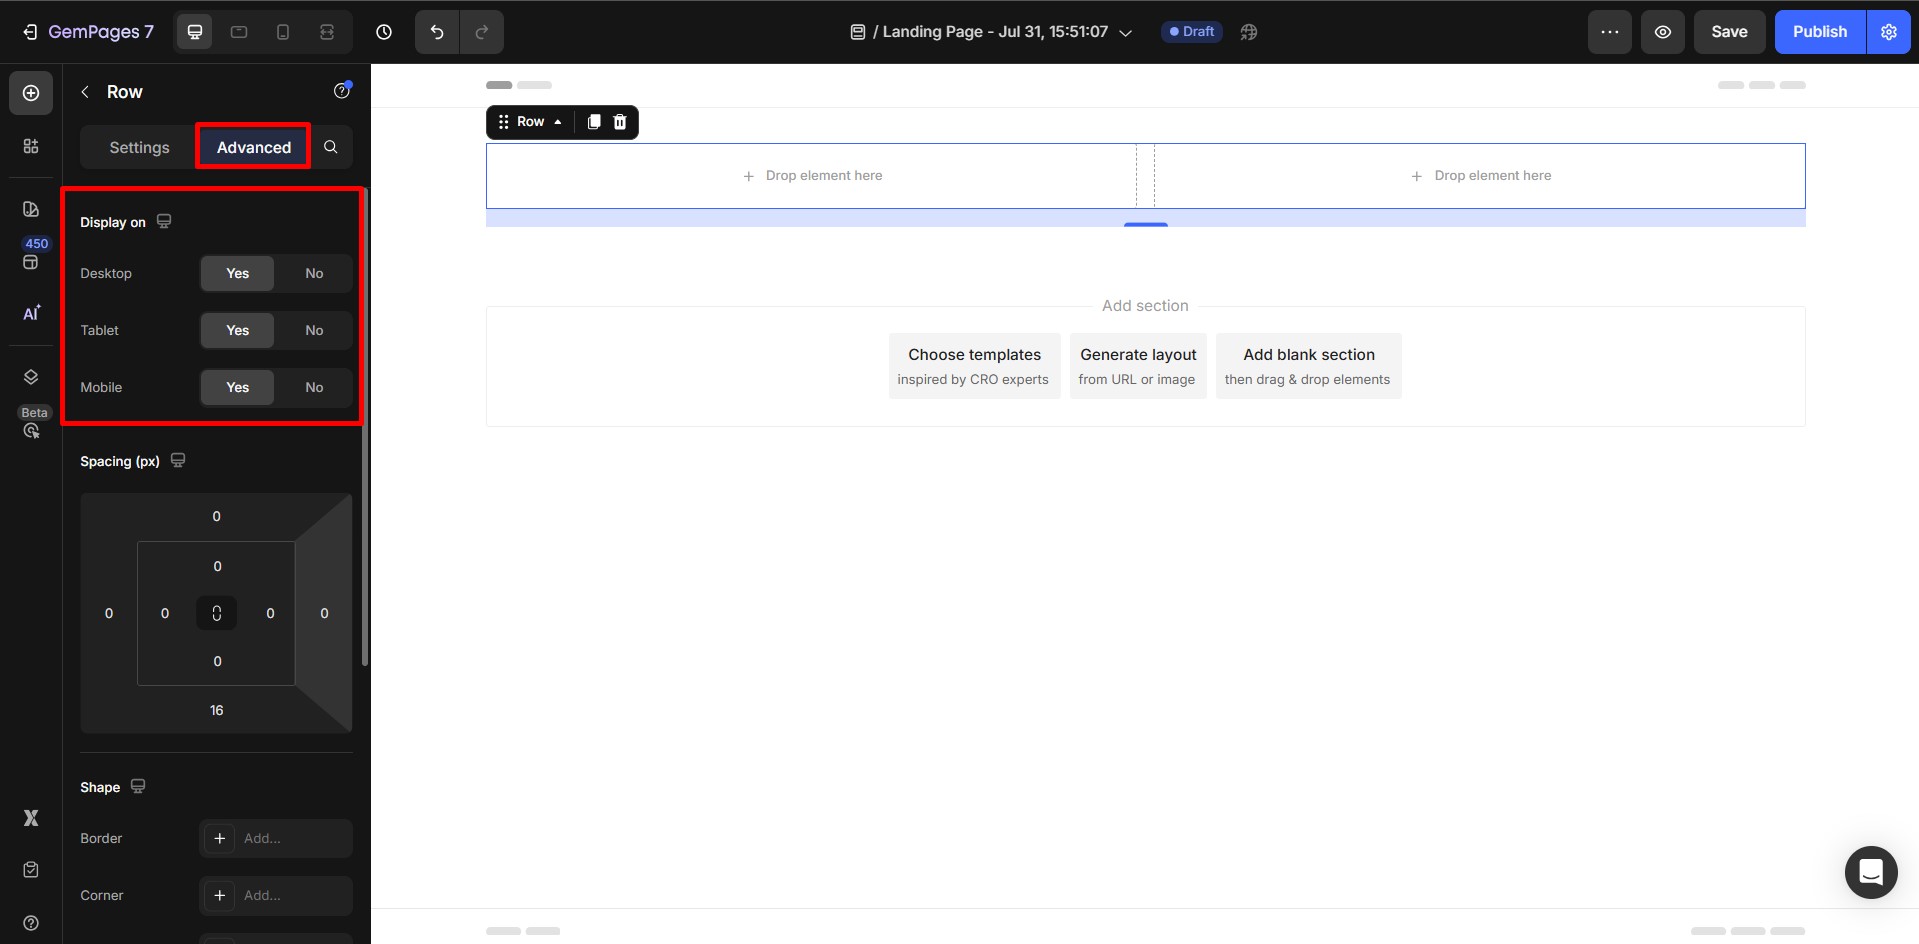
To show or hide an element on all three device types, go to the Advanced tab and use the switch in the Visibility section. Remember, you need to have at least one screen type enabled.
Be careful when using the feature, as any hidden elements will continue to load in the background, potentially affecting your page’s loading speed.
Preview Your Design Across Devices
Once you finish building your pages, it’s important to check your final design on different devices. From the top bar of your Editor, you can select a device to view its interface including Desktop, Tablet, and Mobile. This will help you identify any issues with the layout or content that may be impacting the user experience. You can also expand the editor to view the visual on the actual screen size.
GemPages Version 6
Building on what was established in Version 7, GemPages Version 6 also offers powerful features for responsive web design. Although the tools may differ slightly, you can still create optimized web pages for any device. It is recommended to edit in desktop view first and then adjust for mobile to ensure a seamless experience across all devices.
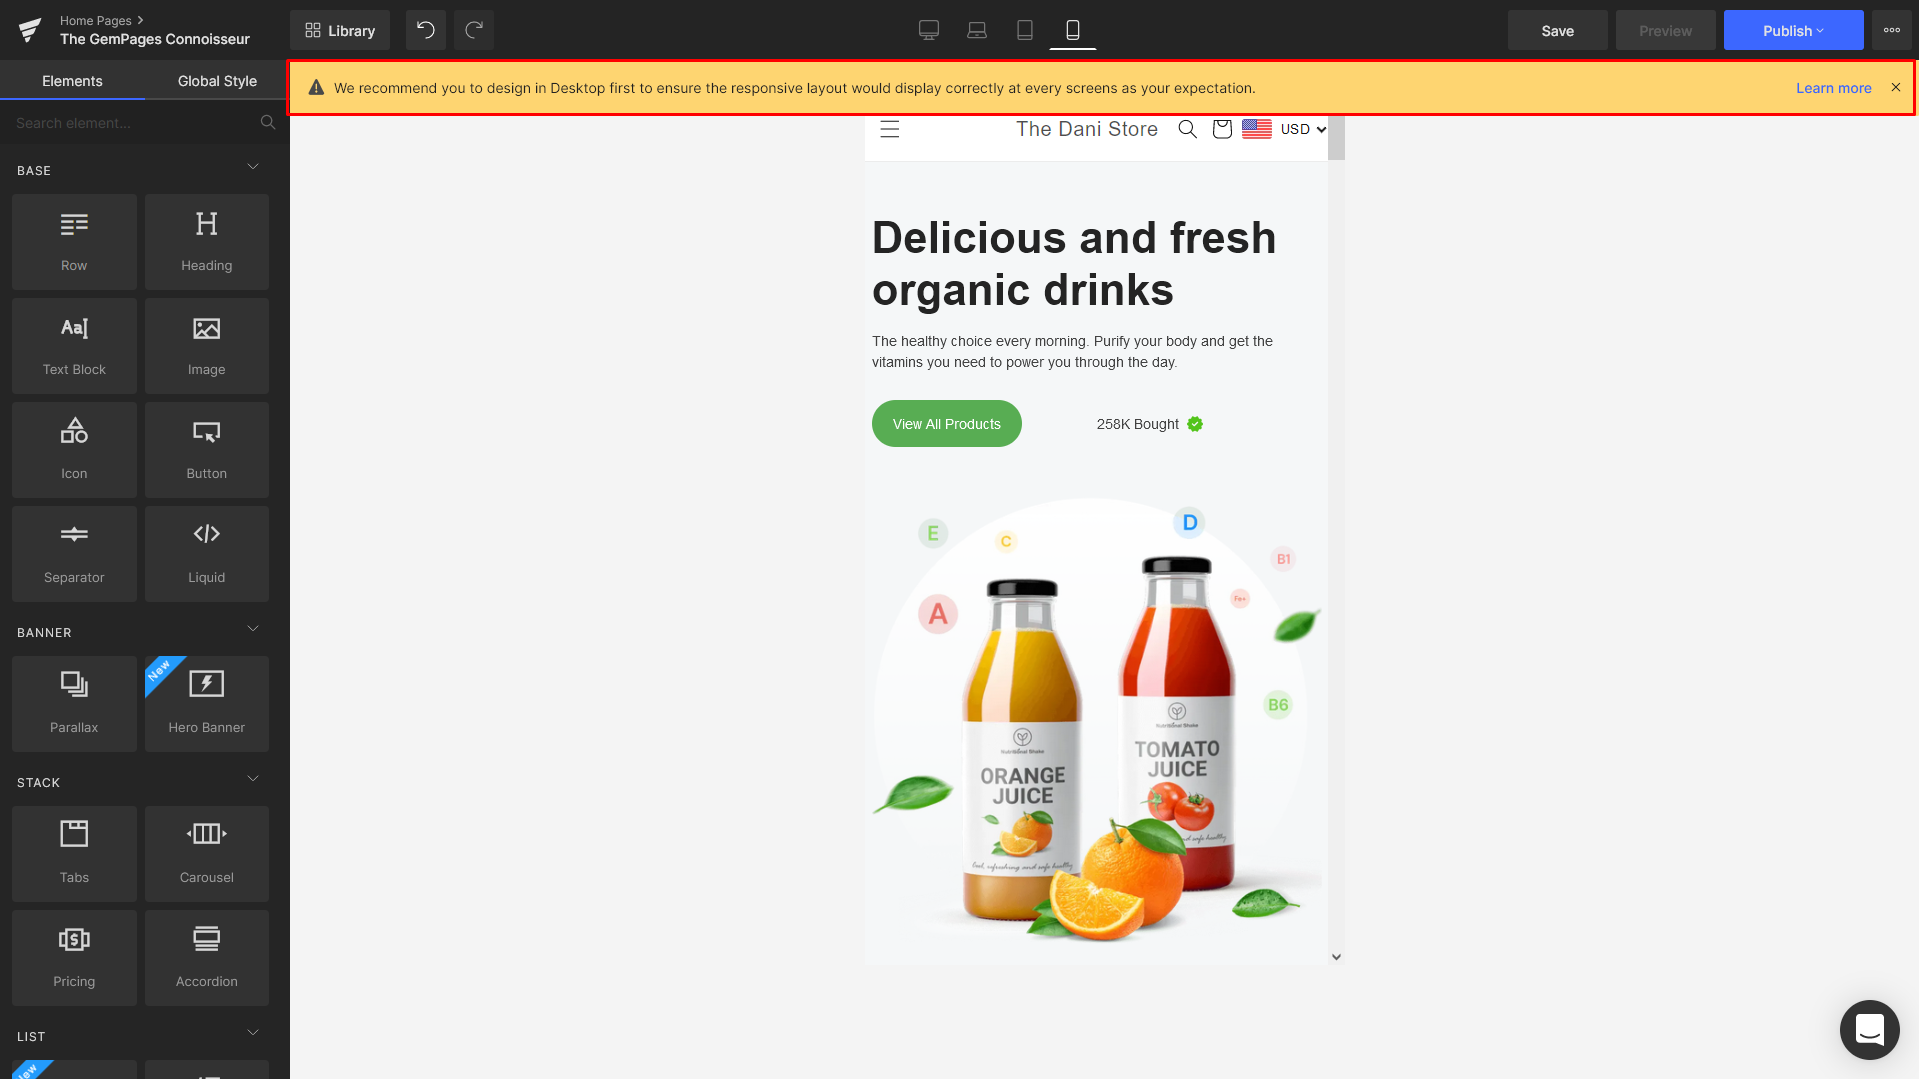
When you switch to other views, you’ll also see a popup notification reminding you to design using the Desktop view first, and fine-tune the page using other views later.
Enable Responsive Web Design
Only changes to the Desktop view will be applied across all four devices’ interfaces. Thus, we recommend you start designing with the Desktop view first, then make adjustments to other views as needed.
When you switch to other views, you’ll also see a pop-up notification reminding you to design using the Desktop view first, and fine-tune the page using other views later.
Step 1: Go to the GemPages Dashboard and enter one of your pages using the “Edit” button.
Step 2: In the Editor, there are two methods to start auditing your responsive design:
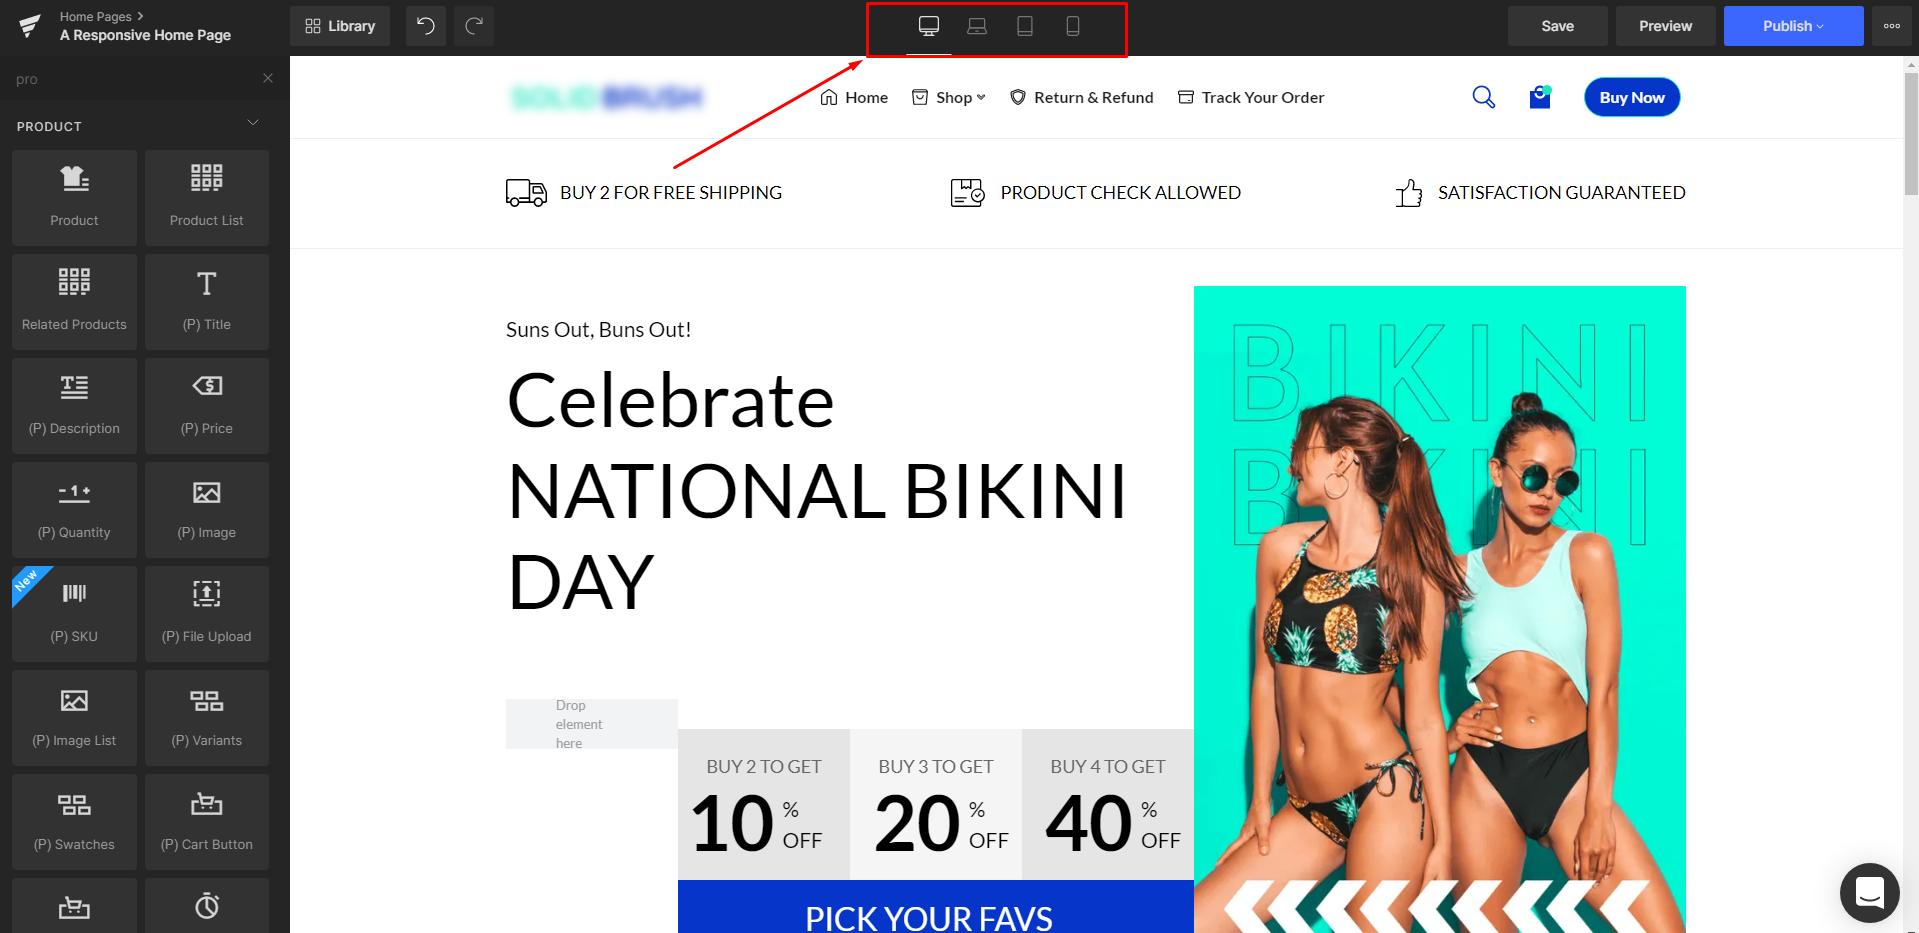
Method 1: Select a device icon on the top bar.
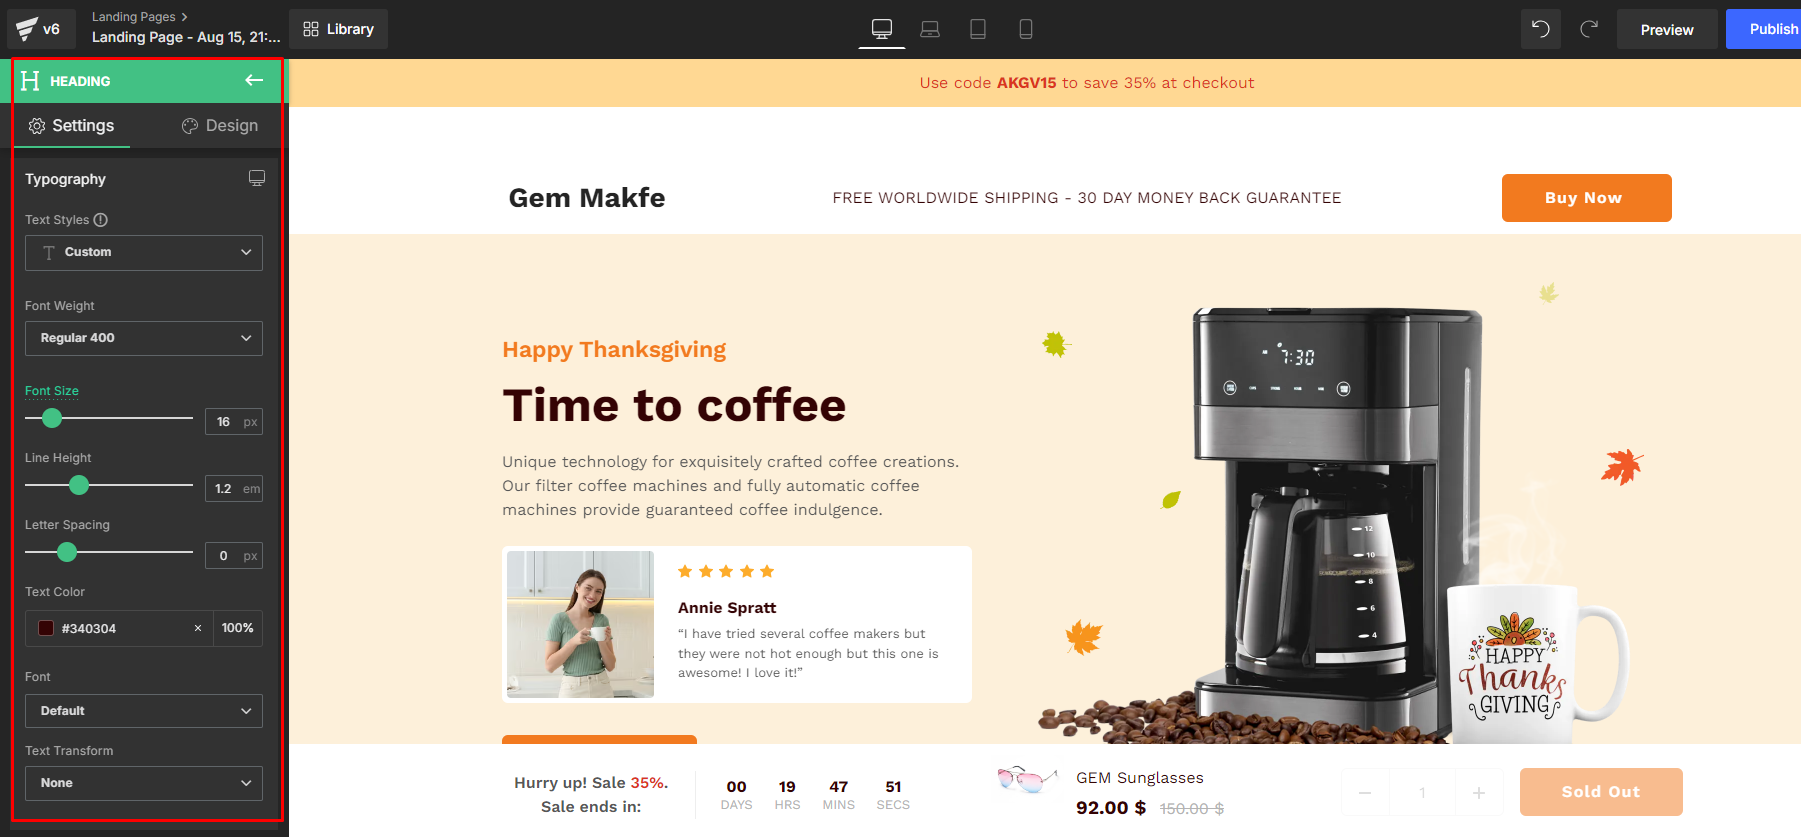
Method 2: Click on the element you want to edit and look for the Desktop icon in the top right corner. Click the icon and select the device you want to switch to.
Make as many adjustments as you see fit. We’ll list some tips for you below.
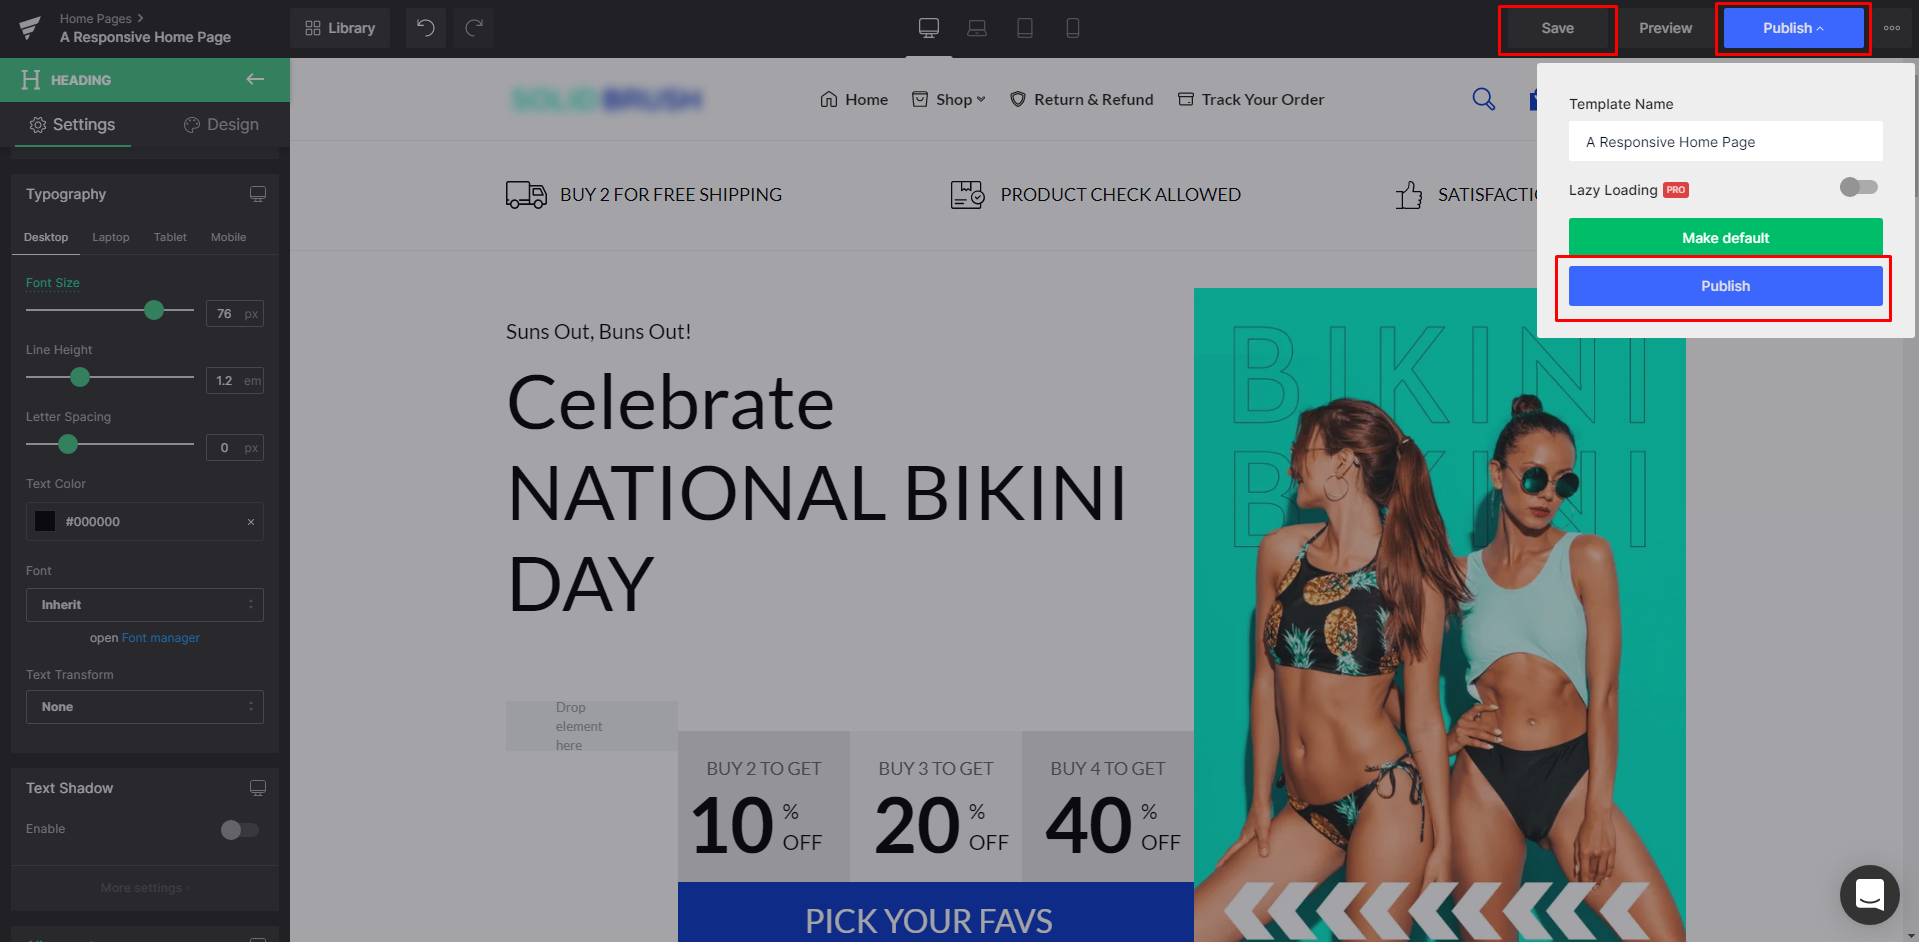
Step 3: Click “Save” and “Publish” once you are finished to update the changes to your front store.
Use the Row element to create sections
As a base element, Row is often used to create sections thanks to its responsive nature. It can automatically adjust itself and the nested elements to different devices.
Follow these steps below to create a section using the Row element.
Step 1: In the GemPages Dashboard, click the “Edit” button on one of your pages and enter the Editor.
Step 2: Search for the Row element, then drag & drop one onto your page
Step 3: Check the Settings tab displayed in the left sidebar. Select the layout you want for the Row in the Desktop view.
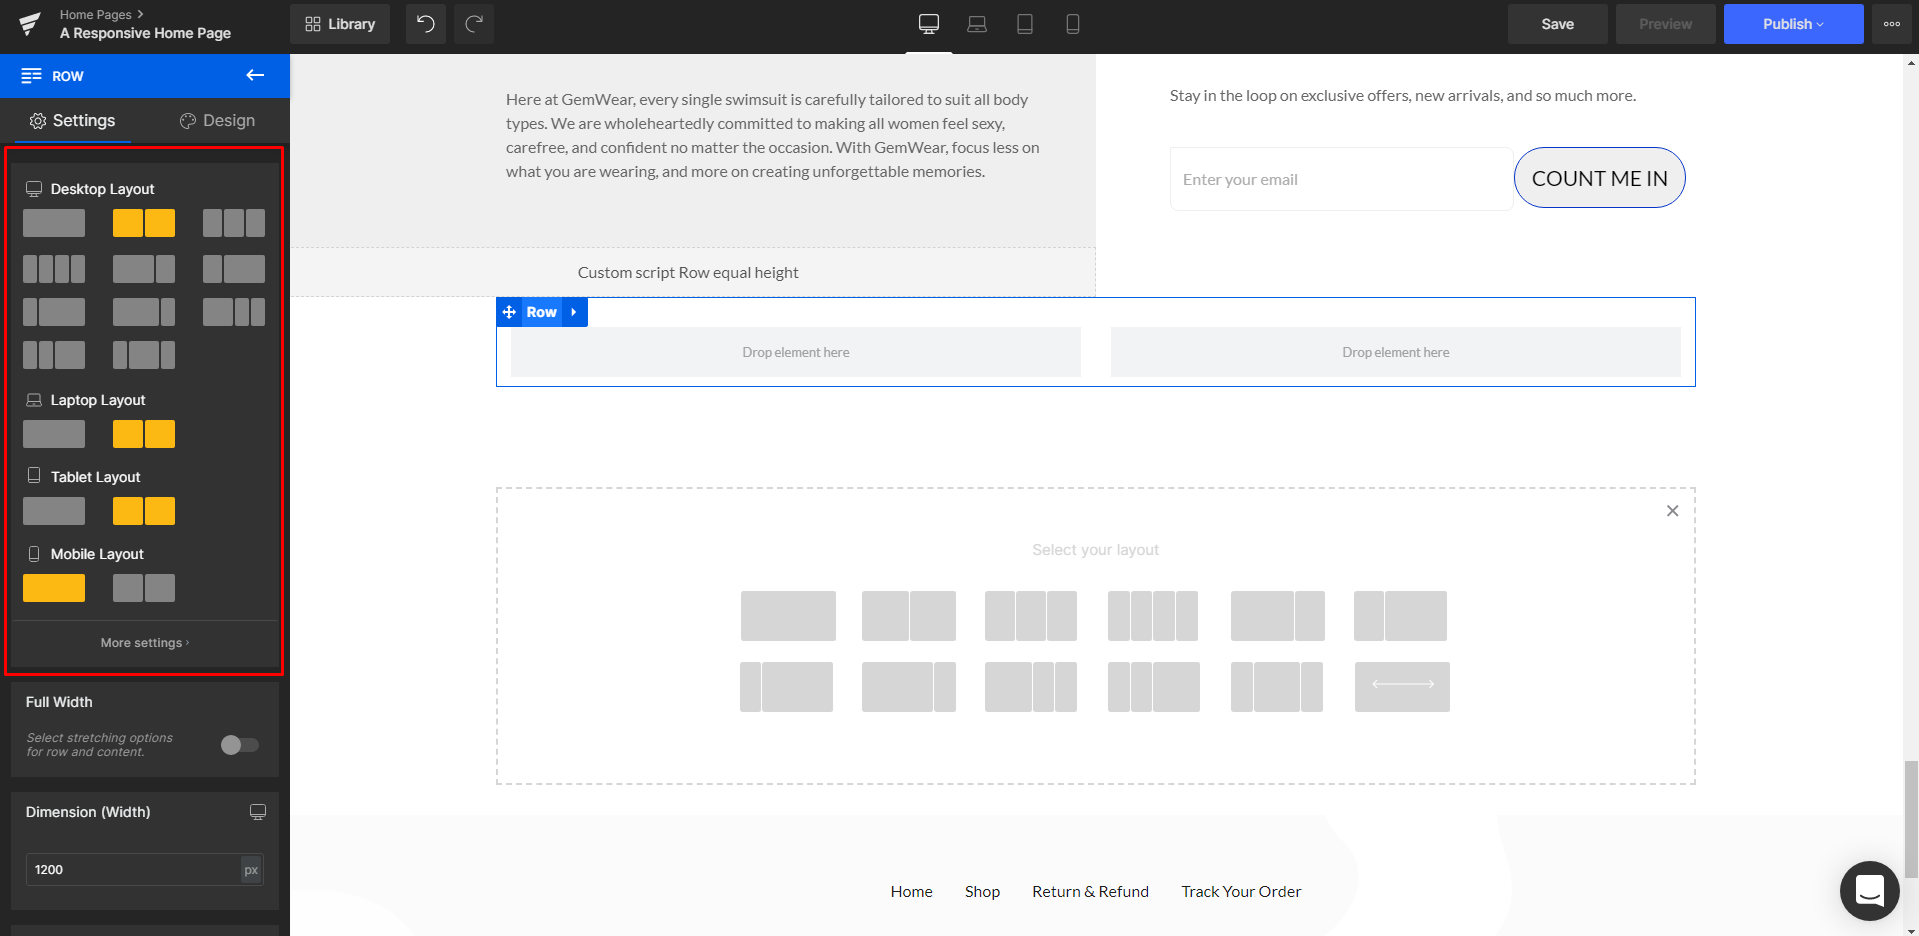
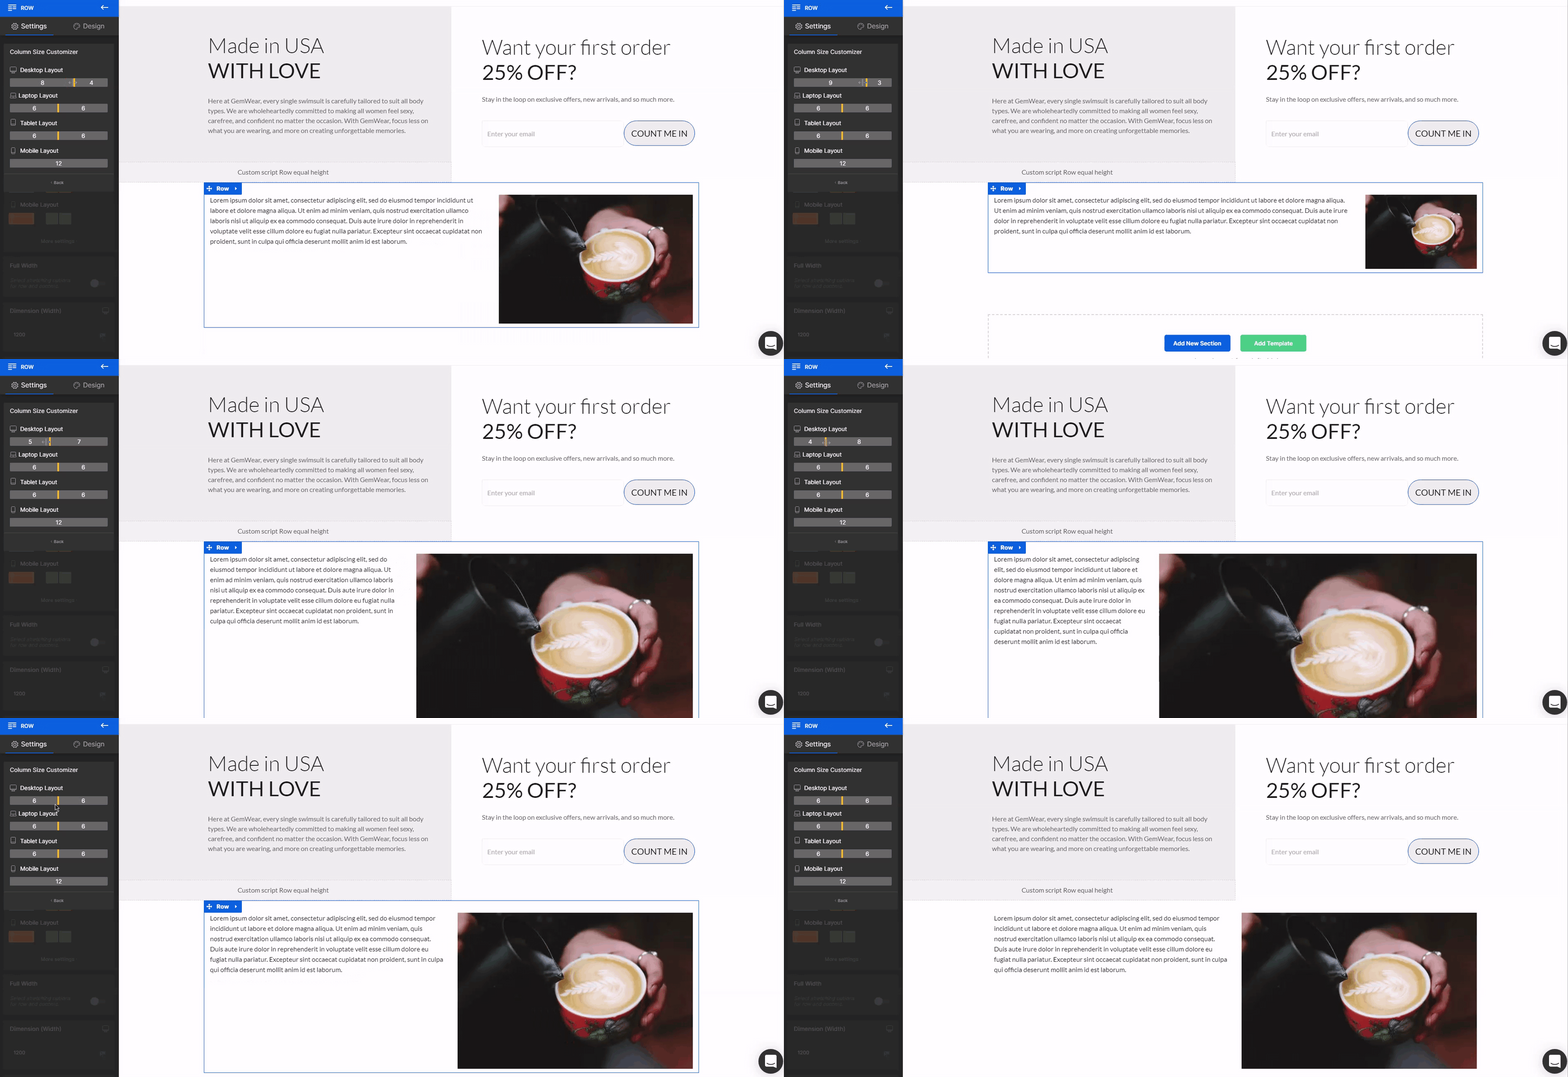
You can manually adjust the layout for all four views by clicking “More settings” and dragging the yellow slider for the corresponding view.
Step 4: Drag & drop other elements inside the row and configure them using the Settings and Design tabs.
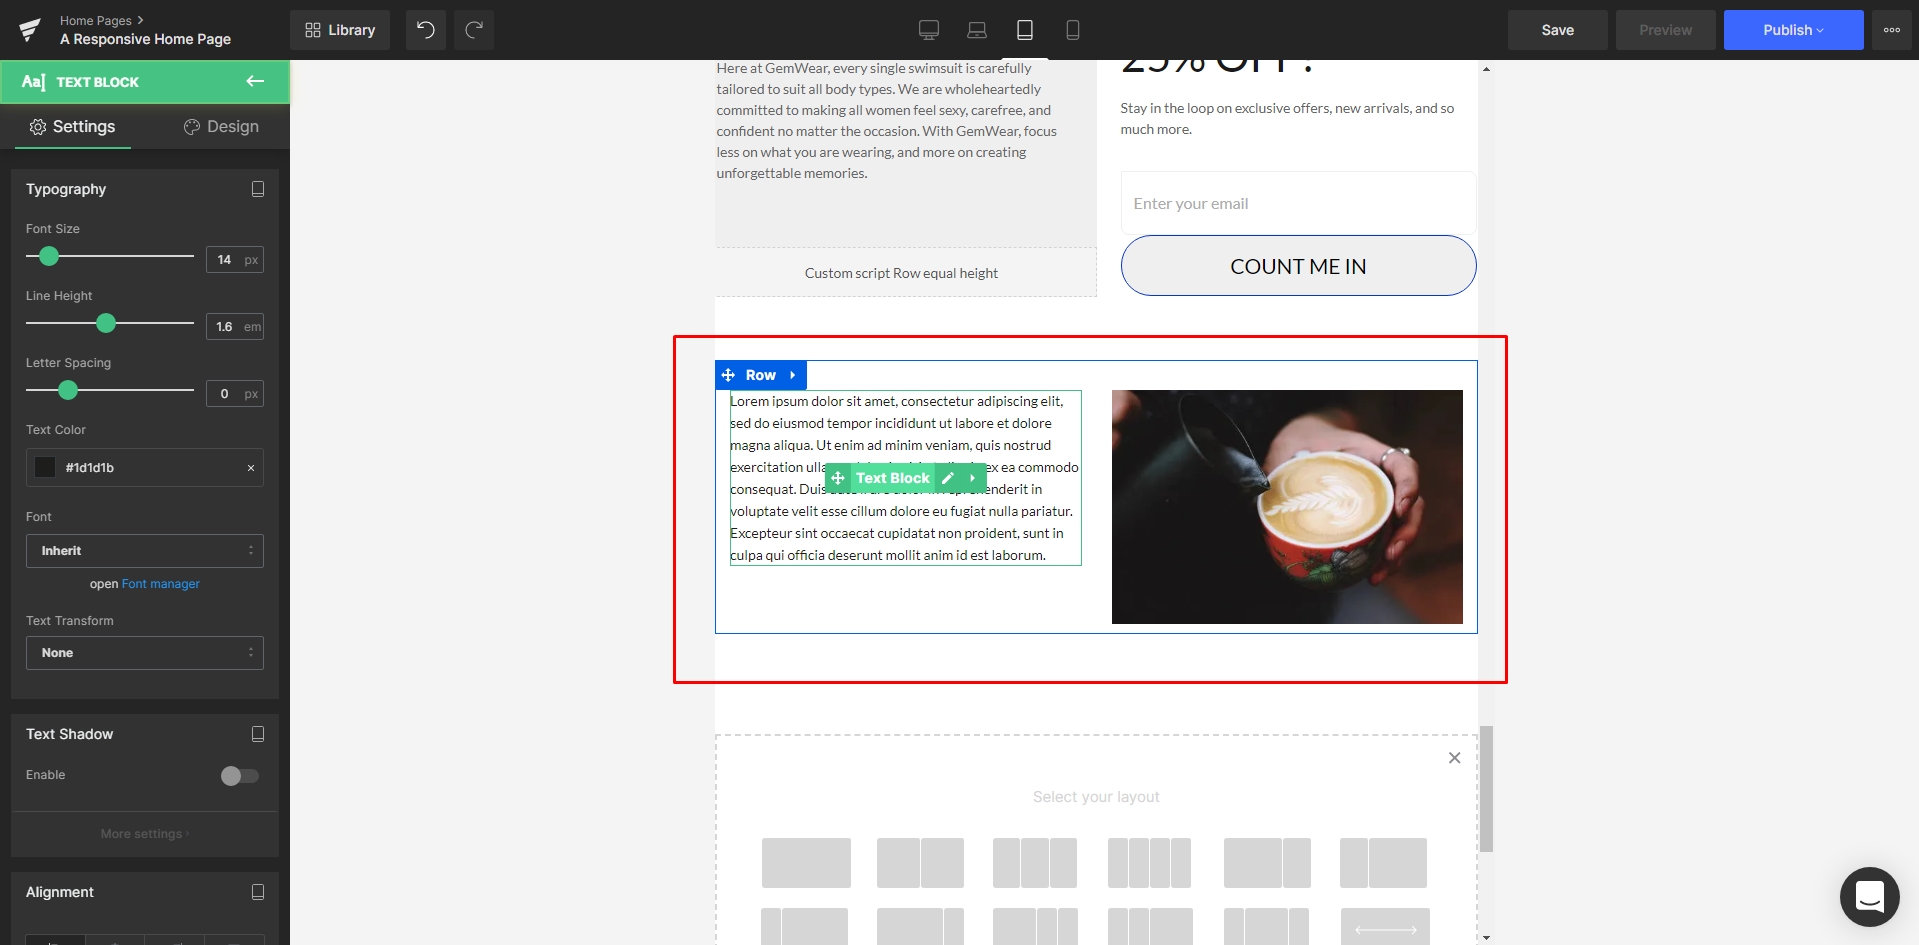
Step 5: Click “Save” and “Publish” once you are finished to bring your changes to the live store.
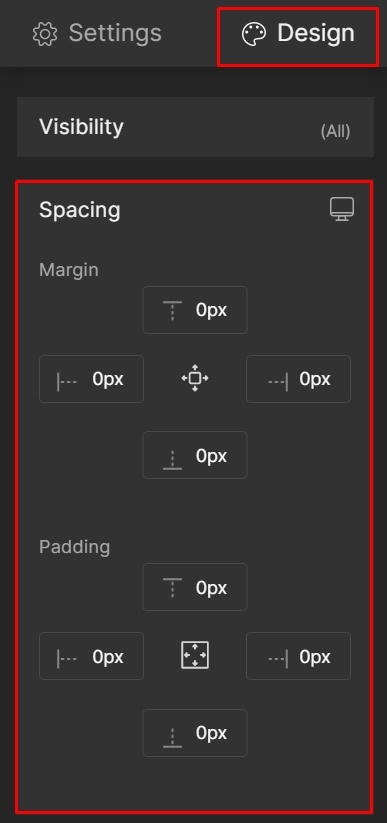
Adjust the Margin and Padding
Margin is the space between the borders of one element and others.
Padding is the space inside the element.
These two parameters allow you to cleverly position each of your elements in the exact spot. The settings for Margin and Padding can be found in any element’s Design tab, under the Spacing section.
Show or hide elements
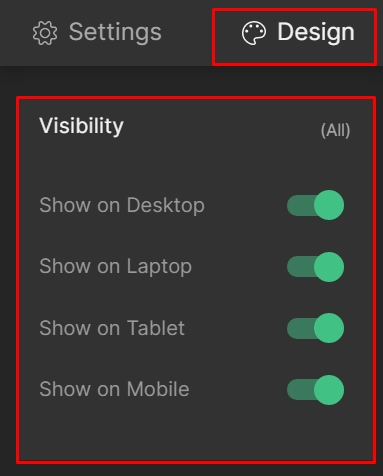
The hidden elements will still be loaded in the background, so we advise you not to overuse this. In each element’s Design tab, find your way to the Visibility section. Here you can use the switch to show/hide the element on all four device types.
Responsive web design is crucial for optimizing your front store’s layout across as many devices as possible, ensuring a positive customer experience. The best part is that you can achieve it all easily with GemPages, with very little to no additional coding required.
FAQs
1. What is a responsive layout in Shopify?
A responsive layout ensures your Shopify pages look great on all screen sizes, from large desktops to smaller tablets and phones.
2. How to make a page responsive on Shopify?
Use a page builder like GemPages to:
- Structure content using rows.
- Customize layouts by device view
- Adjust margins, paddings, and visibility per screen size
3. How do I upload a responsive layout for Shopify?
You don’t upload it, you build it directly in your Shopify page builder. In GemPages, this is done visually with drag-and-drop and responsive settings for each element.
4. Does GemPages support tablet web design?
Yes! You can fully customize your design for tablet view separately in both Version 6 and Version 7.
5. Can I control the layout based on desktop dimensions?
Absolutely. You can design in desktop dimensions, then adapt for tablet and mobile, ensuring a truly responsive experience.


Thank you for your comments