


Follow this step-by-step guide to connect Omnisend and start using it in your GemPages pages.
About Omnisend Email Marketing & SMS
Omnisend is a marketing automation platform designed for Shopify merchants who want to sell more and grow faster. It helps you:
- Grow your subscriber list using popups, landing pages, and signup forms
- Create beautiful, high-performing email campaigns with hundreds of pre-made templates
- Send personalized emails and SMS based on user behavior — like abandoned cart or welcome sequences
- Automate campaigns effortlessly with AI-generated email copy, subject lines, and preheaders
Key Features of Omnisend Email Marketing & SMS
- Send engaging email newsletters and SMS campaigns — no coding required
- Build your email list using exit-intent popups, spin-to-win games, and other signup forms
- Access ready-made templates for seasonal campaigns like Summer Sales
- Set up abandoned cart, welcome, and browse abandonment workflows in one click
- Use built-in AI tools to instantly write compelling email content
How to Install Omnisend from the Shopify App Store
Step 1: Install Omnisend Email Marketing & SMS from the Shopify app store.
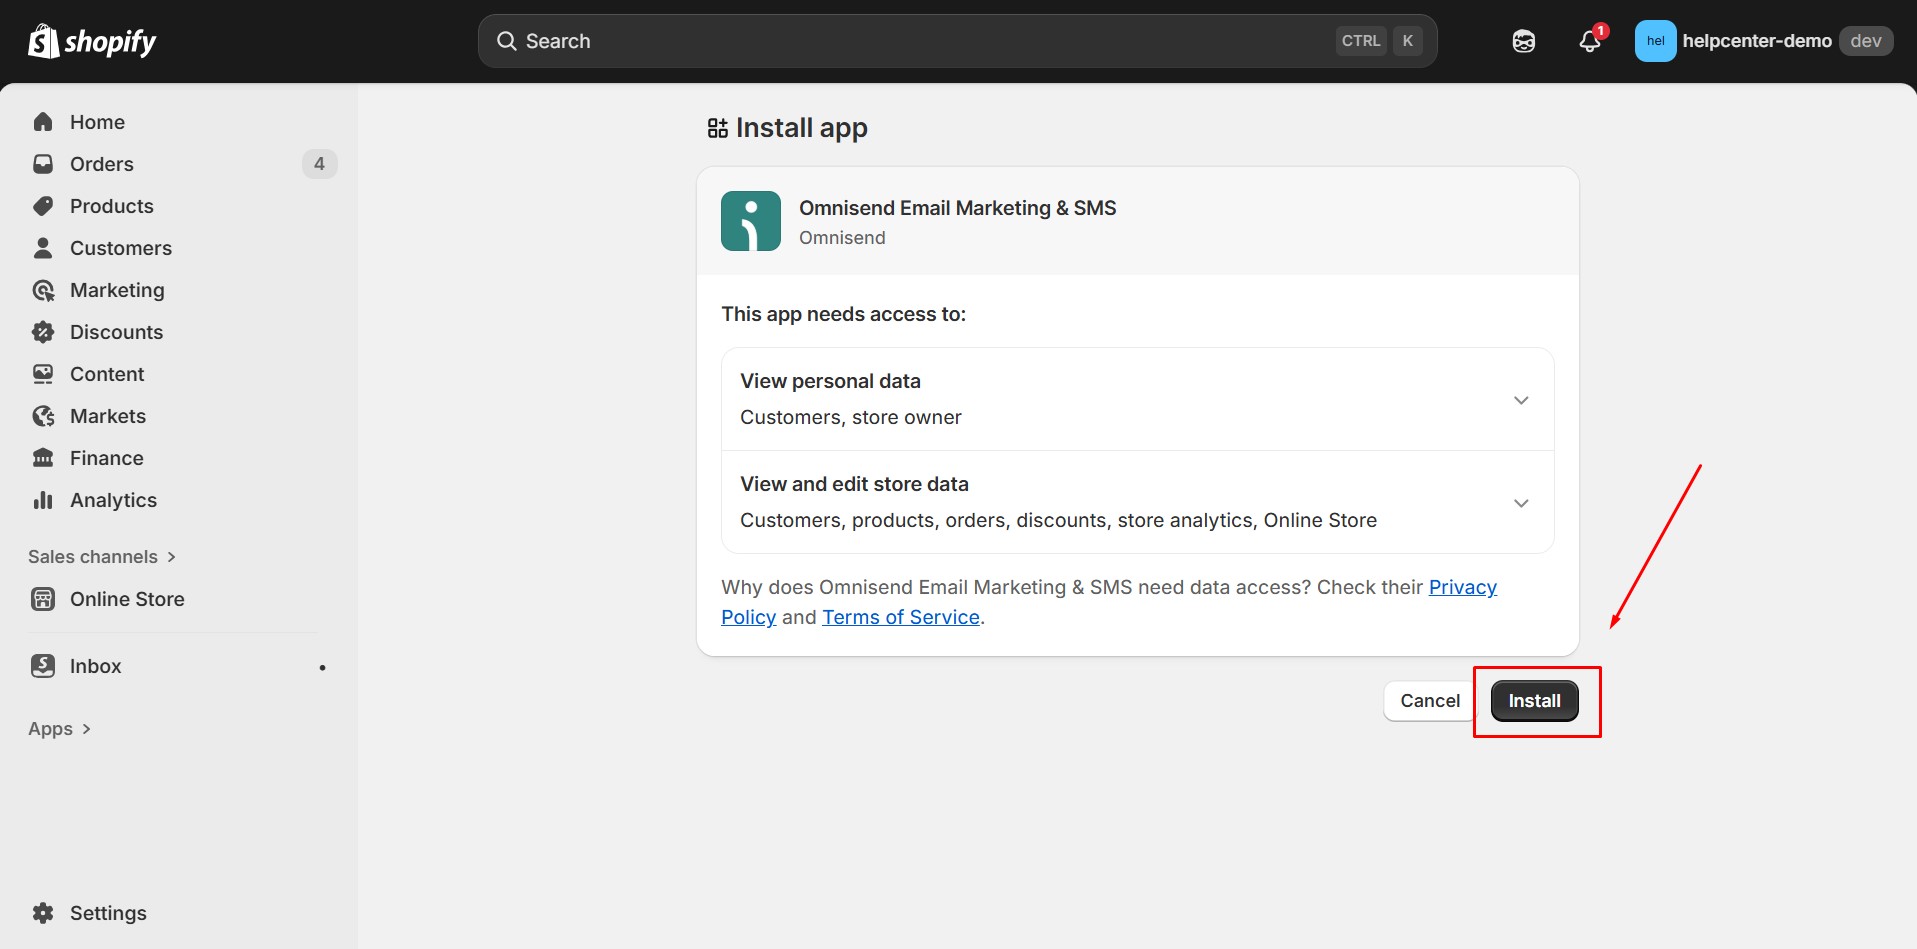
 Step 2: Hit Install after reviewing the permissions.
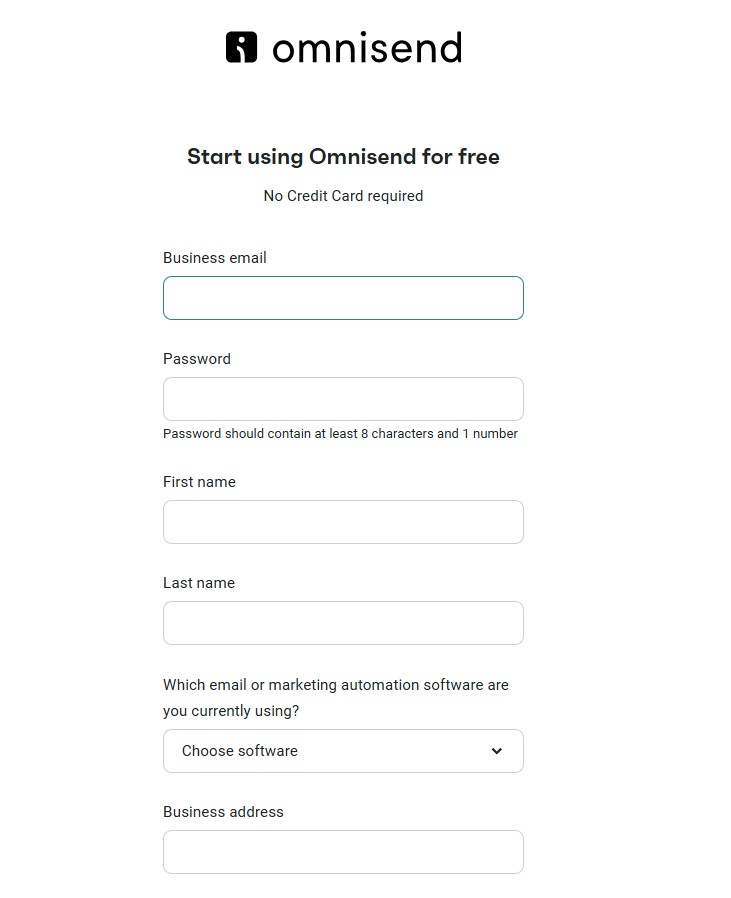
Step 3: After the app is installed, register with Omnisend and connect it to your Shopify store.
 Now, the app should appear in the apps list of your Shopify Admin.
How to Add Omnisend Element on GemPages
Version 6
Step 1: Go to the GemPages Dashboard, and select one of your pages to enter the Editor.
Step 2: In the Editor, open the Library on the top bar and select the Elements tab.
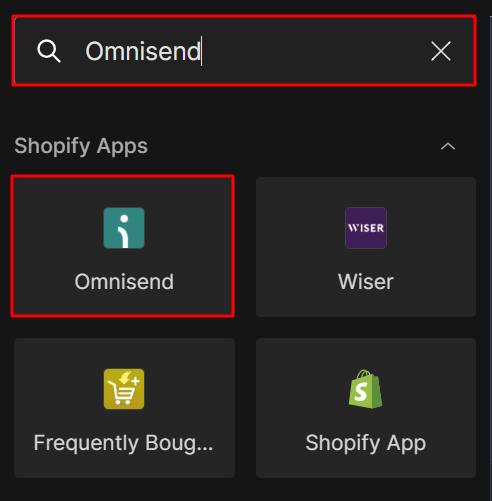
 Search for “Omnisend” in the search bar. Toggle on the corresponding switch.
 Step 3: Once added, the Omnisend element will appear in the “Third Party” section of your sidebar. Now you can drag and drop this element anywhere on your page.
Version 7
In Editor version 7, Omnisend is available as a built-in app element, so you can add it to your page without enabling it from the Library.
Step 1: In the GemPages Editor, open the left sidebar and scroll to the Shopify Apps section.
Search for Omnisend, then drag and drop the Omnisend element to the position where you want the signup form to appear on your page.
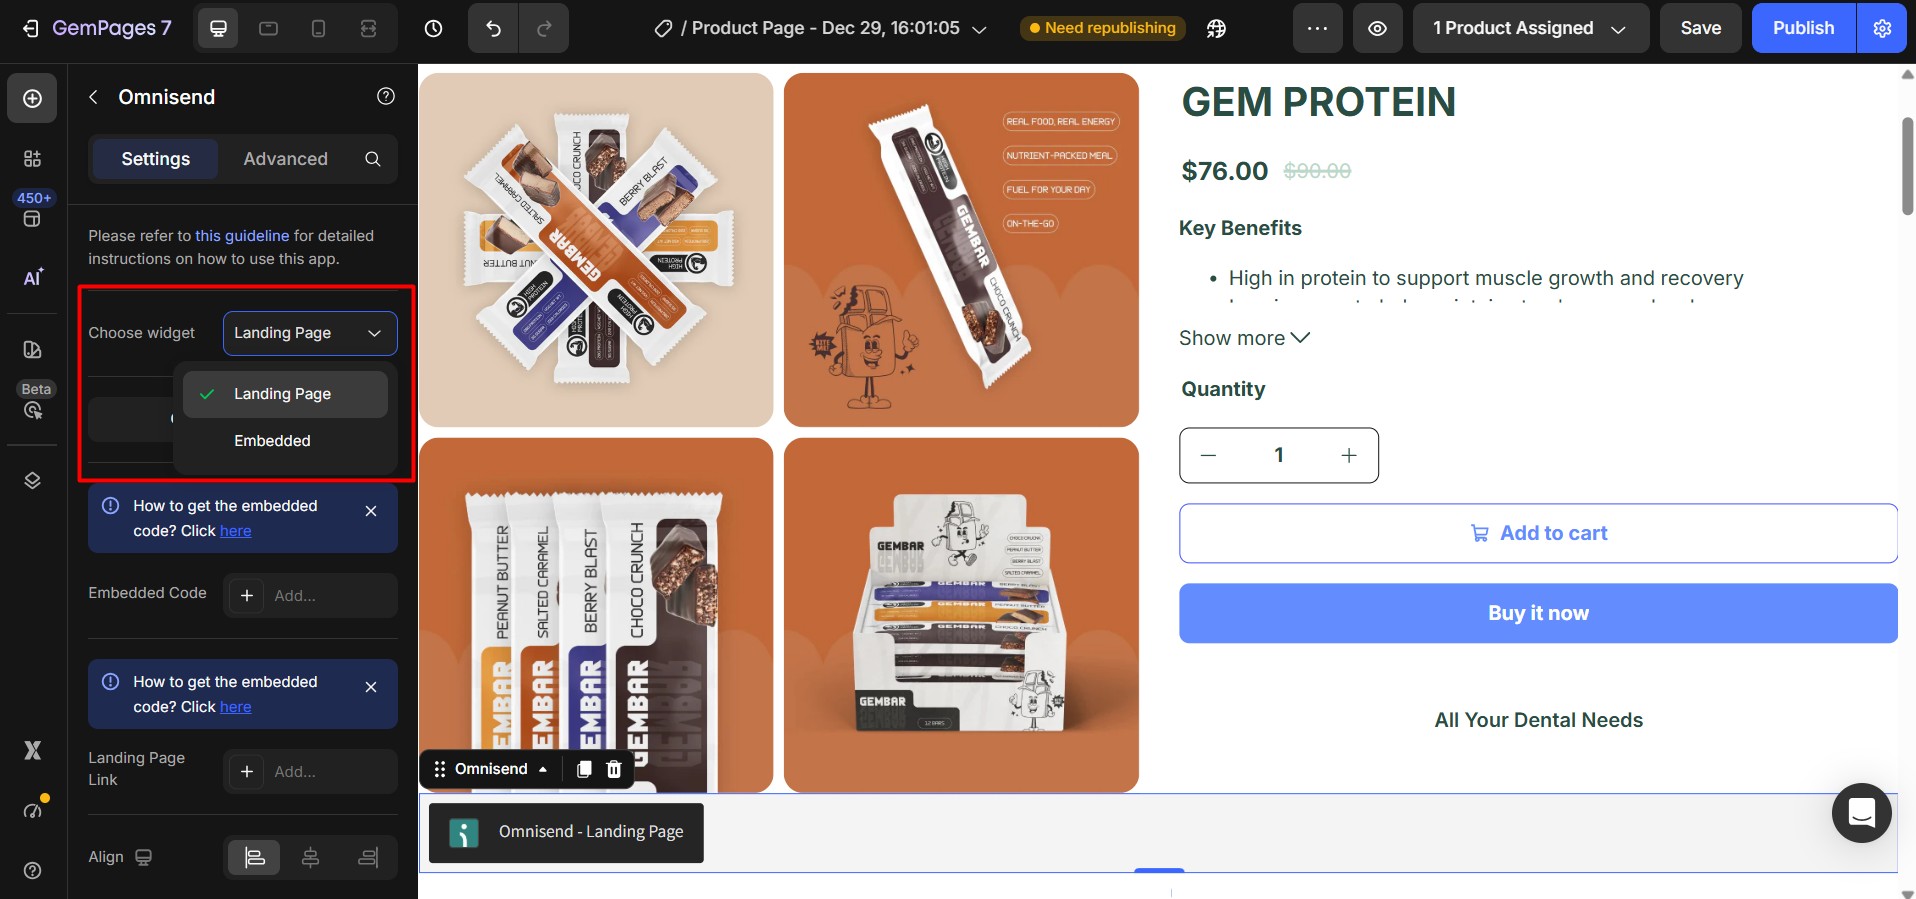
Step 2: After adding the element, the settings panel will appear in the left sidebar.
At the Widget type field, choose one of the following options:
- Landing Page: Use this option if you want to display a signup form hosted on an Omnisend landing page.
- Embedded: Use this option if you want to embed an Omnisend form directly into your GemPages page using embed code.
Each option is explained in detail in the sections below. You can also hover over the tooltips in the editor for quick guidance.
Step 3: Configure the widget
- If you choose Landing Page, paste the Omnisend landing page URL into the provided field.
- If you choose Embedded, paste the embedded form code generated in Omnisend into the Embedded Code field.
Step 4: Save and publish your page
Once everything is set up, click Save, then click Publish in the top-right corner of the editor to apply the changes to your live page.
Display the Omnisend Landing Page Signup Form on Your Pages
Before we start, if you want to add an Omnisend Landing Page form to your GemPages page, you need to create and design a Landing page form in Omnisend by following the guidance here. After that, copy the Landing page link for later use.

Step 1: In the GemPages Editor page, locate the Omnisend element on the left sidebar of your Editor. Drag and drop it to the position you prefer.

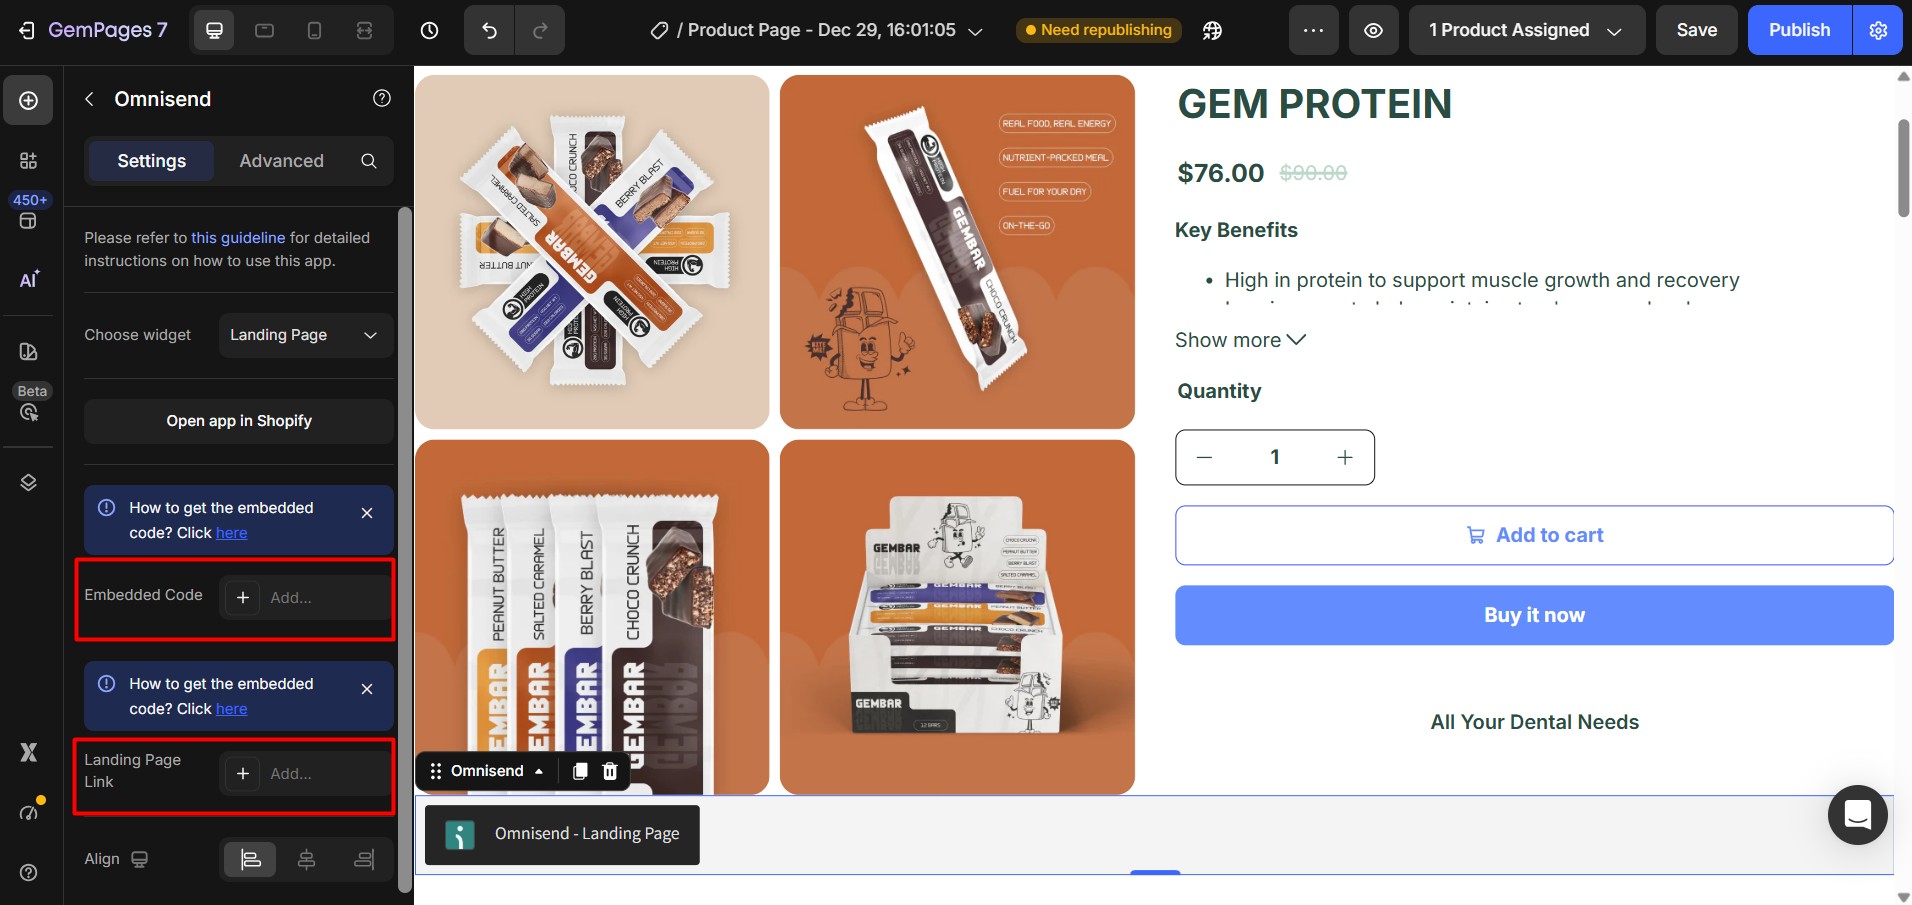
Step 2: The configuration will be revealed on the left sidebar. Choose the “Landing Page” option and paste the link you have just saved.
Click the “Publish” button in the top right-hand corner. Your page is now live.

Display the Omnisend Embedded Form on Your Page
If you want to add the Embedded form to your GemPages page, you need to create the form first by following the guidance here. Copy the embedded form code for later use.
Step 1: In the GemPages Editor page, locate the Omnisend element on the left sidebar of your Editor. Drag and drop it to the position you prefer.
Step 2: The configuration will be revealed on the left sidebar. In the Options field choose “Embedded”. Paste the code you have just saved in the “Embedded Code” field.

Click the “Publish” button in the top right corner. Your page is now live.


Thank you for your comments