This article reveals how to integrate the SEOant ‑ Trust Badges & icon with GemPages to elevate your store’s performance.
About SEOant ‑ Trust Badges & Icon
SEOAnt – Trust Badges & Icons, powered by Channelwill, lets you easily display professional trust and payment badges in your Shopify store.
You can preview badges on both desktop and mobile, customize their style, and adjust their placement to match your store’s design.
By helping customers feel more secure during checkout, trust badges can reduce bounce rates and improve overall sales performance.
Key features:
- Easy setup: Add and customize your favorite trust and payment badges with just one click — no extra steps required.
- Mobile-friendly: Display payment badges seamlessly on mobile devices and adjust icon sizes for any resolution.
- Build trust: Establish credibility and give customers confidence while shopping.
- Boost sales: Reinforce trust with diverse shipping and guarantee badges.
- Flexible placement: Customize where badges appear on your page for maximum visibility.
How to Install & Set Up SEOant ‑ Trust Badges & Icon?
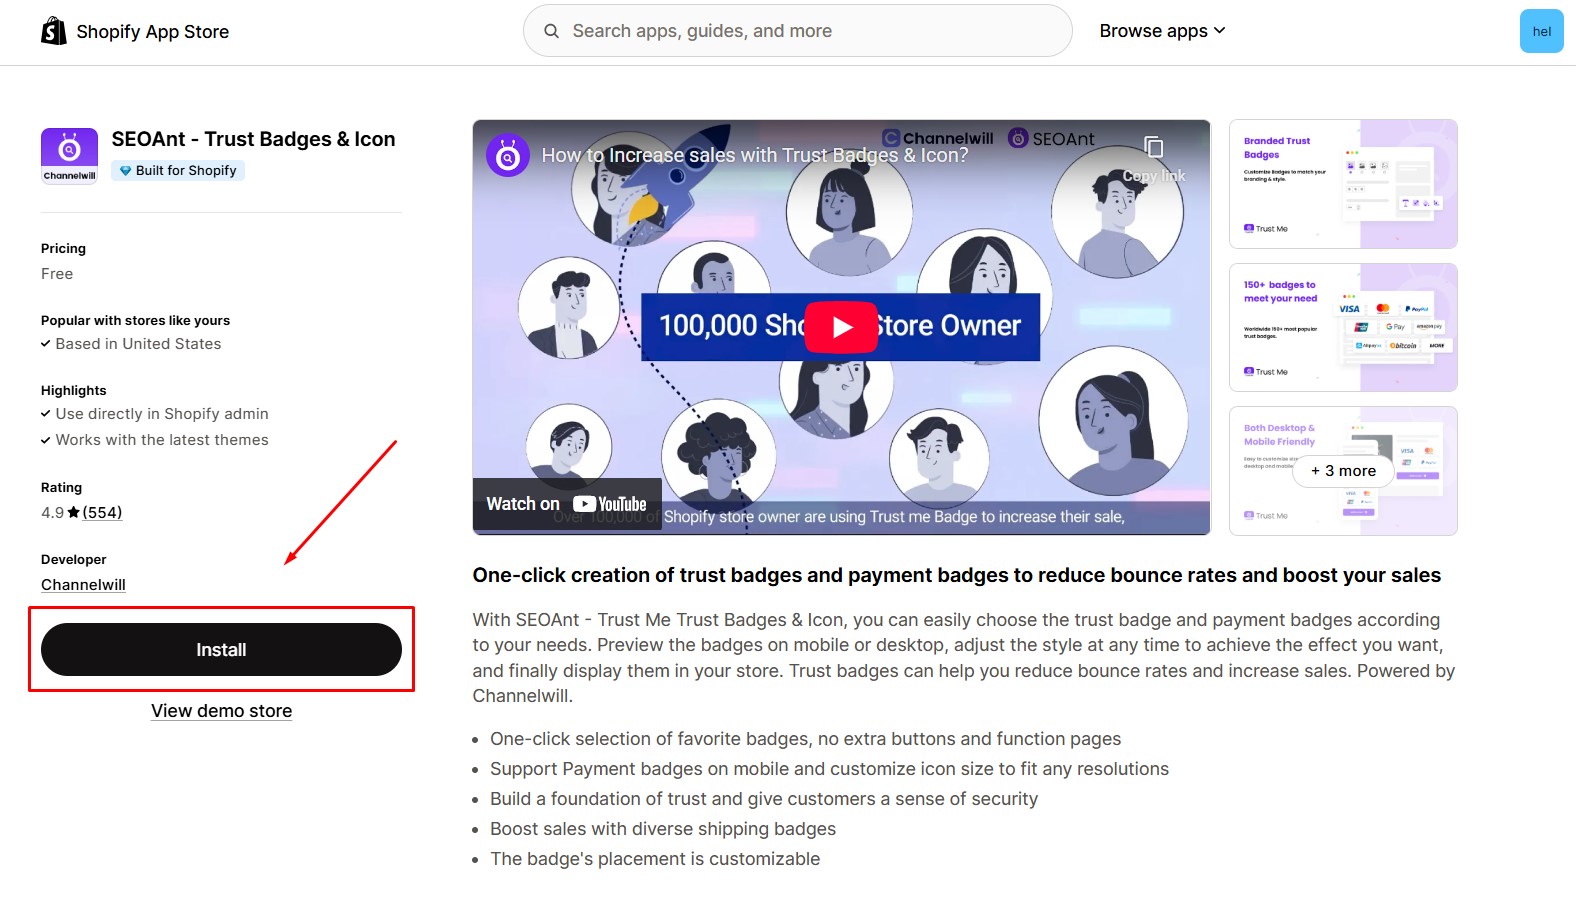
Step 1: Install SEOant ‑ Trust Badges & icon app from the Shopify app store.
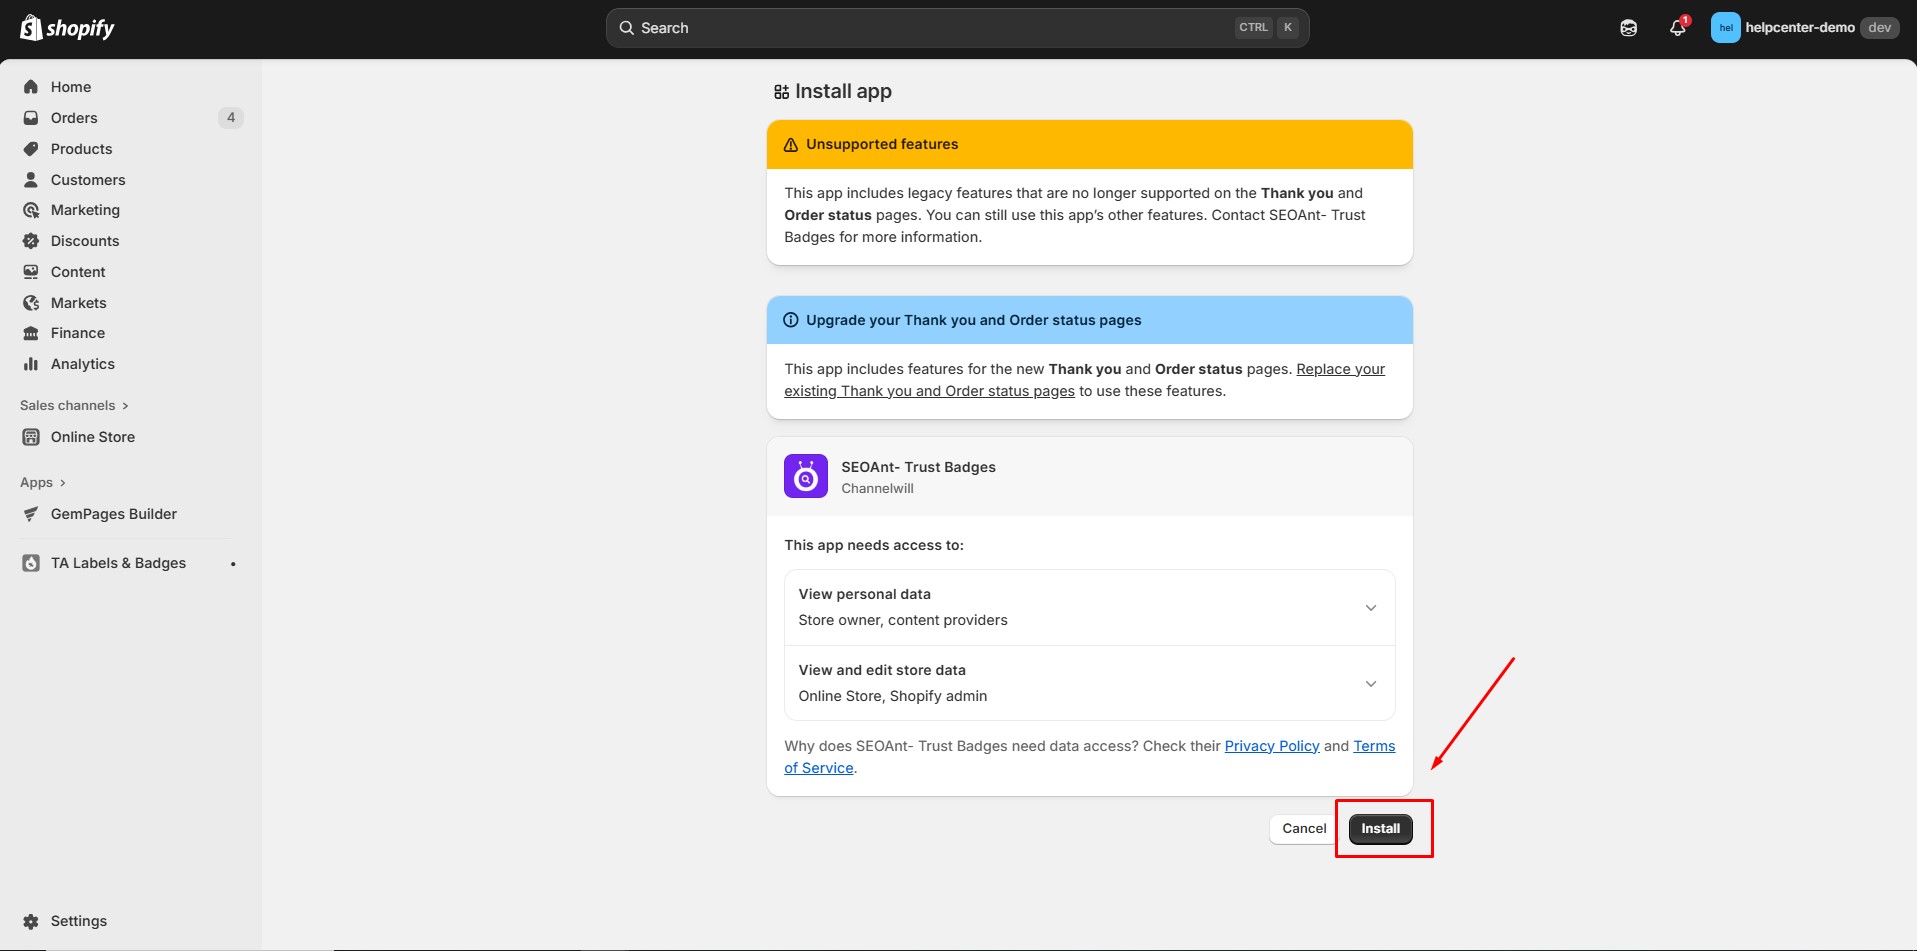
Step 2: Provide the app with access to Step 2: Provide the app with access to the required data.
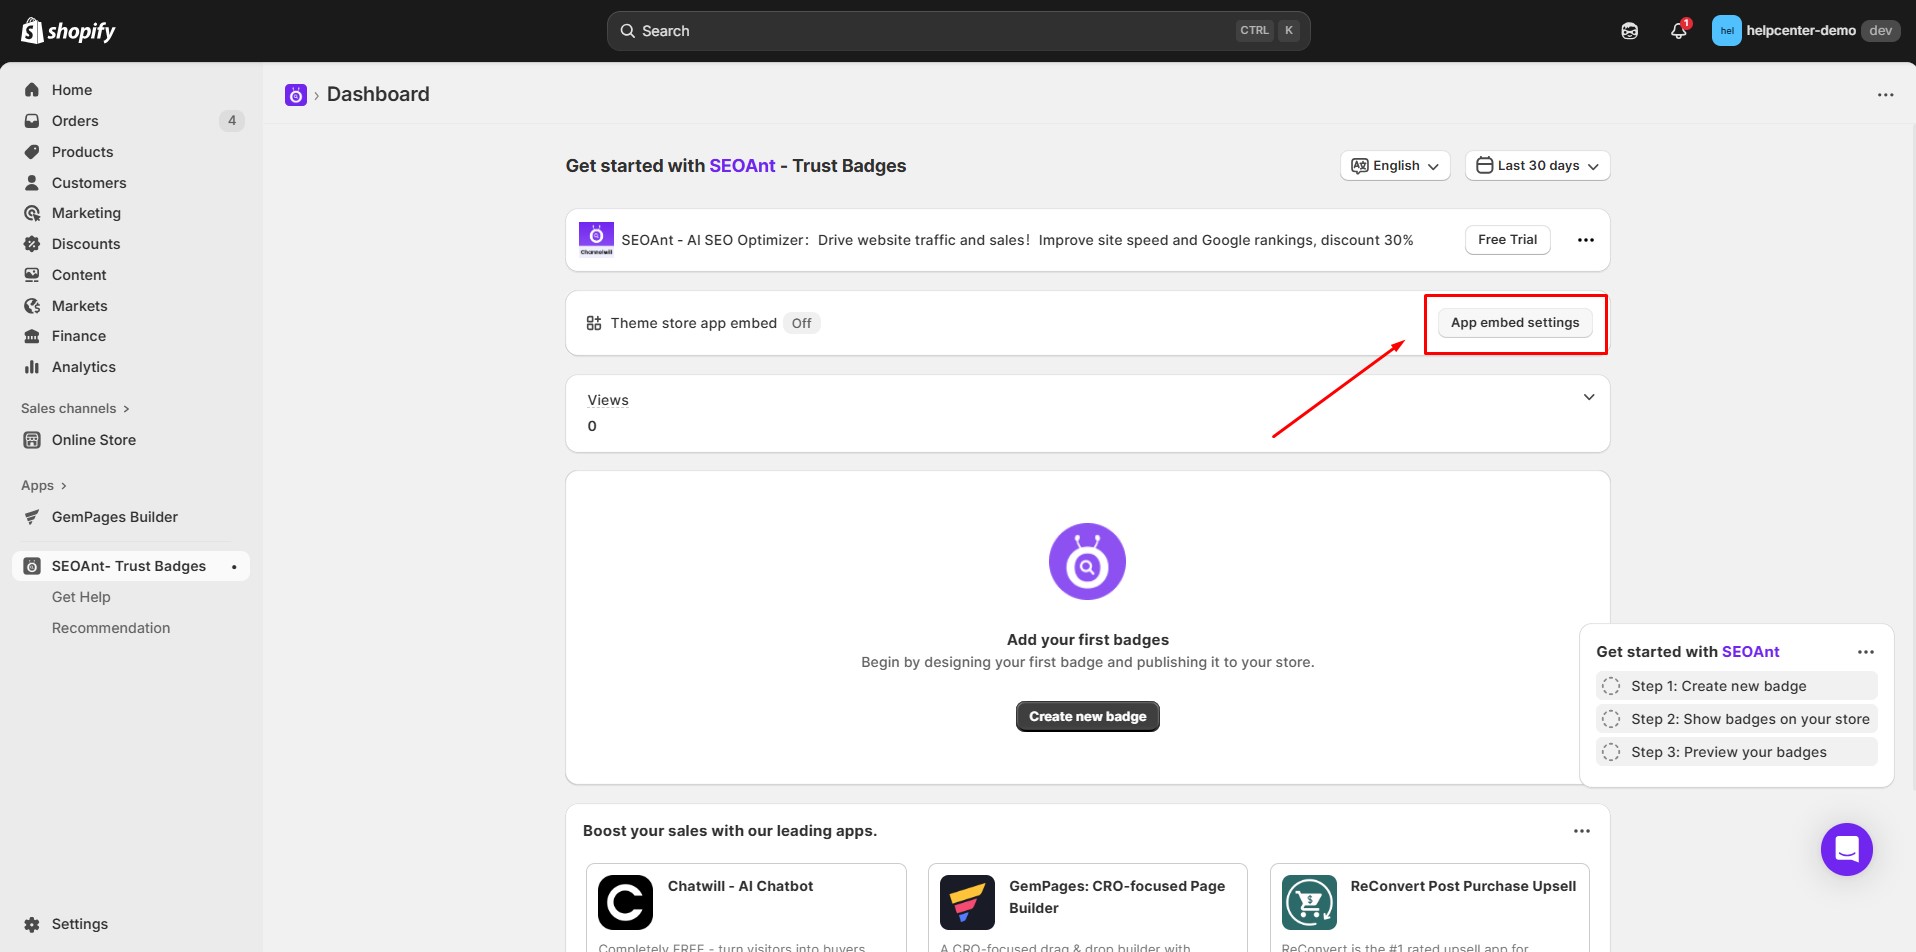
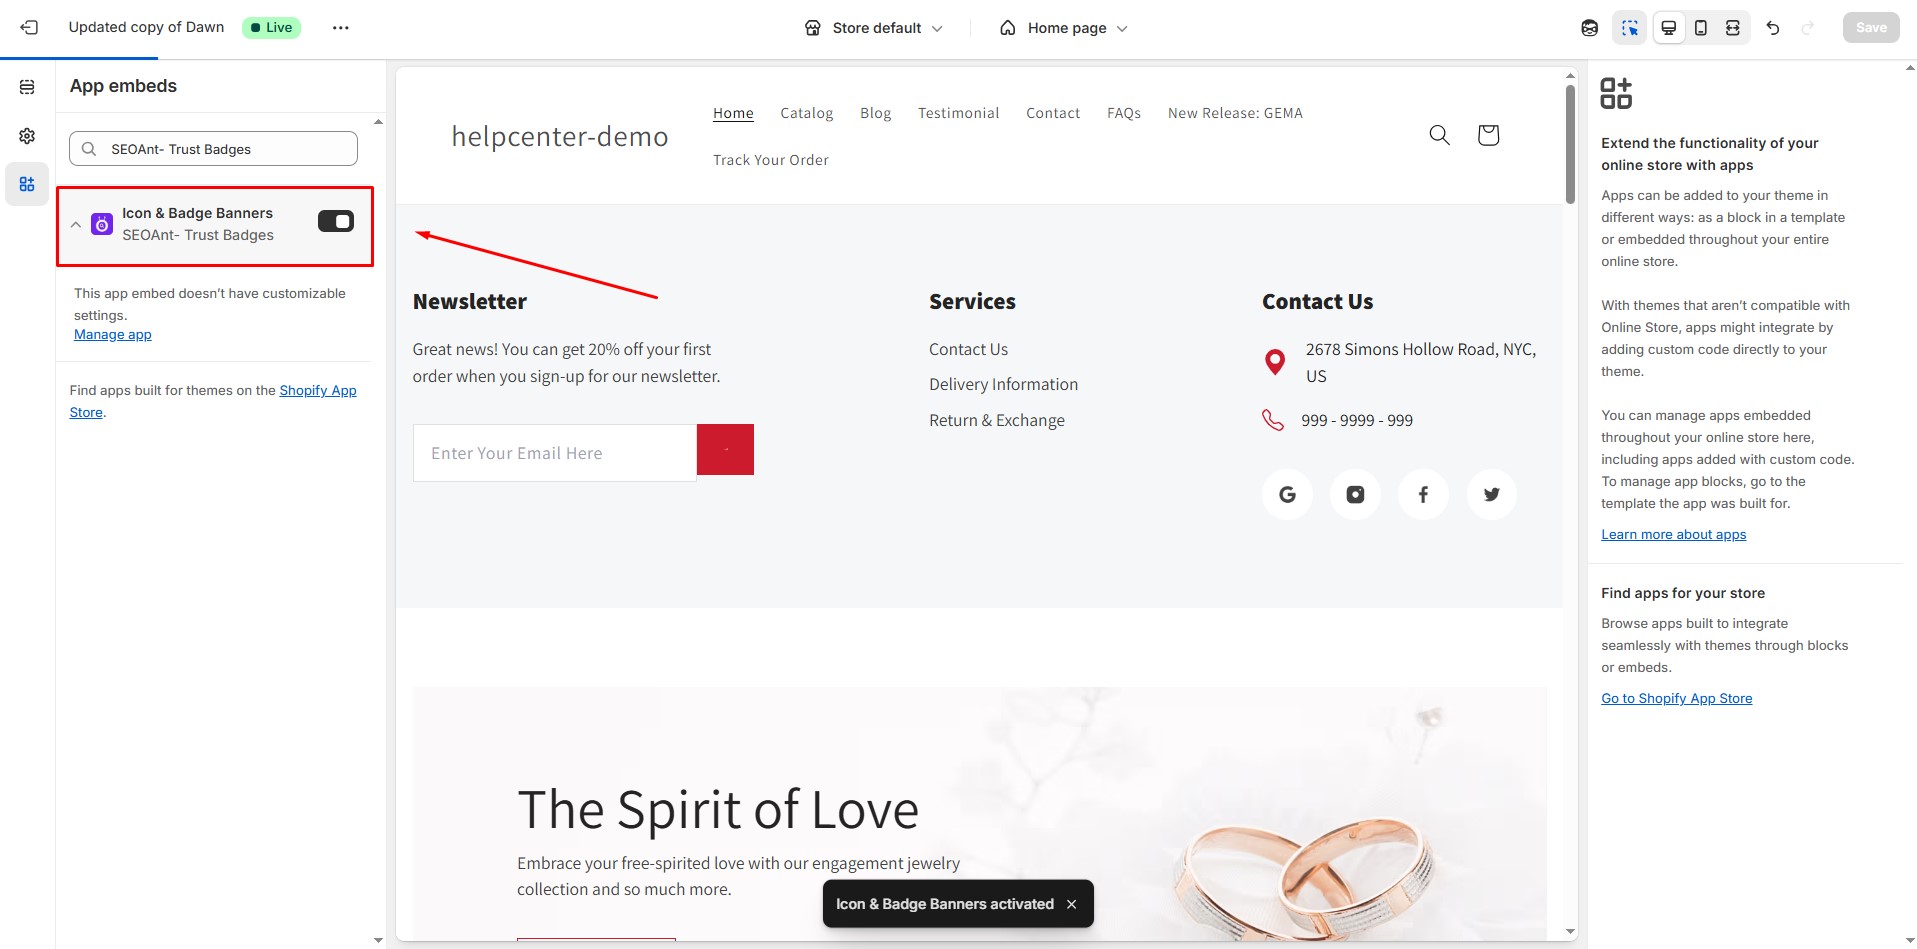
Step 3: App embed settings
Step 4: Create a new badge
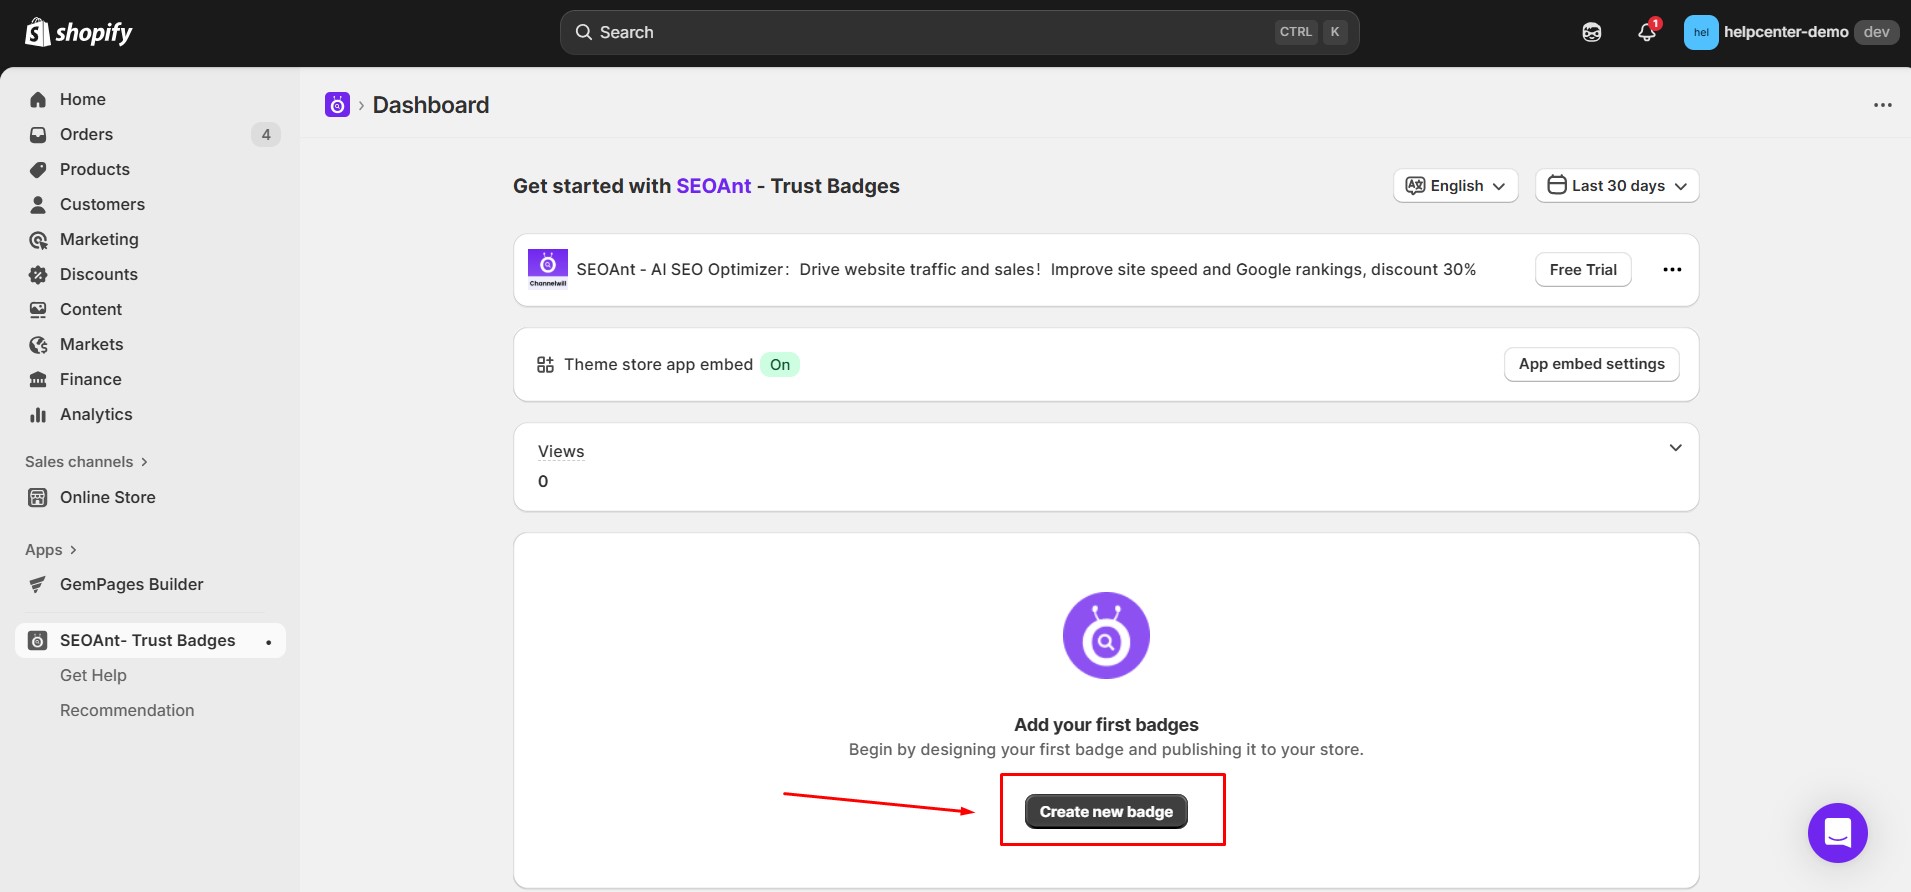
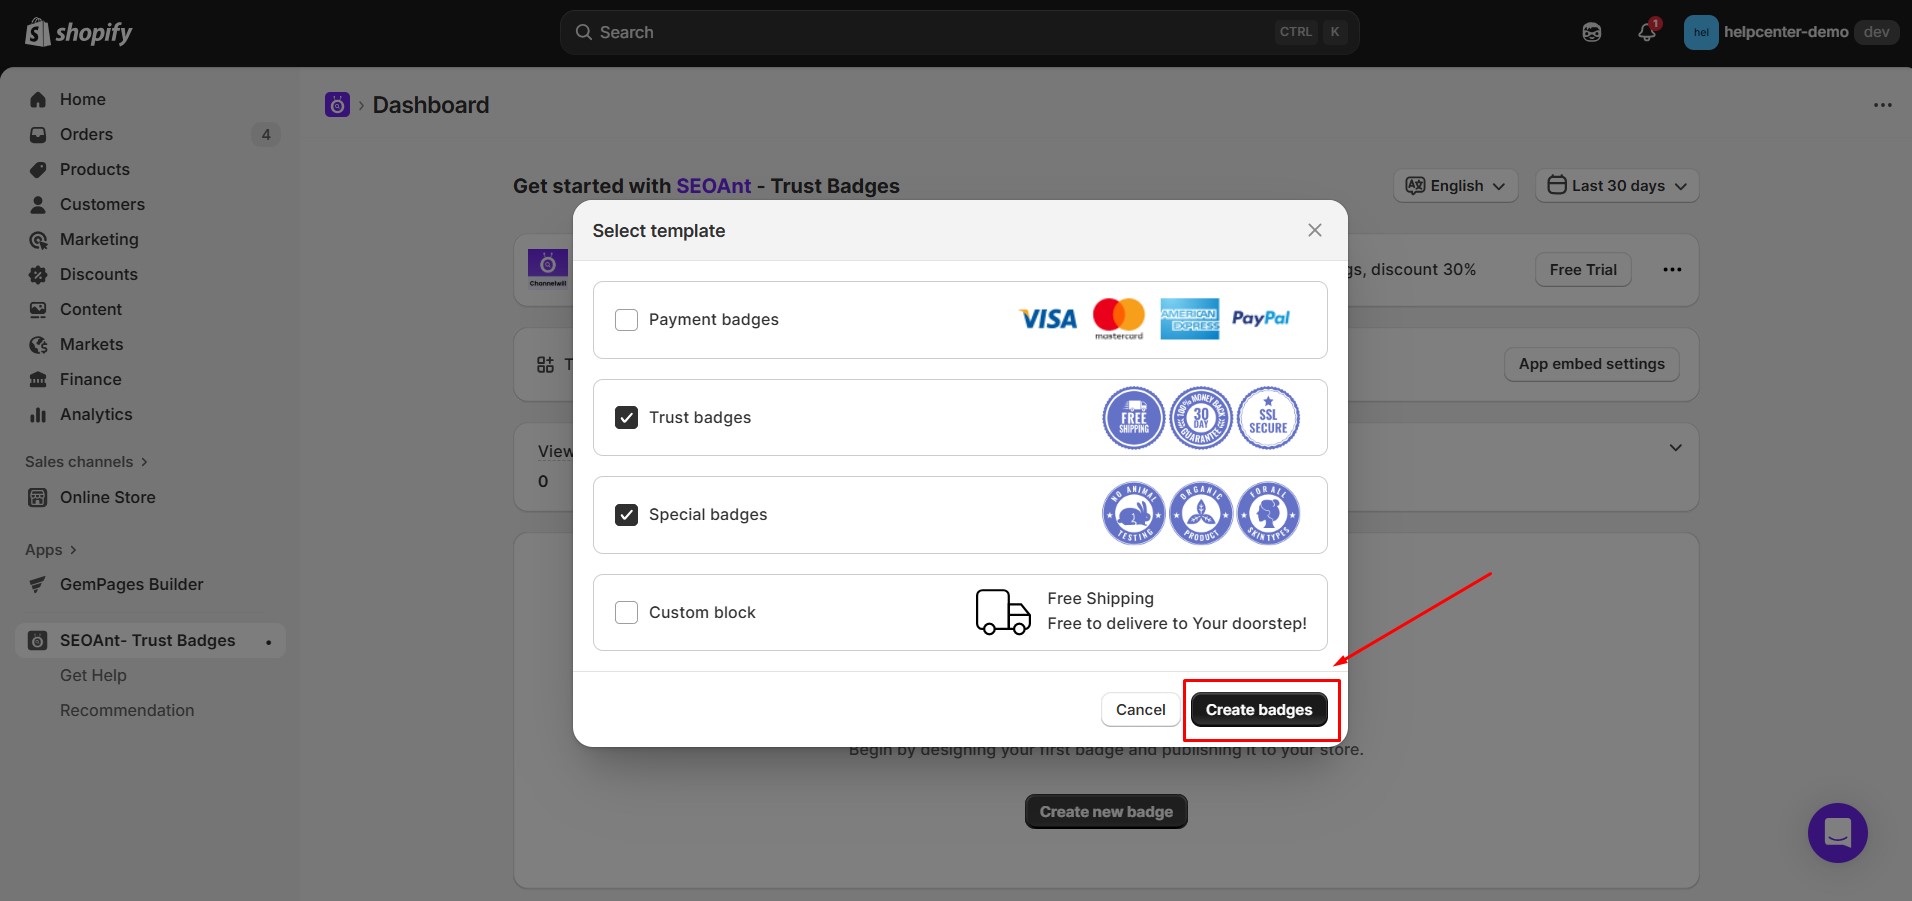
Step 5: Finalize your trust badges and icon design using the customization options on the left sidebar. Click “Save” after making your choices.
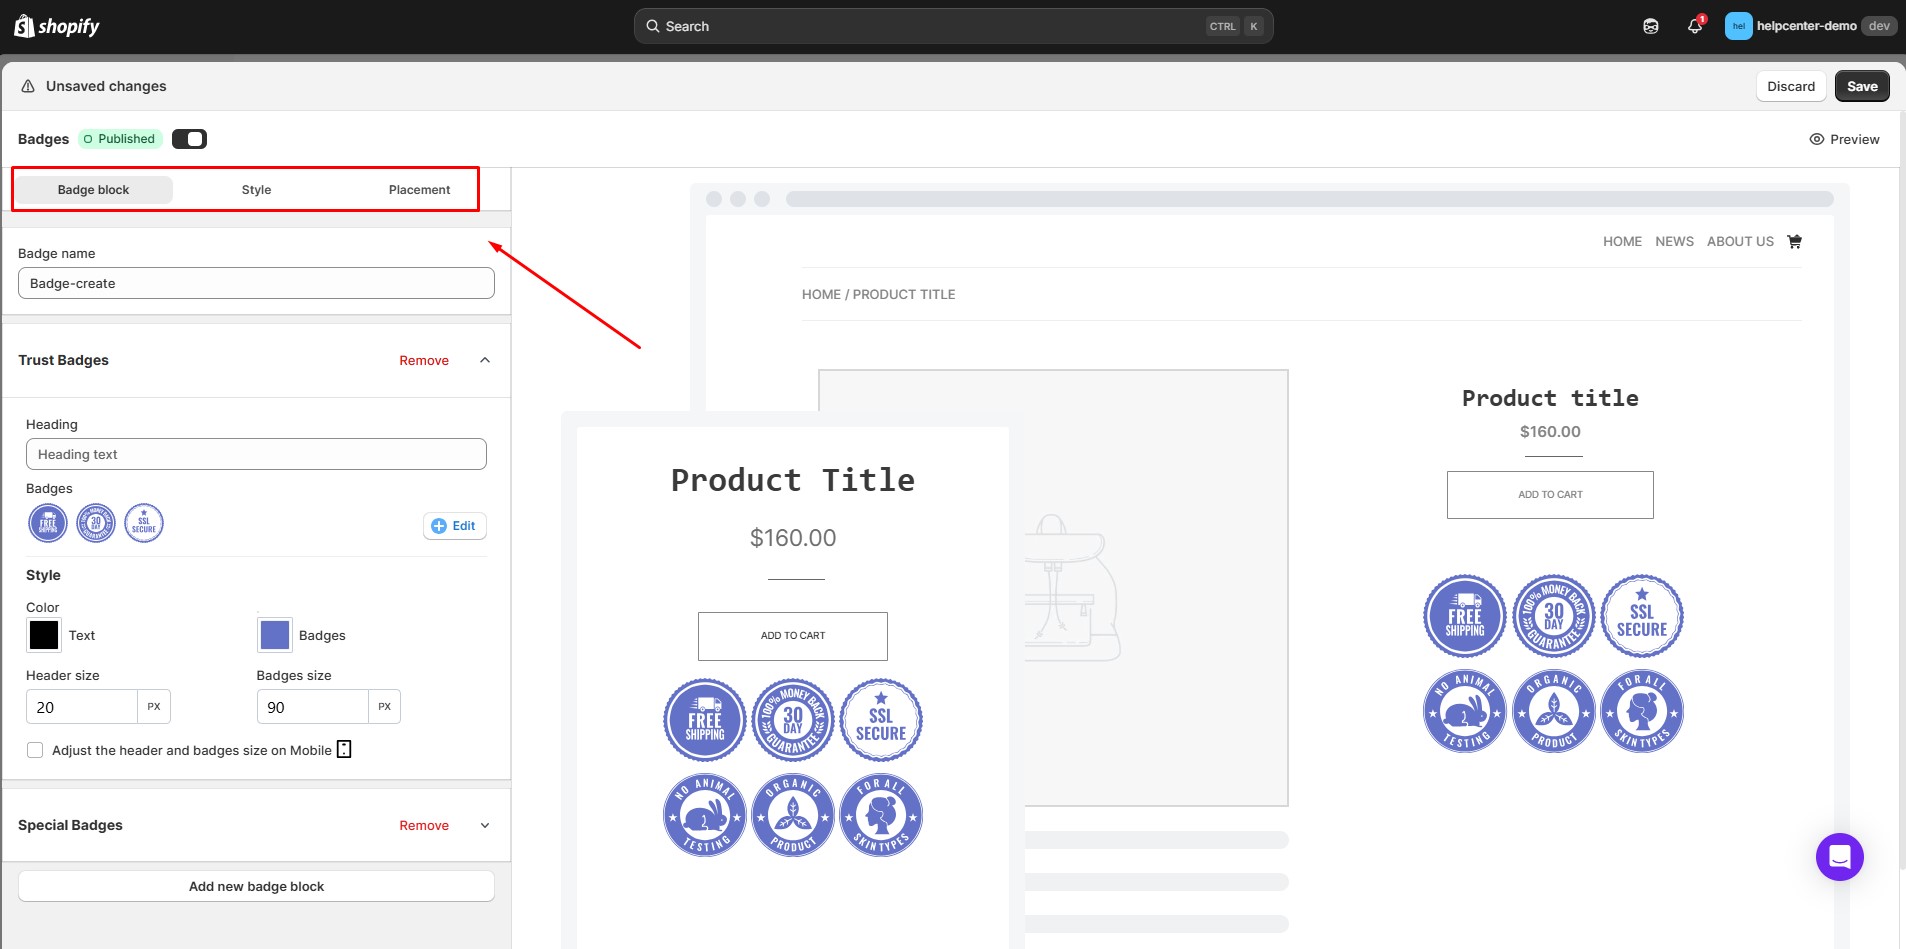
Note: GemPages will only display trust badges from SEOant, and editing them using GemPages is not possible. If you have any questions at this step, please refer to the FAQs or contact app support.
How to Add SEOant ‑ Trust Badges & Icon to GemPages?
Step 1: Access a page from GemPages Dashboard.
Step 2: Locate the app
- If you are using GemPages V6:
Select the Library button on the Toolbar.

Go to the Elements tab and search for “SEOAnt”. Toggle on the corresponding switch.
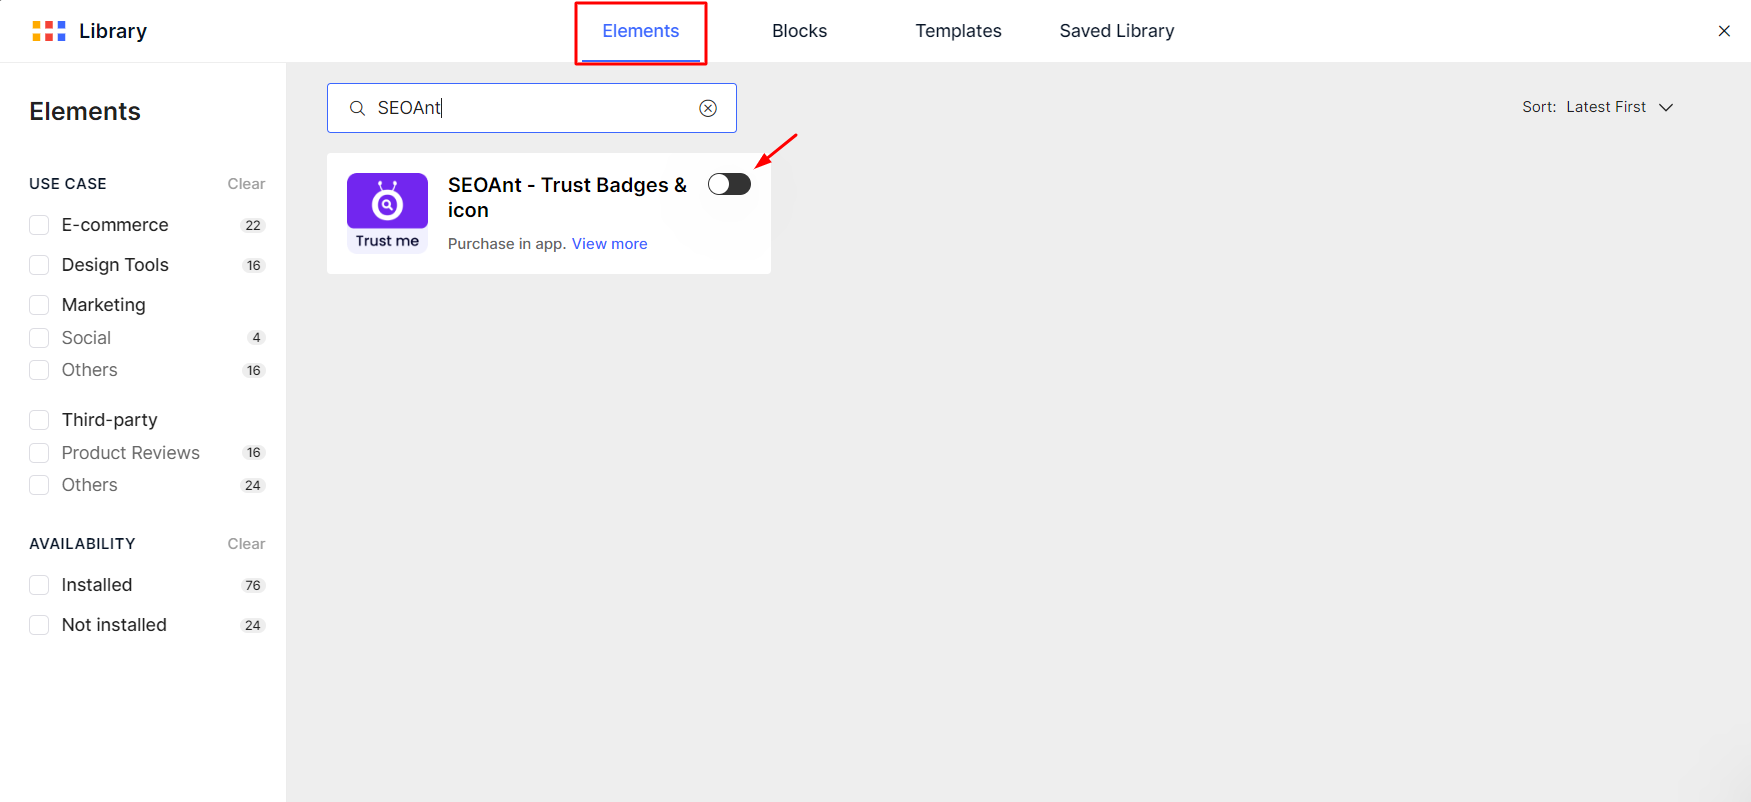
After that, you will find the SEOAnt – Trust Badges & Icon on the left sidebar of your Editor.
- If you are using GemPages V7
In Editor version 7, there’s no need to go through the above steps.
You’ll find the Trust Me – SeoAnt element conveniently located within the left sidebar of your editor, under the Shopify Apps category.
To quickly find the app, you can utilize the search bar and locate it in minutes.
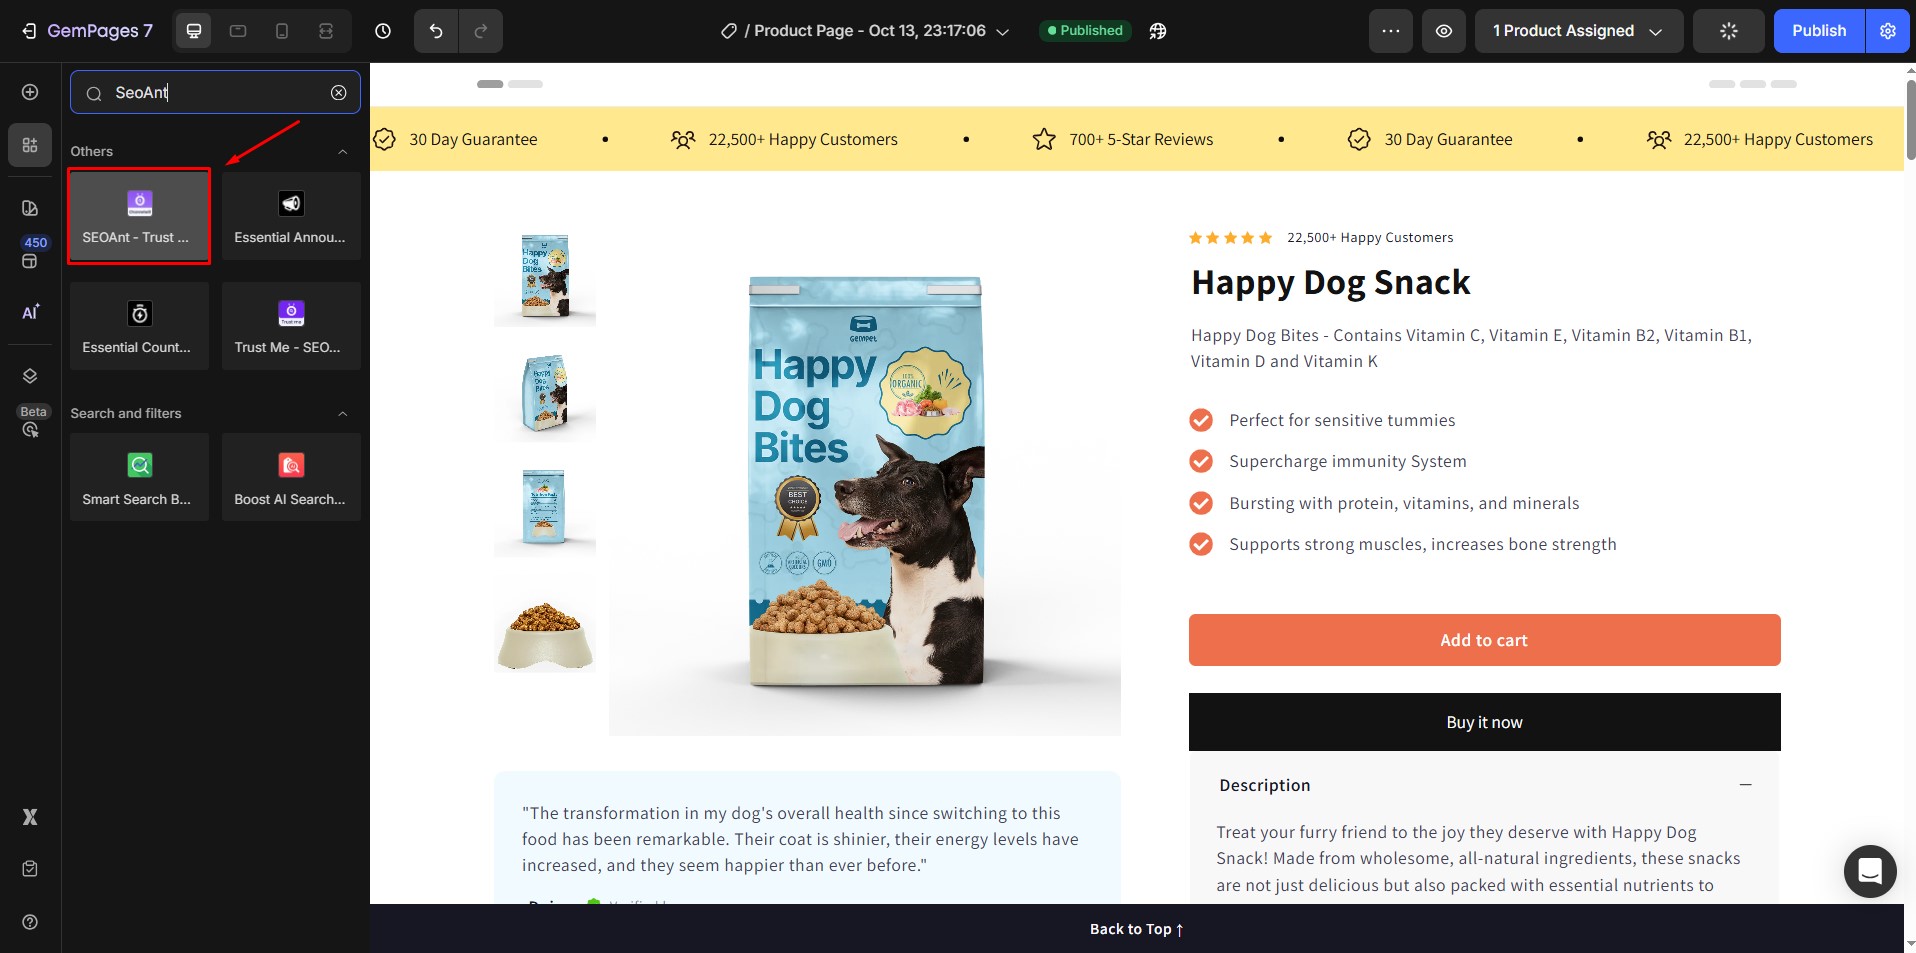
Step 3: Drag & drop the SEOAnt – Trust Badges & Icons element from the left sidebar to the desired area.
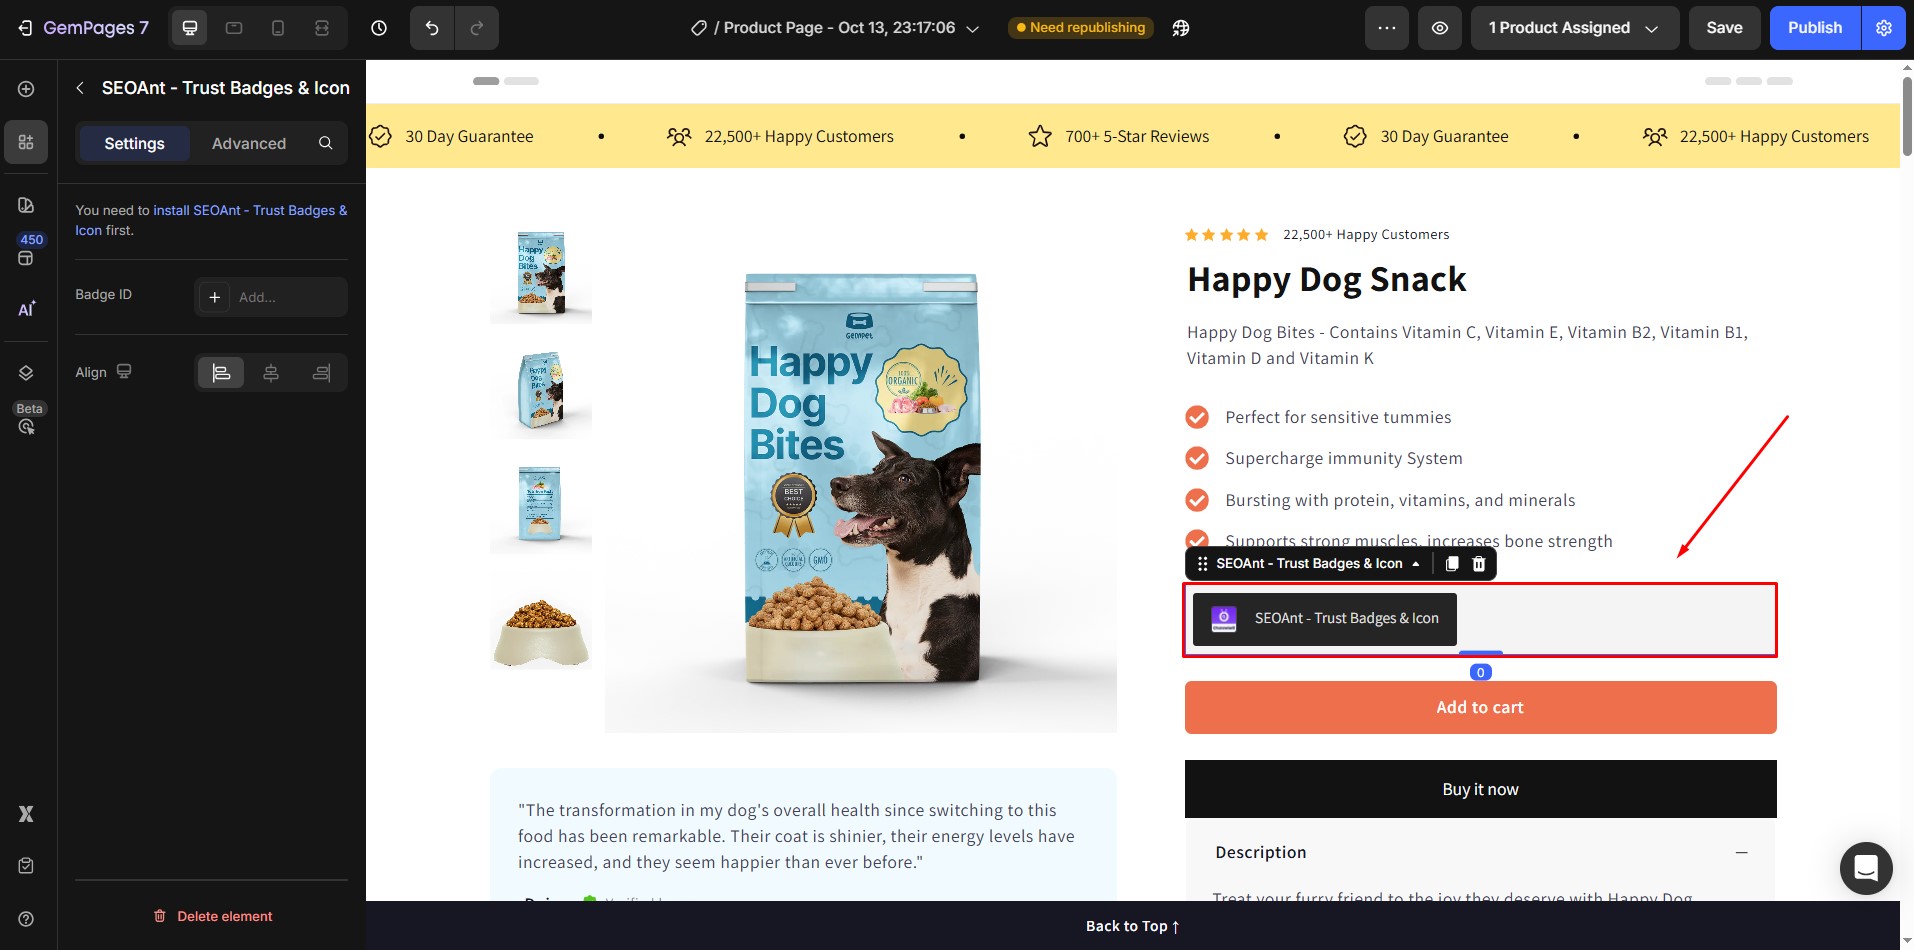
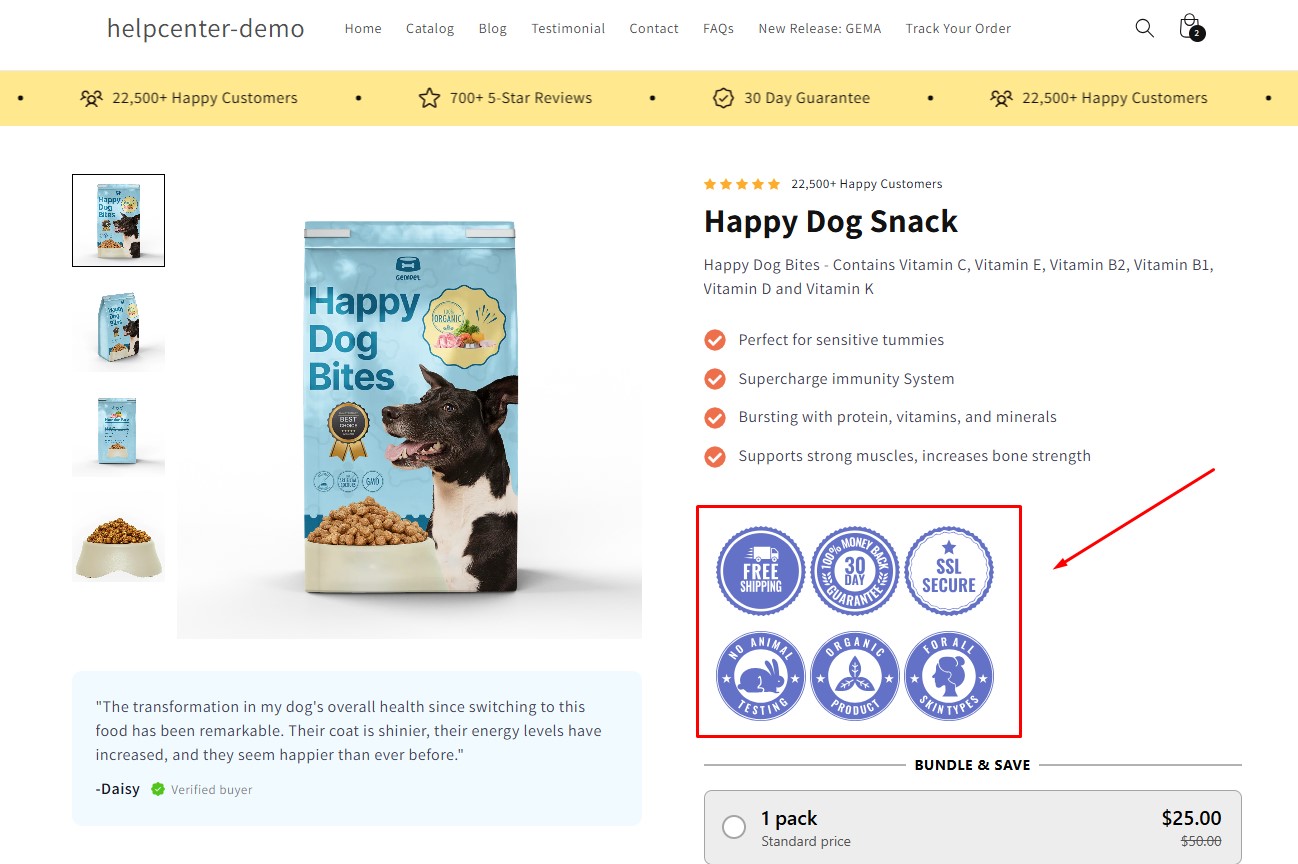
Don’t forget to Save and Publish and check how the trust badges look on your live page.


Thank you for your comments