


What is the Article List element?
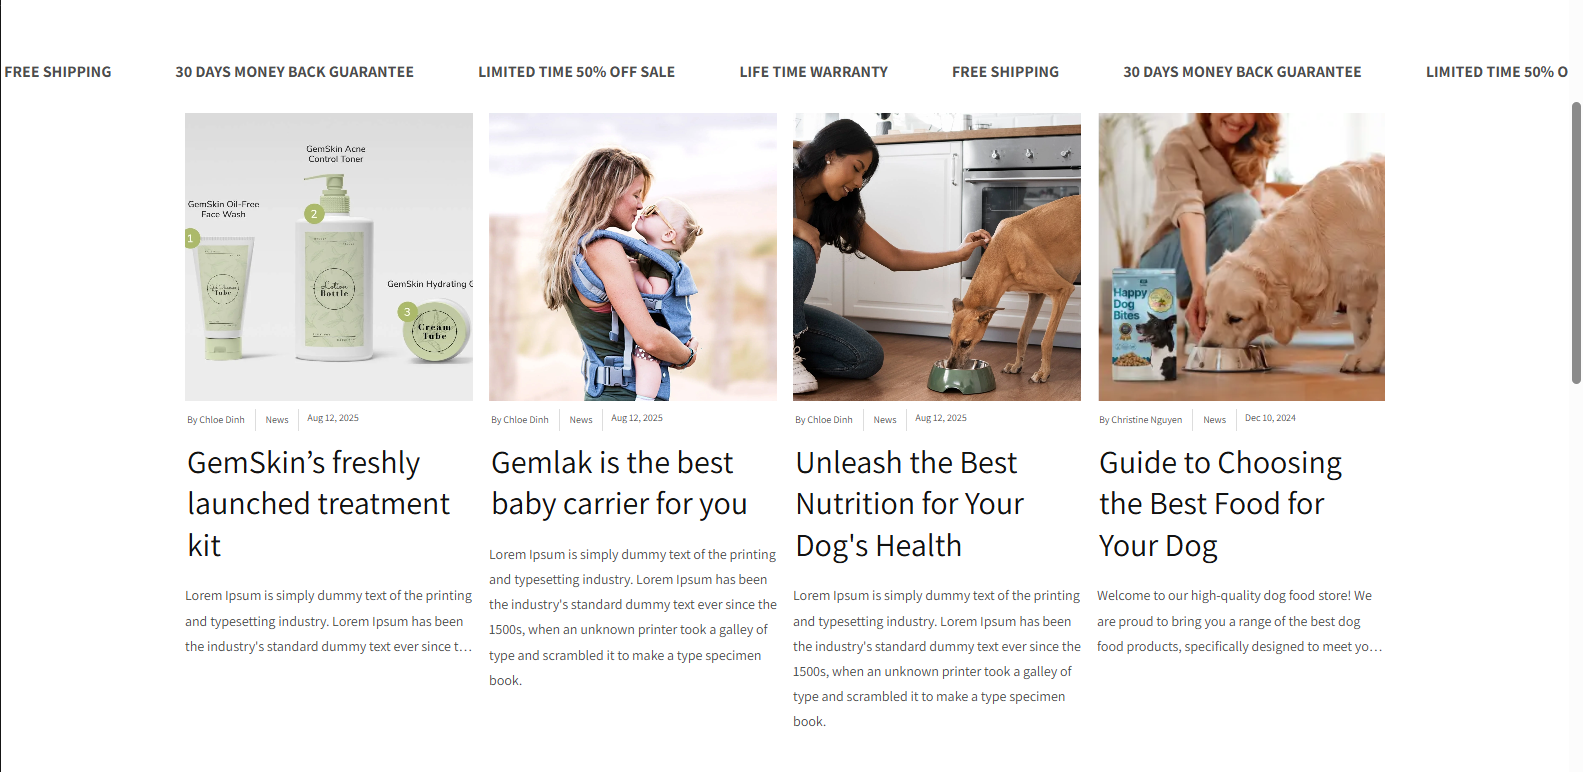
The Article List is a new element in GemPages Editor Version 7. It allows you to list one or multiple blog posts on one page.
This element helps you display your best content tailored to your target audience and conversion goals.
Now that the Article List element has been updated, you can use it in our GemPages Editor v7 to:
- Reduce your bounce rate: With more valuable content on your site, you are likely to keep potential customers a bit longer. Speaking of which, we advise that you display relevant content that serves their insights.
- Enhance current SEO efforts: Updating and displaying your latest articles helps to improve your rankings on search engines like Google. Higher rankings also mean greater traffic.
- Expand your brand awareness: Your brand identity should be consistently represented across multiple touchpoints, including your blog posts. Long-form content from blog sites is one of the best ways to tell your brand stories.
How to add the Article List element to your page?
Step 1: Access the GemPages Dashboard > Pages, then click on your target page to locate the editor.
Step 2: From the left sidebar, search for the Article List Element and drag & drop it to the preferred position on your page.
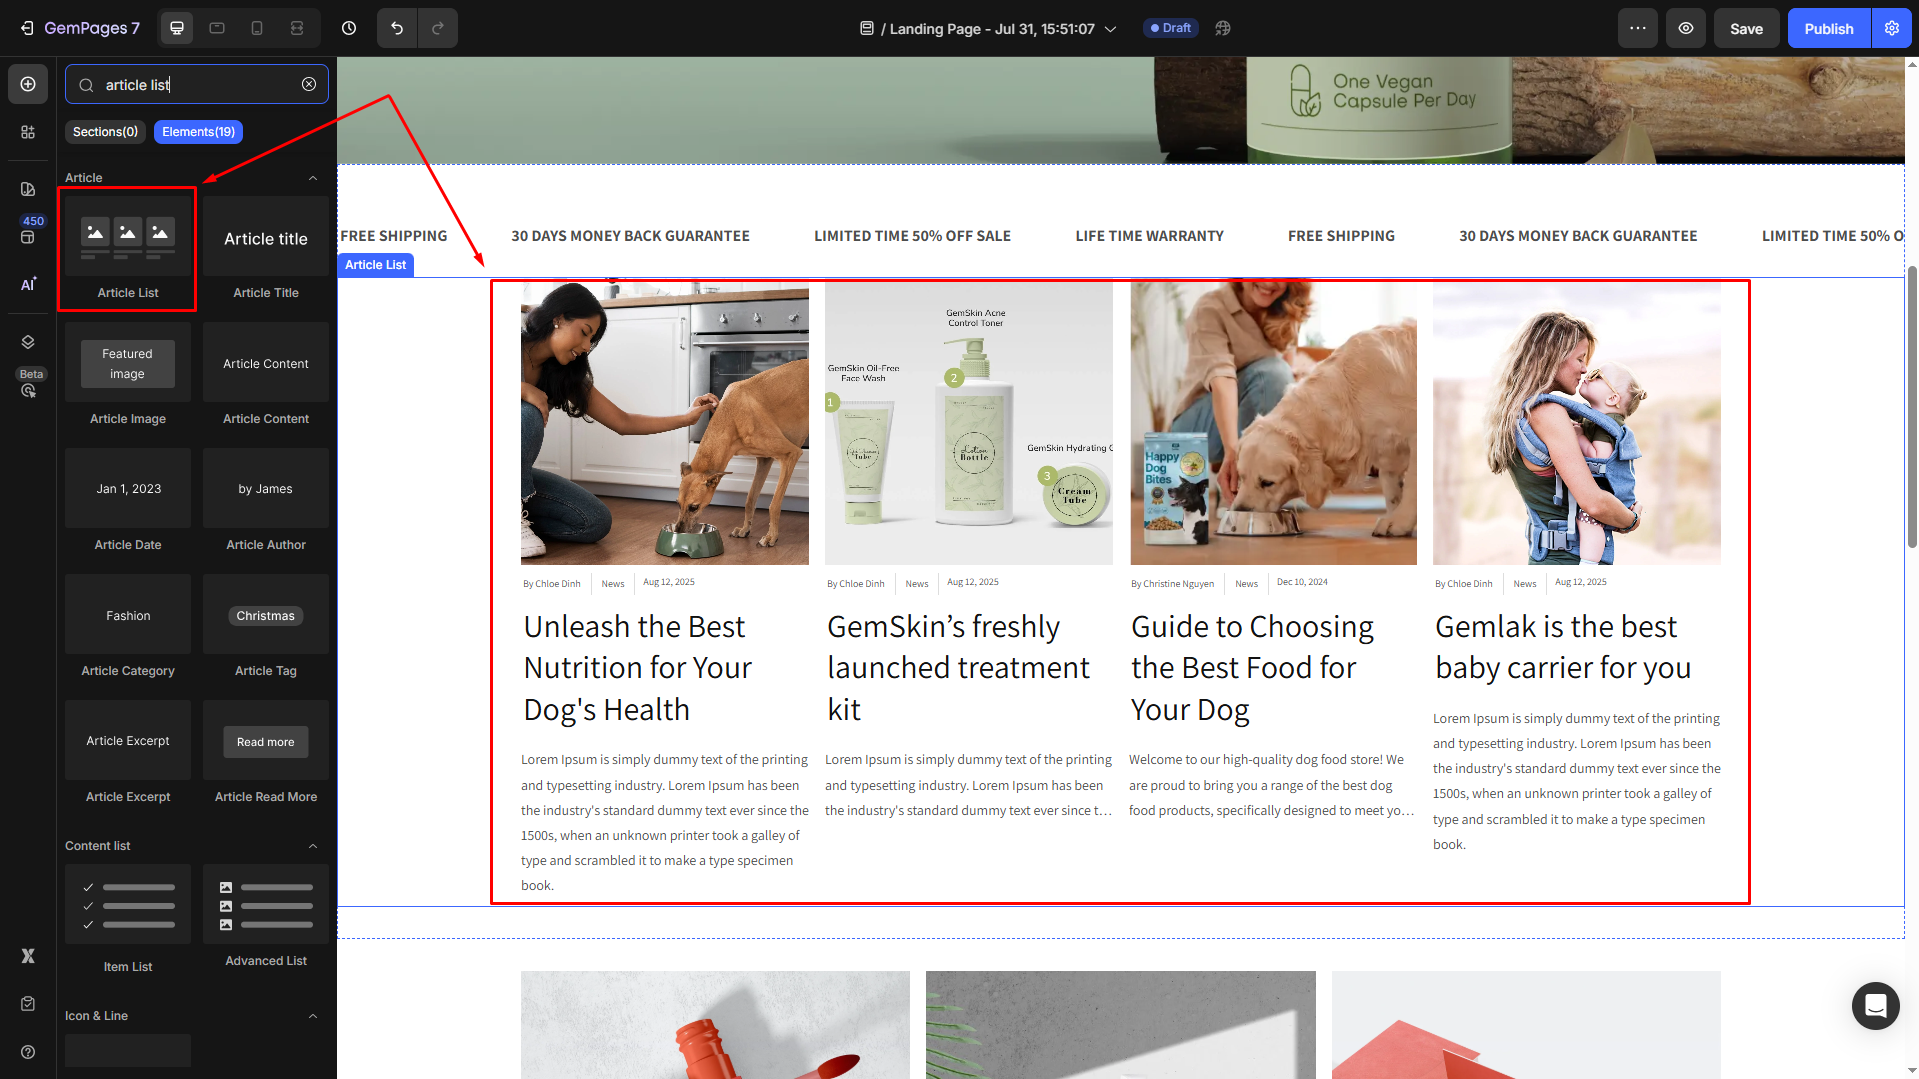
Step 3: Click on the element to open its settings for further customization.
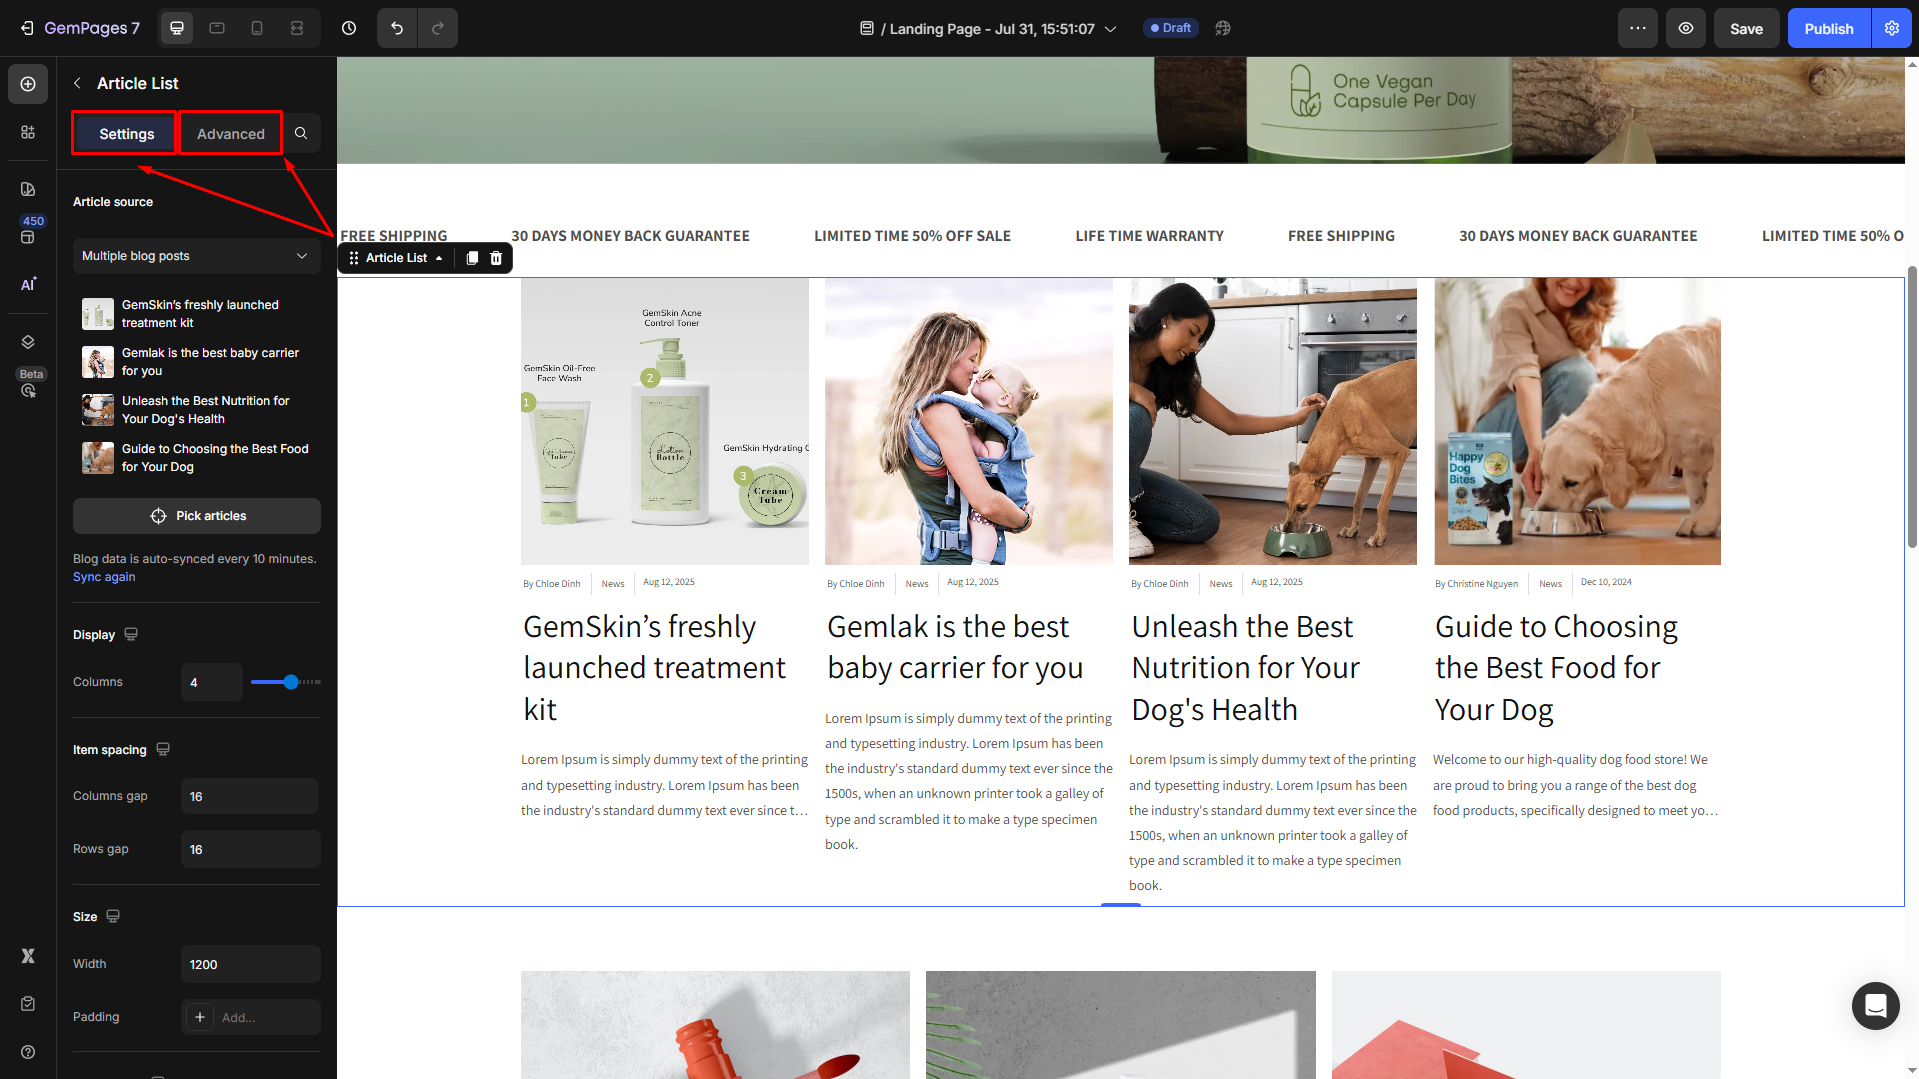
Configure the Settings tab
Under the Settings tab, you can customize the element’s visibility as you prefer.
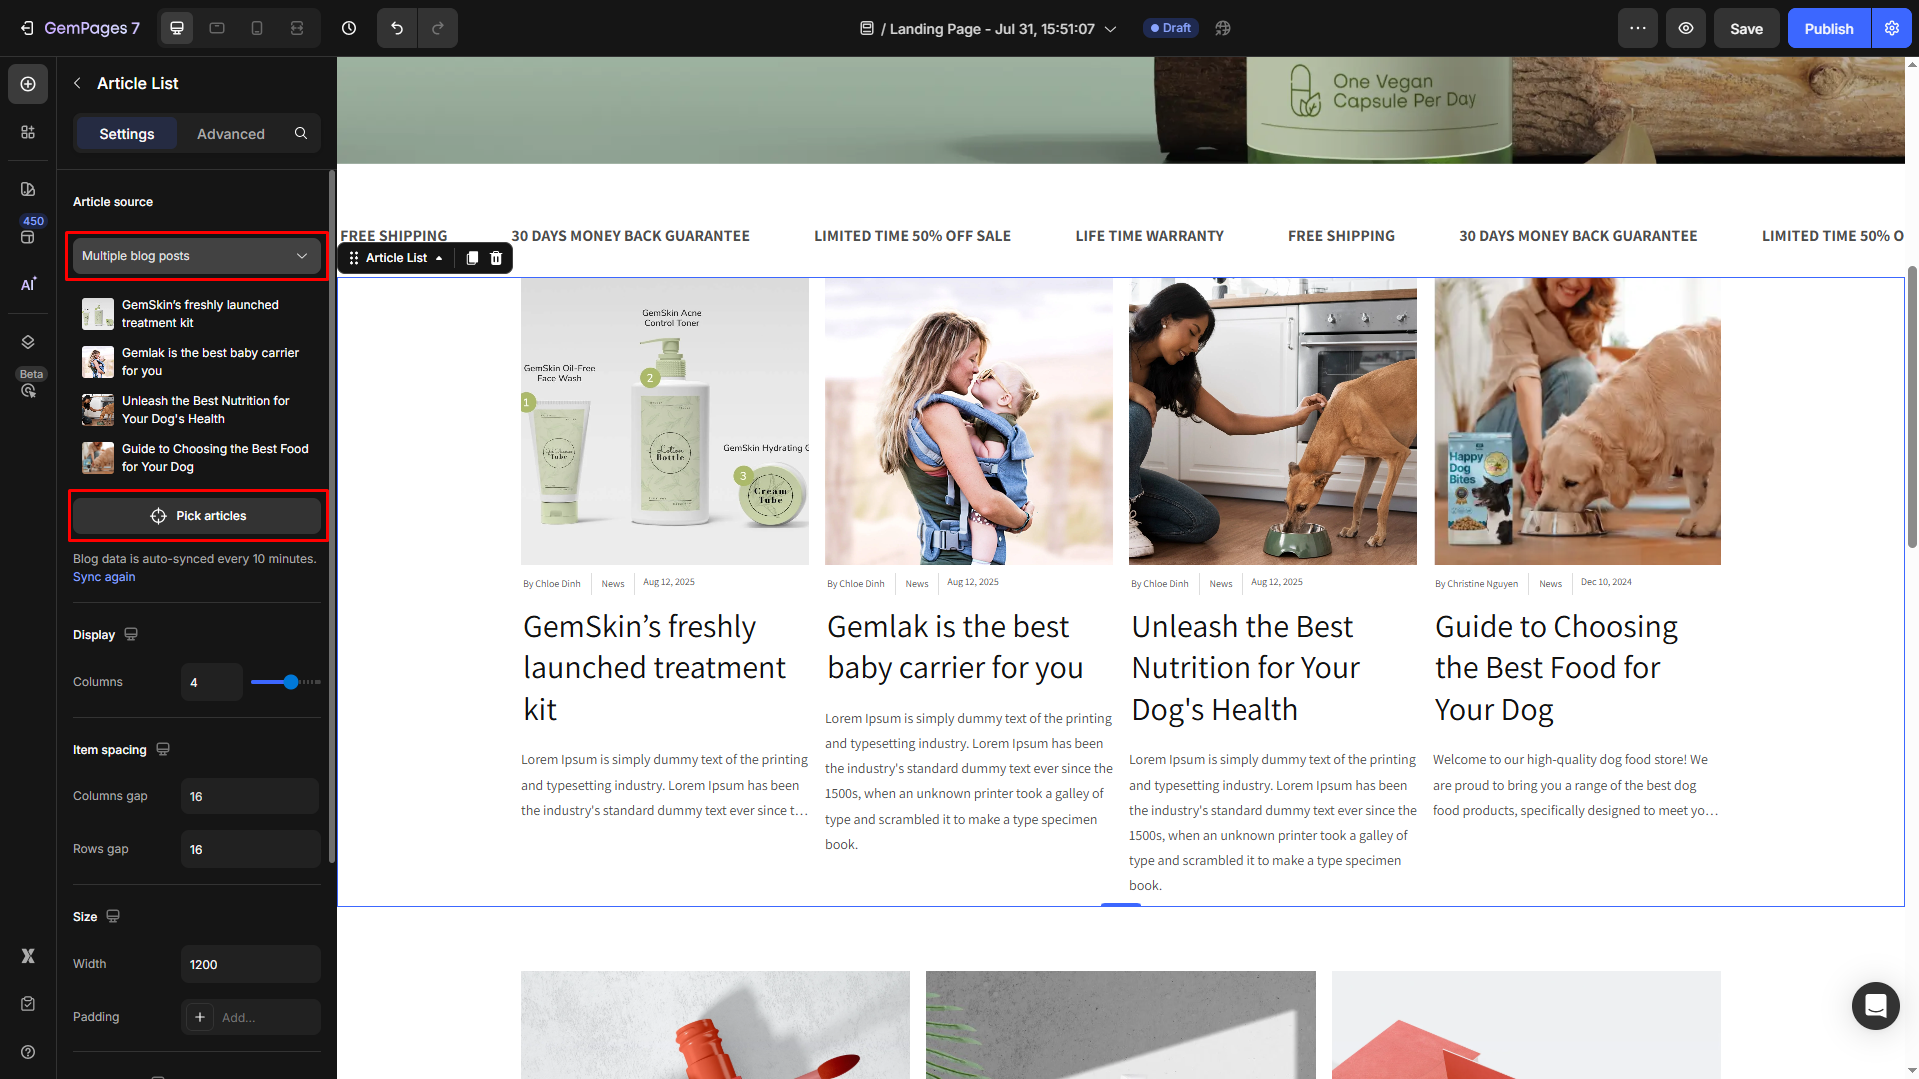
Article source
When adding the Article List element, you can choose to display multiple blog posts on your page and specifically pick which ones are visible on your page (Pick article).
If you don’t want to display multiple blog posts at the same time, you may opt for “A blog” and display one blog followed by another.
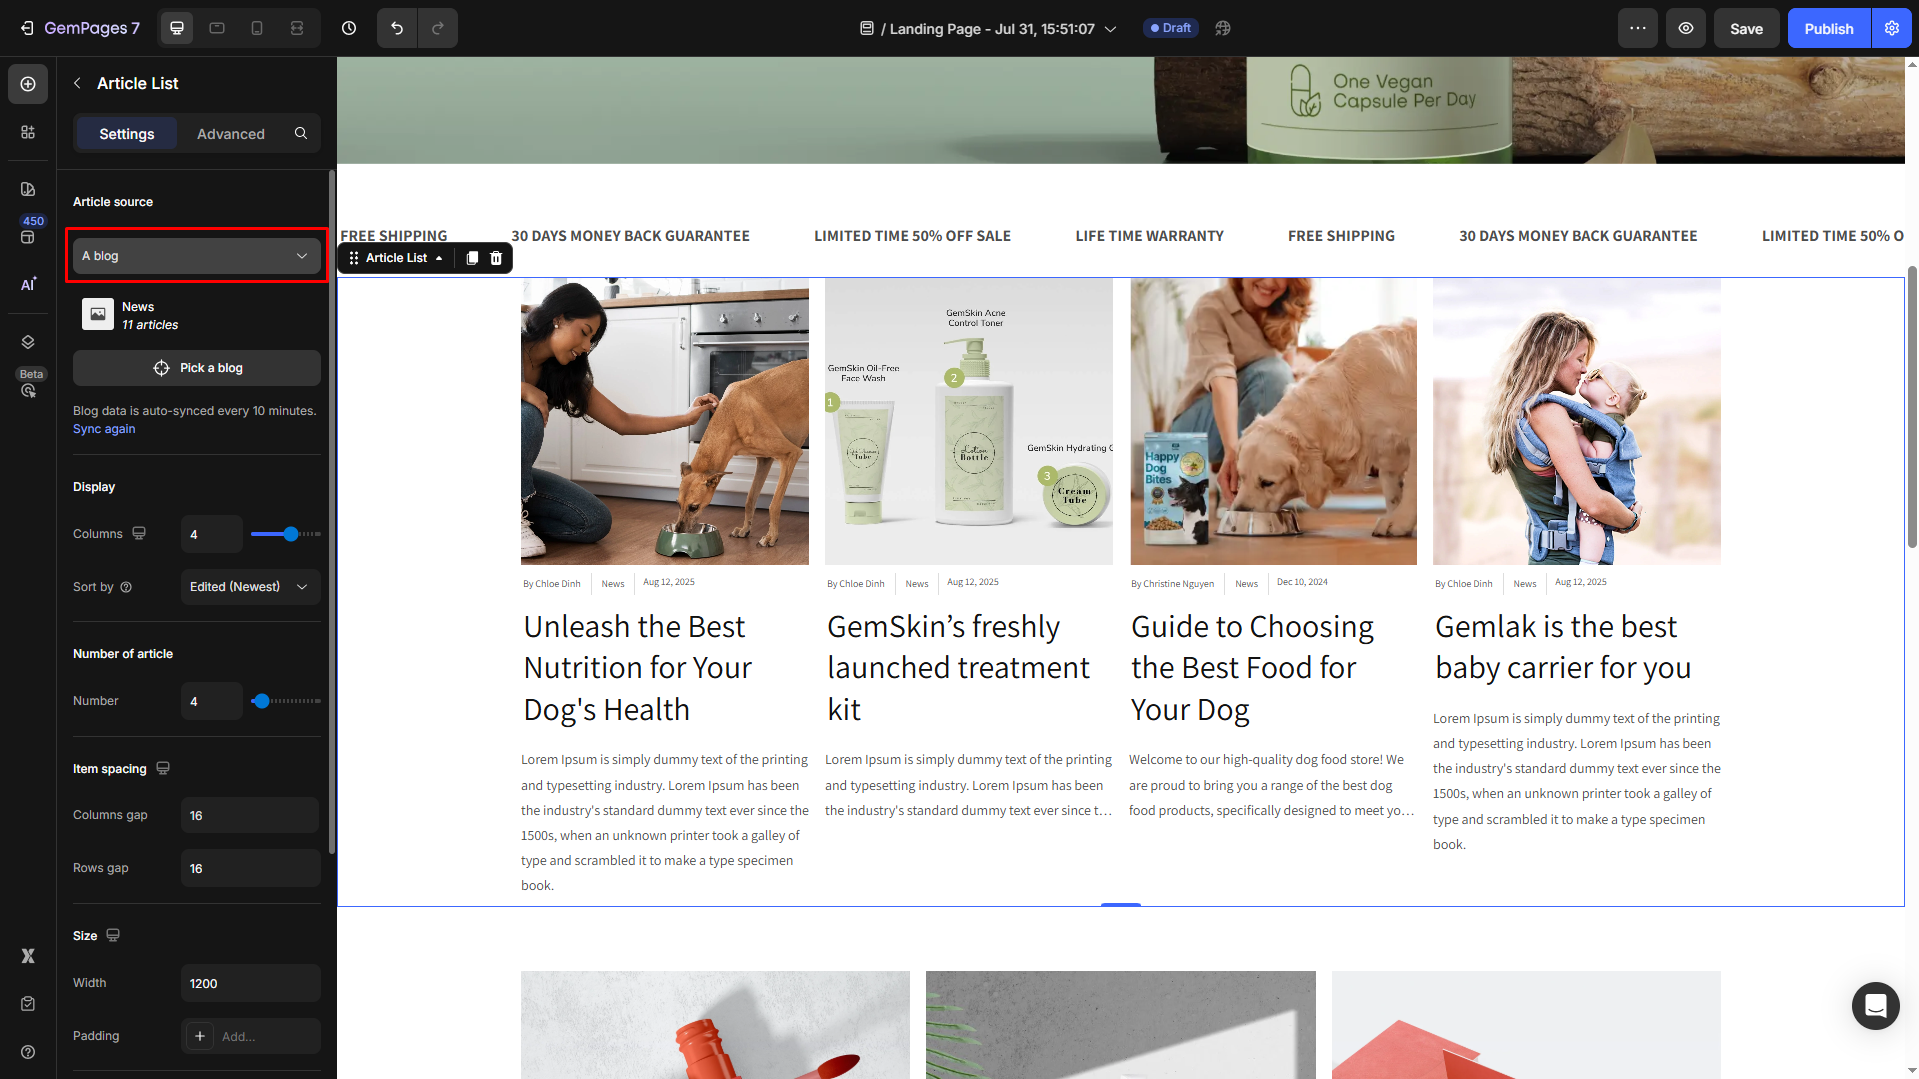
Note: Your blog posts on Shopify are synced every 10 minutes. If you want to sync instantly, simply click Sync again.
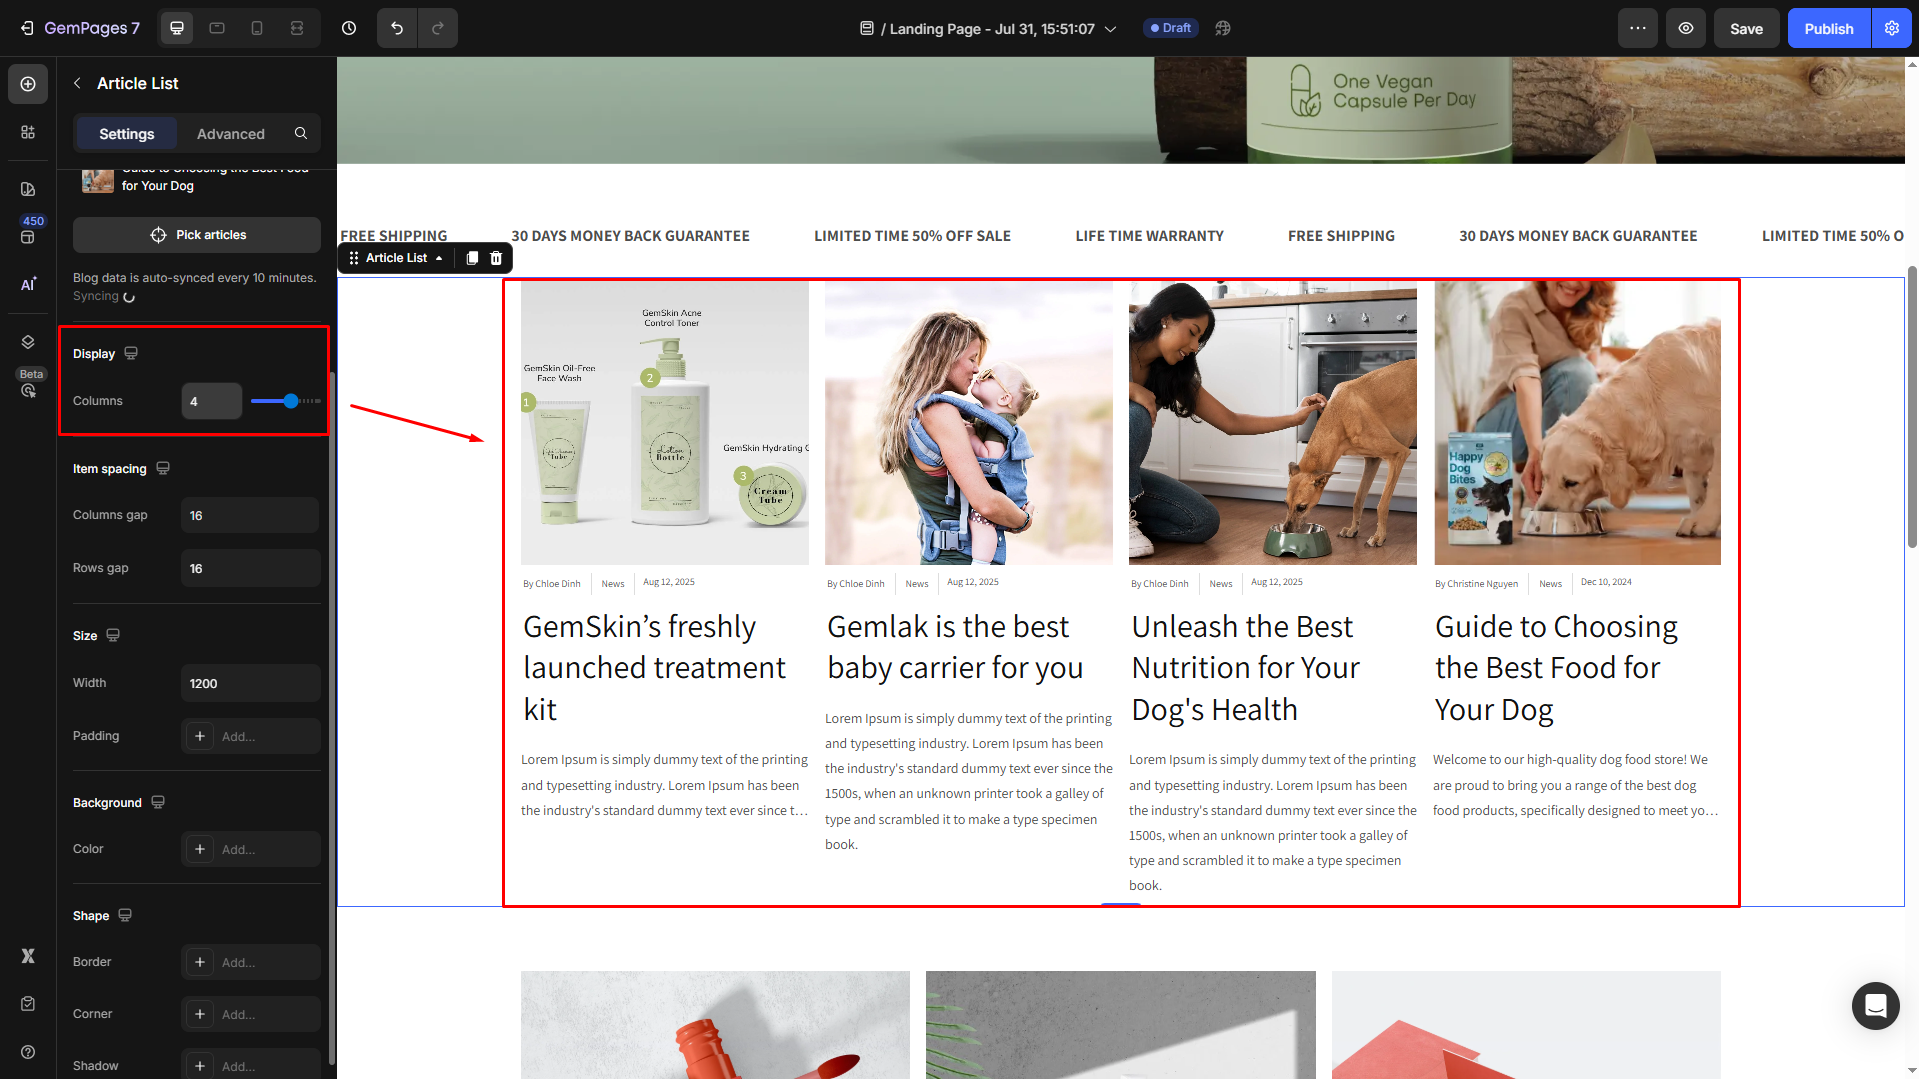
Display
The Article List element lets you choose to display from 1 to 6 articles in one row. Remember, one section may contain many article lists. Each article list may contain many rows.
Item spacing
- Column gap: Adjust the gap between columns if this section is divided into two or more columns (from 2 articles).
- Row gap: Adjust the gap between rows if this section is divided into two or more rows (from 4 articles).
Please note that the larger the column gap, the smaller the featured image of the blog post will appear.
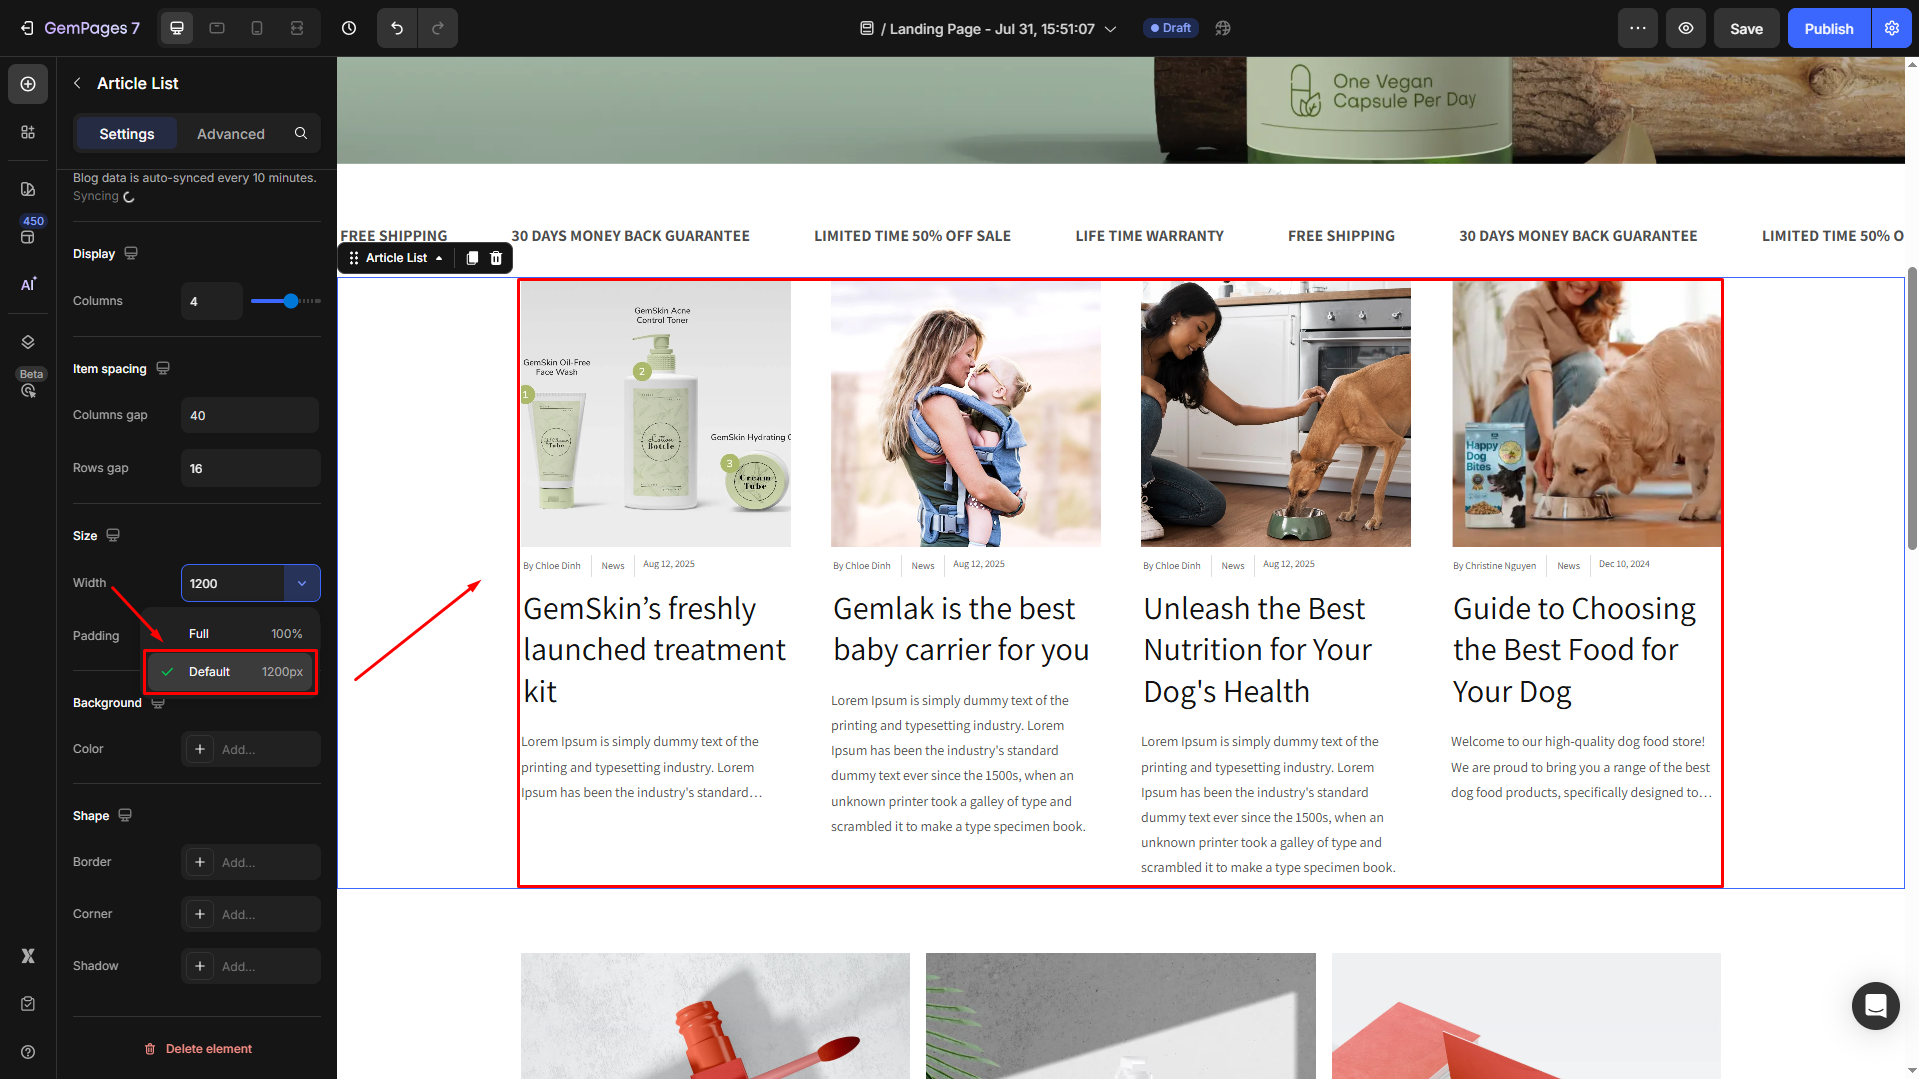
Size
This setting refers to element size. It means you can display the Article List element in one section as full width (100%), default width (1200 px), or customize its width according to your preferences.
If you set the width to Full:

If you set the width to Default:
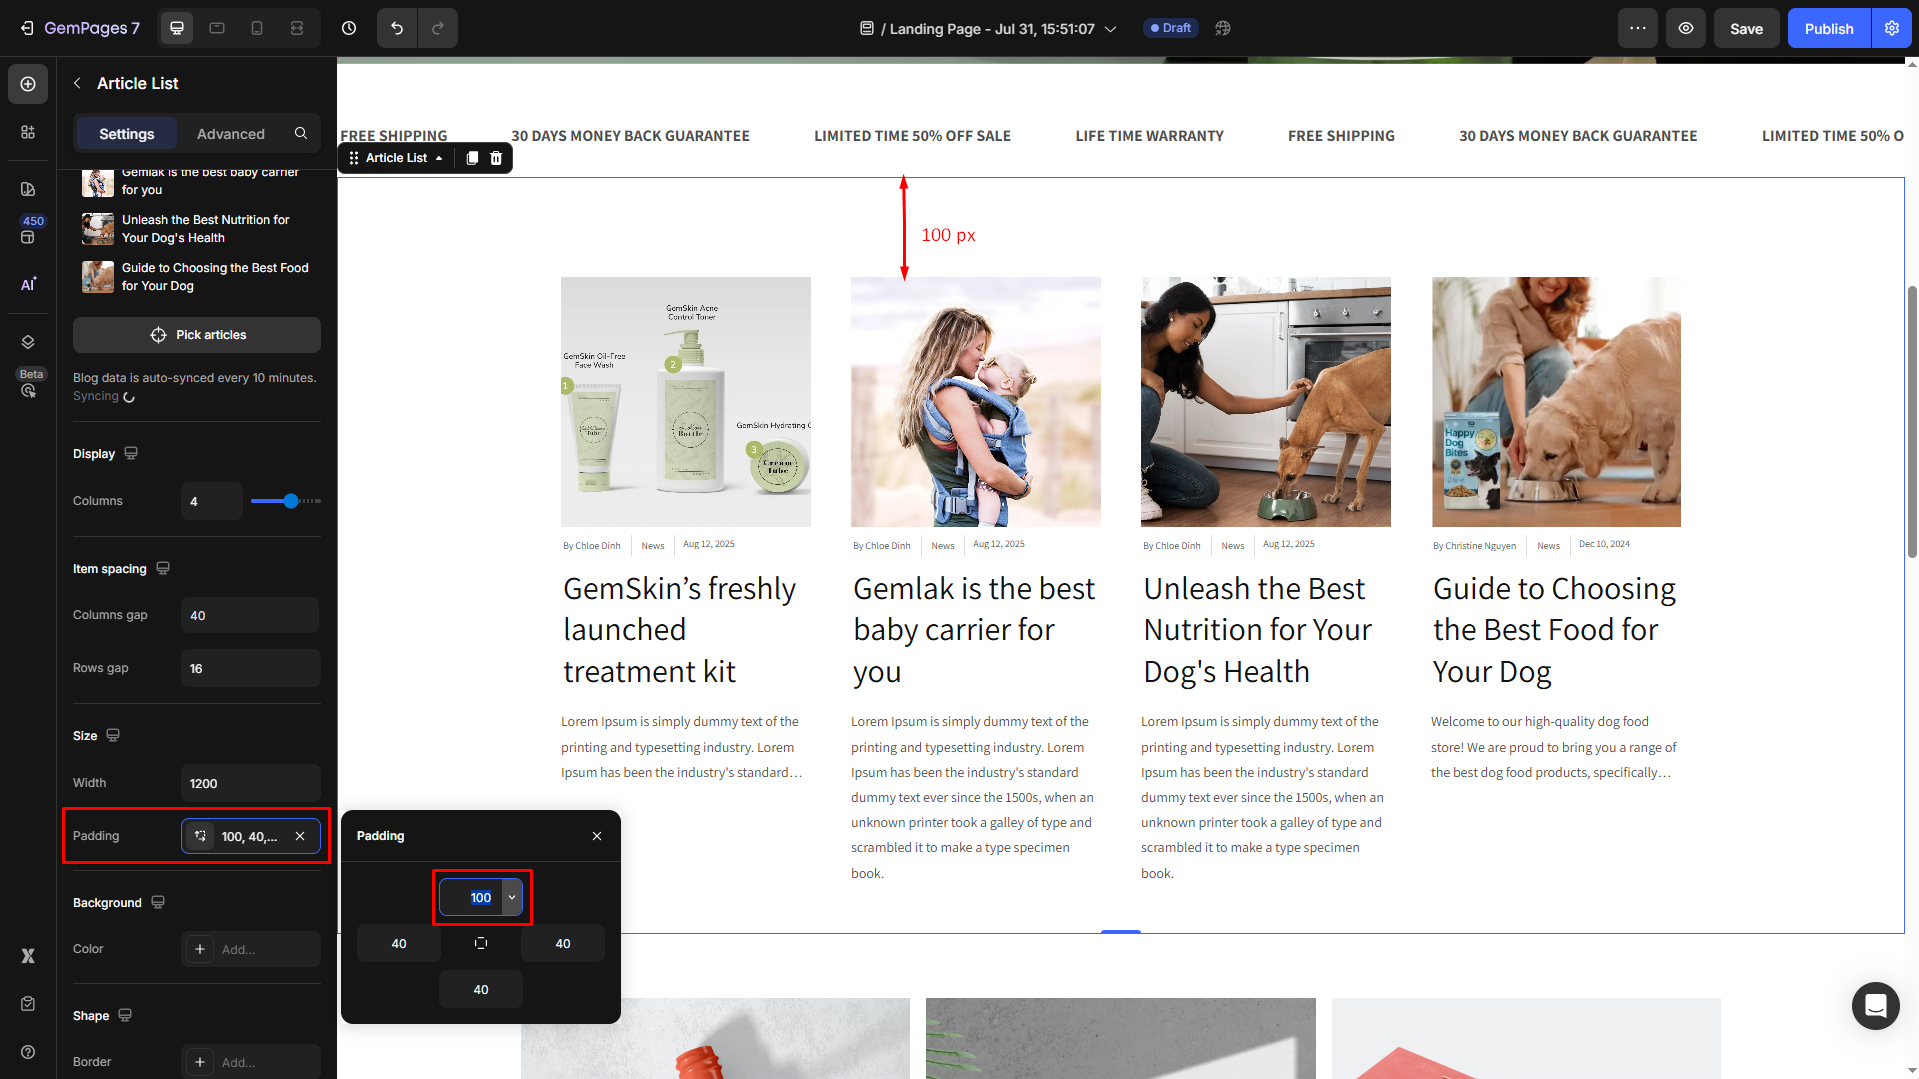
Also, adjust the padding as you prefer to ensure the best look for your Article List section.
Background
Change the background color of the entire section, based on your preferences, with this setting.
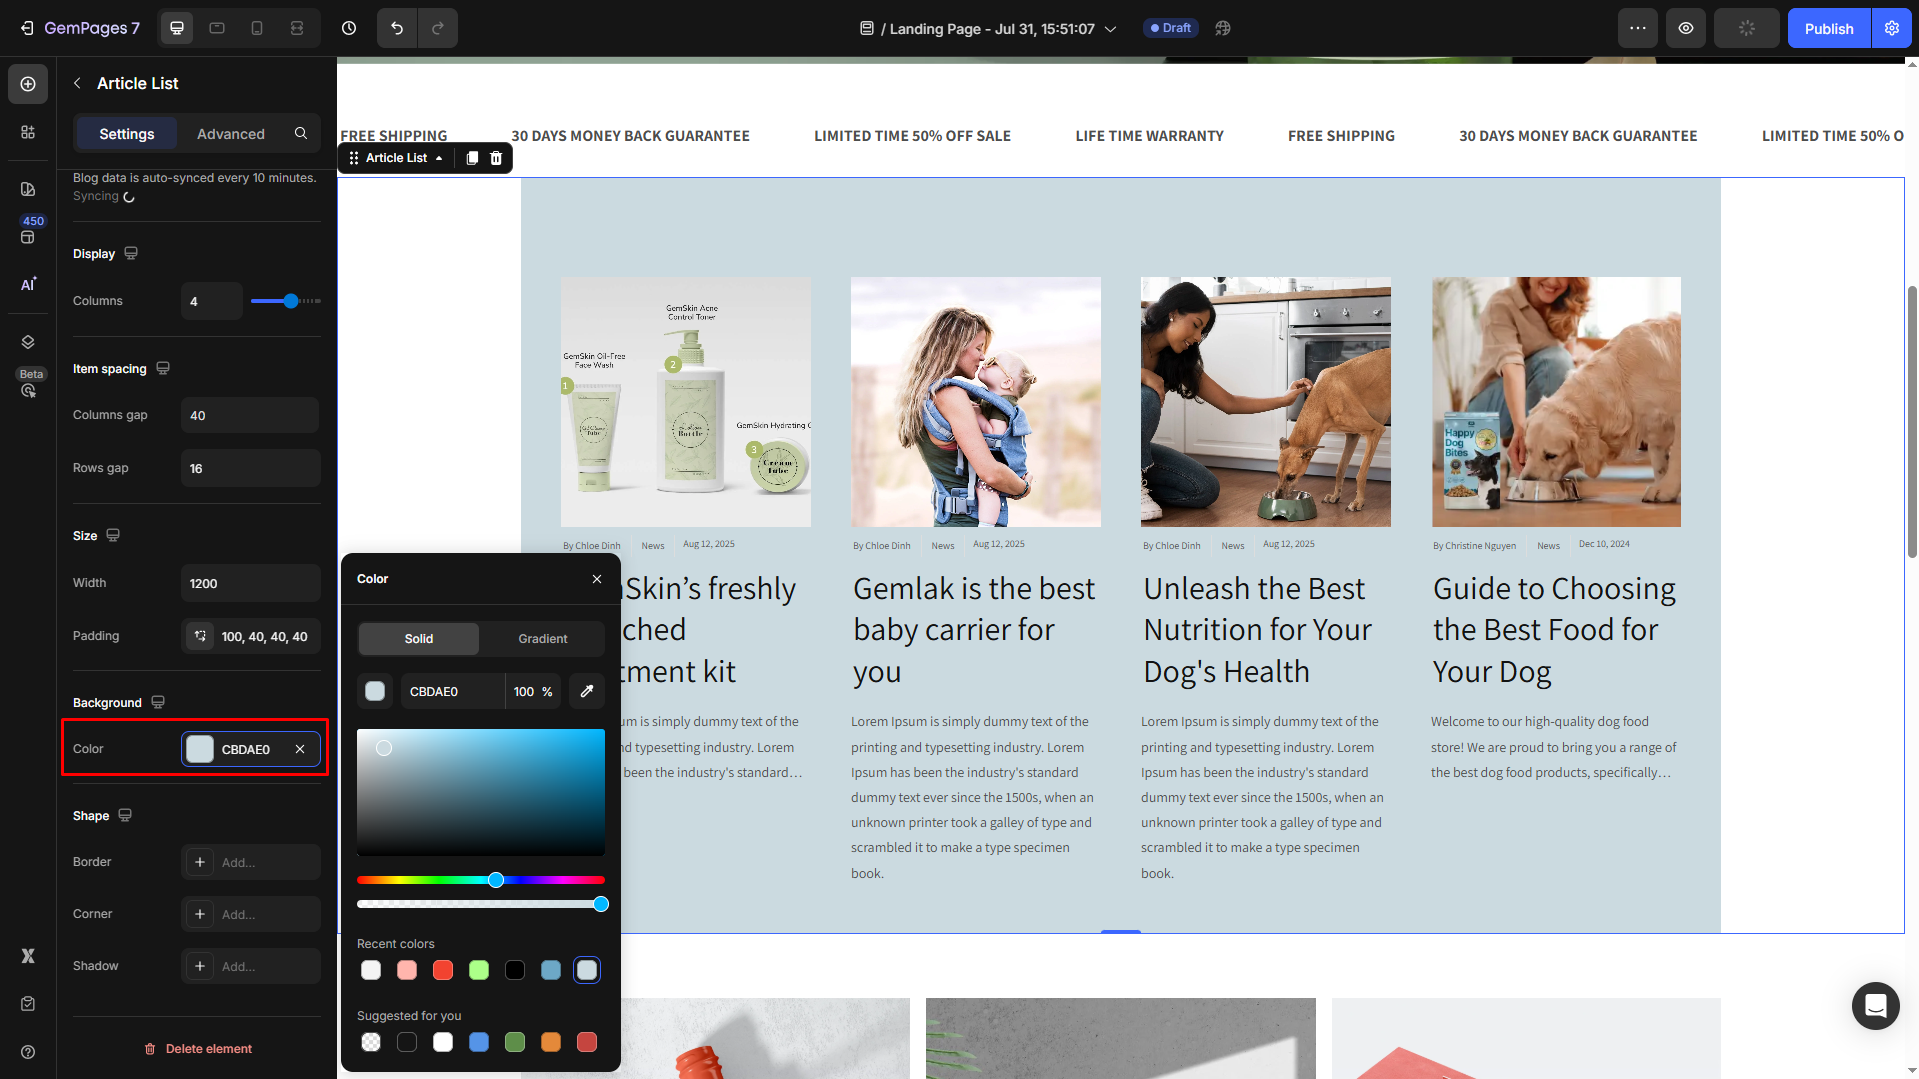
Enter a color code, choose from the color swatch, or use the color picker. You can also select a preferred color from the Recent colors and Suggested for you lists.
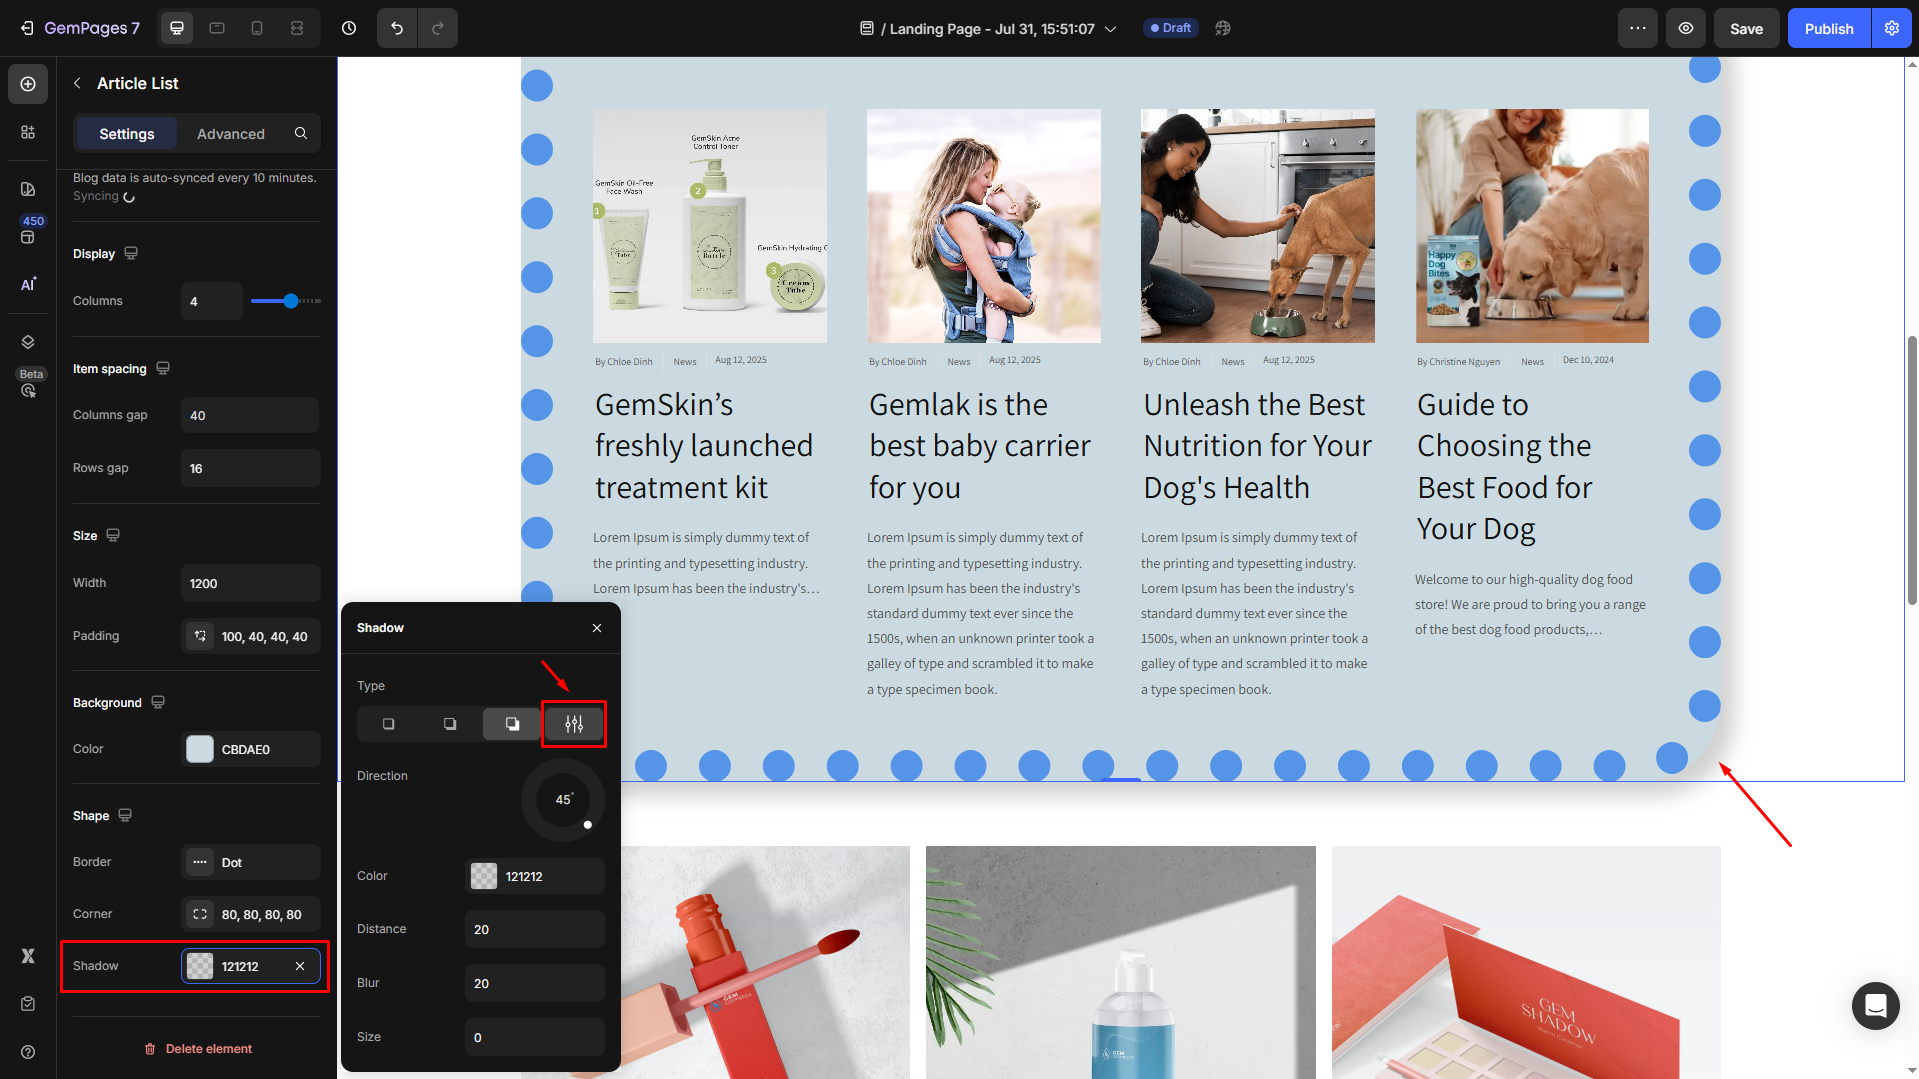
Shape
Shape settings are for the whole section that contains your Article List element.
- Border: You can change the border color, thickness, and stroke for your Article List section.

- Corner: The section corner can be square, rounded square, or round.

- Shadow: You may add a shadow of the Article List section and adjust the shadow display (size, color, blur, and distance)
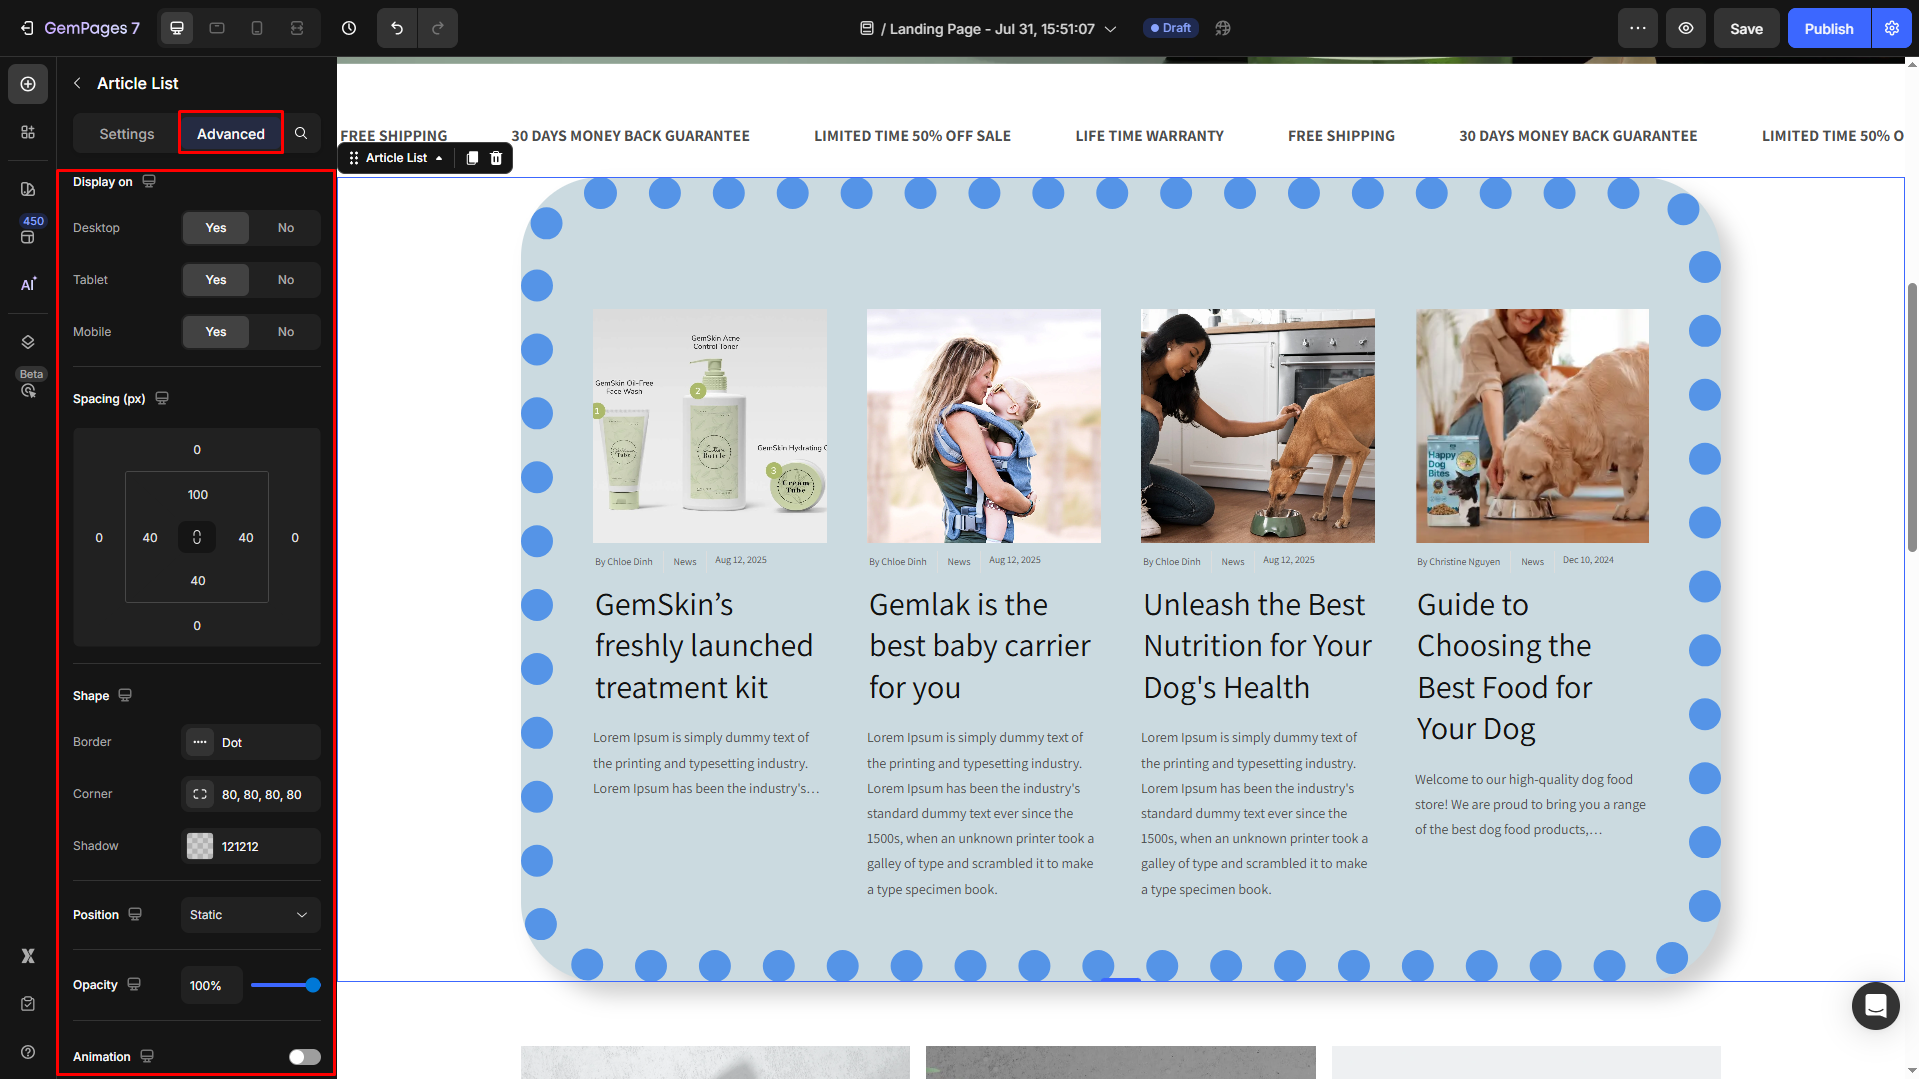
Configure the Advanced tab
For more advanced customization, please navigate to the Advanced tab and follow the instructions in this article.
For more advanced customization in GemPages Editor v7, please navigate to GemPages Academy to find more useful tips and video tutorials there.
FAQs
1. How do I change the blog preview image in GemPages?
Go to Shopify Admin > Blog posts > Featured image. Upload your desired image, then return to GemPages and click Sync again in the Article List settings.
2. My blog preview image isn’t updating. What should I do?
Check that you saved the image in Shopify’s blog post settings. Then refresh GemPages and hit Sync again to update.
3. Can I set different blog preview images for different pages?
No. The blog preview image is linked to the blog post itself in Shopify. Changing it will update the preview wherever that blog post appears.
4. What’s the best image size for a blog preview image?
We recommend 1200 x 628 px (landscape) in JPEG or WebP format for the best balance of quality and load speed.


Thank you for your comments