


What Is a Testimonial Page?
A testimonial page is a dedicated page on your website that showcases authentic reviews, stories, and endorsements from real customers. It’s a powerful form of social proof that builds trust and influences purchasing decisions.
Why You Need a Testimonial Page on Shopify
- Builds Trust and Credibility: Real customer experiences validate your product’s quality and reliability.
- Boosts SEO: User-generated content with relevant keywords enhances search engine rankings.
- Increases Conversion Rates: Testimonials address potential customer concerns, encouraging them to make a purchase.
- Provides Valuable Feedback: Customer insights can guide product improvements and business strategies.
Key Elements of a High-Converting Testimonial Page
To maximize the impact of your testimonial page, consider including:
- Customer Details: Include names, photos, and locations to add authenticity.
- Product-Specific Feedback: Organize testimonials by product or service for targeted credibility.
- Ratings and Reviews: Display star ratings and detailed reviews to provide comprehensive insights.
- Call-to-Action (CTA): Encourage visitors to share their experiences or explore products.
How to Create a Testimonial Page with GemPages
GemPages gives you two flexible options to design your testimonial page: using the Image-to-Layout AI tool or pre-made templates.
Option 1: Use the Image-to-Layout Feature
GemPages’ AI-powered Image-to-Layout feature allows you to generate editable layouts from images or URLs.
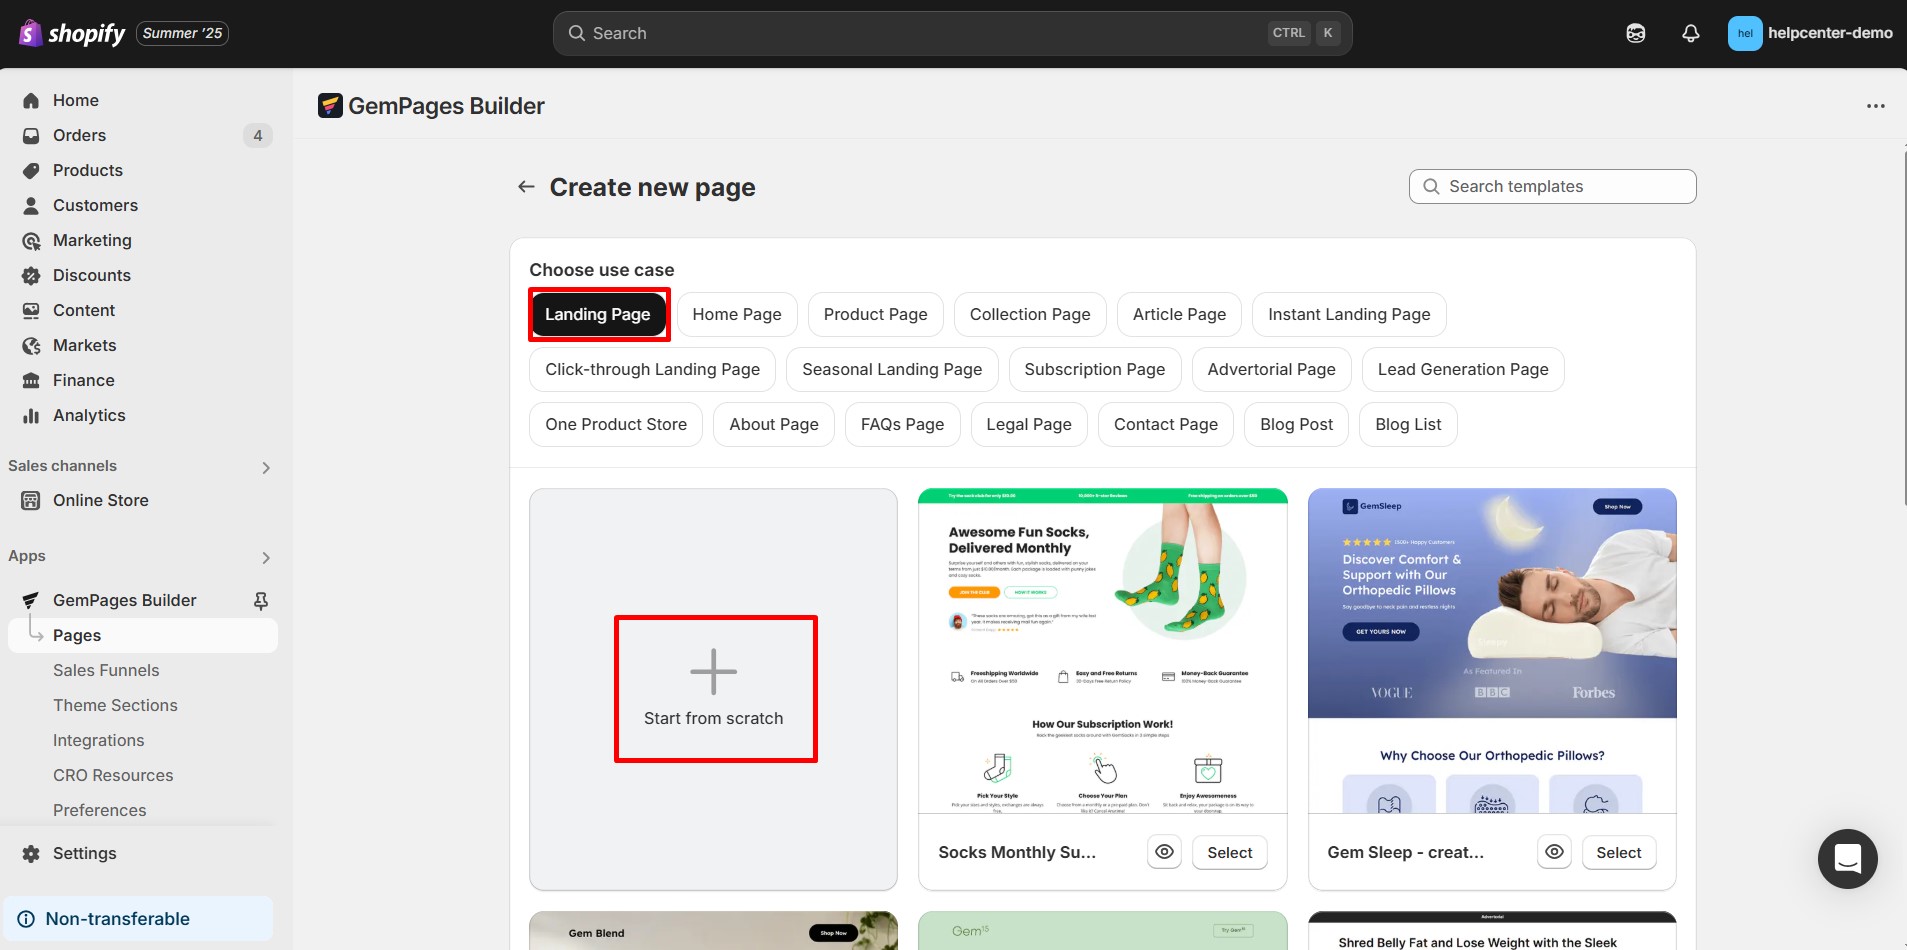
Step 1: In your GemPages dashboard, click “Create New Page”. Choose “Landing Page”, then select “Start from scratch”.
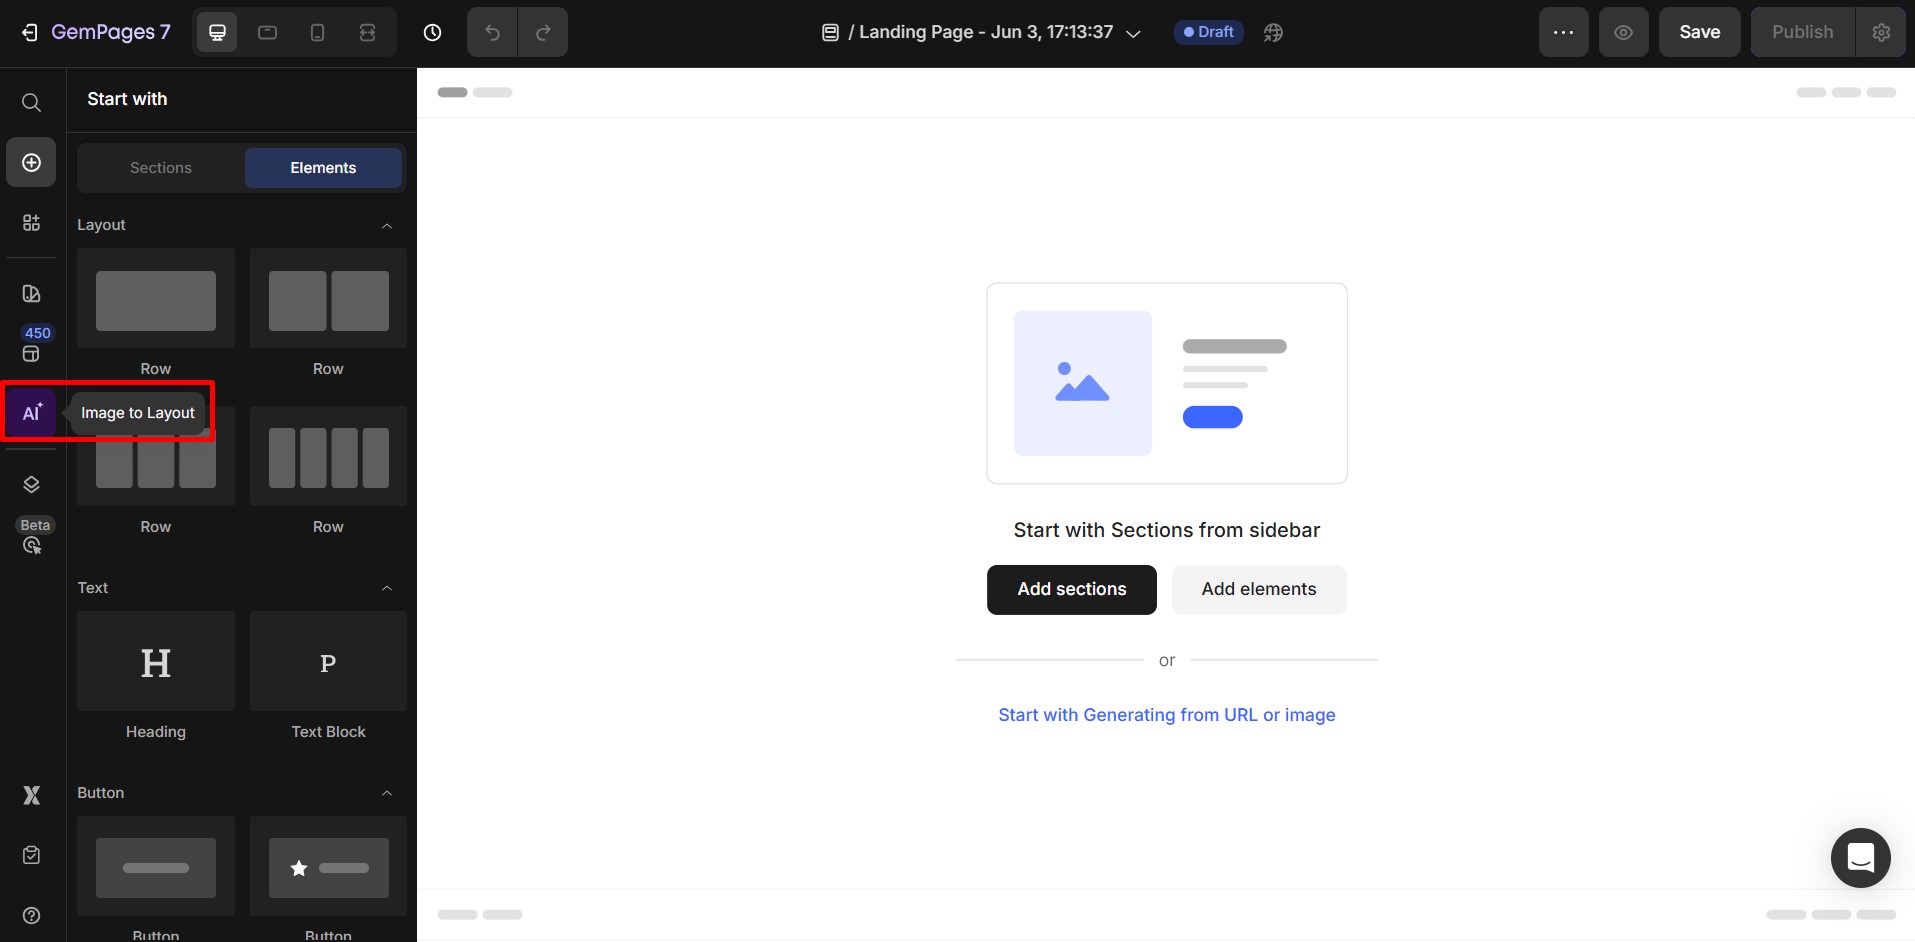
Step 2: In the editor, find the left-side panel and click the Image-to-Layout icon.
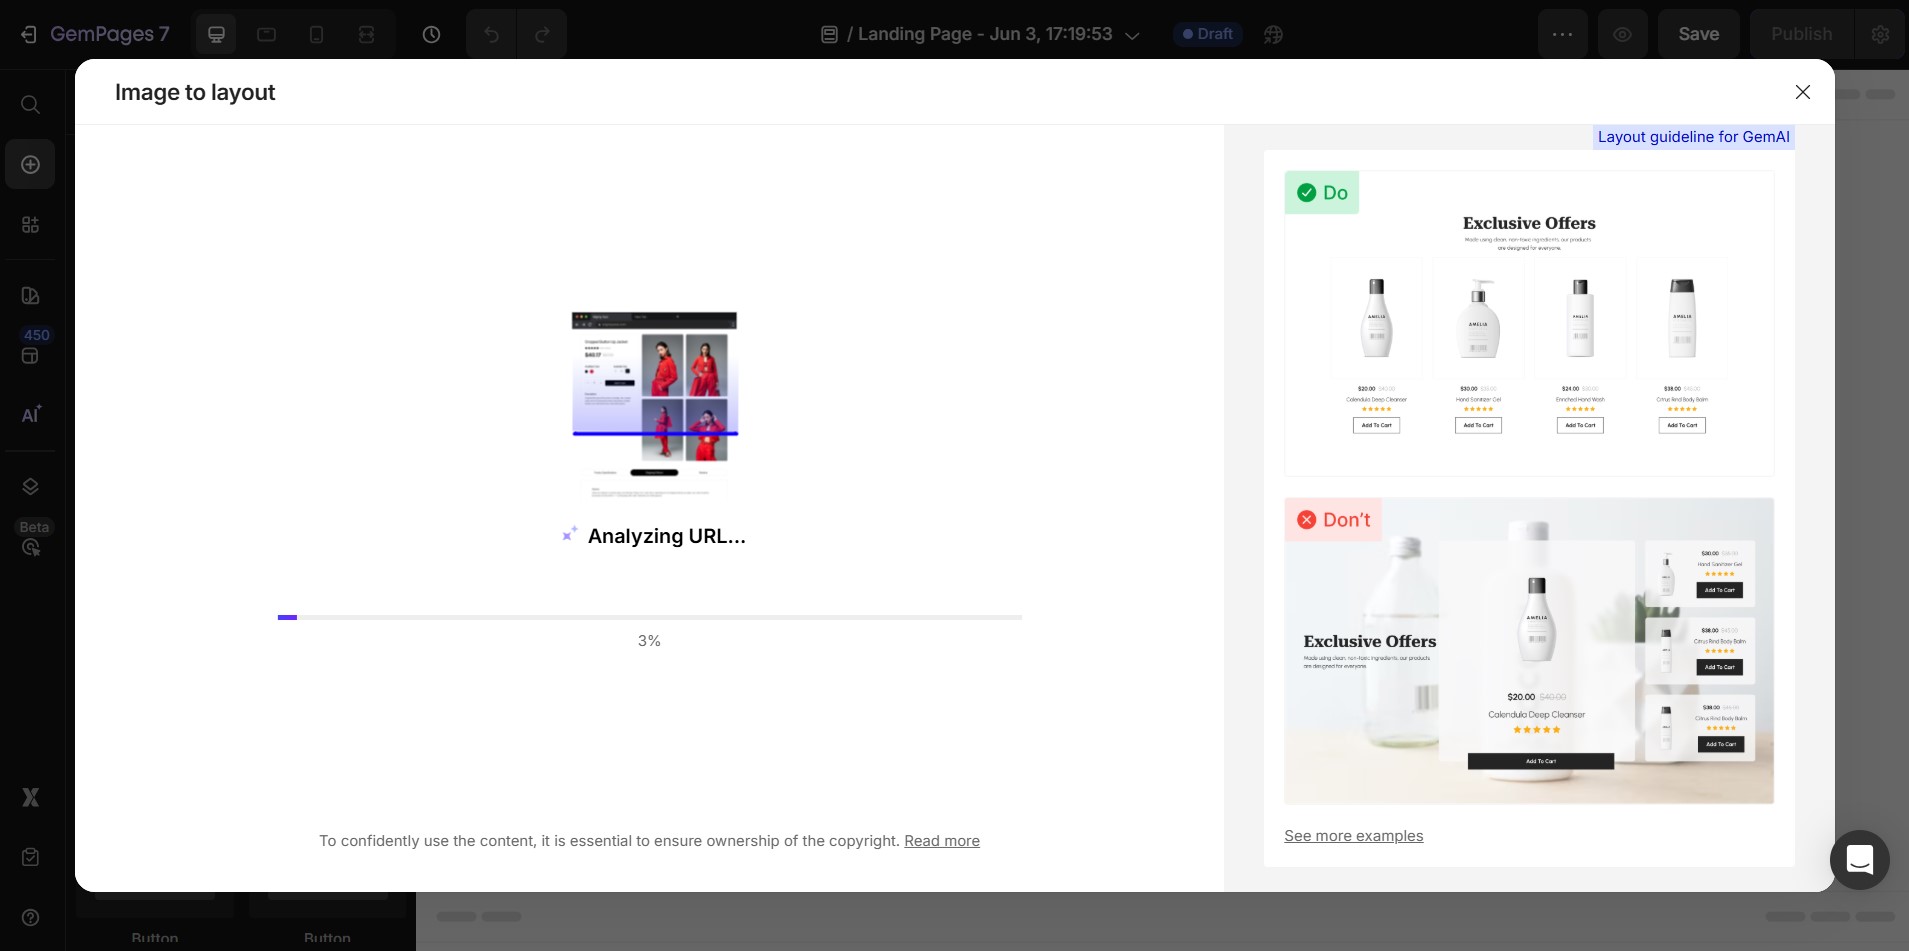
Step 3: Upload a reference image or paste a URL of a testimonial page you admire.
GemPages will generate a customizable layout based on the reference.
 Step 4: Click to select the layout sections you want to keep. When you’re ready, click “Generate”.

Step 5: Replace placeholder content with your customer testimonials, images, and brand elements.
Option 2: Use Pre-Made Templates
GemPages offers a variety of pre-designed templates tailored for testimonial pages.
Step 1: Go to your GemPages dashboard and click “Create New Page”. Select “Landing Page”, then click “Start from scratch”.
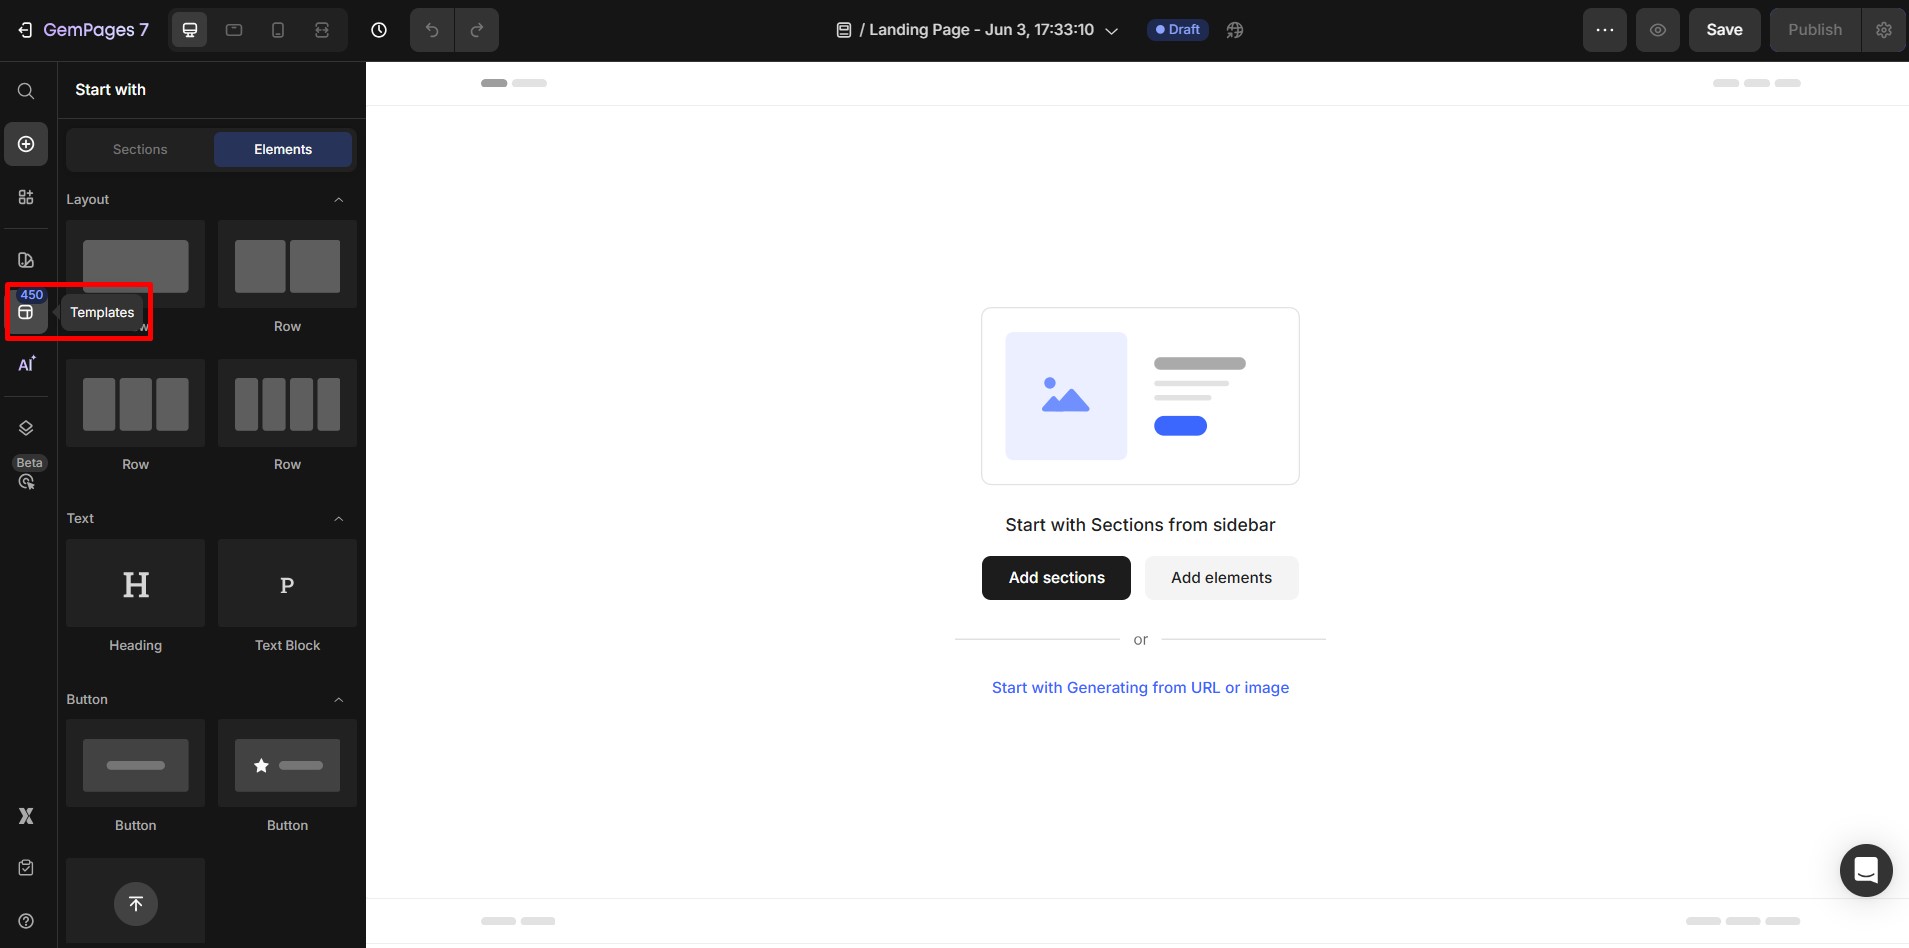
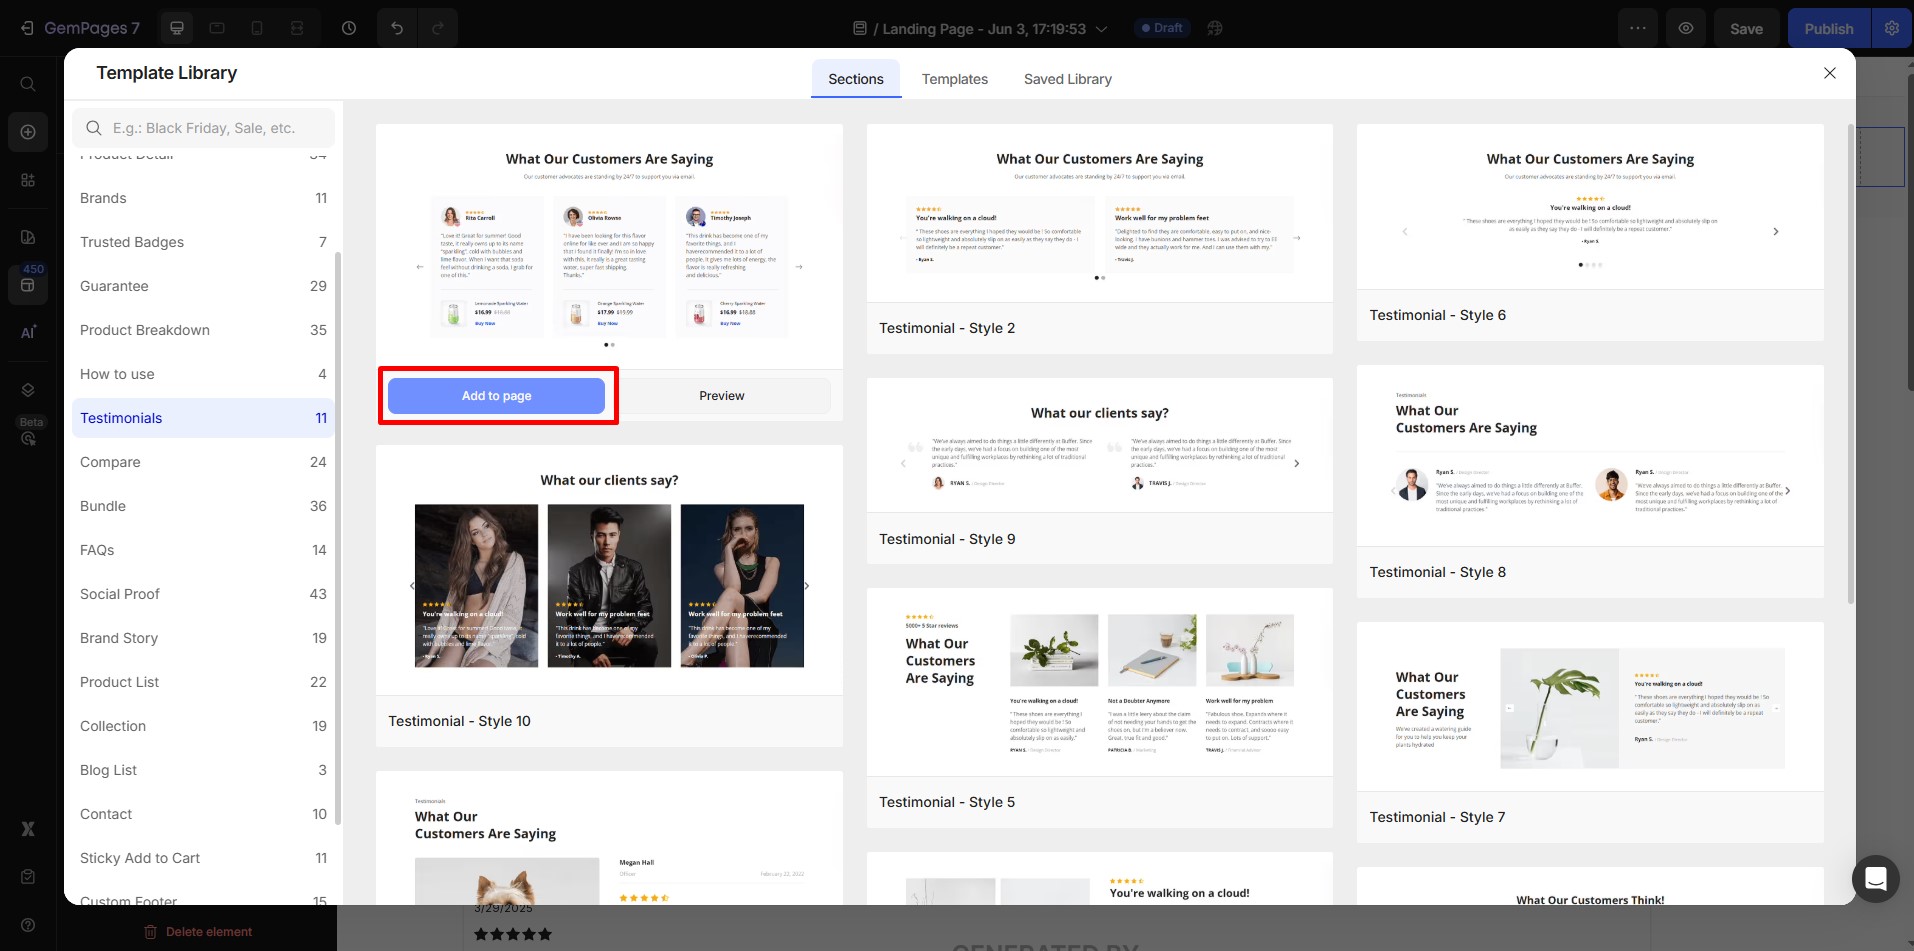
Step 2: Click on “Explore Template” to view available designs.
Step 3: In the template library, filter by “Testimonial” to narrow down relevant options.

Step 4: Select a design that fits your brand and click “Add To Page”.
Step 5: Replace the demo content with your customer testimonials, visuals, and brand colors. Once complete, save and publish your page.
How to Link the Testimonial Page to the Navigation Menu
Make sure your testimonial page is easy to find by adding it to your store’s navigation menu.
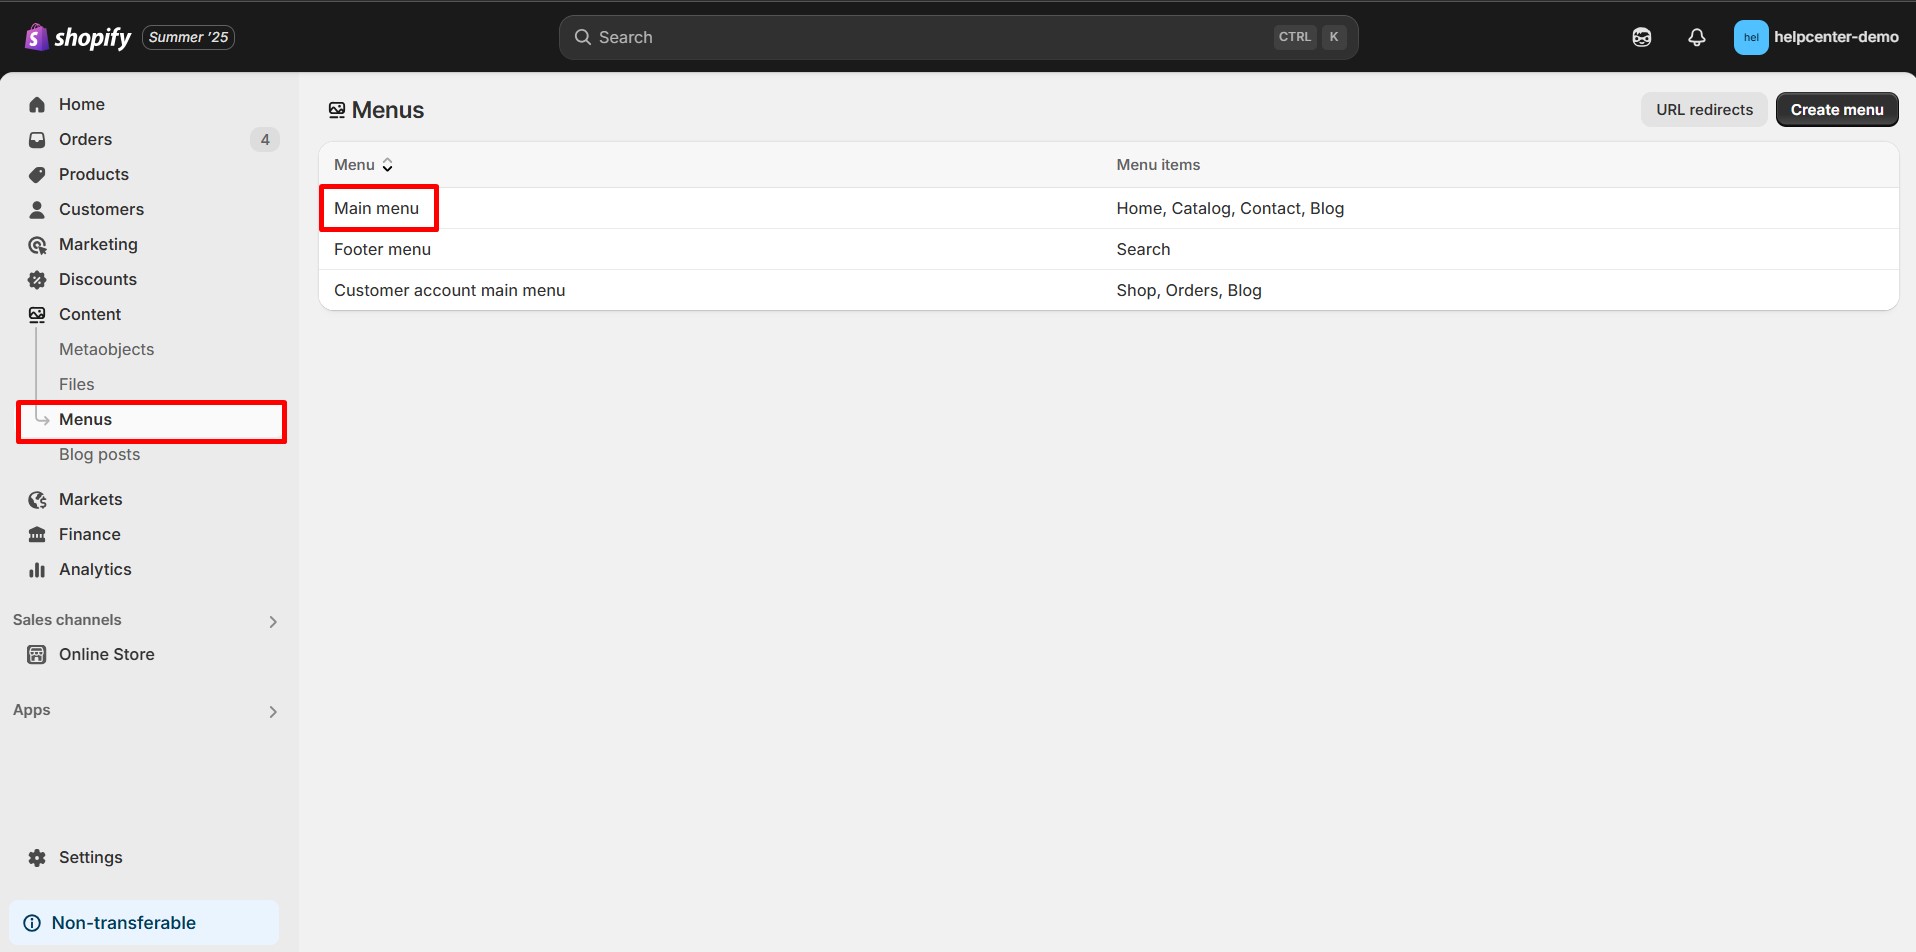
Step 1: In your Shopify admin, go to “Content” > “Menu”. Select the menu where you want to add the testimonial page (e.g., Main Menu).
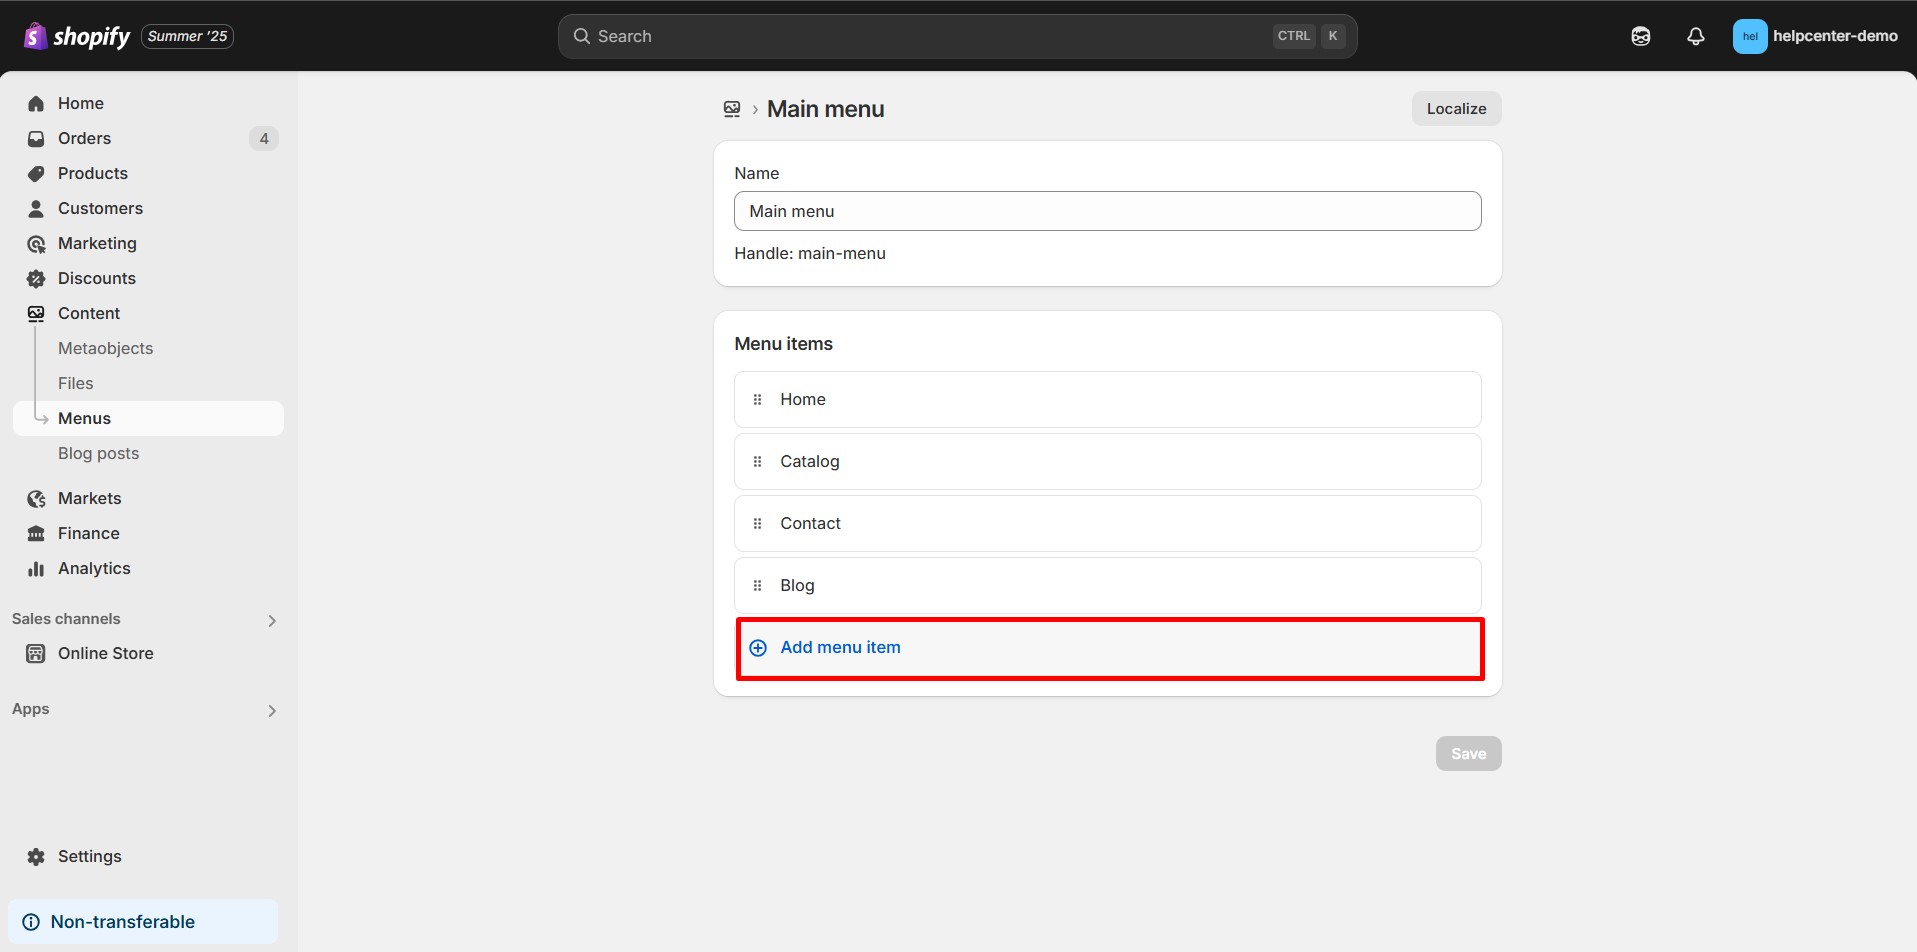
Step 2: Click “Add Menu Item.“
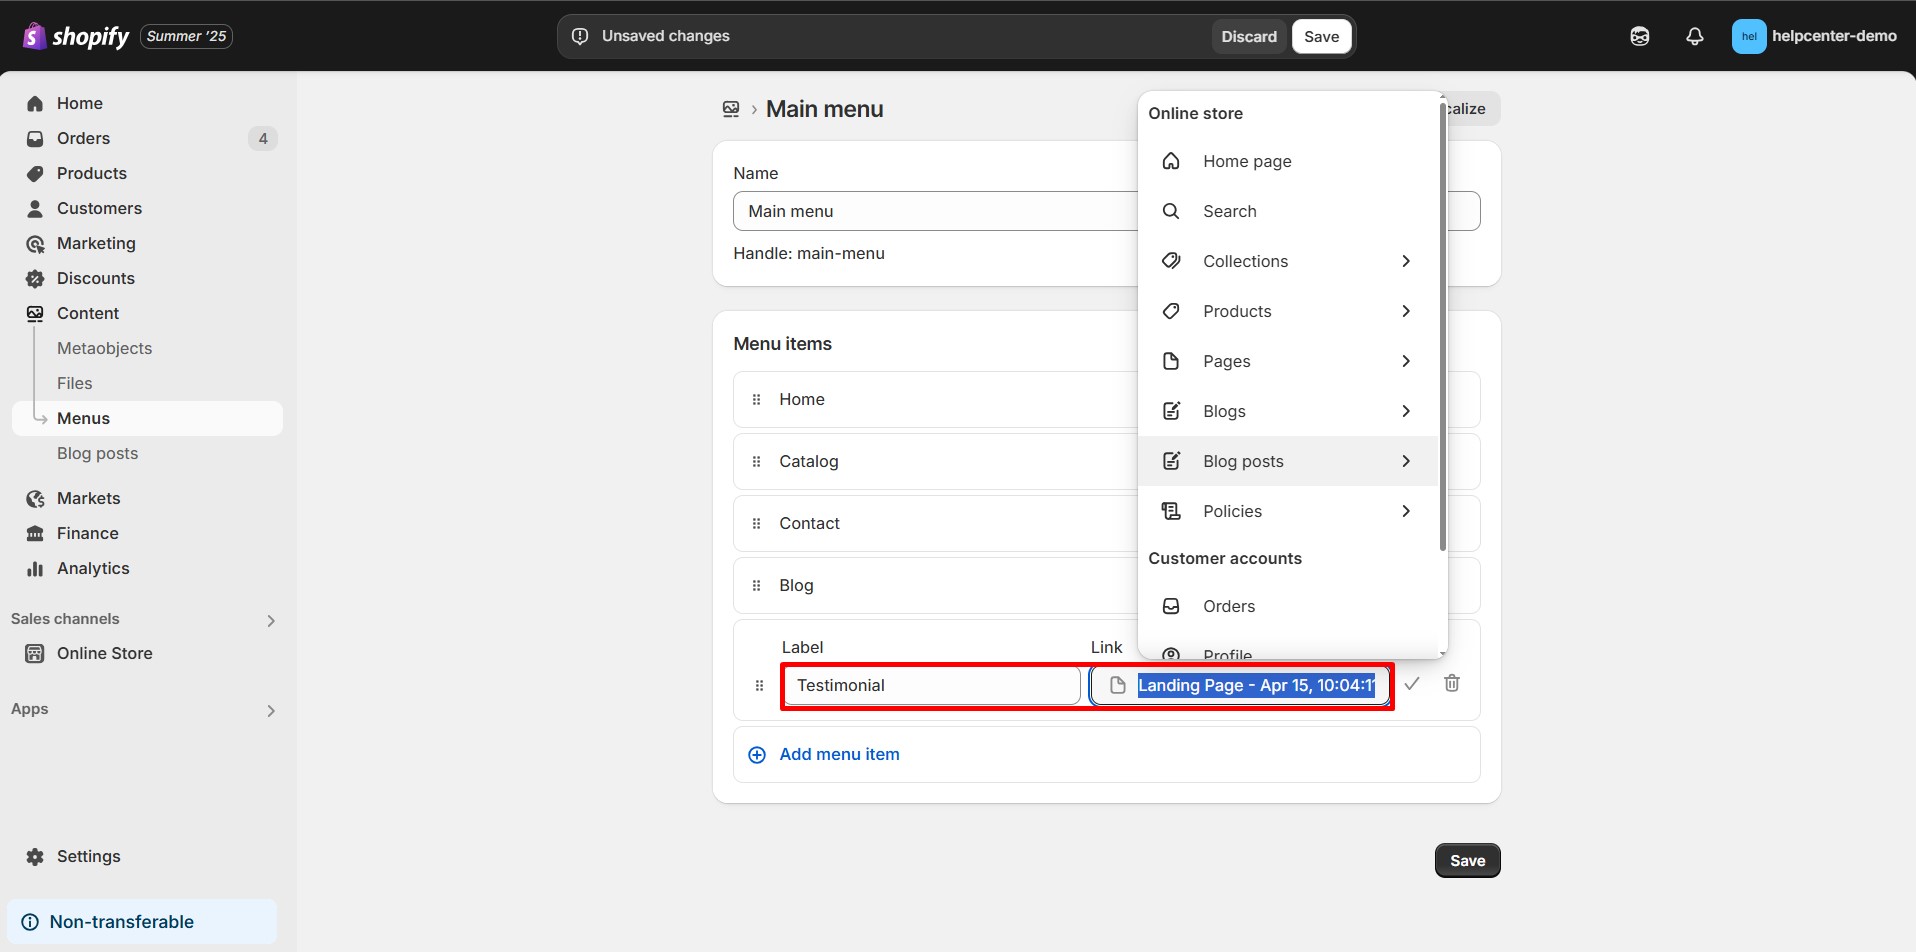
Step 3: Enter a name for the menu item (e.g., “Testimonials”).
In the Link field, choose “Pages”, then select your testimonial page. Alternatively, paste the direct URL of the published page.
Step 4: Click “Save”.
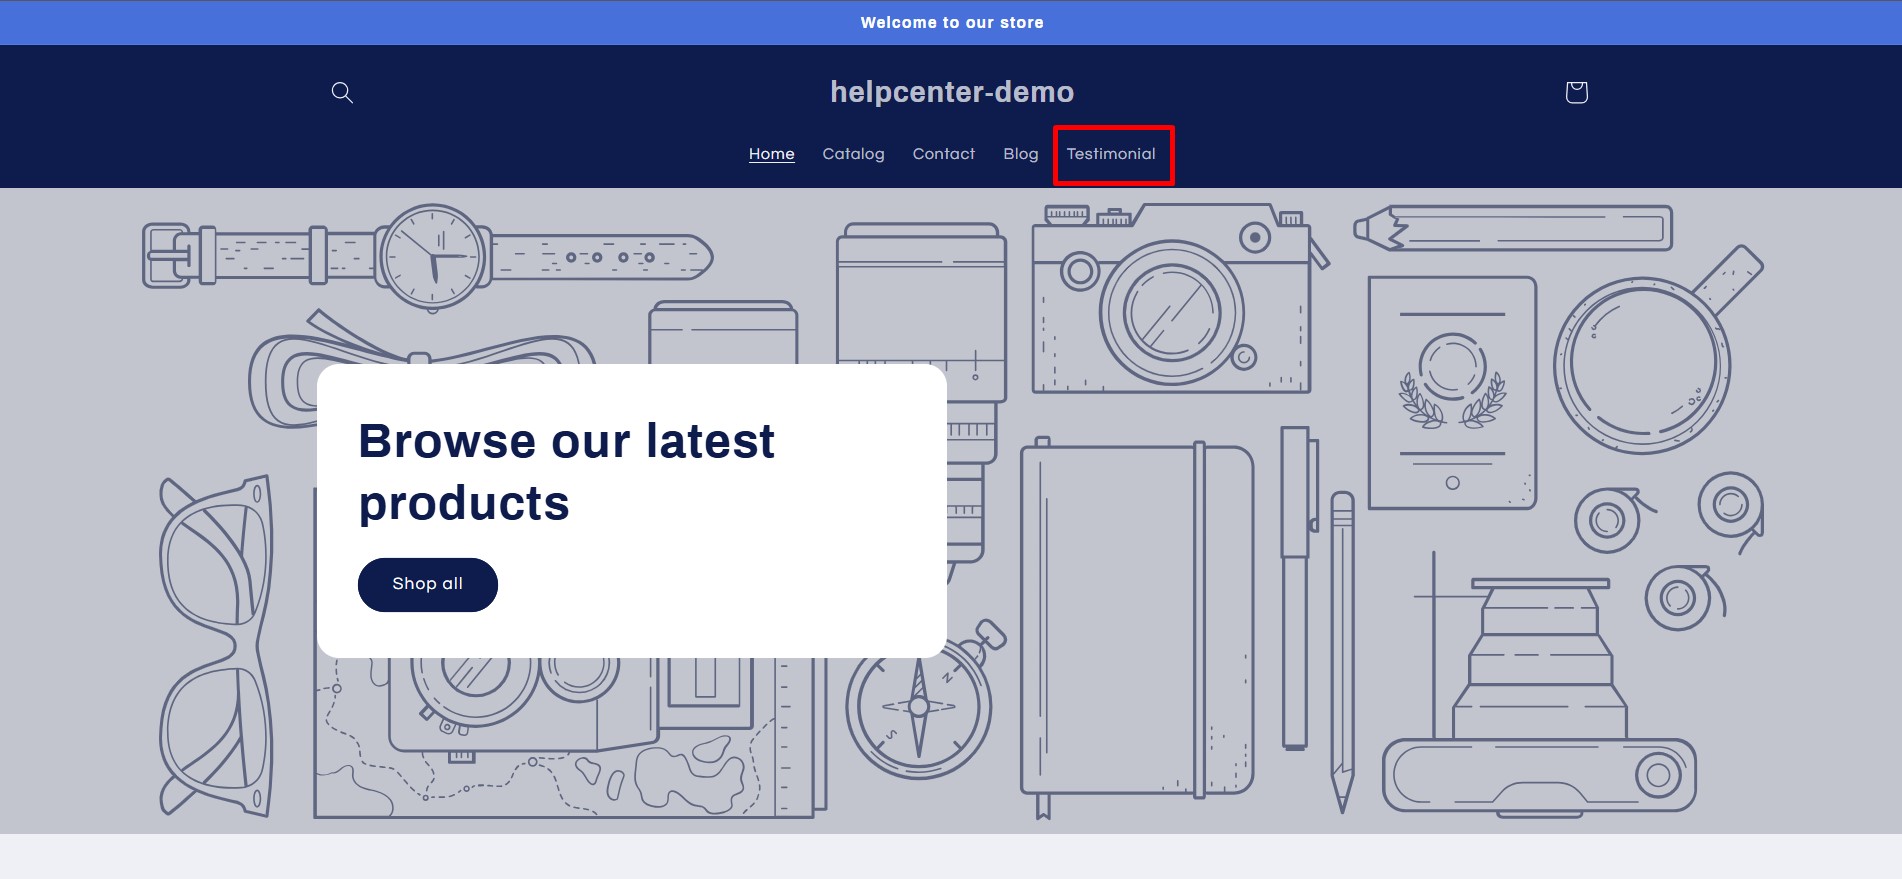
Your testimonial page will now appear in your store’s navigation menu, enhancing visibility and accessibility.


Thank you for your comments