


This article provides step-by-step instructions to help you create a Featured Collection List Section with Hero Banner Element.
About Featured Collections
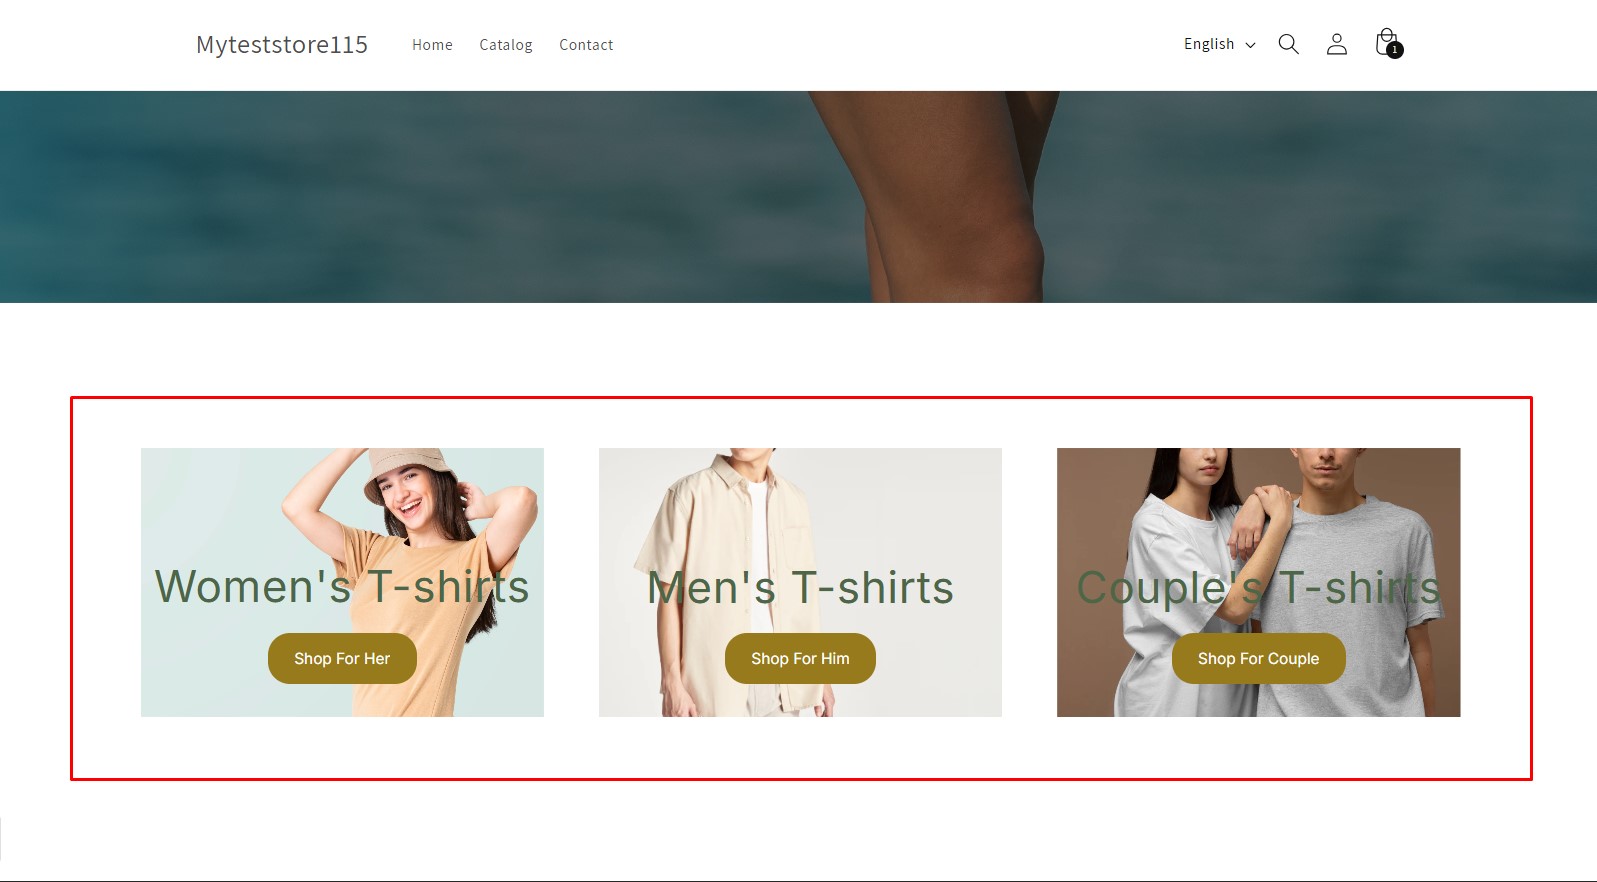
Featured collections are highlighted groups of products that you want customers to explore. They often serve as quick links to popular or seasonal categories, helping improve navigation and boosting sales for key collections.
Examples of Featured Collections:
- Shop for Men / Shop for Women: For gender-specific product categories.
- Summer Collection / Winter Collection: Seasonal highlights or promotions.
- Best Sellers / New Arrivals: Draw attention to popular or recently added items.
These sections are usually placed prominently on the Home Page to attract customer attention.
How to Design a Featured Collection List with the Hero Banner Element?
Explore the best way to create your own featured collection list using the GemPages Hero Banner element.
Before starting, ensure you locate the target page in GemPages Editor v7.
Step 1: Create a Row with 3 Columns
- Once you enter the editor, search for “row” from the left sidebar.
- Drag and drop the 3-column row element to your preferred position on the page.
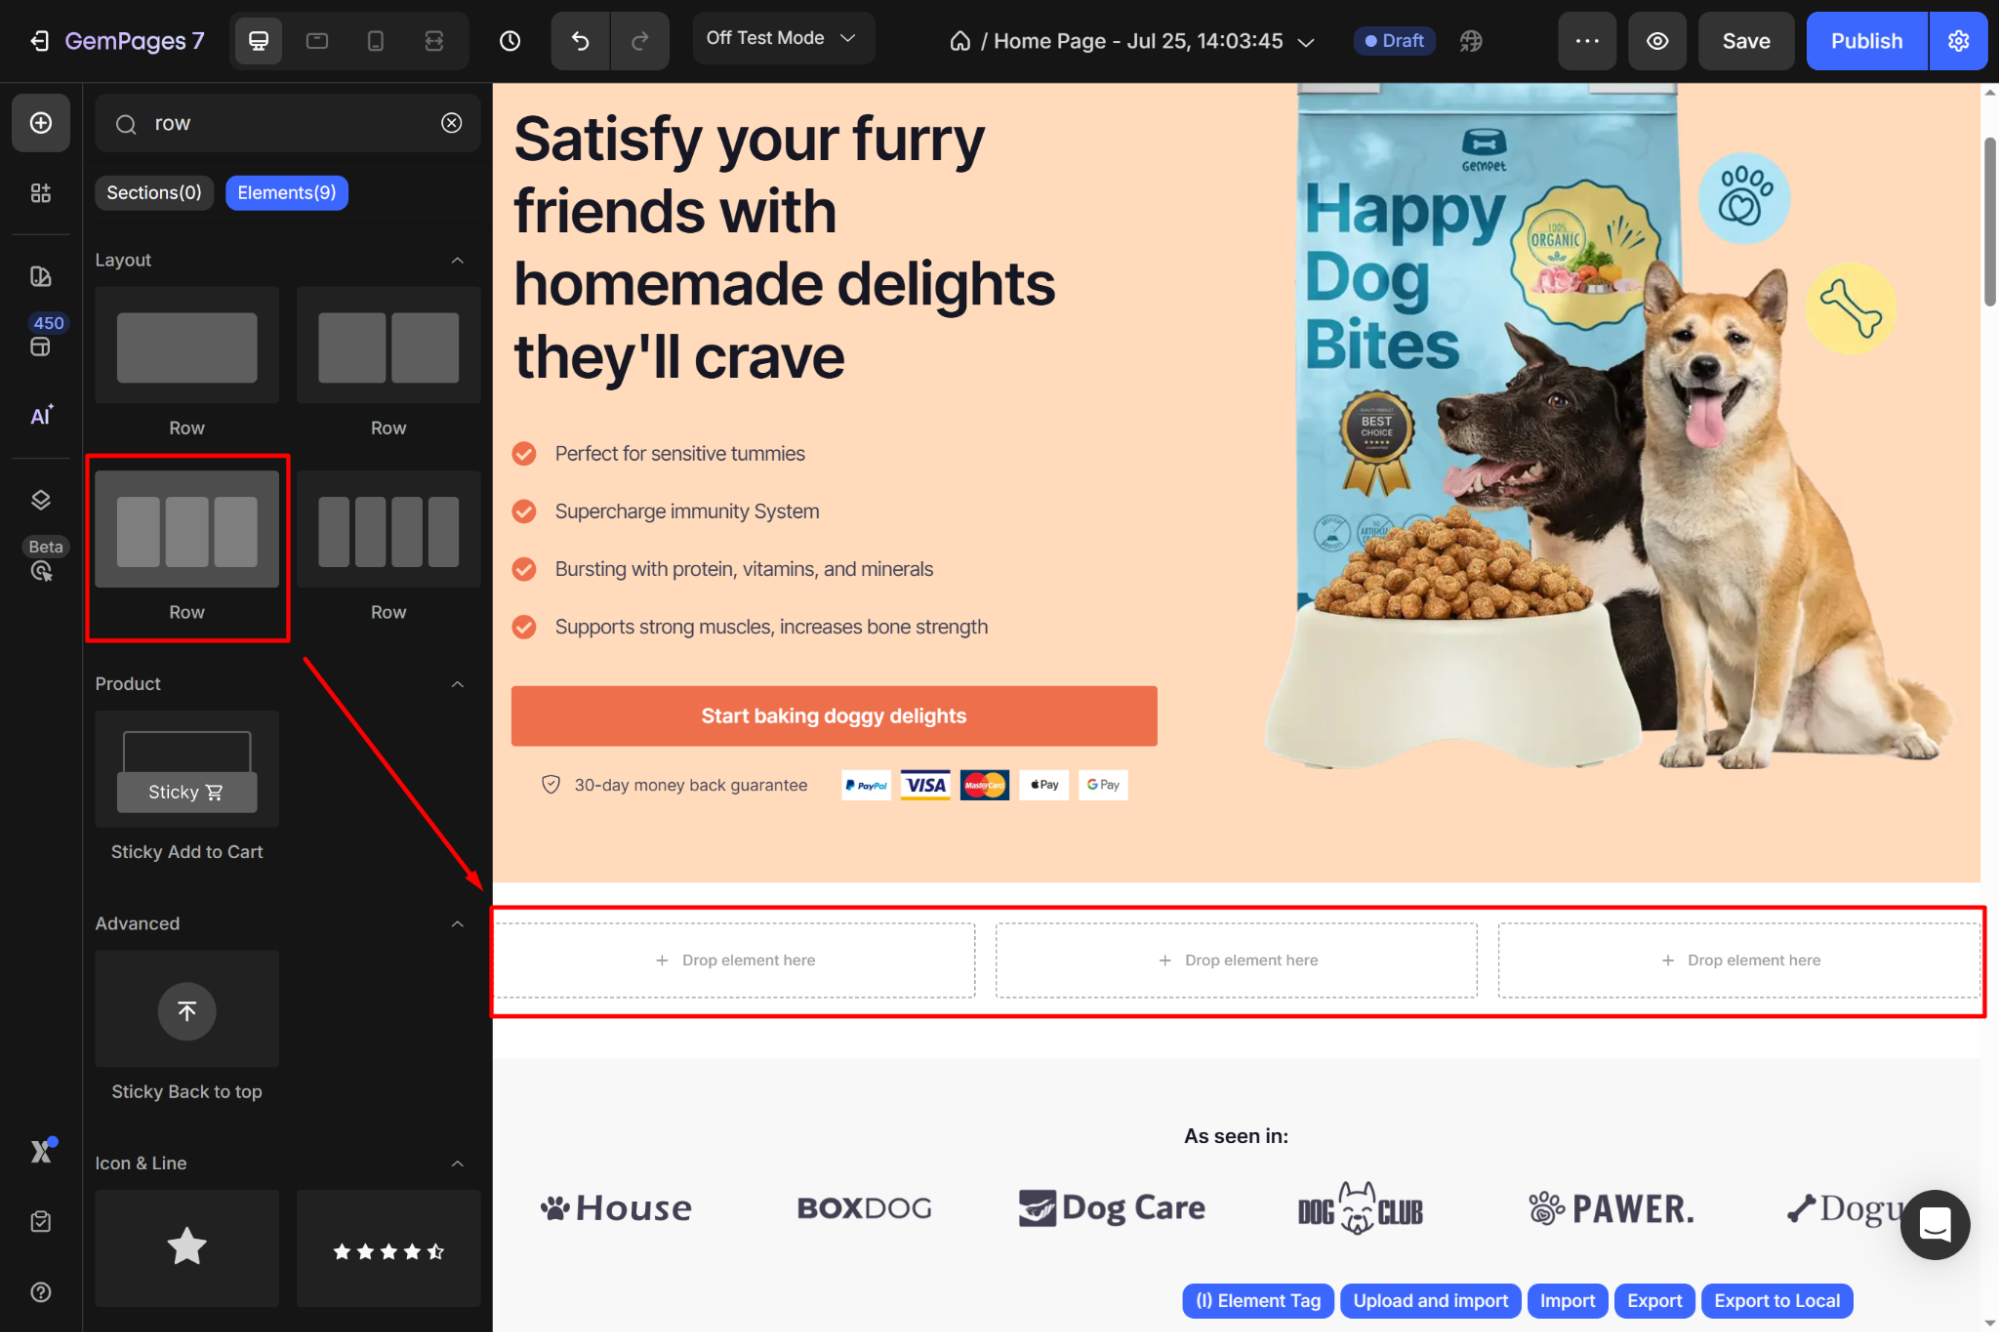
This layout will allow you to display three featured collections side by side.
Step 2: Add a Hero Banner to the first column
- From the left sidebar, find and drag & drop a Hero Banner element to the first column in your Row element.
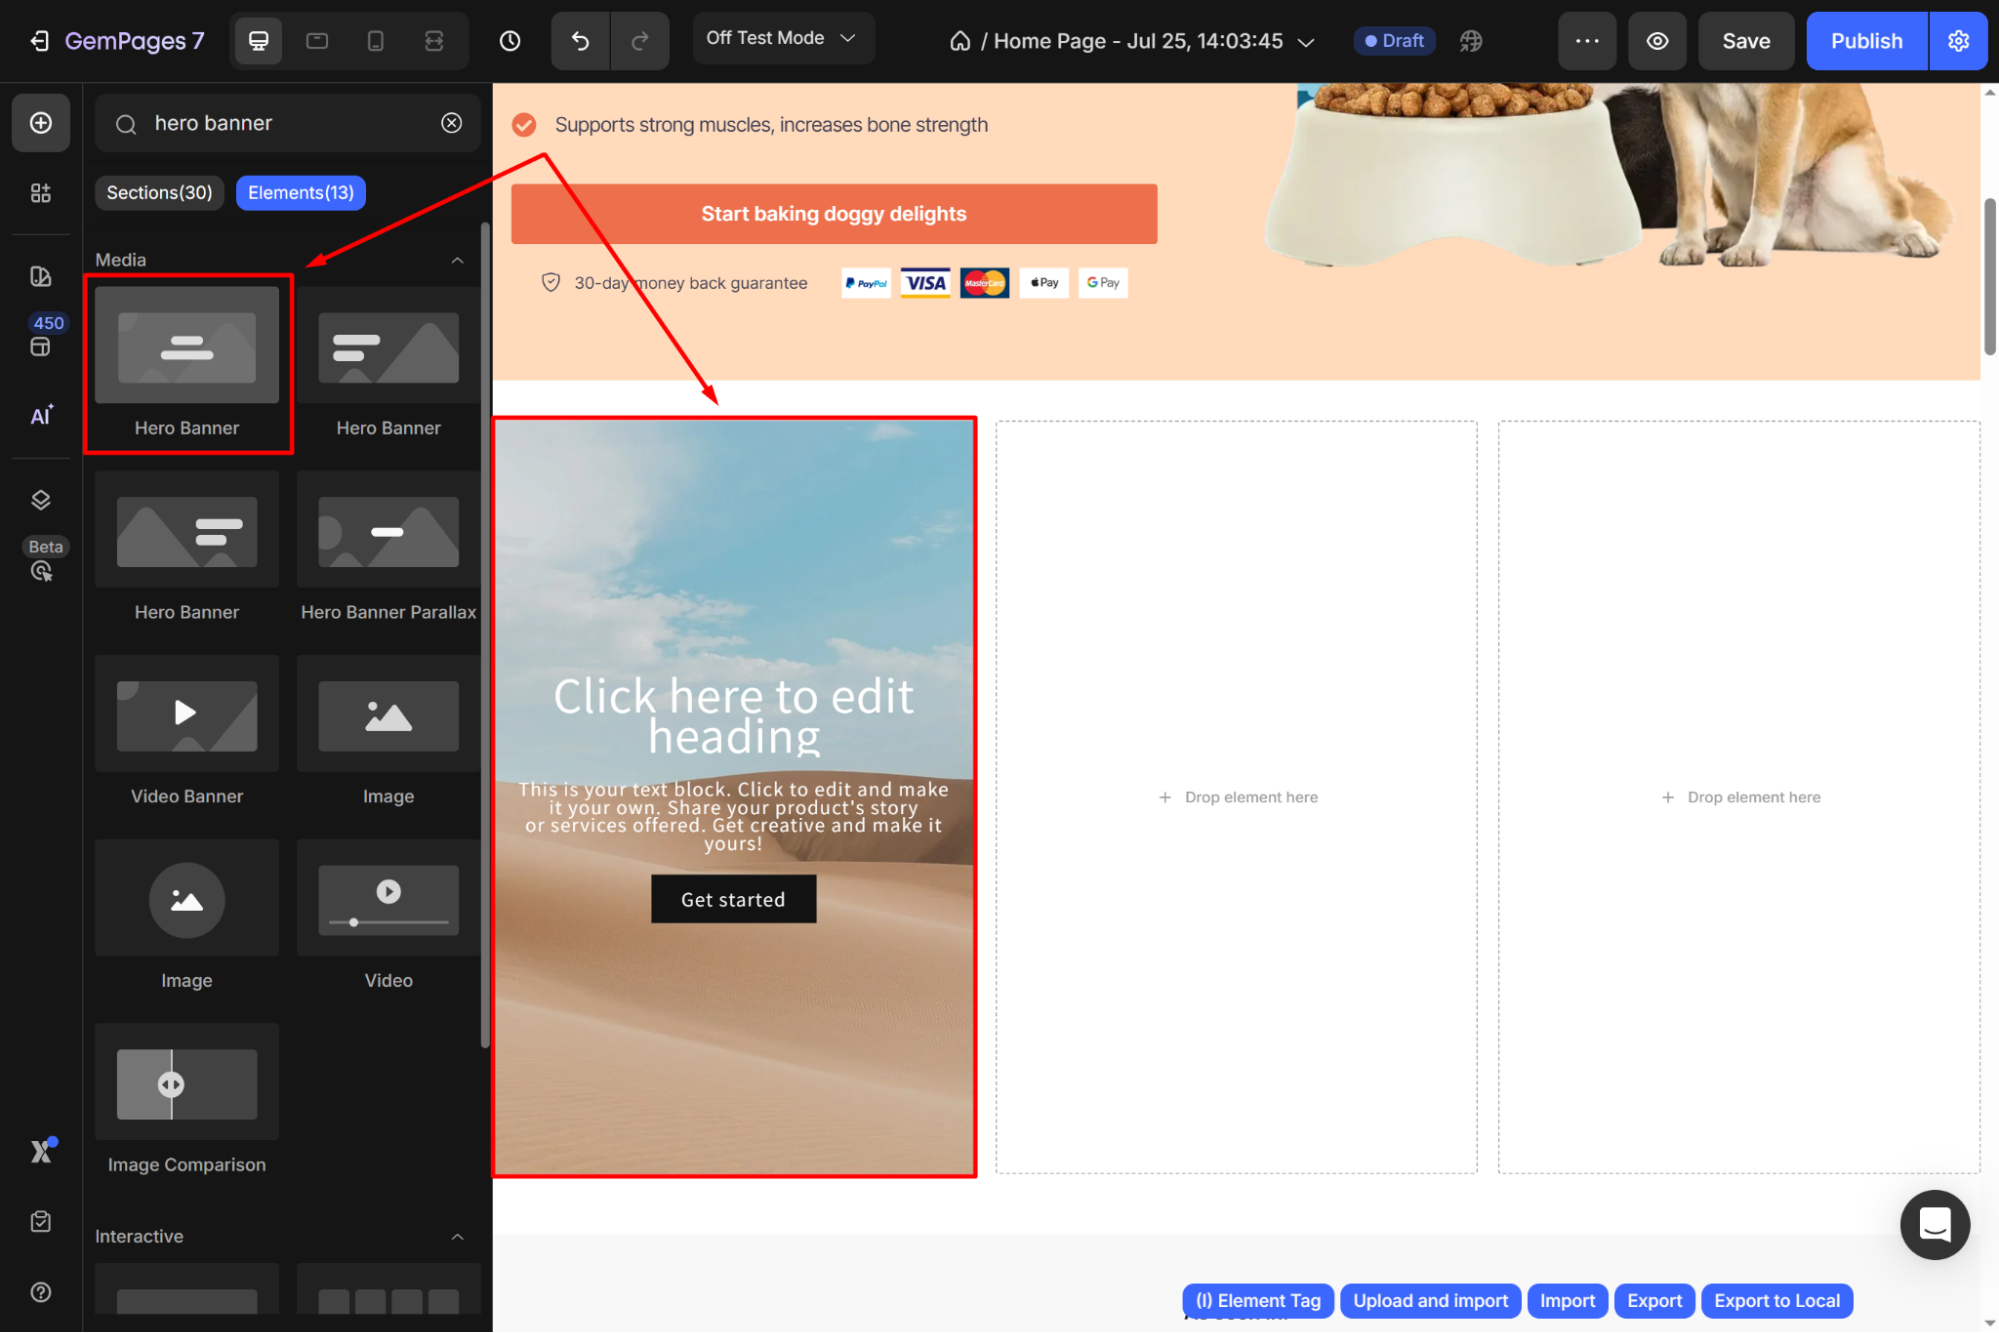
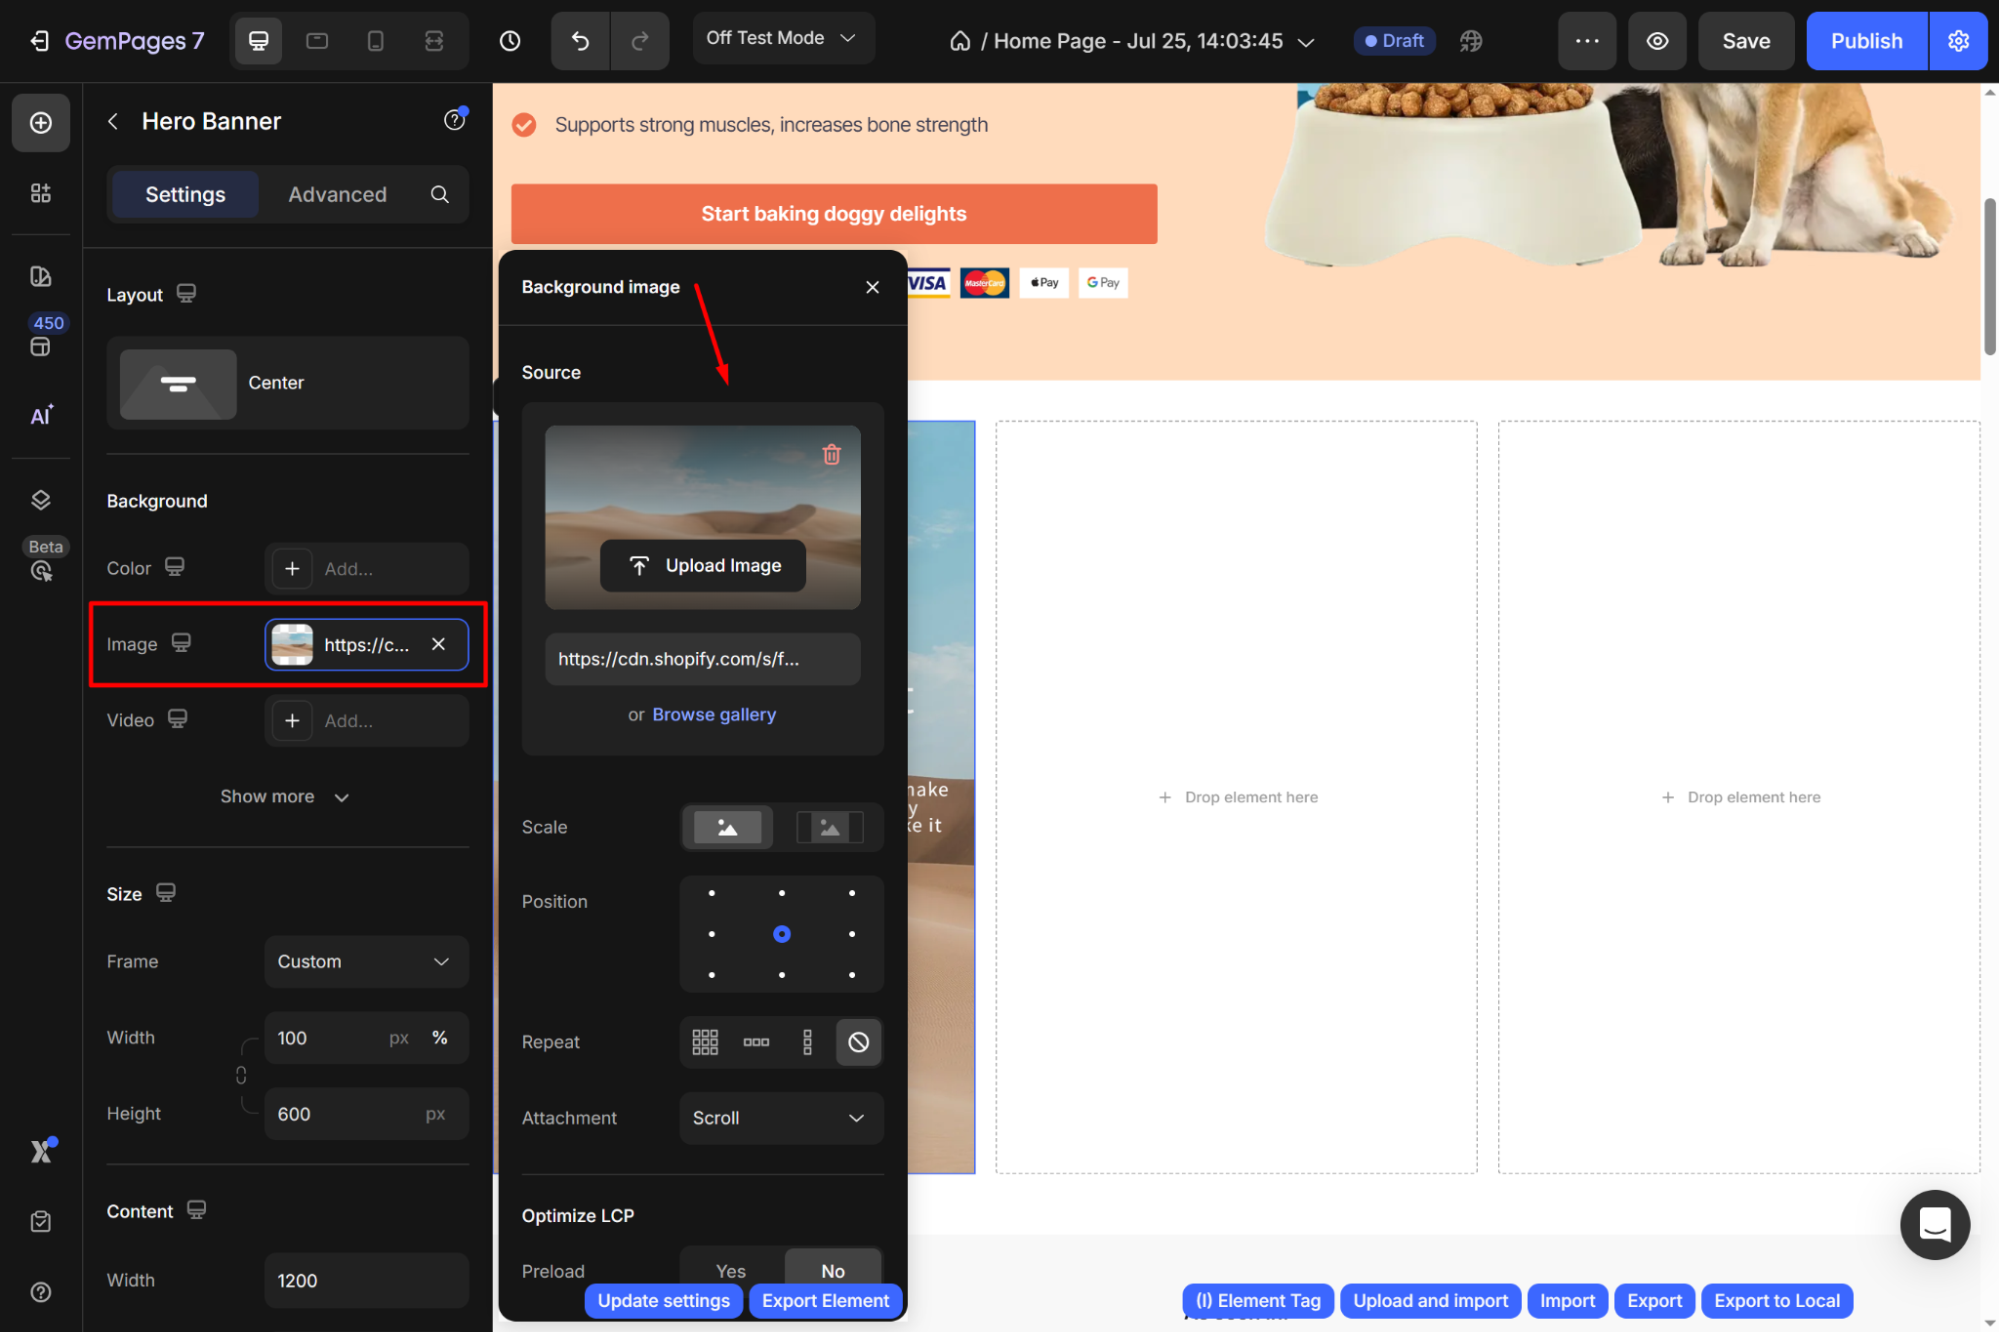
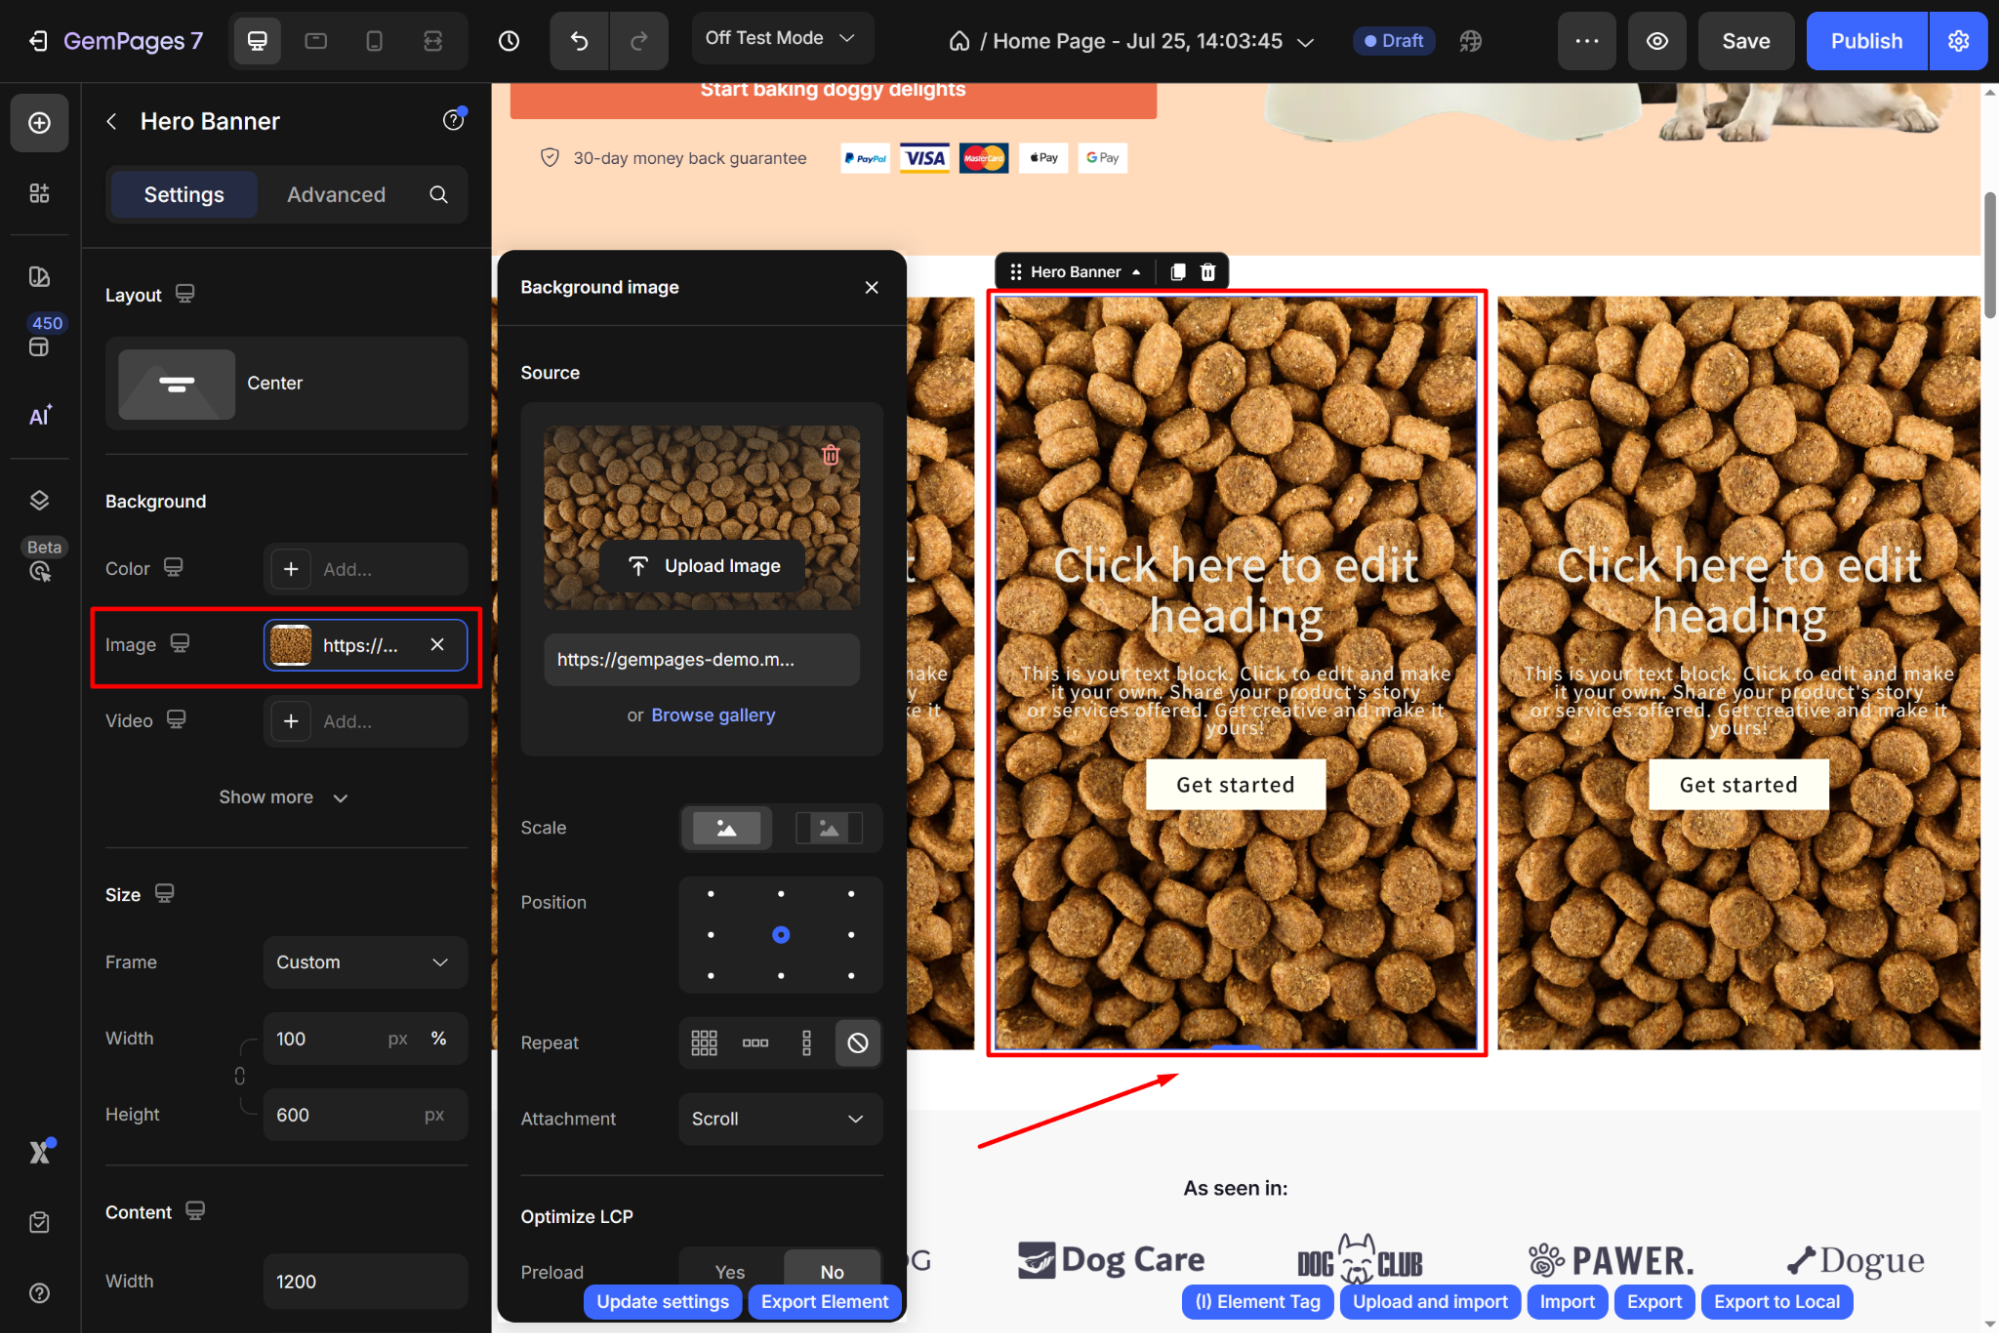
- Click on the Hero Banner element to open its settings. Scroll down to the Background section and locate the Image option.
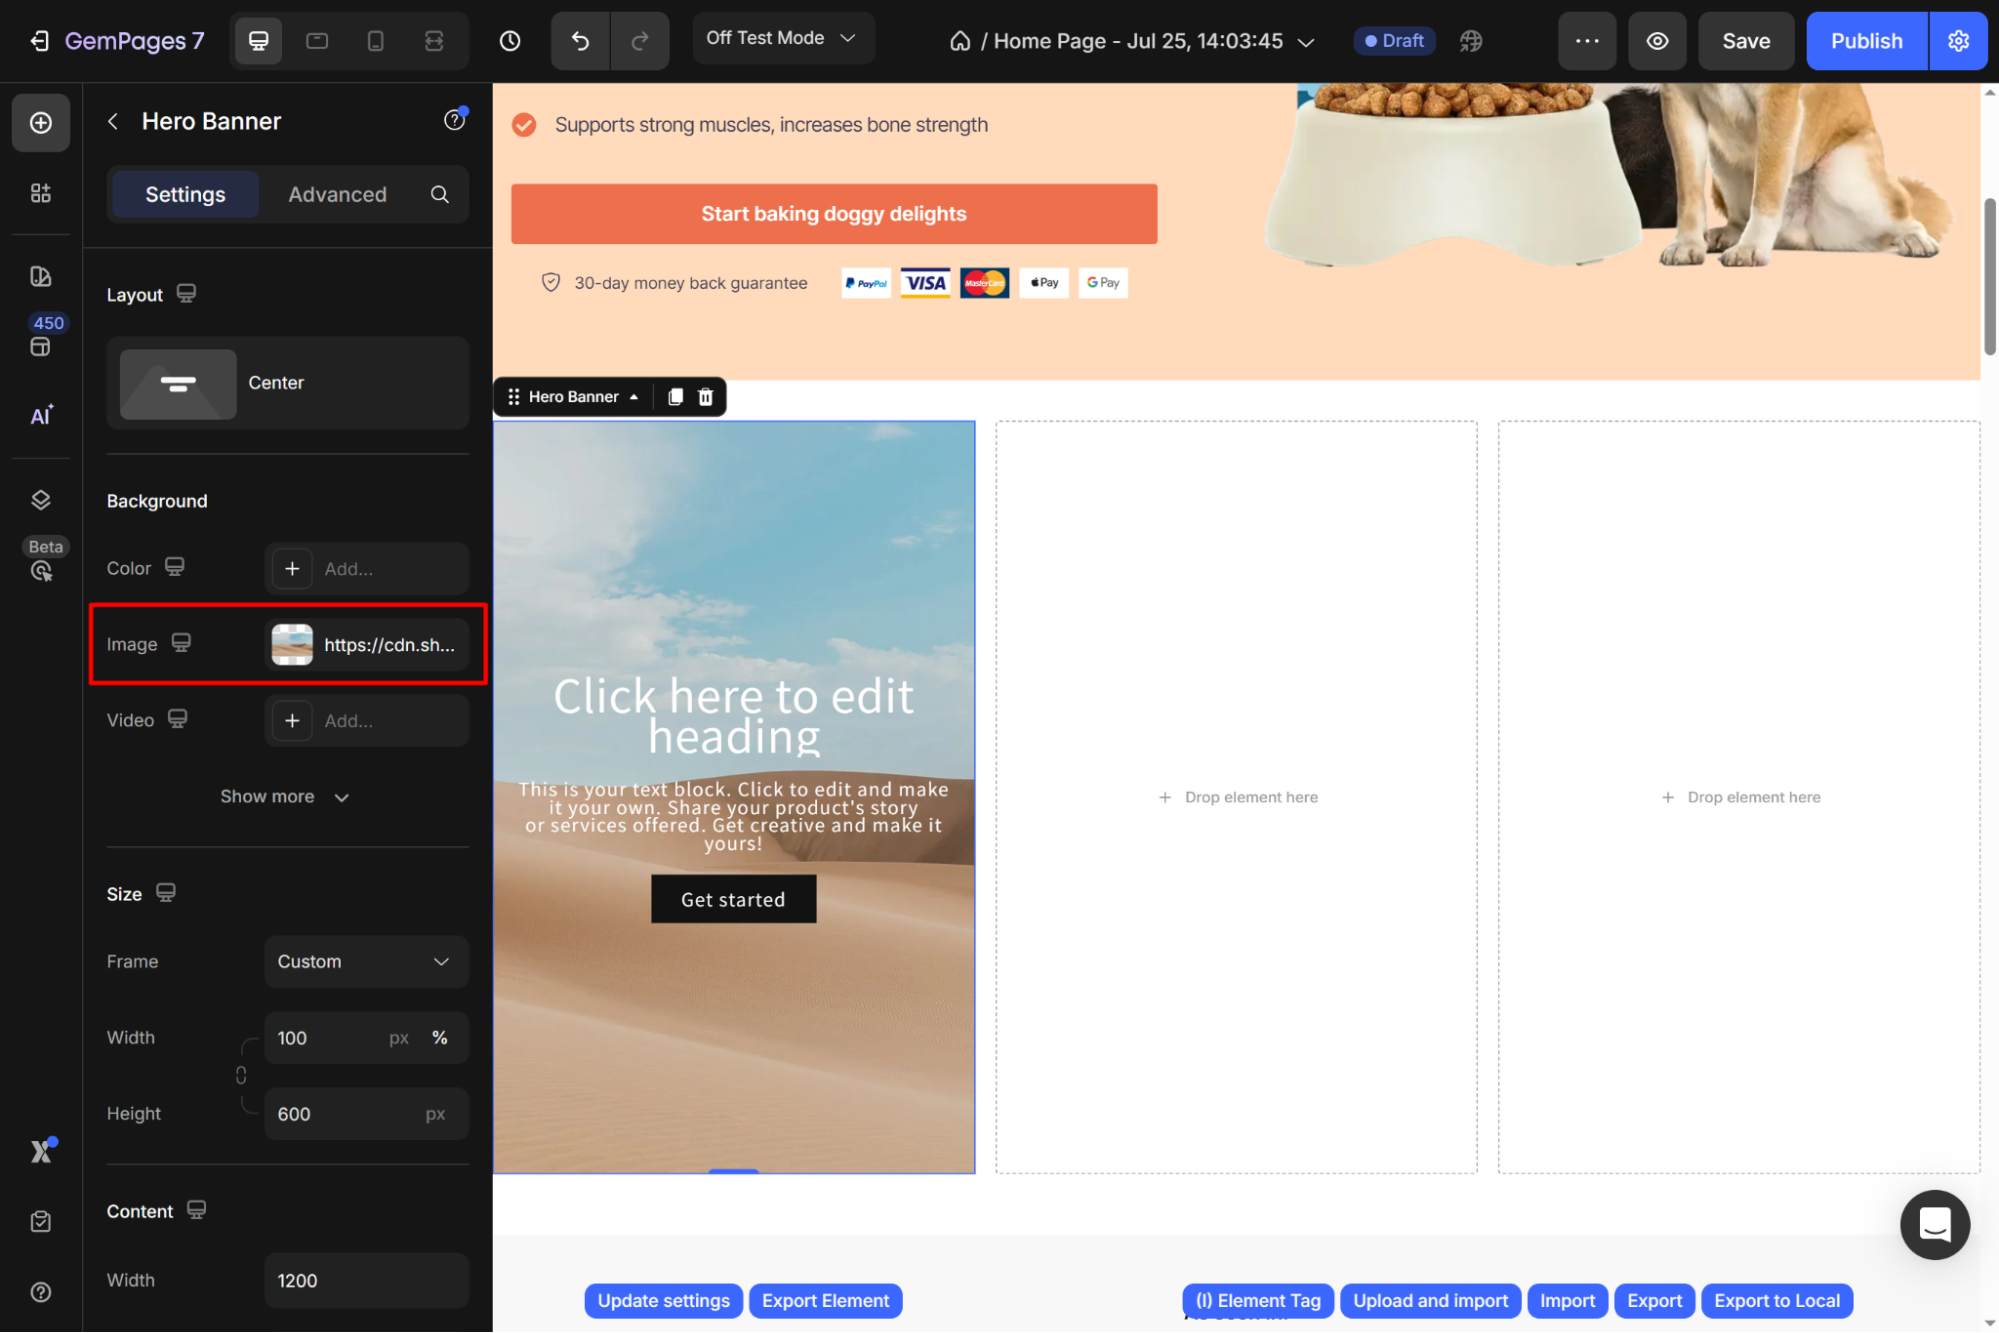
- Expand the settings panel. You can browse your gallery or upload a new image that represents the first collection.
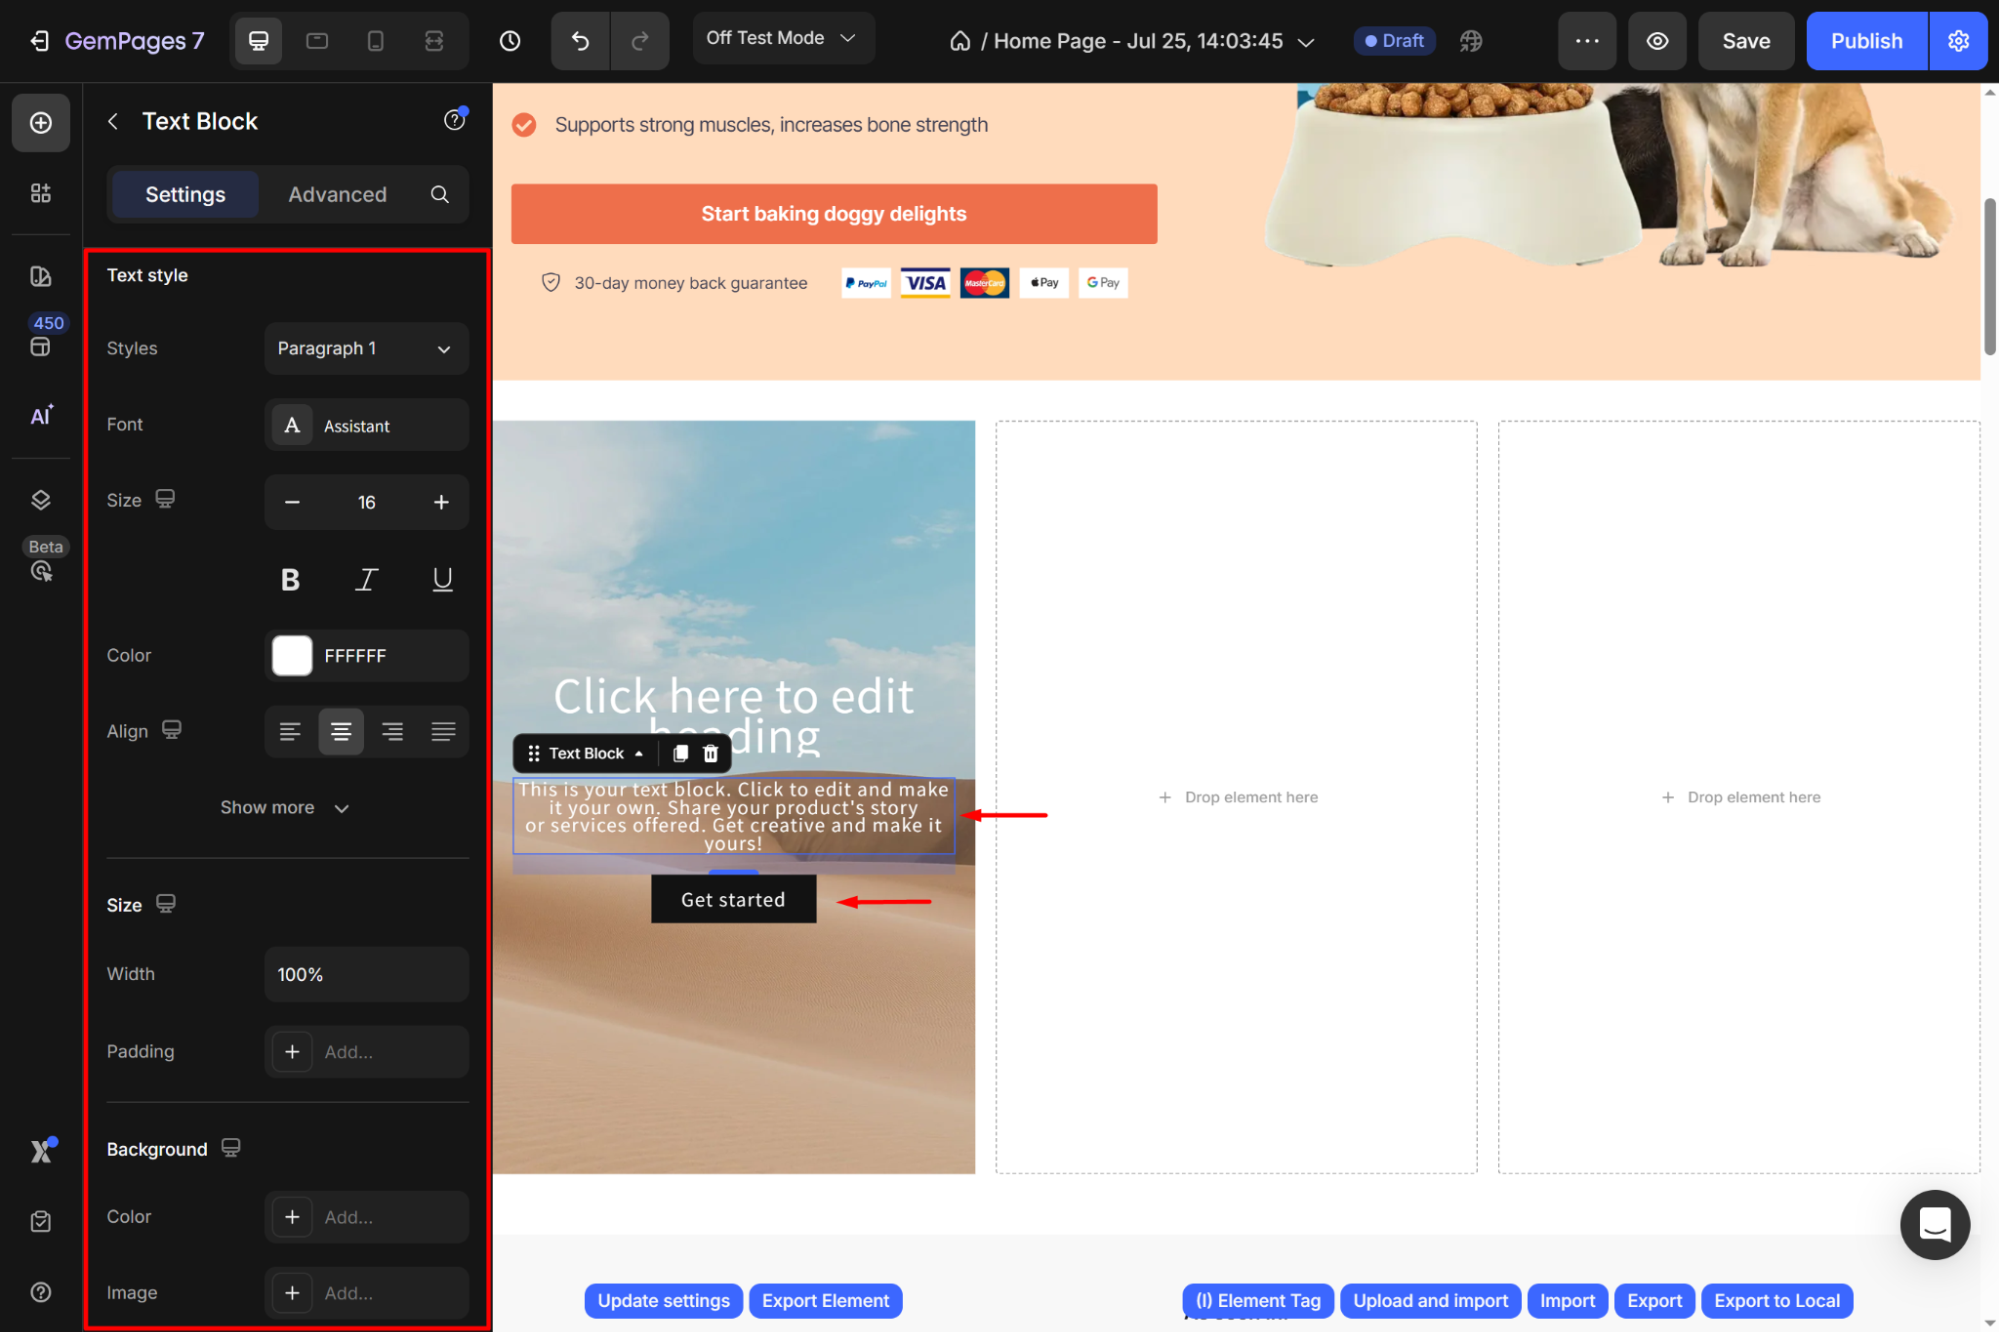
- Under the Text style section, continue editing the text to match the collection title.
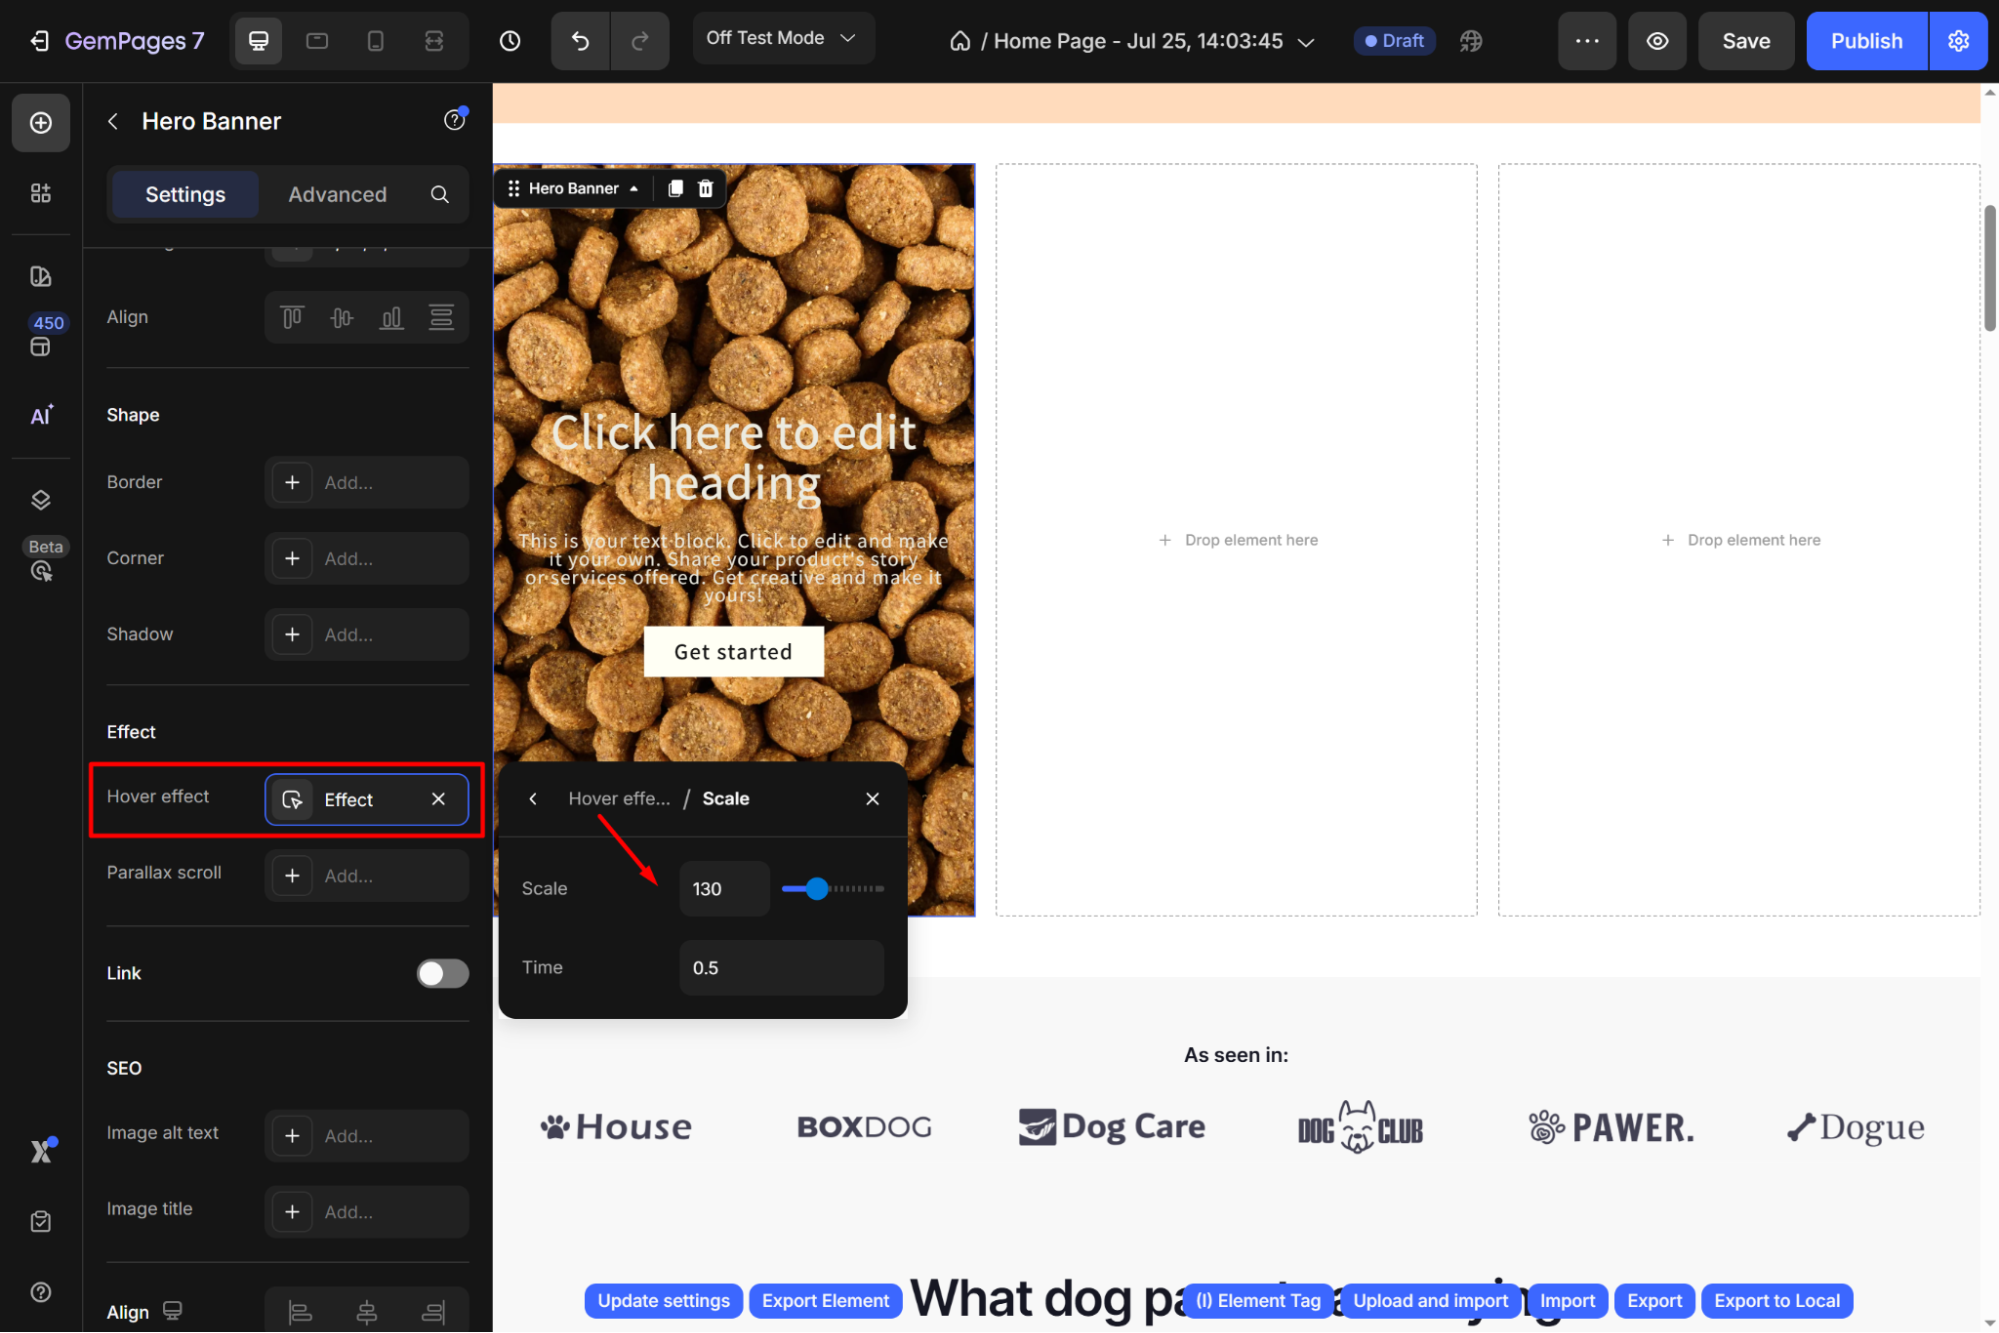
- Enable the Hover effect feature in the Hero Banner settings for visual appeal:
Step 3: Duplicate the Hero Banner for Other Columns
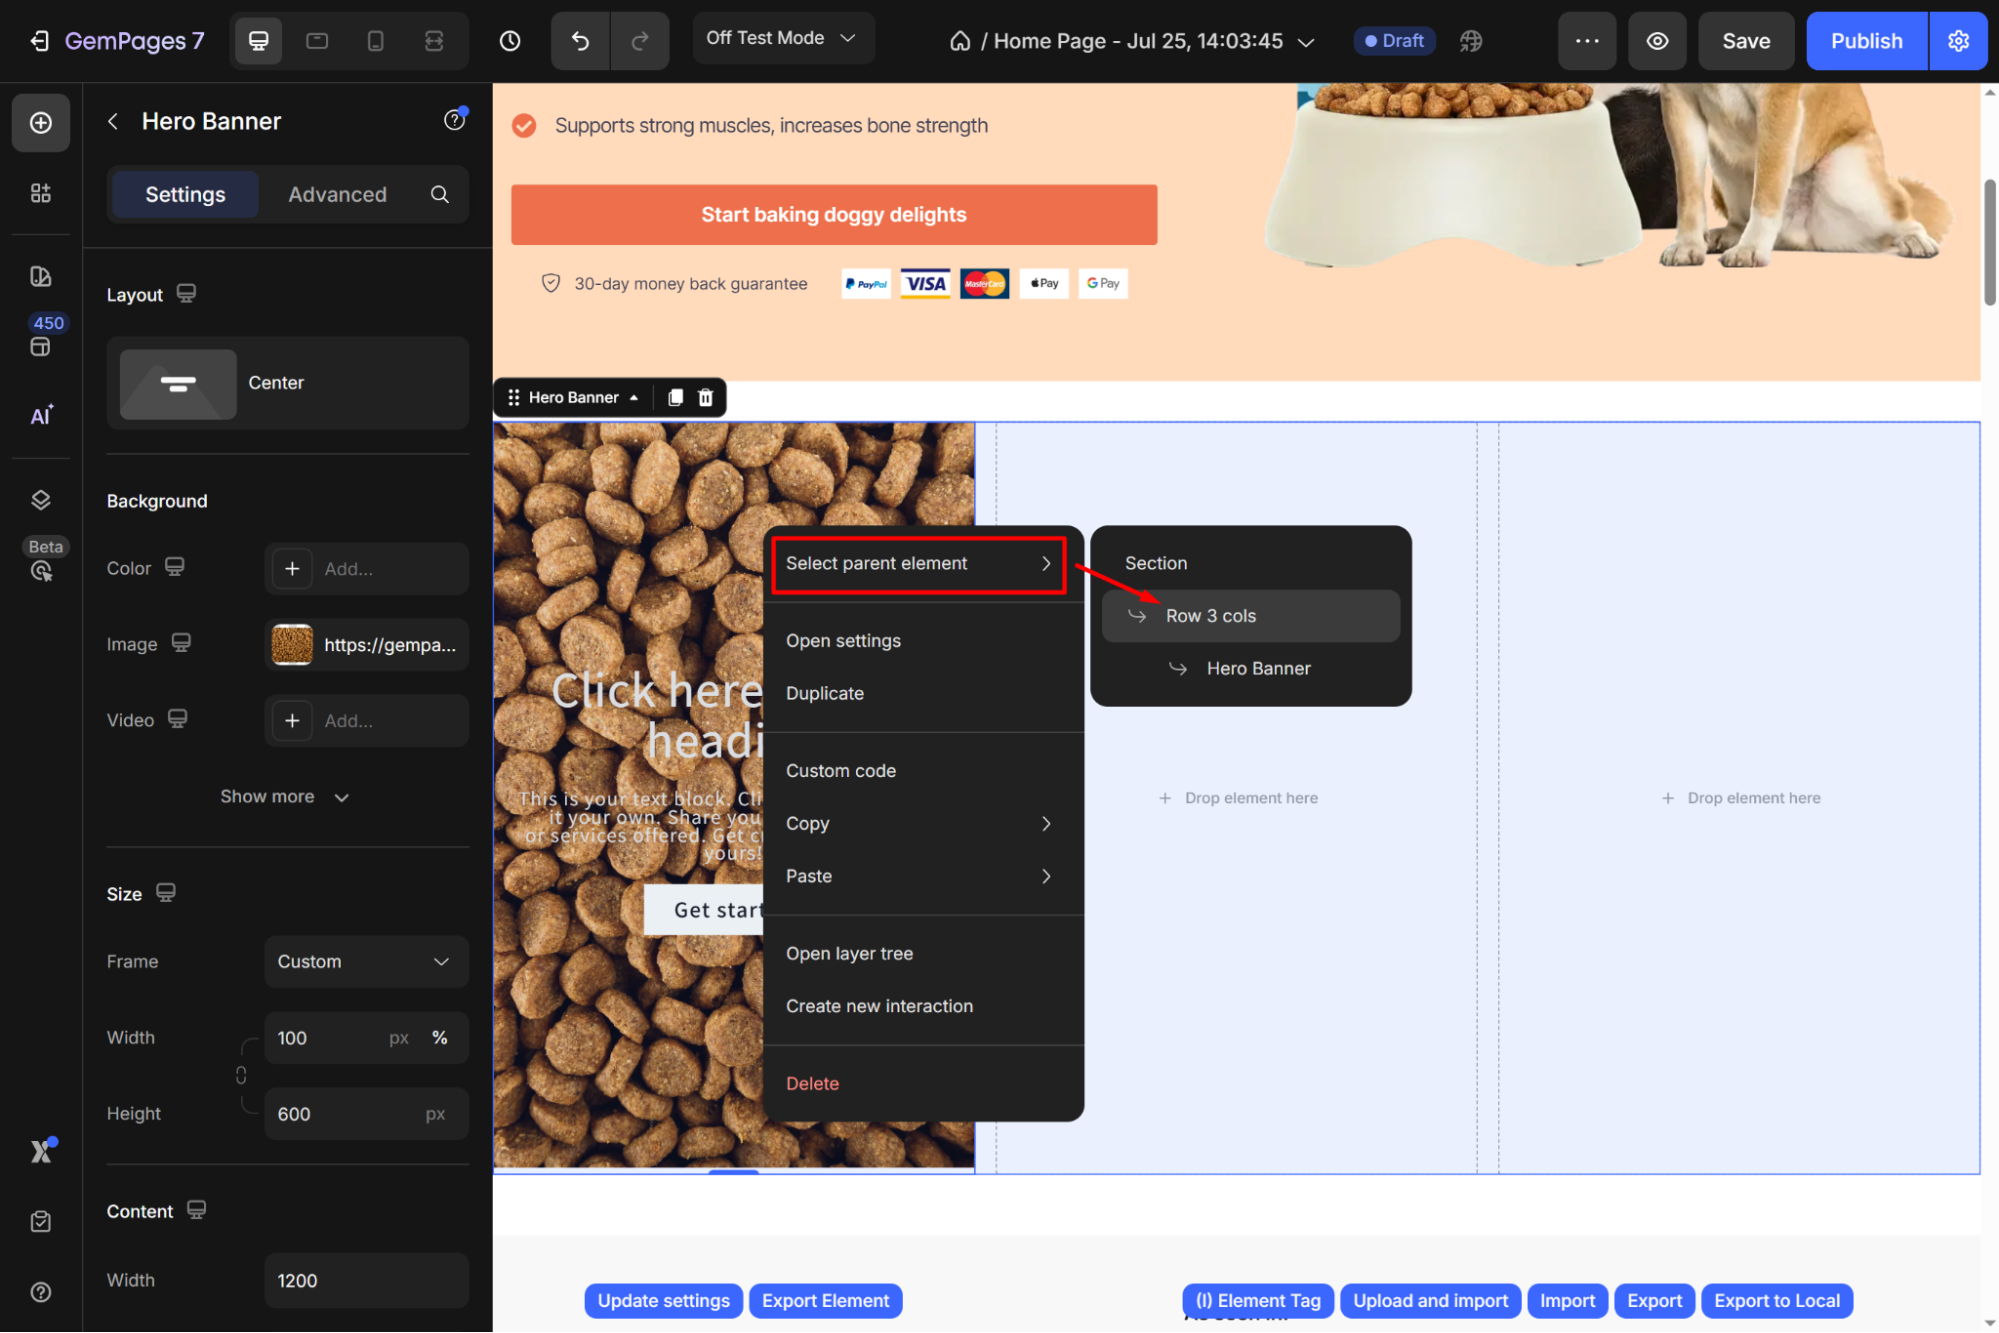
- From the Hero Banner settings, right-click and hit Select parent element > Row 3 cols to open the Row element Settings tab.
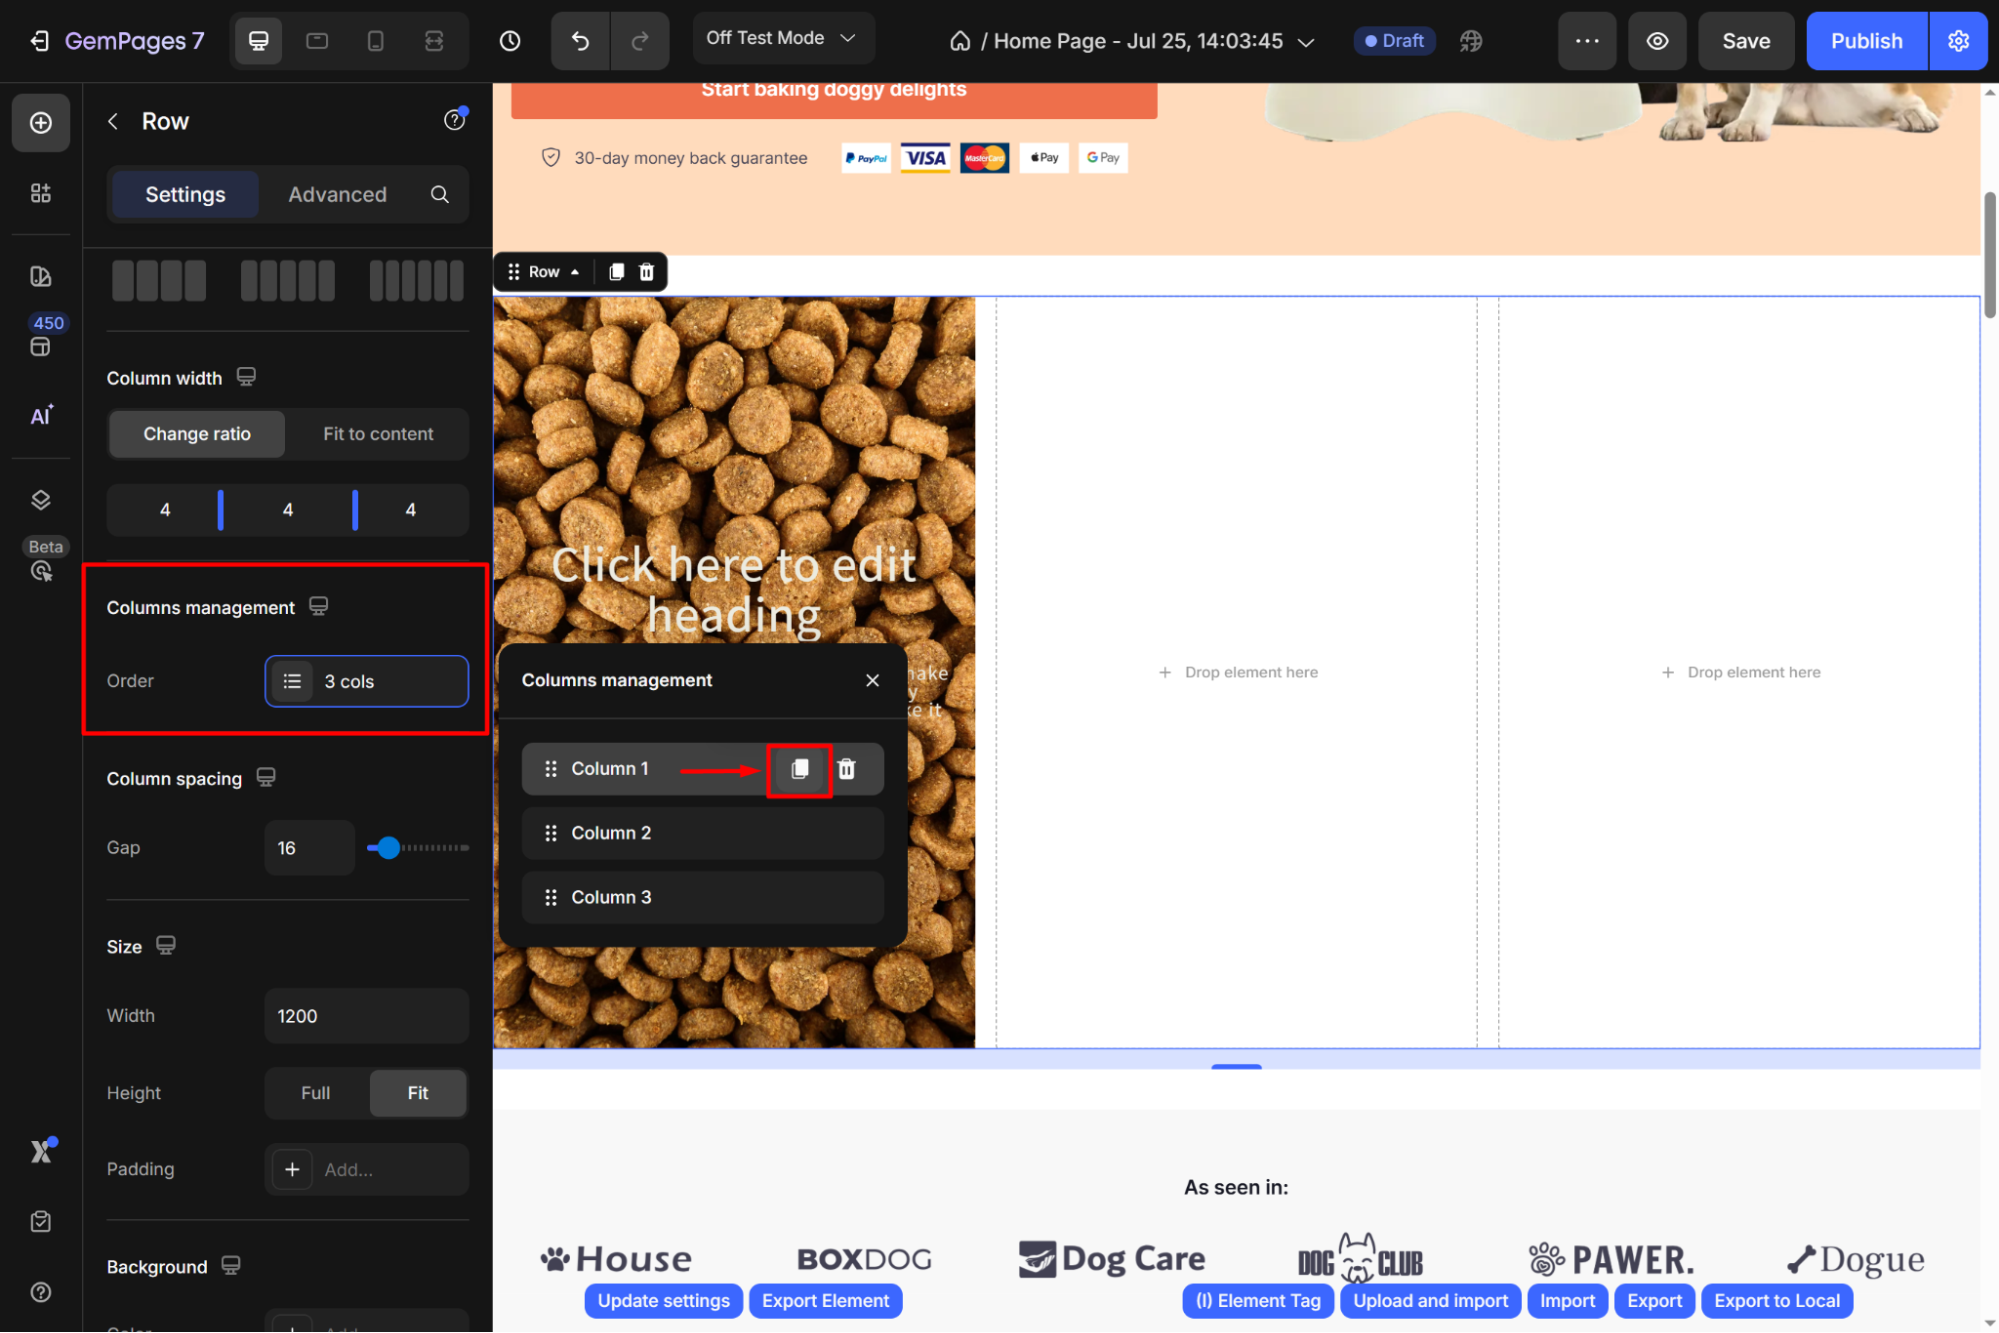
- Scroll down to Column management > 3 cols to open the configuration panel. Then, hover over Column 1 > hit the duplicate icon.
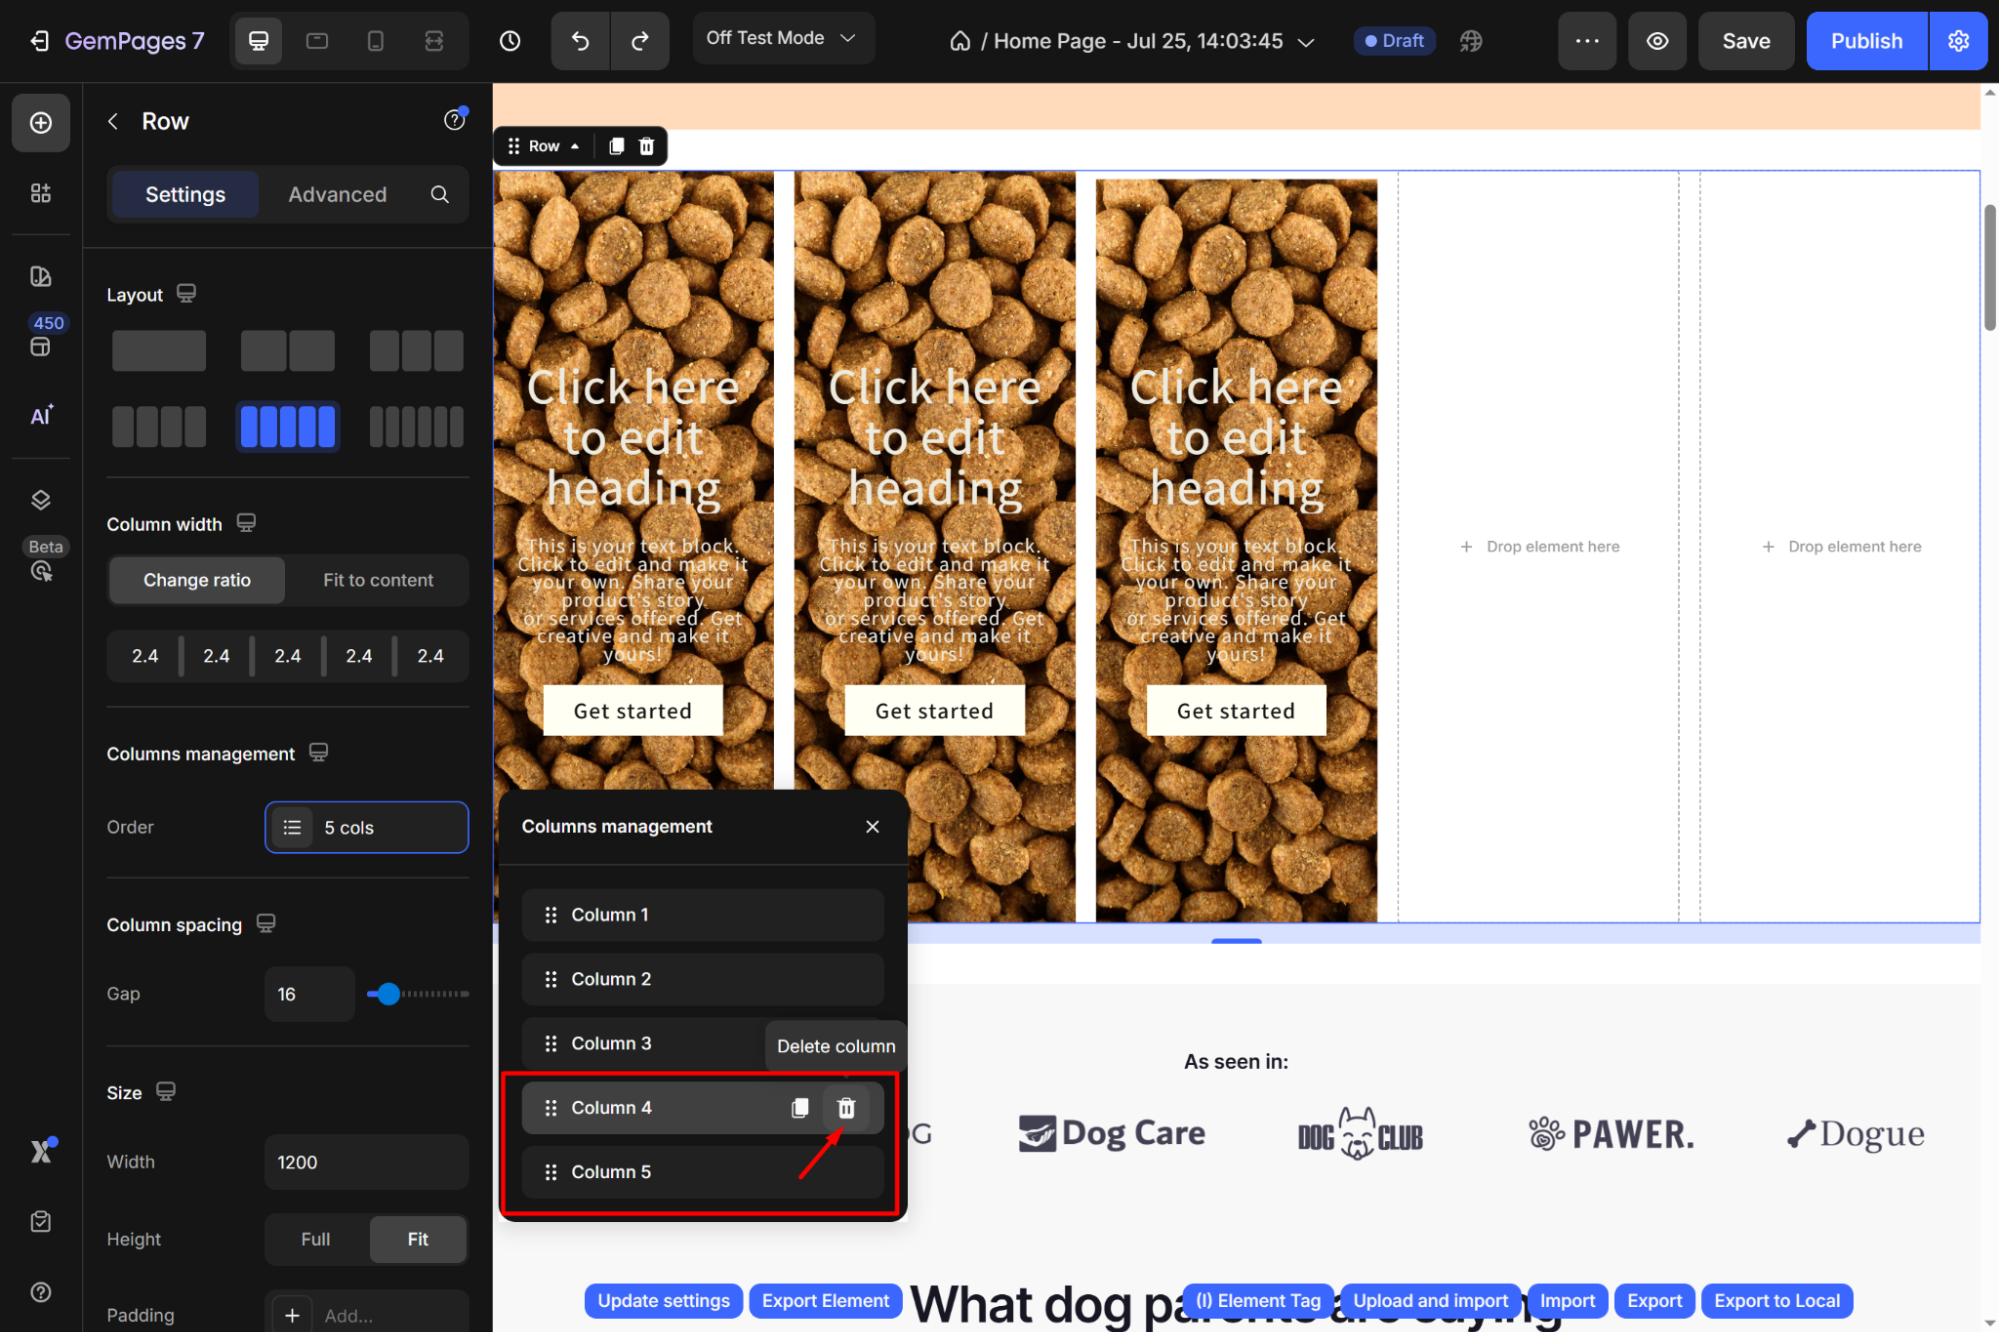
- After double-duplicating the first column, hover over and delete Column 4 & Column 5.
- Now, customize Column 2 & Column 3 your way. Replace the background image, text, and button for each column to represent a different collection.
Note: Ensure the design remains consistent across all columns for a cohesive look.
Step 4: Optimize for Mobile
- Switch to Mobile View in the GemPages editor.
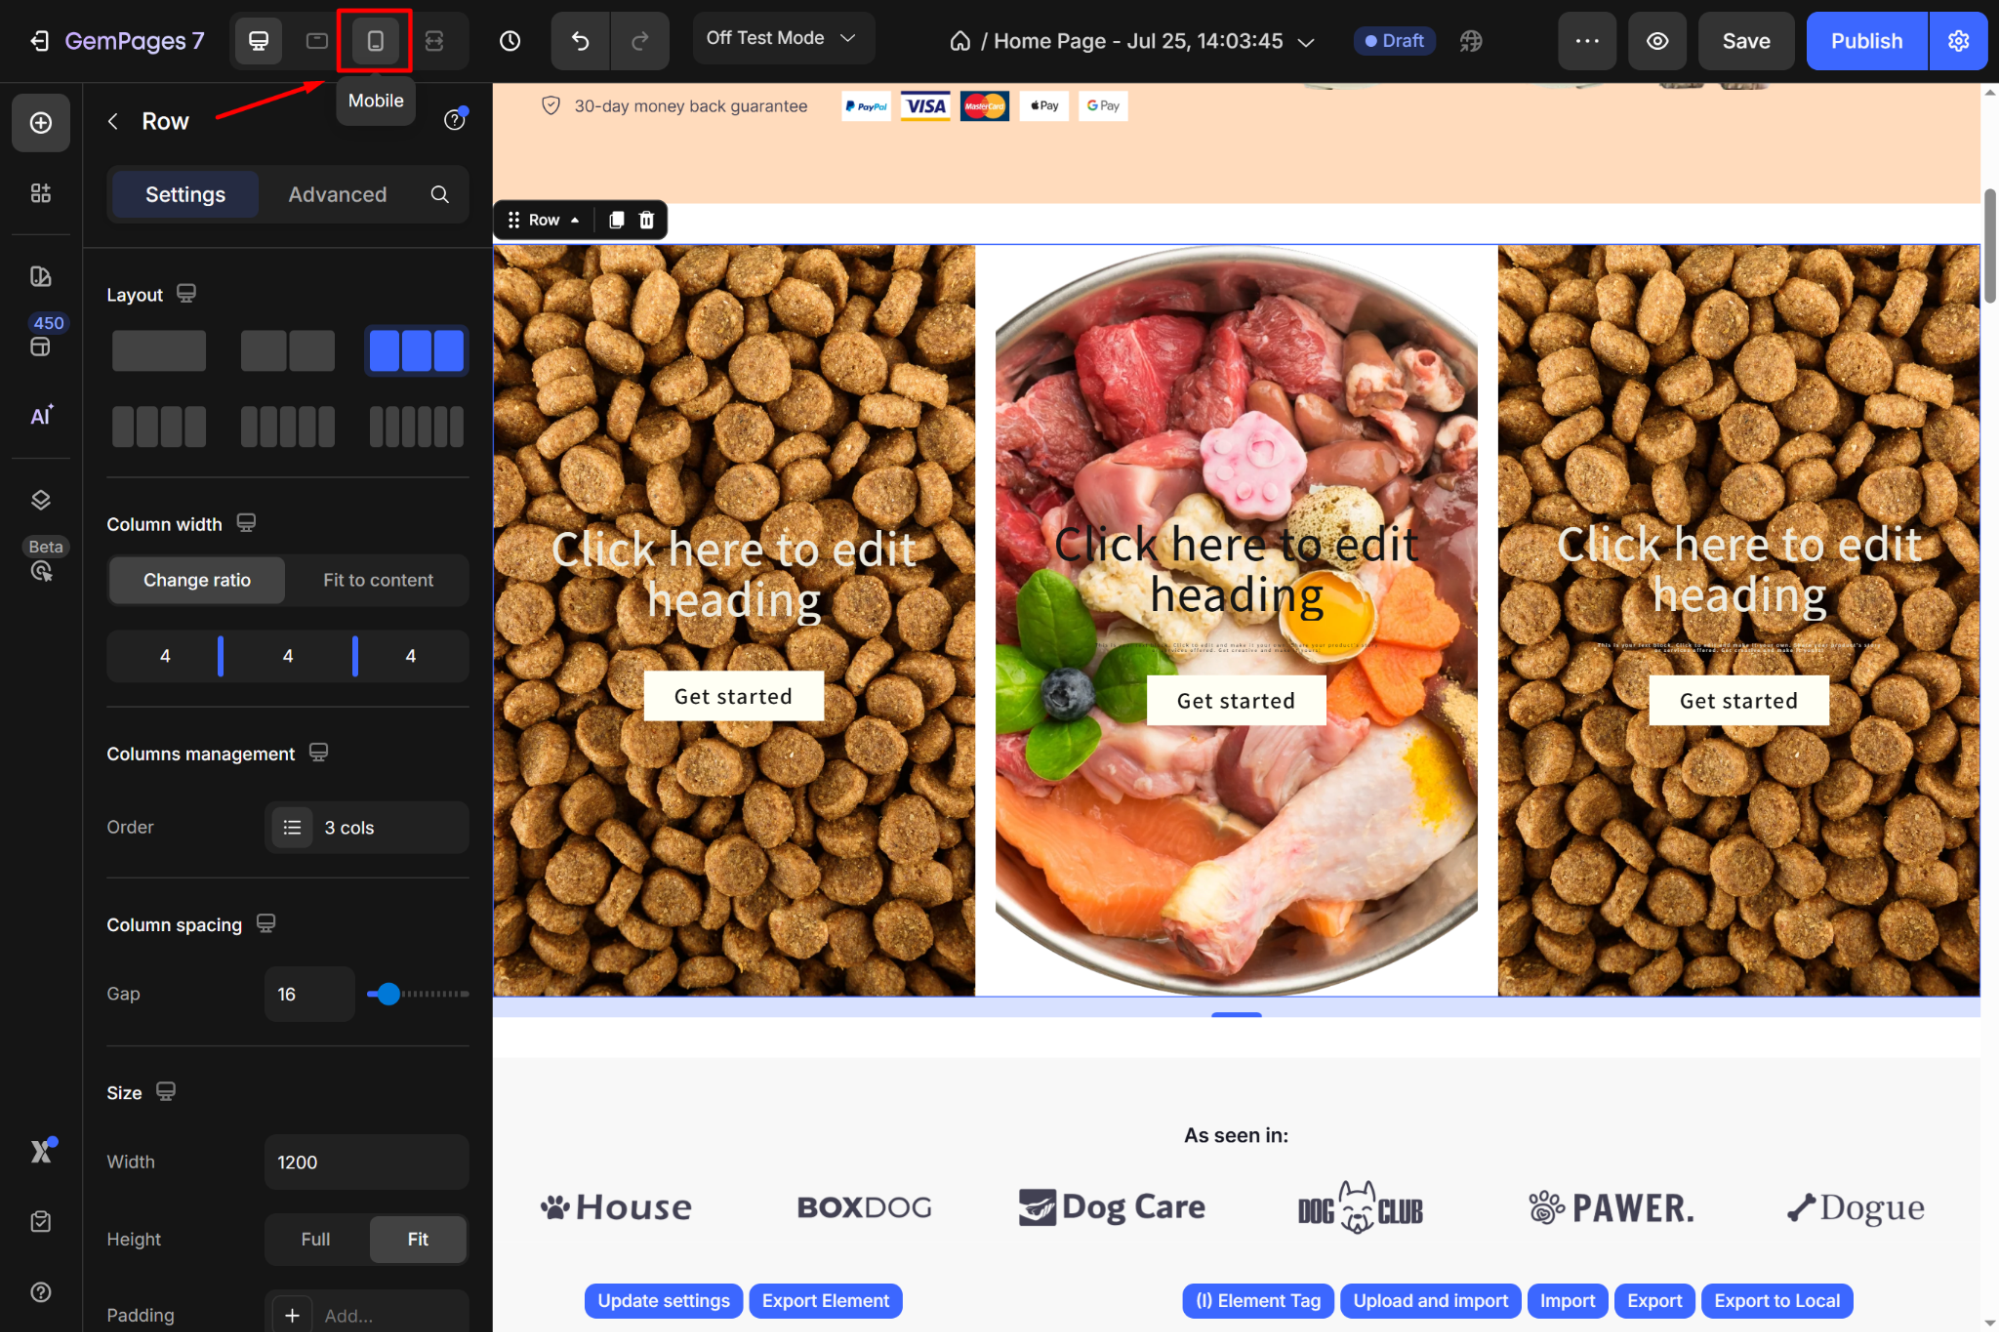
- Adjust the Layout for Smaller Screens. Refine Image, Text, and Button Sizes.
- Save your configurations and hit the Publish button to make your changes live.


