


About the Shopify URL handle
URL is simply the link that takes visitors to a specific page on your store (for example: https://yourstore.myshopify.com/products/product-name). In Shopify, every product, collection, or page has its own URL.
The URL handle is the customizable part at the end of that link. Shopify has a fixed structure for the beginning (like /products/, /collections/, or /pages/), but you can edit the handle that comes after to make it shorter, cleaner, or more SEO-friendly.
From Shopify Admin
For Product Pages and Collection Pages
Step 1: Go to Shopify Admin > Products > All products or Shopify Admin > Products > Collections and then select your preferred one.
Step 2: Under the Search engine listing preview section, click on “Edit website SEO.”
Enter your preferred URL in the URL and handle field.
Check the box Create a URL redirect for if needed.
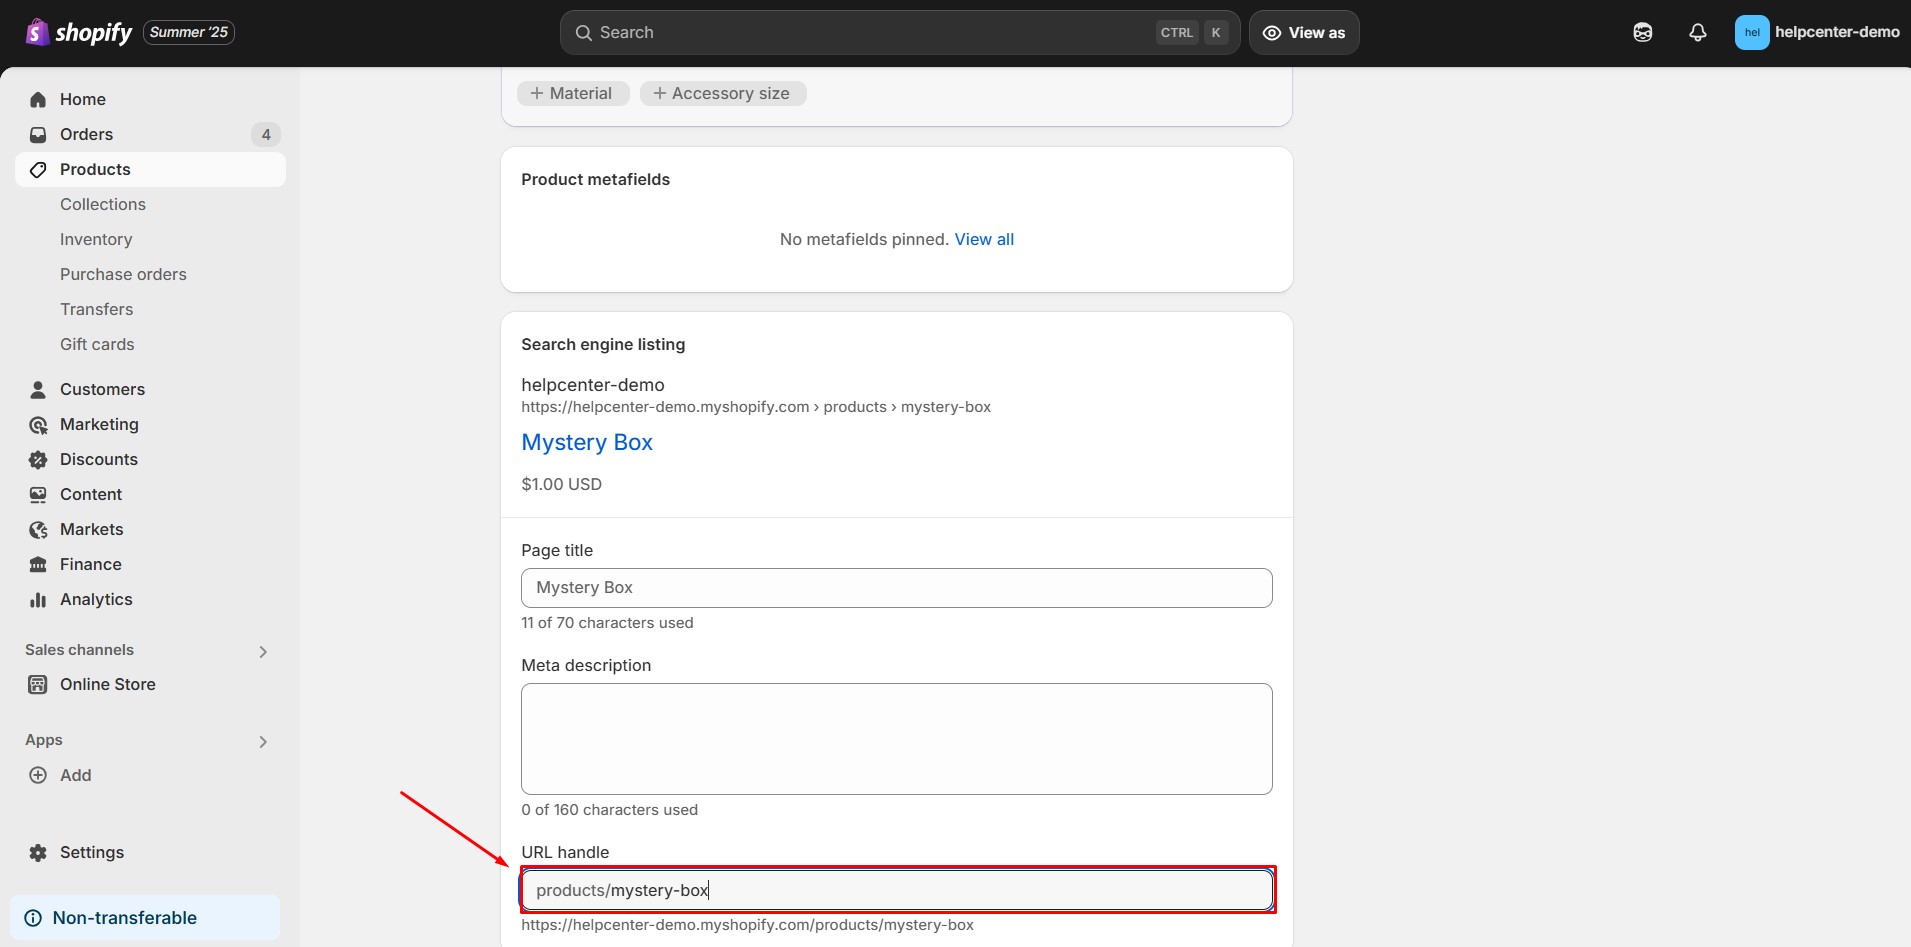 Hit “Save” when finished.
For other pages
Step 1: Go to your Shopify Admin > Online Store > Pages and select your preferred page.
Step 2: Under the Search engine listing preview section, click on “Edit website SEO.”
Enter your preferred URL in the URL and handle field.
Check the box Create a URL redirect for if needed.

Hit “Save” when finished.
As mentioned earlier, you cannot change the overall structure of your Shopify URL. That means the paths like /collections/, /products/, or /pages/ are fixed and you can only change the text after them.

From GemPages Editor
On the other hand, you can also update the URL handle of your Landing Pages and Blog Posts by following the steps below.
Version 6
Step 1: Head to the GemPages Dashboard > Landing Pages or Blog Posts. Select one of your pages to enter the Editor using the “Edit” button.
Step 2: Hit the three-dot button on the right corner of your Editor and select Page Settings.

Step 3: Under the General tab, scroll down to the Search engine listing section. Input your preferred URL in the Page URL and Handle field.

Click on “Save” when finished.
Version 7
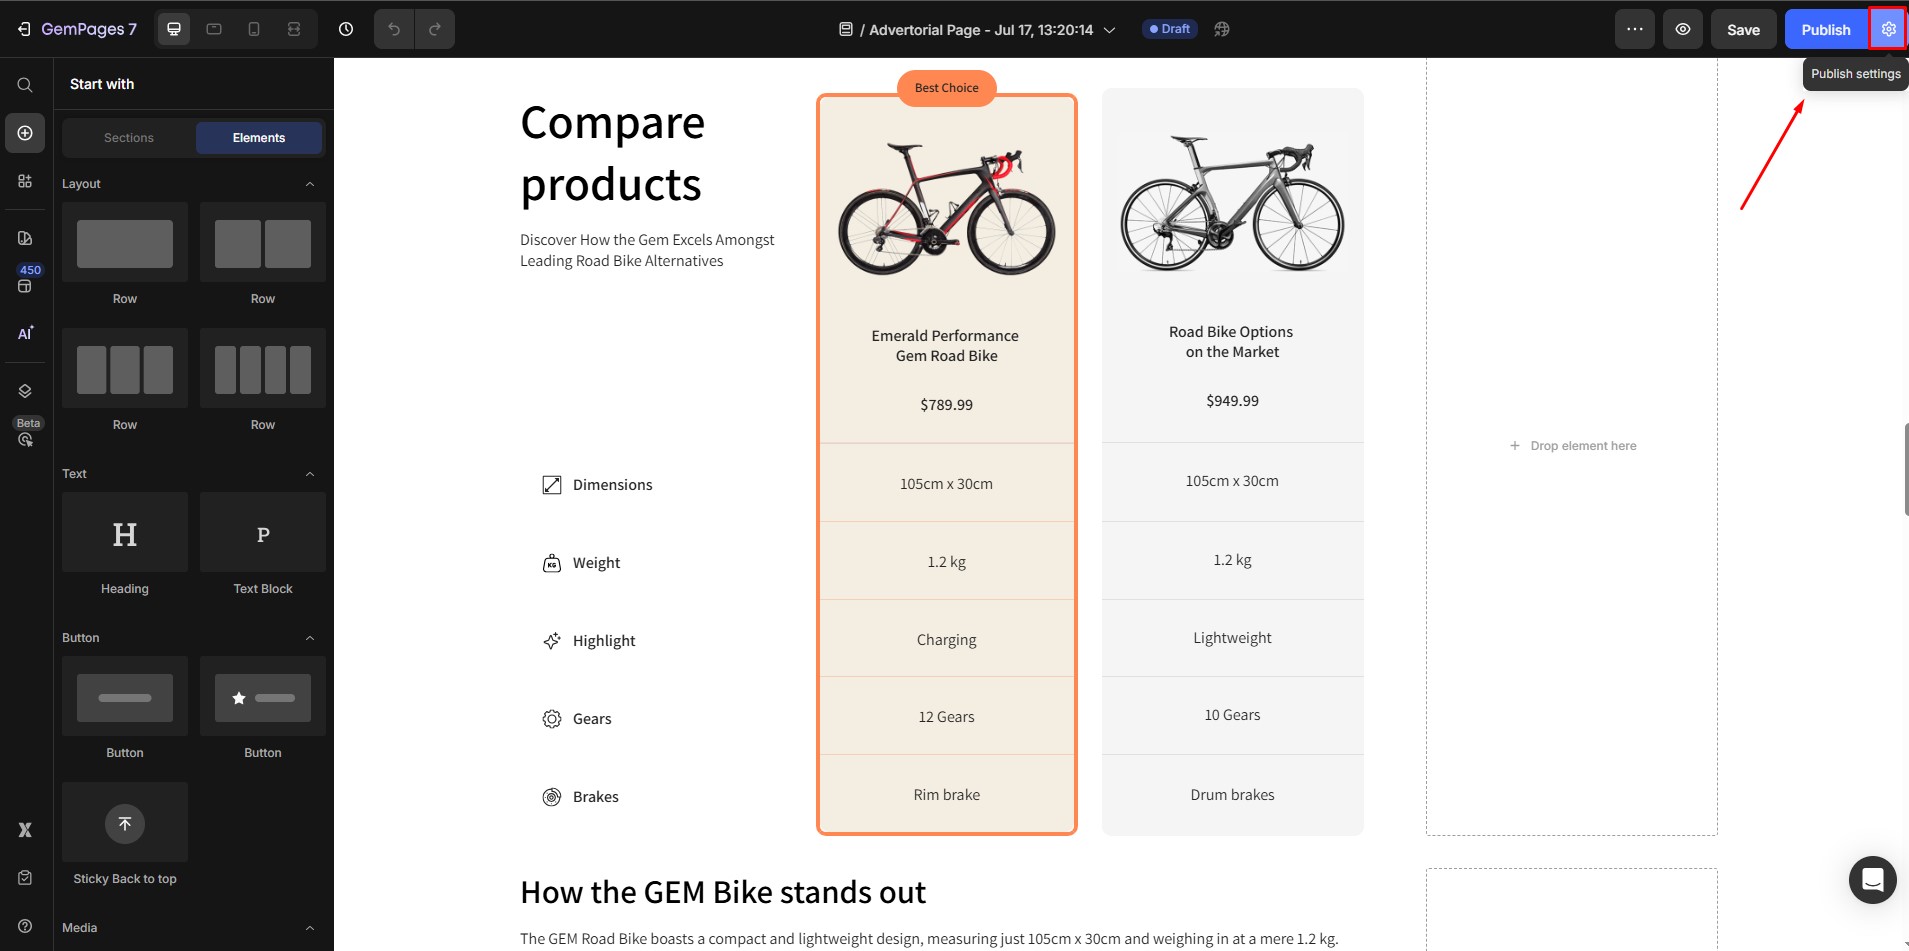
Step 1: Go to your GemPages Dashboard and select one of your pages to enter the Editor.
Step 2: Click on the Settings icon at the top right corner of the Editor.
Step 3: Next, the Publish Settings window will appear. Under the SEO section, input your preferred URL in the Page URL and Handle field.
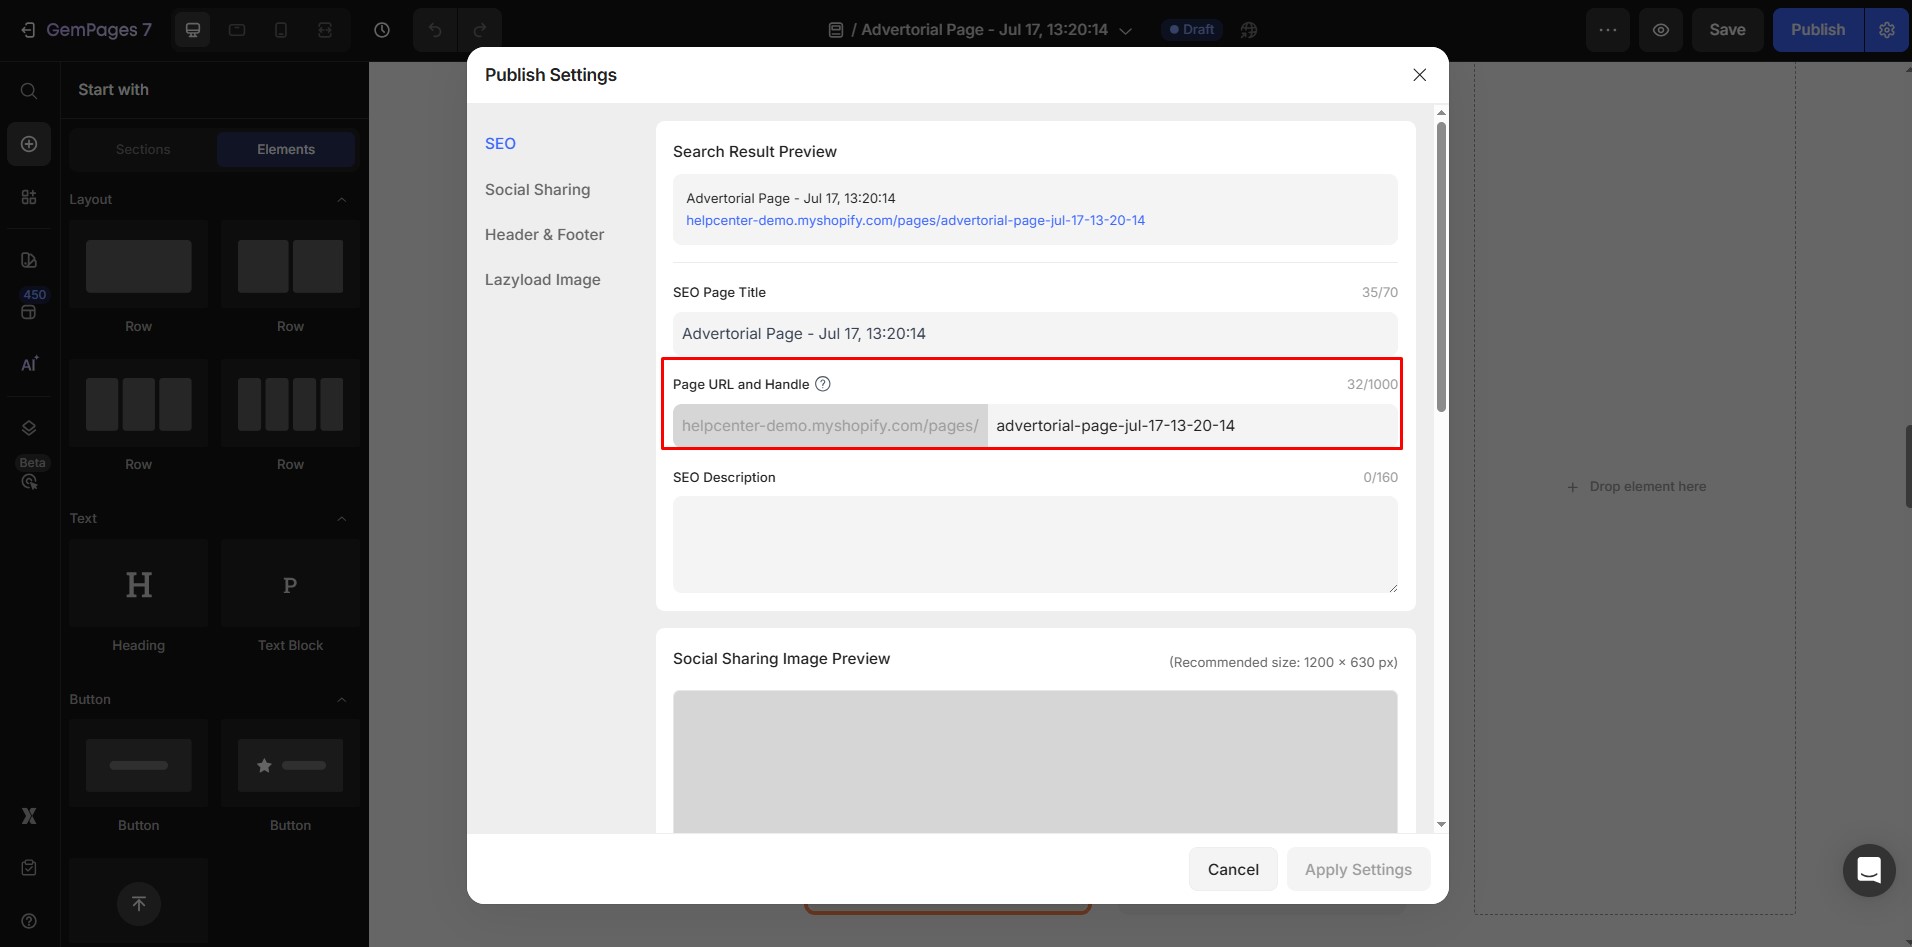
Hit “Apply Settings” when finished.
FAQs
1. Why do both of my landing pages have the same URL?
This usually happens when you clone a landing page but forget to change the URL handle or assign a product (in case you intended it to be a product page).
To check this, go to your Shopify Admin or GemPages Dashboard and review each page’s URL handle:
- In Shopify, open your product/page, scroll to Search engine listing preview > click Edit website SEO to verify the URL.
- In GemPages, open your page in the Editor, go to Page Settings (v6) or Publish Settings (v7), and check the Page URL and Handle field.
Make sure each page has a unique handle to avoid URL conflicts.
2. Can I change the “/products/” or “/collections/” part of the Shopify URL?
No. Shopify has a fixed URL structure for each type of content. You can only edit the handle (the text after “/products/” or “/collections/”), not the predefined path.
3. How do I check the link URL of my page in Shopify?
You can check it directly from the Shopify Admin:
- Go to Products, Collections, or Online Store > Pages.
- Scroll to the Search engine listing preview section.
- You’ll see the current URL under the “URL and handle” field.
4. What’s the difference between editing a URL in Shopify and in GemPages?
Shopify controls the URLs of product pages, collections, and static pages.
GemPages allows you to edit URLs for landing pages and blog posts created in the app. If you update a URL in GemPages, it only affects GemPages-built pages.
5. Do I need to create a redirect when I change a URL handle?
Yes, if your page was already published and indexed by search engines, it’s recommended to check the “Create a URL redirect” box when editing.
This ensures visitors who click the old link will still land on the correct page.


Thank you for your comments