


What Is Shopify Print on Demand?
Shopify Print on Demand (POD) is an eCommerce model that allows merchants to sell custom-designed products without holding inventory.
When a customer places an order, the product is printed and shipped directly by a third-party provider. This model is ideal for entrepreneurs, artists, or niche brands looking to start a low-risk business.
How Does Print on Demand Work?
Here’s how the typical workflow looks:
- Choose a POD provider compatible with Shopify.
- Create products using their design tools (e.g., T-shirts, mugs, posters).
- When customers order from your Shopify store, the POD provider automatically prints and ships the product.
- You earn the difference between the retail price and the fulfillment cost.
No inventory. No upfront manufacturing. Just product ideas turned into physical goods—on demand.
Getting Started with Shopify Print on Demand
Before jumping into store building, research and choose the right print-on-demand service for your niche. Each service offers different pricing, shipping speeds, product catalogs, and design tools.
Some popular POD providers for Shopify:
- Printify – Wide product selection and multiple print partners.
- Printful – Premium quality, fast global shipping, advanced mockup generator.
- Gelato – Great for global printing and sustainability.
- Teelaunch – Focus on apparel and lifestyle goods.
For a deeper comparison, refer to this guide: Top 11 Print-on-Demand Companies for Shopify
Each of these services has official Shopify apps. You can install them directly via the Shopify App Store and follow their documentation to connect your store.
How to Create a Shopify Print on Demand Store with GemPages
While Shopify alone is enough to launch a POD store, customizing your storefront is crucial to stand out and convert more visitors. GemPages is a powerful drag-and-drop page builder for Shopify, perfect for Print on Demand entrepreneurs who want to:
- Build custom storefronts without coding.
- Increase conversions with CRO-focused elements.
- Launch faster with pre-built templates designed for different niches.
For a detailed guide on installing GemPages to your store, please refer to this article: How to install GemPages.
Note: Before using GemPages, ensure you’ve successfully integrated your POD service into your Shopify store and that your products are visible in the Shopify Products section.
Your storefront can have multiple pages, but in this guide, we’ll focus on creating the most essential pages for a successful print-on-demand Shopify store, including:
- Homepage — Introduces your brand and highlights key products.
- Product Page — Displays detailed product information and purchase options.
1. Design the Homepage for Your POD Store
The homepage is your brand’s first impression. For print-on-demand, it should:
- Highlight hero products or designs
- Communicate your niche clearly (e.g., anime merch, pet lovers, motivational quotes)
- Use visual storytelling to stand out
Recommended Elements:
- Hero banner with CTA
- Product carousel or featured collection
- Customer reviews (social proof)
- Brand mission/value proposition
- Email signup for retention
Step-by-Step: Build Homepage with GemPages
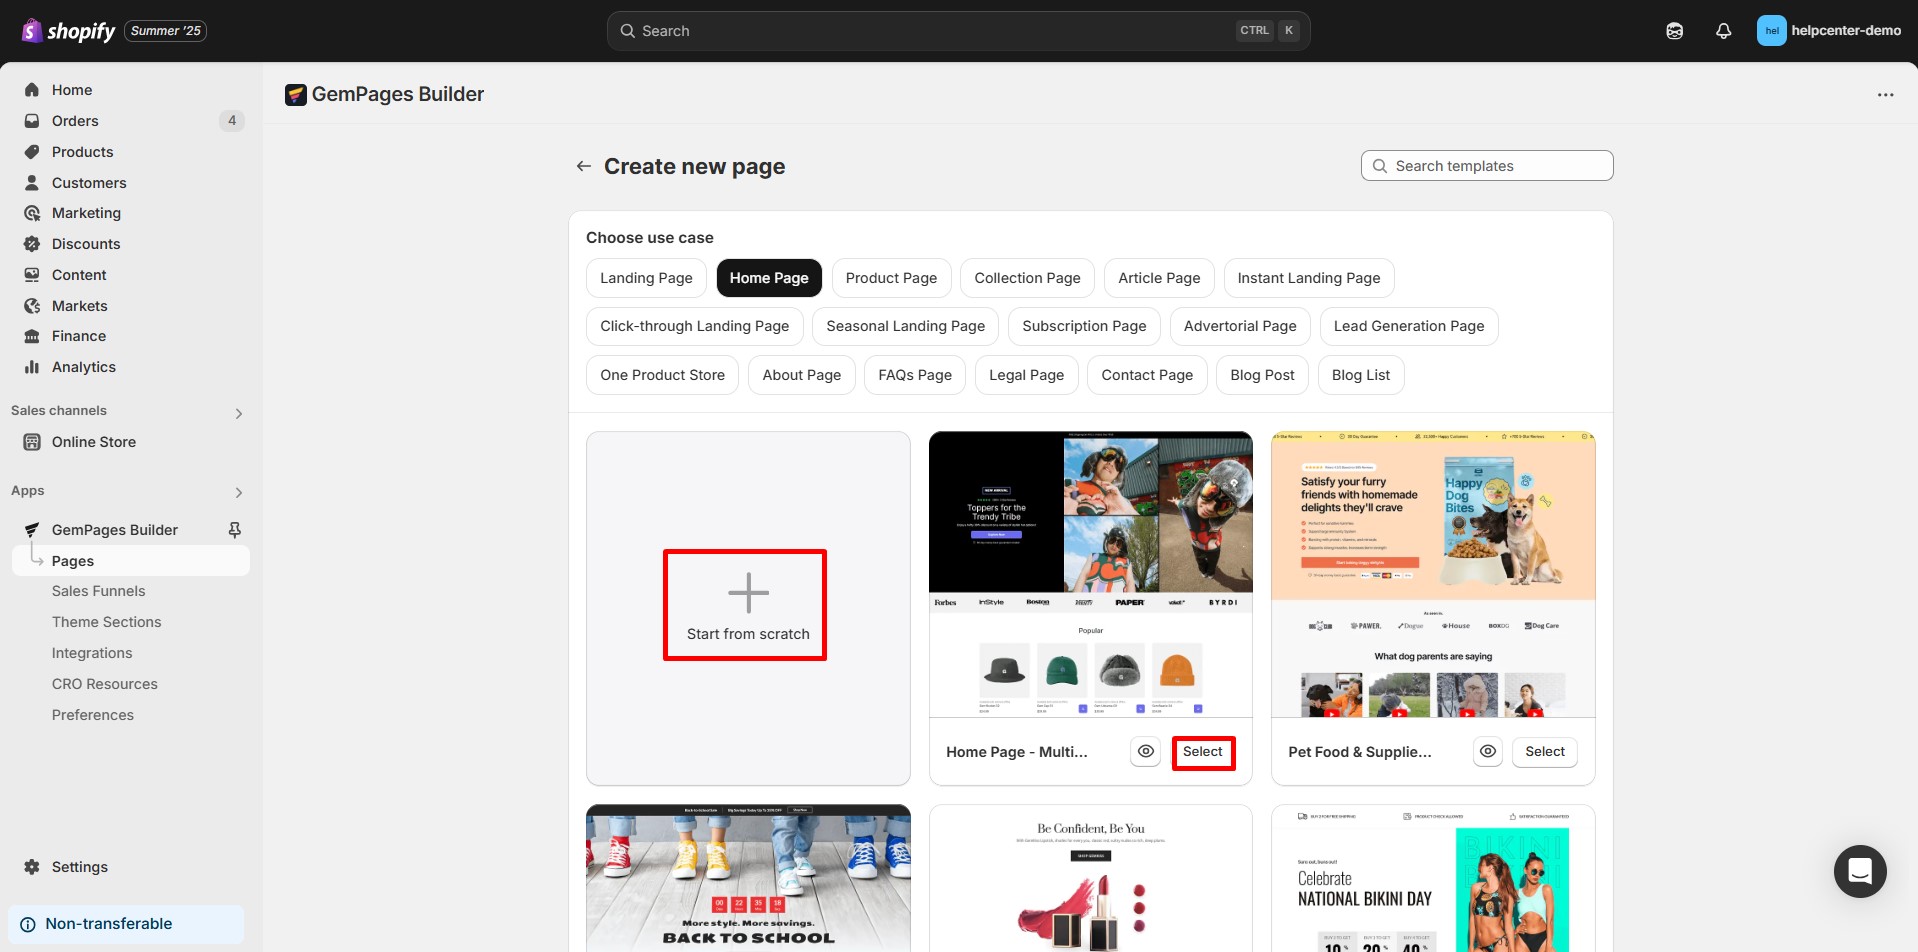
Step 1: Go to GemPages Dashboard → Click “Create New Page” → Select Homepage.
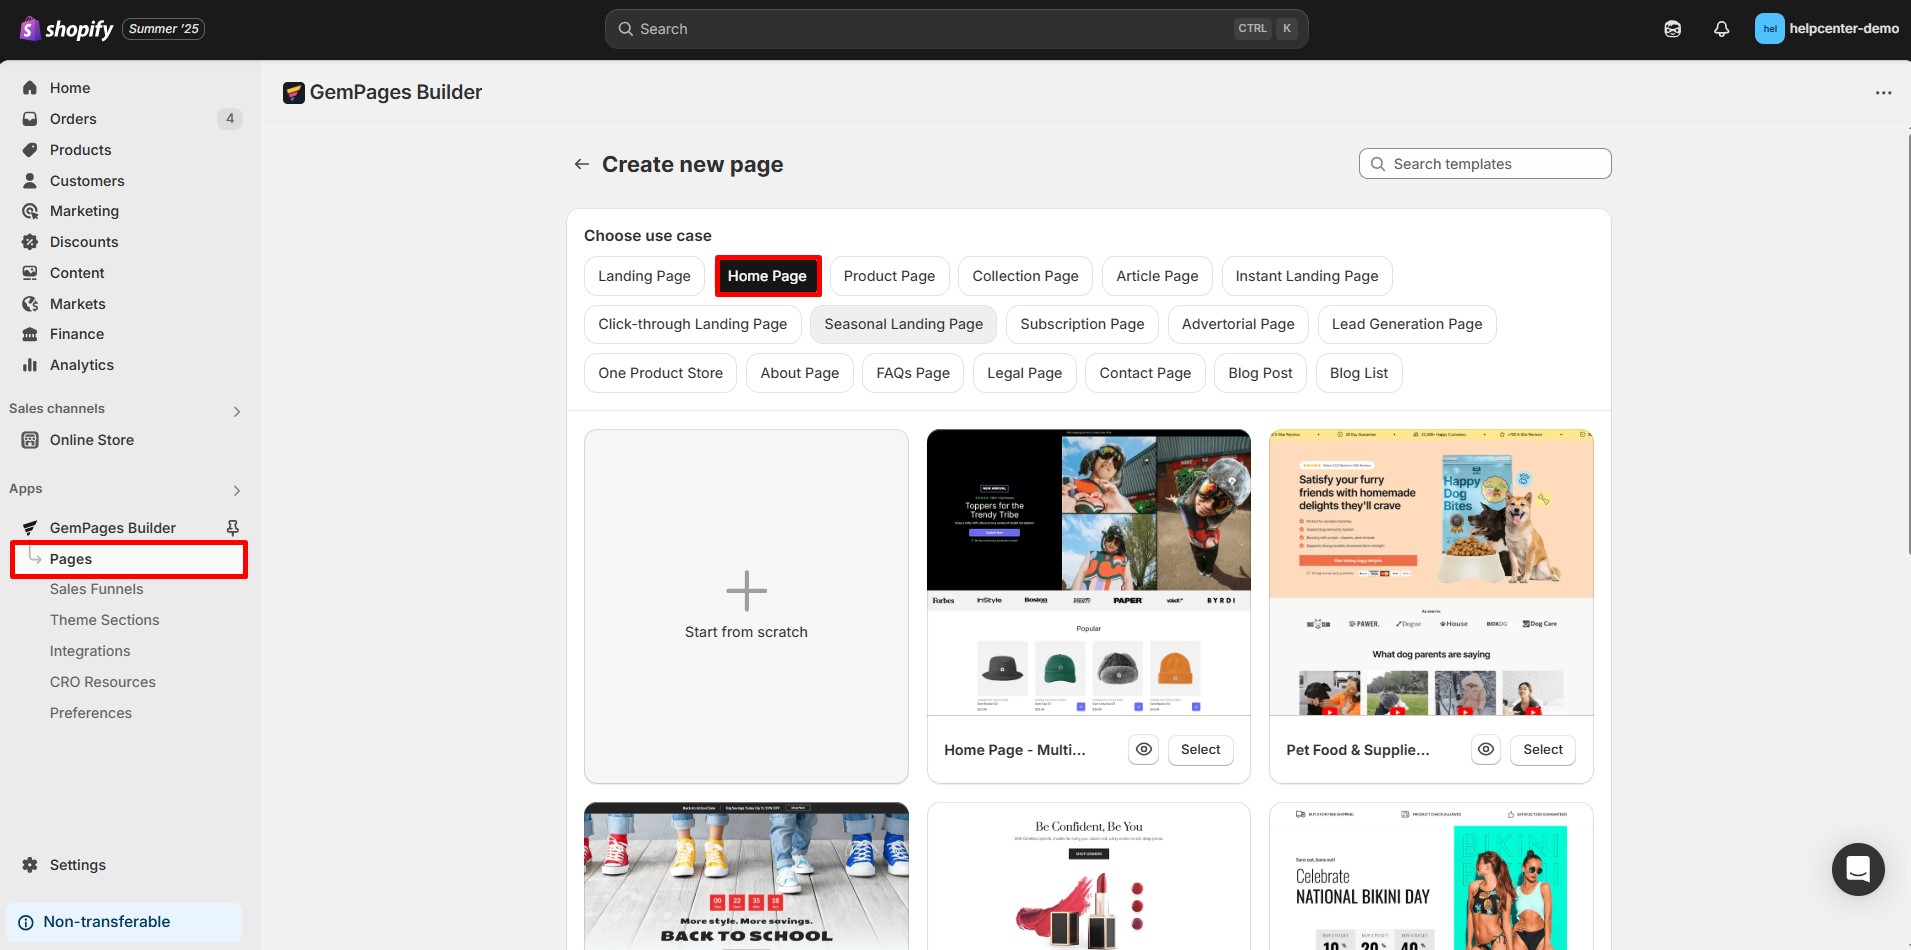
Step 2: Choose a pre-built template that is suitable for your niche or start from scratch.
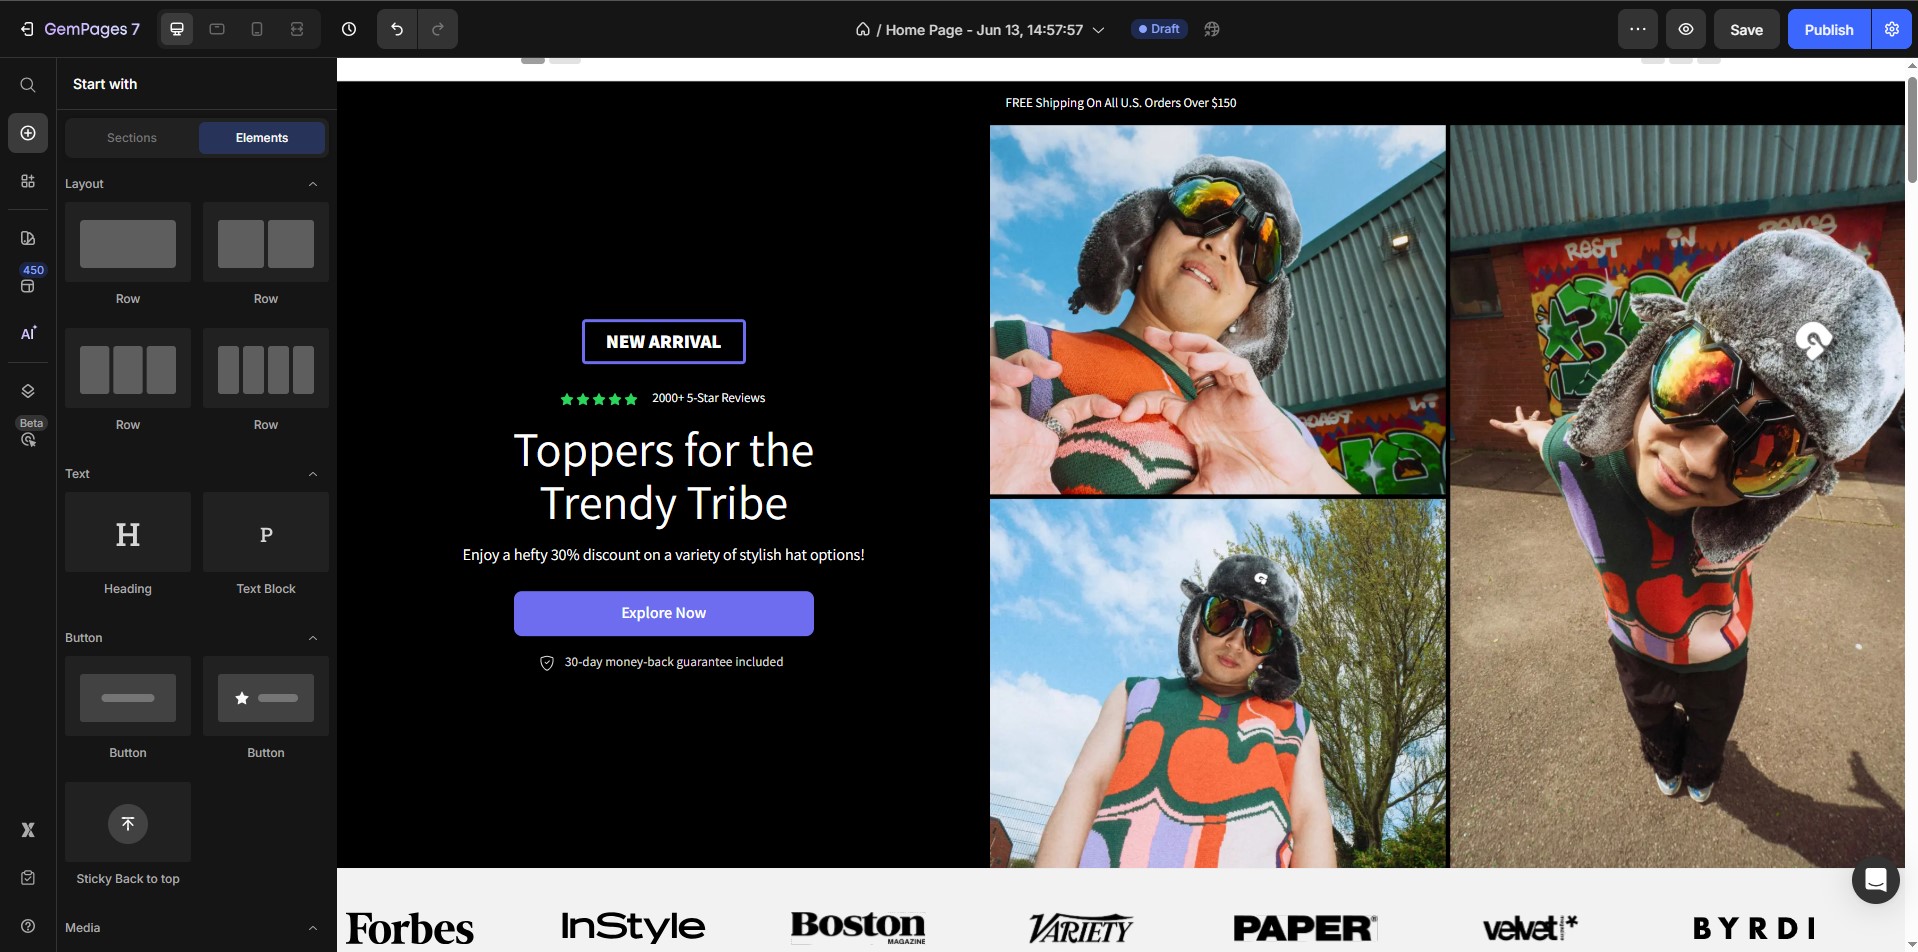
Step 3: If you choose “Start from scratch”, you’ll begin with a blank canvas. From here, you can use the drag-and-drop editor to fully customize your homepage based on your own layout and design ideas.
For example, you can add blocks like:
- Hero section (Image + Call-to-action button)
- Product list (linked to your POD products)
- Testimonial block
- Email opt-in form
- And other content blocks as needed
However, in this guide, we’ll go with a pre-designed template from the Template Library.
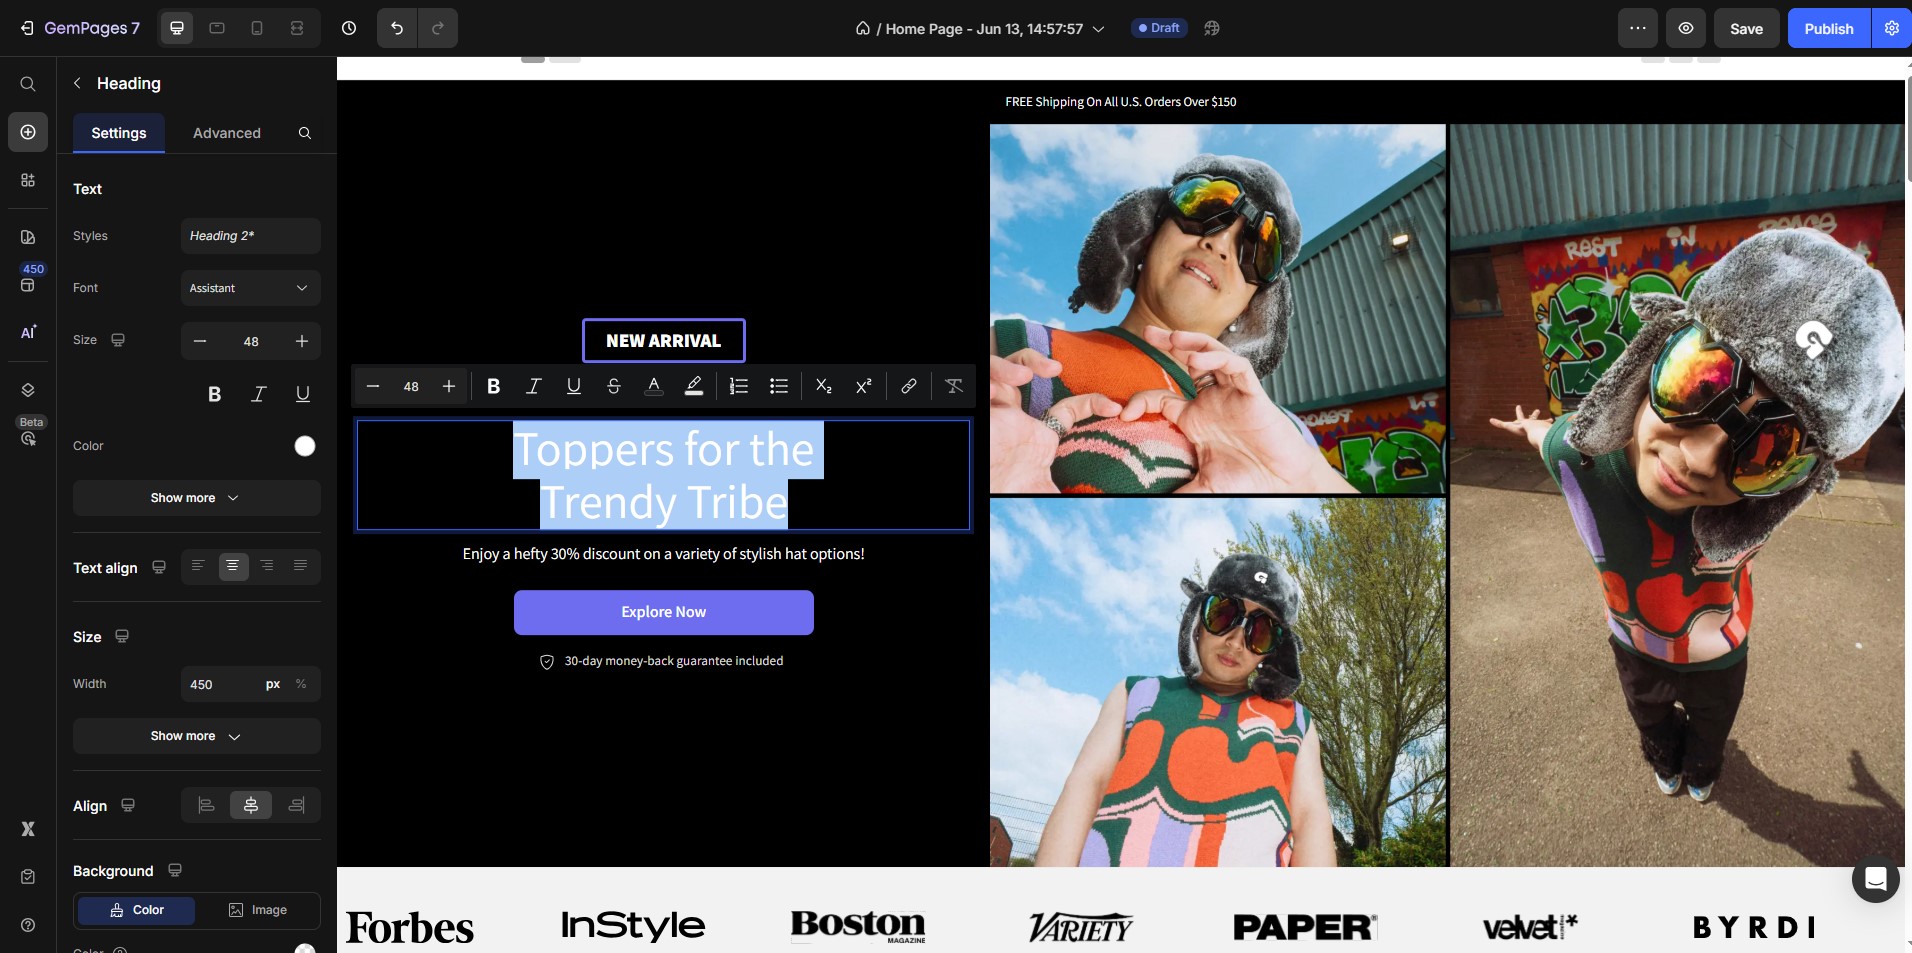
Step 4: Customize colors, fonts, and layout.
 Step 5: Preview on desktop and mobile.
Step 6: Publish and replace the Shopify default homepage.
2. Design the Product Page for Your POD Items
A strong product page is critical for POD success. Use it to:
- Showcase mockups from your POD provider
- Add persuasive copy
- Build trust with delivery details and reviews
Step-by-Step: Create POD Product Page with GemPages
Step 1: In GemPages, choose “Product Page” type.
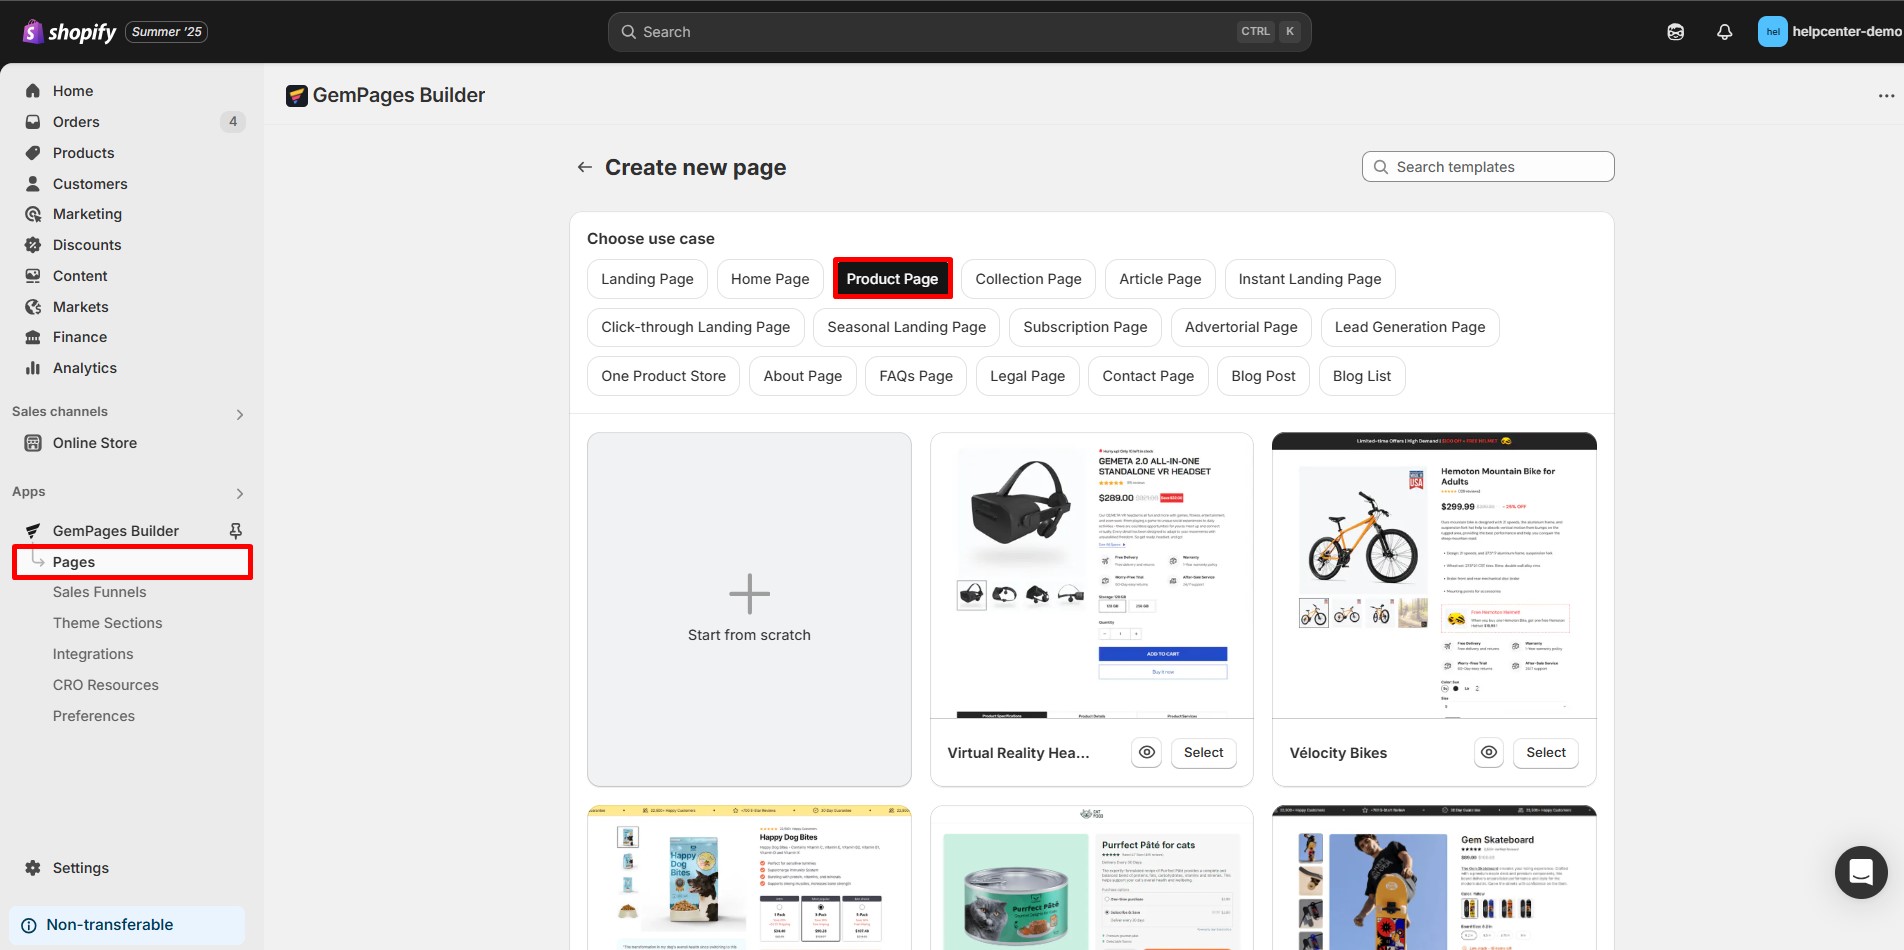
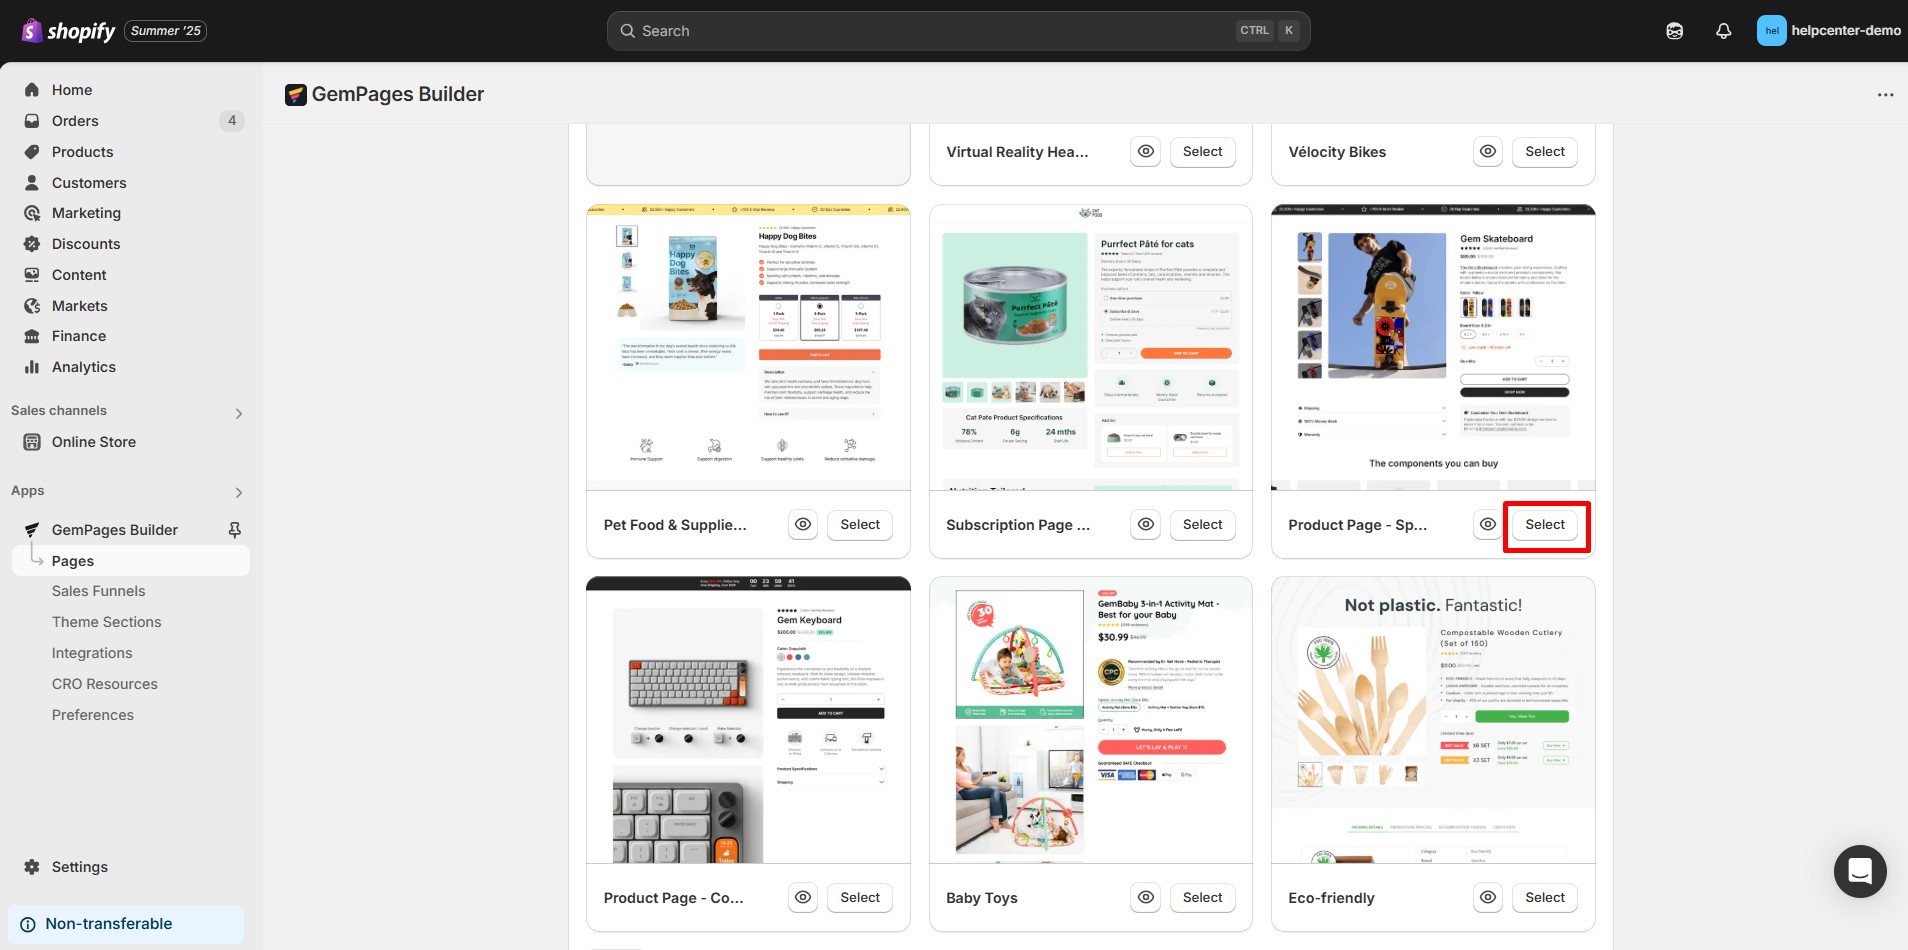
Step 2: Select a CRO-optimized template from the template library.
Step 3: Customize the product page by adjusting the font, colors, or adding new elements/sections as you like.
You can drag in new elements or sections, such as:
Step 4: Once the layout is done, assign this product page template to your POD product. For more information on how to assign product to GemPages template, please refer to this article.
Now when customers click on those products, they’ll see your custom-designed layout with GemPages instead of the default Shopify page.
To further enhance your print-on-demand store, consider building additional key pages. You can find helpful guides on how to create the following pages:


Thank you for your comments