


Customizing text styles is one of the easiest ways to make your Shopify store stand out. In this article, we’ll guide you step-by-step on how to change text styles in GemPages.
Note:
- Some settings, such as Font Size, Line Height, and Padding, are responsive. This means they automatically adjust to fit different screen sizes.
- GemPages lets you preview how your changes will look on desktop, tablet, and mobile devices.
How to Change Text Styles in GemPages?
Step 1: Select the Text or Heading Element
In the GemPages editor, click directly on the text element, which could be any text block, heading, or paragraph on your page.

This will activate the Settings Panel on the left side of the screen.
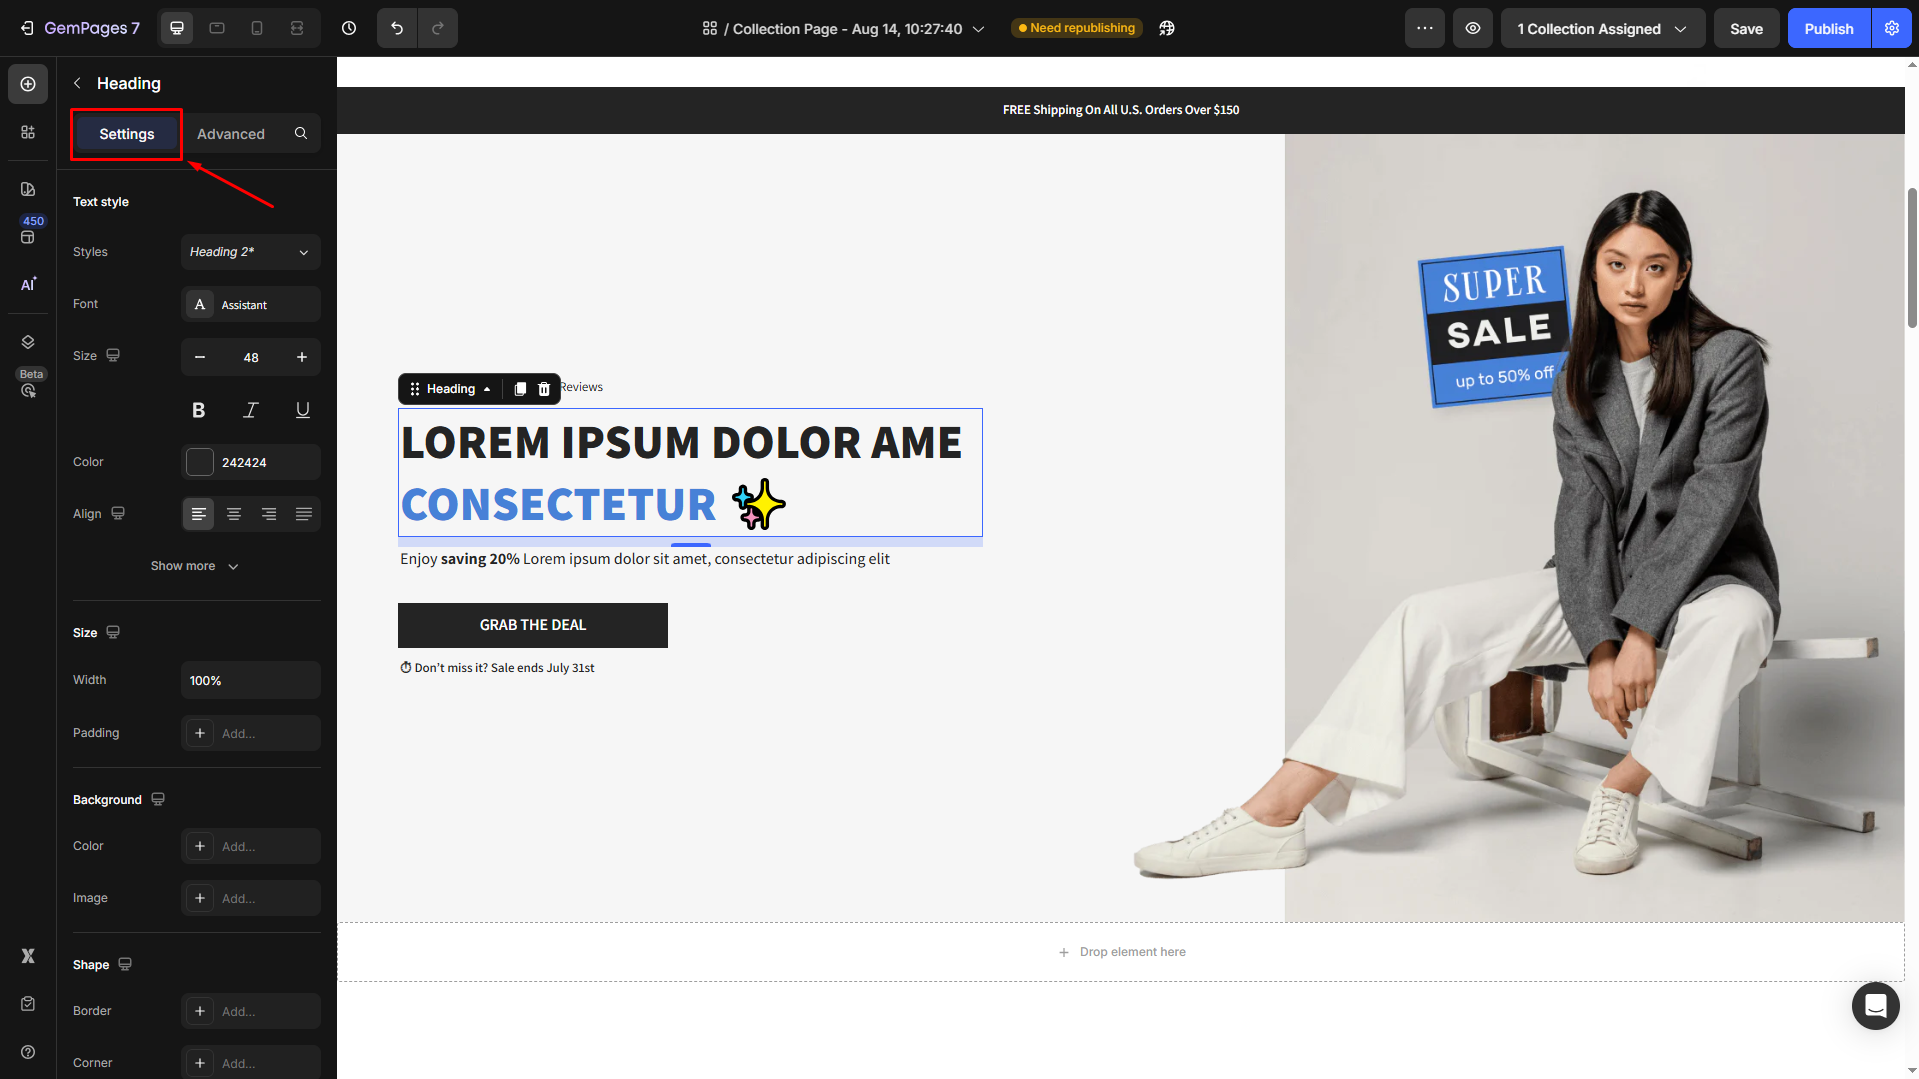
Step 2: Access Text Style Options
The Settings panel displays a variety of customization options. Locate the Text style section to change the text style and customize it your way.
Here’s what you can adjust:
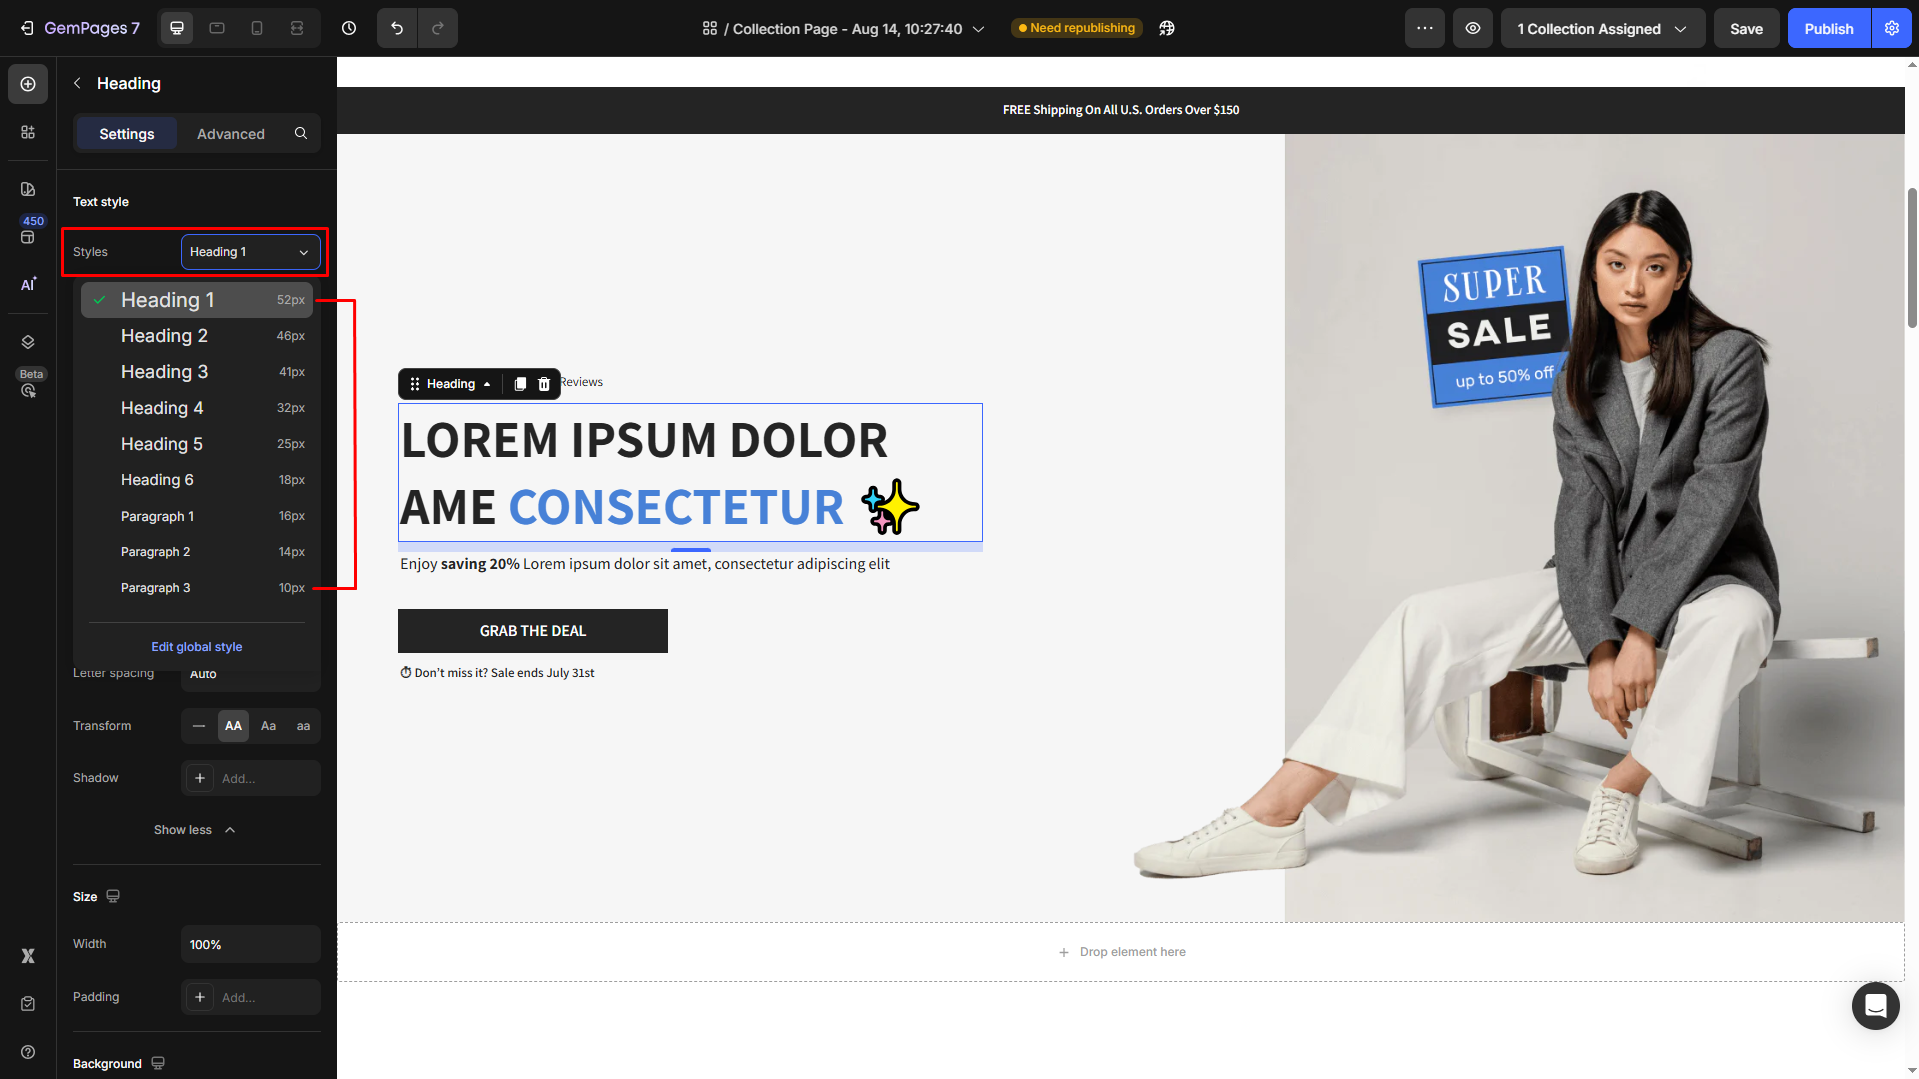
1. Styles
Choose from pre-defined styles to quickly apply a polished look to your text.
2. Font
Select a font that matches your brand identity. GemPages integrates with Google Fonts, so you’ll have plenty of options to choose from.
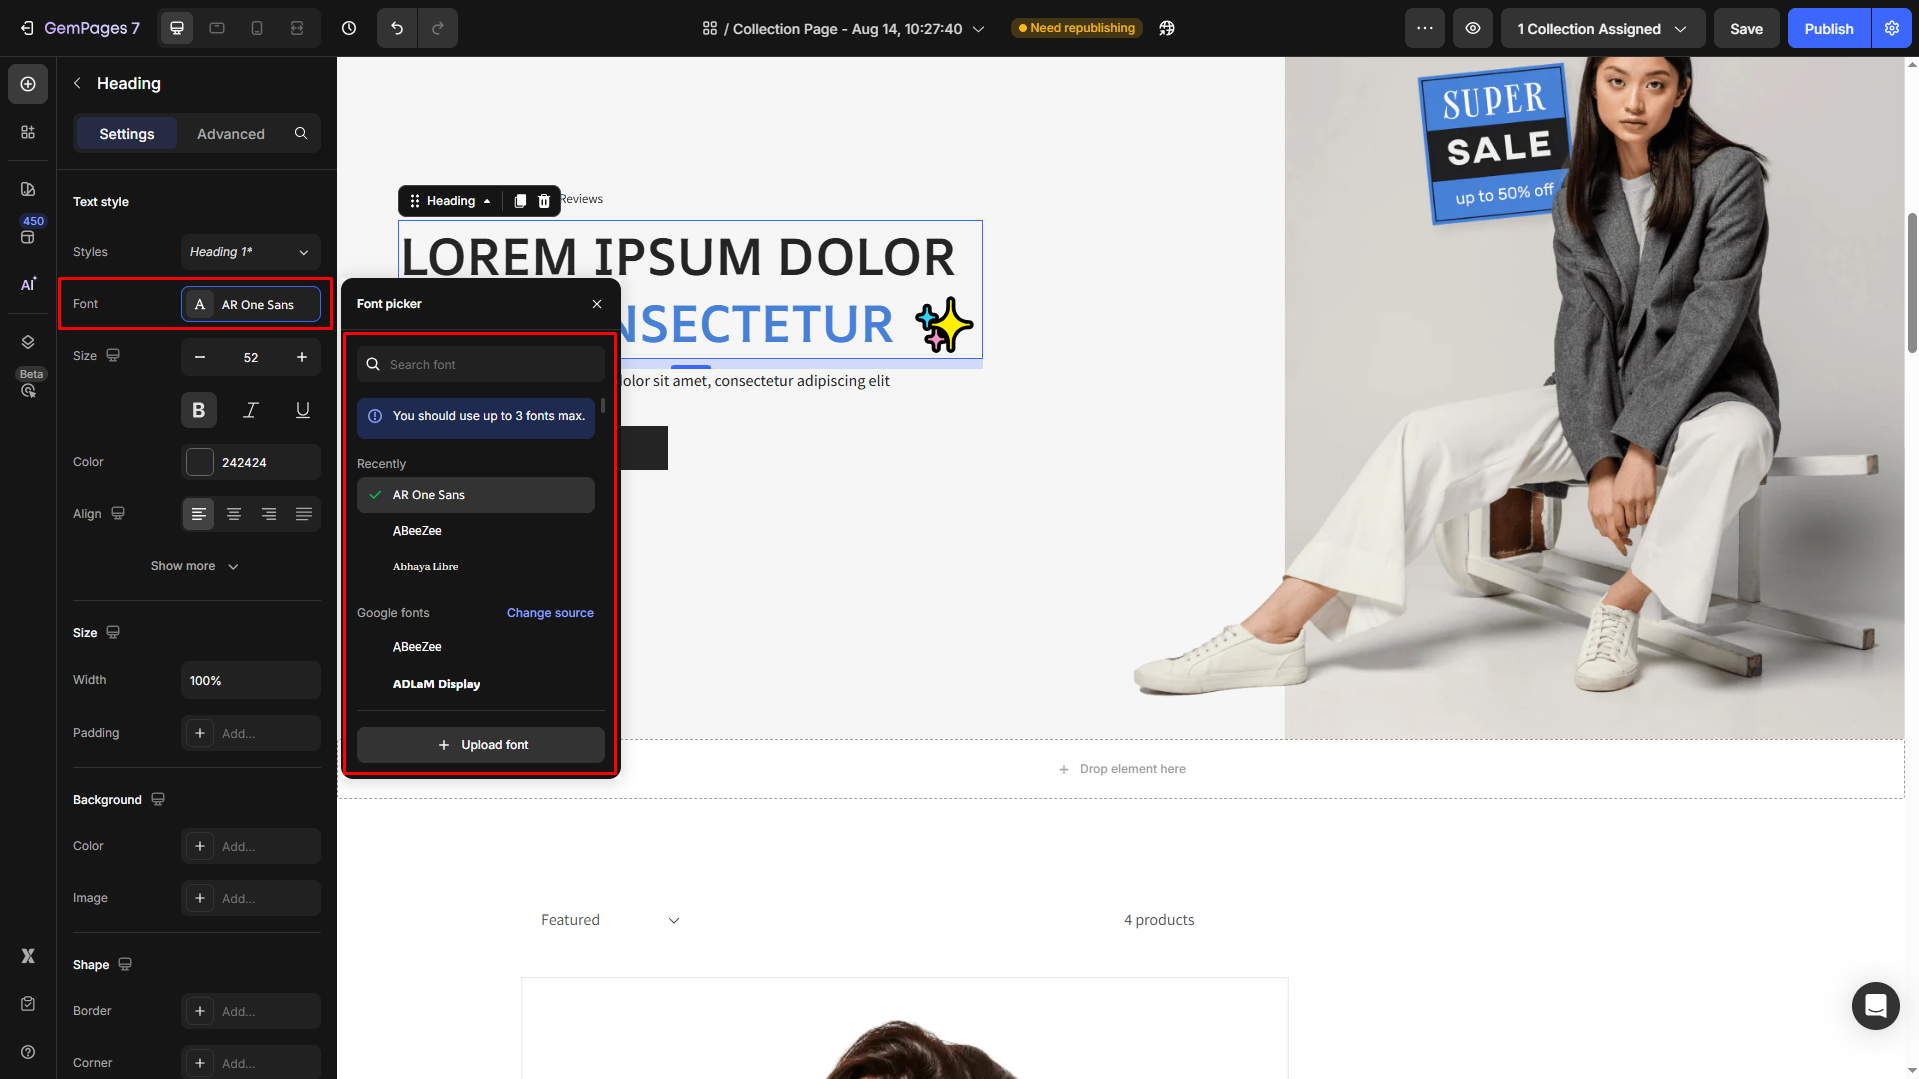
You can also upload your font. For more details, refer to this article.
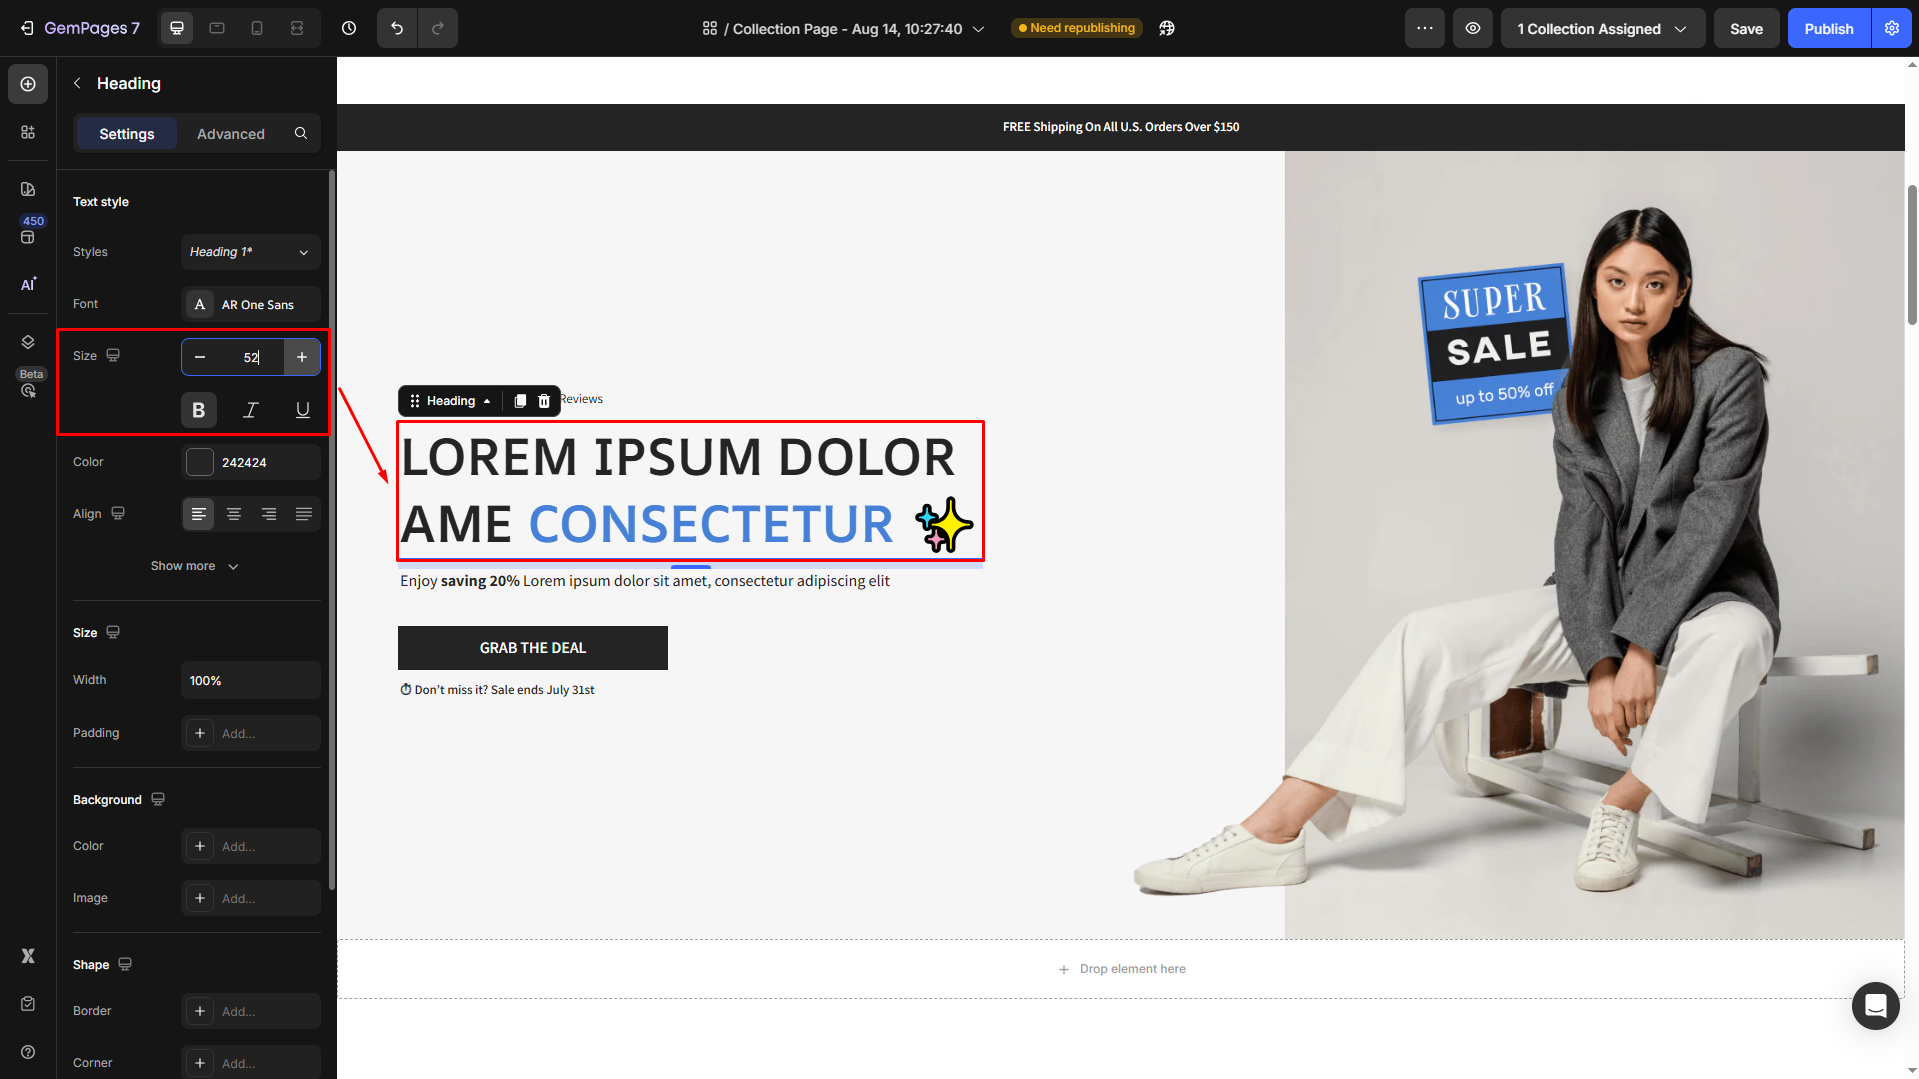
3. Size
Easily resize your text to suit your design. Adjust using the slider or input a specific value.
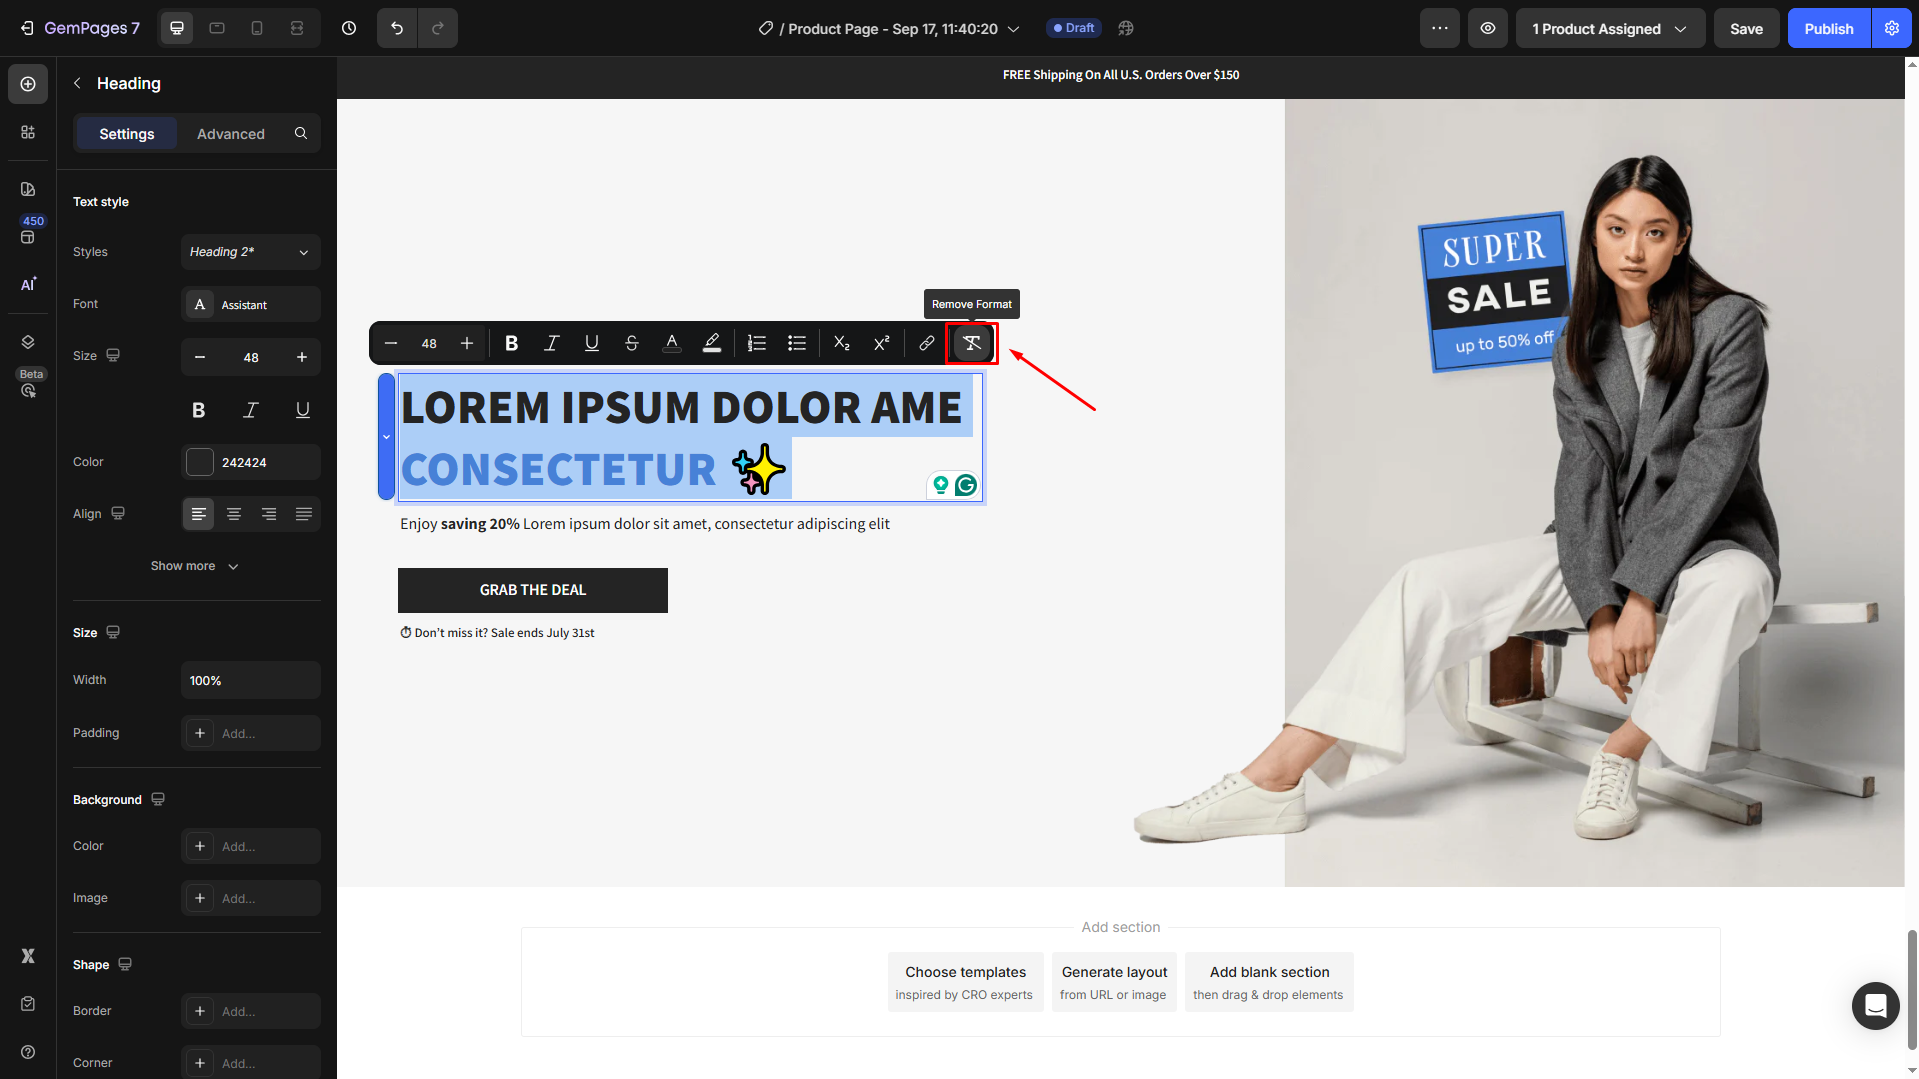
If you have already changed the text size using the Live Text Editor, you may not adjust the size directly from the left sidebar settings afterward.
In this case, please clear the text’s format, then change the text size using the settings panel.
4. Color
Set your text color. You can choose from the palette or input a custom hex code to match your brand.
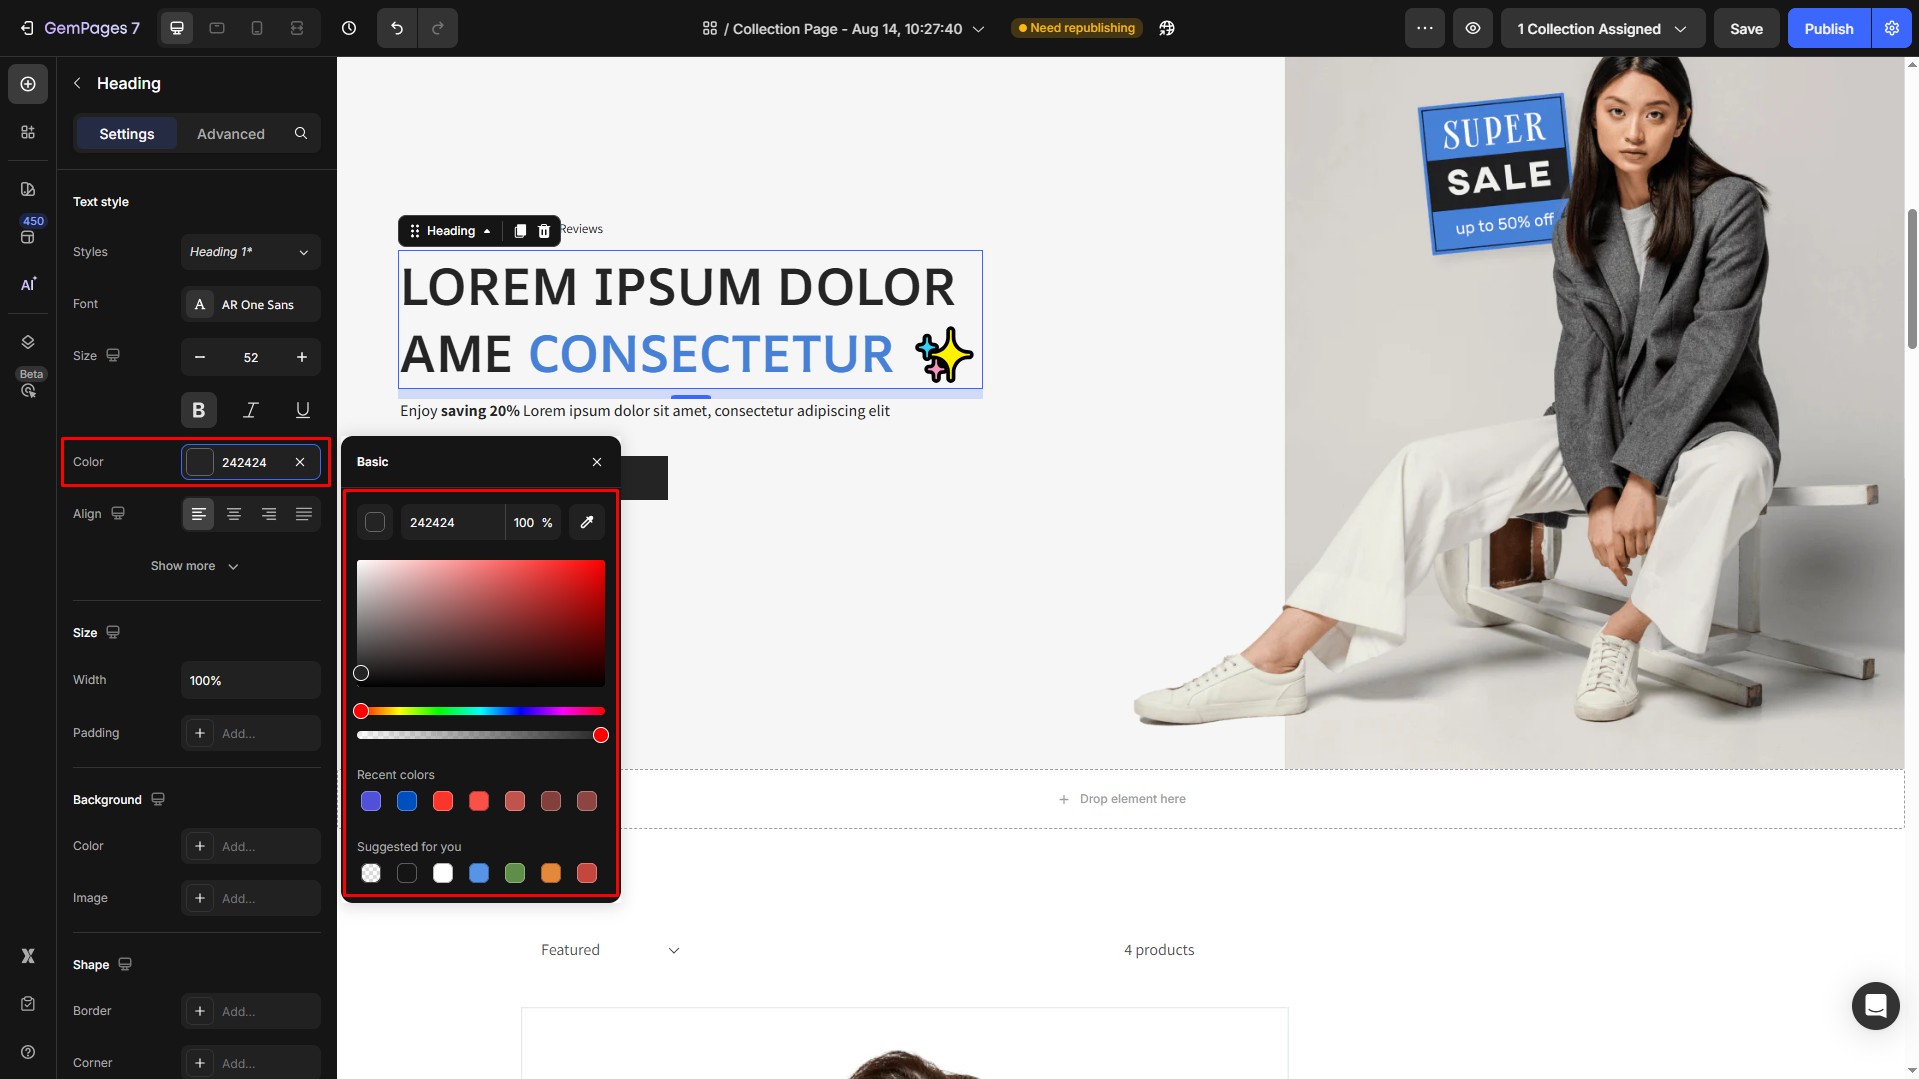
If you want to change the color of specific text (instead of applying it to the entire element), follow these steps:
- Highlight the text you want to change.
- From the live text editor toolbar that appears above the text, click the Text color option.
- Select a color from the palette or enter a HEX code.

This way, only the highlighted text will be updated, while the rest of the element keeps its original color.
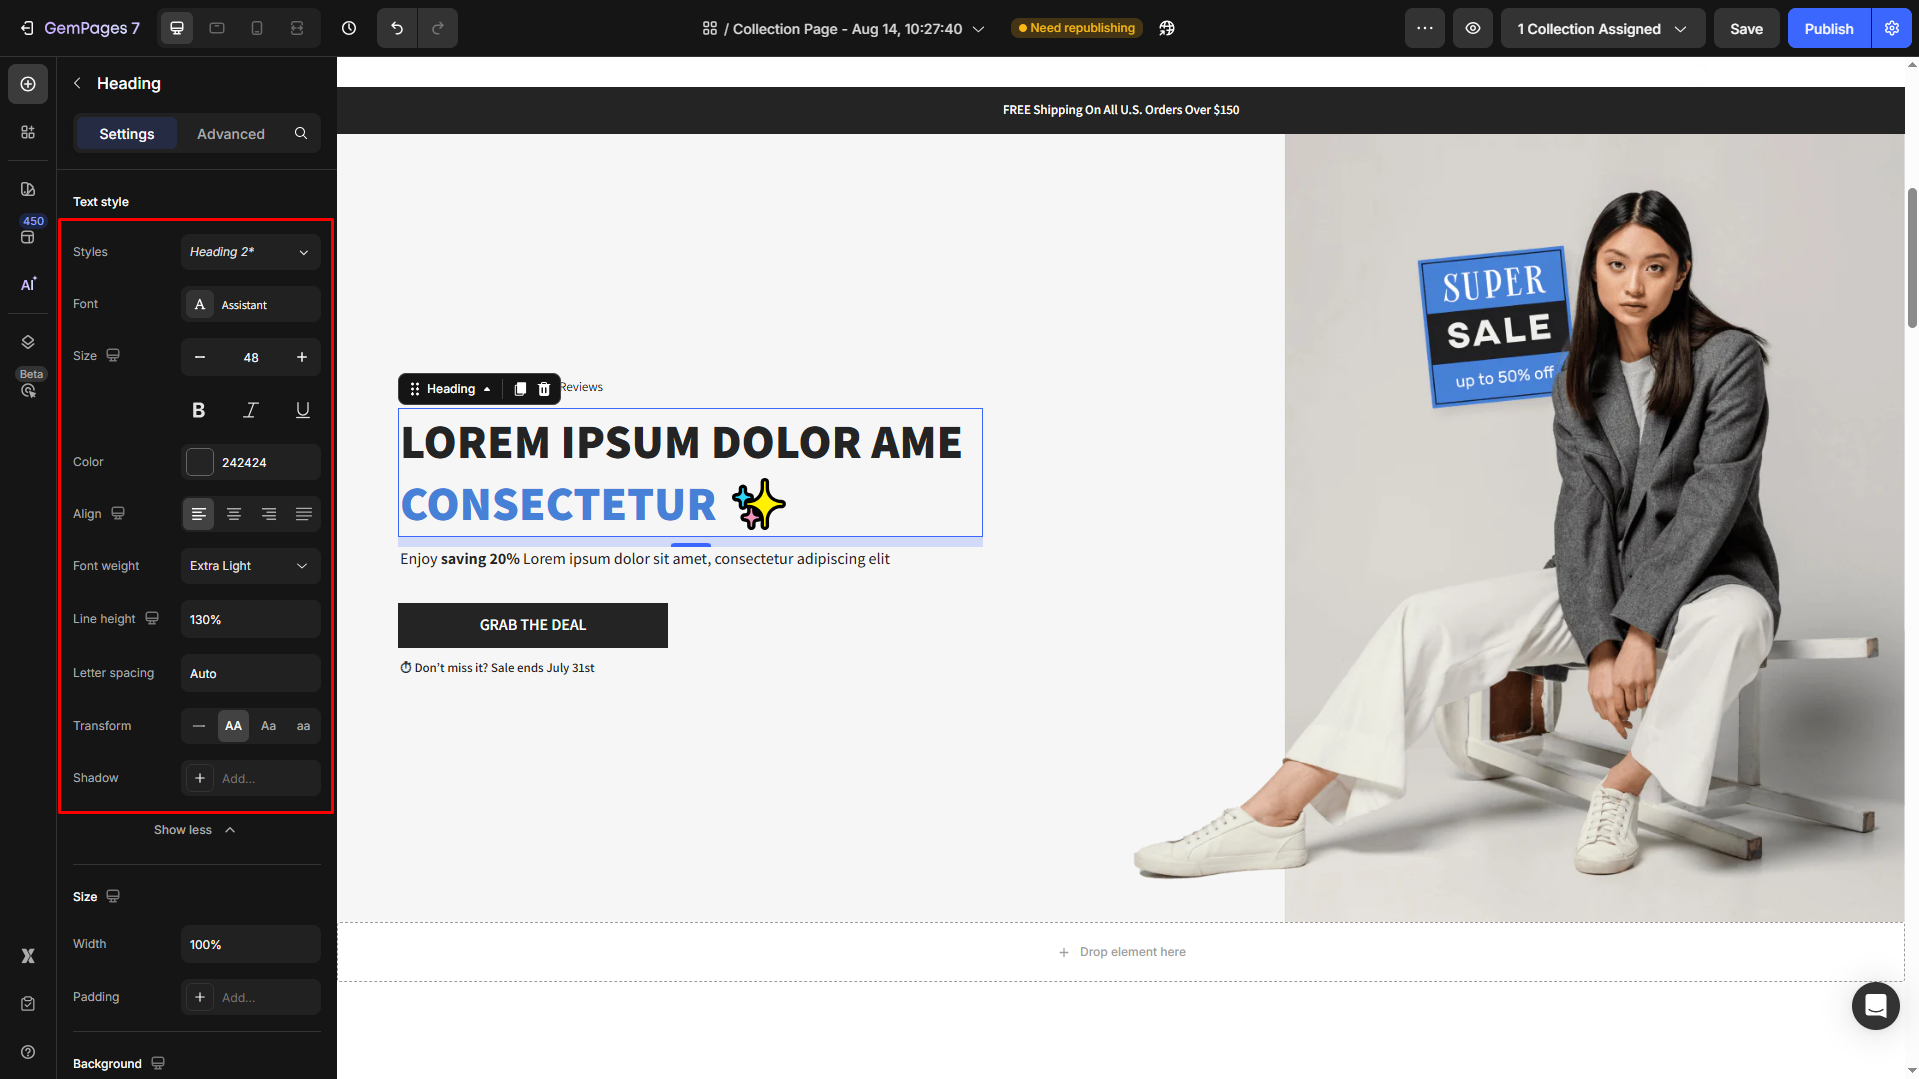
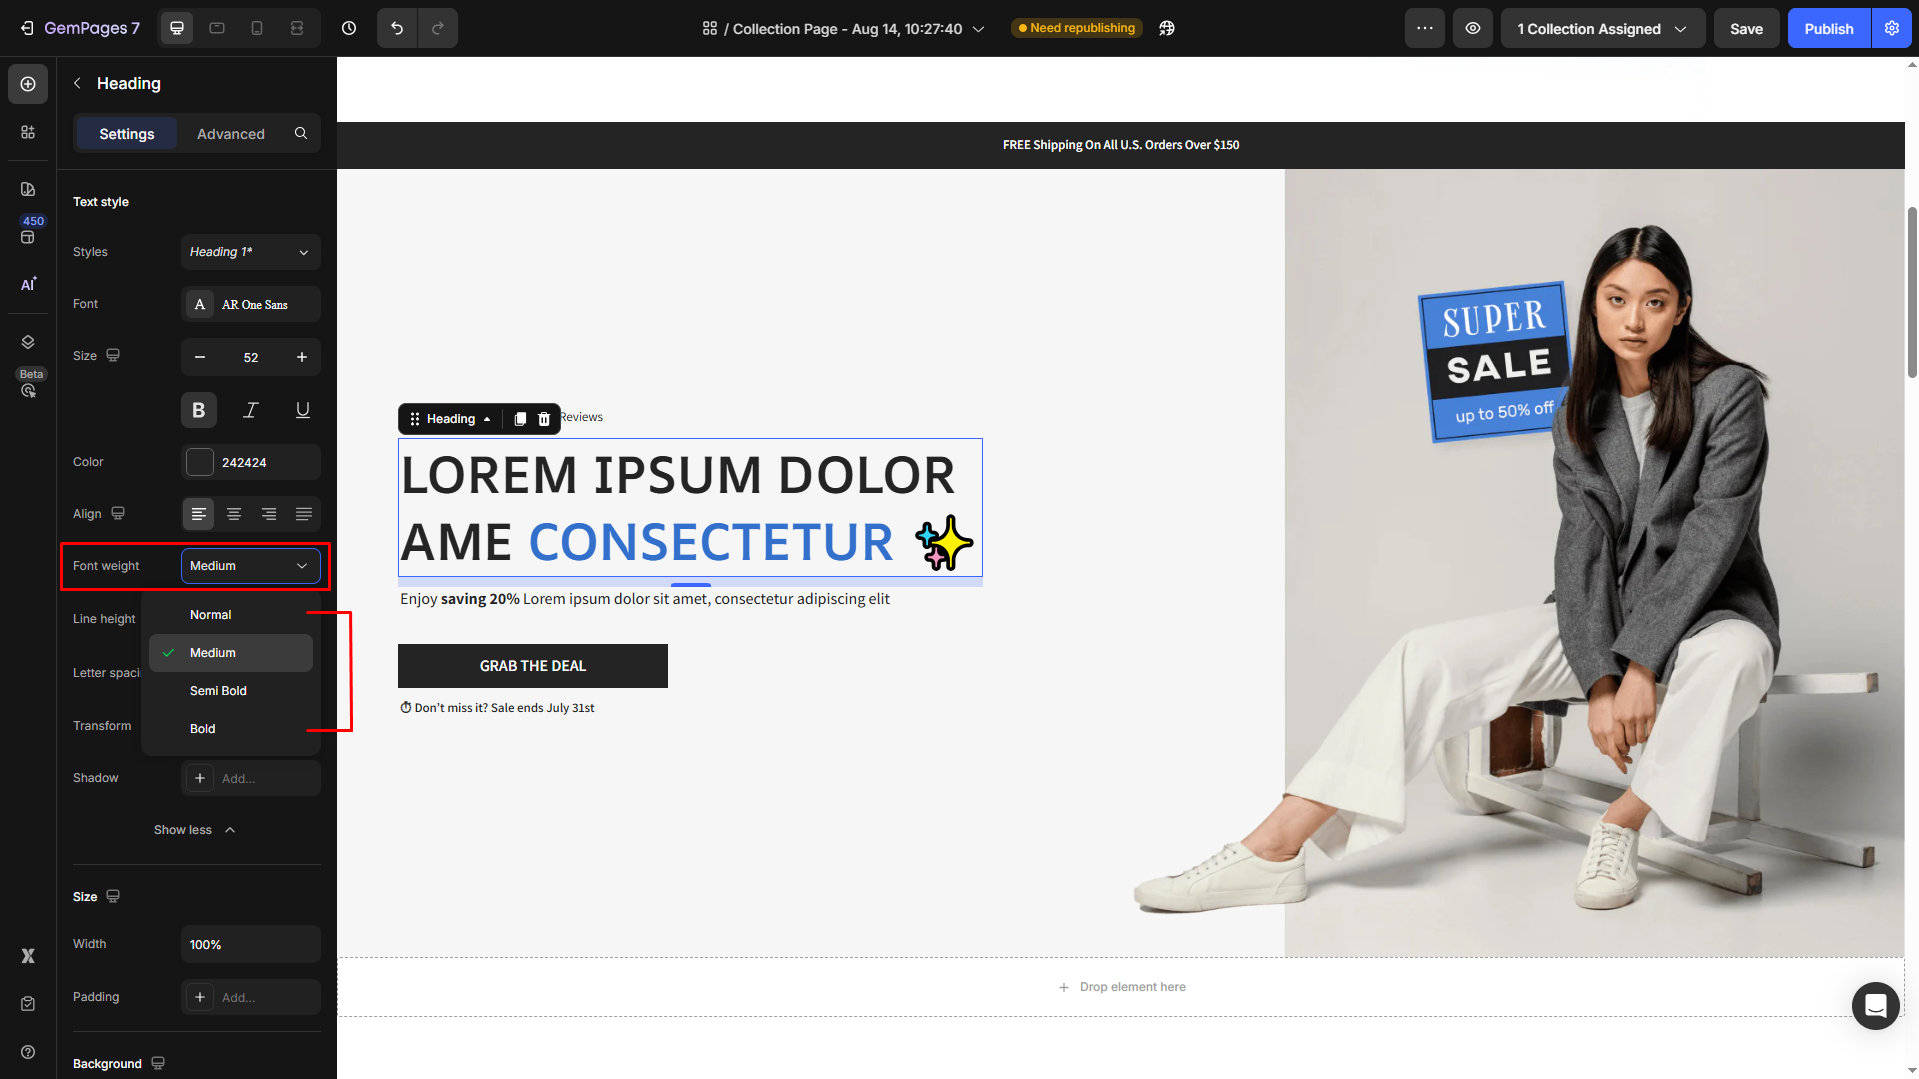
5. Font Weight
Control the boldness of your text with options like light, regular, bold, extra bold, etc.
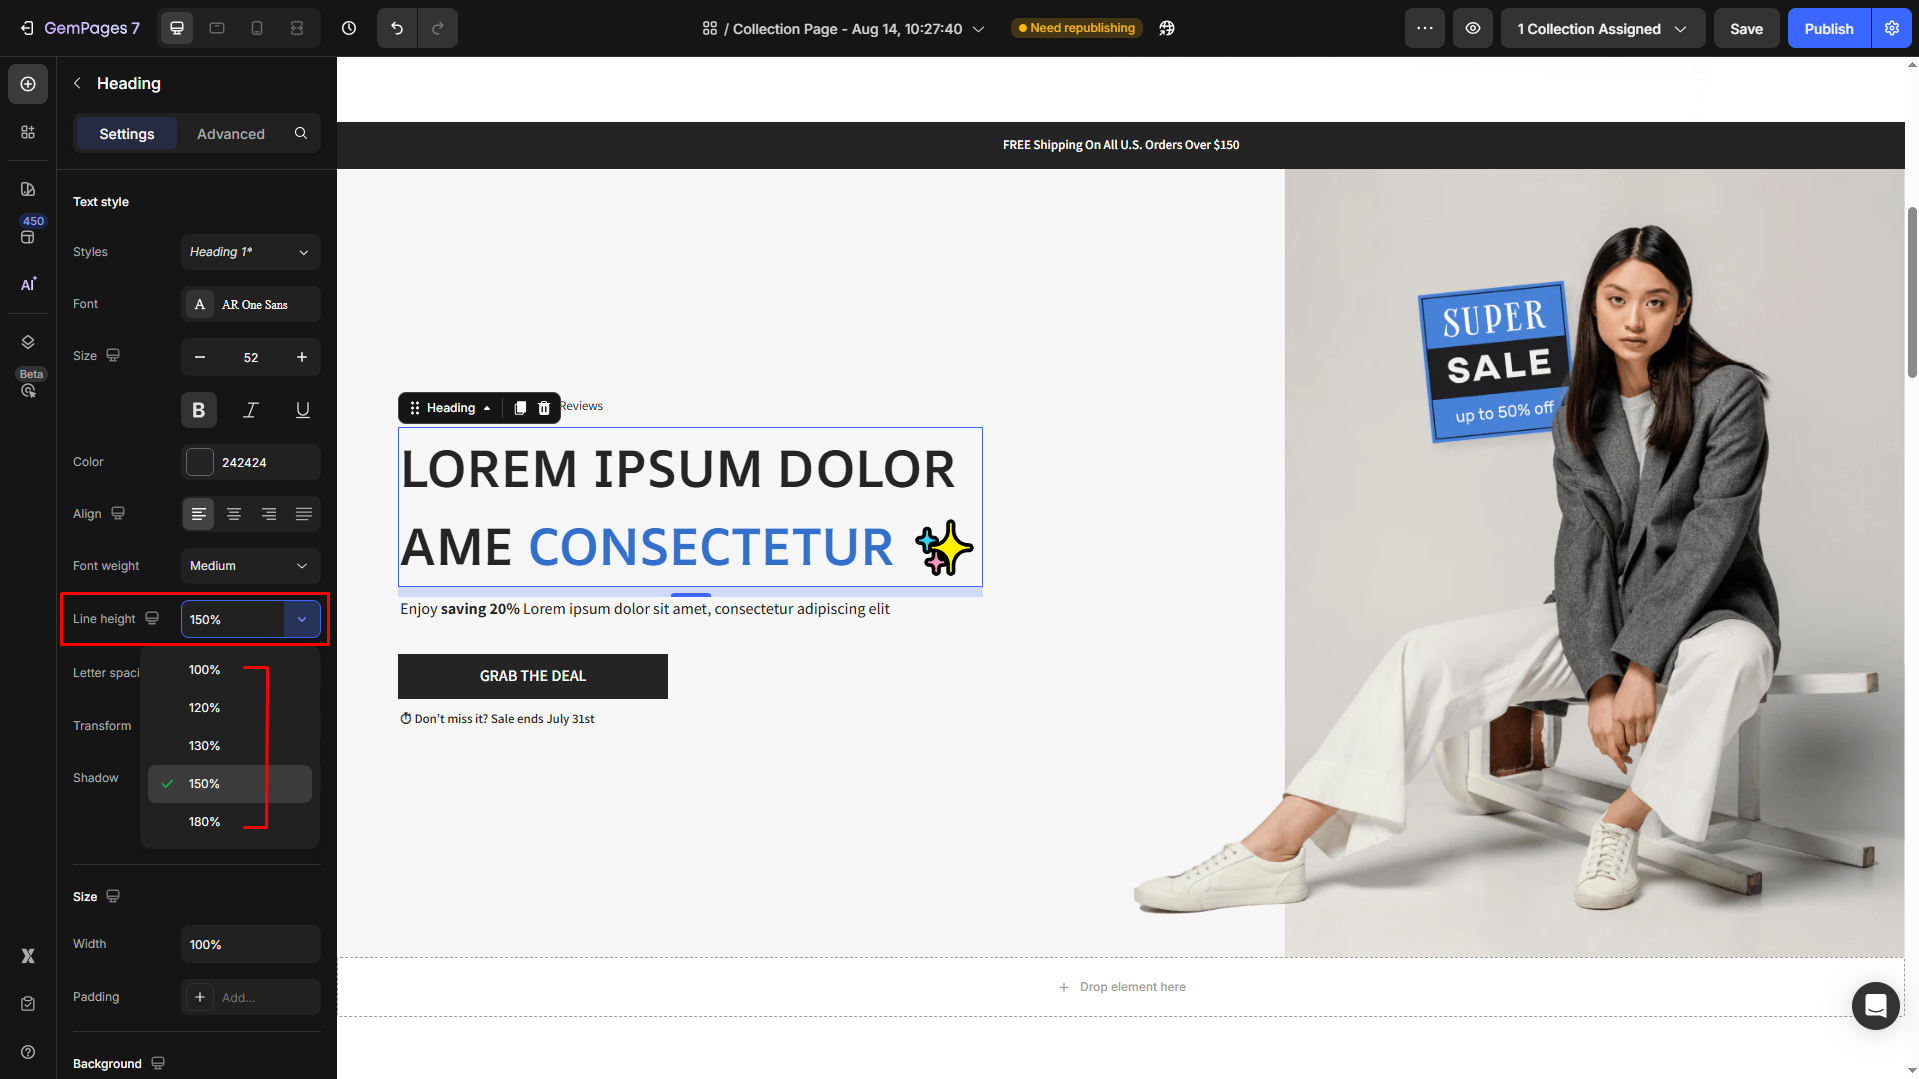
6. Line Height
Adjust the vertical spacing between lines of text for better readability.
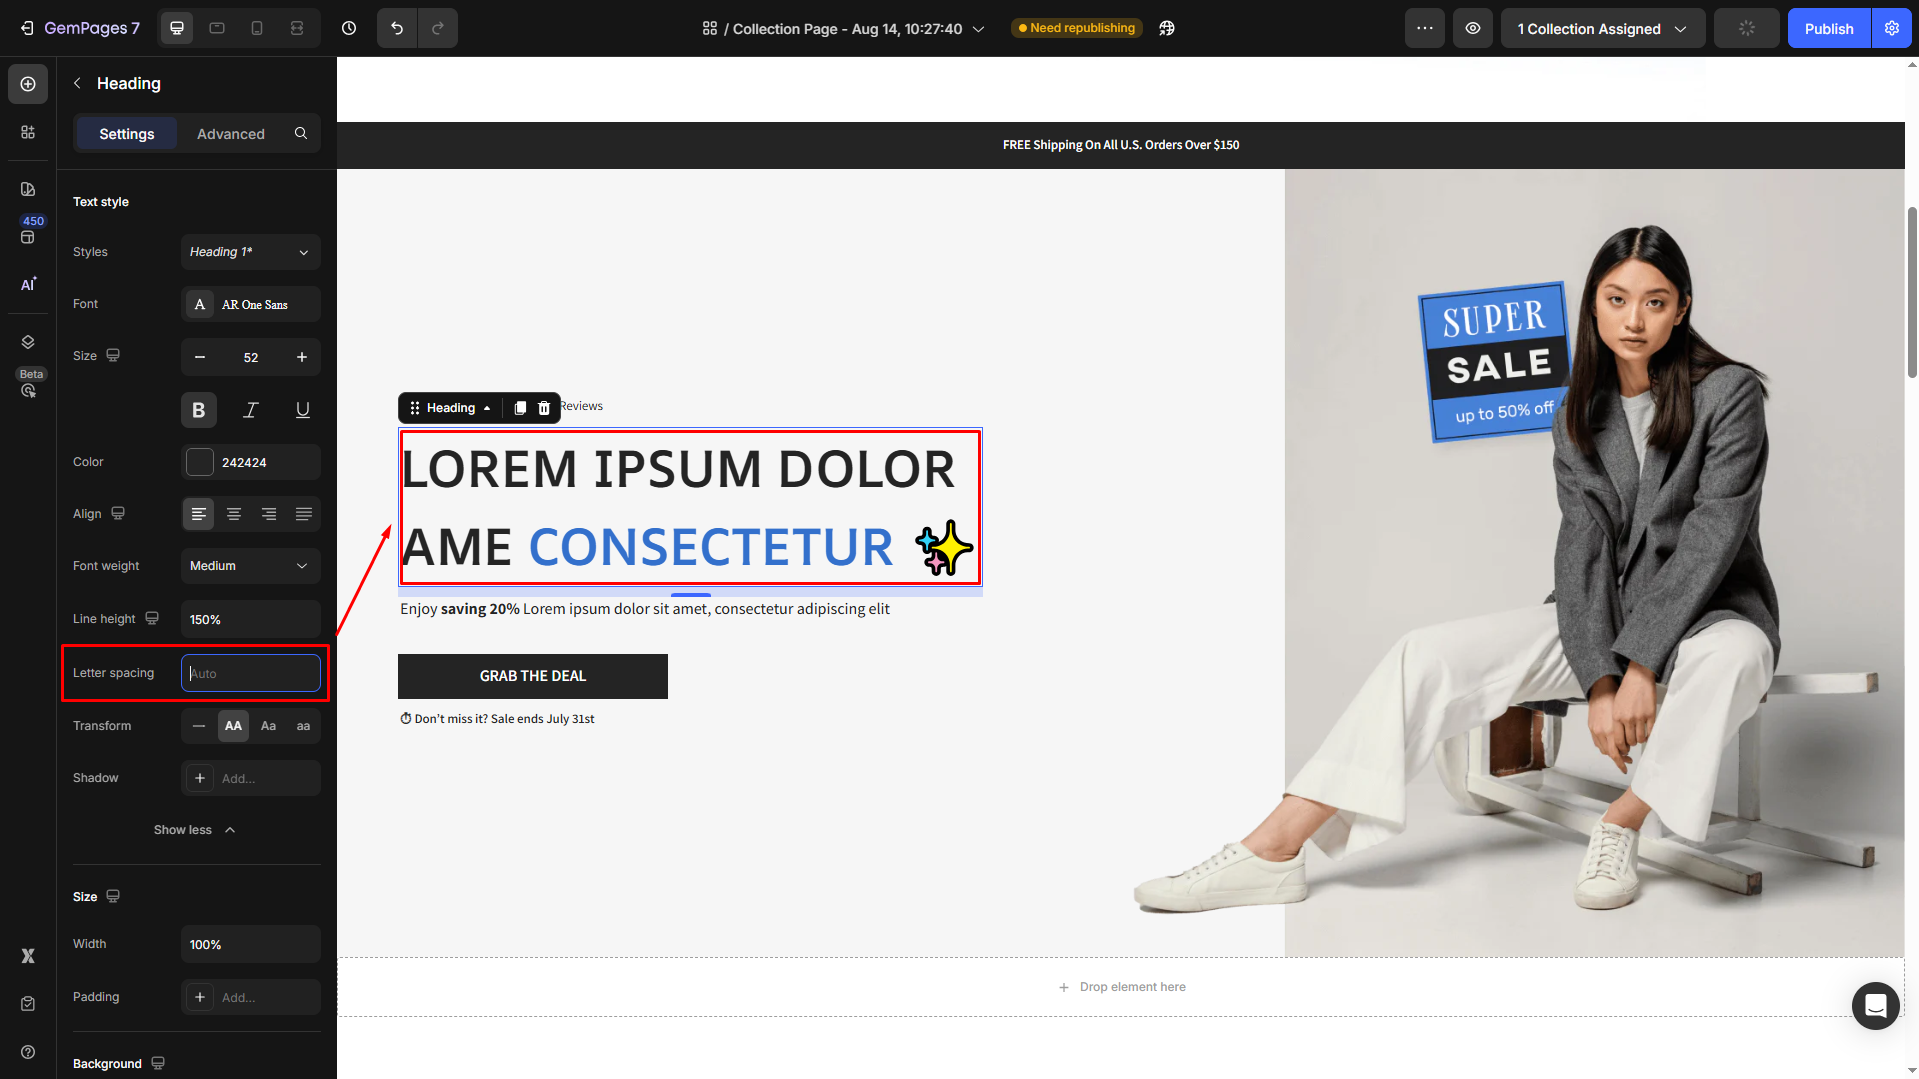
7. Letter Spacing
Fine-tune the spacing between characters to create a clean or dramatic effect.
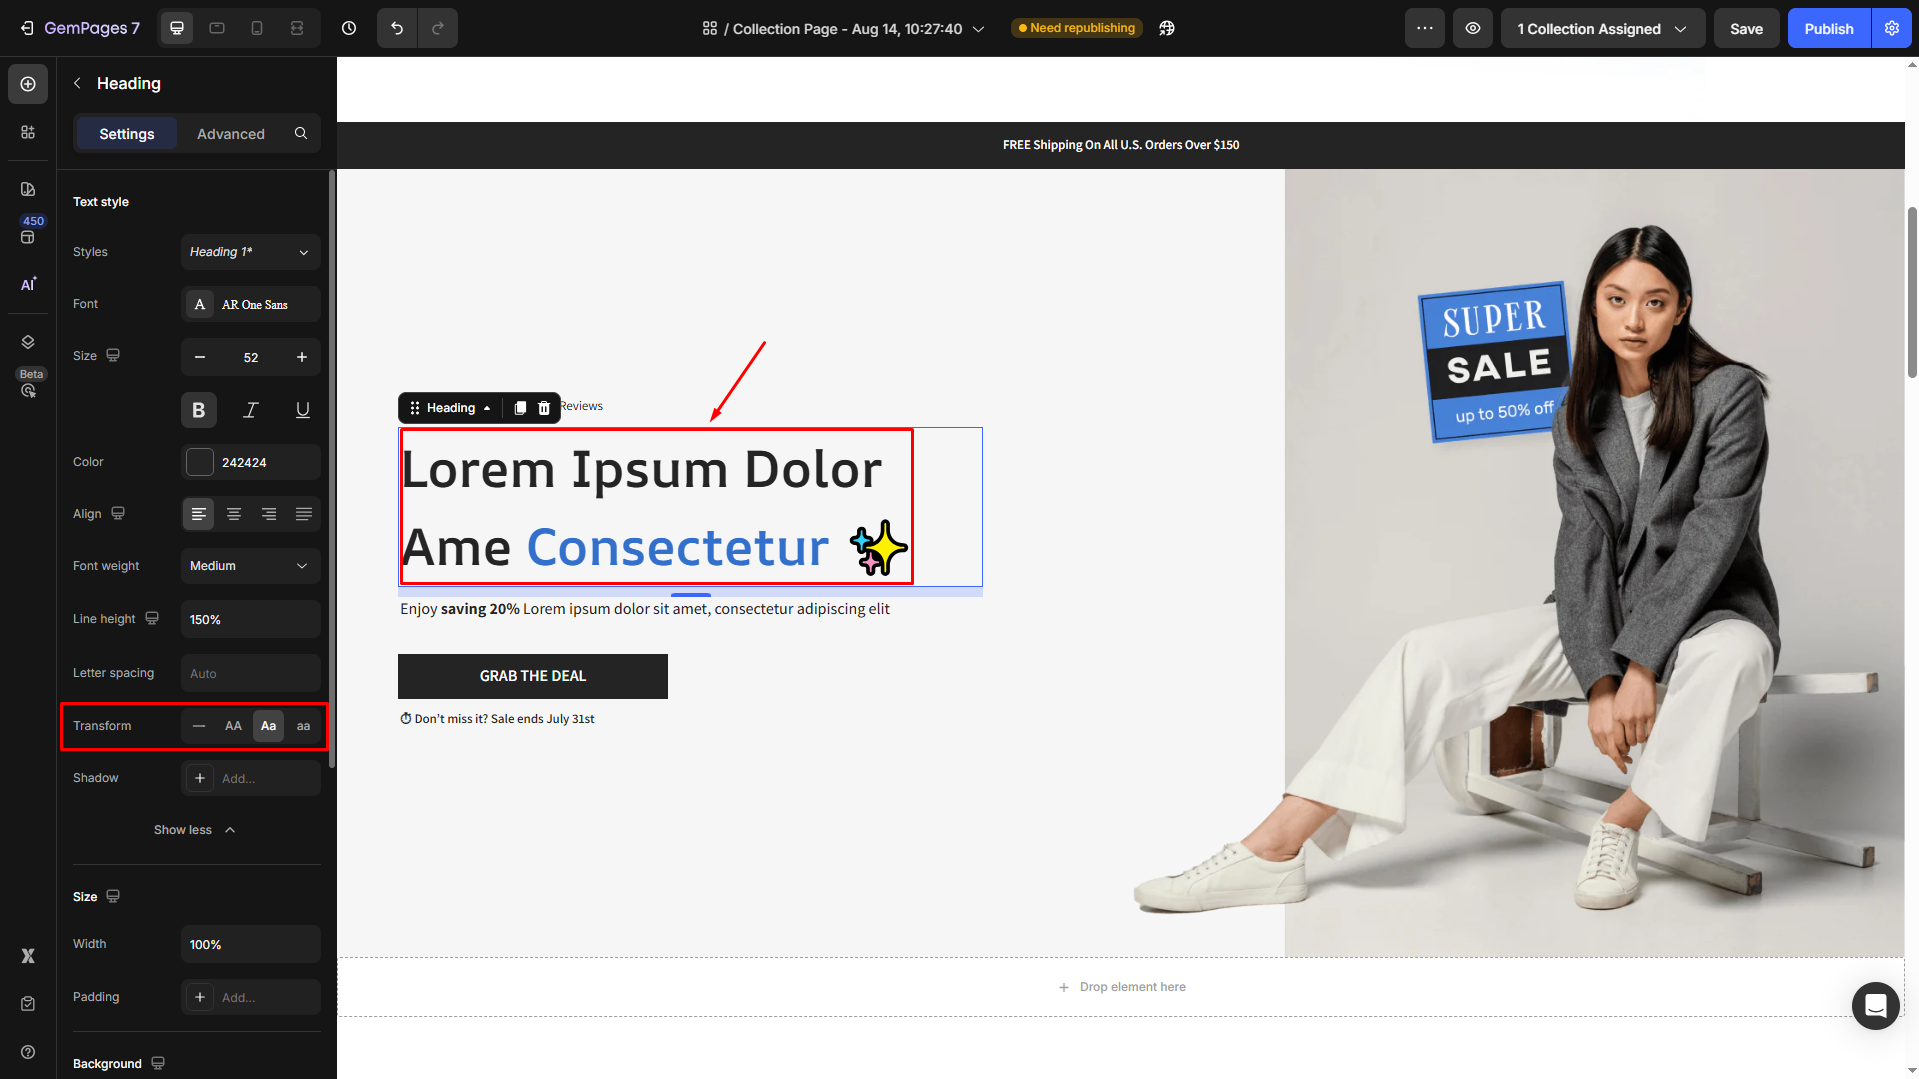
8. Transform
Modify the text case to uppercase, lowercase, or capitalize each word.
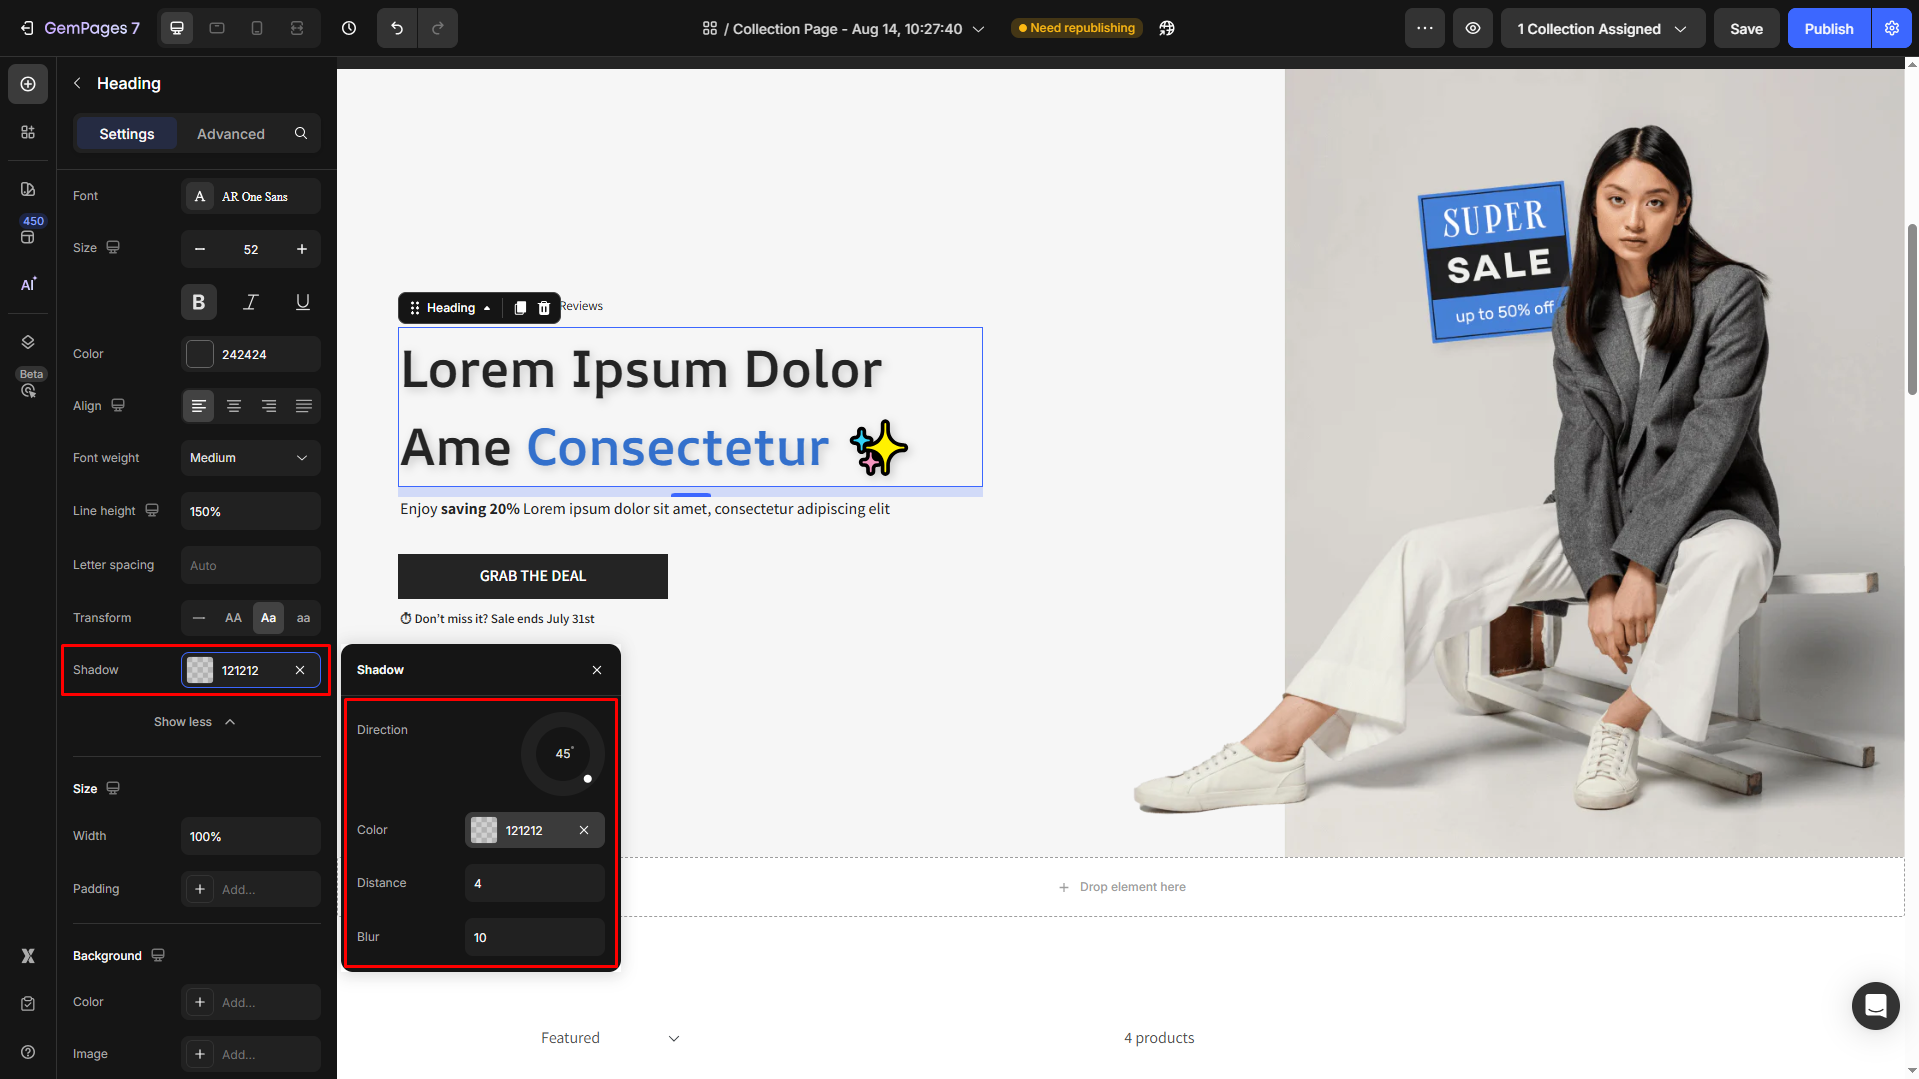
9. Shadow
Add depth and emphasis to your text with customizable shadows.
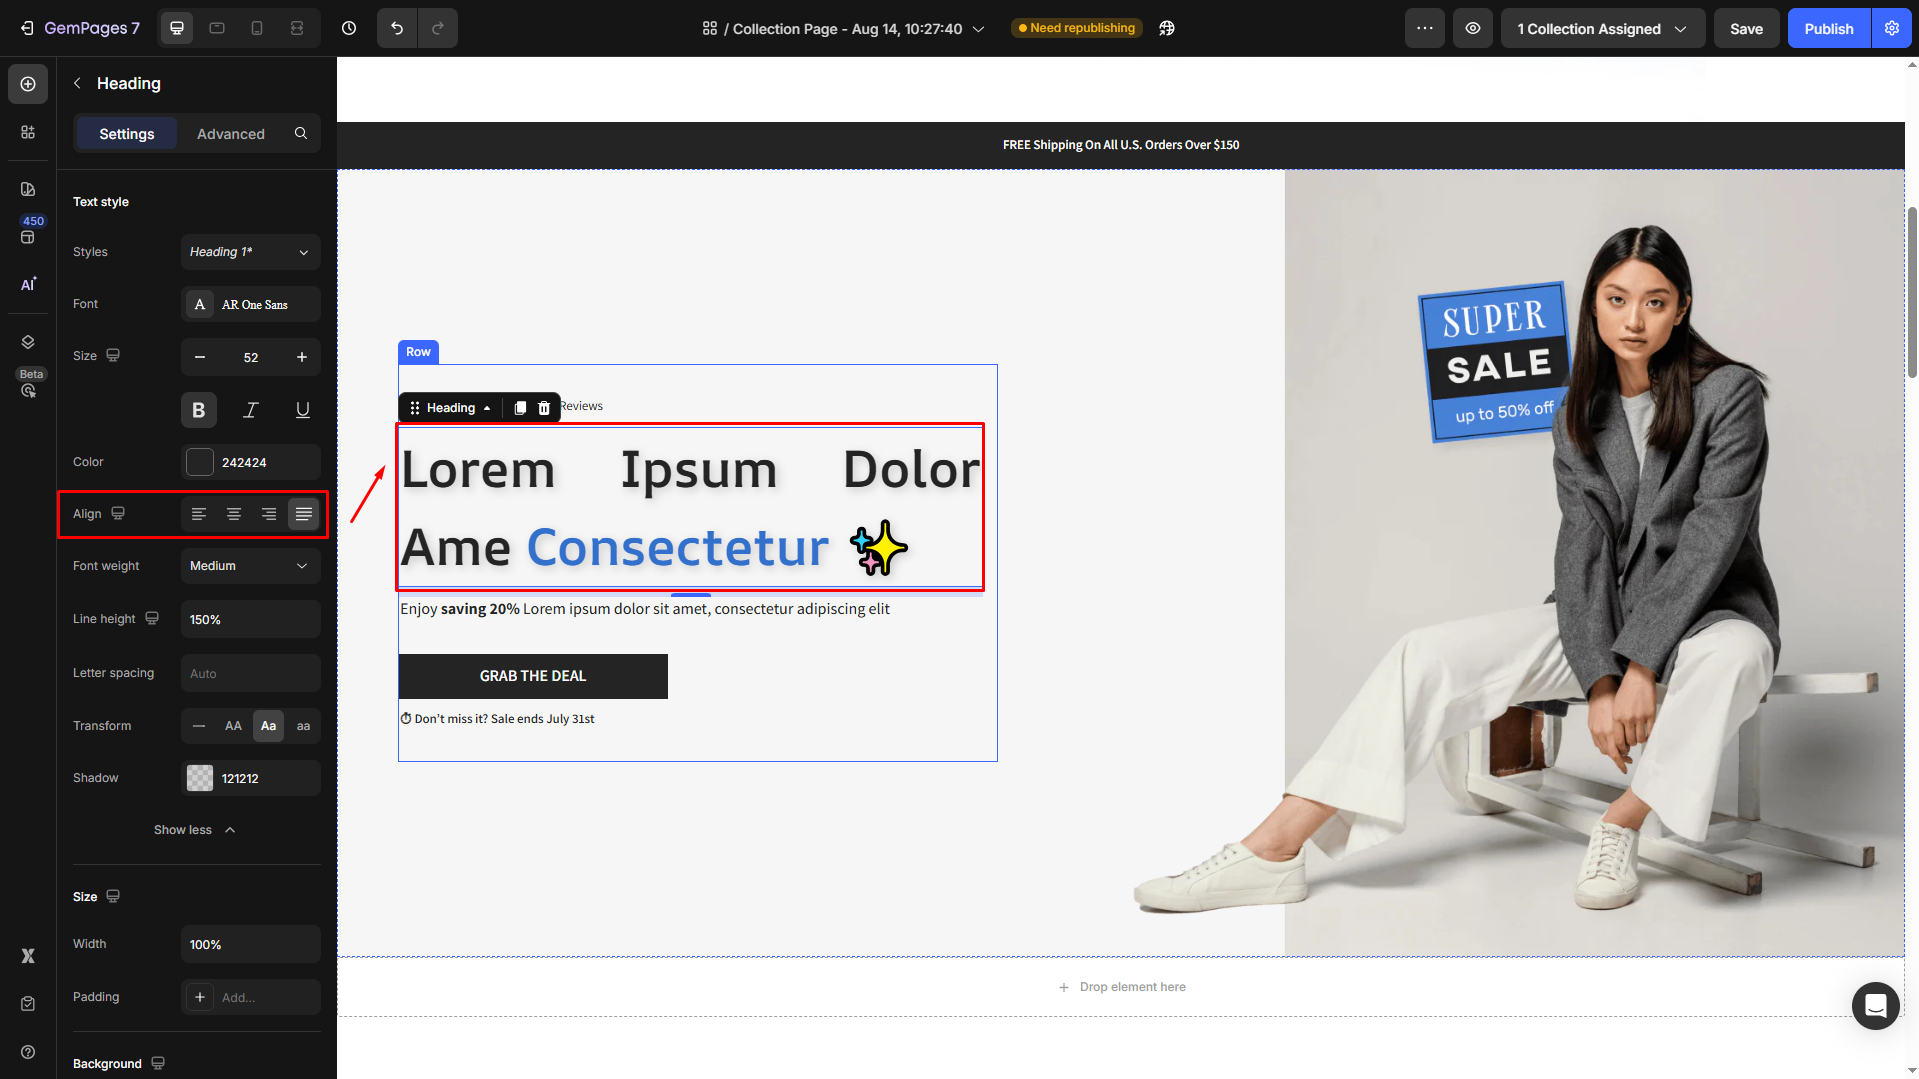
10. Align
Align your text left, center, or right to fit the layout of your page.
11. Width
Under the Size section, set the maximum width for your text block to control its horizontal spread.

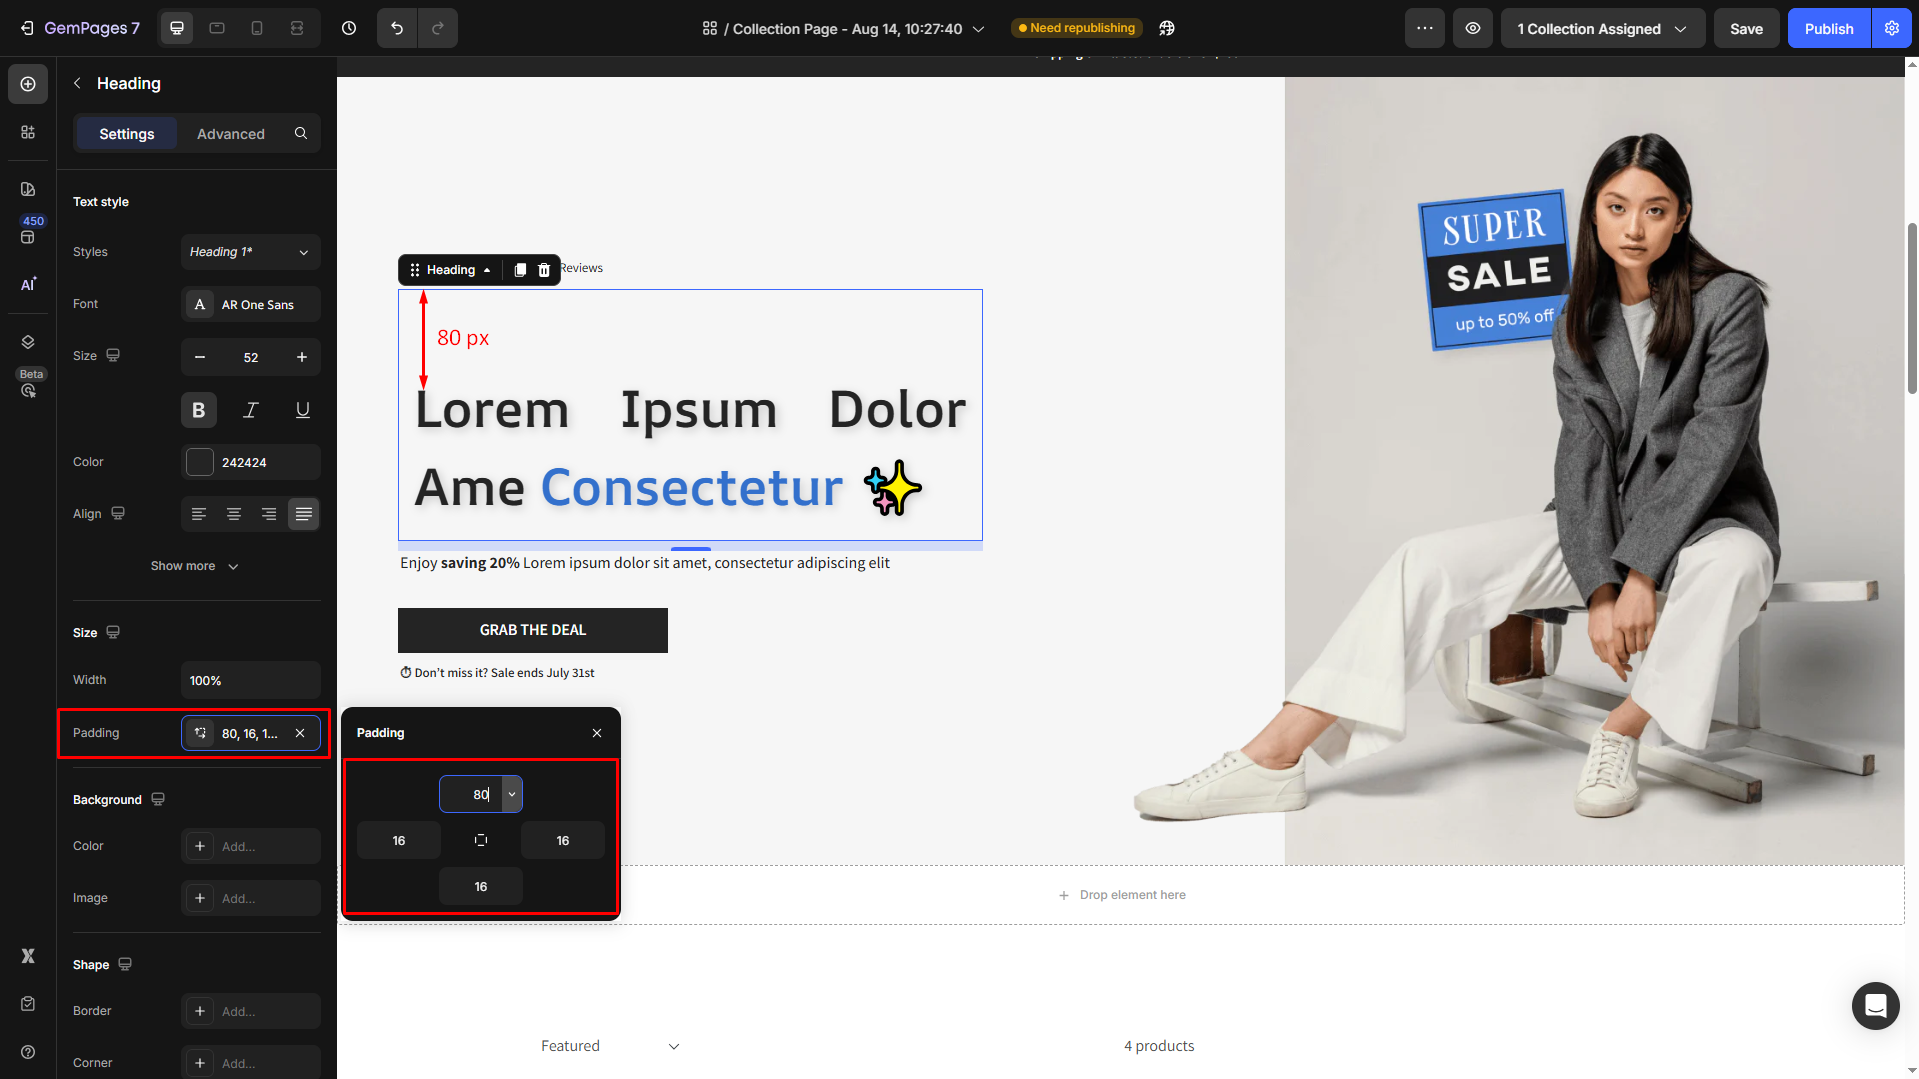
12. Padding
Add space around your text within its container for a balanced design.
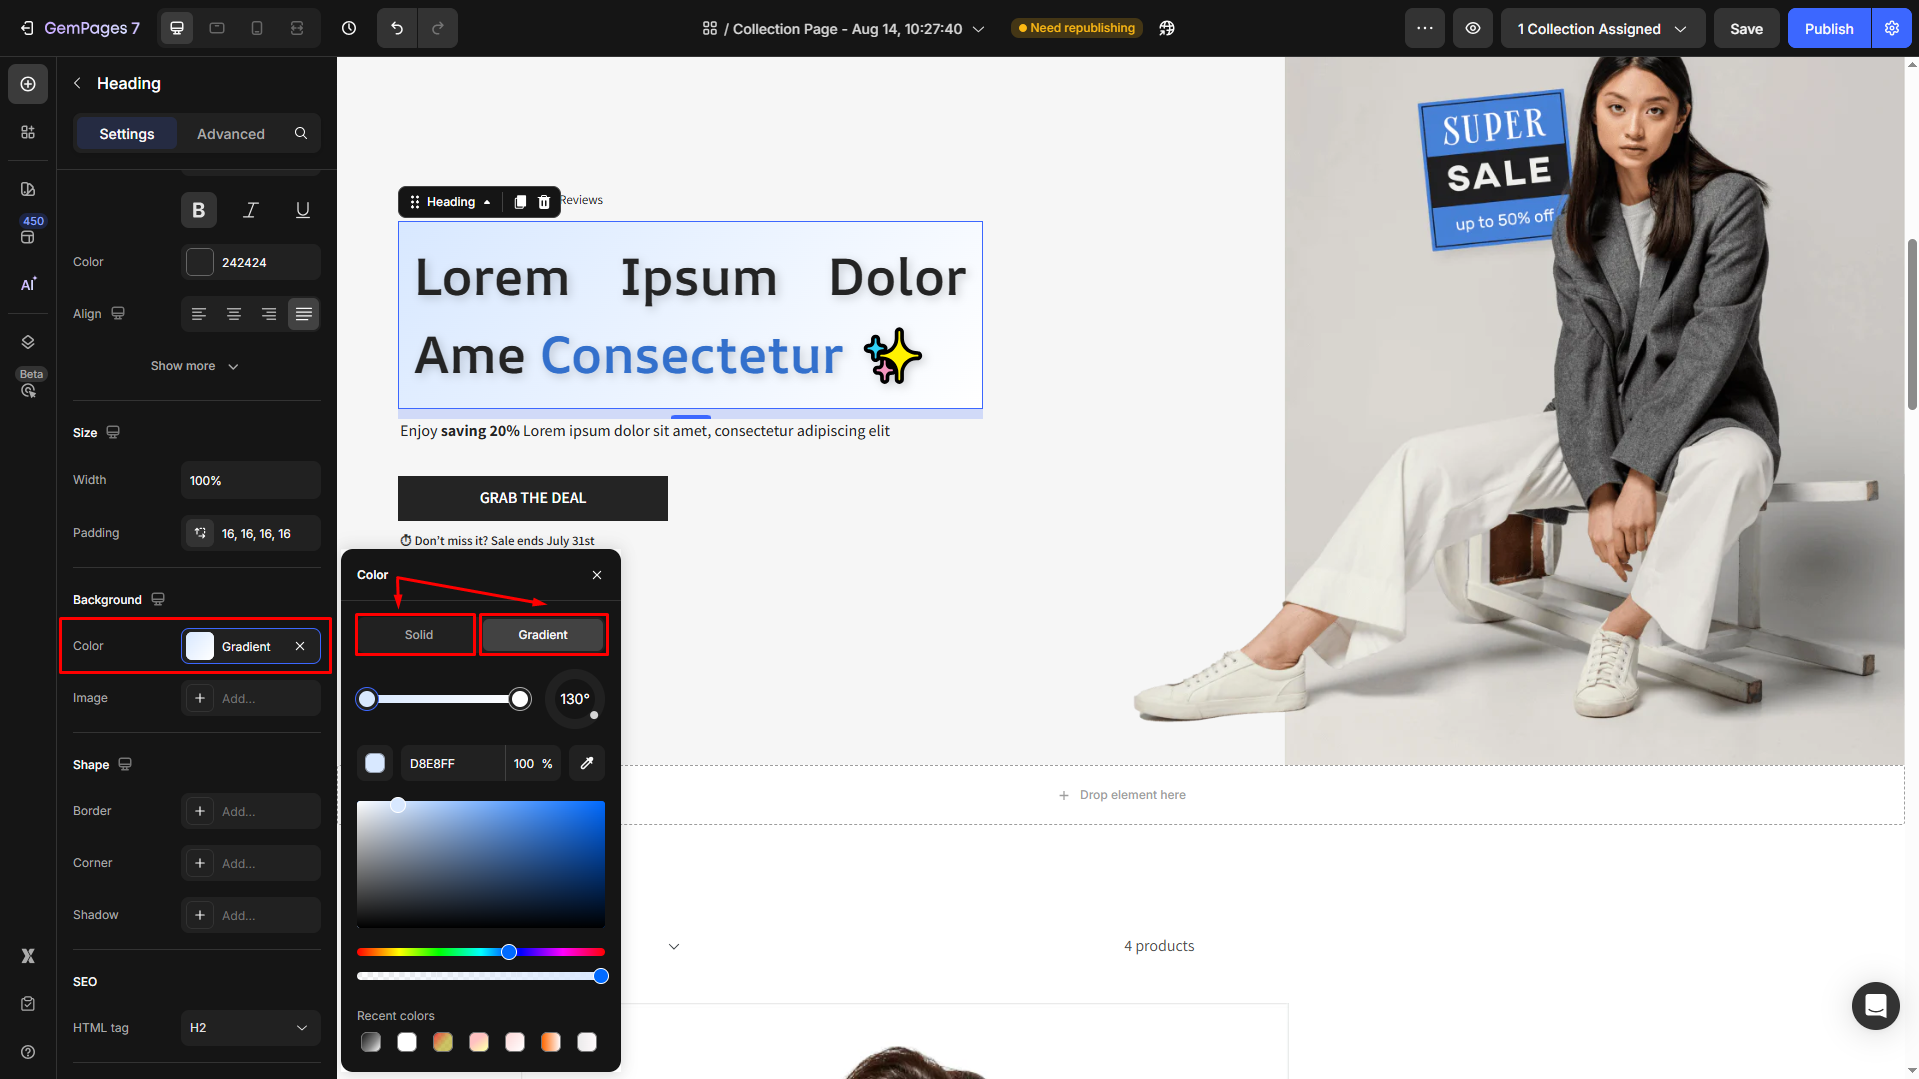
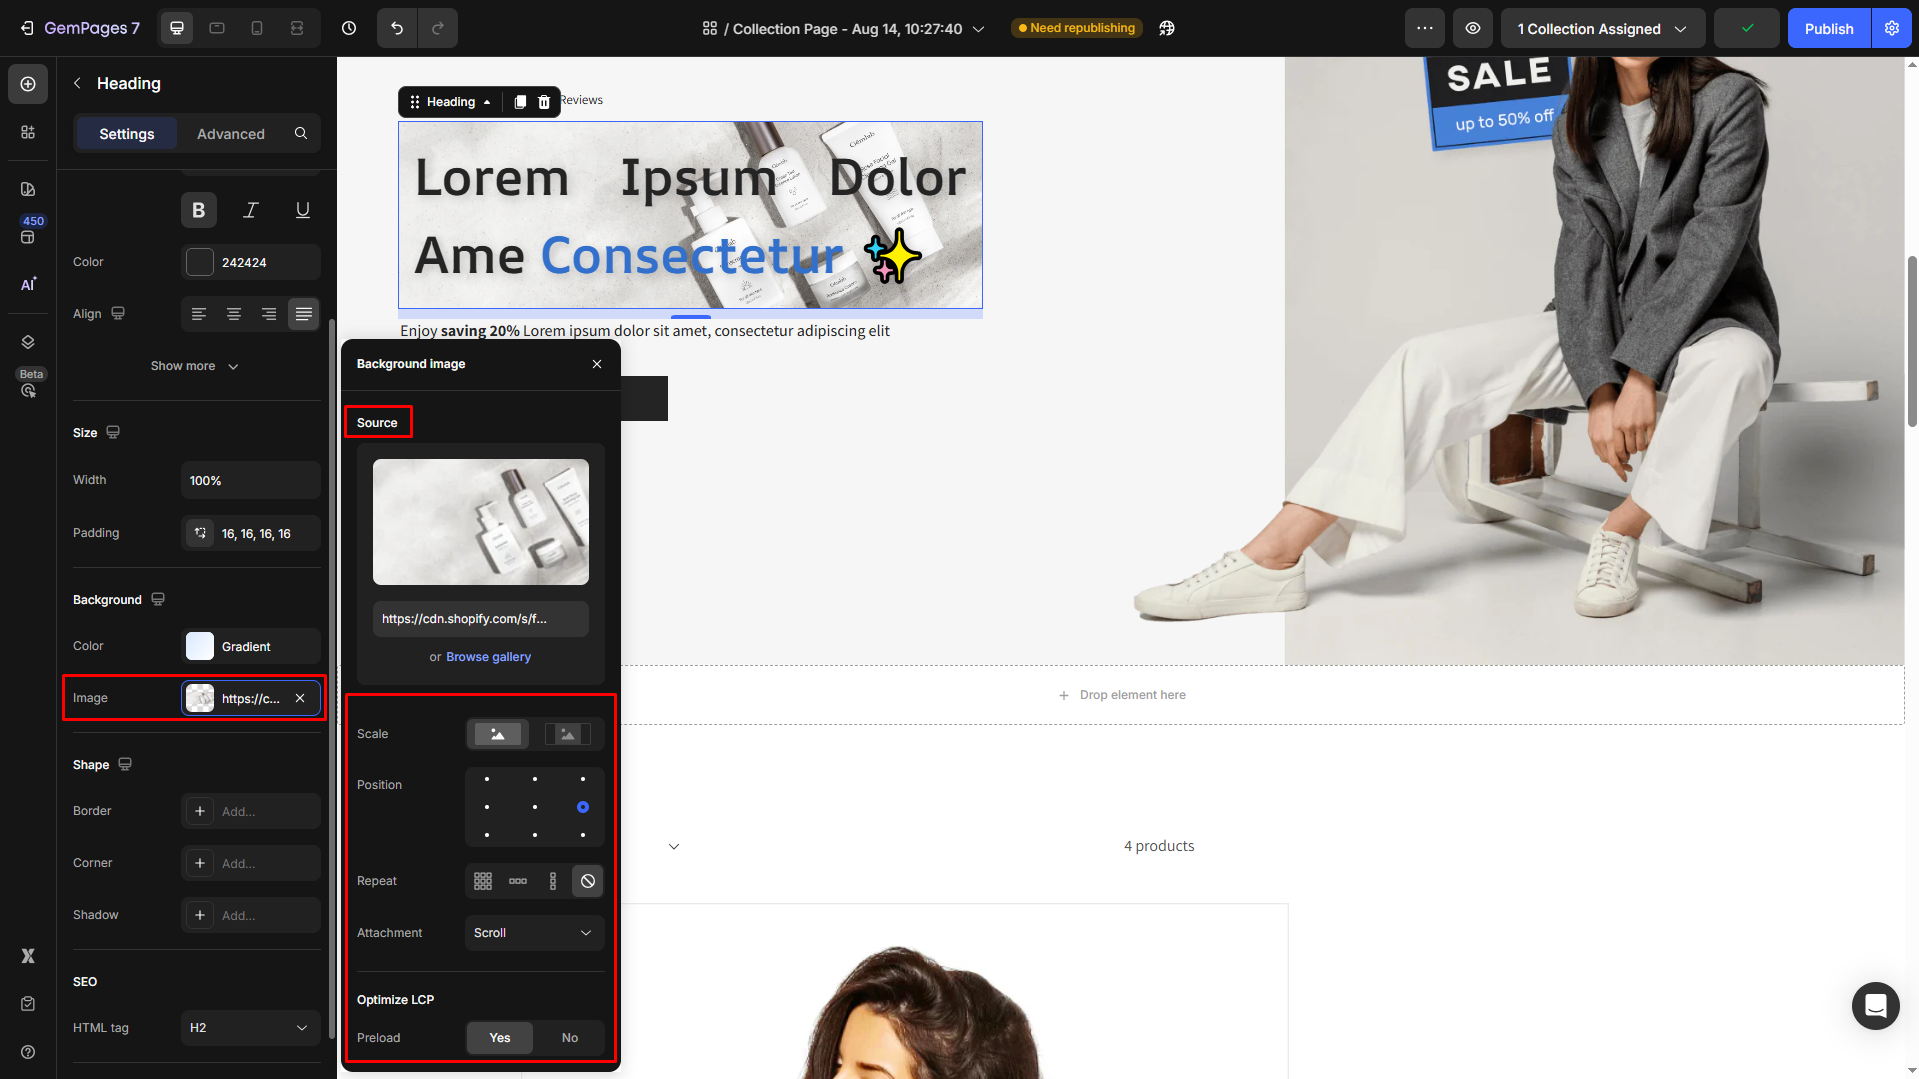
13. Background
Under the Background section, apply a solid/gradient color background or image background to highlight your text.
For example:
- Color background:
- Image background:
How to Create a Text Gradient in GemPages
GemPages currently does not offer a built-in text gradient option. However, you can easily create a gradient text effect by using custom CSS.
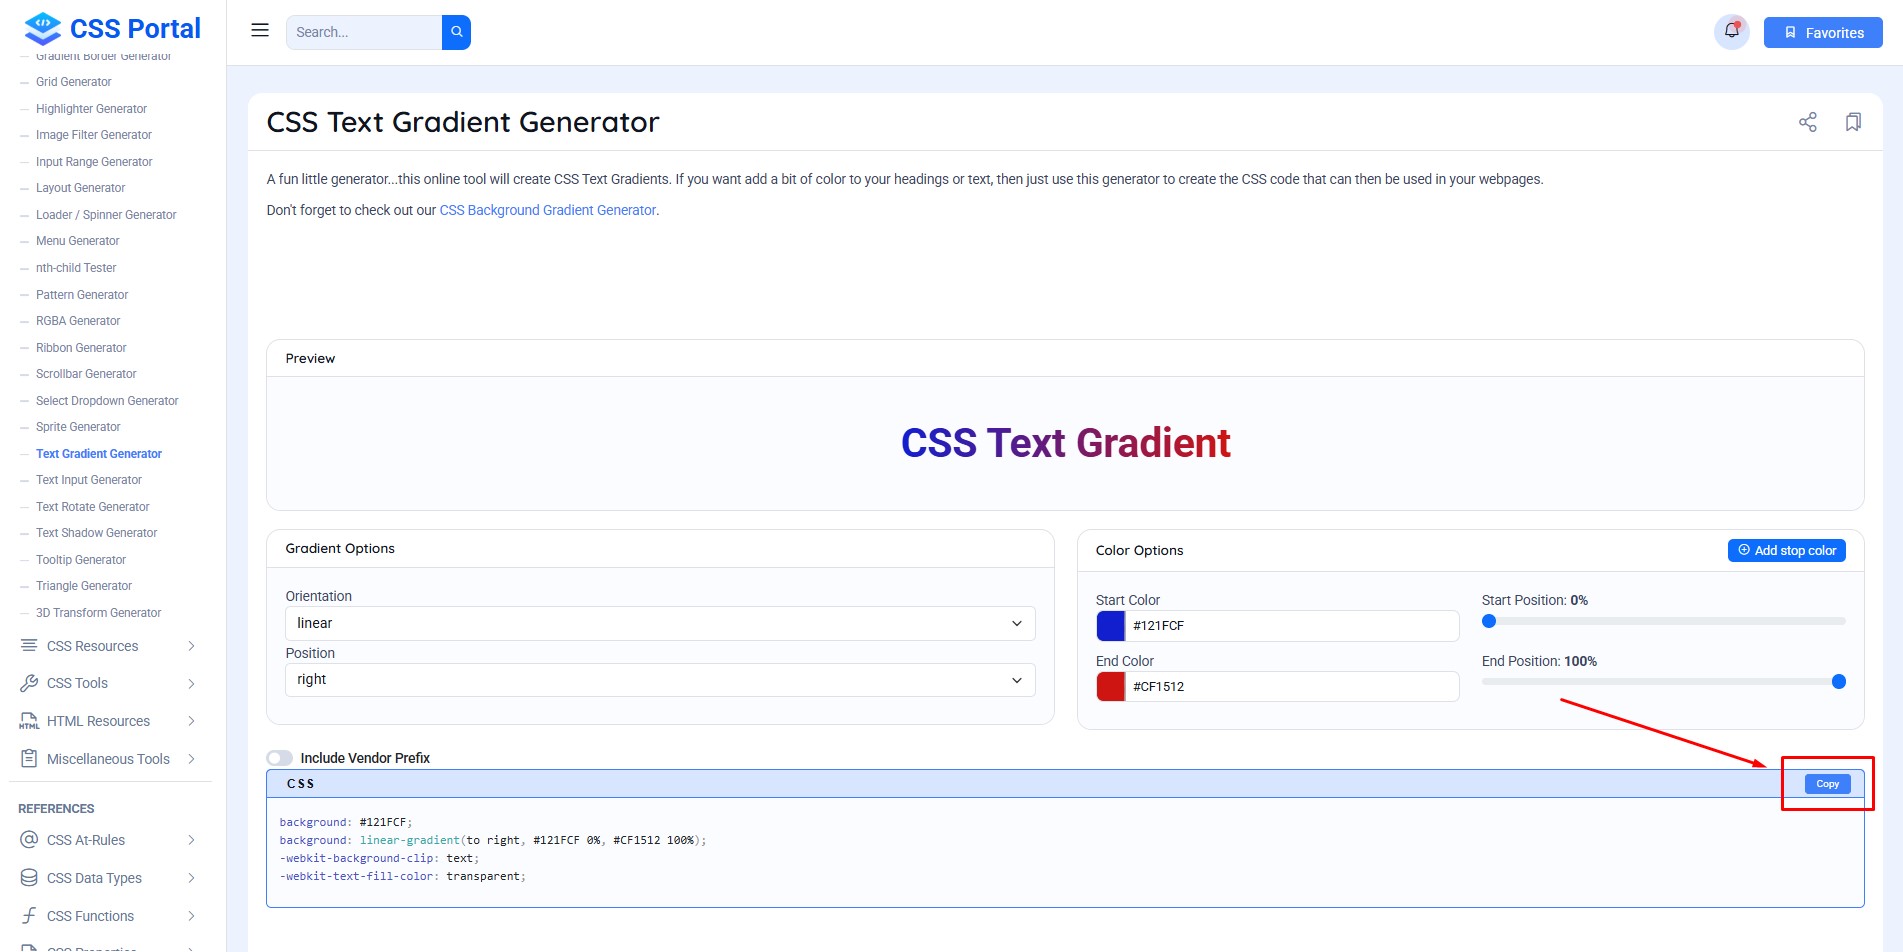
Step 1: Generate the gradient CSS
Go to CSS Portal – Text Gradient Generator: https://www.cssportal.com/css-text-gradient-generator/
Configure the gradient colors, direction, and style you want. Then copy the generated CSS code.
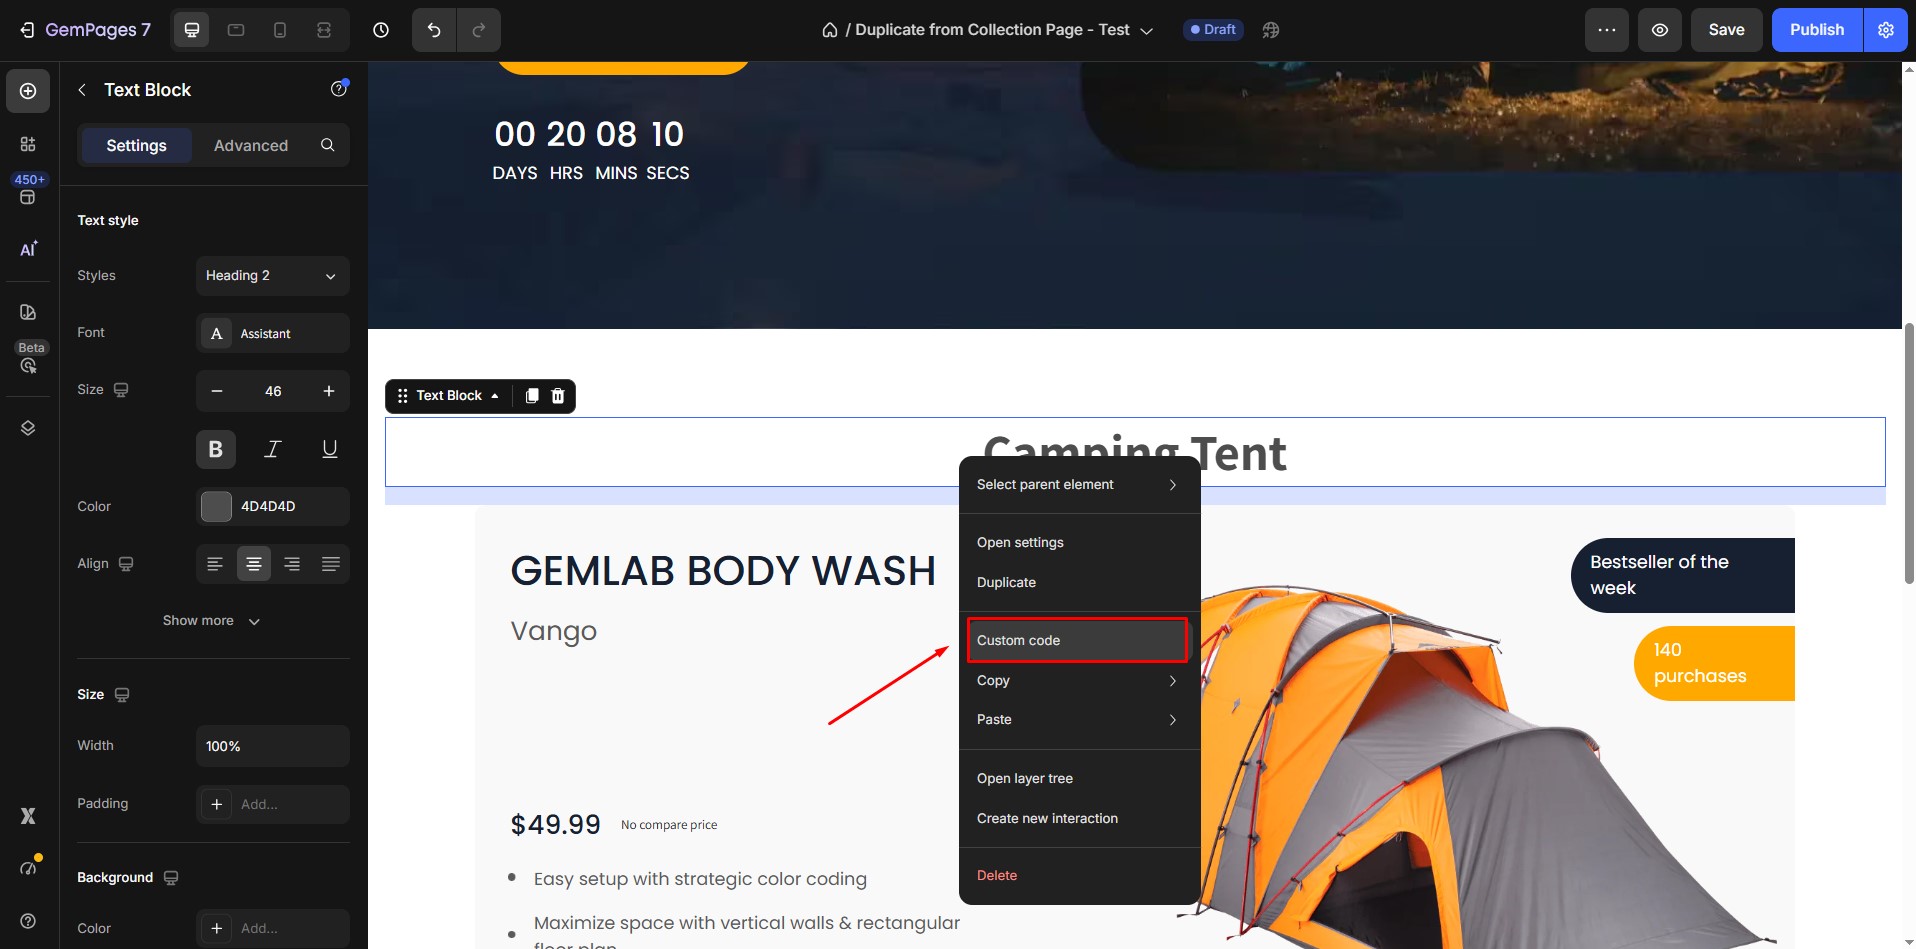
Step 2: Select the text element
In the GemPages Editor, right click on the text or heading element you want to apply the gradient to => Custom code
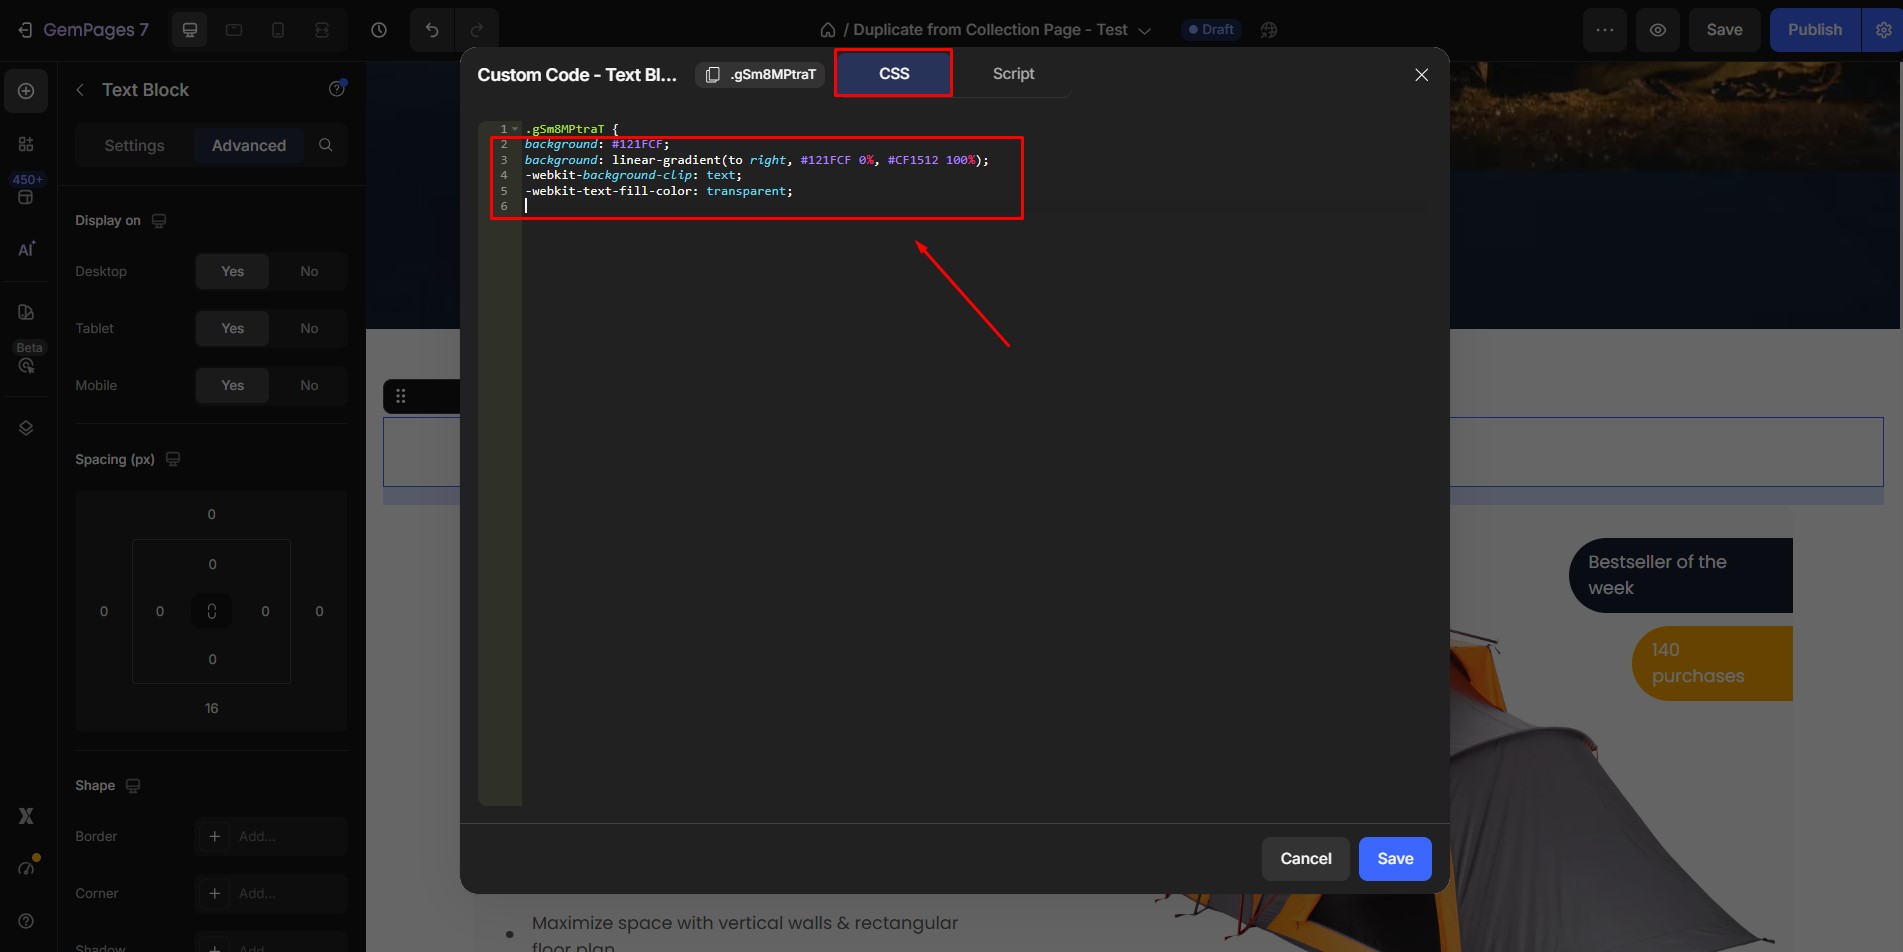
Step 3: Add the CSS code
Paste the copied gradient code there.
Step 4: Save and preview
Save your changes and preview the page to see the gradient text applied.


Thank you for your comments