


About Bold Subscriptions
Bold Subscriptions is a powerful Shopify app that helps merchants sell recurring subscriptions and subscription boxes with advanced revenue-boosting tools called Revenue MAXIMIZERS™.
With flexible billing schedules, pre-paid and convertible subscriptions, automated upsells, dynamic discounts, and full customer portal access, Bold Subscriptions is built to help you convert more customers, increase lifetime value, and streamline subscription management.
Key Features of Bold Subscriptions
- Revenue Maximizers™ to boost conversion at every stage of the subscription journey.
- Offer Prepaid or Pay-as-you-go subscription plans.
- Advanced APIs and developer tools to build flexible subscription experiences.
- Cancellation Flows and Dunning Management to help retain subscribers automatically.
- Free white-glove migration support from other subscription apps, including Yotpo Subscriptions.
How to Install and Set Up Bold Subscriptions App
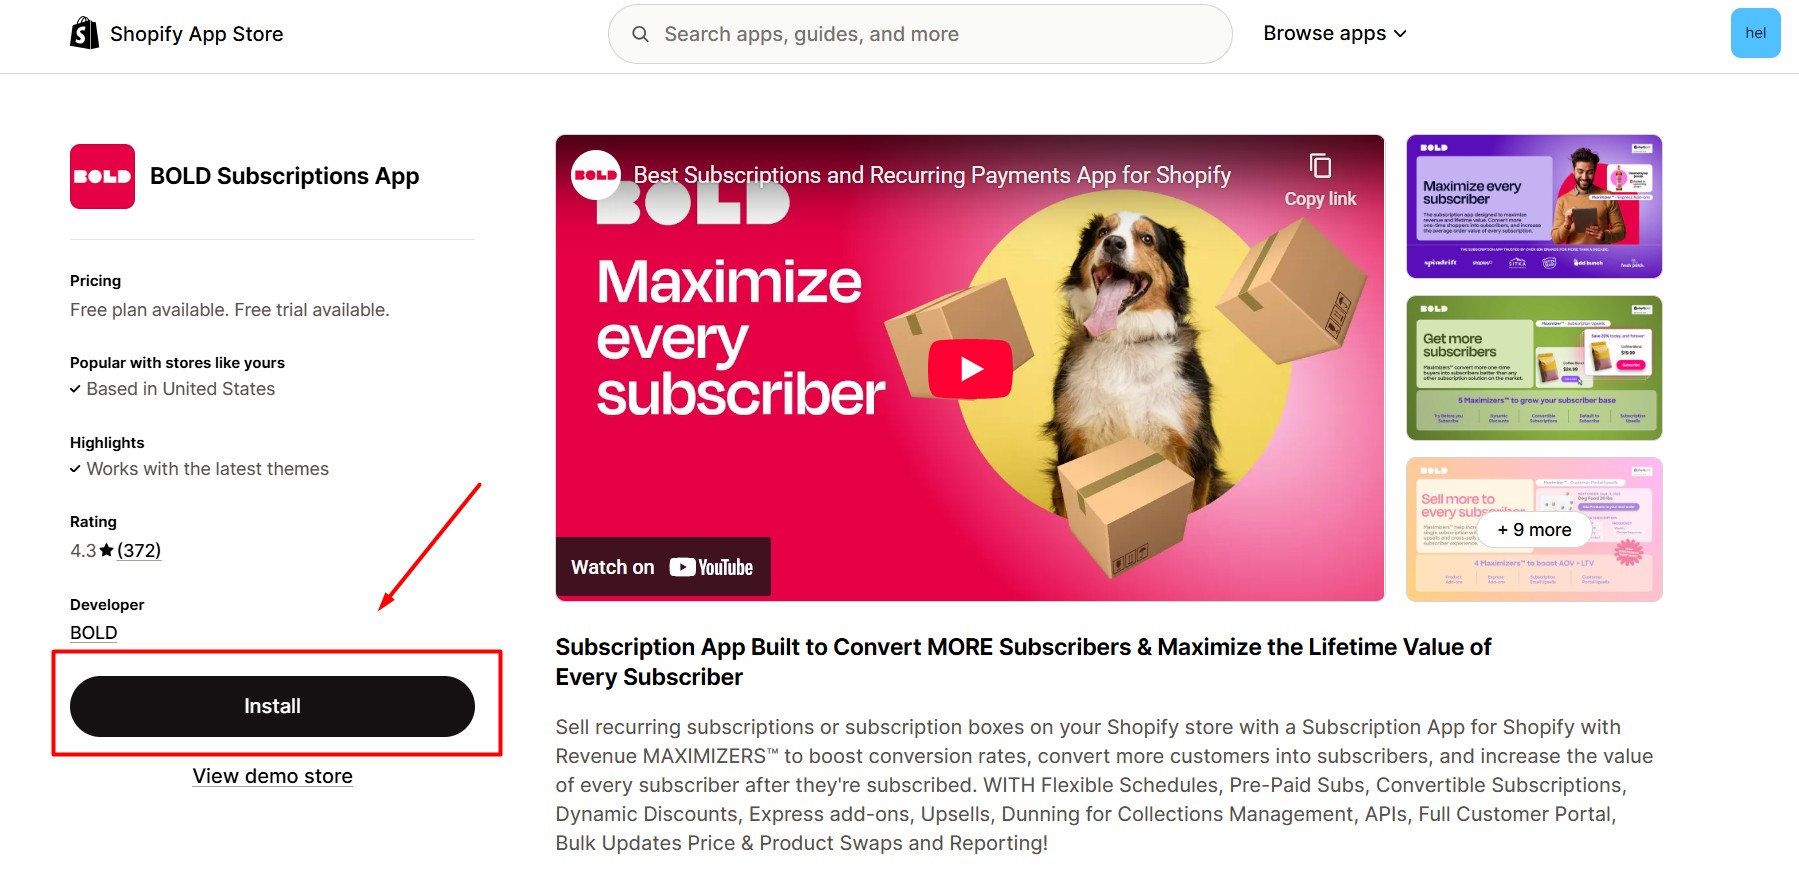
Step 1: Install the Bold Subscriptions app from the Shopify App Store.
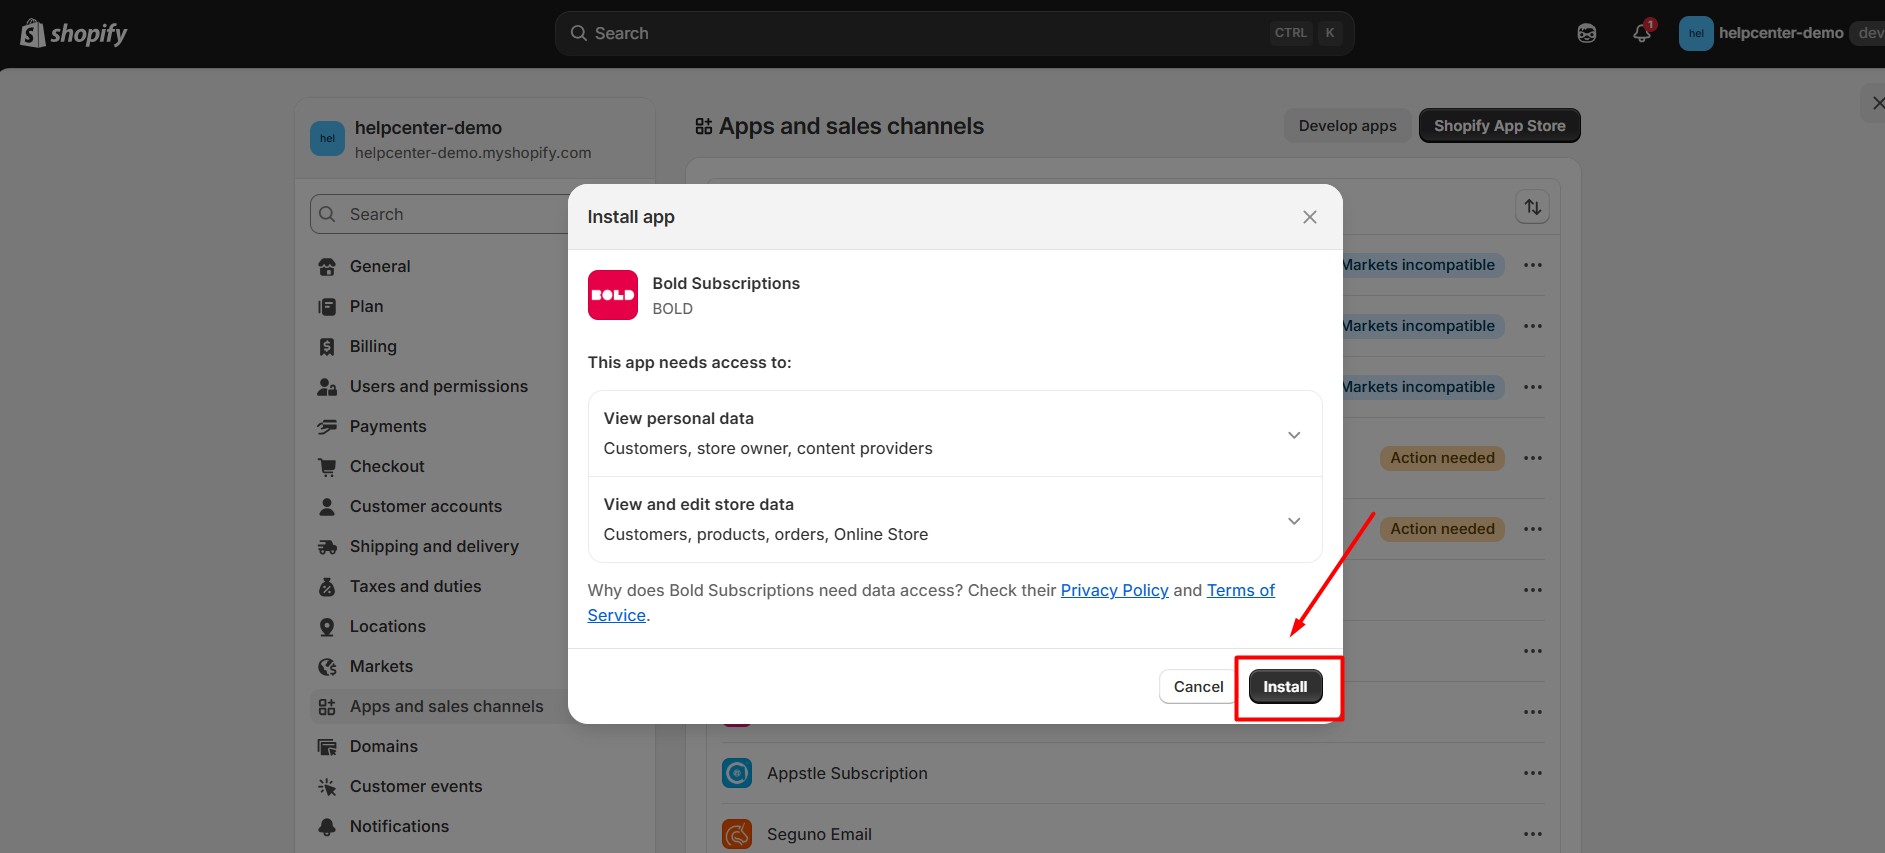
 Step 2: Hit “Install app” after reviewing the permissions.
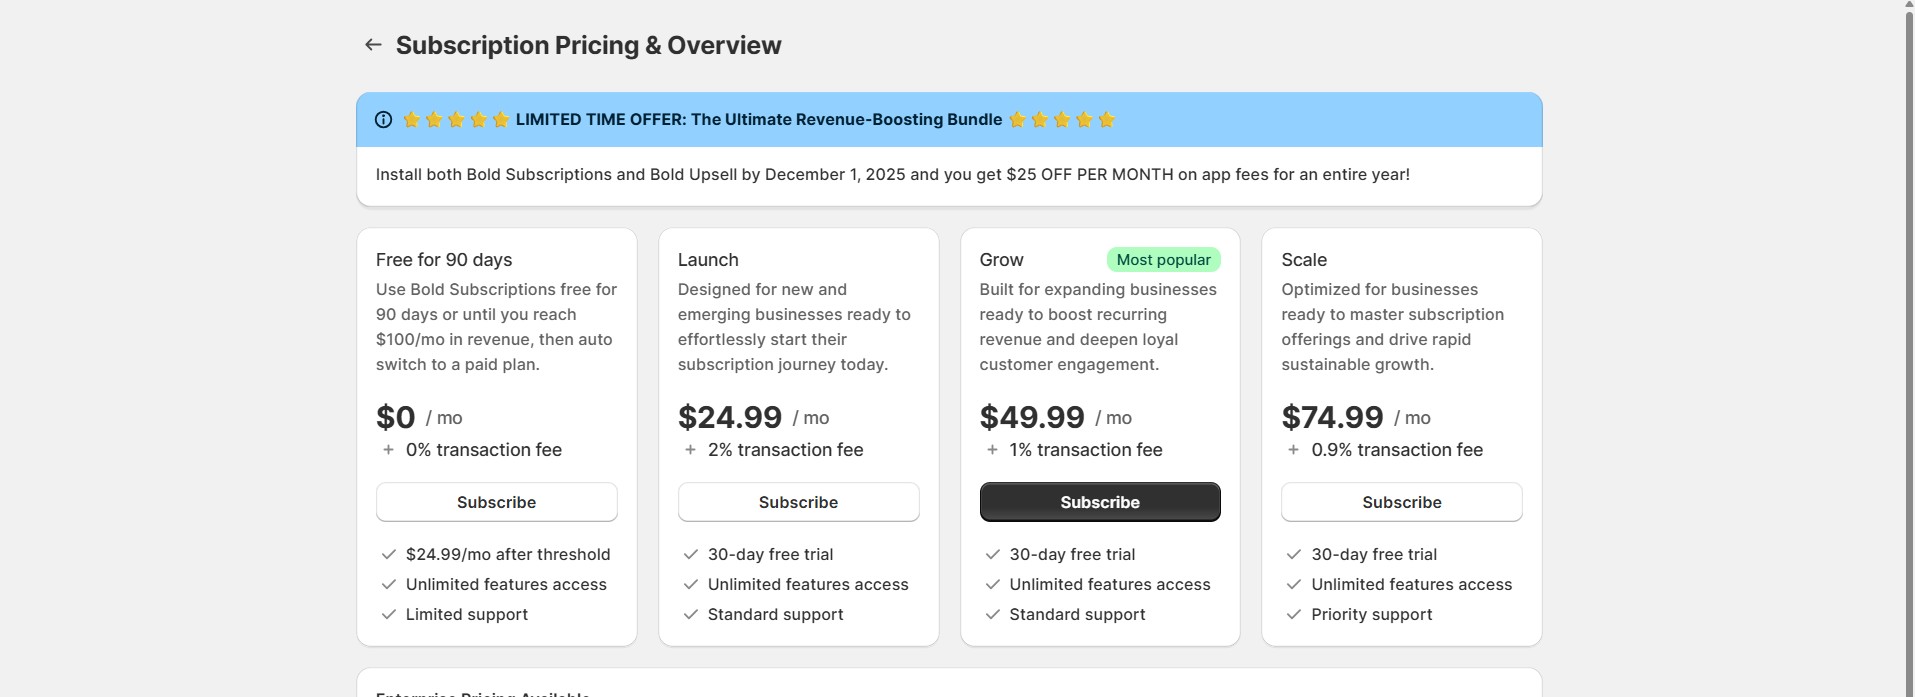
Step 3: After installation, you’ll be prompted to select a plan that fits your business needs. Choose your preferred plan and confirm to activate it.
Step 4: Update your theme with Bold Subscriptions’ liquid code.
In order to run properly on your store, this app requires some Liquid code. Please follow the full instructions from Bold to add the liquid code to your theme.
Step 5: Finalize the in-app settings. As the Bold Subscriptions element in GemPages will fetch data from the app, you need to configure your product subscription options in the app first.
From the Bold Subscriptions Dashboard, follow this video guide to edit your product subscriptions. You can also visit the app’s help docs or live chat support in the Dashboard.
How to Add Bold Subscriptions Element To GemPages Editor
Once the app is successfully installed in your Shopify admin, it’s time to install the element in the GemPages Editor.
Version 6
Step 1: Go to the GemPages Dashboard, select one of your pages, and then enter the Editor by clicking on the “Edit” button, or simply create a new page.
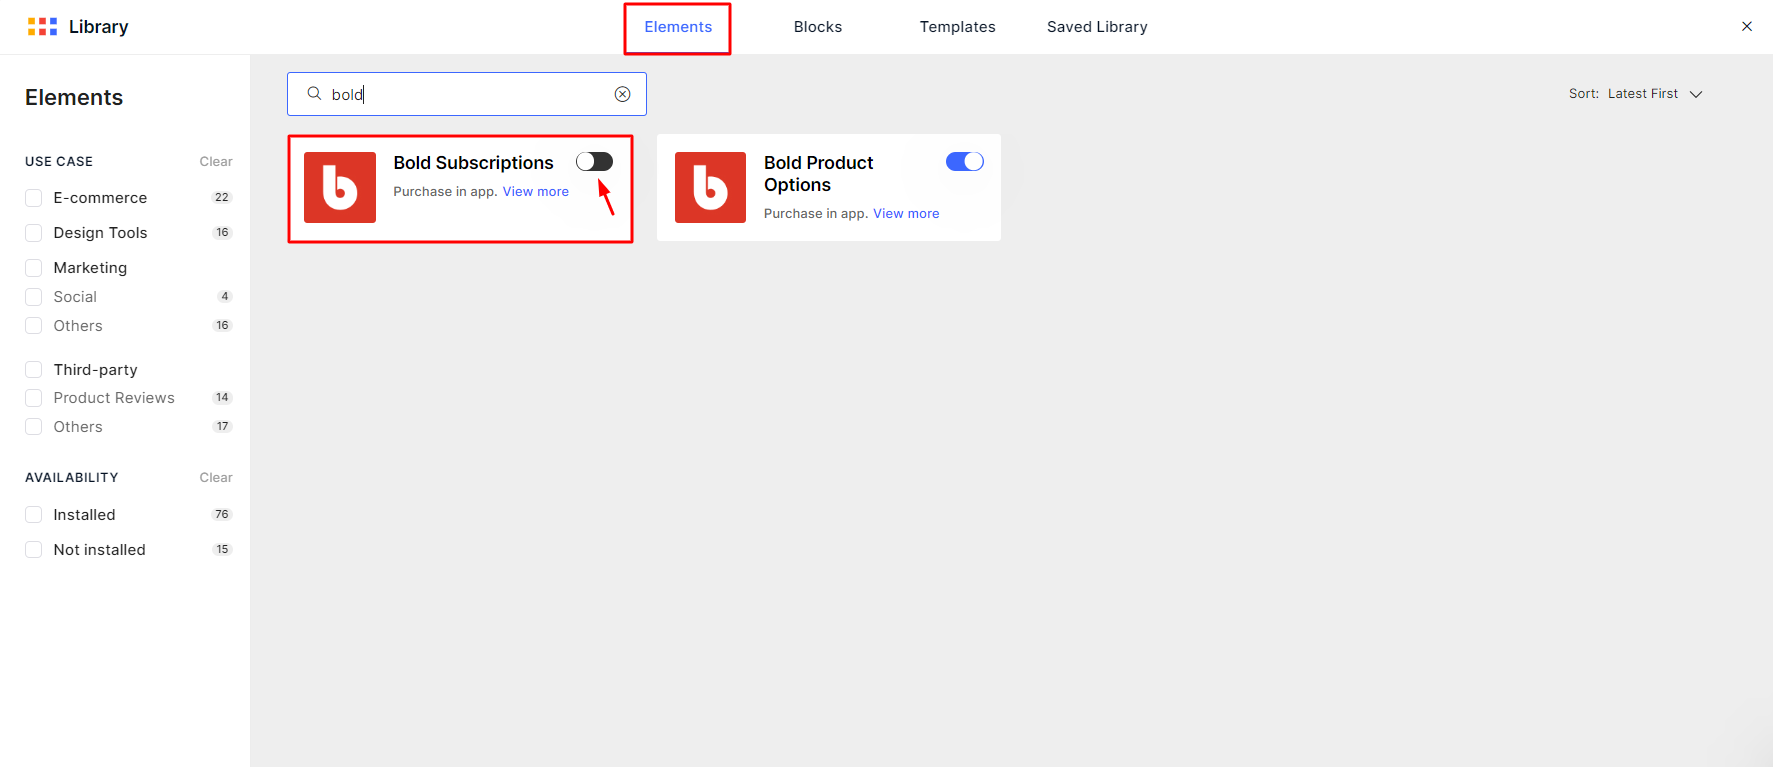
Step 2: In the Editor, open the Library on the top bar and select the Elements tab. Search for “Bold Subscriptions” in the search bar.
Toggle on the corresponding switch.
Once finished, you shall see the newly added element in the Third Party section on the left sidebar.

Version 7
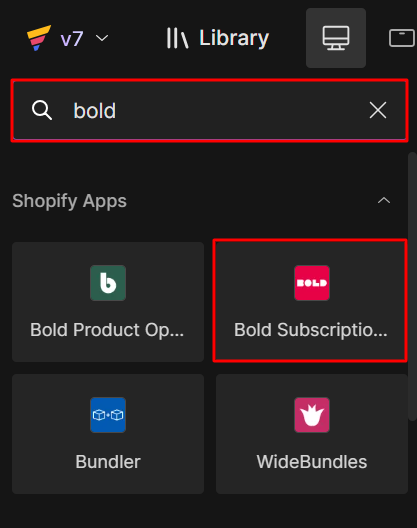
In Editor version 7, there’s no need to go through the above steps. You’ll find the Bold Subscriptions conveniently located within the left sidebar of your editor, under the Shopify Apps category. To quickly find the app, you can utilize the search bar and locate it in minutes.
How to Set Up the Bold Subscriptions element in GemPages
Step 1: Go to the GemPages Dashboard, and enter the Editor of your chosen page by clicking on the “Edit” button.
Step 2: Search for the Bold Subscriptions element in the left sidebar, then drag & drop it onto your preferred spot inside the Product module
Once finished, you shall see the element’s configurations on the left sidebar, which we will go over in the next sections.

Configure The Settings Tab
Widget
The Bold Subscriptions app has 2 versions, both are supported in GemPages.
You can choose between the V1 and V2 widgets corresponding to your app’s version.

Alignment
You can position the element as either: Left, Centered, or Right in this section.

Click on the small device icon at the top right corner of this section to switch between 4 views: Desktop, Laptop, Tablet, and Mobile.

Extra Class
If you want further customizations done by coding, feel free to add a class here and refer to it later in the CSS file.

Configure The Design Tab
Don’t forget to fine-tune the element’s look using the Design tab. Click here for a complete guide to the Design tab.
When you are happy with the result, the last step is to hit “Save” and “Publish” your page to update your front store!


Thank you for your comments