


Steps to Edit Existing Blog Post with GemPages
Step 1: From your Shopify admin, go to Apps > GemPages to open the dashboard.
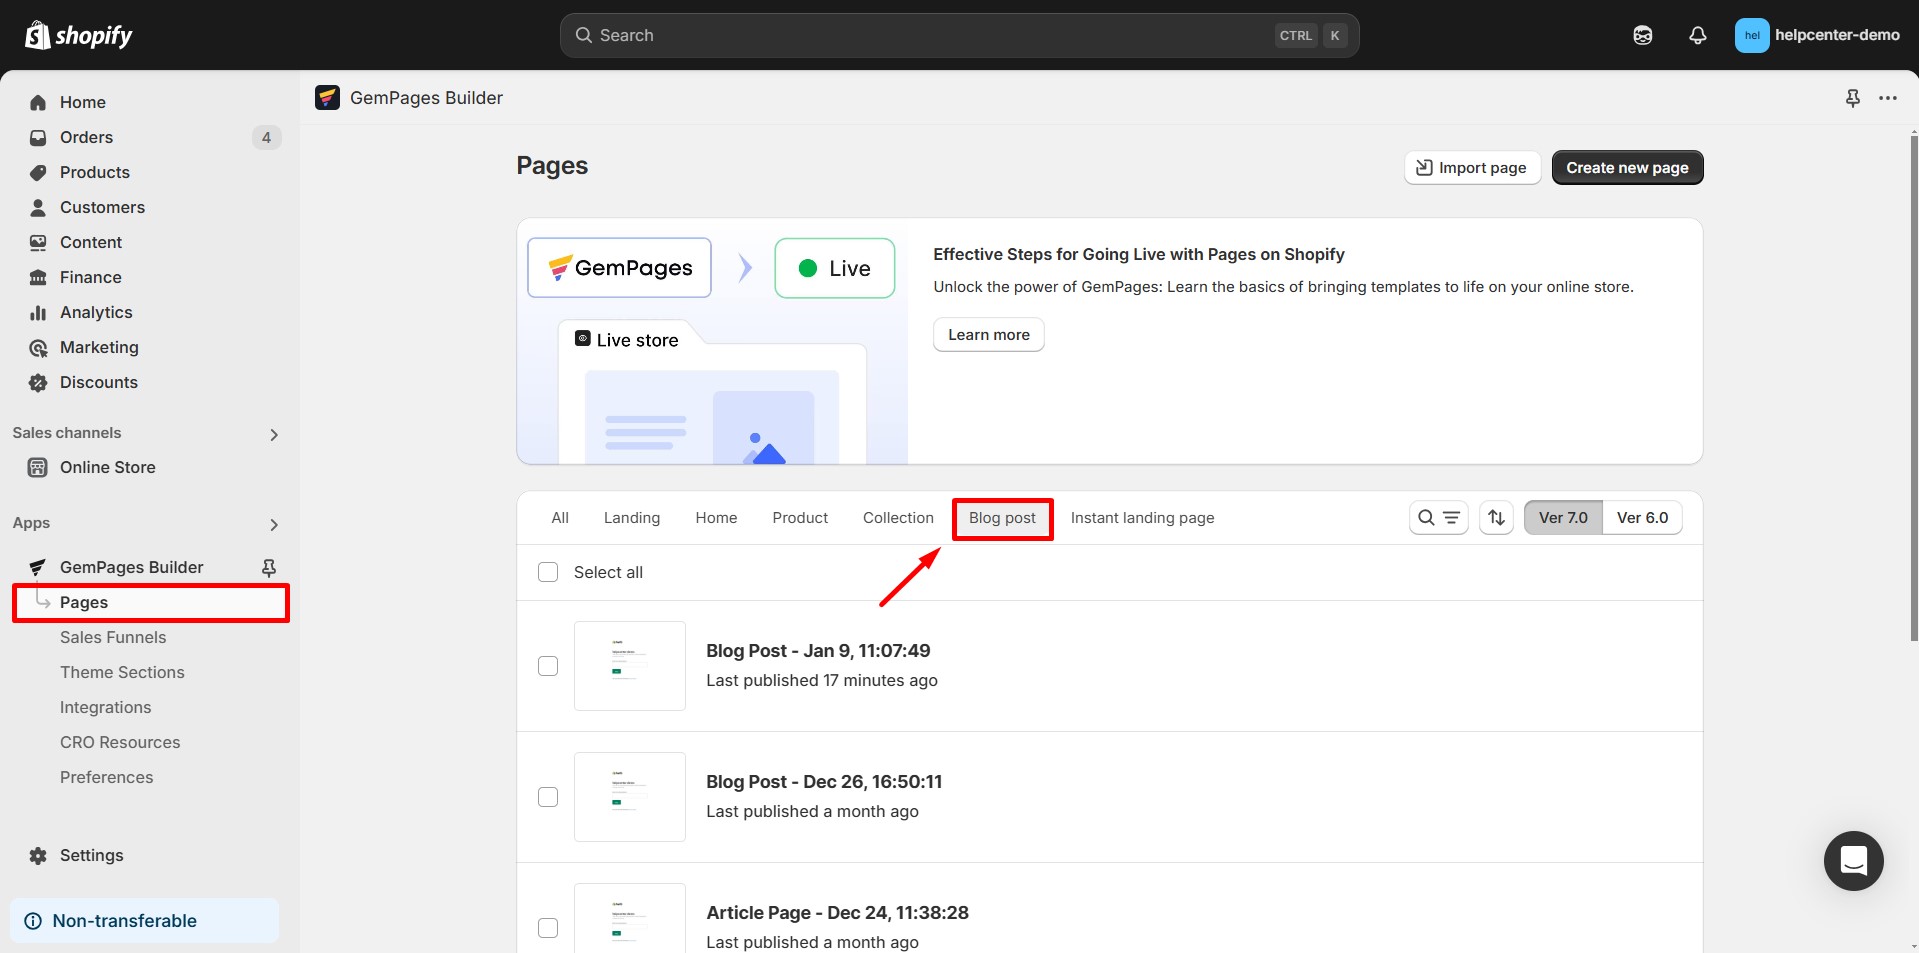
Step 2: In the GemPages Dashboard, navigate to Pages > Blog Post. Use the search bar or scroll to find the blog page you want to edit.
Step 3: Click on the blog post title to open it in the GemPages Editor.
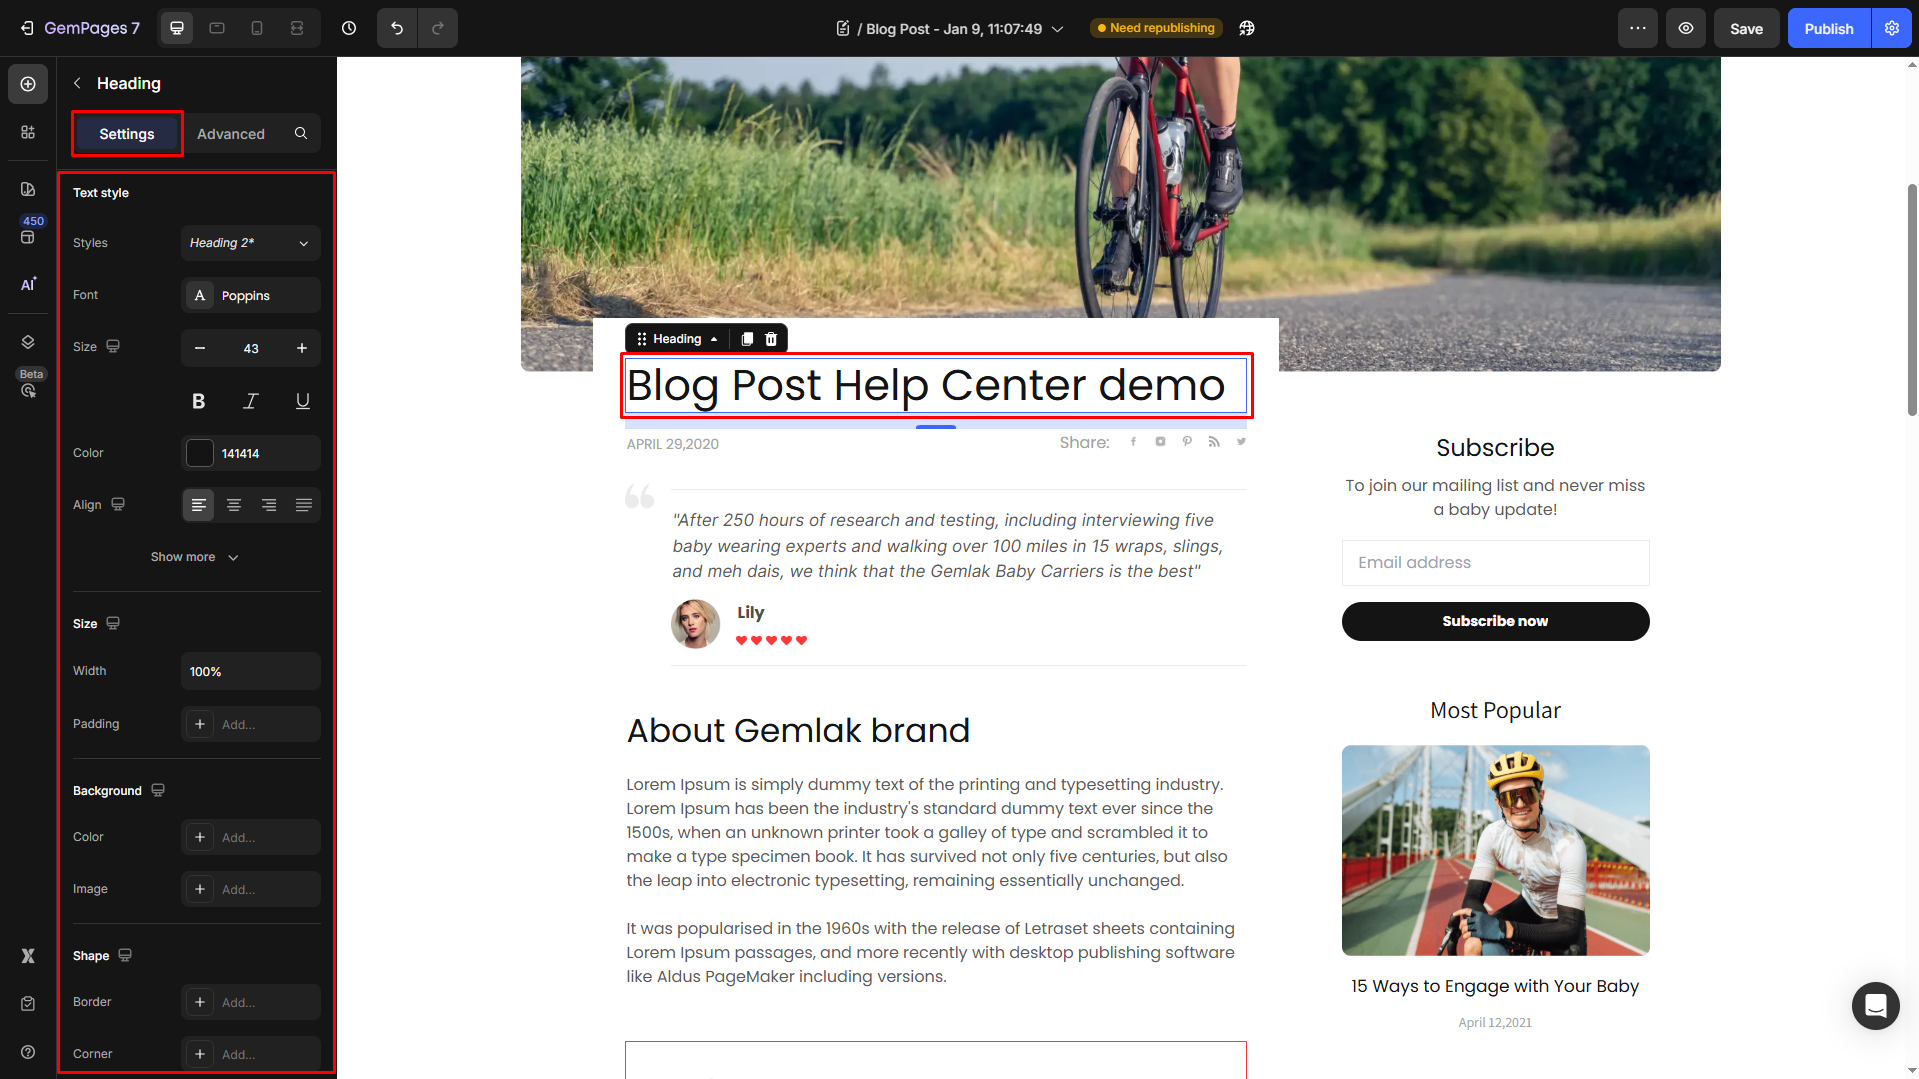
Step 4: Once you locate the editor, use the drag-and-drop interface to edit the blog post as you prefer, such as adding a Heading Element, configuring the text, etc.
Step 5: Click Save to store your changes. Once satisfied, click Publish to update your blog post.

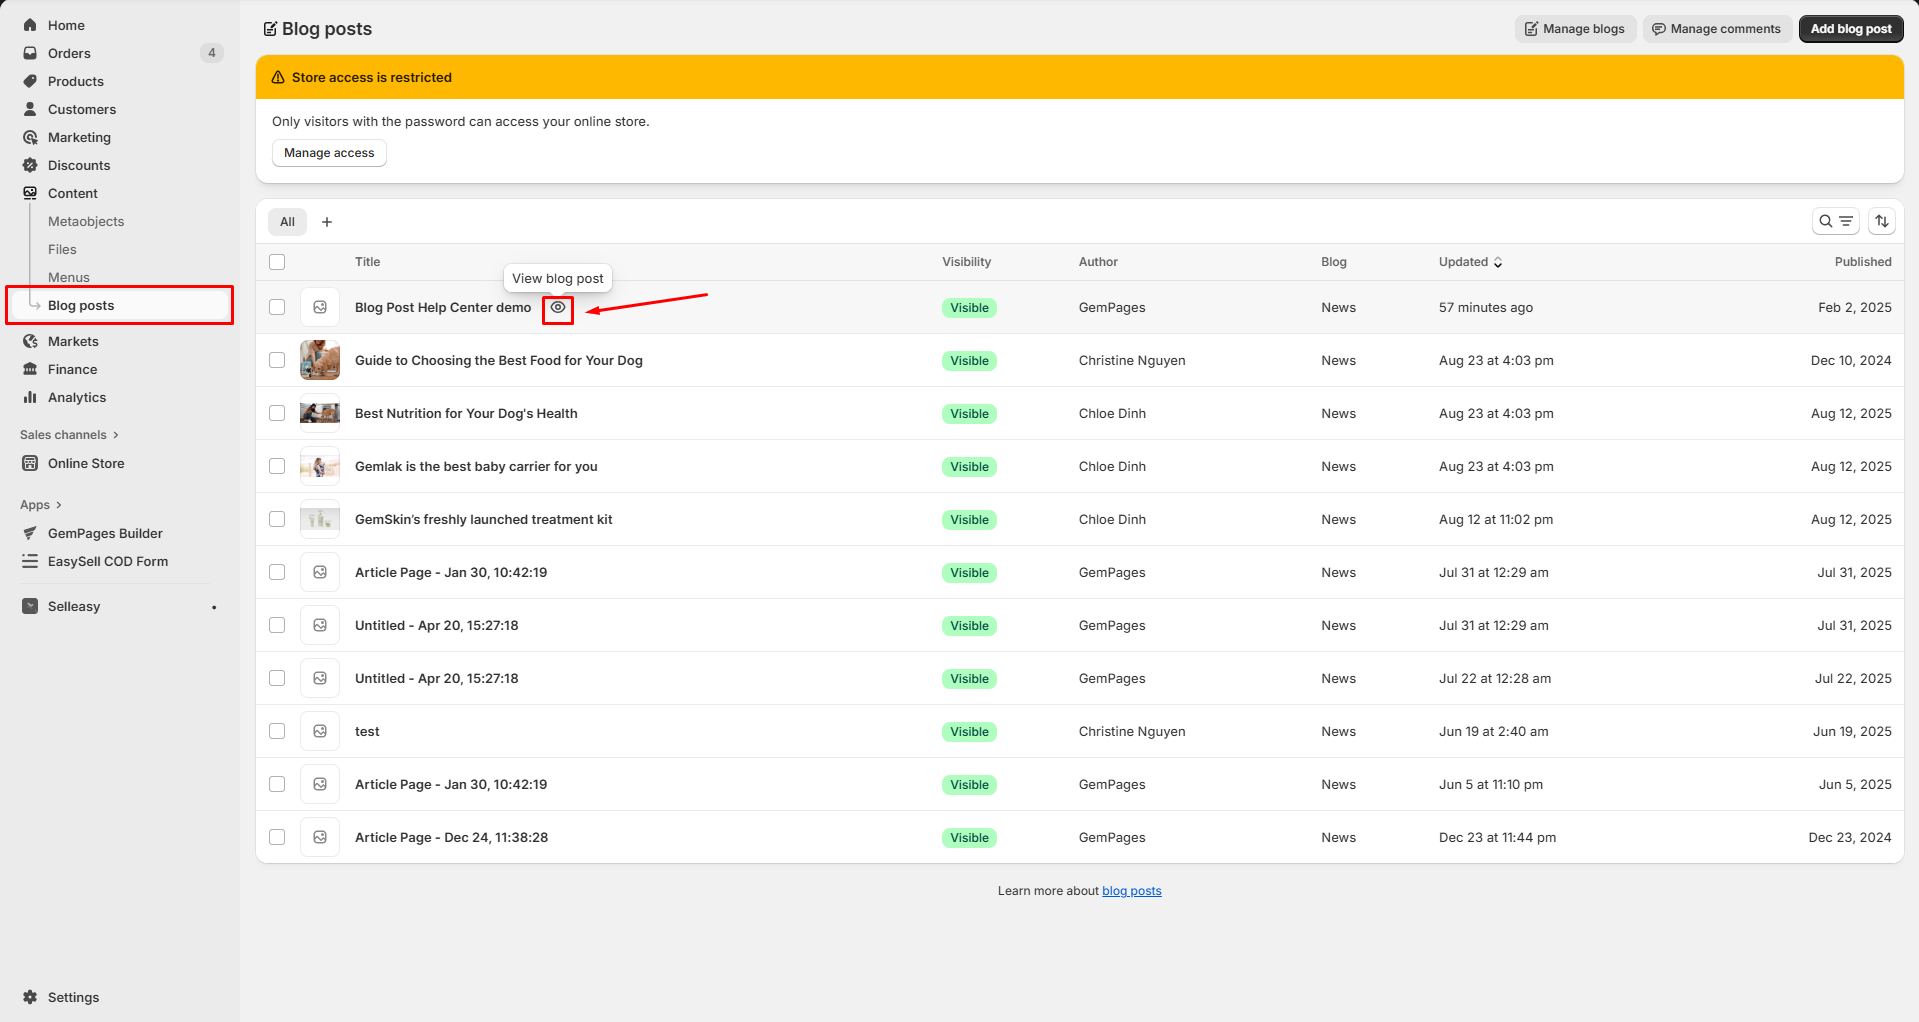
Result:

Note:
All pages built using Blog Page Templates in GemPages, once published, will automatically sync back to Content > Blog posts in Shopify.
The author will be set as GemPages by default, but you can update or change the author at any time later in Shopify Admin.


Thank you for your comments