


Adding a background to a column enhances your design flexibility, enabling you to create visually distinct sections that align with your store’s branding. It helps separate content effectively, improve readability, and highlight key elements.
How to set the background for a column inside a row?
GemPages already supports setting background colors for the Row Element easily.
You can leverage this feature to set backgrounds for columns within rows by following the simple methods below.
Option 1: Setting Backgrounds by Nesting Rows within Columns
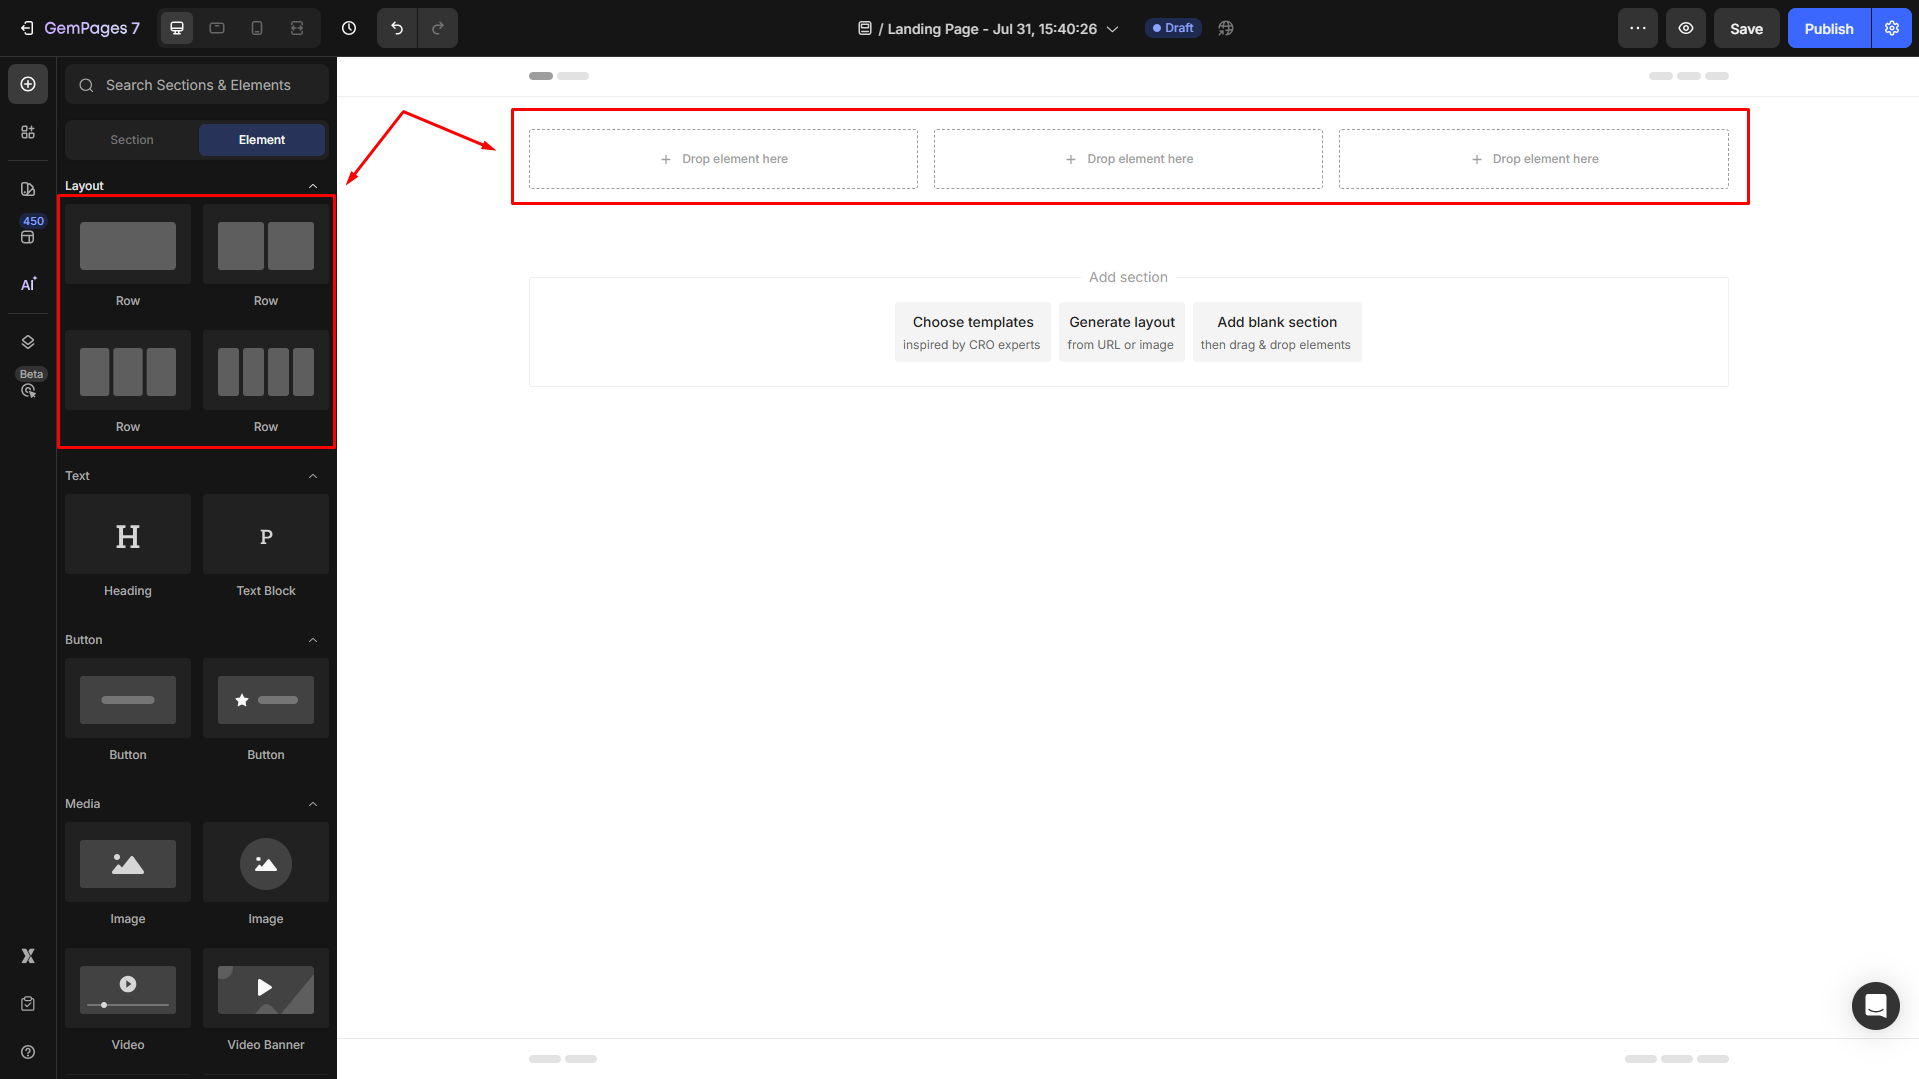
Step 1: In the editor, drag and drop a Row element from the left sidebar. For example, create a row with three columns.
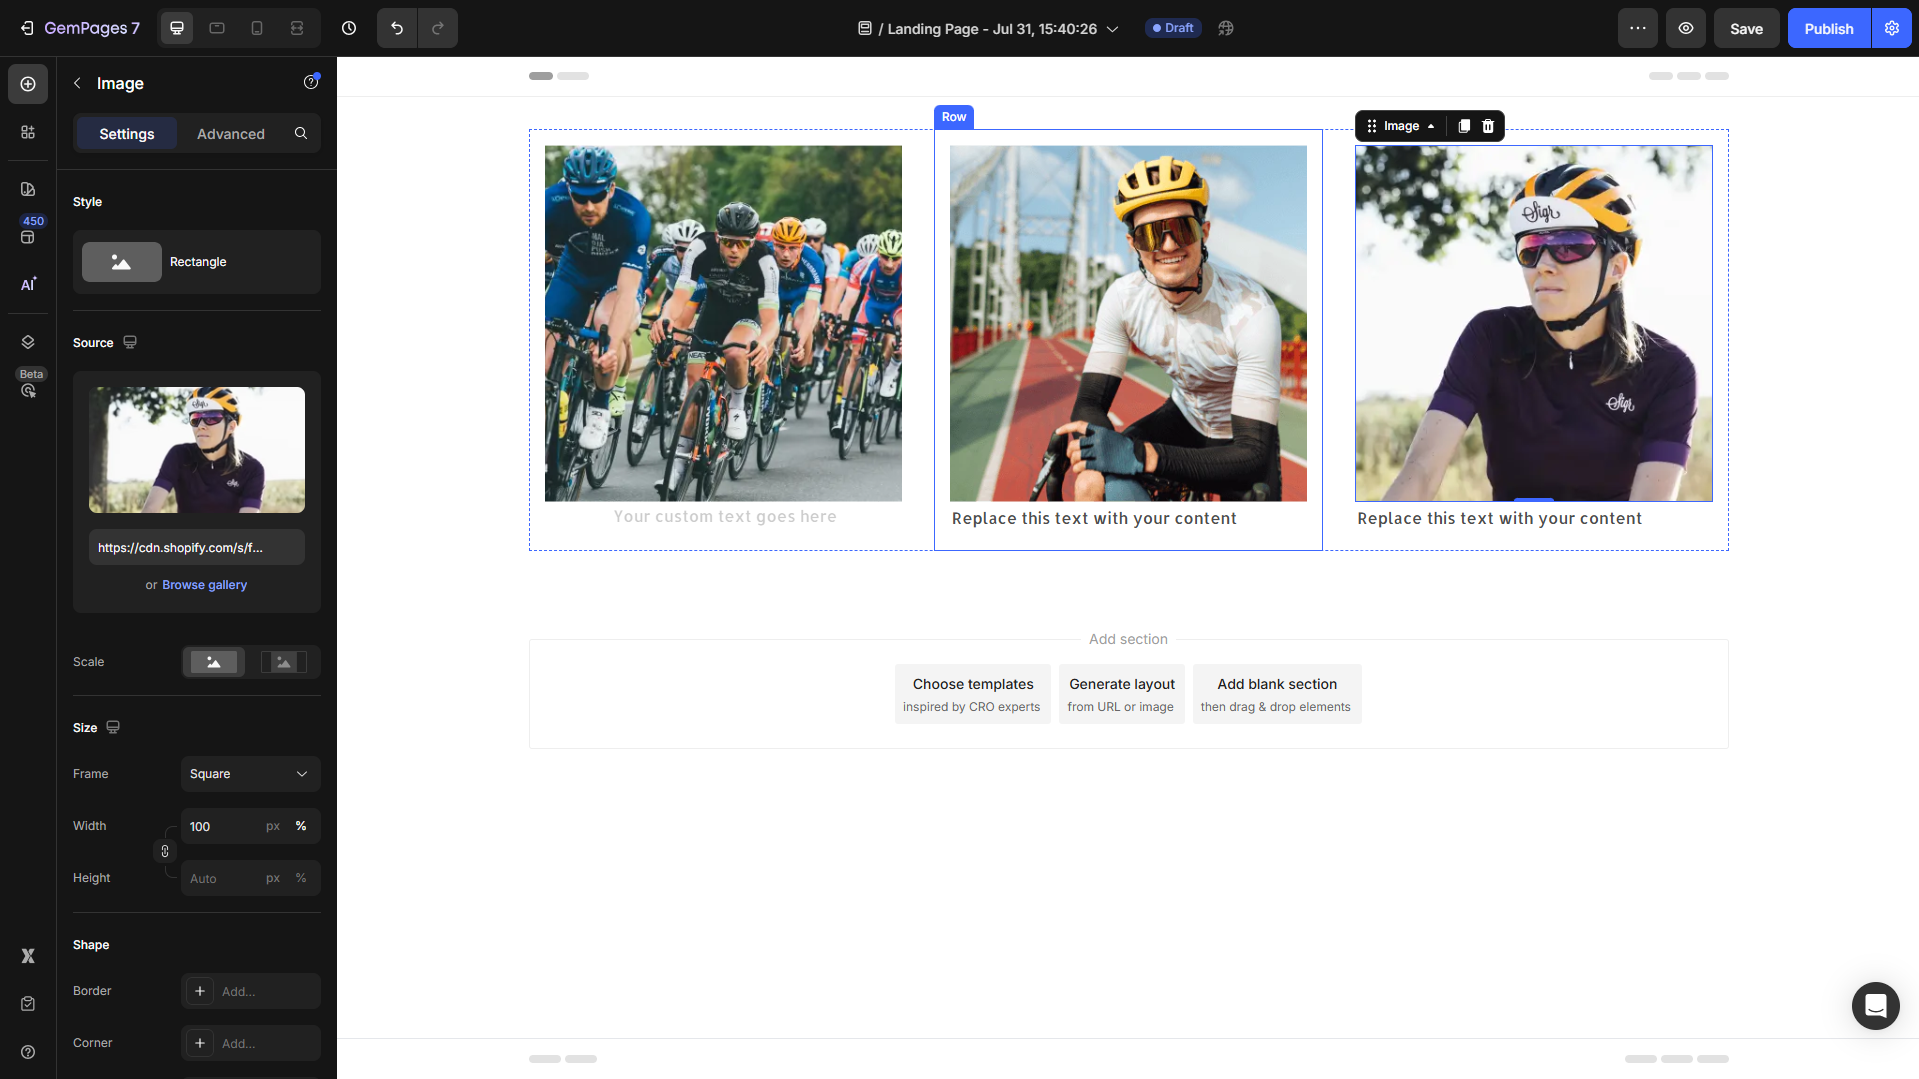
Step 2: Nest a new row inside each column. Add content to each column as needed.

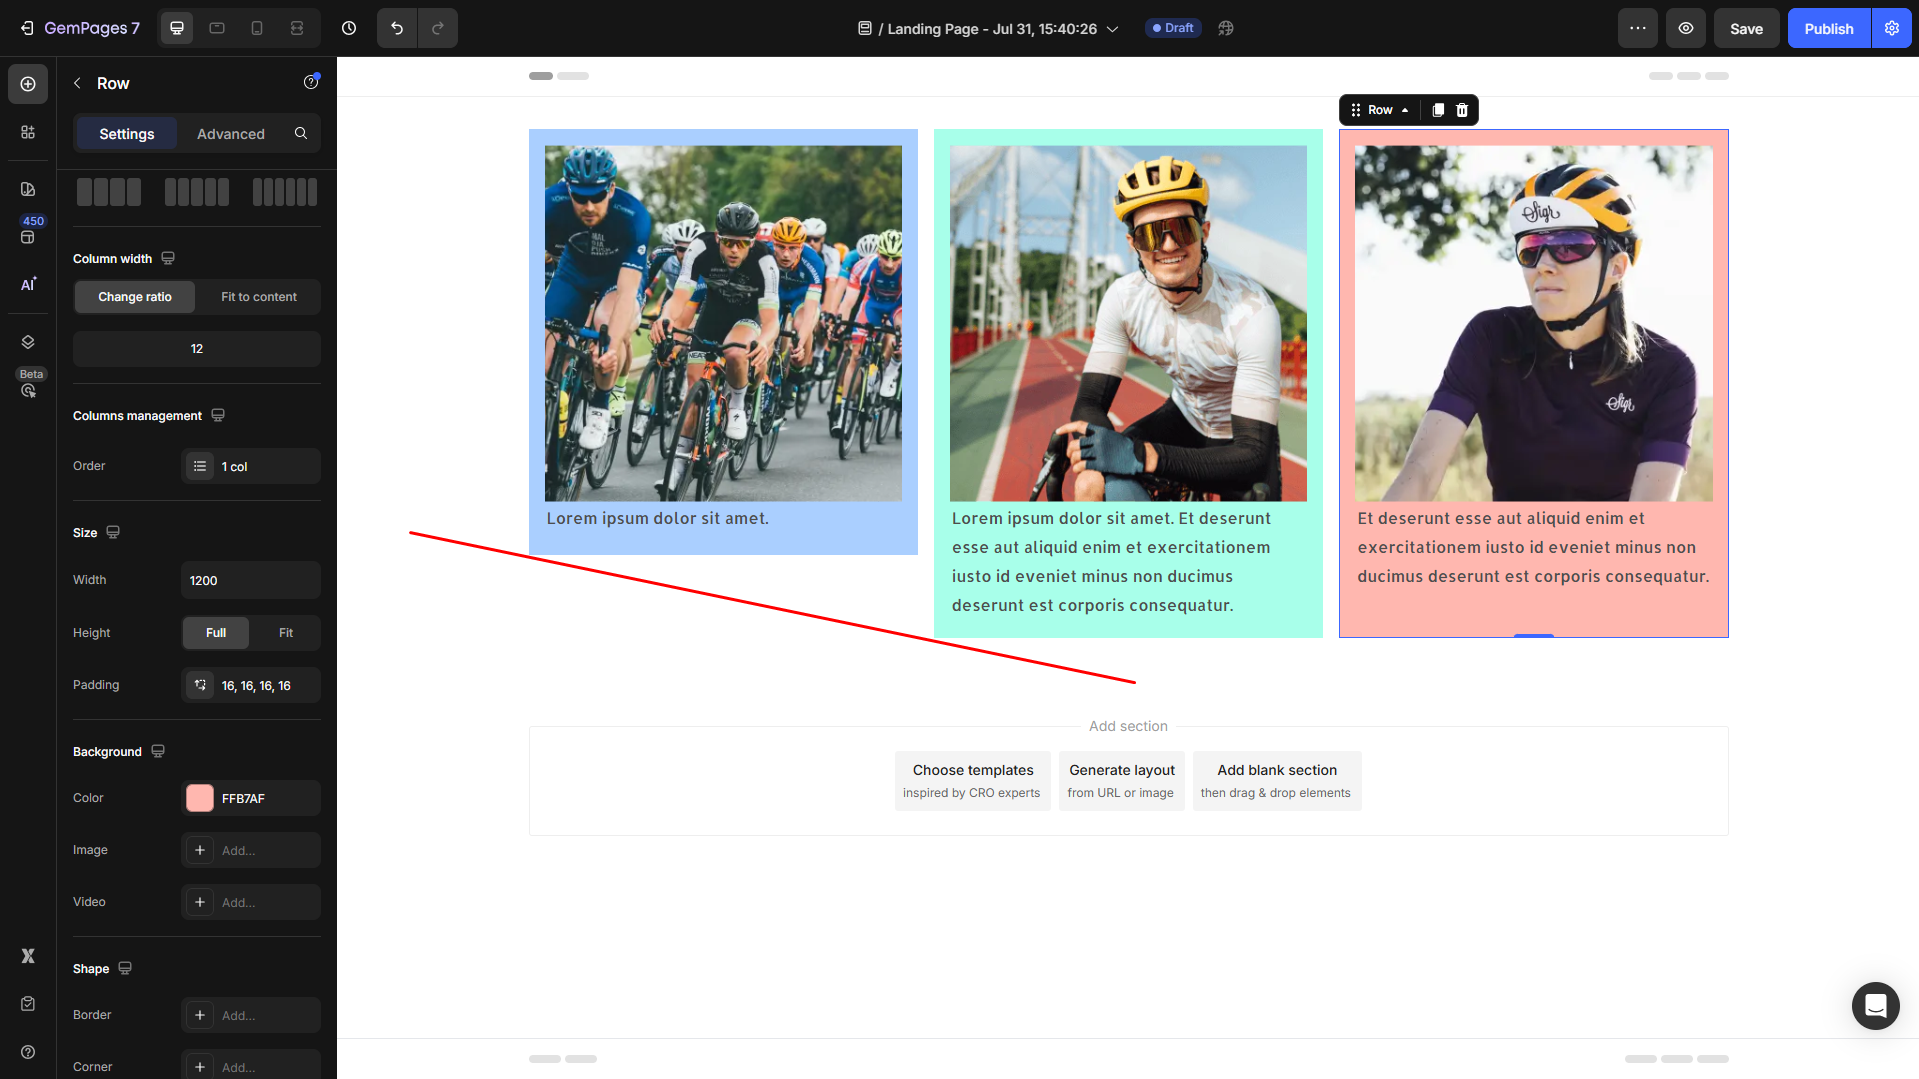
Step 3: Click on each nested row you created in Step 2 to open its settings. Scroll down to the Background section and hit the box next to Color for background color configuration.

Note: This method is best used when the nested rows have equal heights. If the content within each column varies in size, it may result in uneven backgrounds.
Option 2: Setting Backgrounds for Columns Using Custom Code
This method involves adding custom code to set the background color for each column individually.
Follow these steps:
Step 1: Add a nested row inside each column. Add content to each nested row as needed.
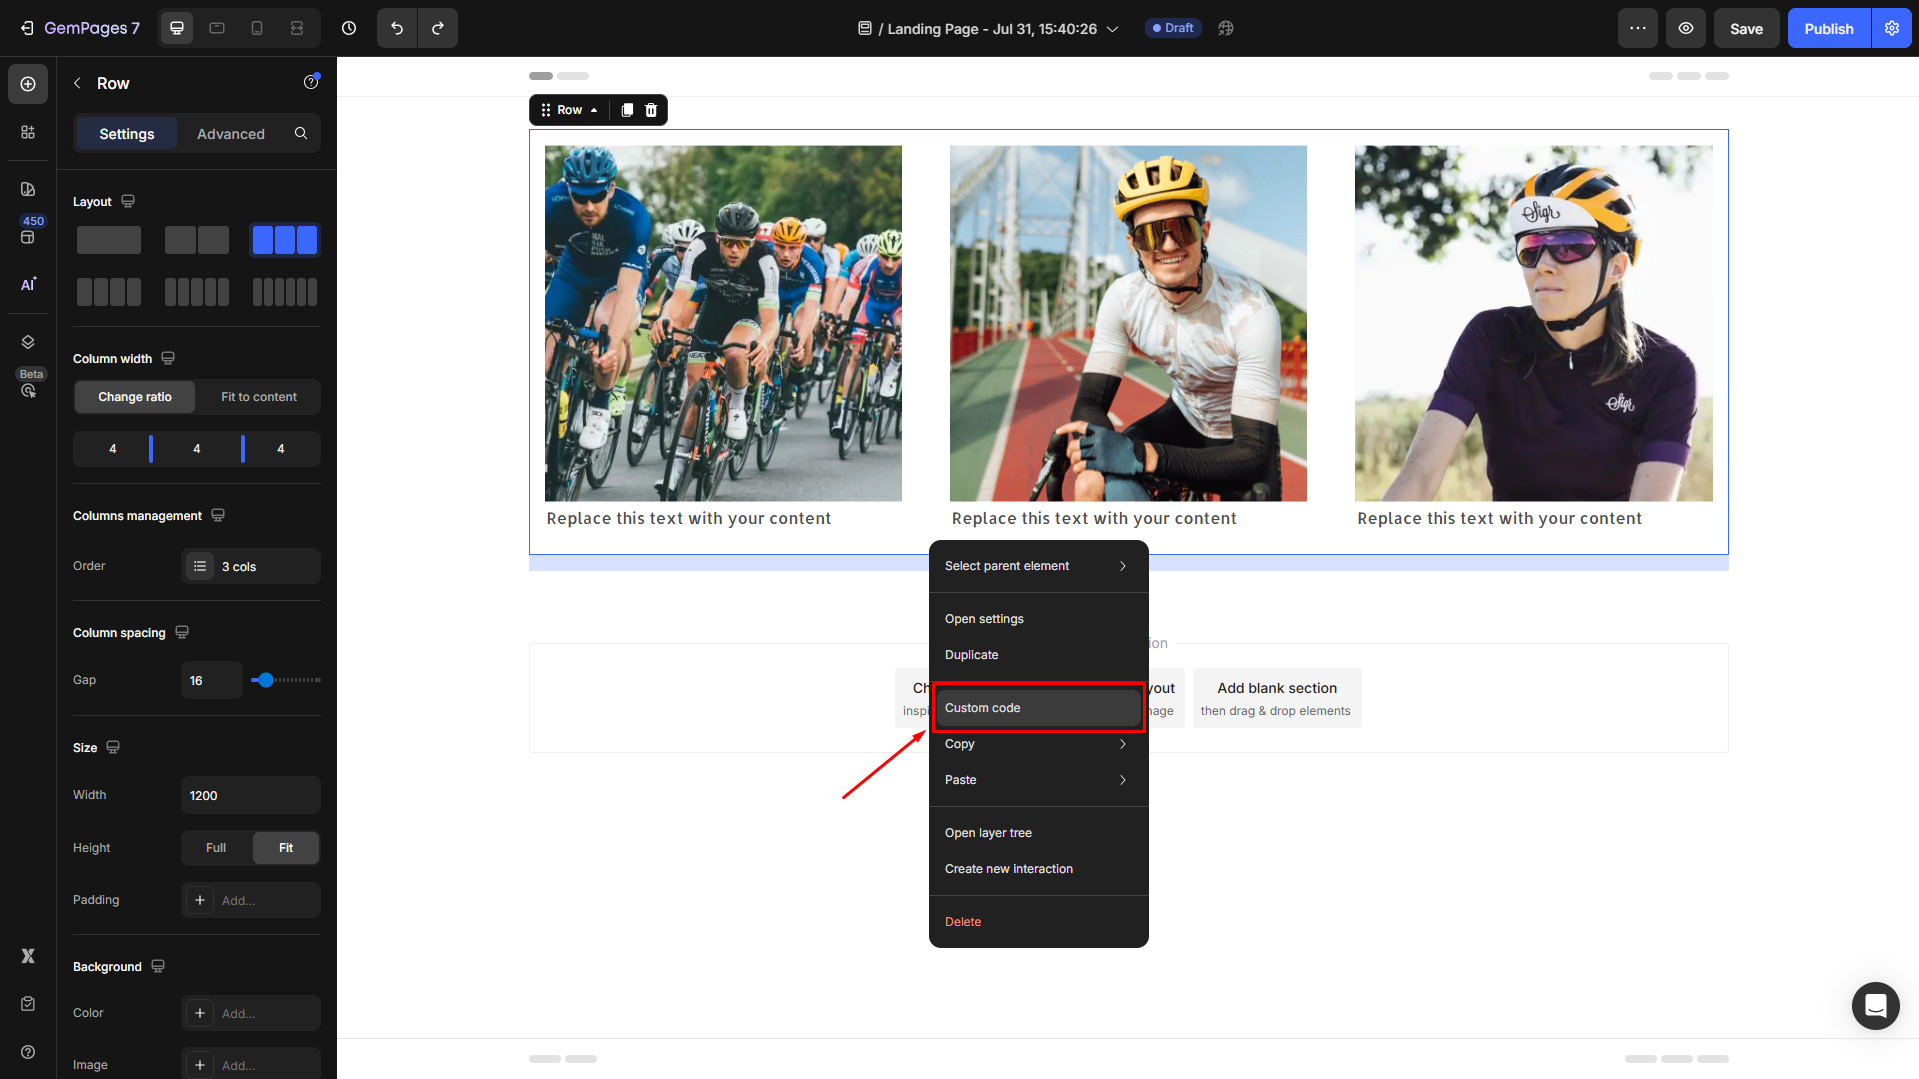
Step 2: Right-click on the label of the main Row element and select Custom Code.
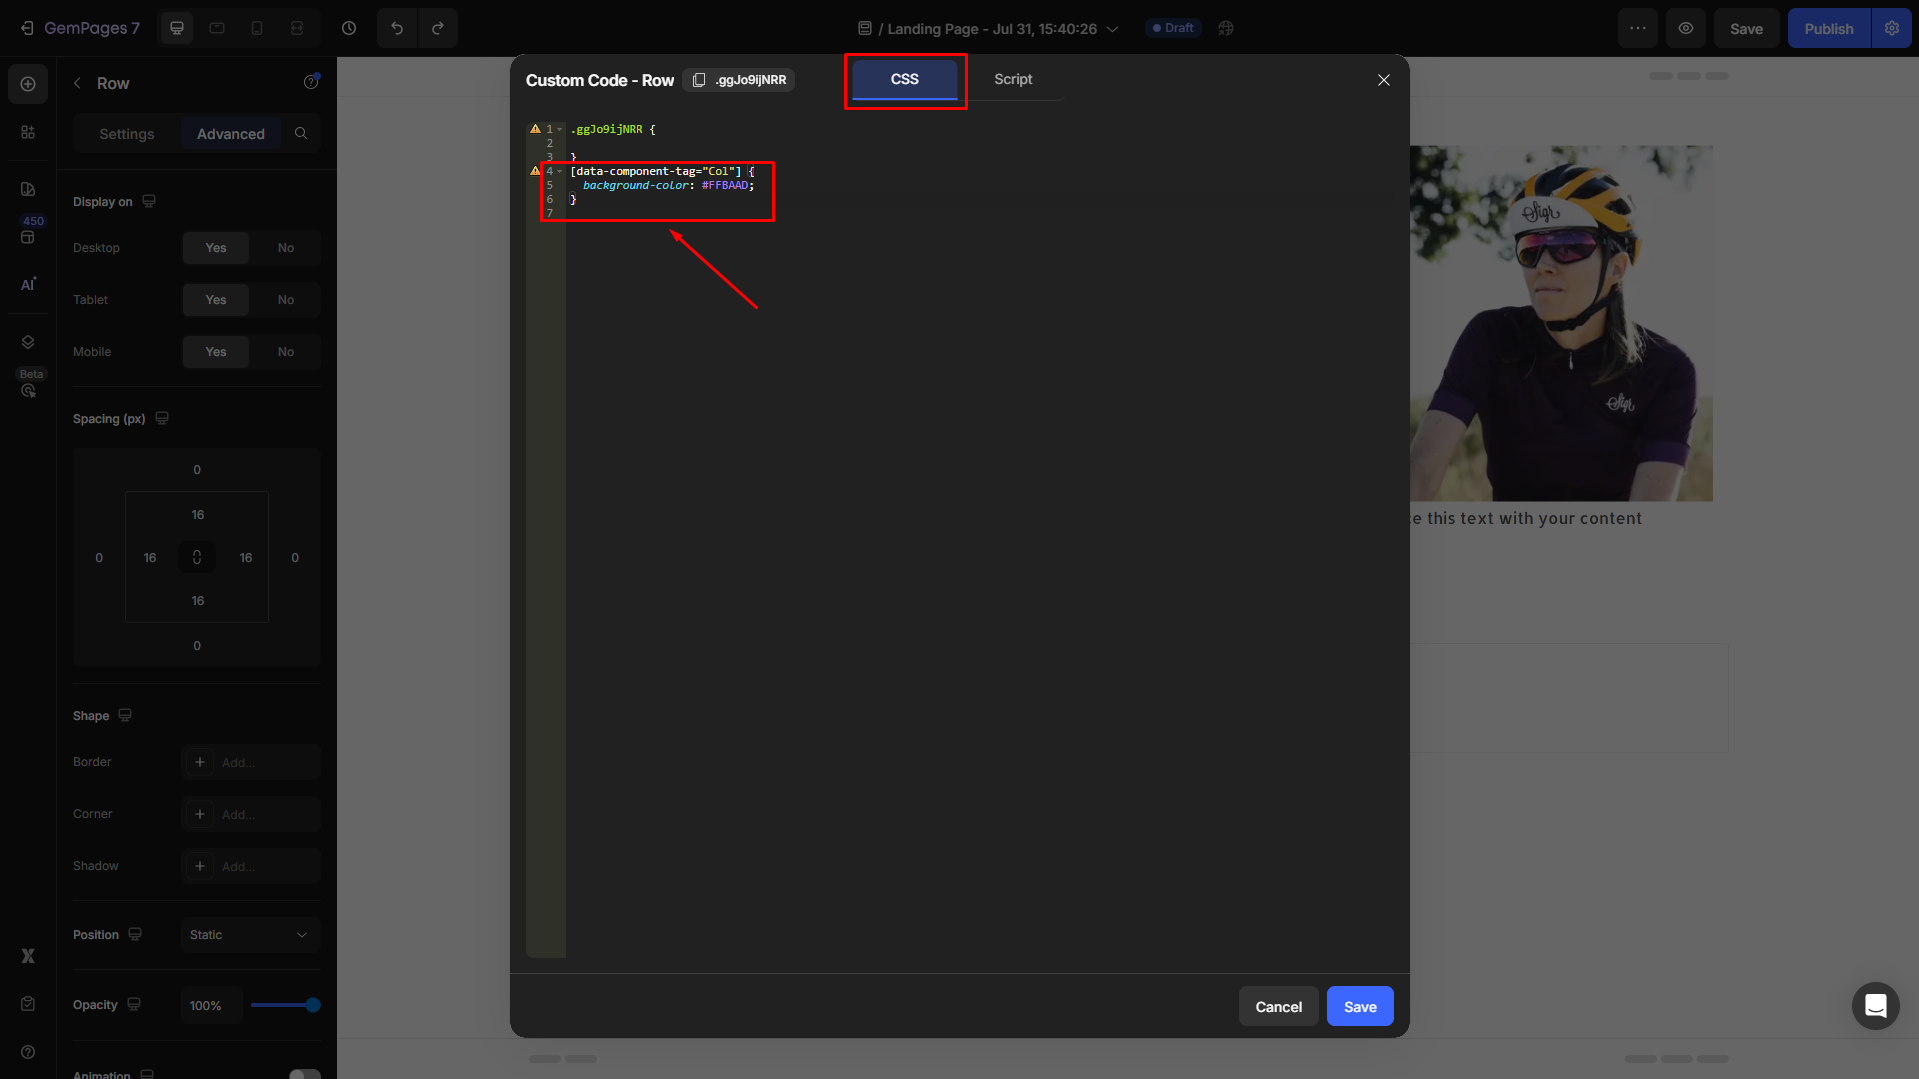
Step 3: In the code editor dialog, locate the CSS tab and add the following custom code:
[data-component-tag="Col"] {
background-color: #yourdesiredcolor;
}
Replace #yourdesiredcolor with your desired color code. For example, use this color code #FFBAAD and hit the Save button.
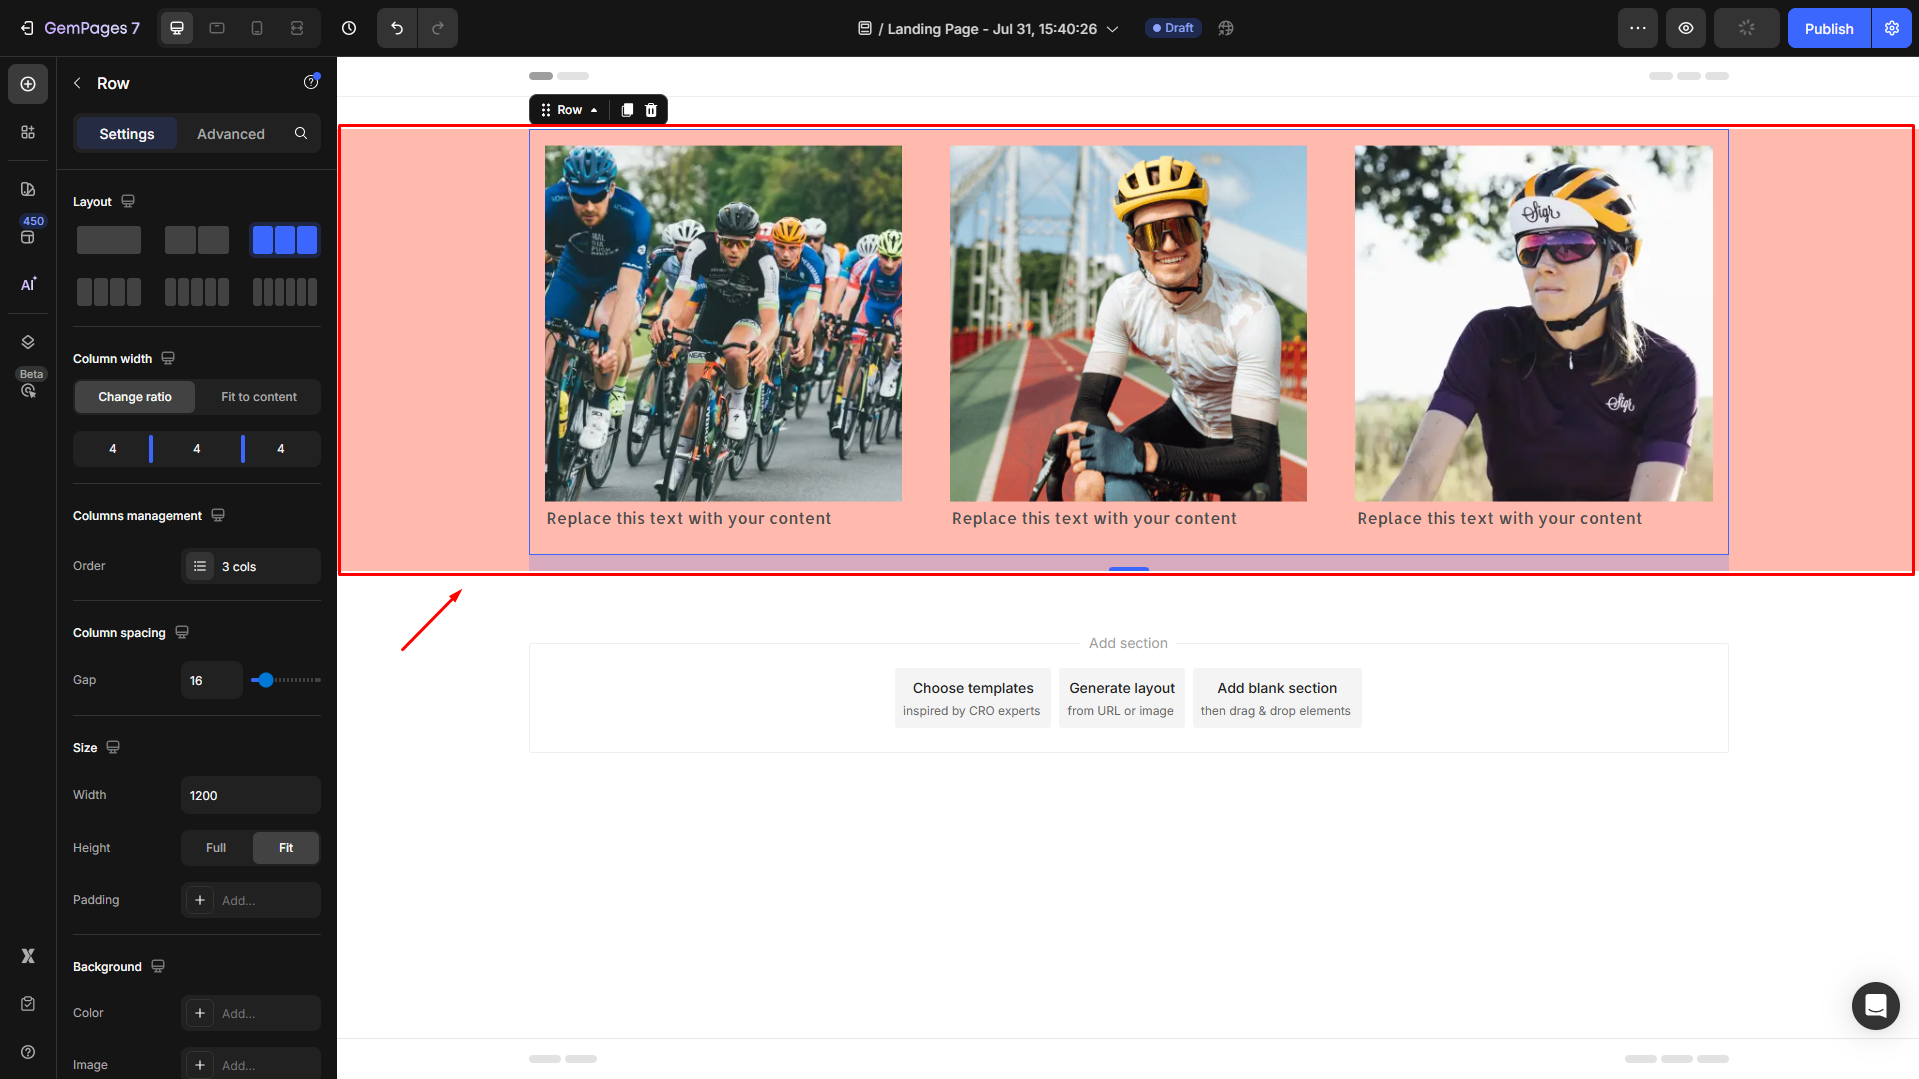
Step 4: Check the result, save, and publish to make your configurations live.


Thank you for your comments