


What is a Wishlist Button?
A wishlist button allows customers to save products they are interested in for later.
It functions like a “Save for Later” option, enabling shoppers to return to those items without needing to search for them again.
Why You Should Have a Wishlist Button on Your Page
Adding a wishlist button on your page, you can:
- Increase Sales: A wishlist button gives customers a simple way to save products they might want to buy later, encouraging return visits to your store.
- Boost Customer Engagement: Shoppers are more likely to return to your site if they have saved products to their wishlists. This makes your store more memorable and drives repeat traffic.
- Enhanced User Experience: Providing an easy way for customers to track their desired products improves the shopping experience, ultimately leading to higher customer satisfaction.
How to Add a Wishlist Button to Your Product Page
To add a wishlist button, you’ll need to use GemPages in combination with a third-party wishlist app from the Shopify App Store. Follow these steps to integrate the wishlist functionality into your product page.
Step 1: Install a Wishlist App from the Shopify App Store
First, you’ll need to install a wishlist app that supports this feature. Here’s how:
- Go to the Shopify App Store.
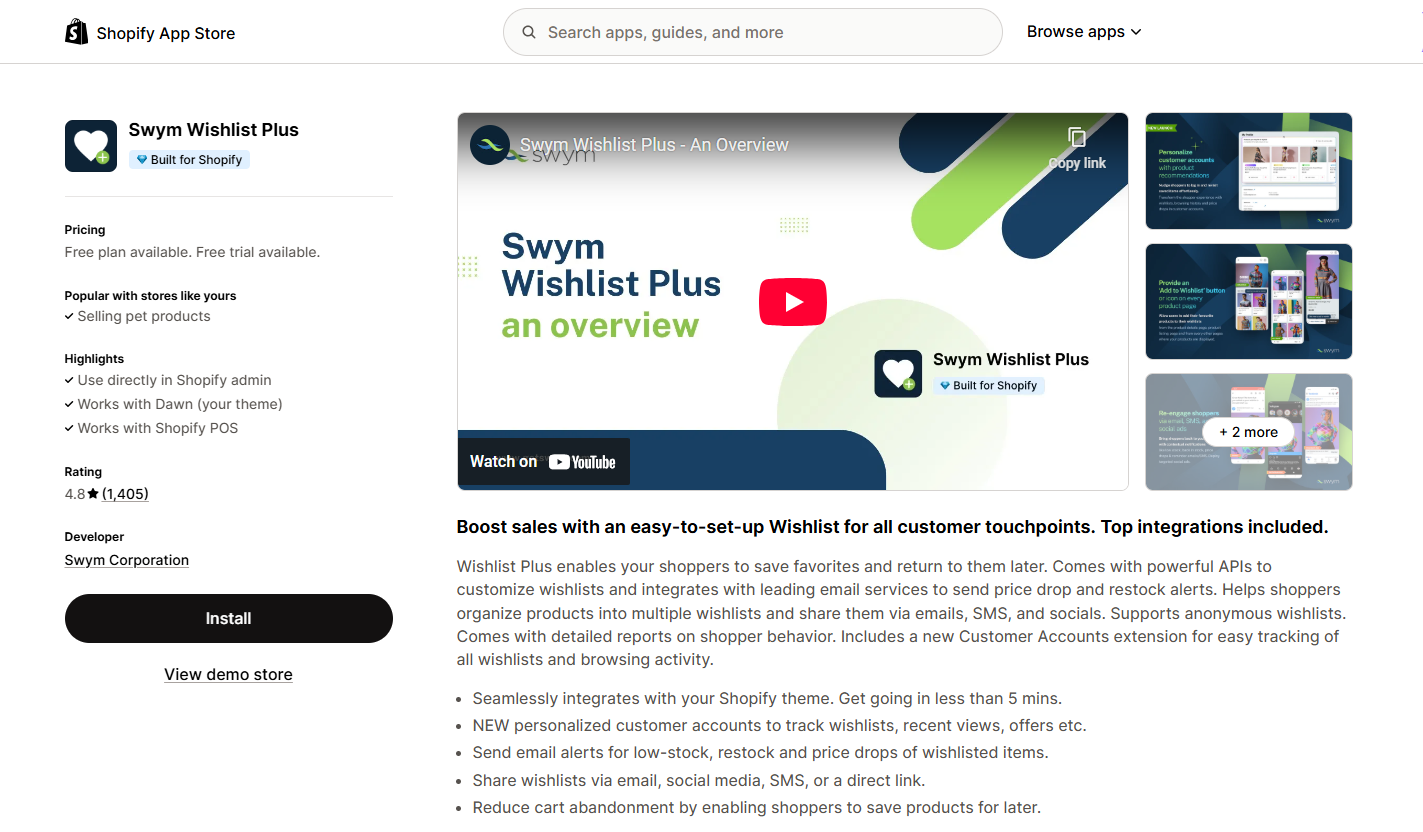
- Search for a wishlist app that meets your requirements. GemPages currently integrates with:
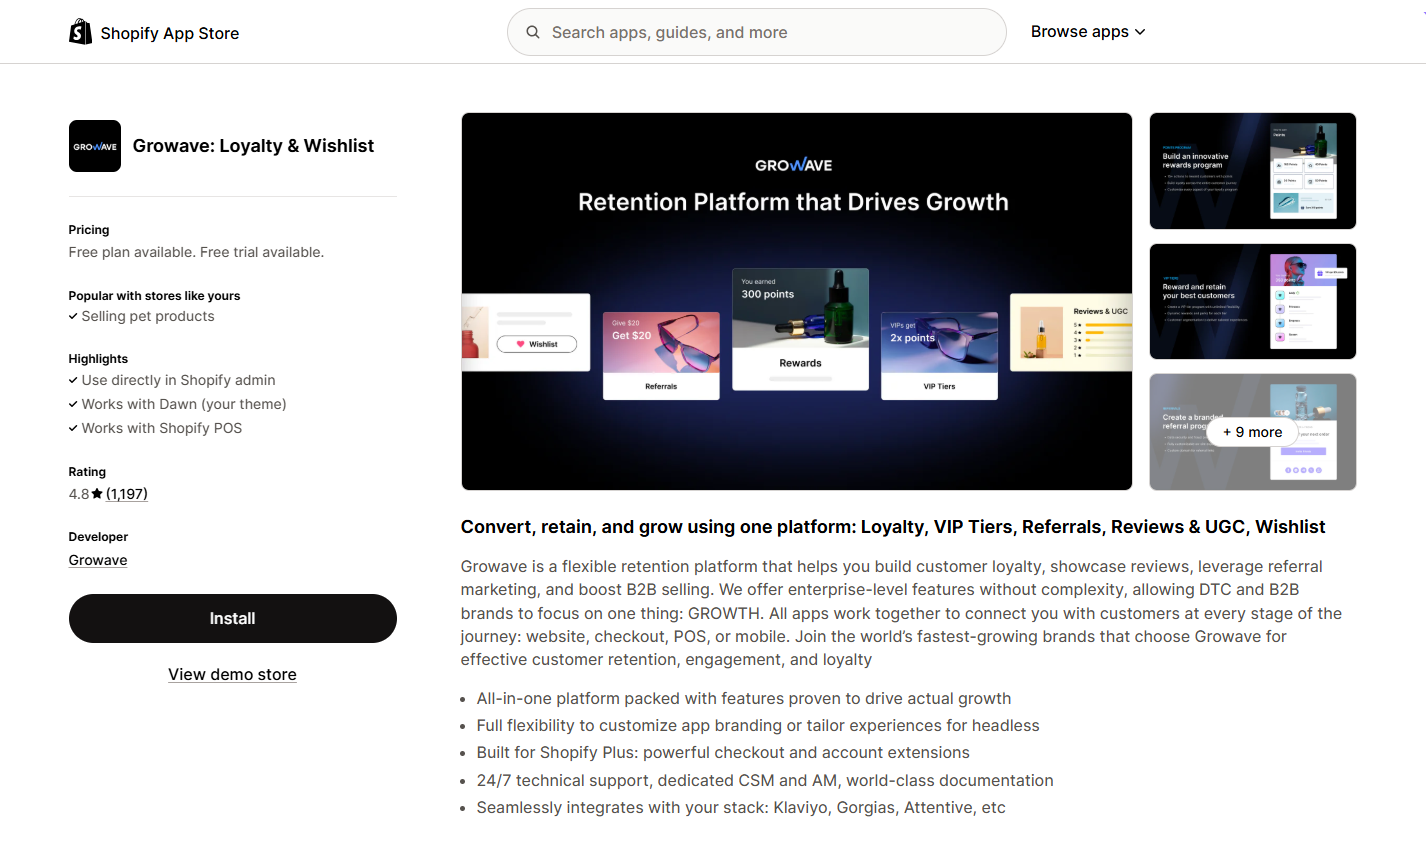
#1. Growave: Loyalty & Wishlist+
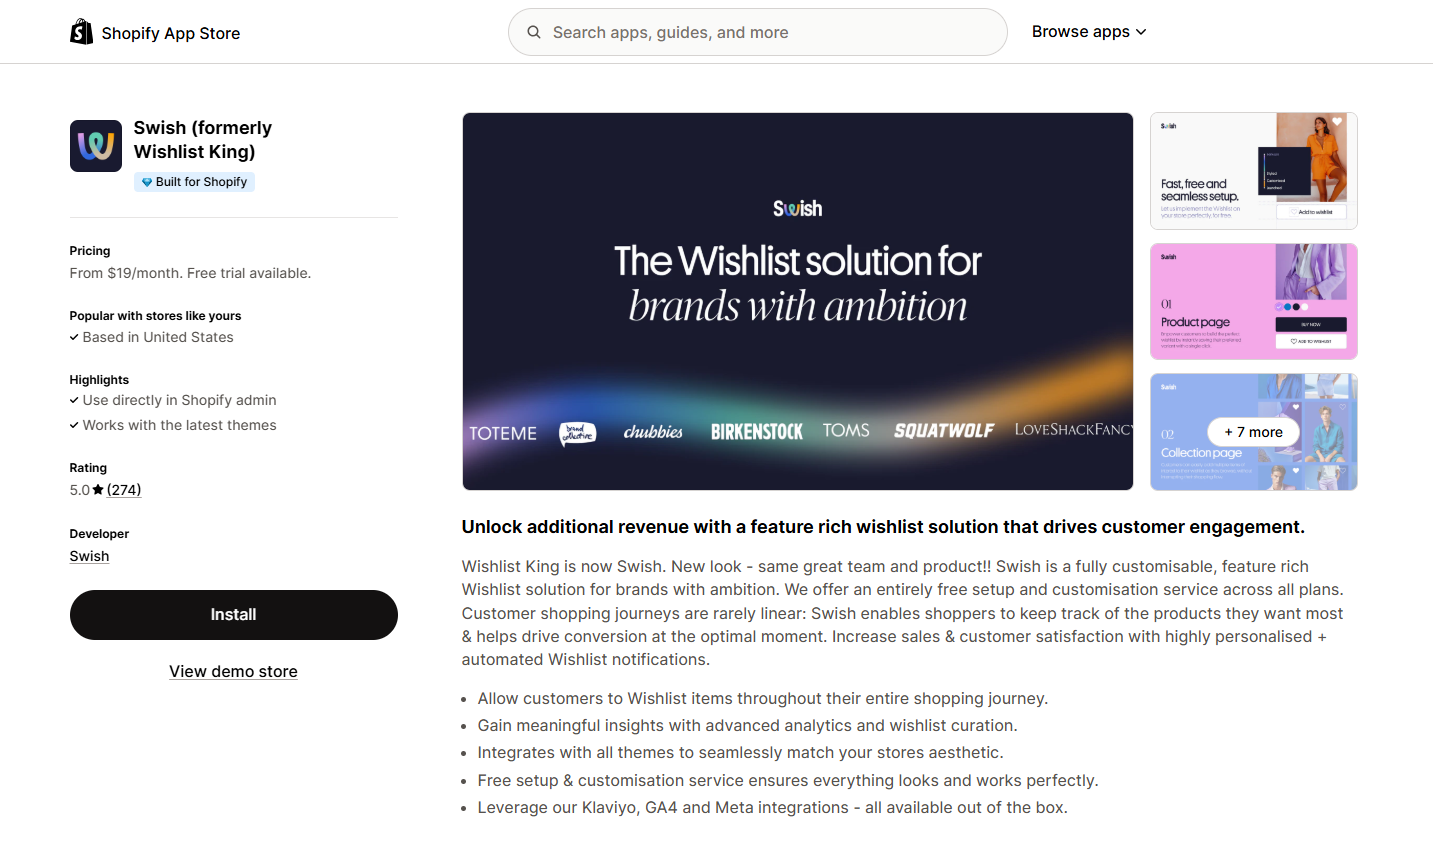
#2. Swish (formerly Wishlist King)
- Click Install and follow the app’s setup instructions
- Once installed, the app will generate a wishlist button that can be integrated into your product pages.
Step 2: Access the GemPages Editor
- After installing the wishlist app, go to the GemPages Builder app under the App section.
- Click Pages > Product to locate all product pages built with GemPage.
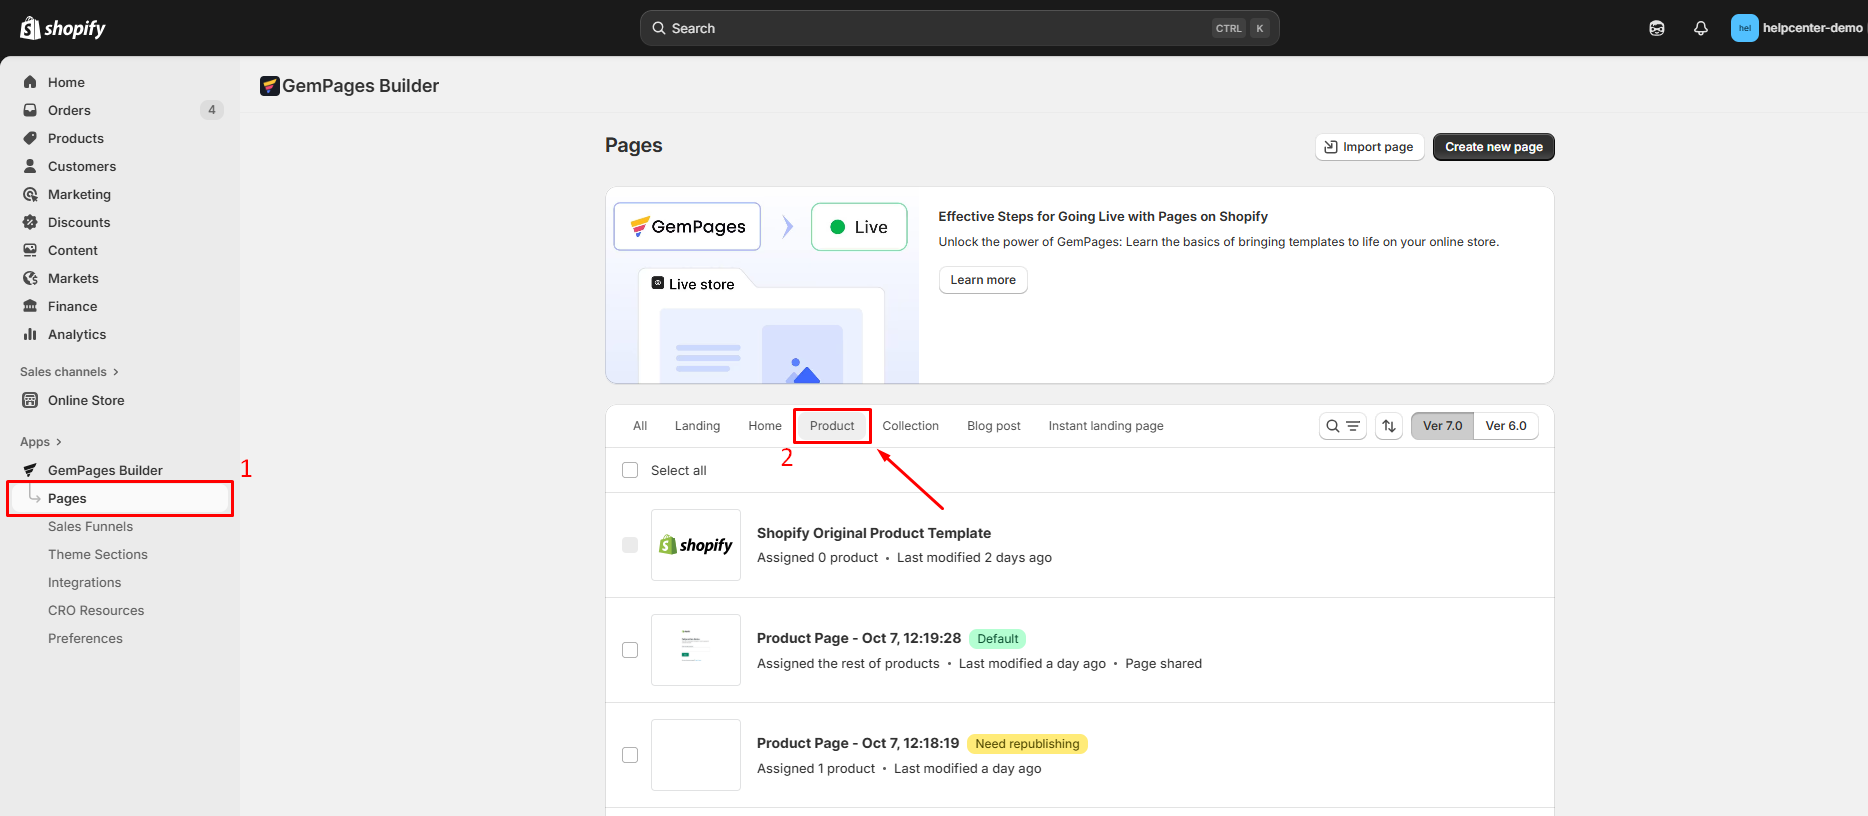
- Click on the product page you want to edit to open it in the editor.
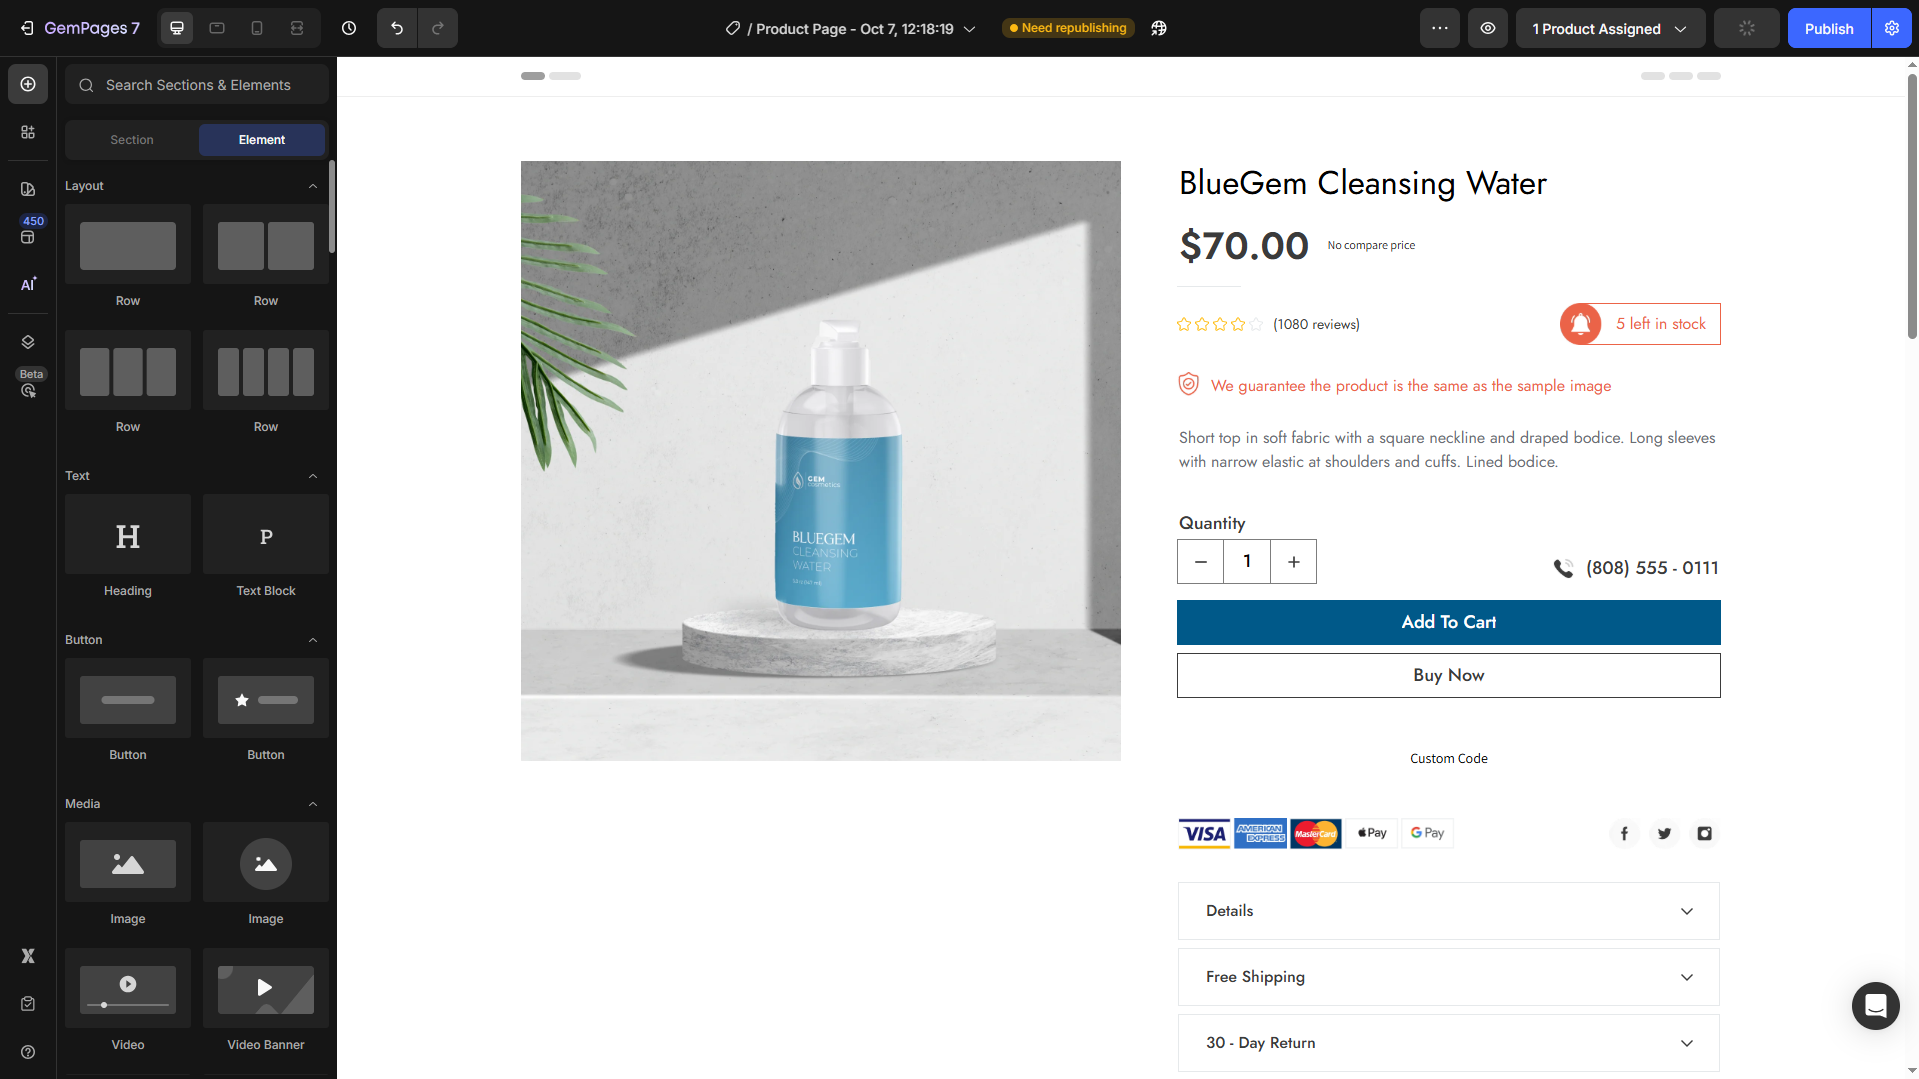
Step 3: Add Wishlist App Element to Your Page
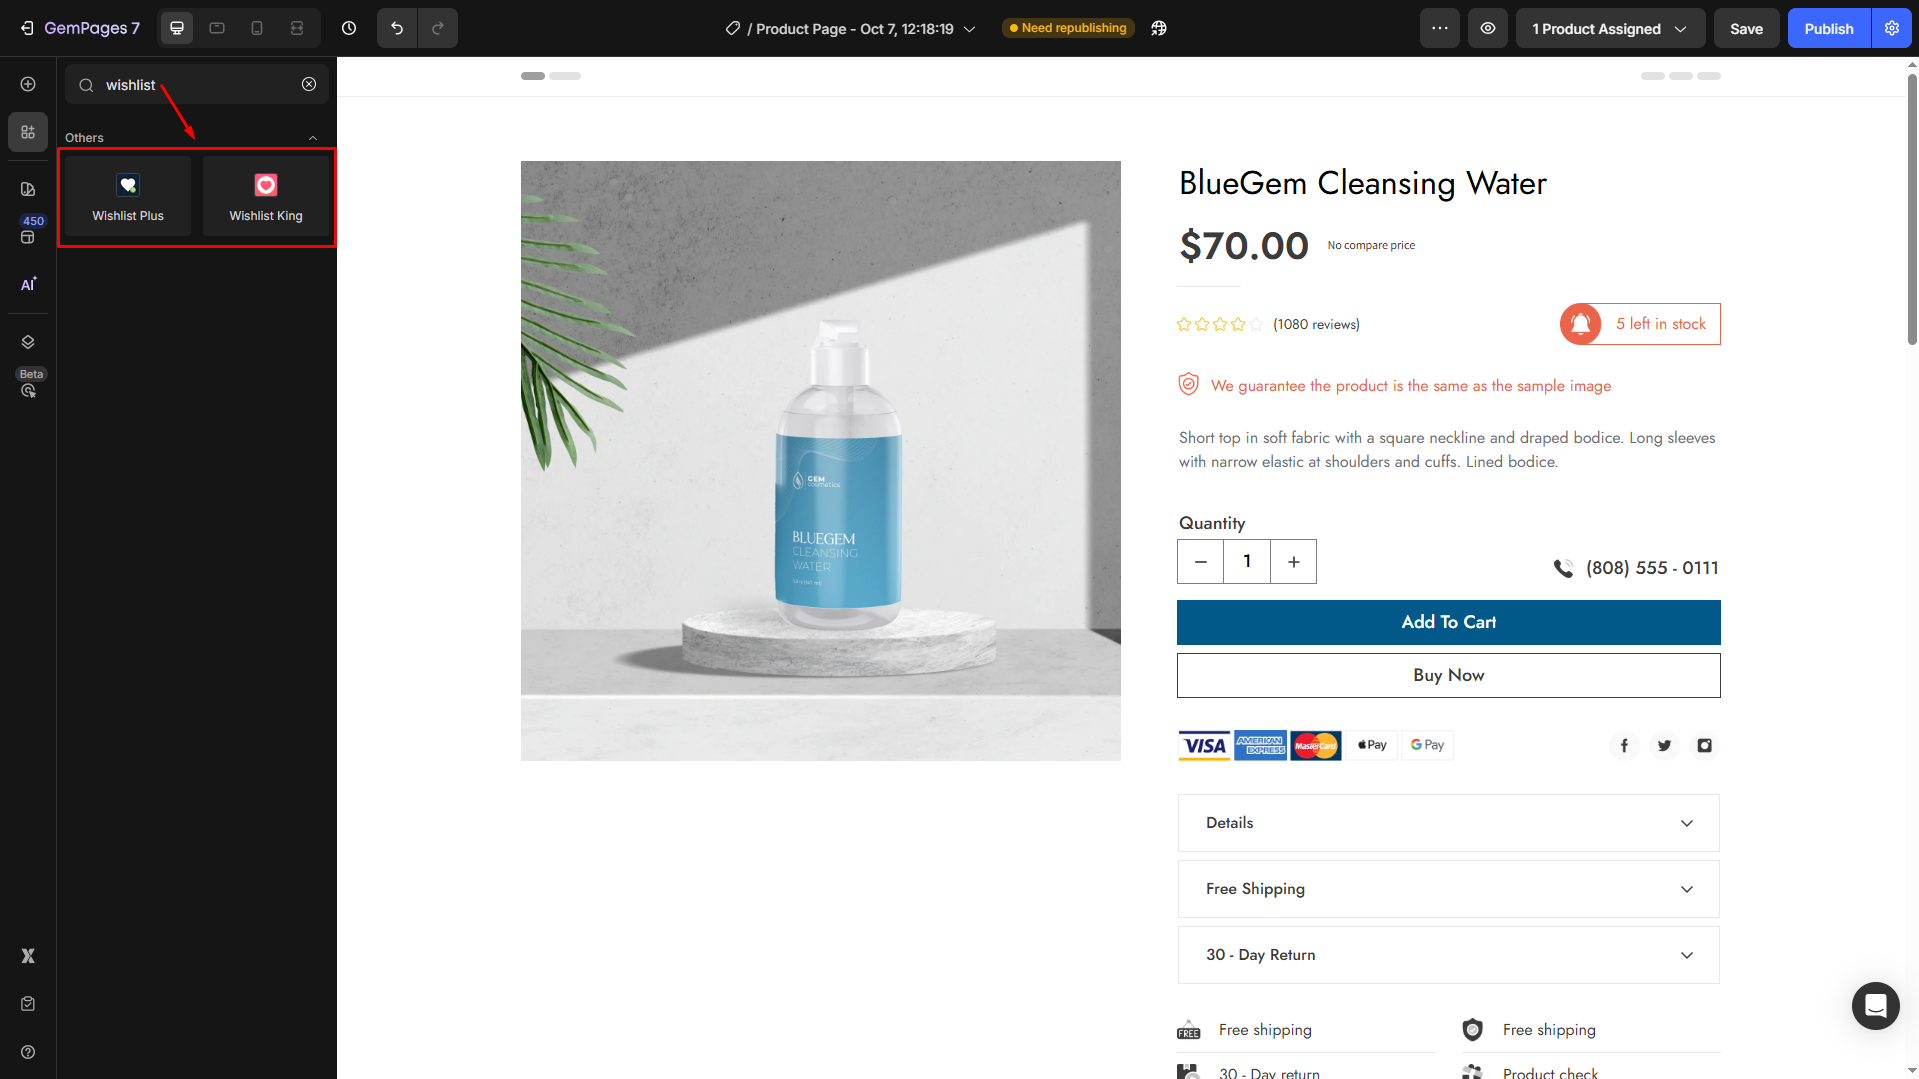
- From the left sidebar, go to the Shopify Apps tab.
- If the app integrates natively, you can use the search bar to find the preferred app.
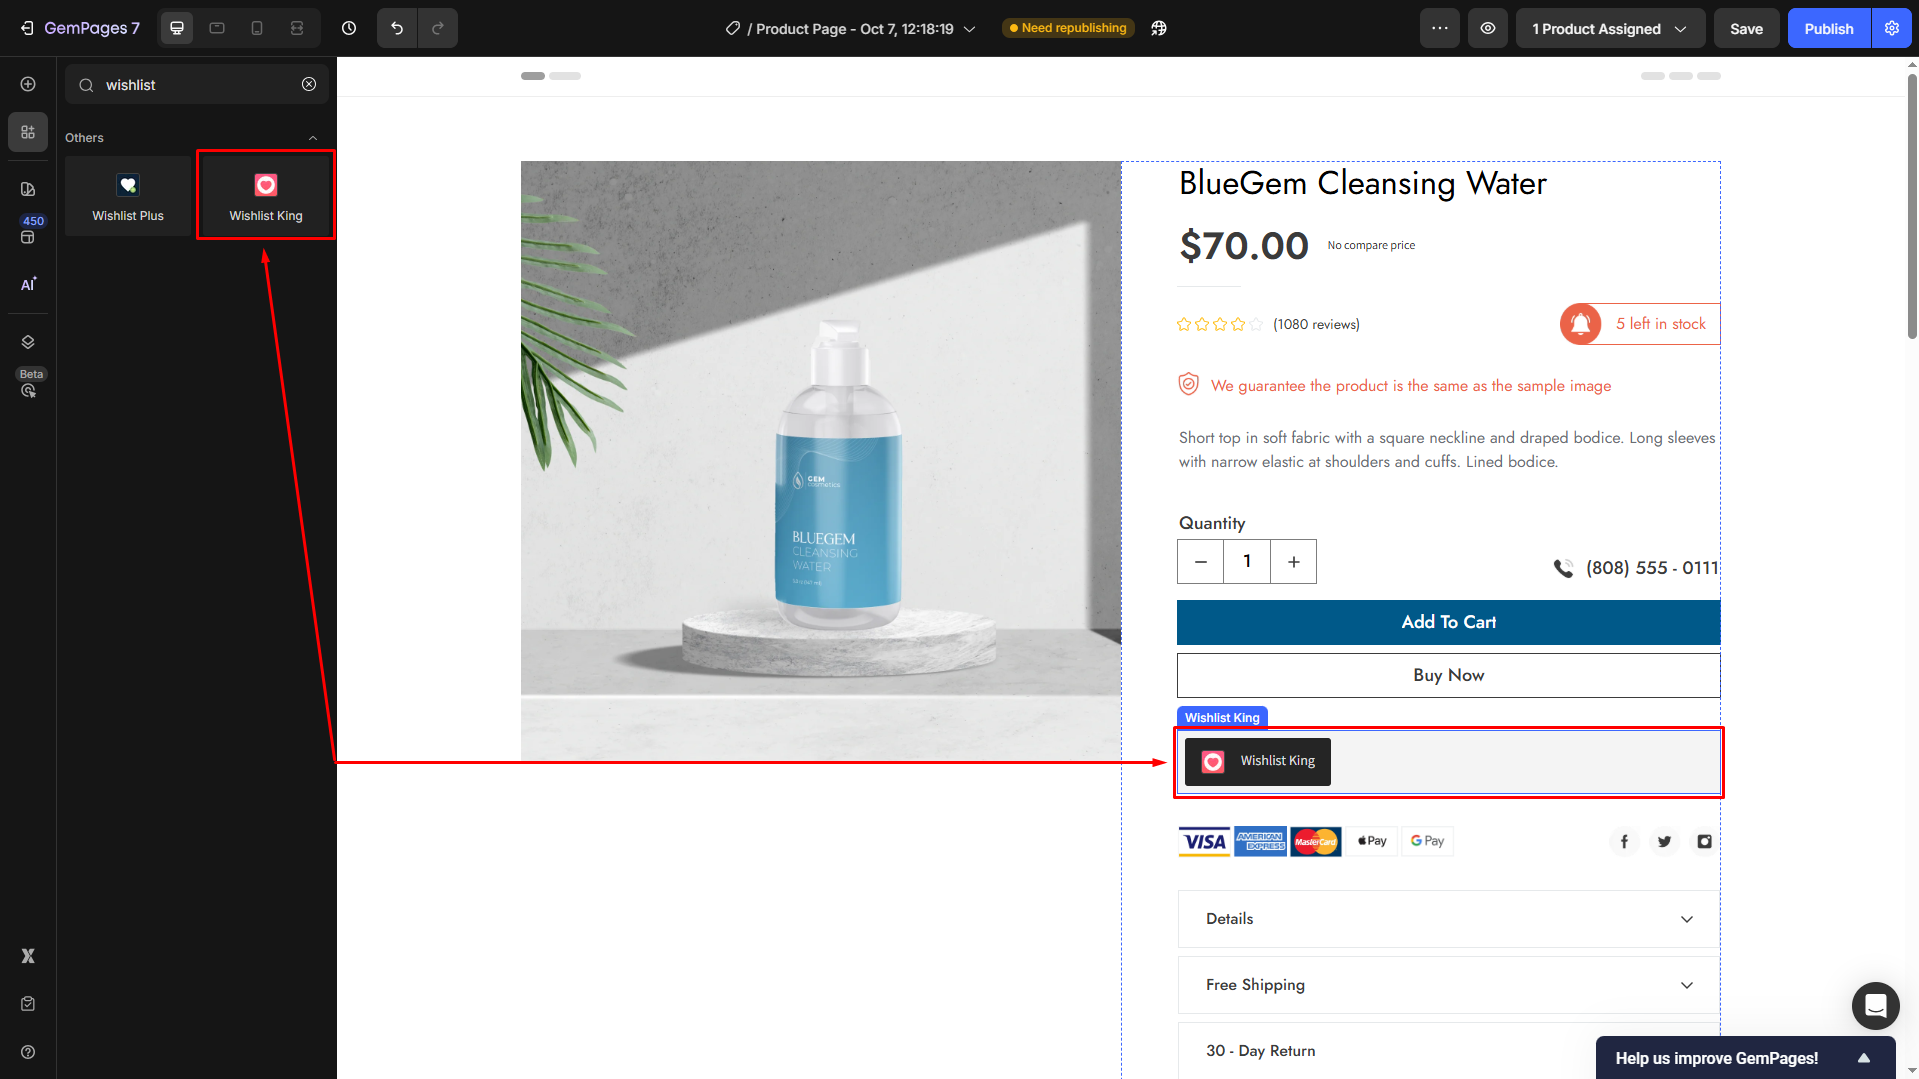
- Then, drag and drop the app widget to your desired position on your Product Element.
If you prefer to use another app that is not integrated natively with GemPages, you can use the Shopify App Element.
For further details on integrating a third-party app with GemPages, please refer to this article.
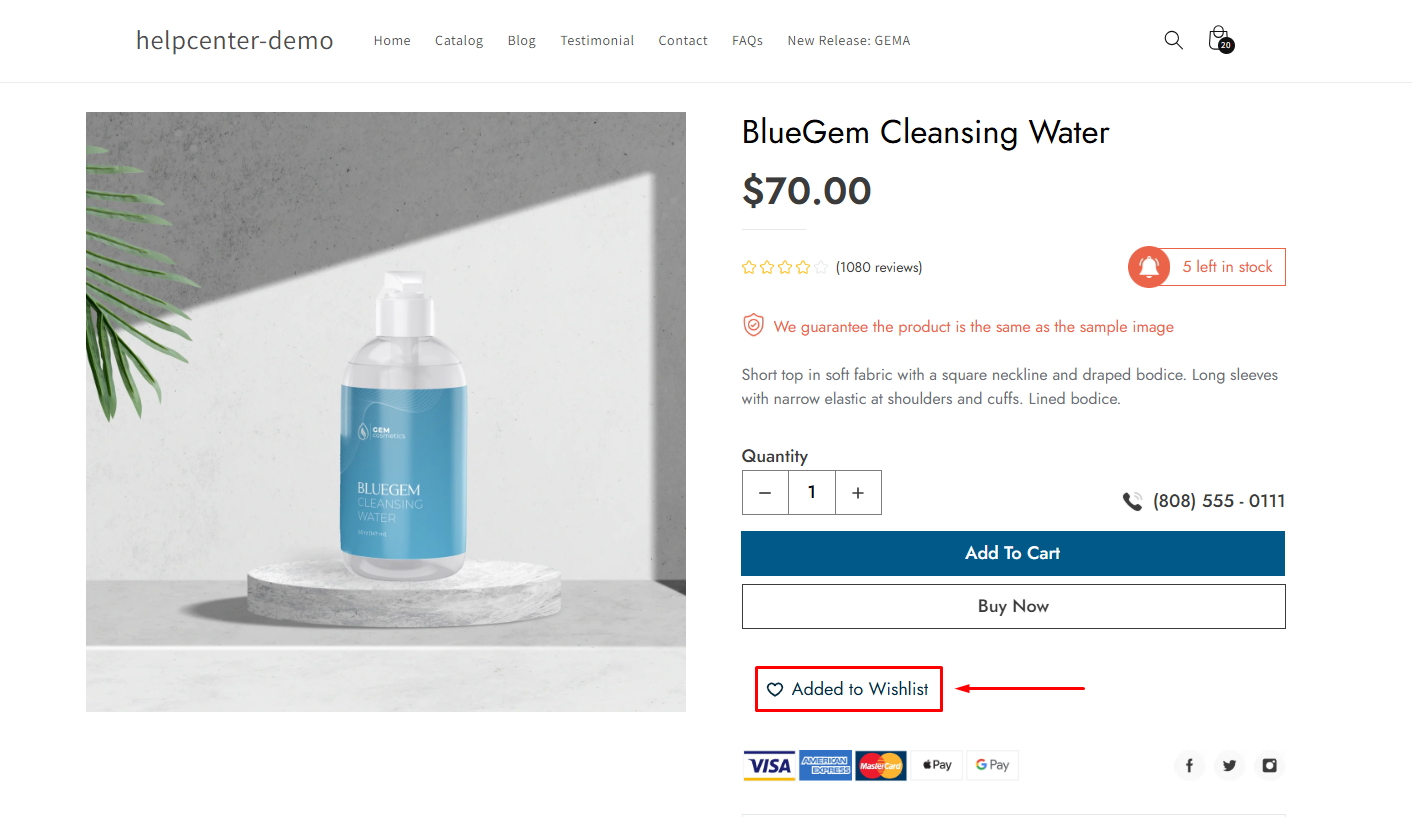
Step 4: Save and Publish
Save your changes, and hit Publish to republish your product page with the Add to Wishlist button.
Result:


Thank you for your comments