


About the Text Field
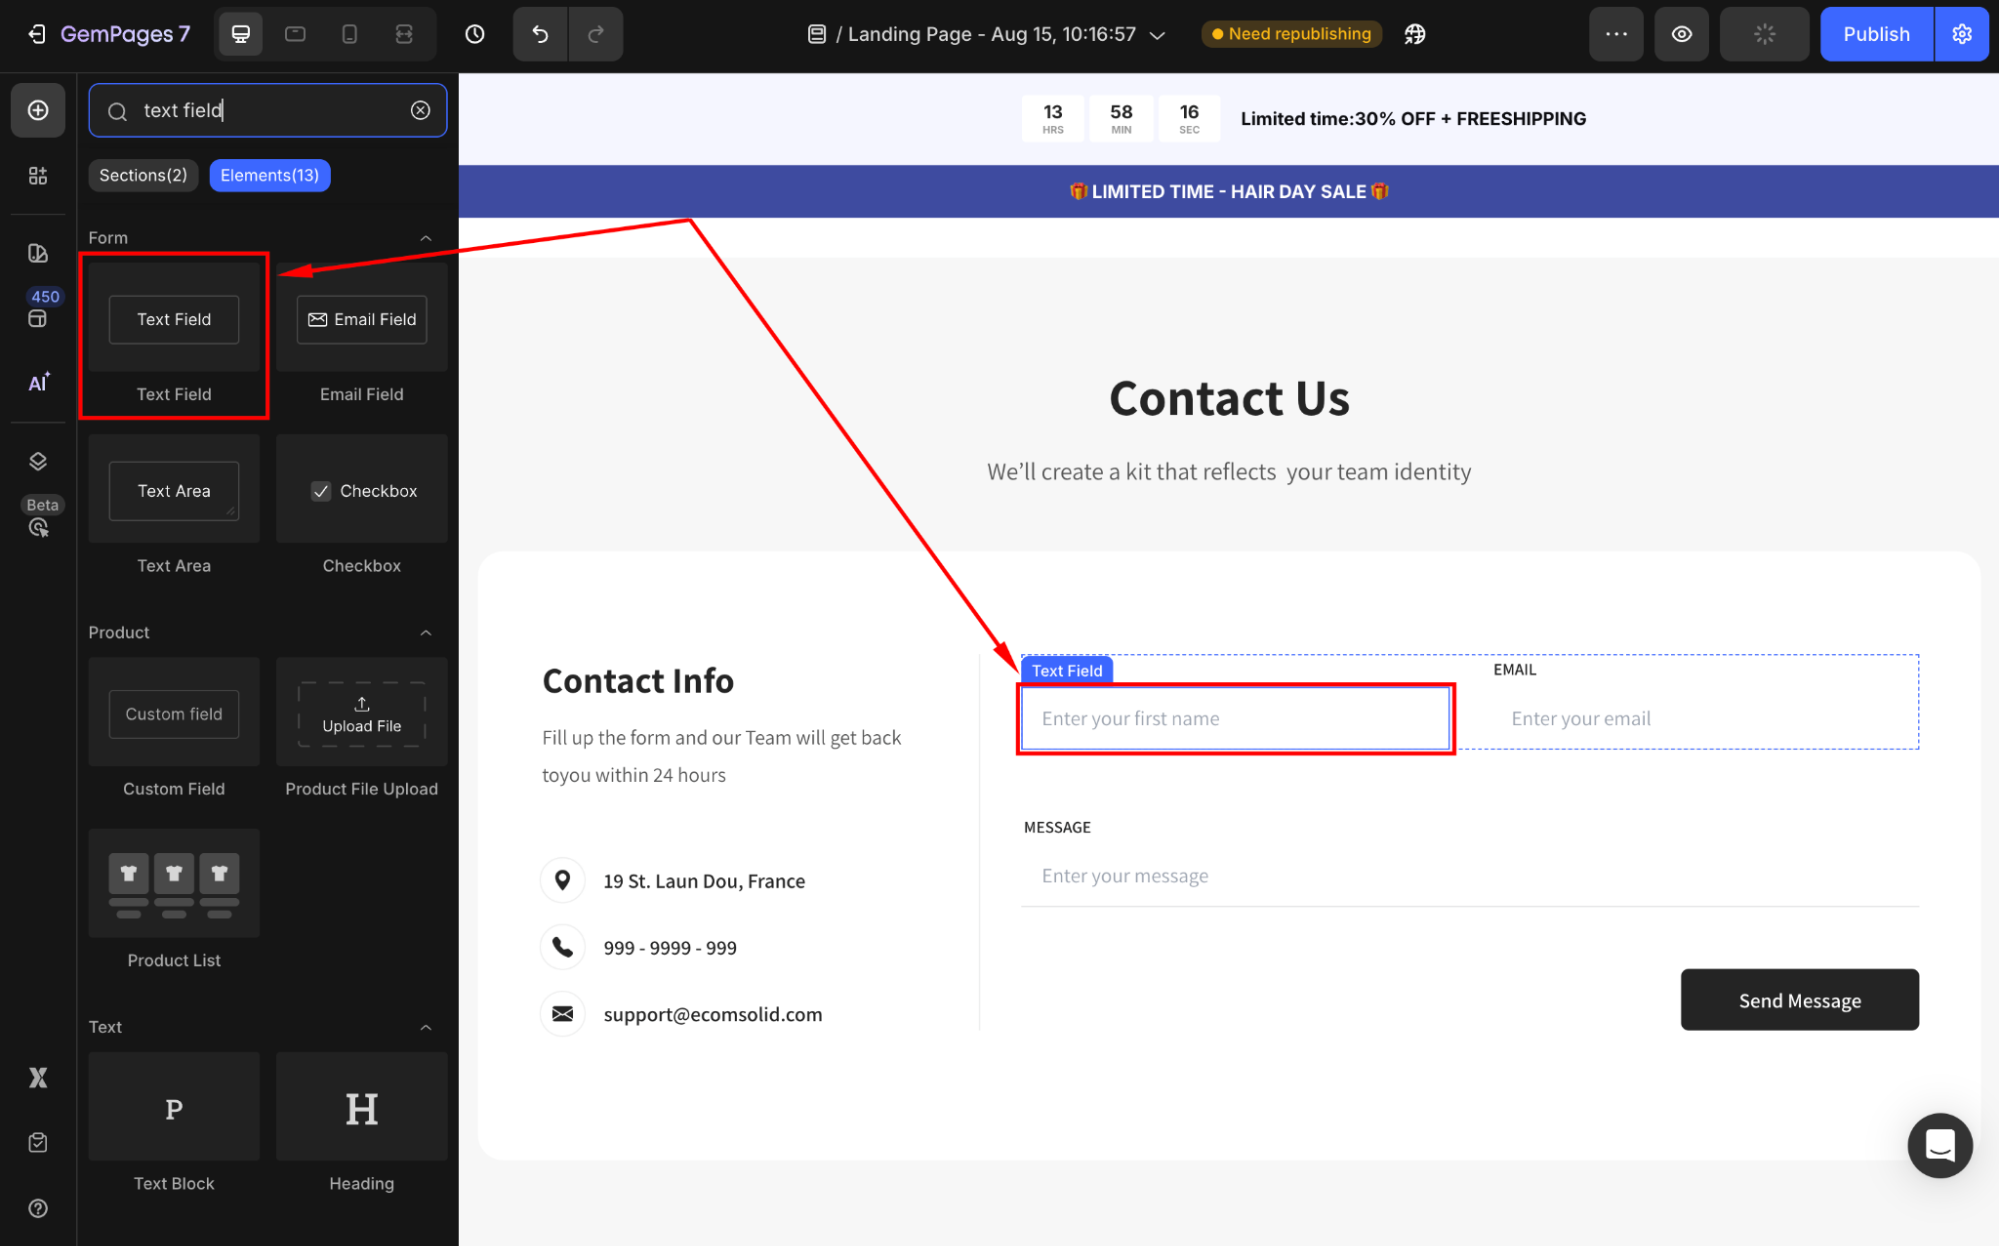
The Text Field is a basic input element used for single-line responses, such as collecting names, phone numbers, or other brief details.

Unlike the Text Area, which is designed for multi-line responses like messages or comments, the Text Field is ideal for shorter inputs.
For a complete guide on building forms and adding elements into a form, please refer to our Build a Contact Form and Newsletter Form articles.
Configure the Settings tab
Under the Settings tab, you can adjust the following sections:
Text style
Define the placeholder text that appears within the field.
- Placeholder: Guide users on what type of input is expected, such as “Enter your first name”.
- Styles: Choose the text style from Heading 1-6 or Paragraph 1-3 as the global style.
- Font: Select a font style that matches your brand identity.
- Size: Adjust the font size to make the text prominent.
- Font Weight: Control how thick or thin the text appears.
- Line Height: Adjust the space between lines for better readability.
- Letter Spacing: Create a more modern or compact look by changing the space between letters.
- Transform: Convert the text to uppercase, lowercase, or capitalize the first letter of each word.

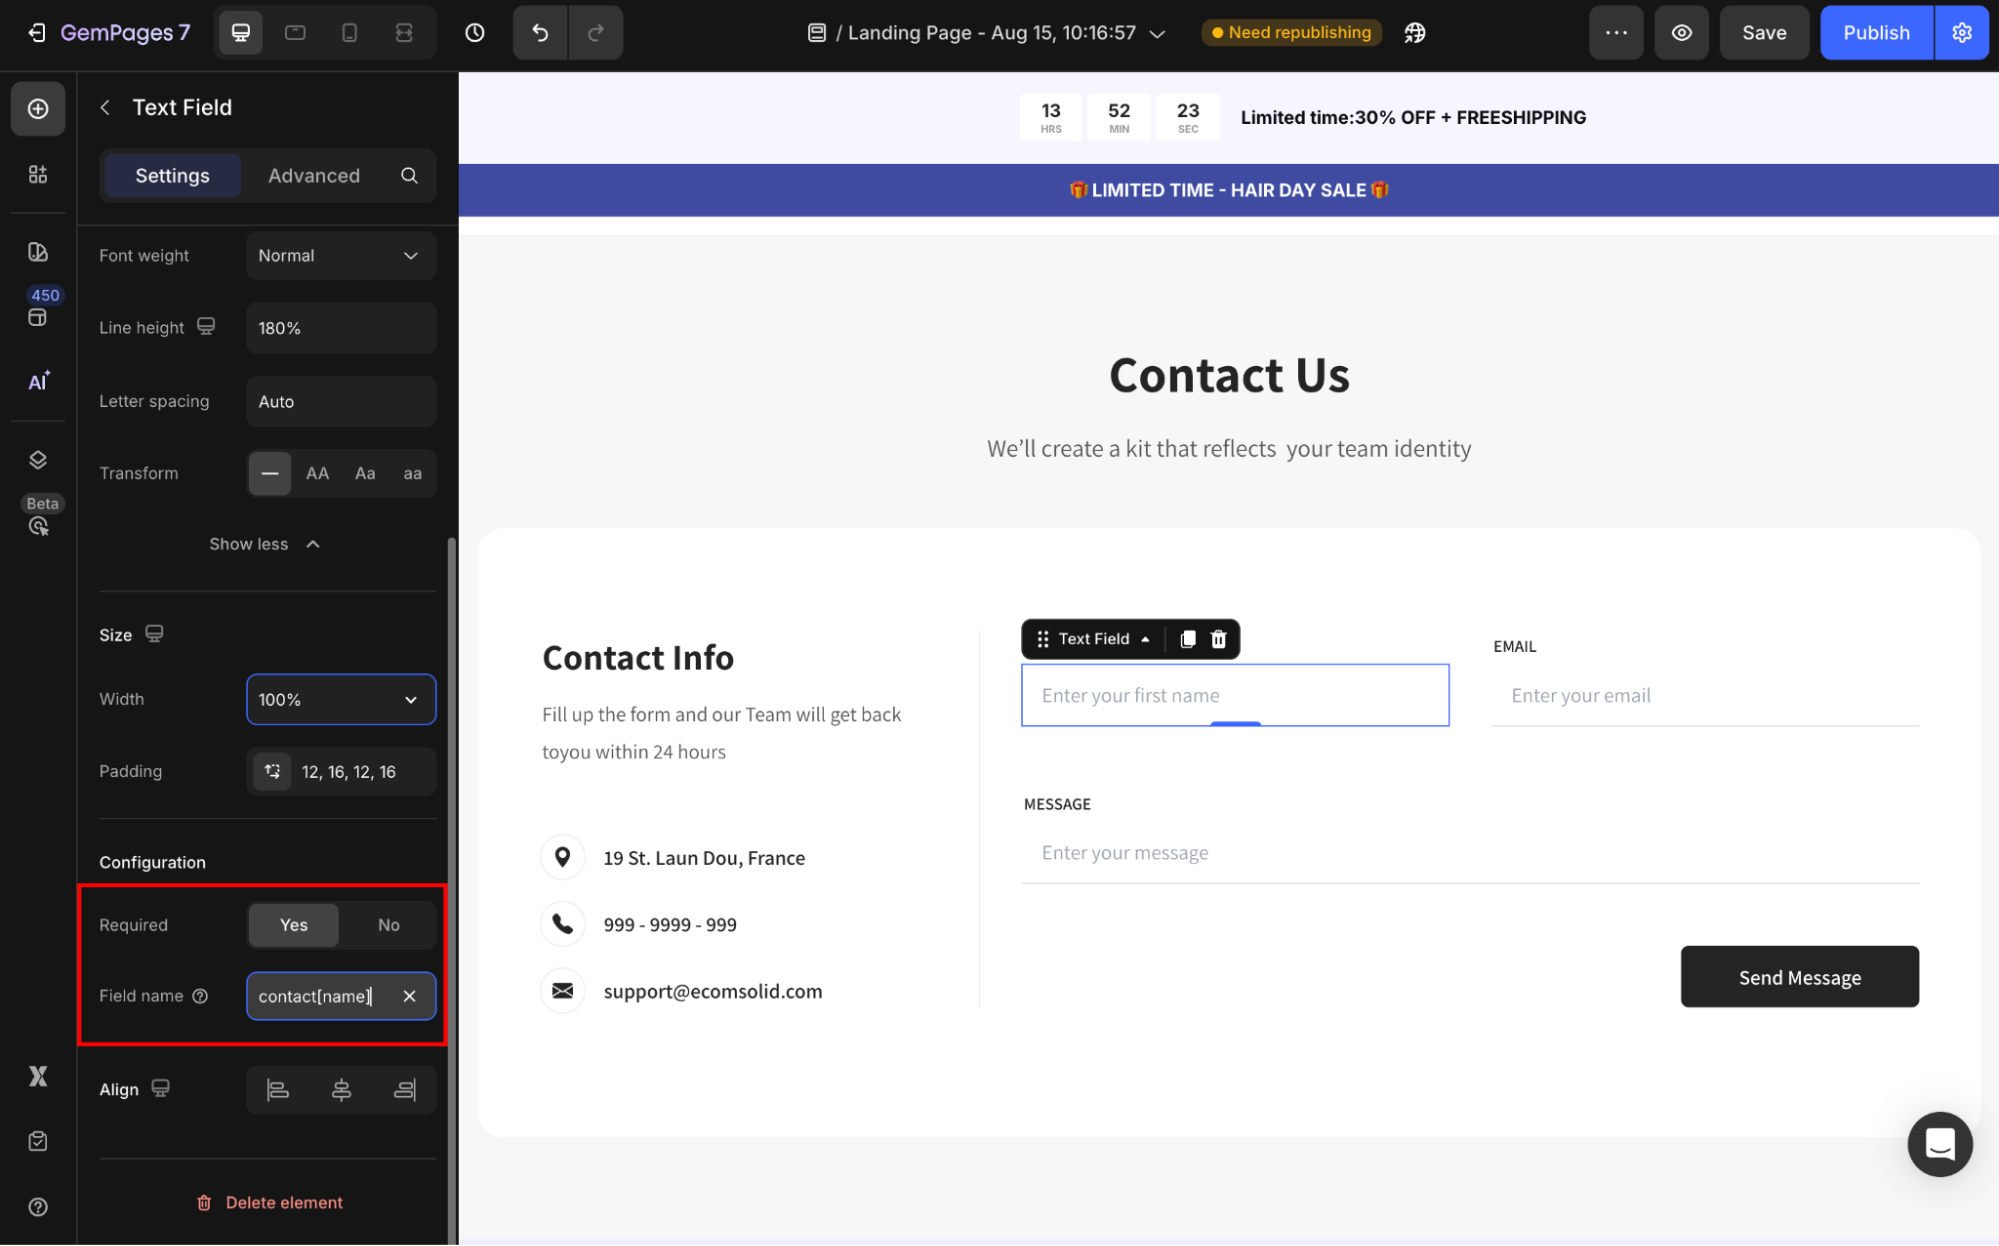
Size
Adjust the size of the Text Field element to fit your form design.
- Width: Customize the width of the Text Field. You can set it to fit perfectly within your form layout or make it larger for better readability.
- Padding: Define internal spacing inside the button.

Configuration
- If the Required = Yes, the Text Field will be mandatory. If you select the No option, users don’t need to fill in this field to submit the form.
- Field Name: Identify the information submitted via this element. This is especially important if you’re integrating your form with external tools or systems, as the field name will identify the submitted data.
Align
Align your text area to the left, center, or right. However, if the width is set to 100% or greater, the horizontal alignment will be disabled.
Configure the Advanced Tab
For more advanced customization, please navigate to the Advanced tab and follow the instructions in this article.


Thank you for your comments