


Before Starting: Add an Icon Element to Your Page
Custom icons serve as visual cues that help users navigate your site more intuitively while adding a personalized touch that reflects your brand identity.
Icons can simplify complex information, draw attention to key actions, and make your page more visually appealing.
Follow these steps to add an Icon Element to your page:
Step 1: In the editor, drag and drop the Icon Element or Icon List Element to the desired position on your page.
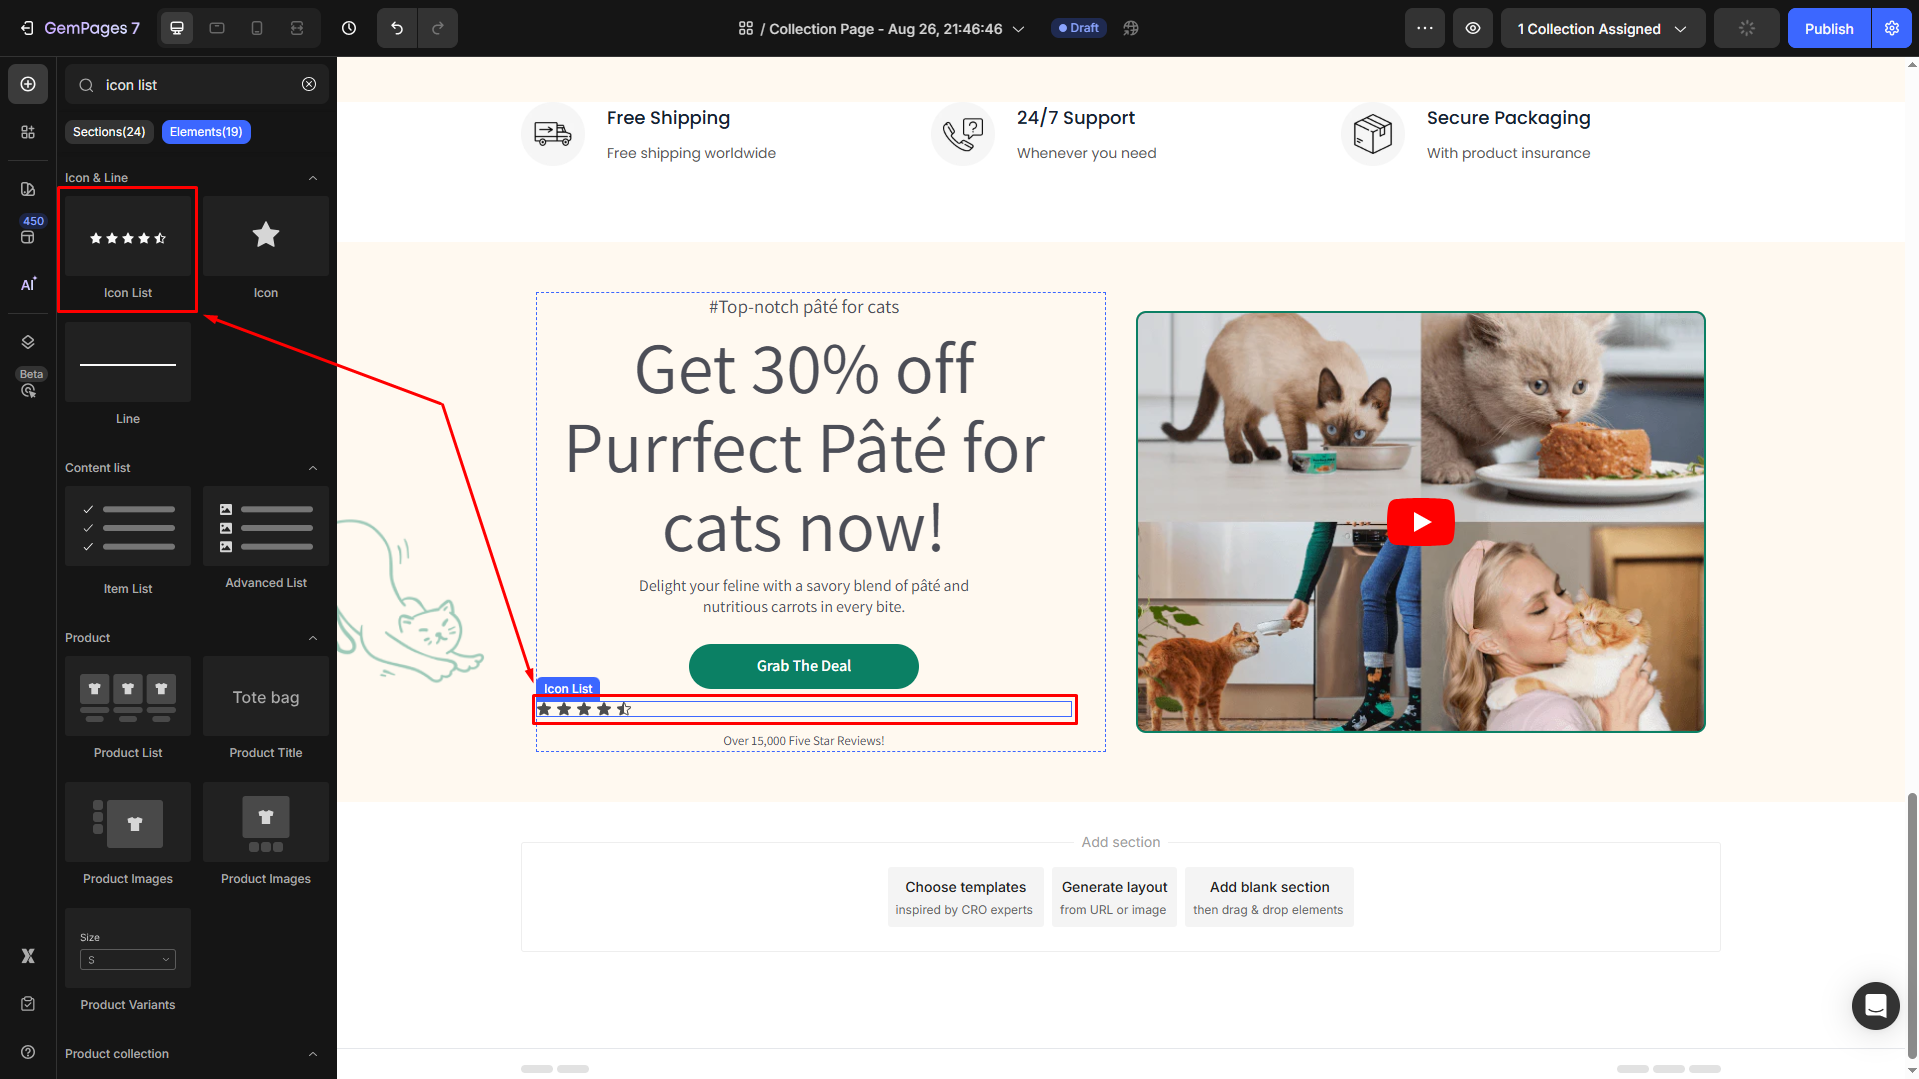
Step 2: Click the icon to open its settings in the left sidebar.

Pick an Icon from the Library
Under the Icon section, click on the box next to the Choose field to open the dialog.

From there, you can easily search for a specific type of icon to add to your page.
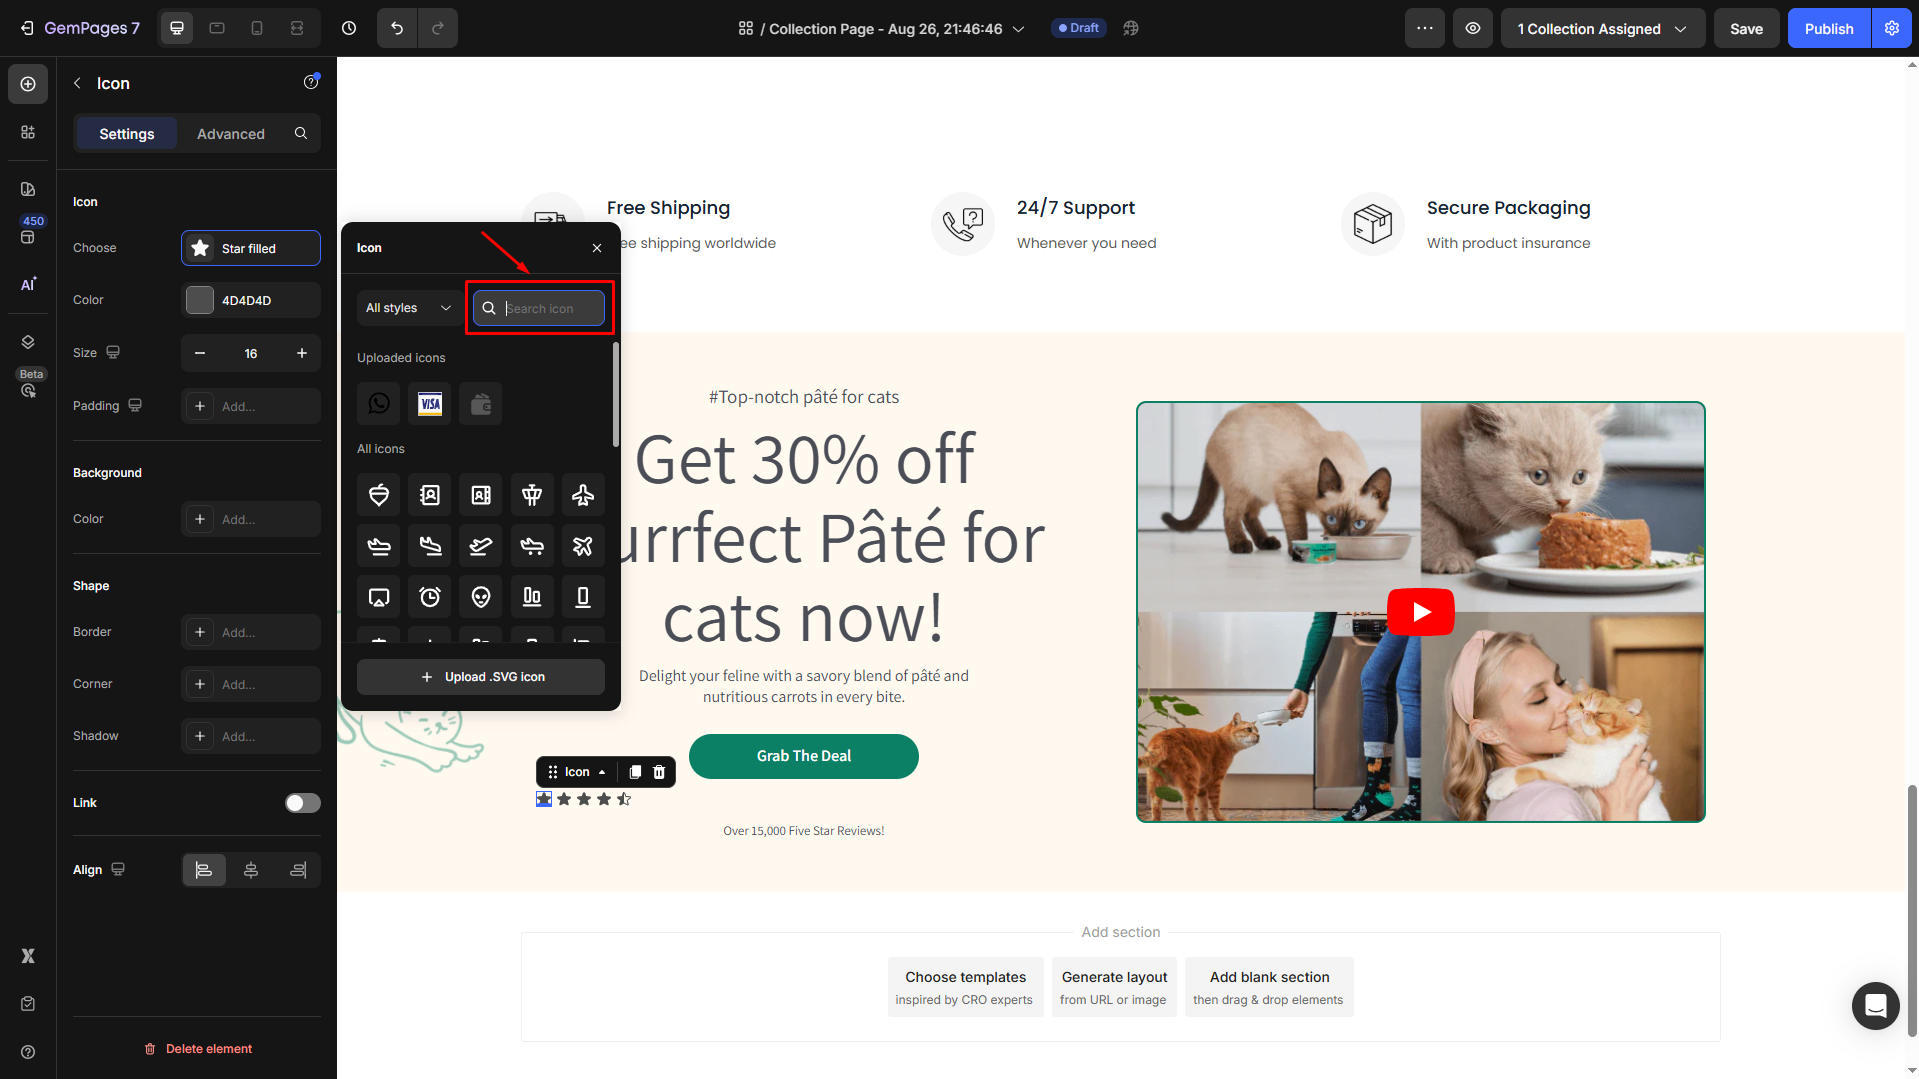
Also, you can directly pick an icon from the built-in icon library, which offers a variety of pre-designed options.
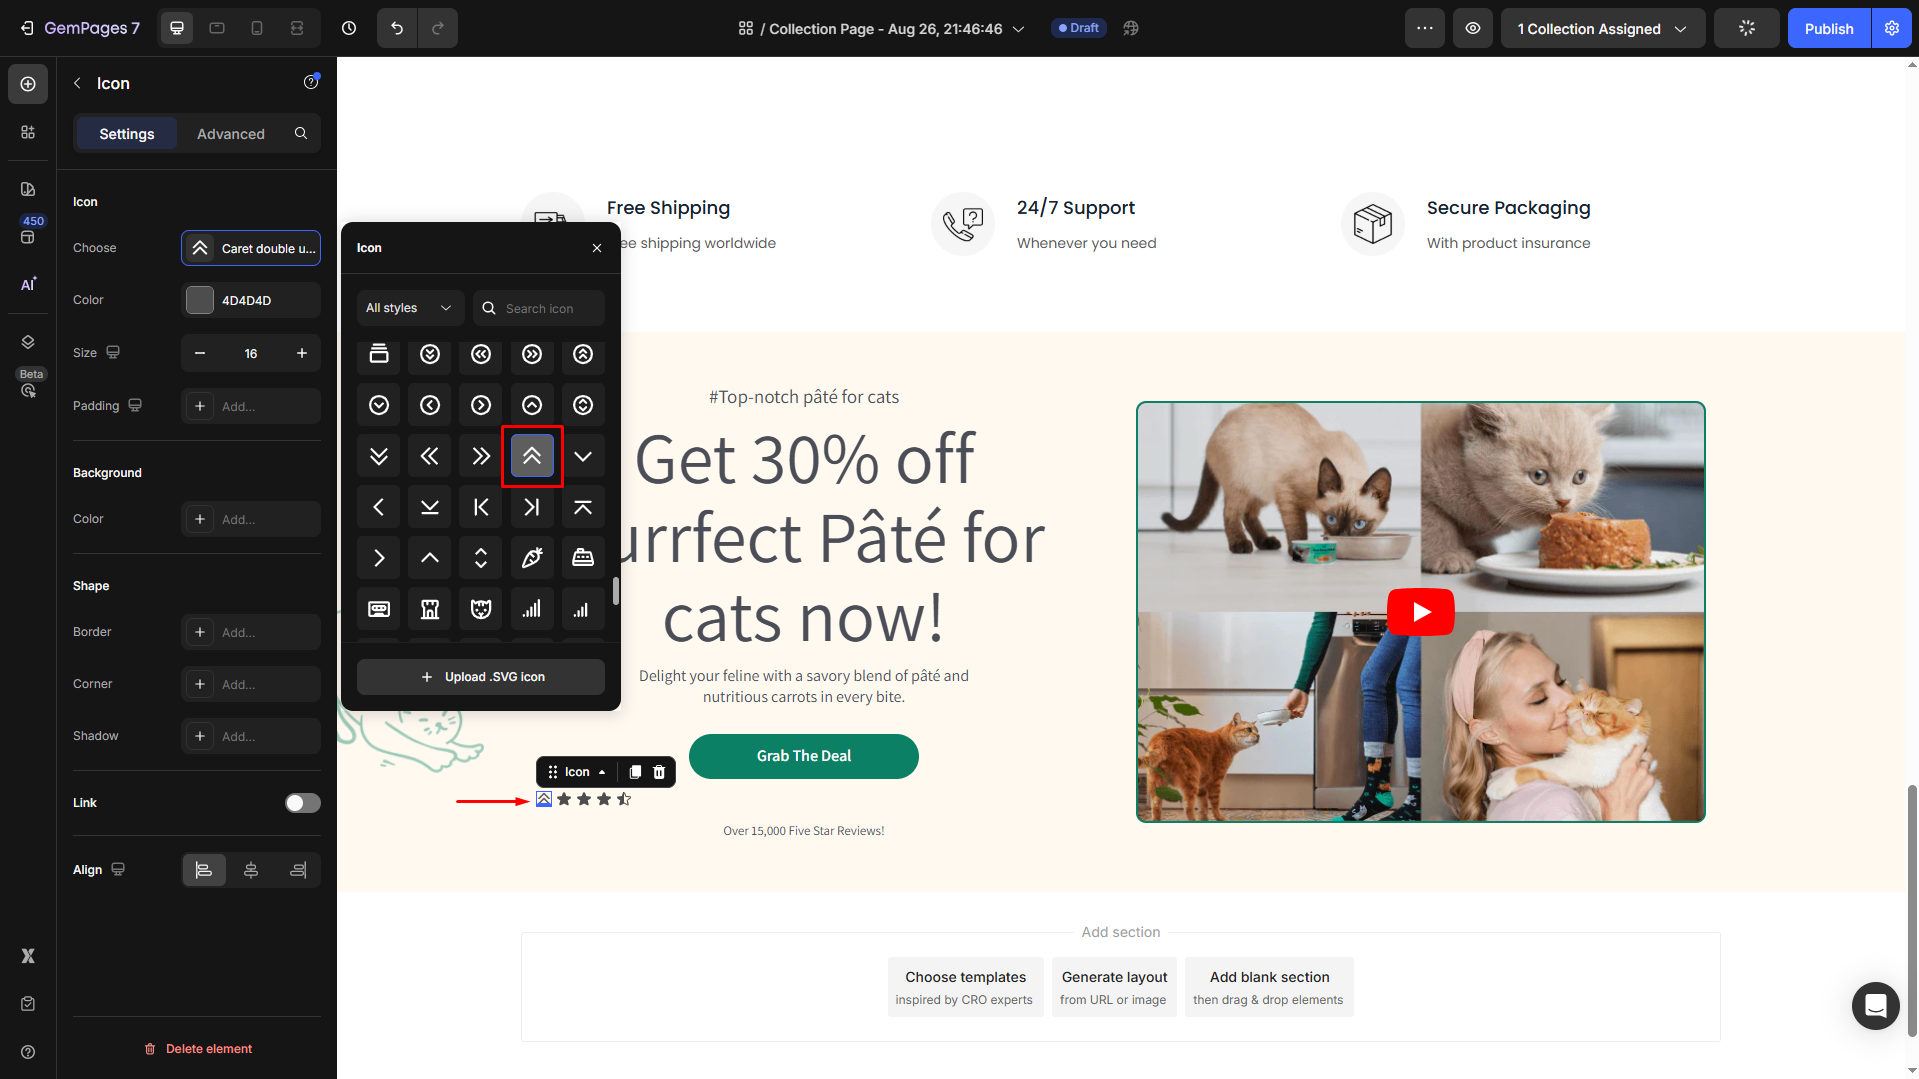
Then, customize the icon as you prefer with the following options:
- Change the icon’s color to match your design theme.
- Adjust the size of the icon for better placement and alignment.
- Adjust the padding of your icon.

For further customization, refer to this article.
Upload a Custom Icon
Follow these steps to upload your custom icons to GemPages:
Click on the current icon to open the settings dialog and hit Upload .SVG icon.
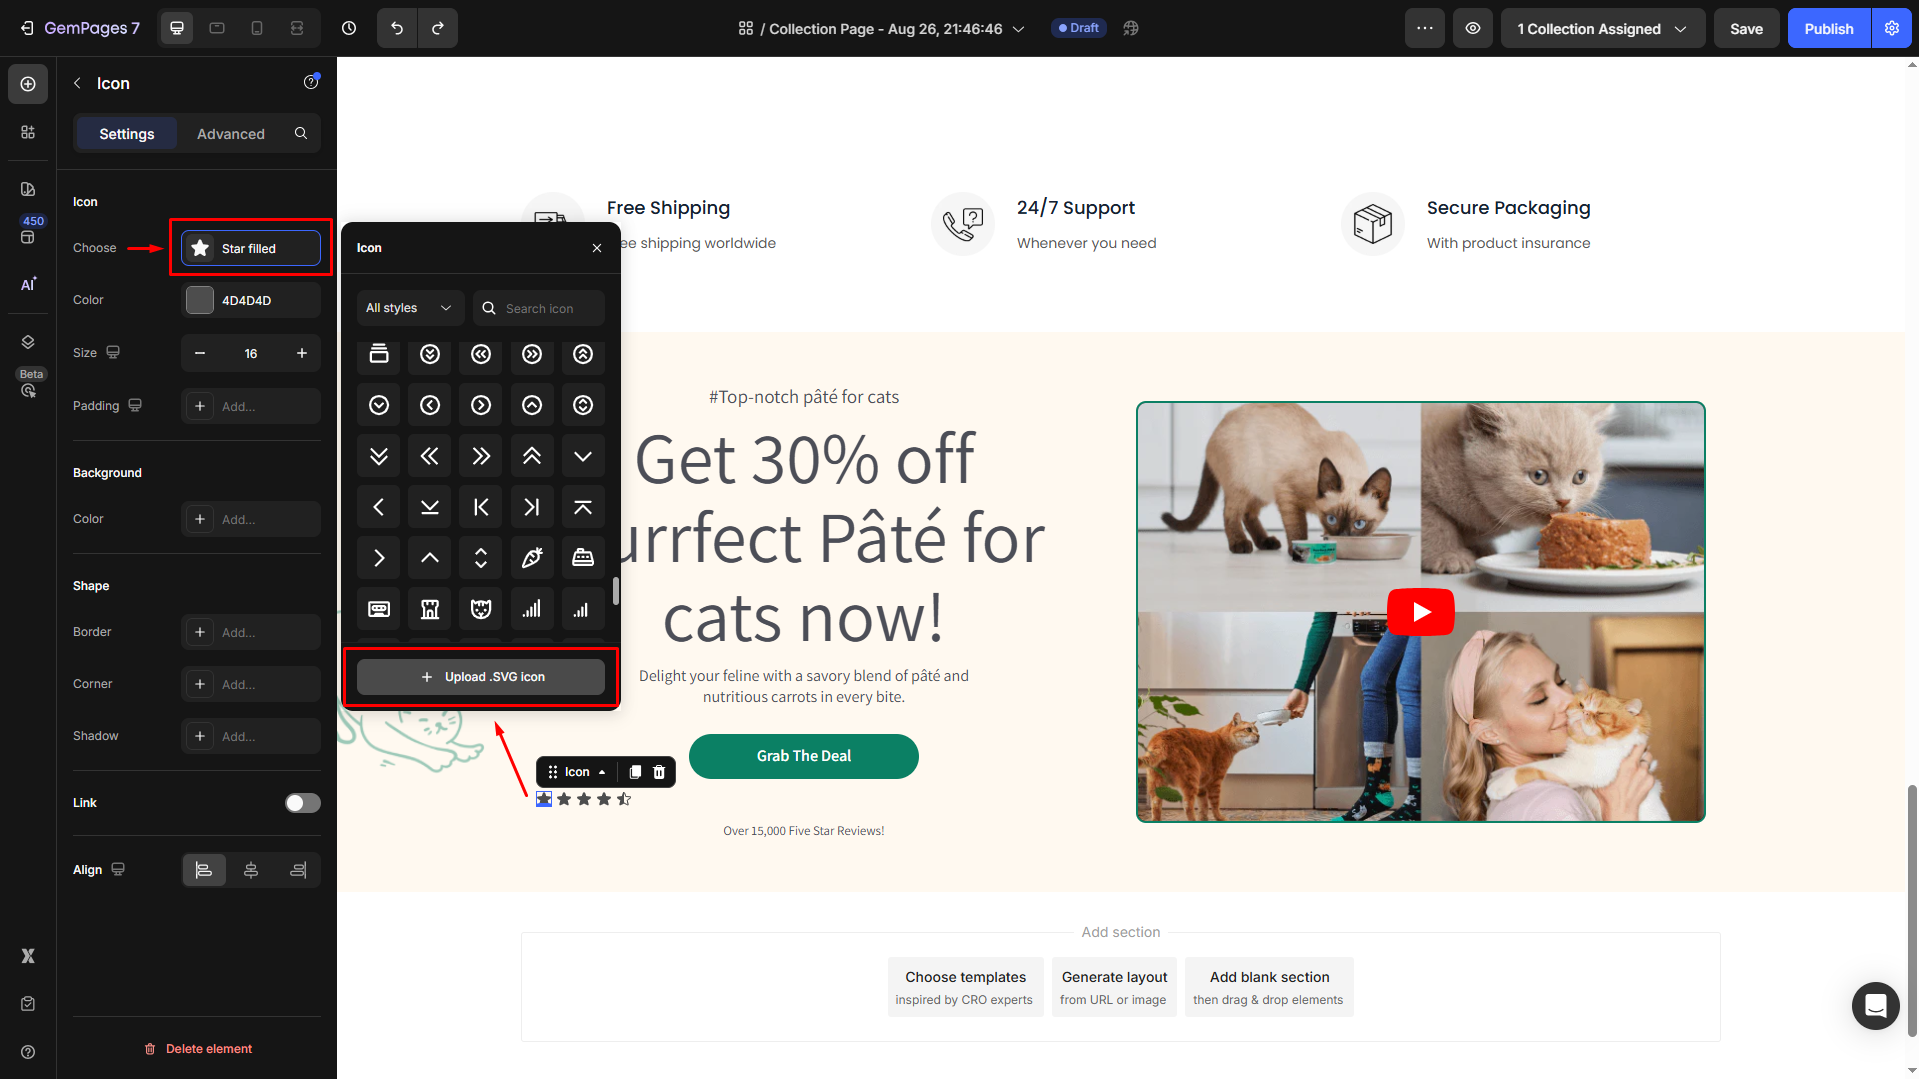
Upload your custom icons in SVG format for personalized designs.

All of the uploaded icons will be saved for later use.


Thank you for your comments