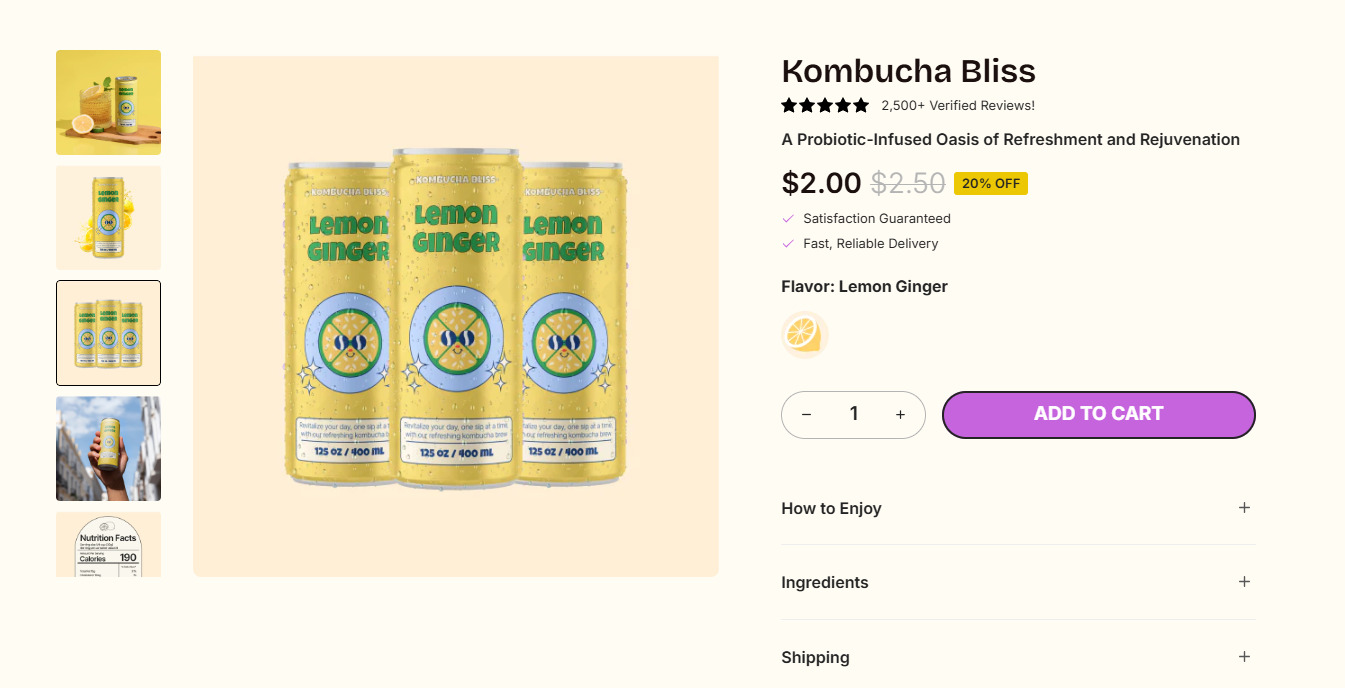
This article will guide you on how to change the ratio of an image in GemPages.
Why Change the Ratio of an Image?
In some cases, adjusting the ratio of an image can greatly enhance your store’s design. Here are a few examples of when it might be useful:
- Showcase product details: Use a vertical ratio to emphasize long products, such as dresses or wine bottles.
- Highlight features: Switch to a square or custom ratio for zooming in on product details or branding elements.
- Responsive design: Adjust ratios to ensure images look great across all devices.

Now that we’ve explored the benefits, here’s how you can change the ratio of an image using GemPages.
How to Change the Ratio of Image in GemPages?
Step 1: Click on the image you want to resize. This will open the settings for the image in the left sidebar.


Step 2: In the settings panel on the left sidebar, look for the Size > Proportion.

Here’s what you’ll find:
- Square: Ideal for thumbnails and standard product images.

- Vertical: Perfect for tall images, like full-length product shots.

- Horizontal: Commonly used for banners and wide product displays.

- Original: Keeps the image’s default ratio without any resizing.

- Custom: Allows you to manually set the width and height to achieve your desired aspect ratio.


Thank you for your comments