


How to Display a Size Chart in Your Product Page?
Option 1: Using the Image Element
If you have a pre-designed size chart image, you can easily add it to your product page.
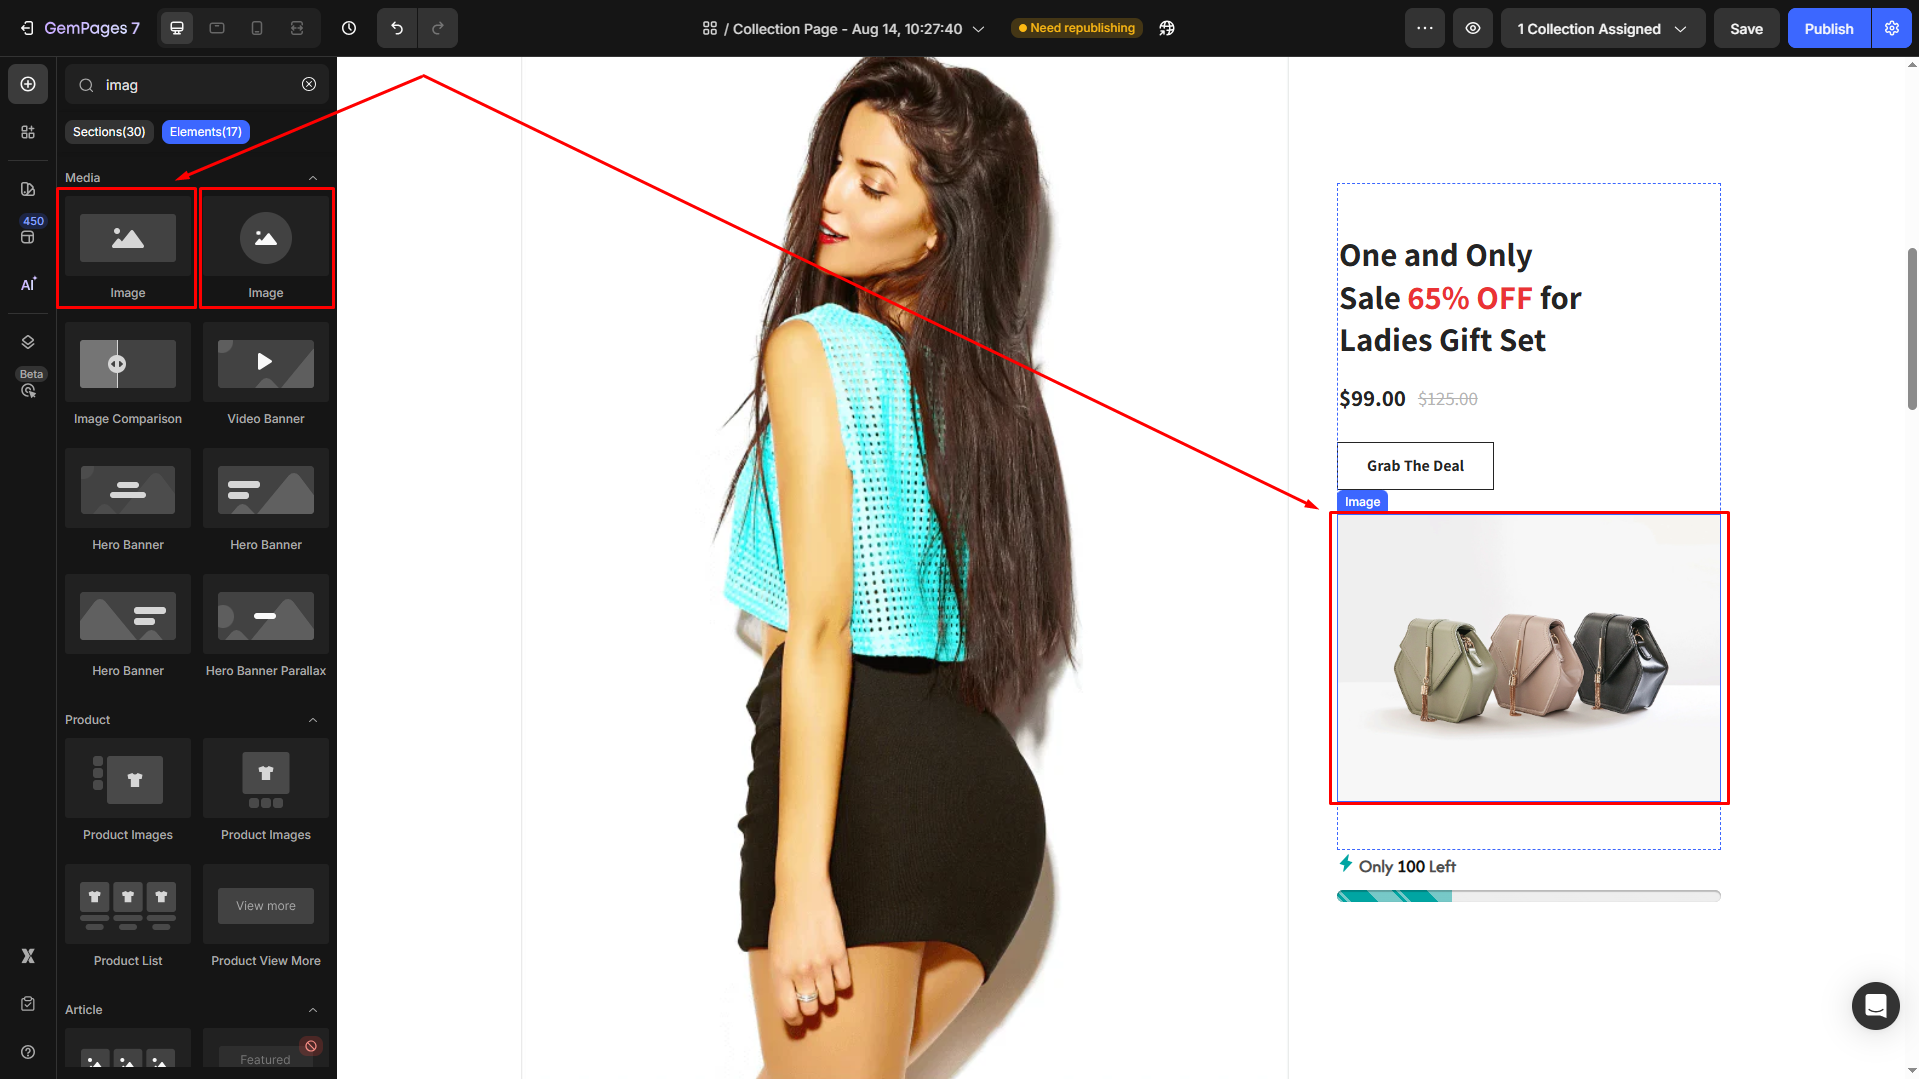
Step 1: Open your product page in the GemPages editor and find the Image element.
Step 2: Drag the element from the left sidebar and drop it into the desired location on your page.
Step 3: Under the Source section, hover over the current image and click Upload image.
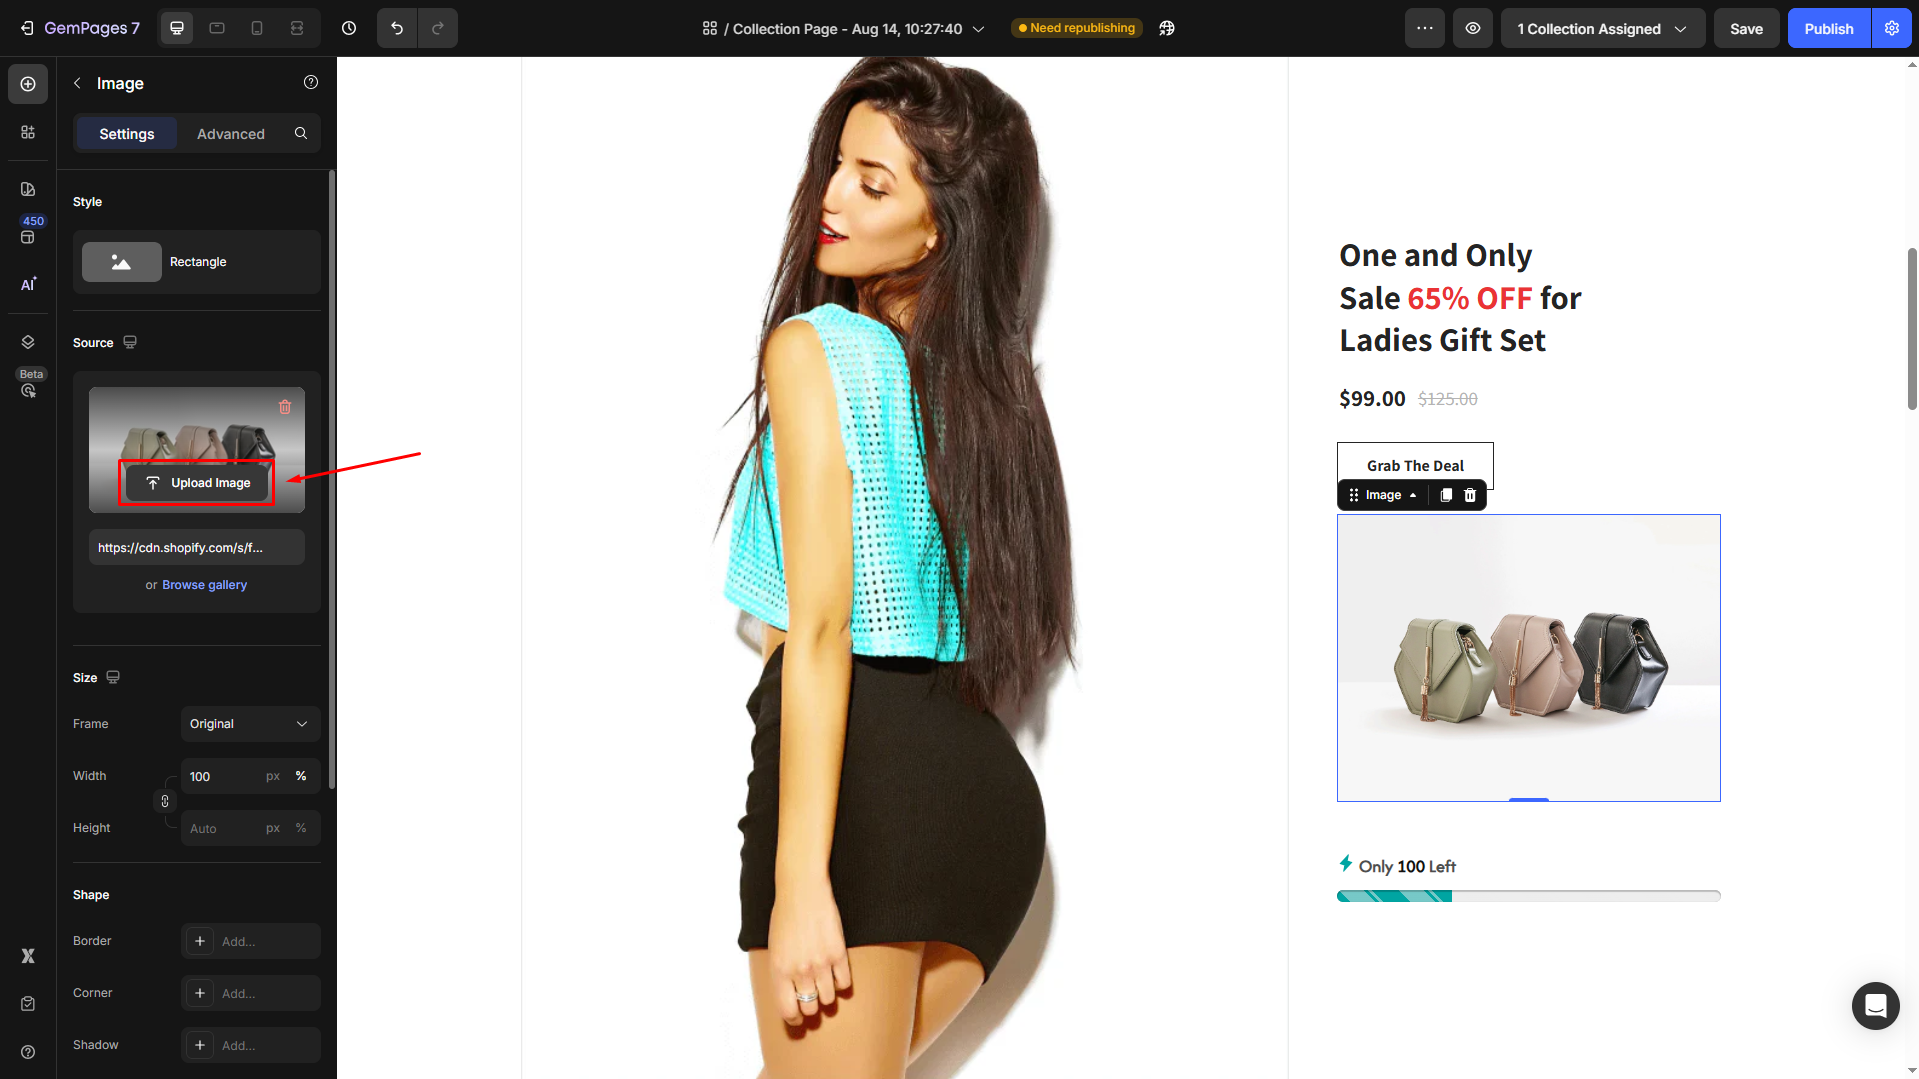
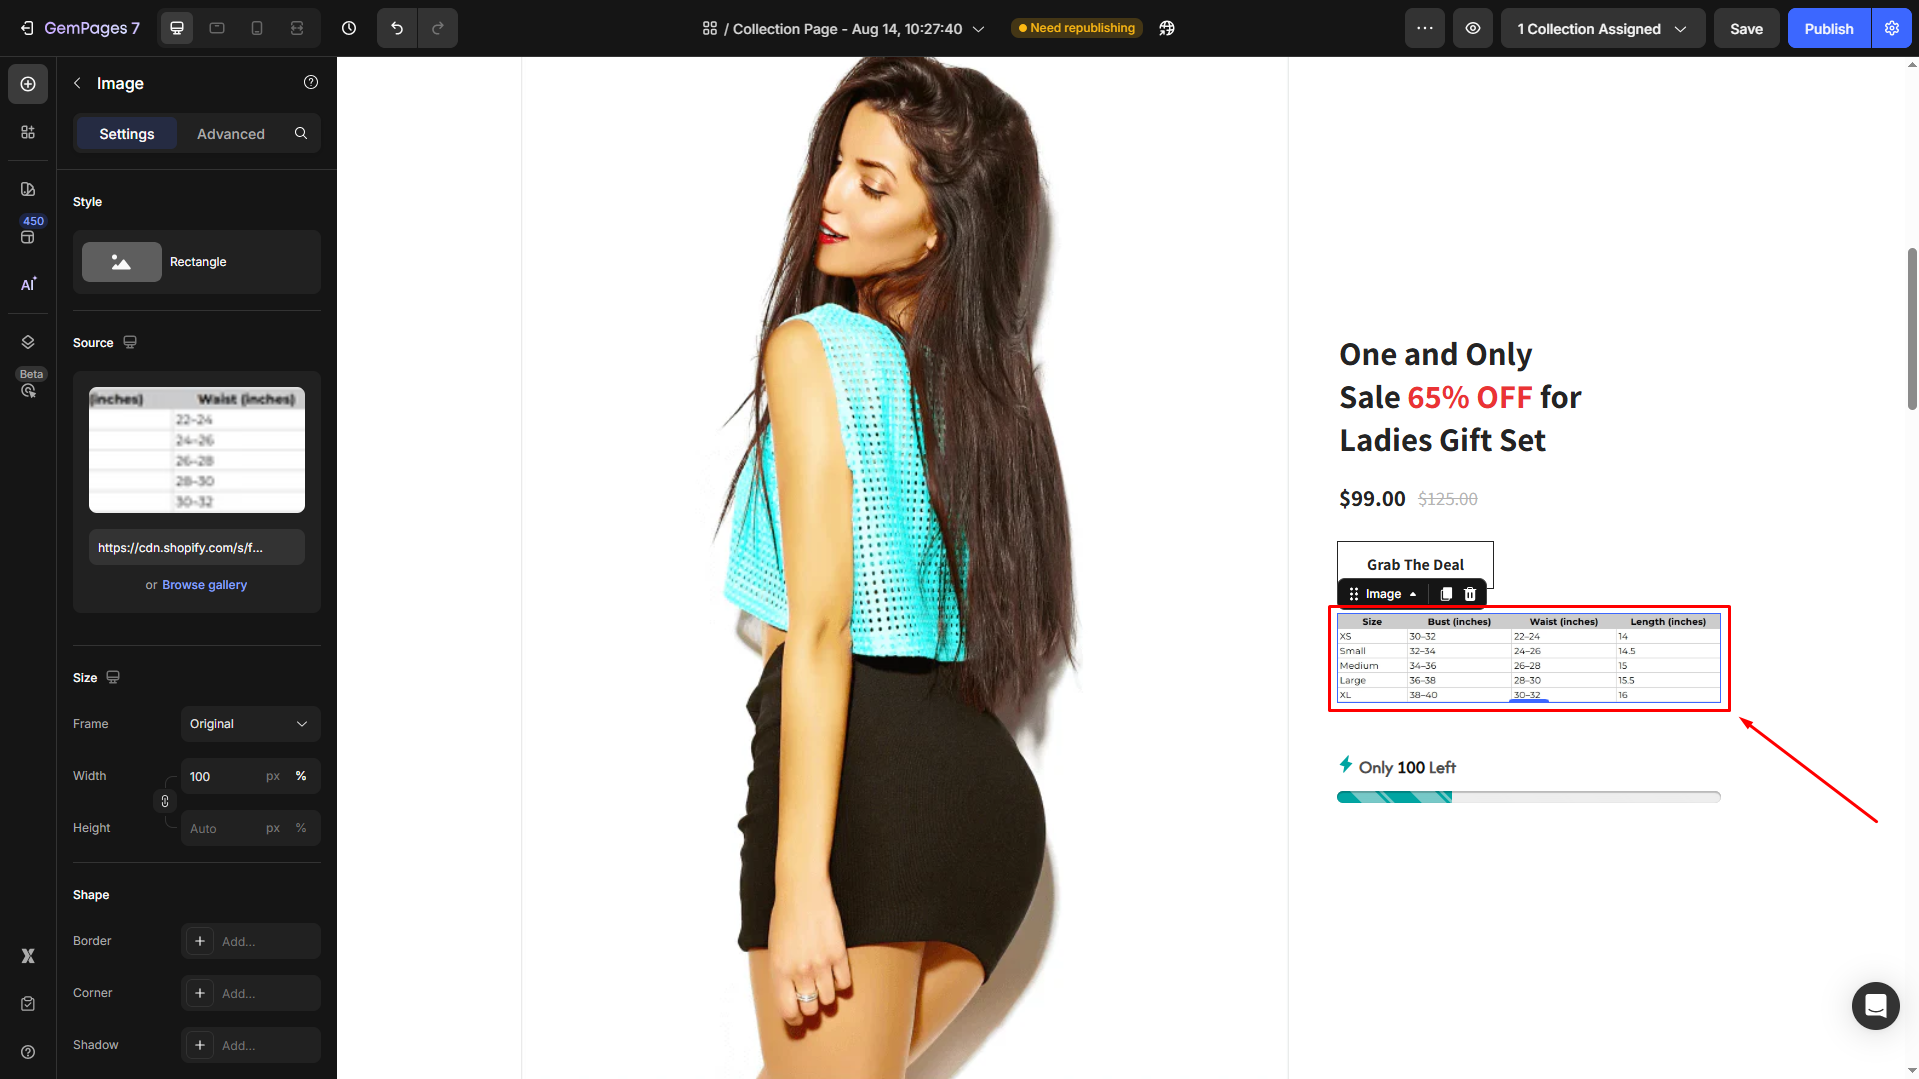
Step 4: Once the size chart image is uploaded, you can modify its settings your way.
Option 2: Using Custom Code
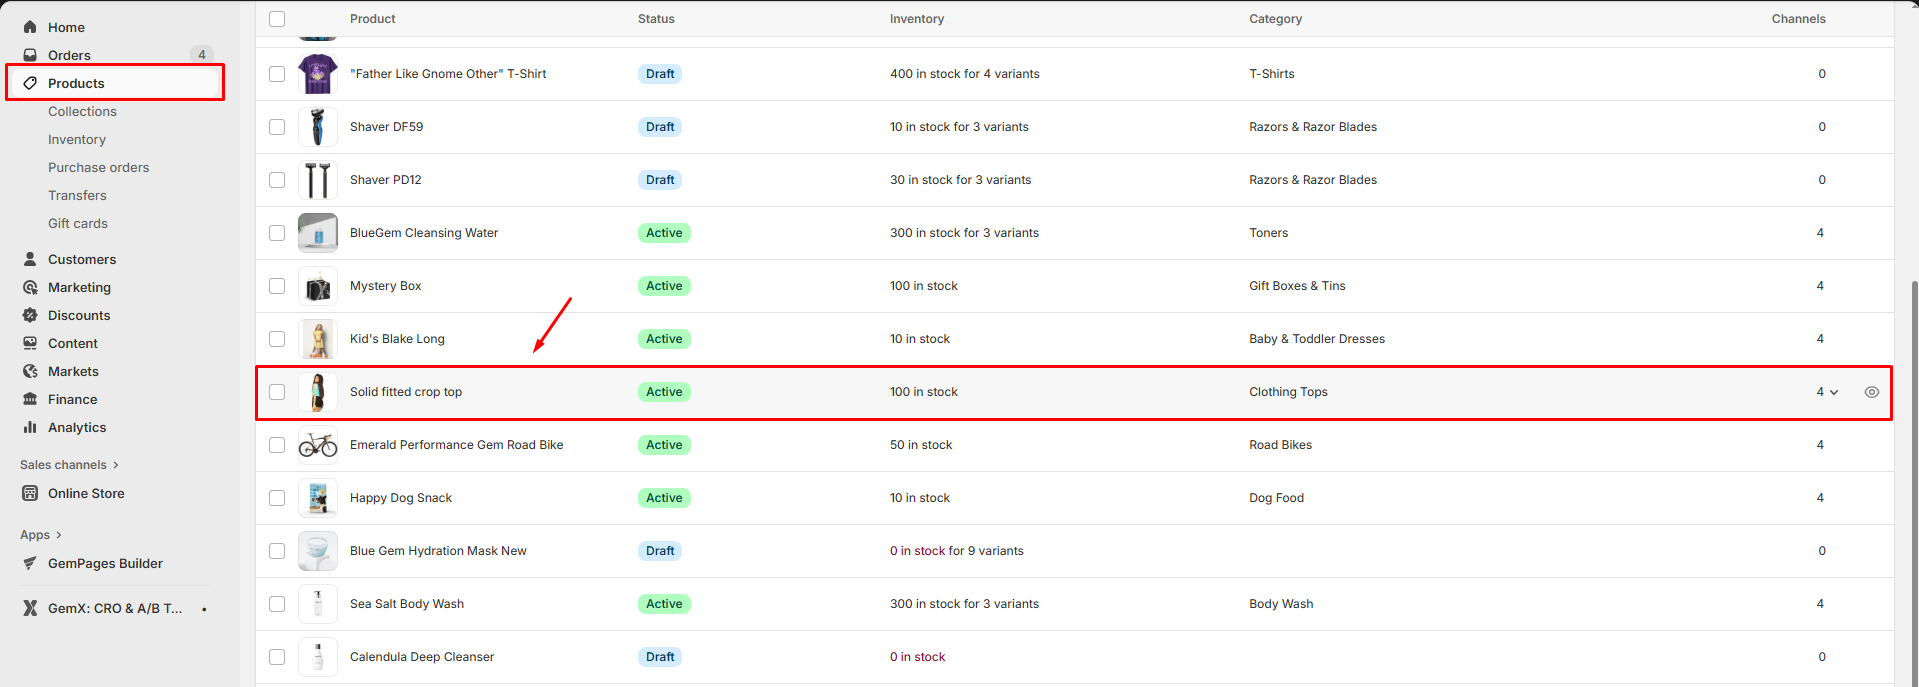
Step 1: Navigate to your Shopify Admin > Products. Select the product you want to add the size chart to.
Step 2: Under the Description section, create a size chart using the Table function. When done, click Save.
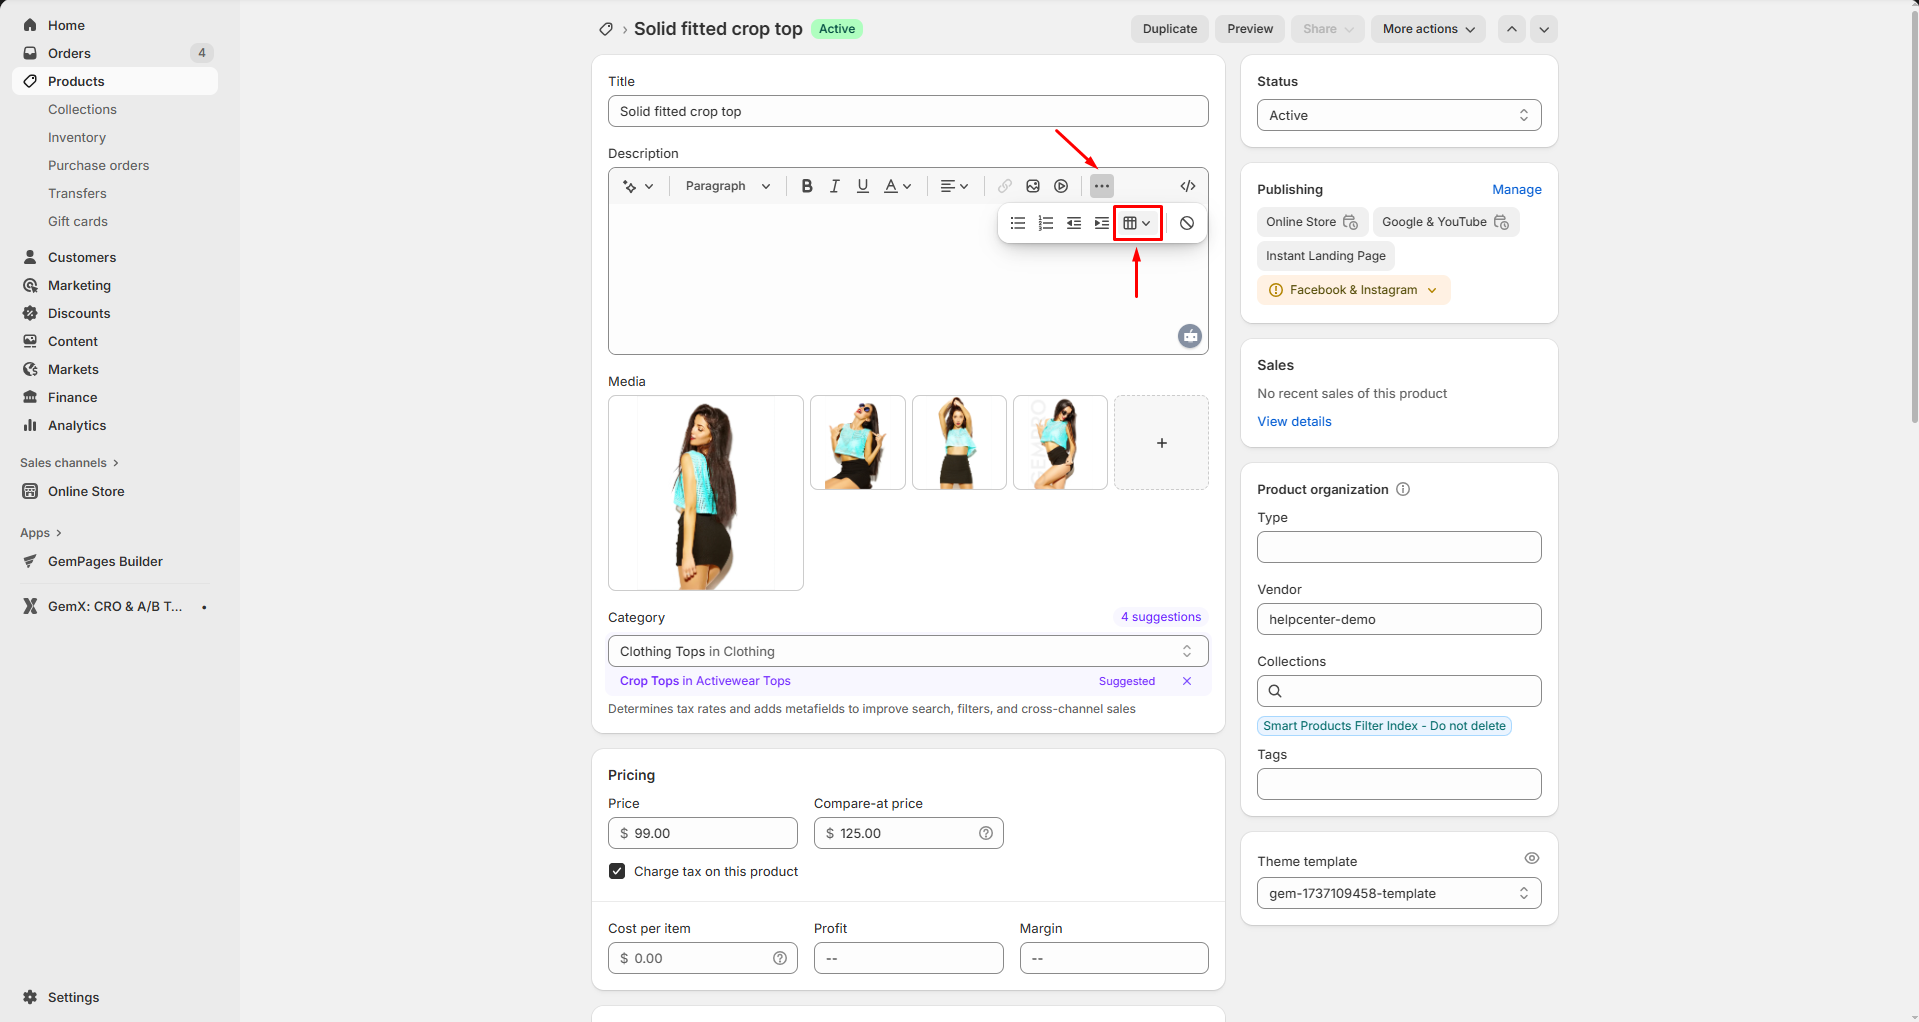
Step 3: In the Description editor, switch to HTML mode by clicking the Show HTML button.
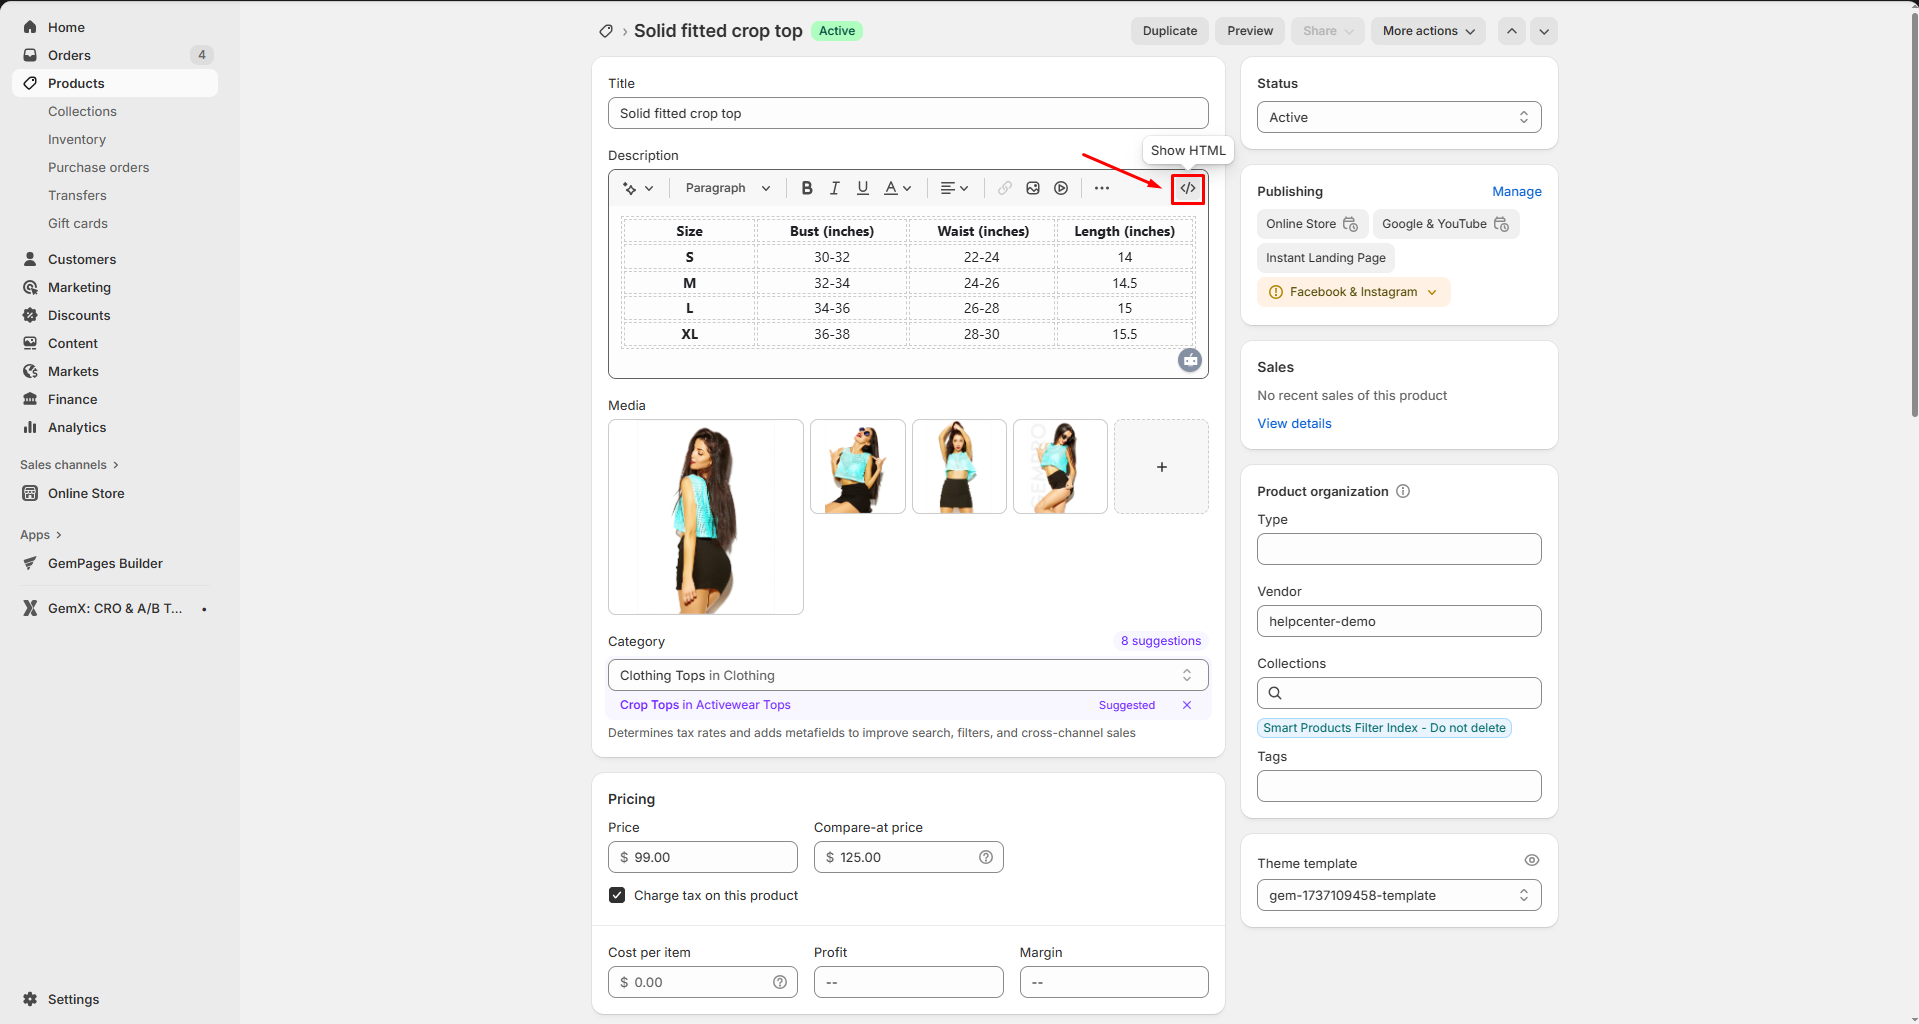
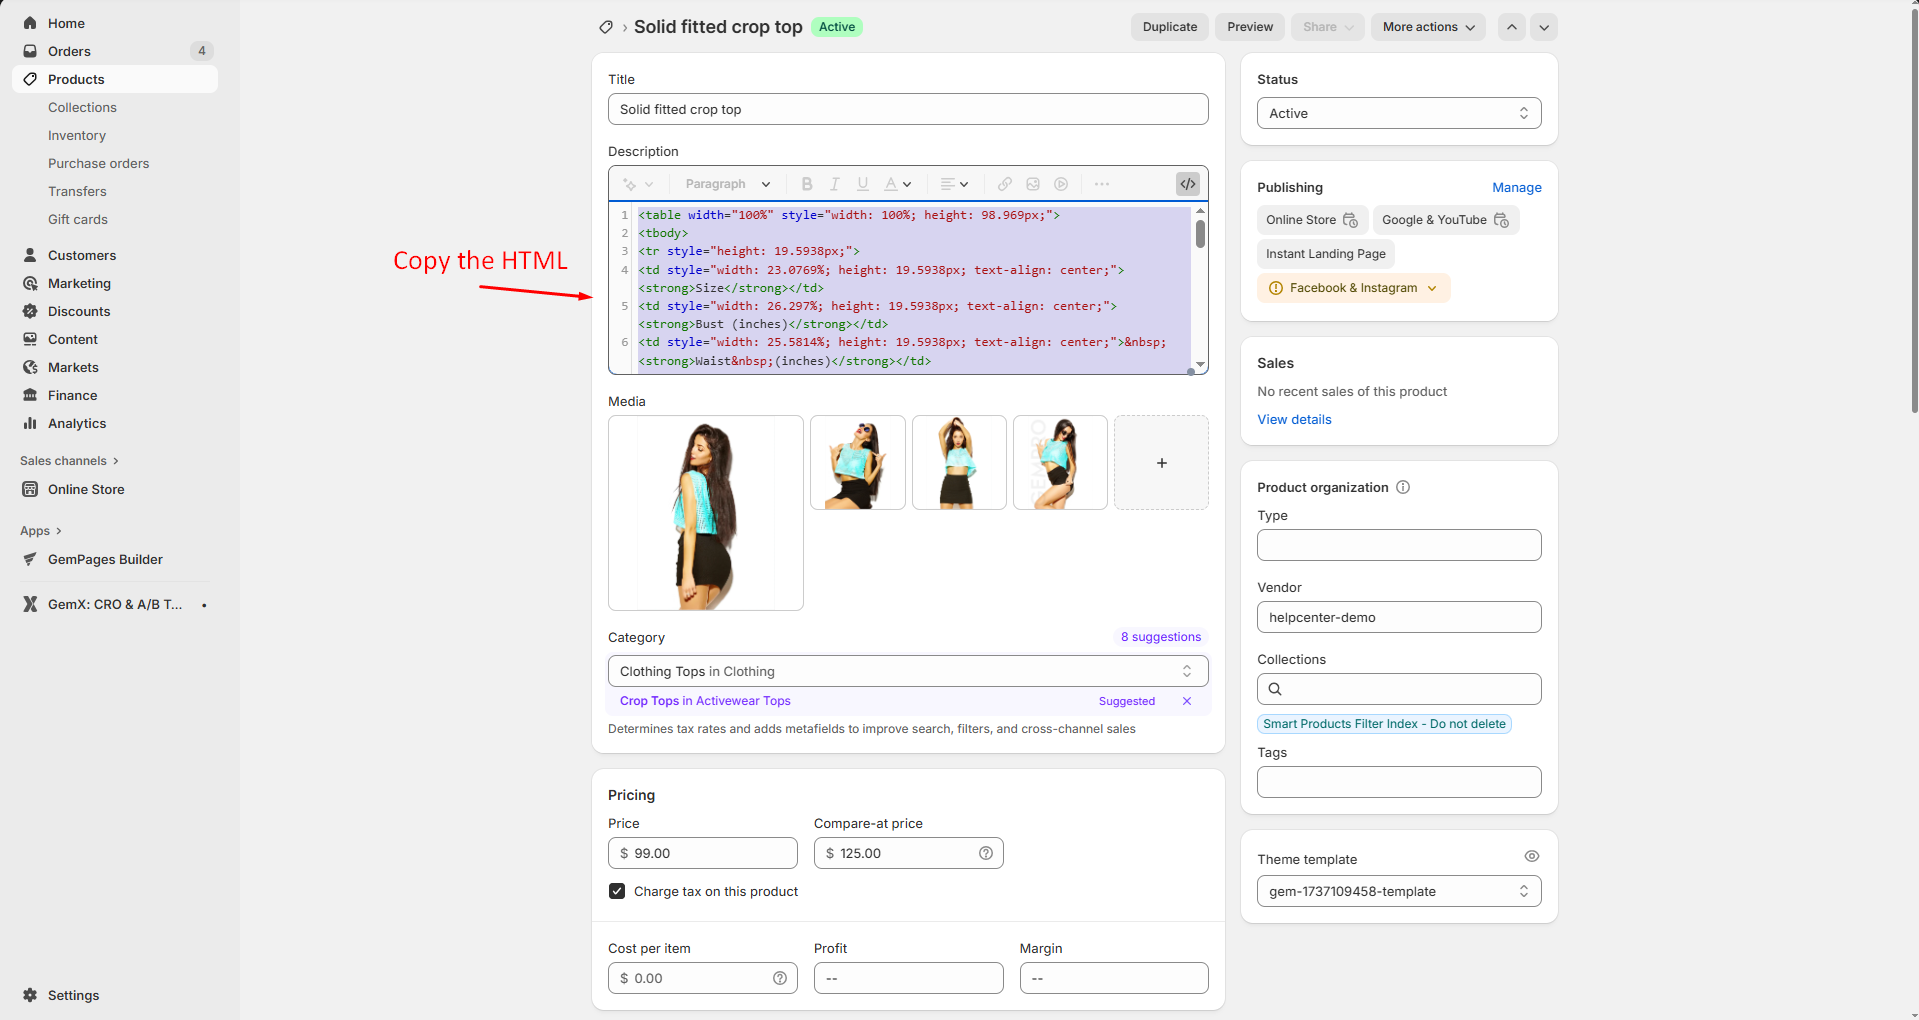
Copy the HTML code of your size chart.
Step 4: In the GemPages editor, drag the Custom Code element from the sidebar and place it where you want the size chart to appear.
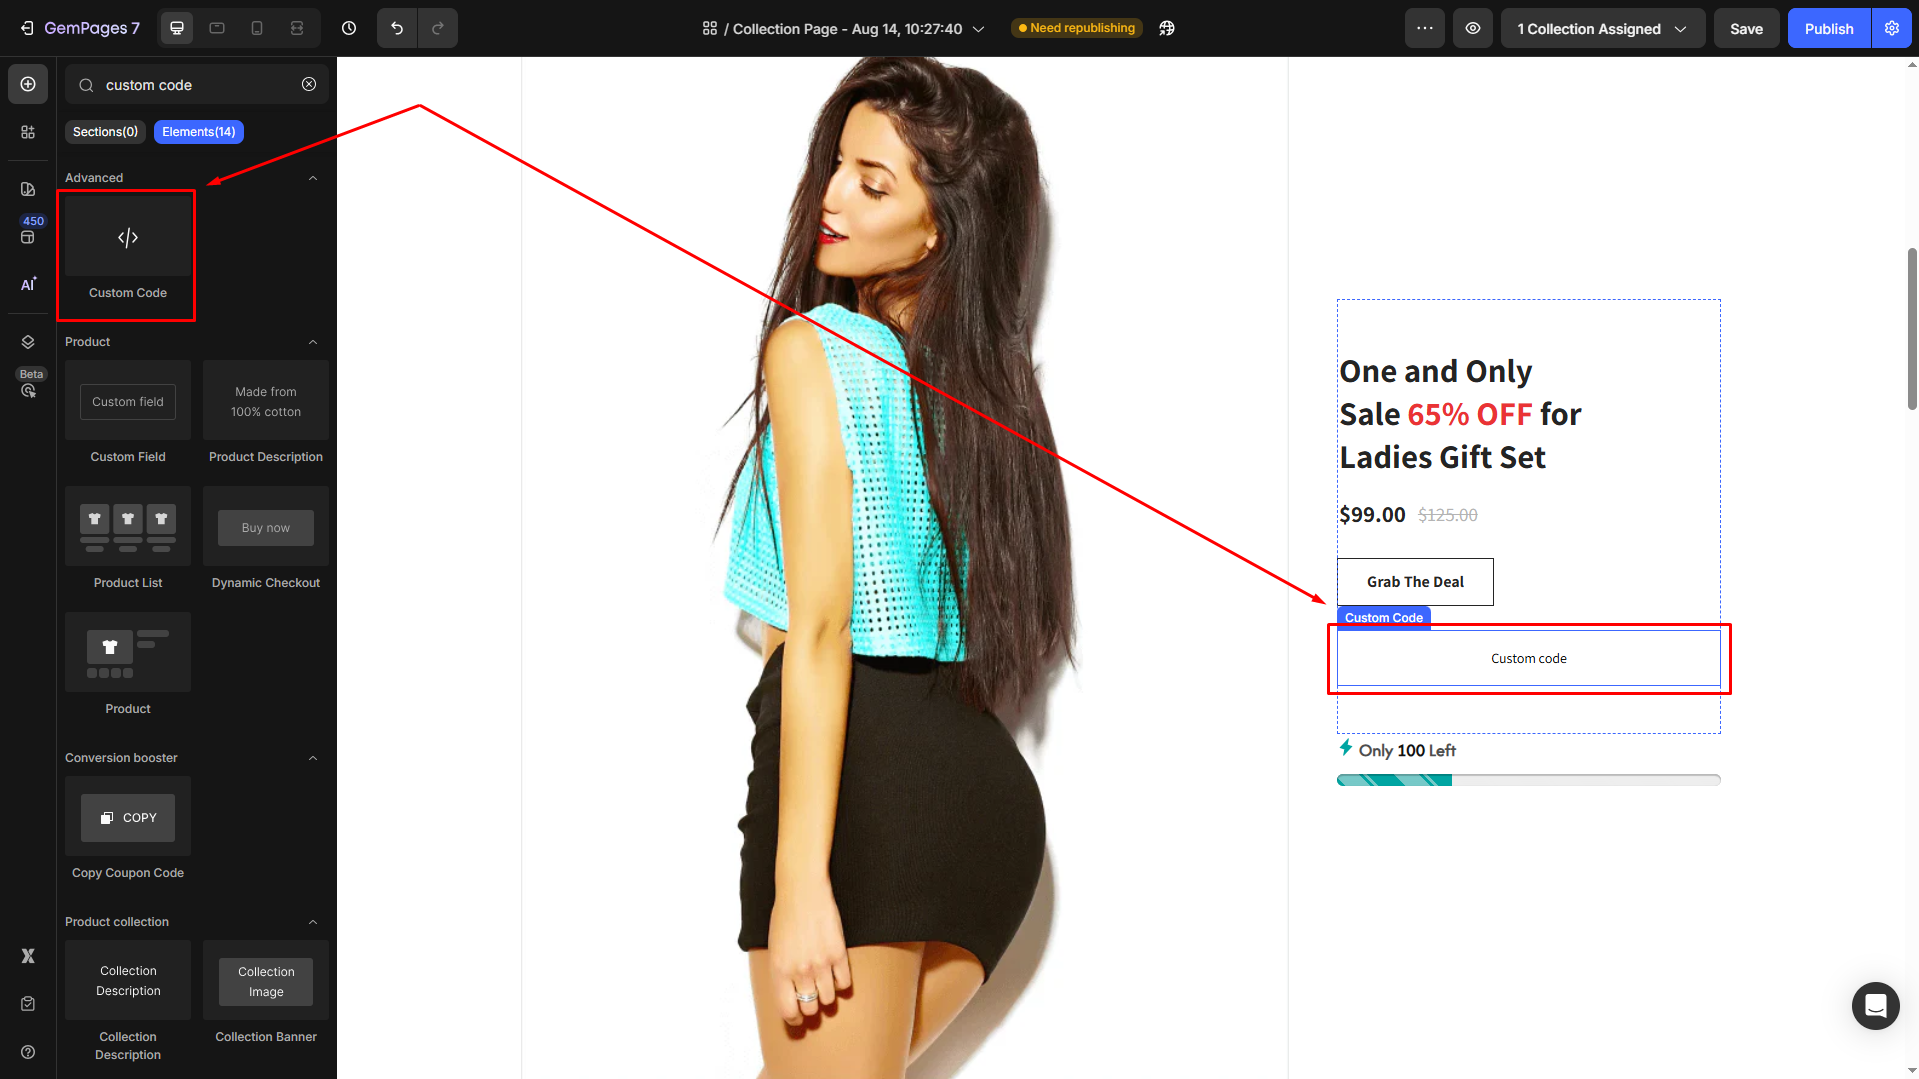
Step 5: Under the Custom code section, click to open the code panel.
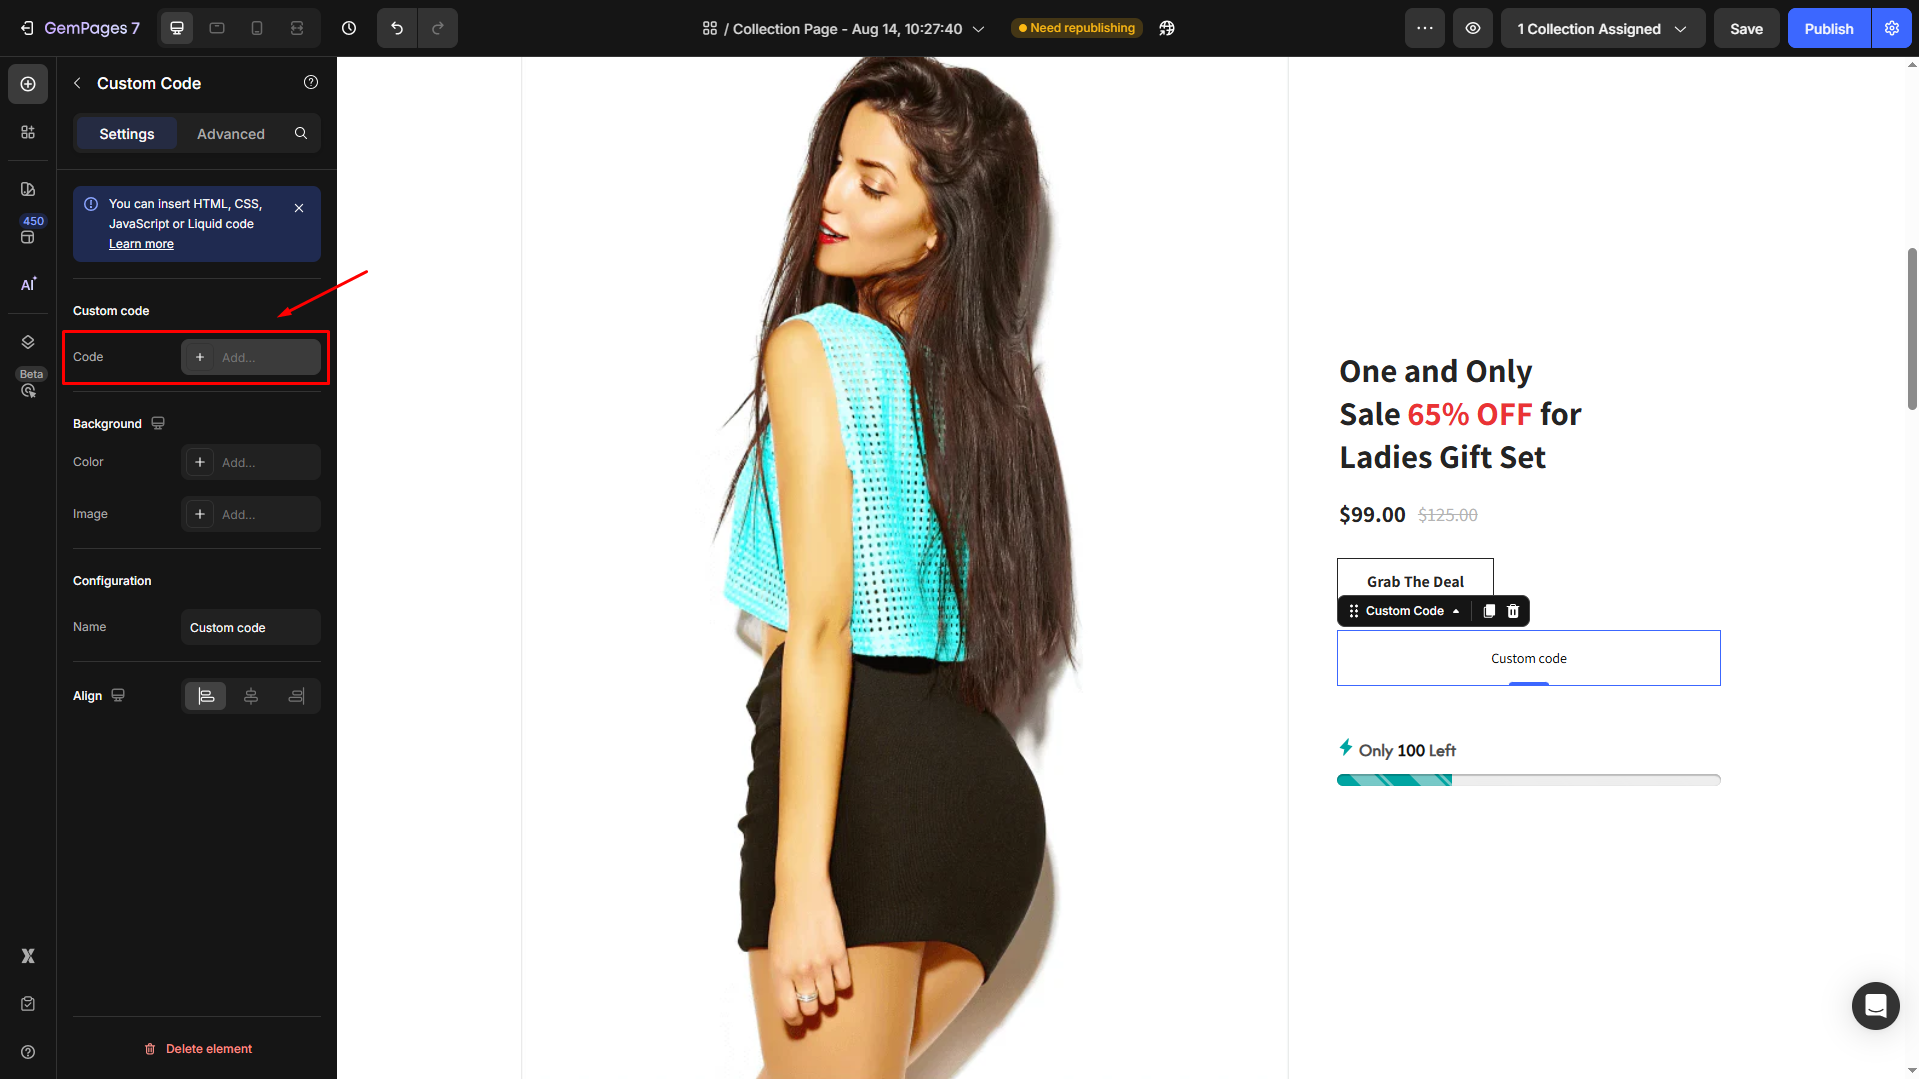
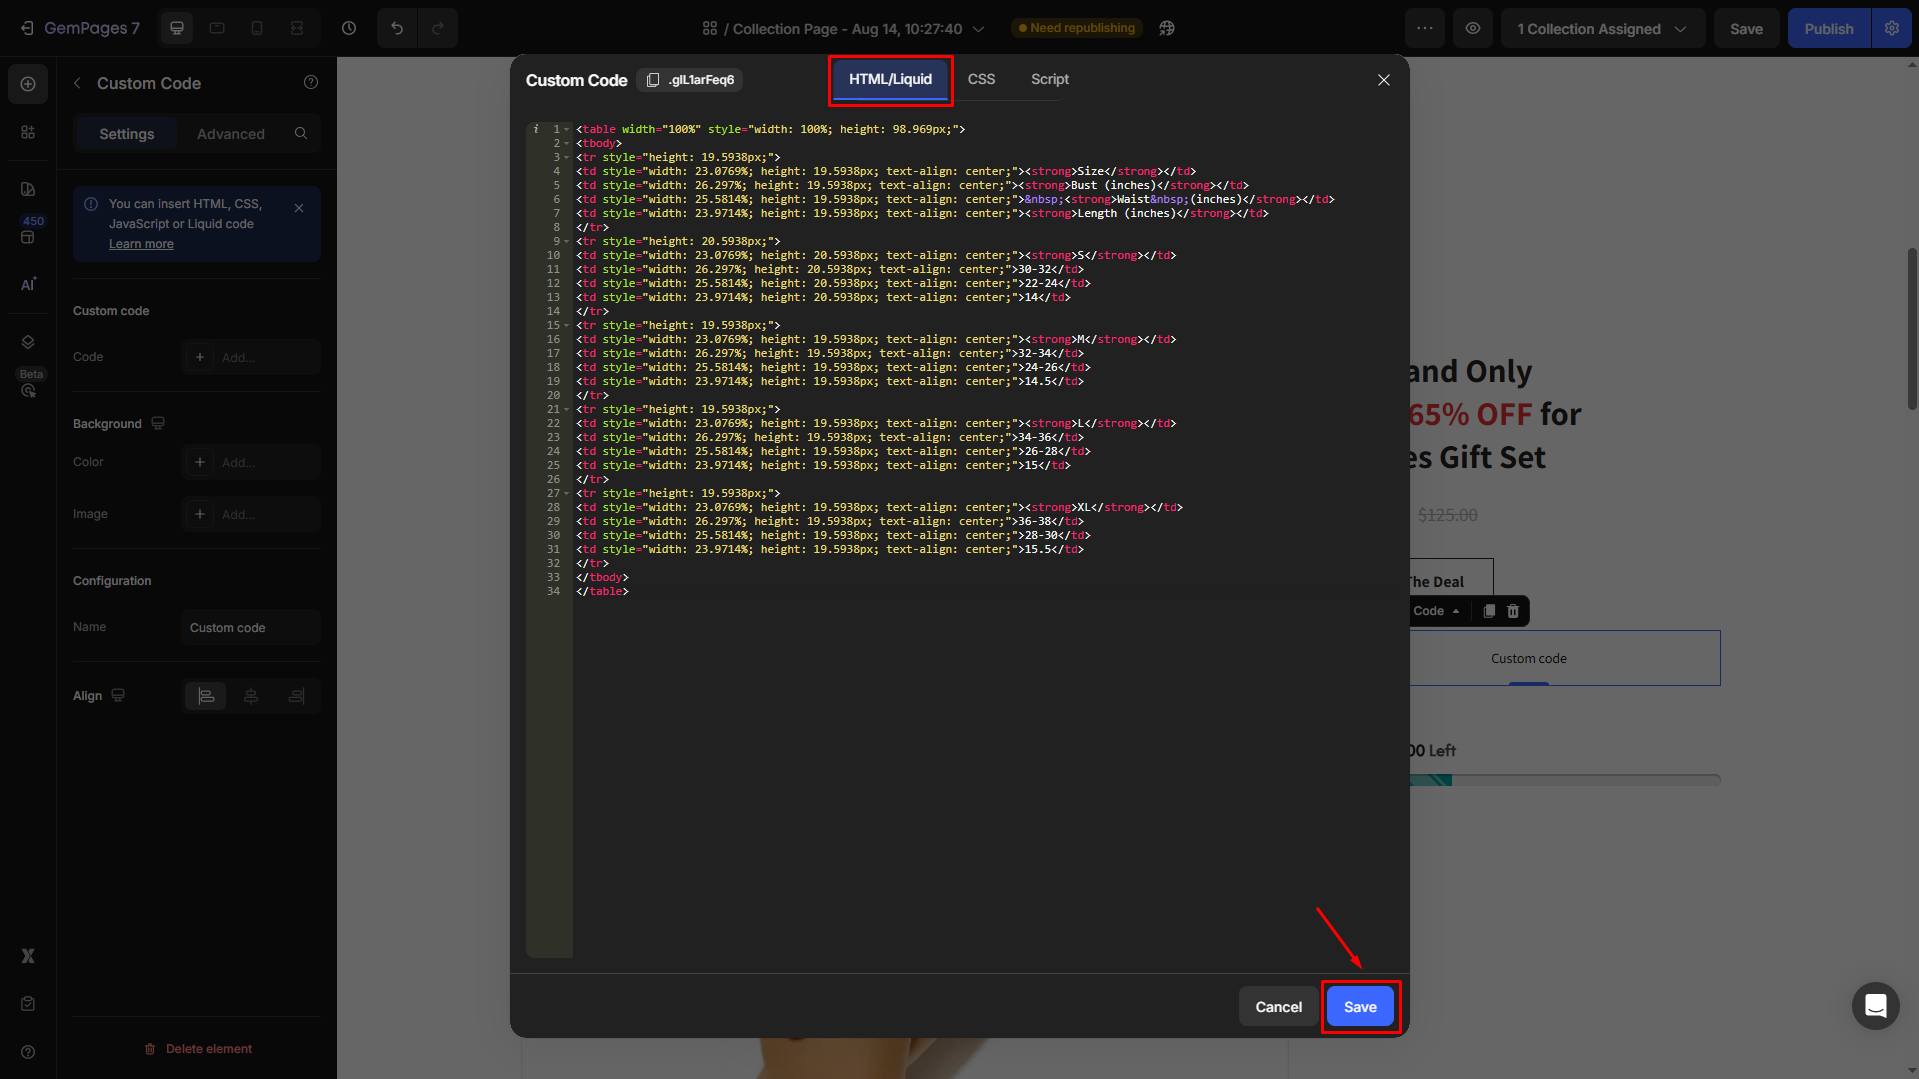
Step 6: Paste the HTML code into the HTML tab and hit Save.
Check the result:

Option 3: Using Third-Party Apps
For a more dynamic or customizable size chart, third-party apps are a great option. Many apps integrate seamlessly with GemPages, offering features like automatic sizing recommendations and advanced customization.
To explore these options, visit GemPages Help Center – Size Chart Integration for a step-by-step guide on using popular size chart apps.
Best practice: Create a Size Chart Pop-up with GemPages
Instead of showing the size chart directly on the product page, you can make it more user-friendly by displaying it inside a Popup.
This way, your page stays clean, and customers can open the chart only when they need it.
Why this is recommended:
- Keeps the product page clean and distraction-free.
- Provides a better customer experience: the size chart is always accessible, but doesn’t take up space.
- Works seamlessly with both image and table size charts.
Using a pop-up for your size chart is the most flexible approach and ensures customers can easily check sizing without leaving the product page.
Follow these steps below to create a Size chart Pop-up on your page:
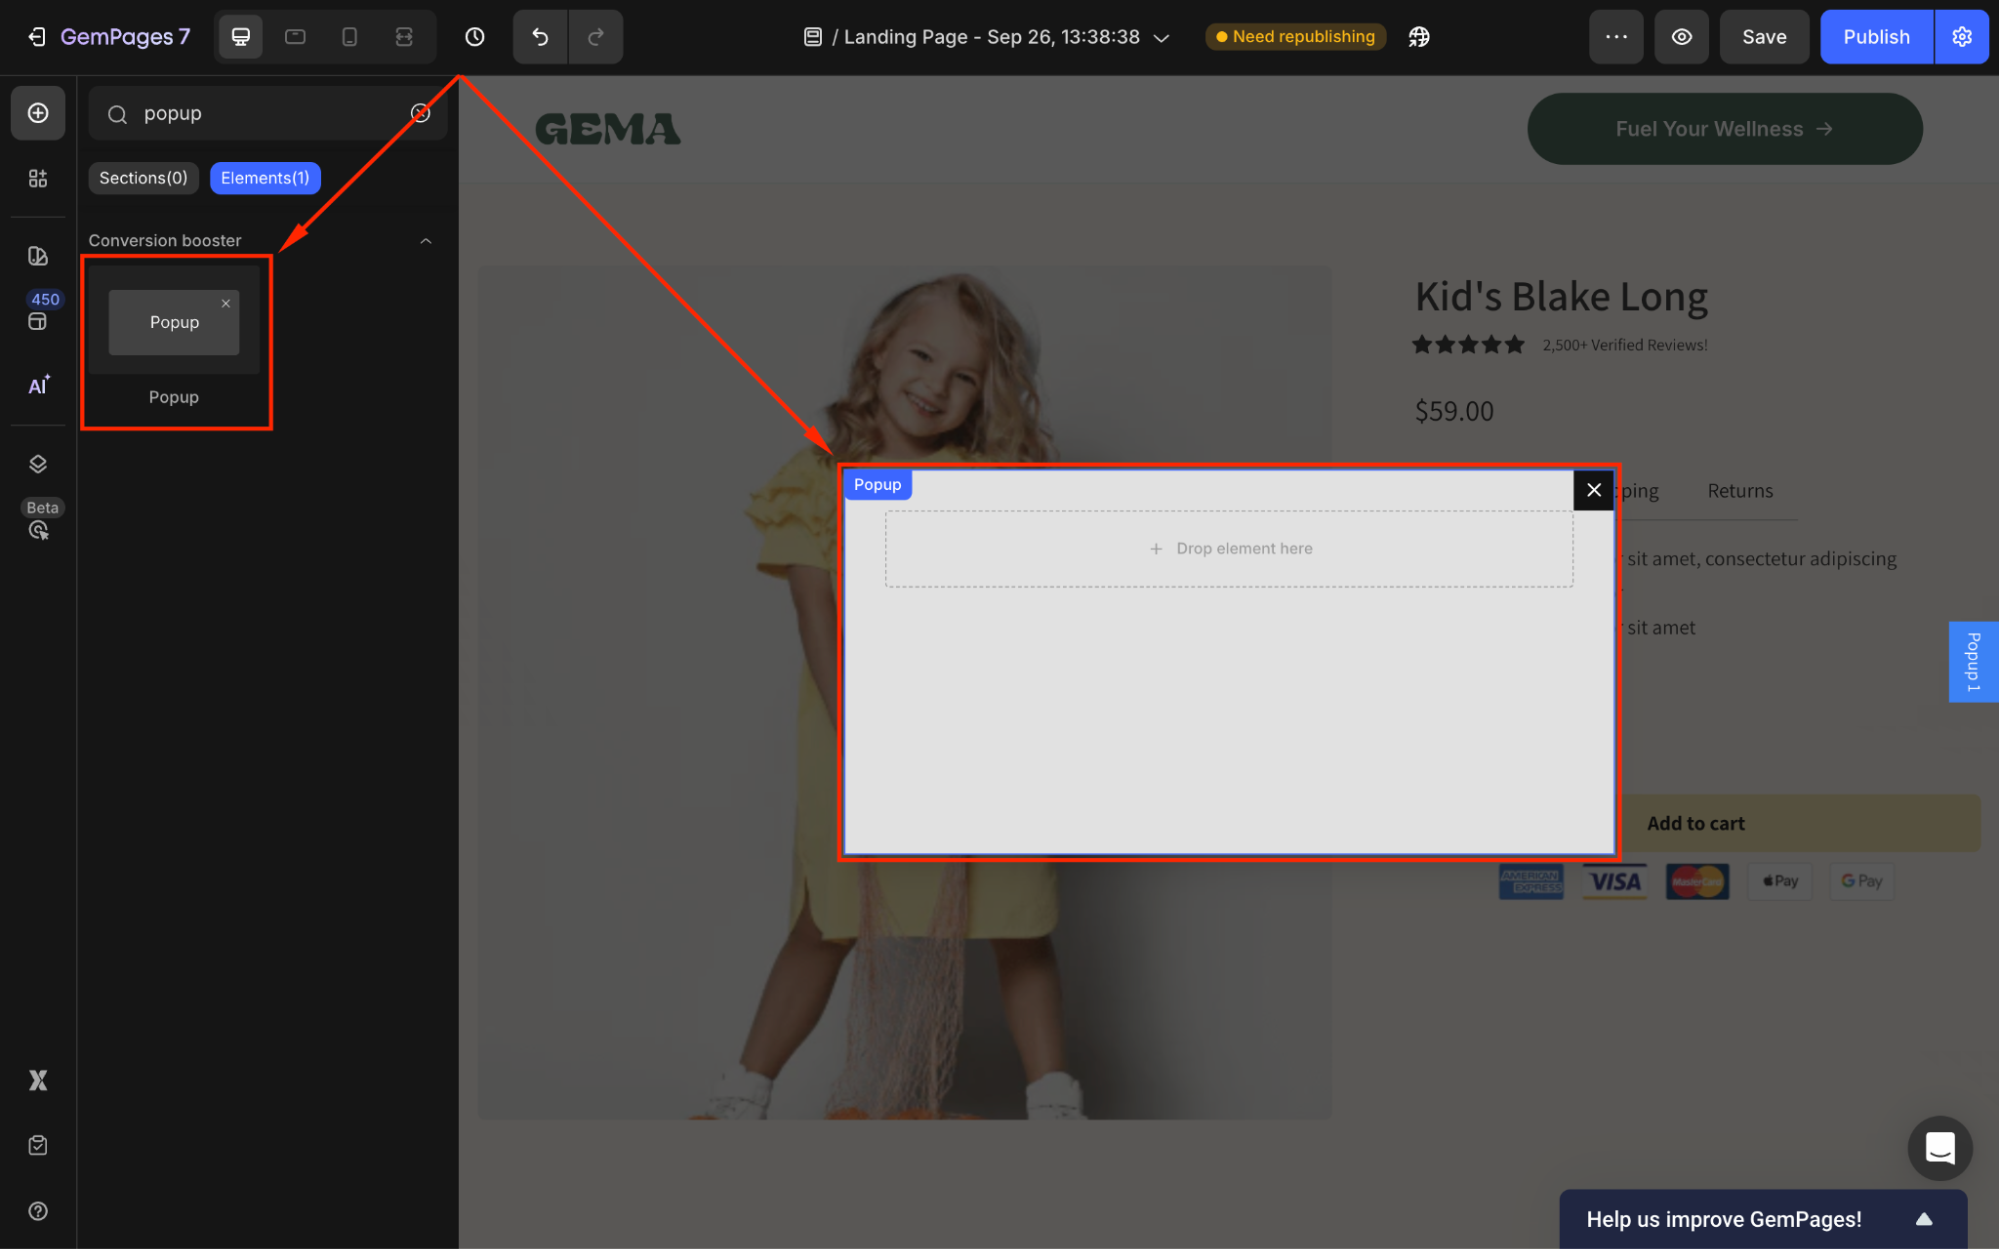
Step 1: Once located in the GemPages Editor, you can use the search bar to find the Popup Element. Then, drag and drop the element into the design area.
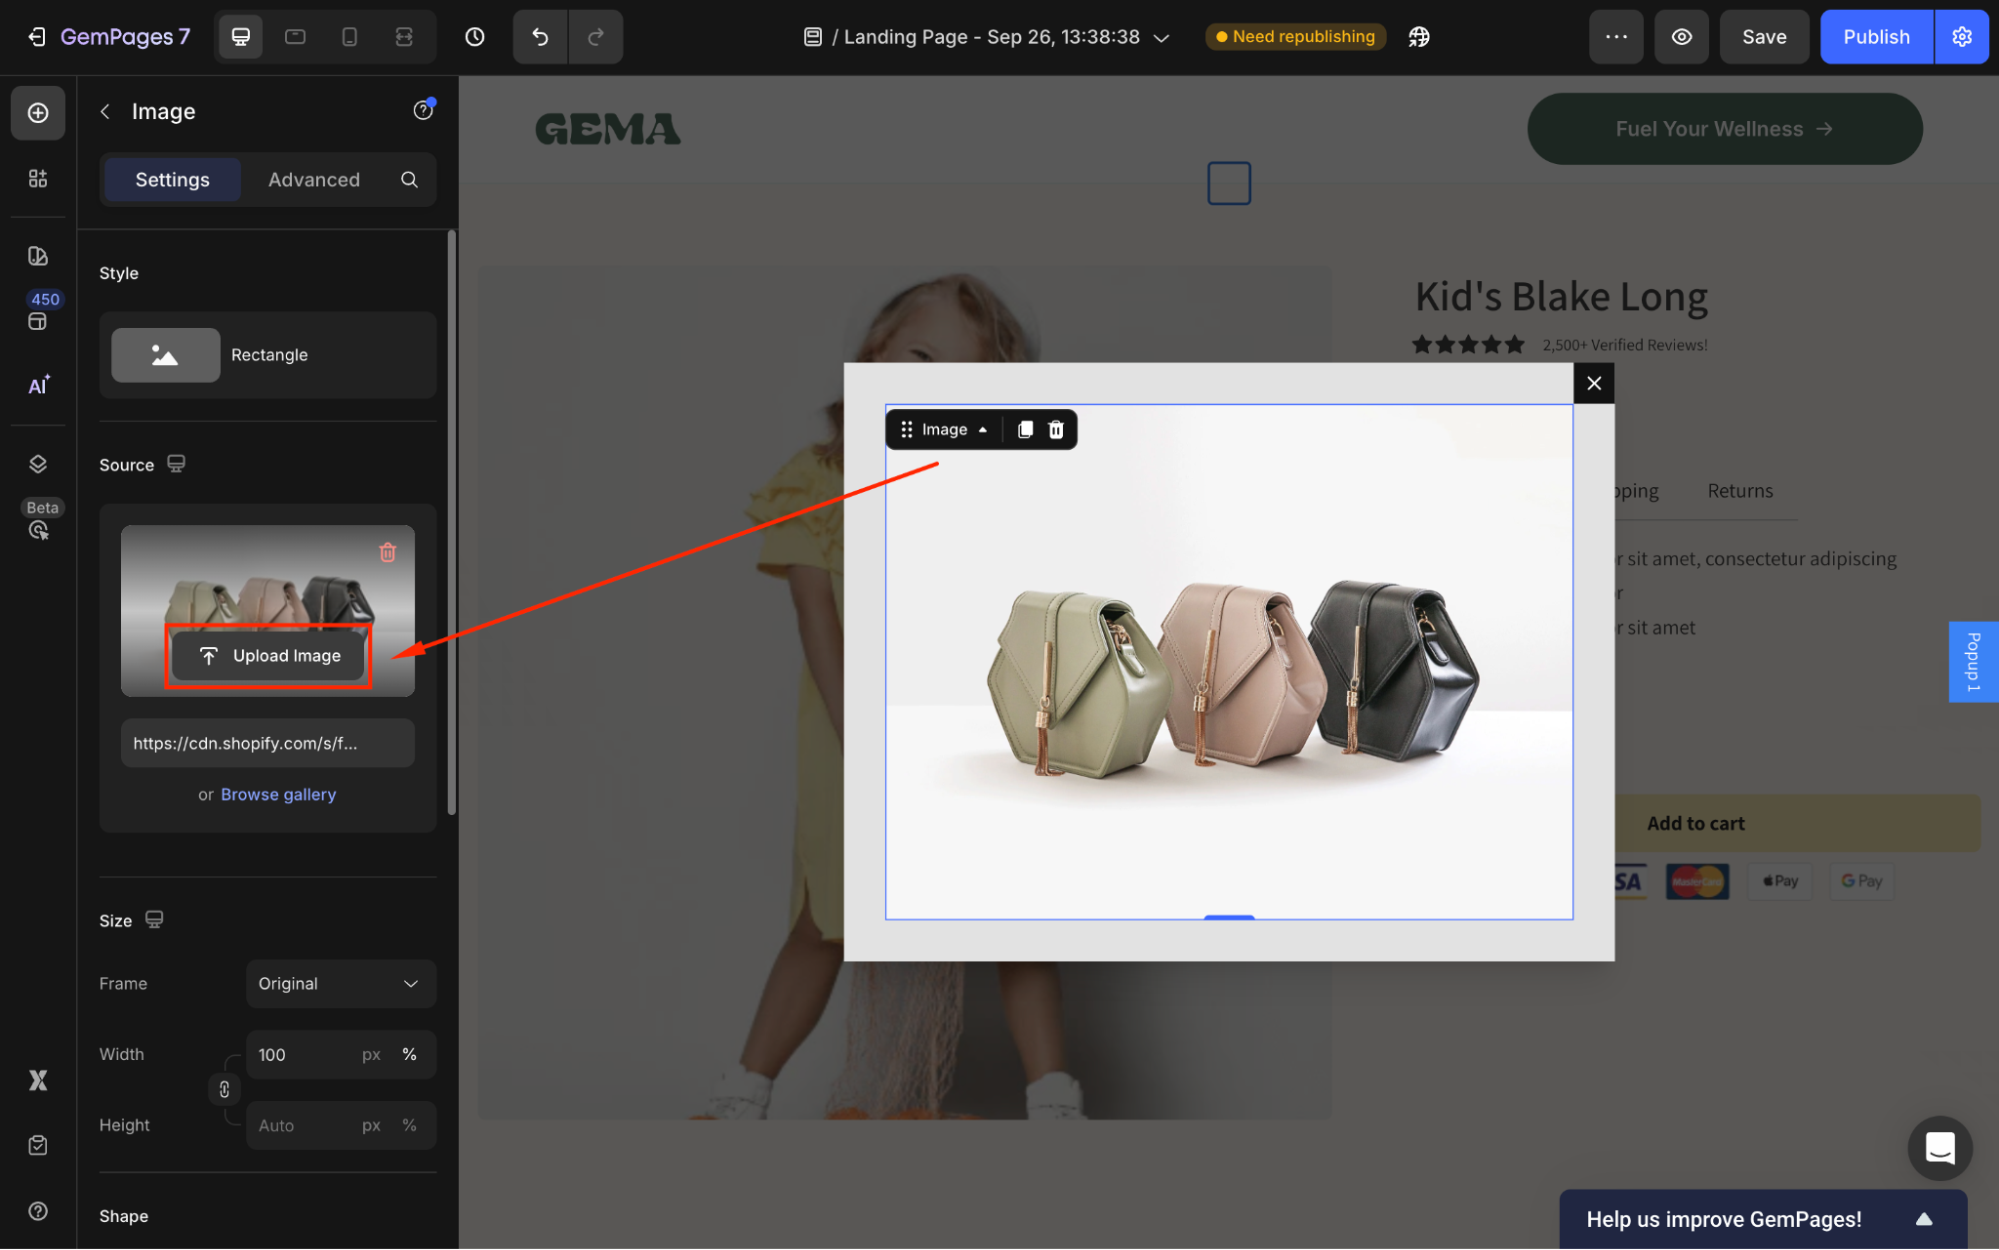
Step 2: Continue adding an Image Element nested in the Pop-up.
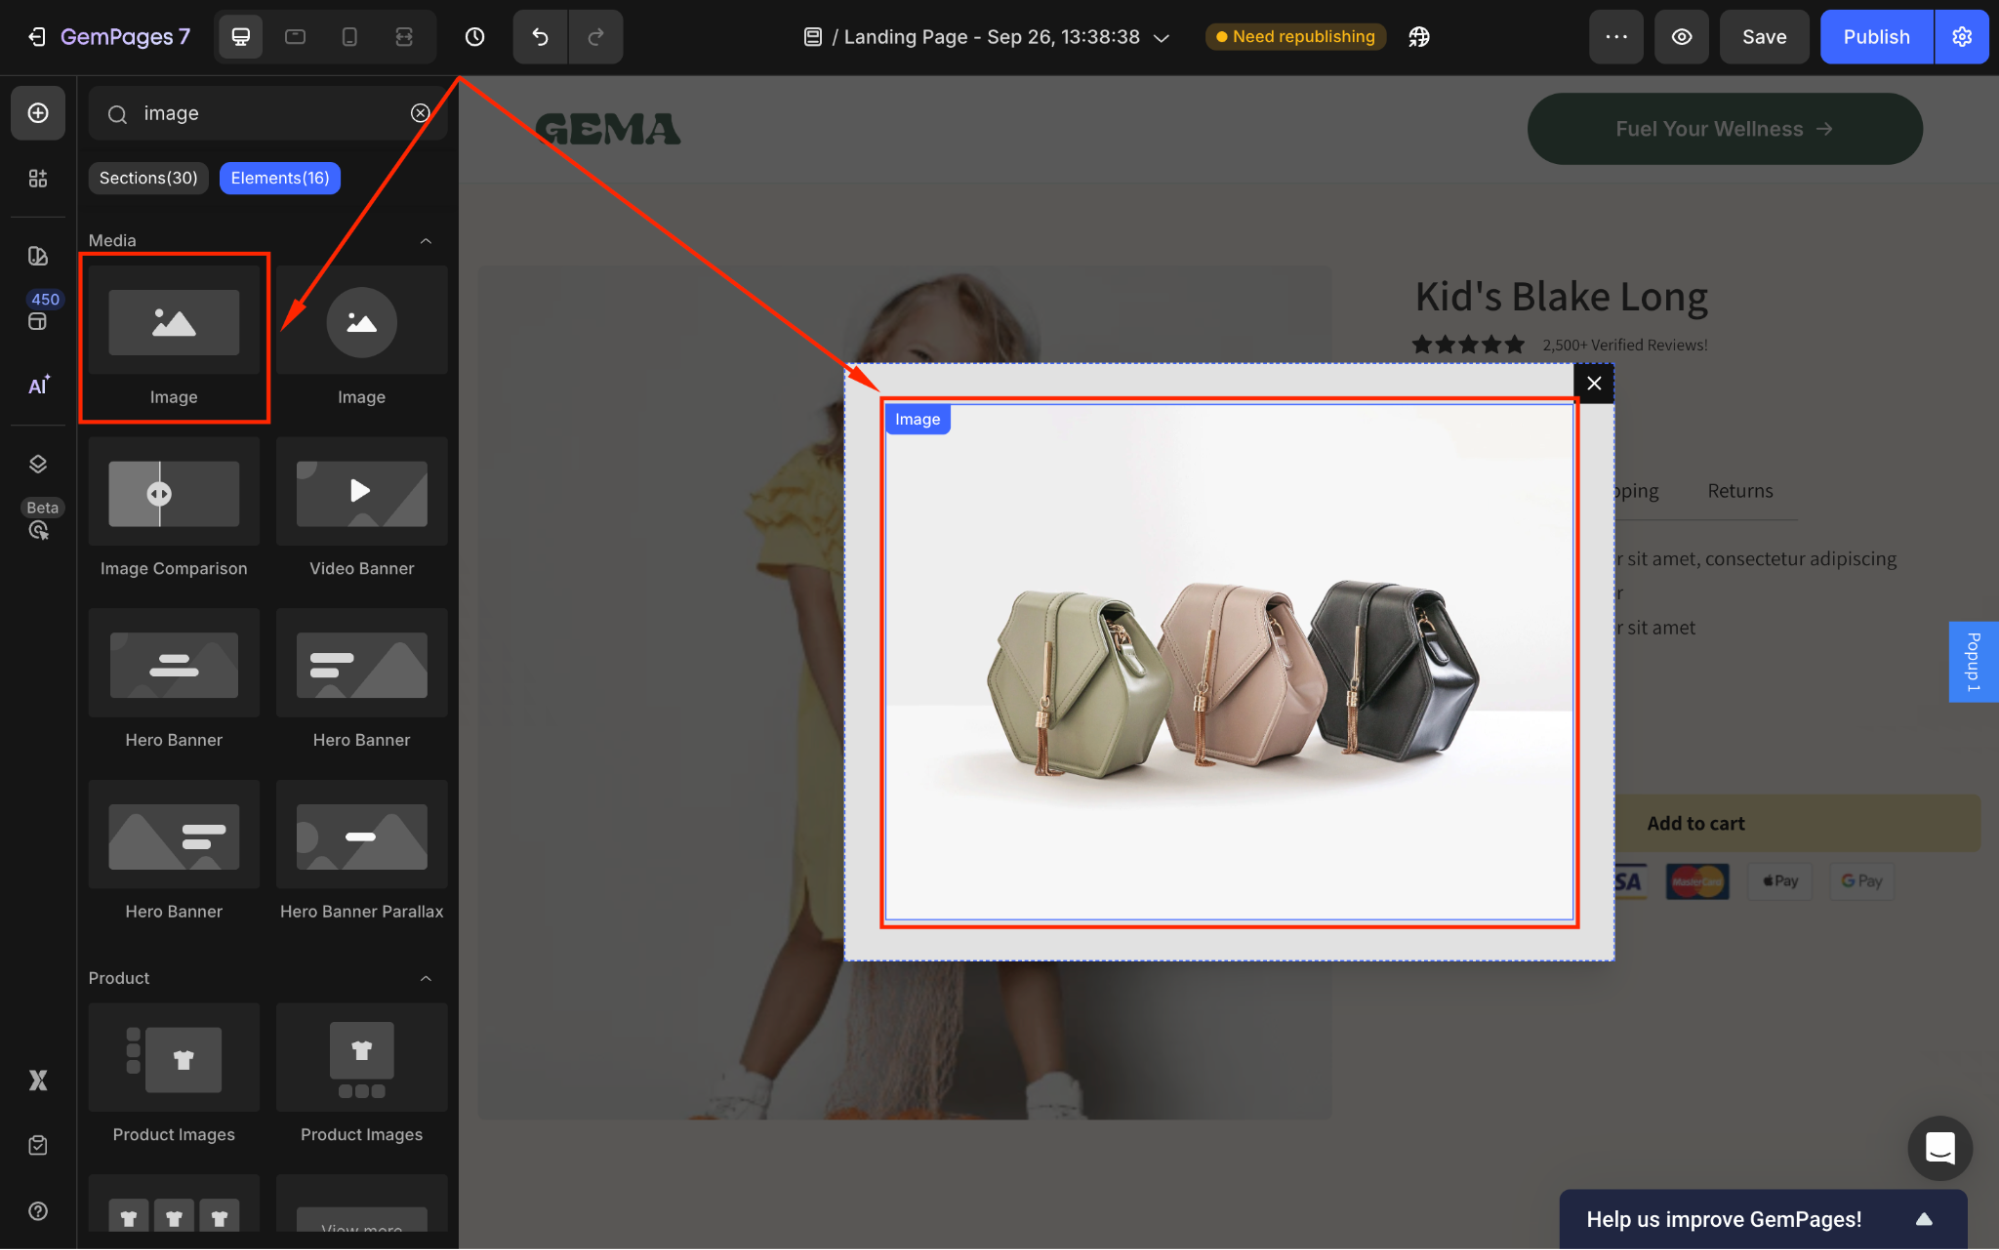
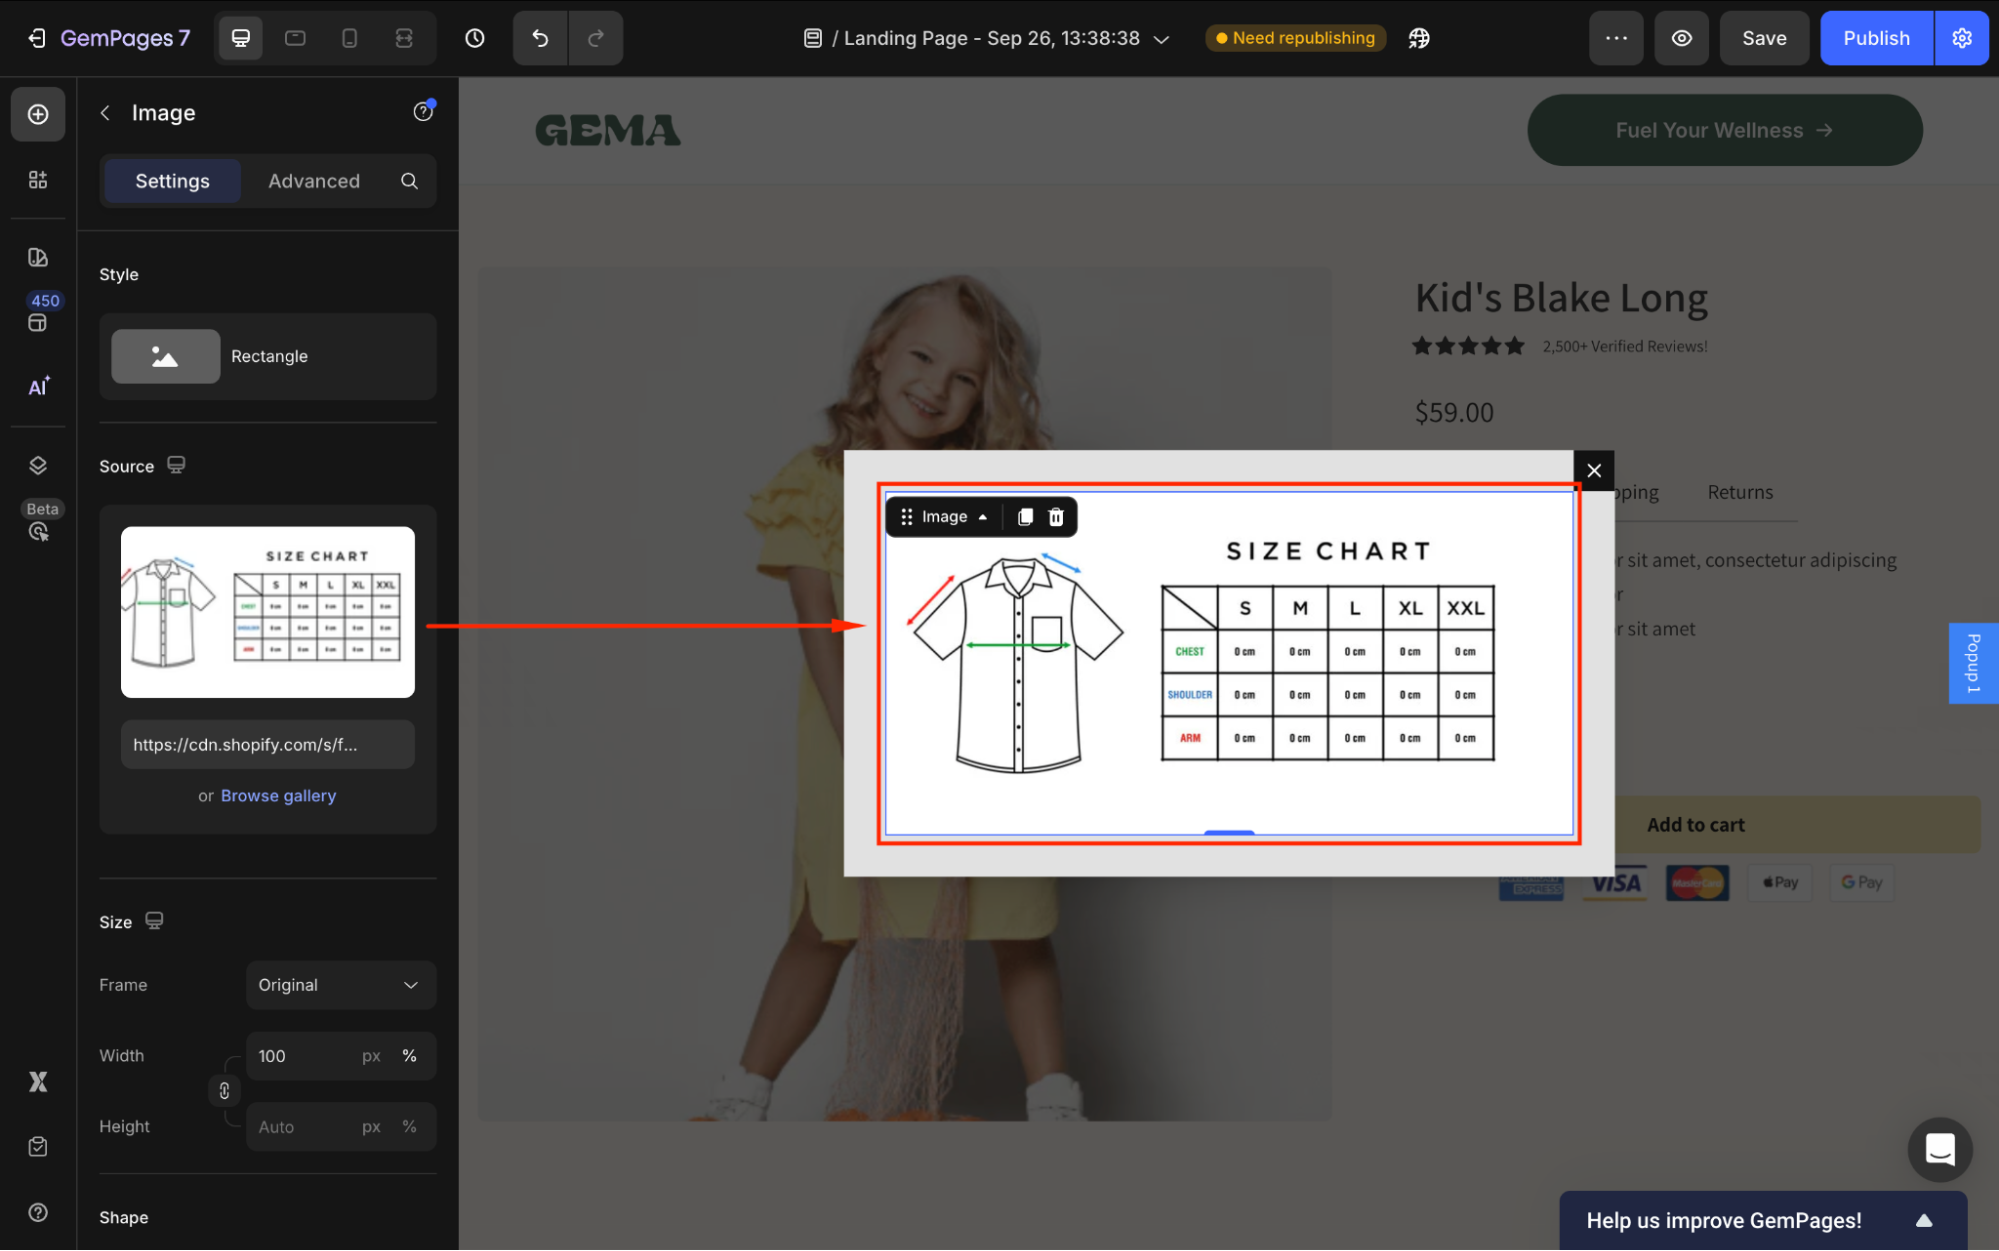
Step 3: In the image’s settings panel, go to the Source section and hover over the current image. Then, click Upload image to upload your size chart image.
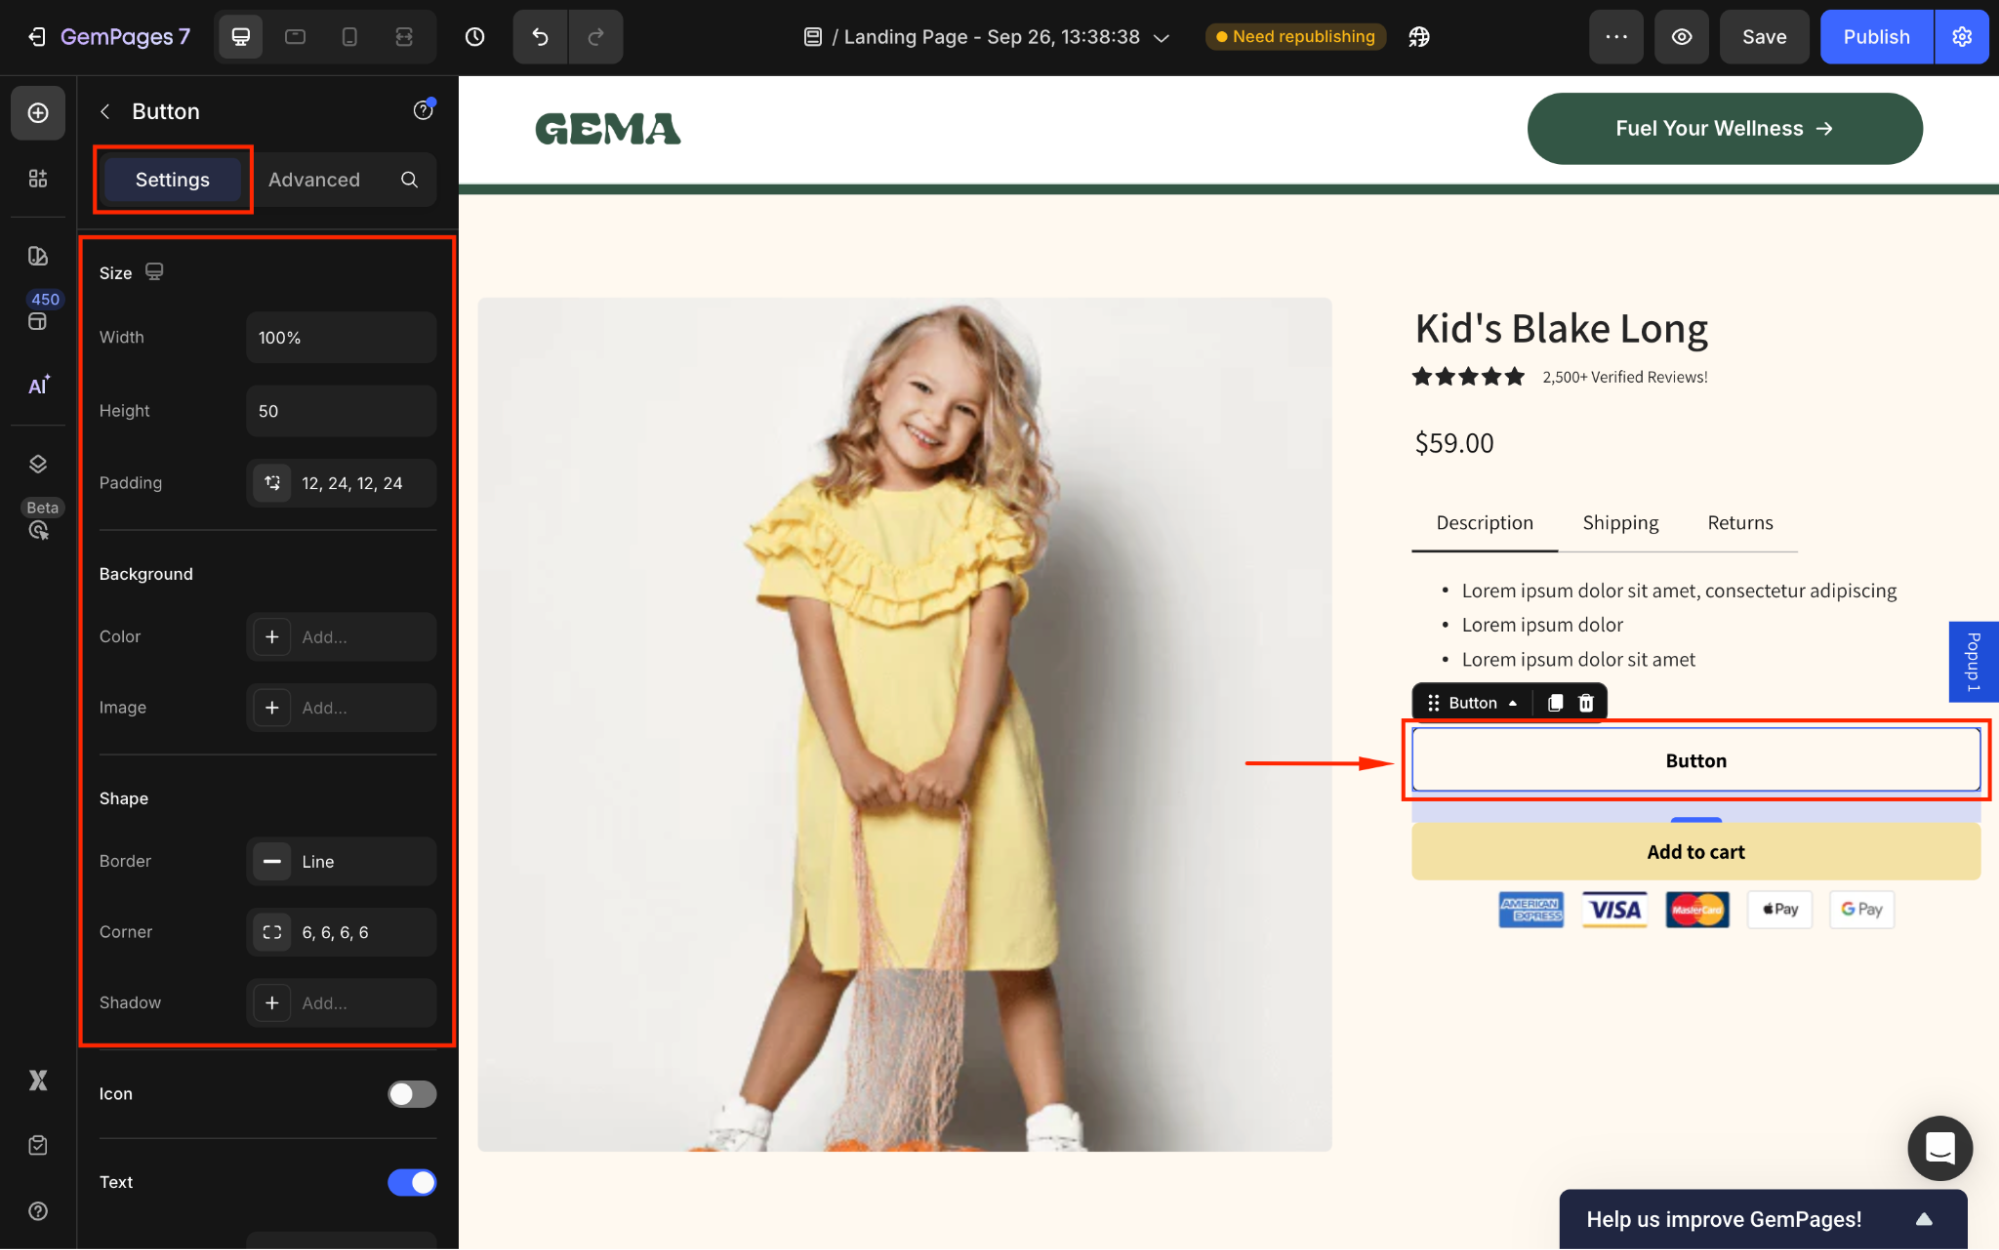
Step 4: Click outside the pop-up, then drag and drop a Button Element to your desired position in the page.

Step 5: Configure the button as you prefer in the Settings tab.
For example, you can change the background color, adjust the button size, or add a hover effect.
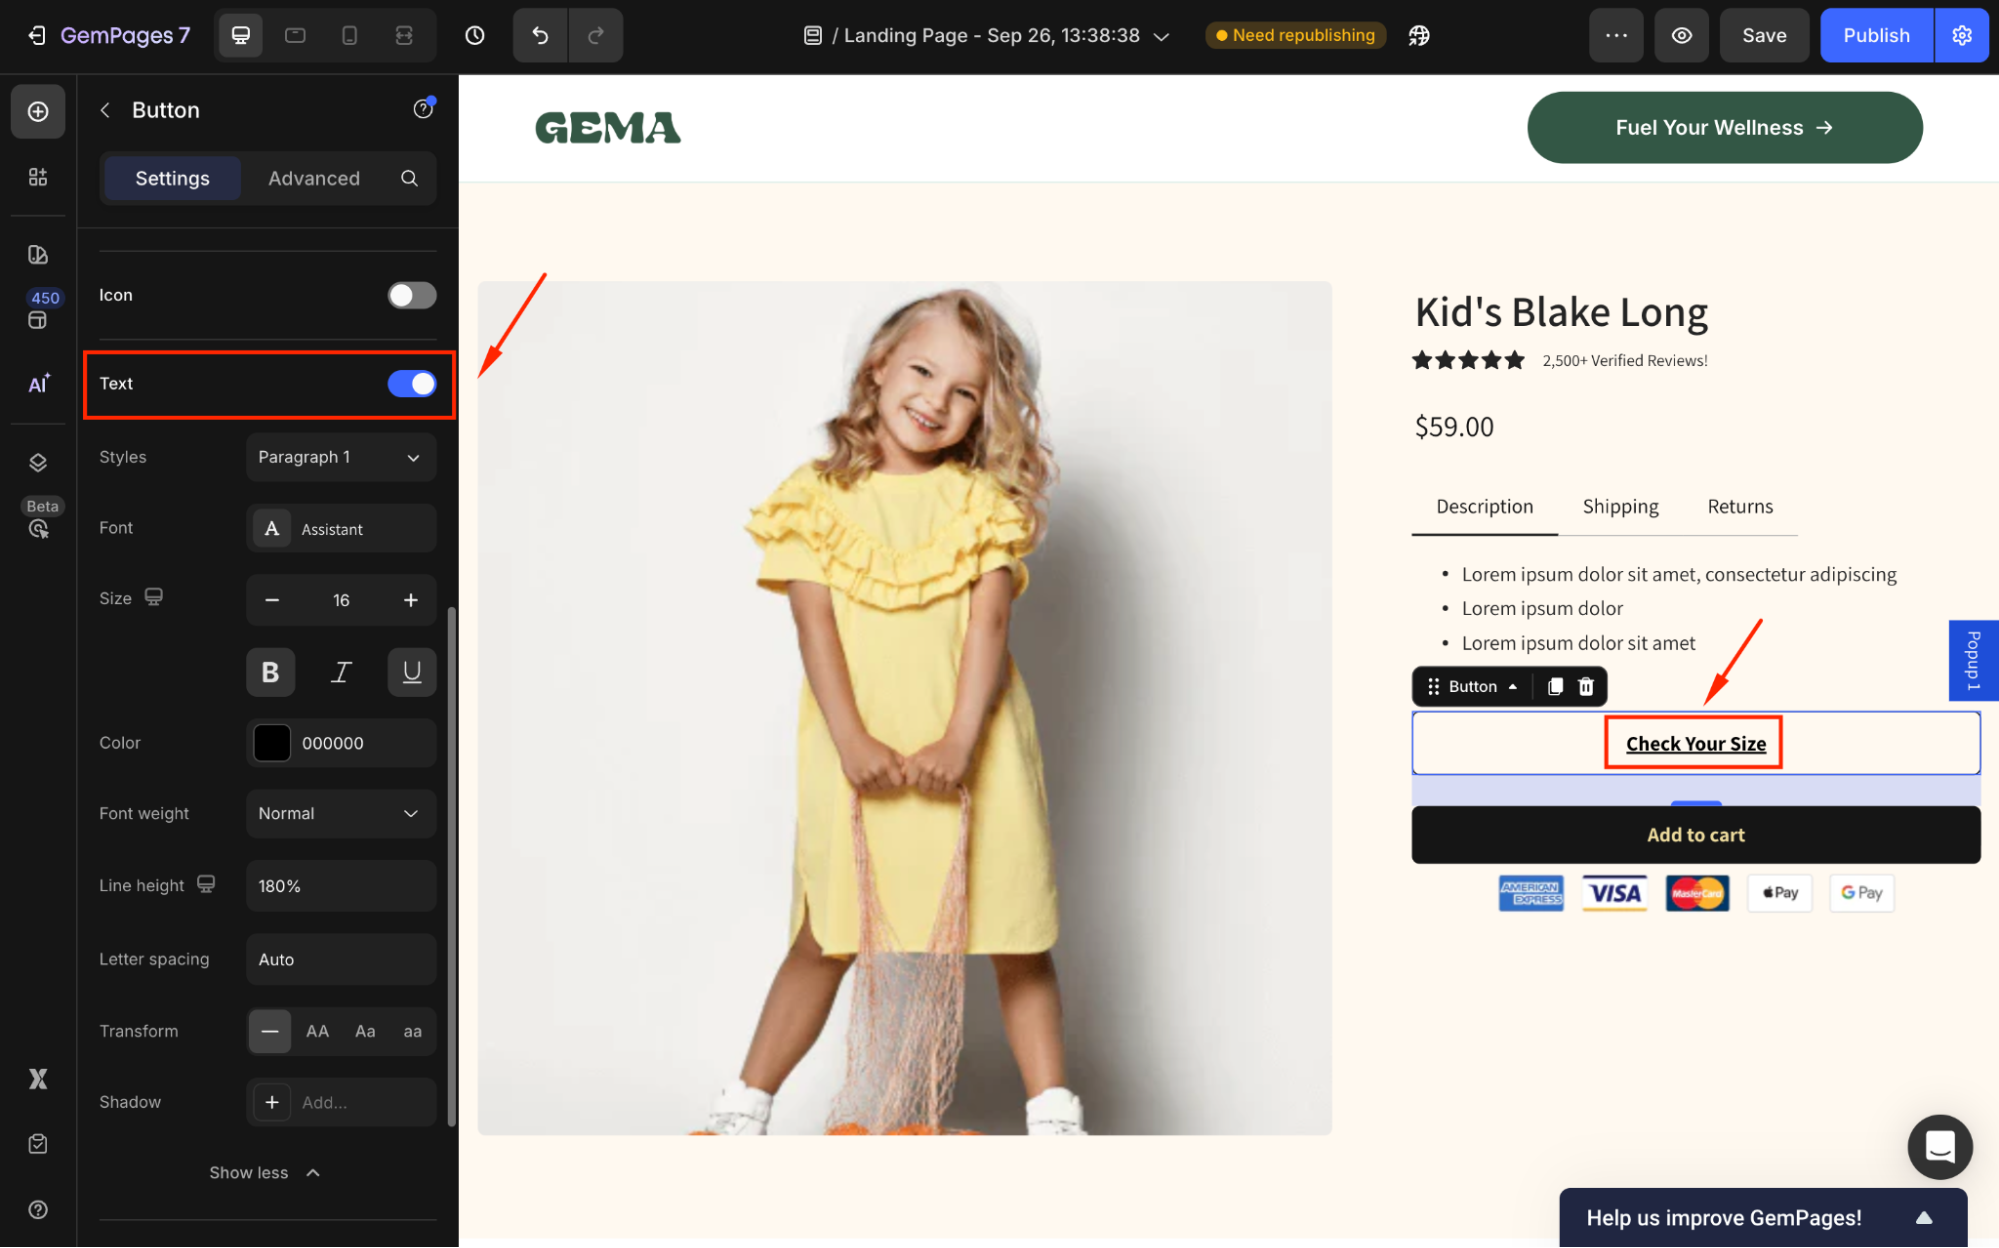
Then, edit the button text and configure the text style. You can try “Check your size” or “Size Guide” to trigger your visitors to click it.
Step 6: Scroll down to the Link section and toggle it ON. From there, set the After click = Open popup, and select the popup created in Step 1-3.
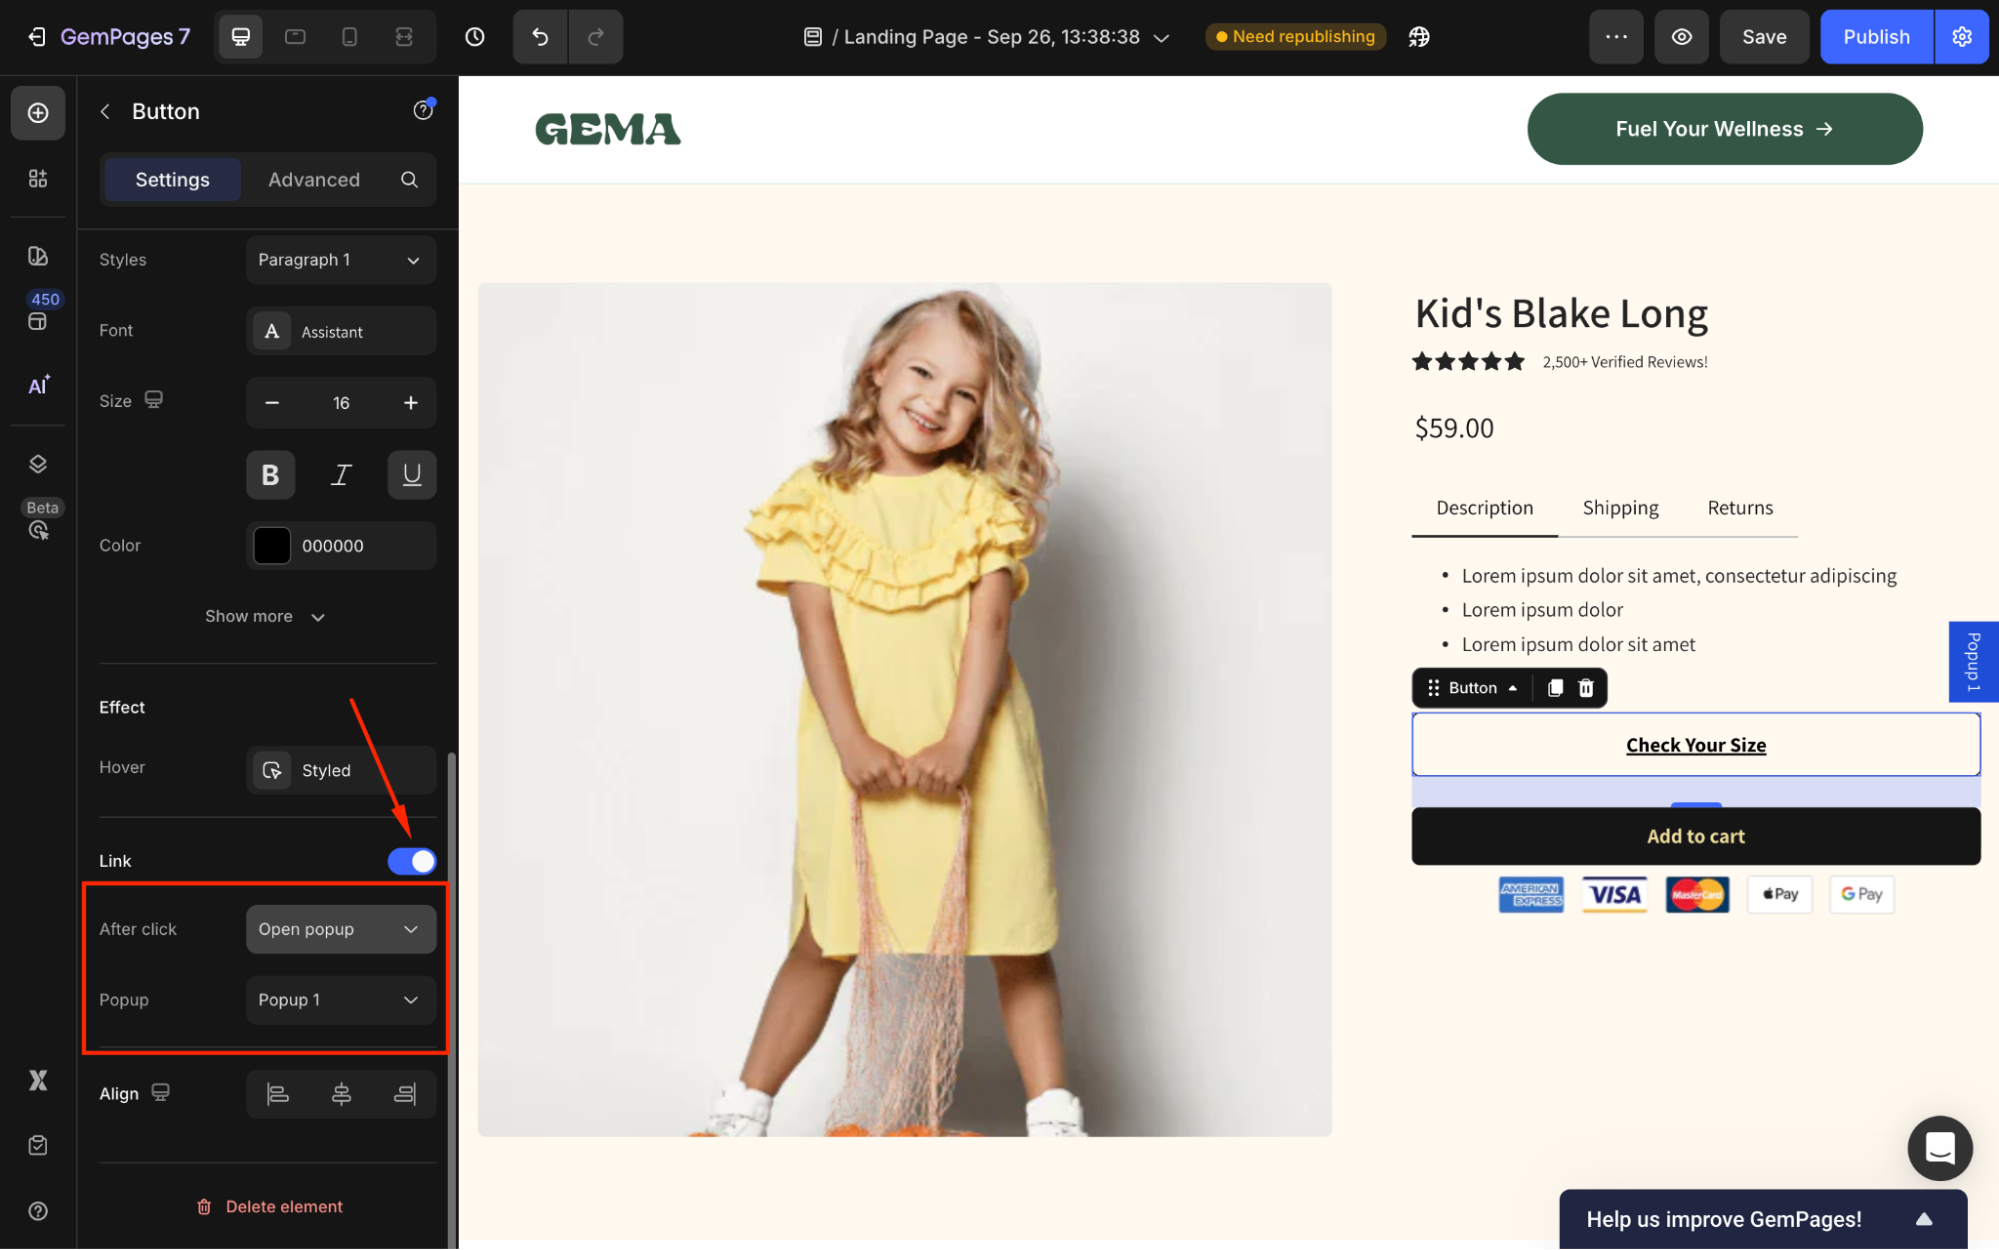
Now, the pop-up will appear once your visitors click on this button.
Save and republish your page, and you can check the result on the live store.
Result:


Thank you for your comments