


About the Article Author Element
The Article Author Element allows you to display the name of the author for articles on your site.
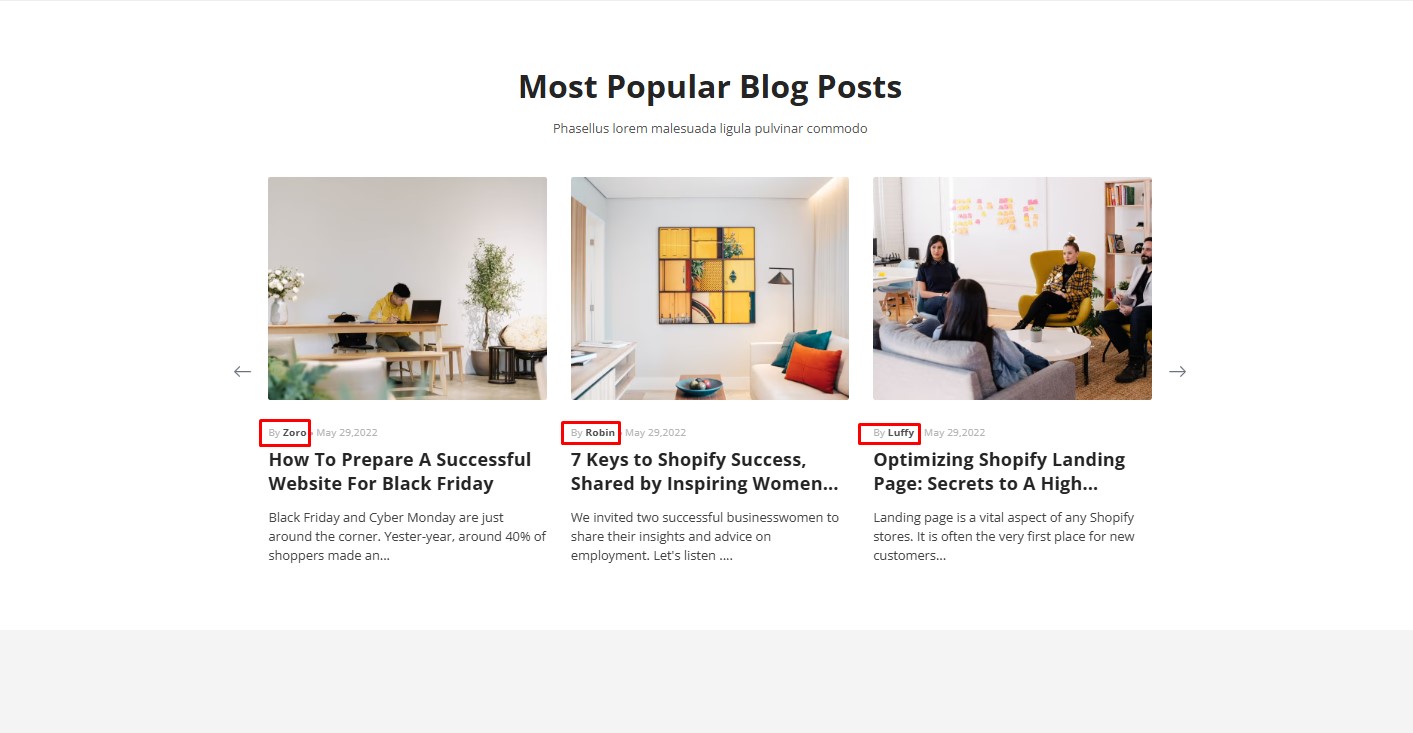
This element can be added within the Article List element or when designing an Article page type, helping readers connect with the content creators.
How to Add a Blog Author in Shopify Admin?
To add or modify a blog author in Shopify Admin, follow these steps:
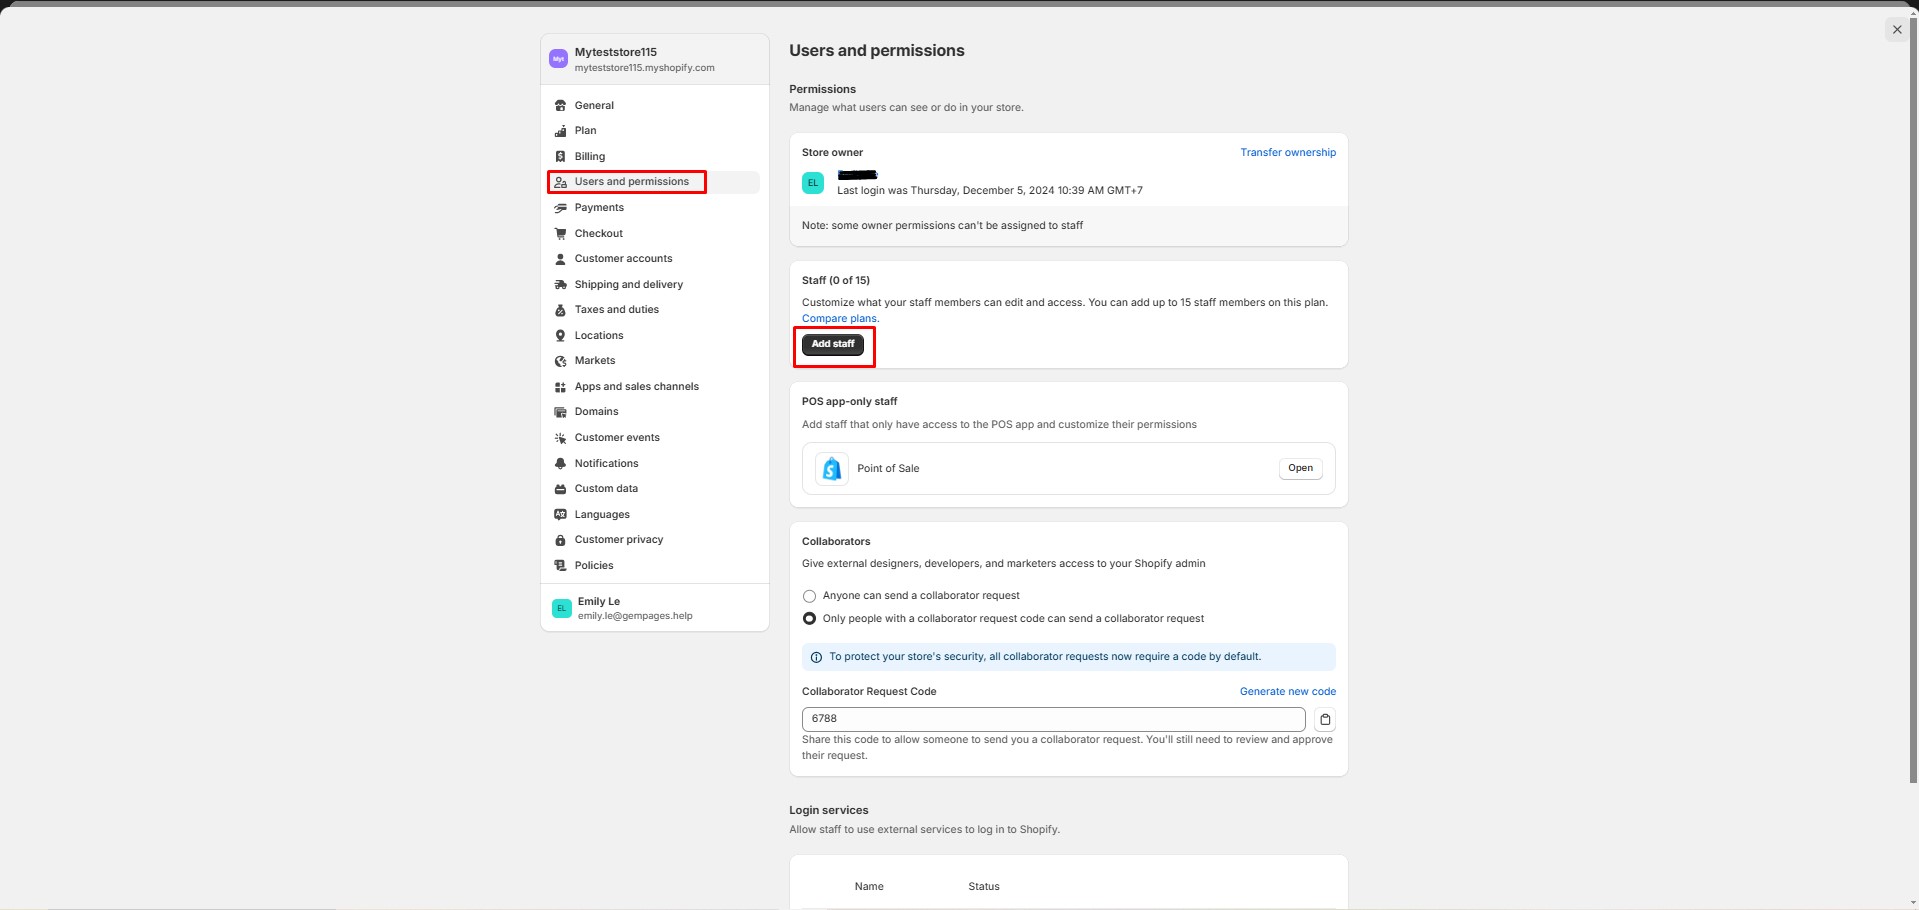
- Log in to your Shopify Admin.
- Navigate to Settings > Users and Permissions.
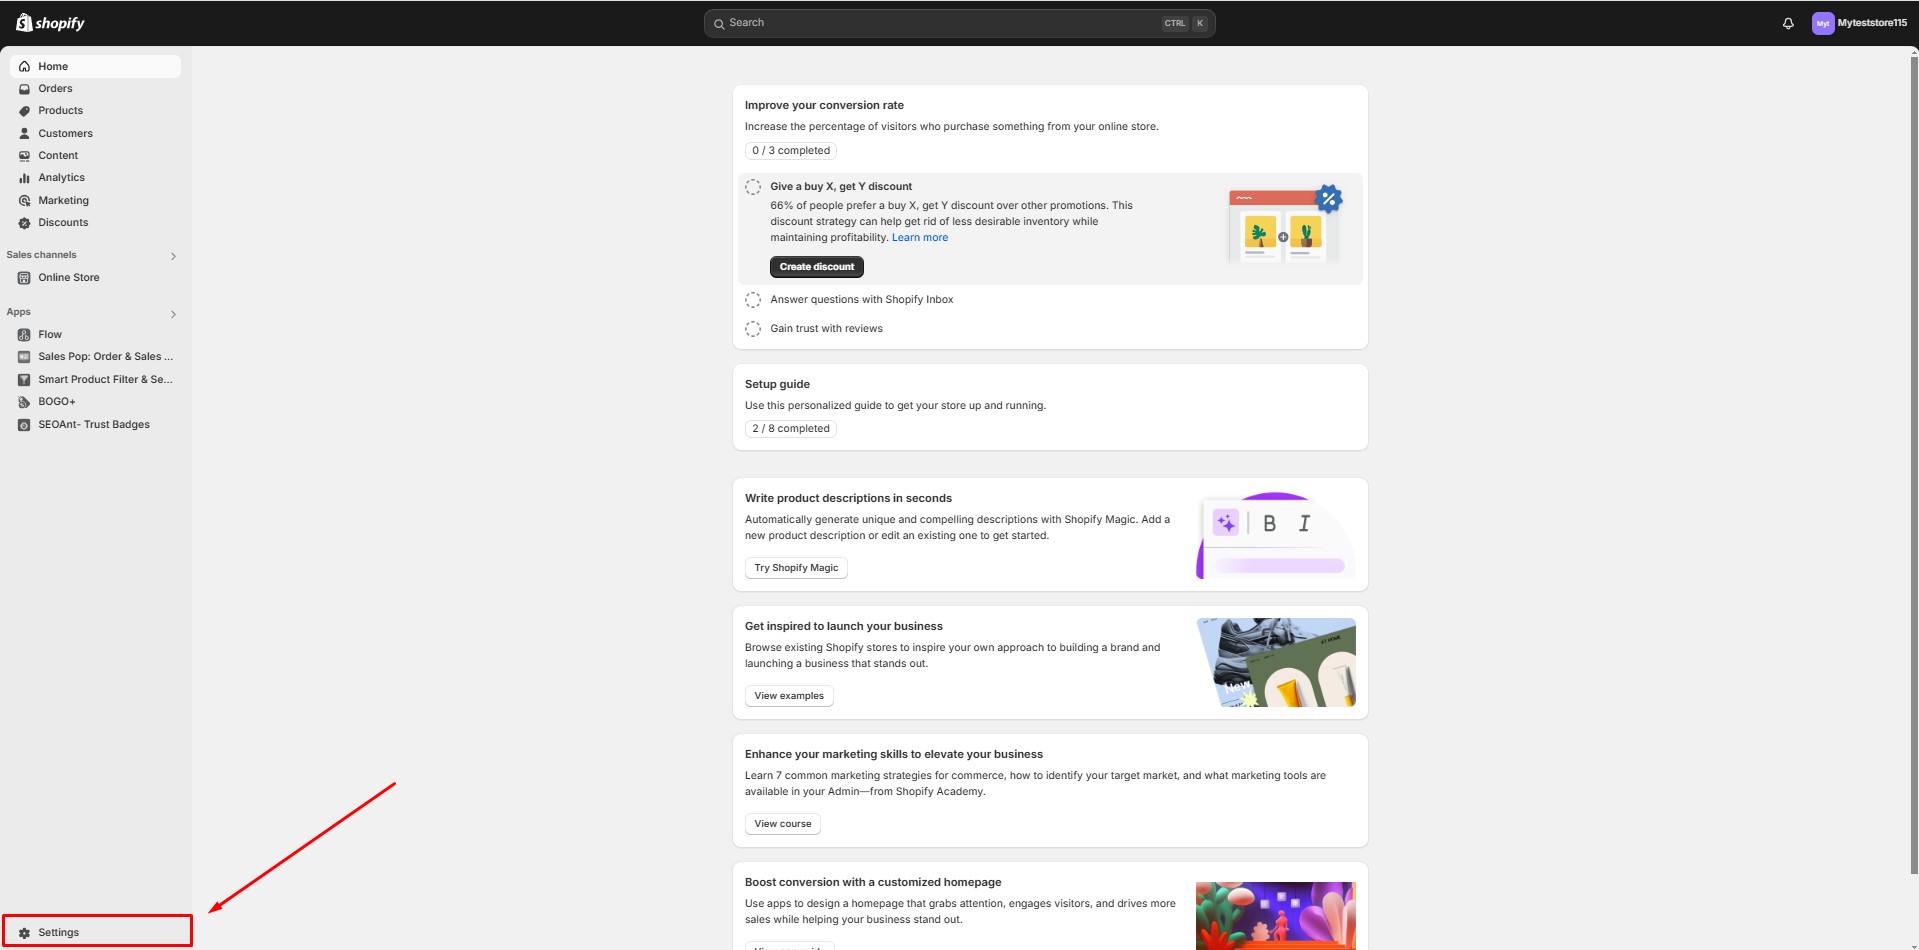
- Click Add Staff.
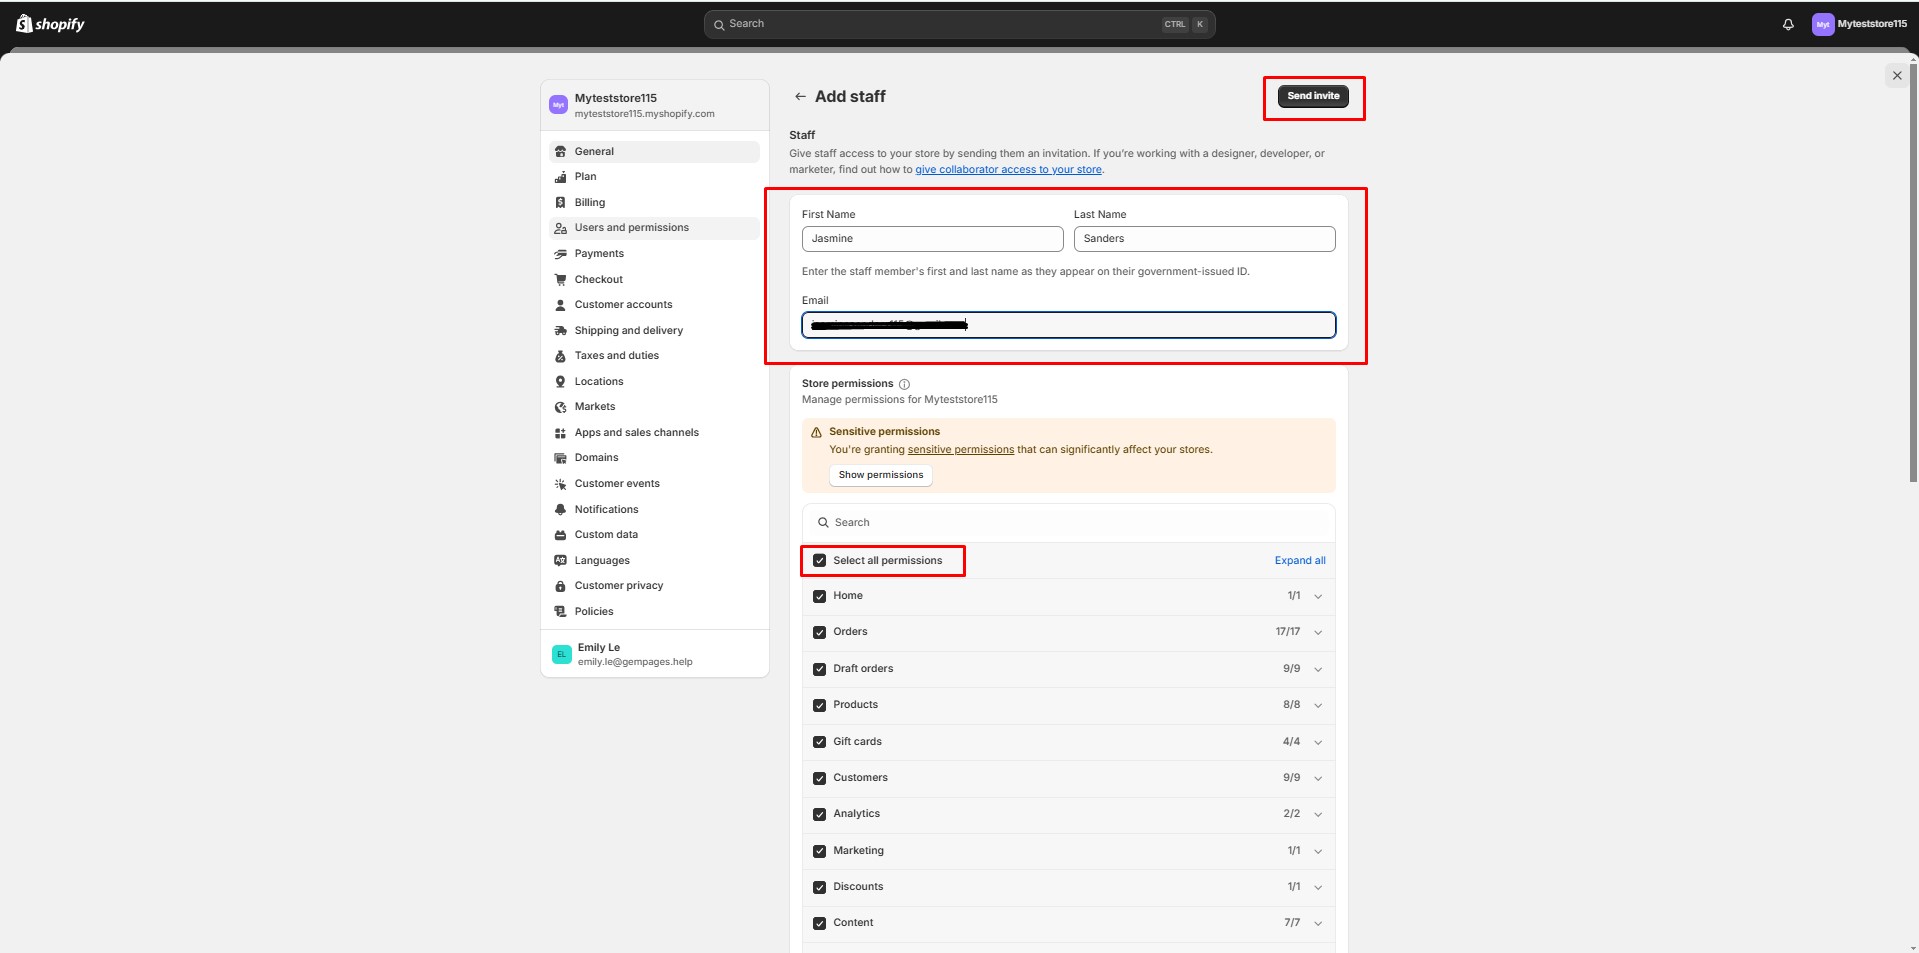
- Enter the author’s information and ensure they have appropriate permissions. Click Send Invite.
To change the author of an article:
- Go to Online store > Blog posts and click on the article.
- Under the Organization section, select an author from the available list.
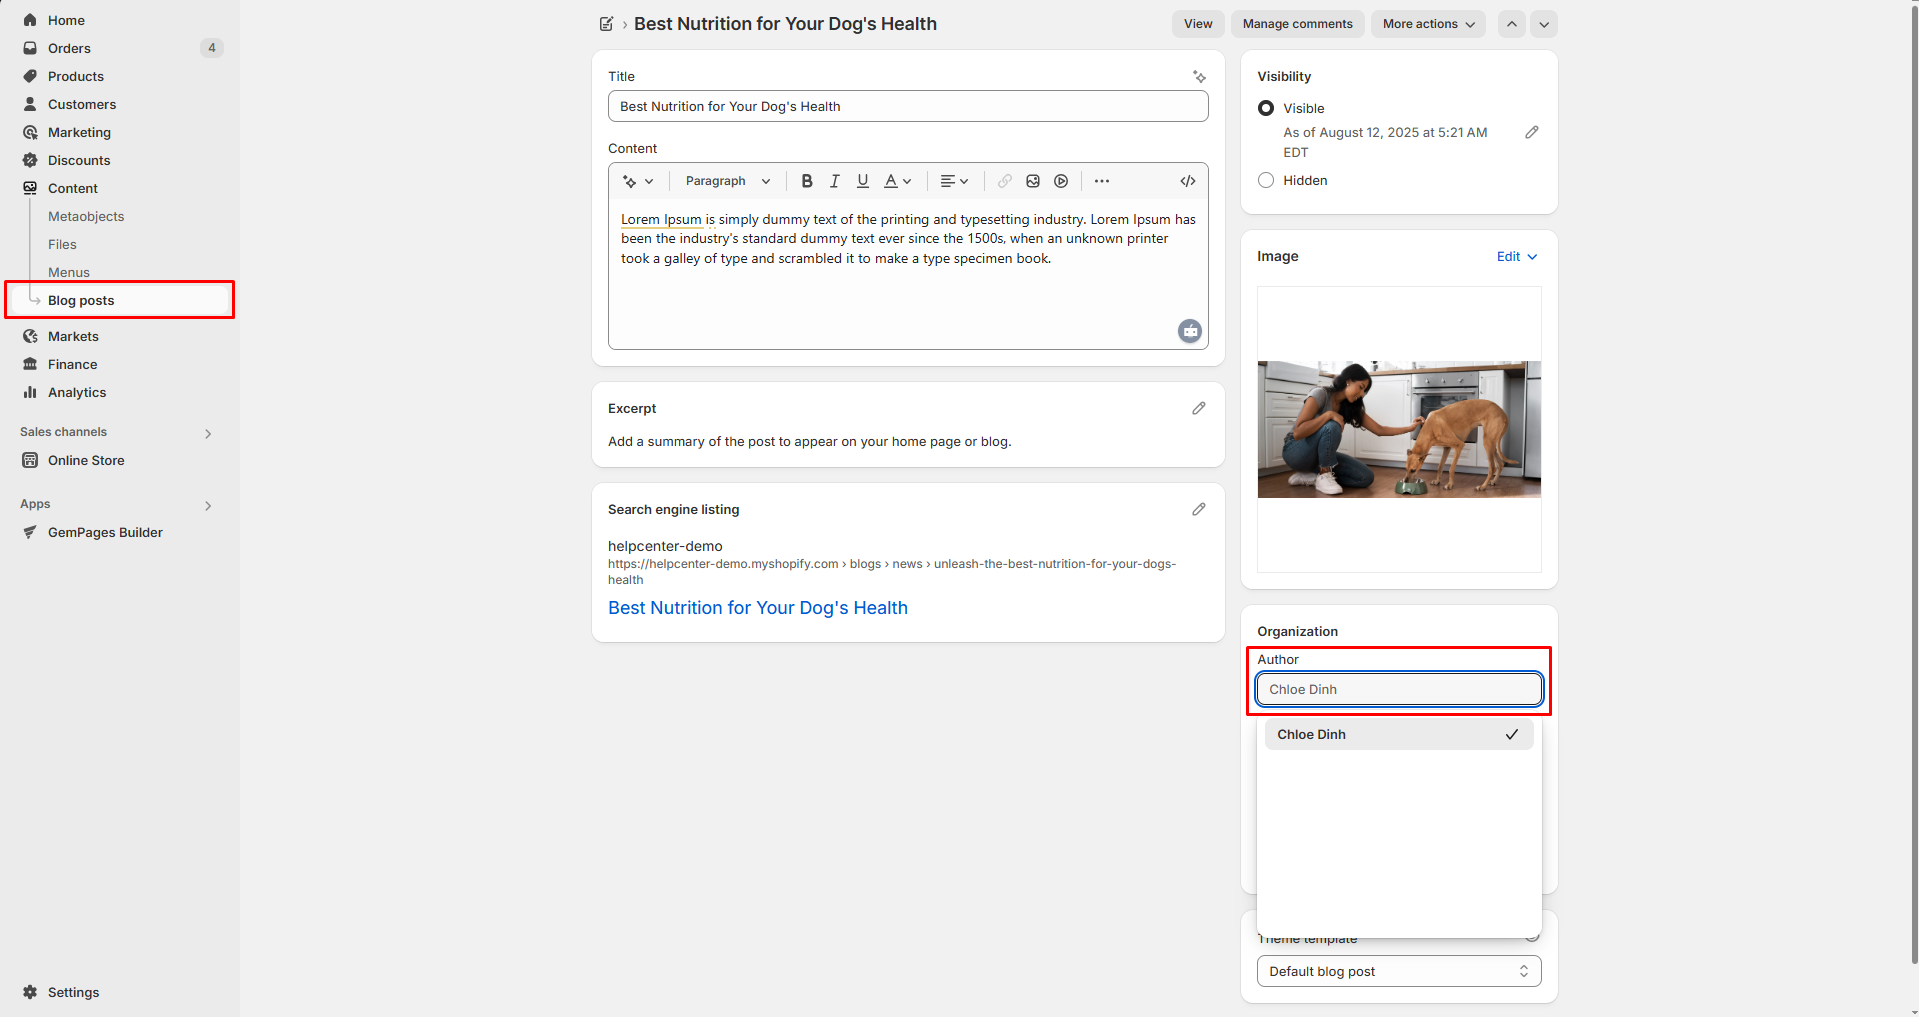
- Save your changes before you leave.
By ensuring the author details are set up in Shopify Admin, they will automatically reflect in your Article Author Element.
Add an Article Author Element to Your Page
Step 1: Access the GemPages Dashboard > Pages, then click on your target page to locate the editor.
Step 2: From the left sidebar, search for the Article Author Element and drag & drop it to the preferred position on your page.
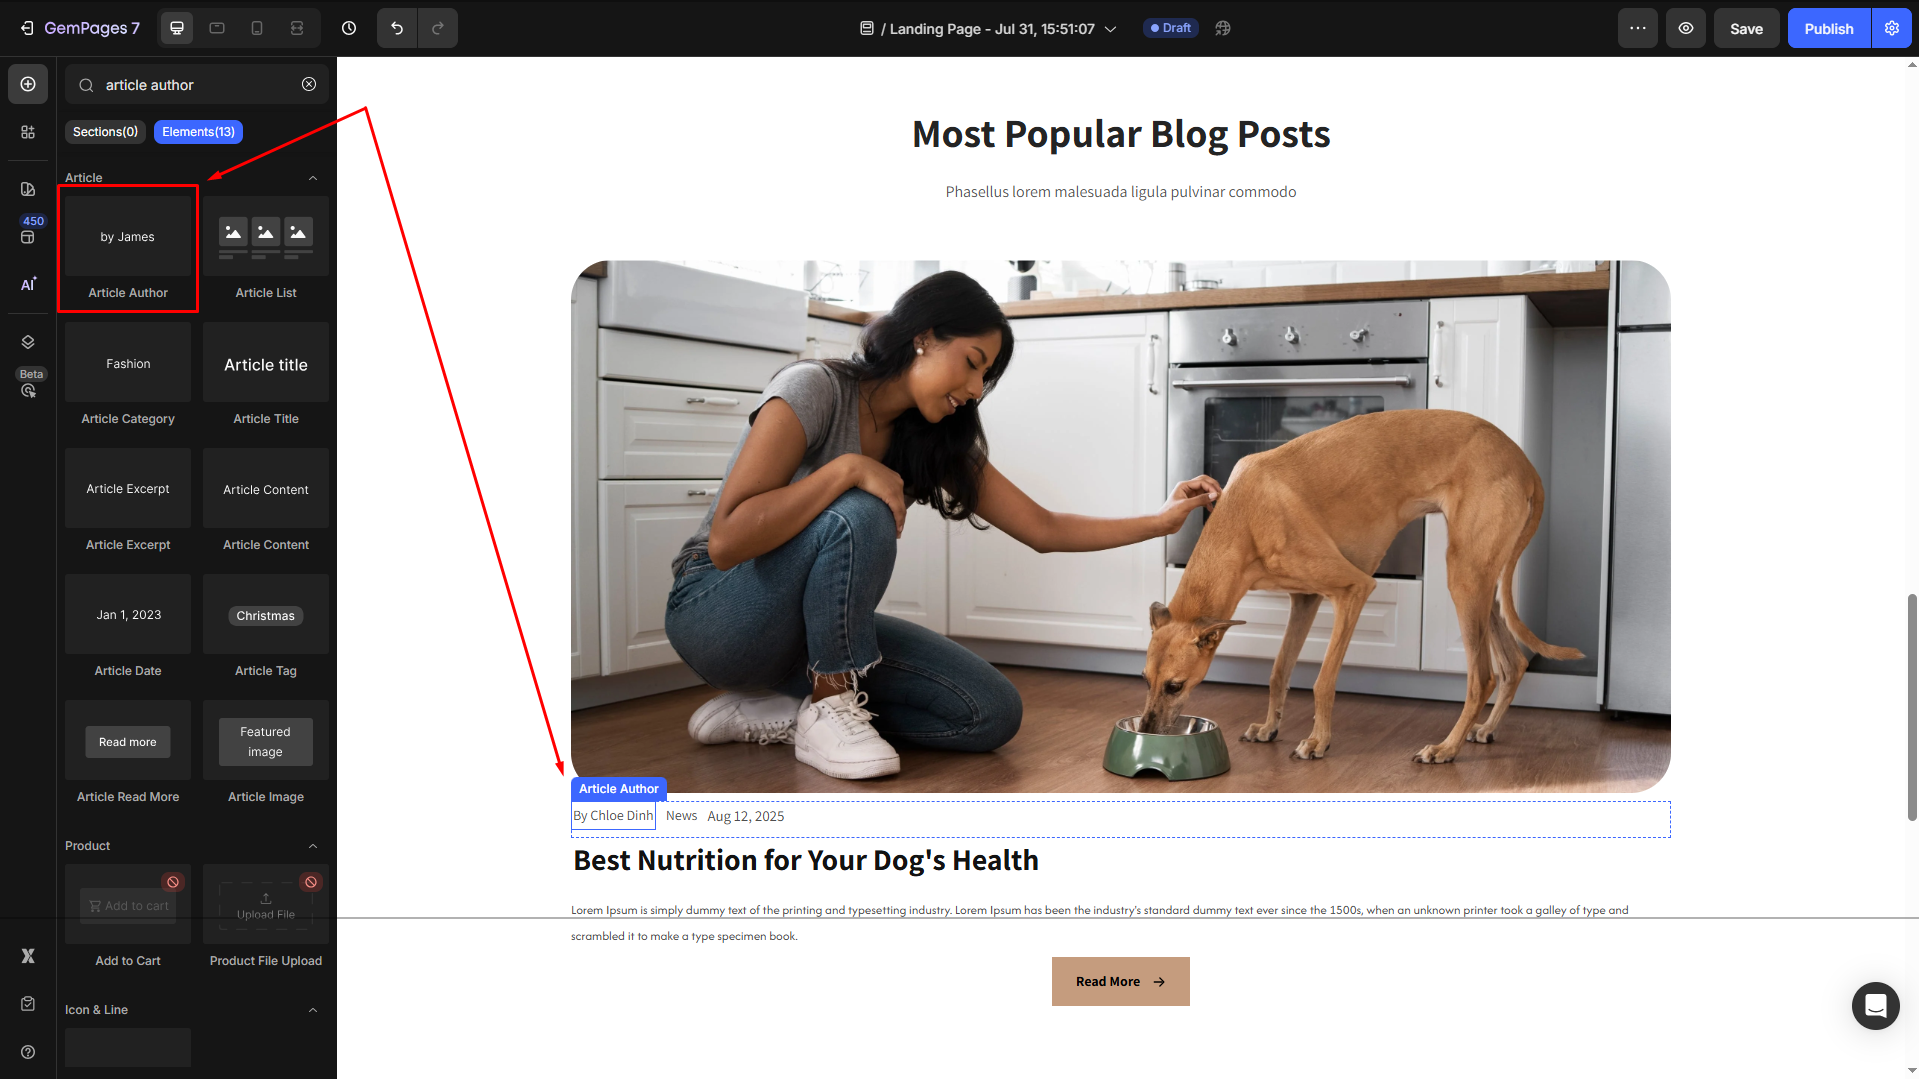
Step 3: Click on the element to open its settings for further customization.
Article Author Element Settings
To help you customize the Article Author Element for your design, here’s a breakdown of its key settings:

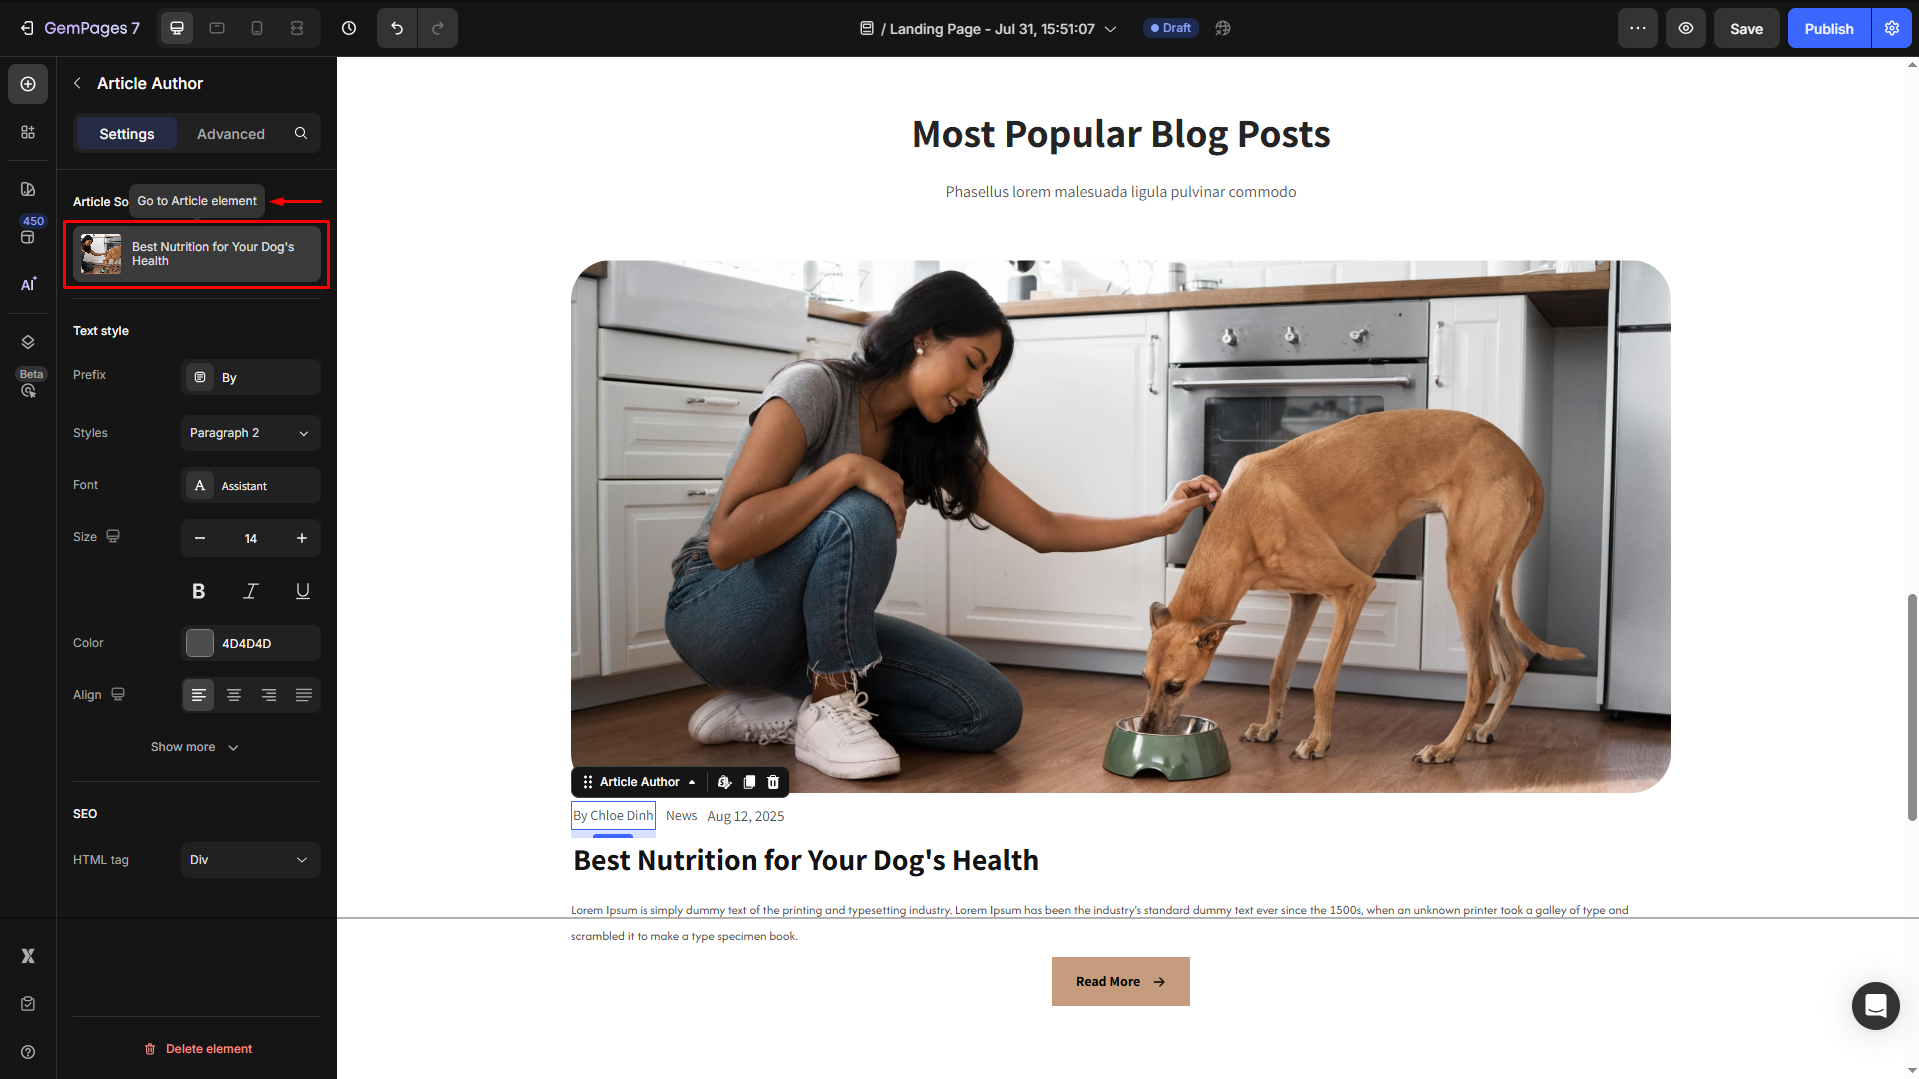
Article Source
Click on the box to configure the article sources in the Article List element.
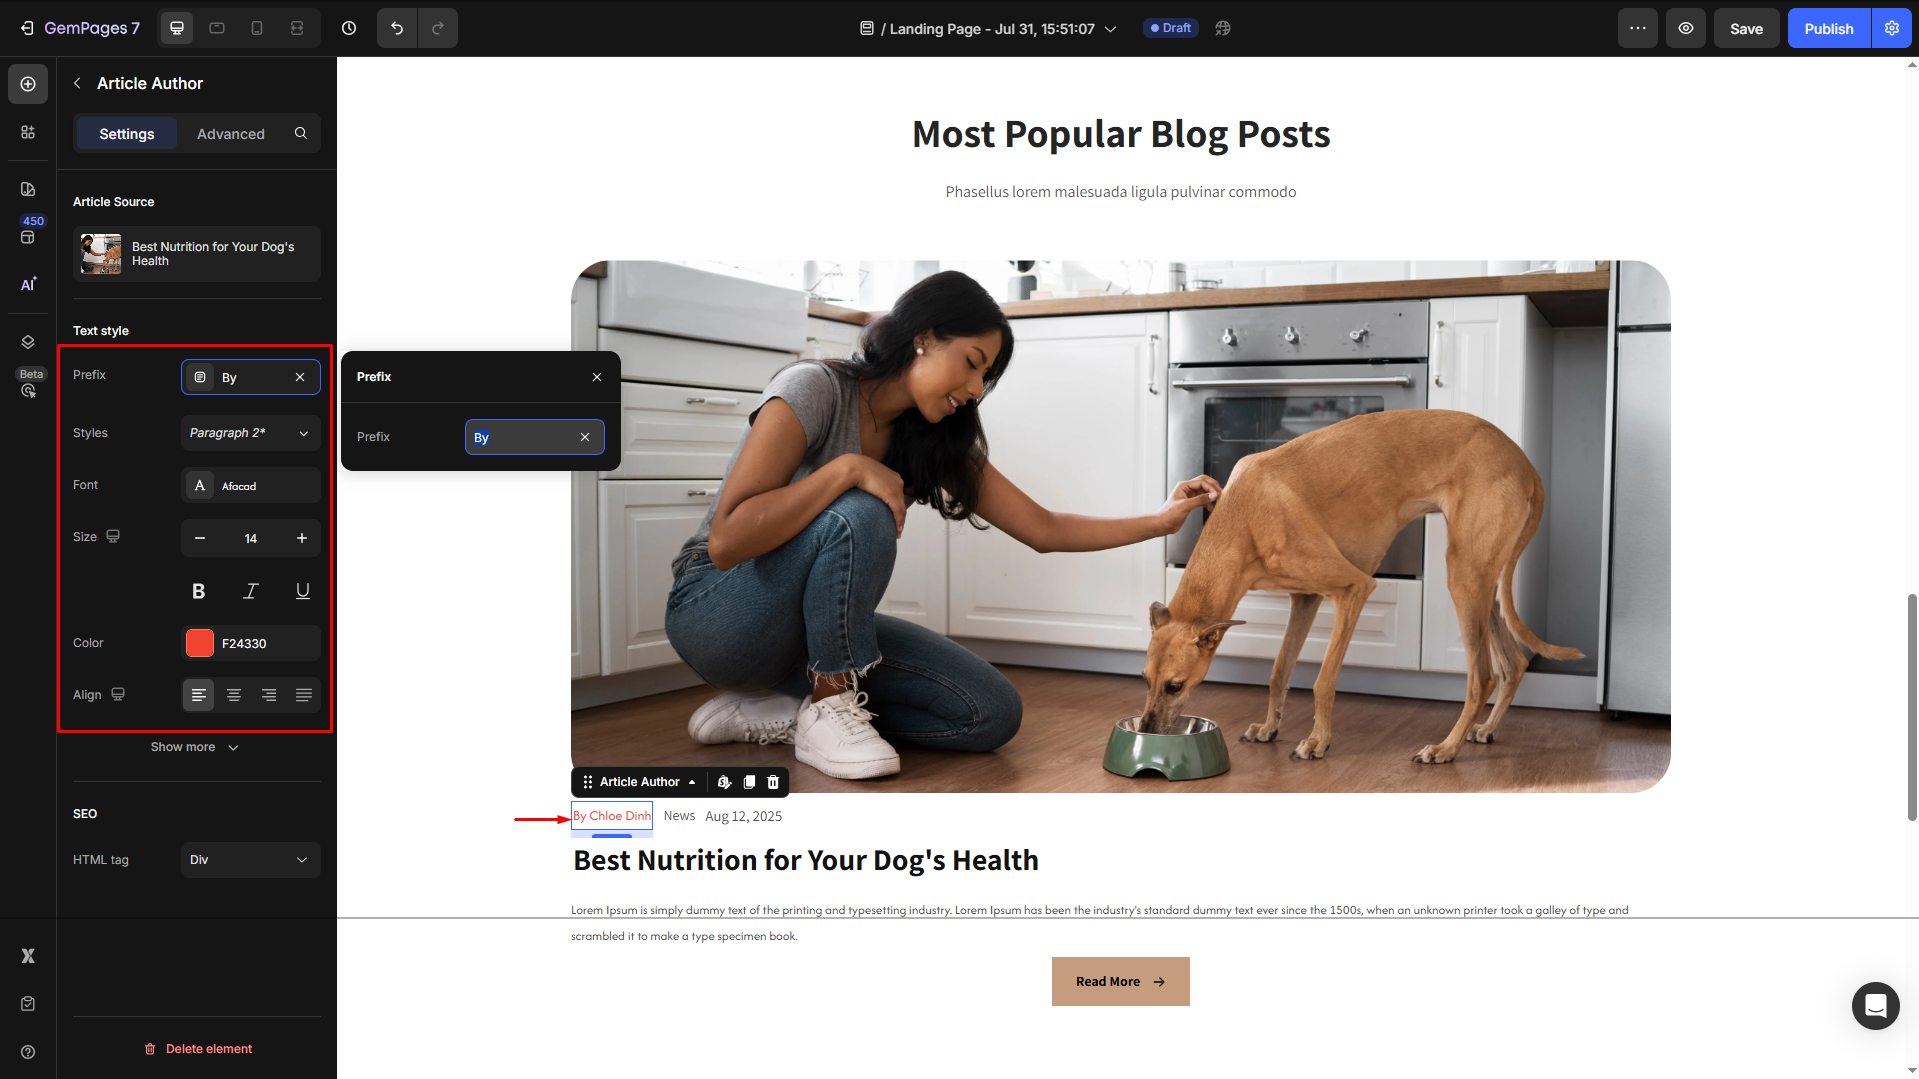
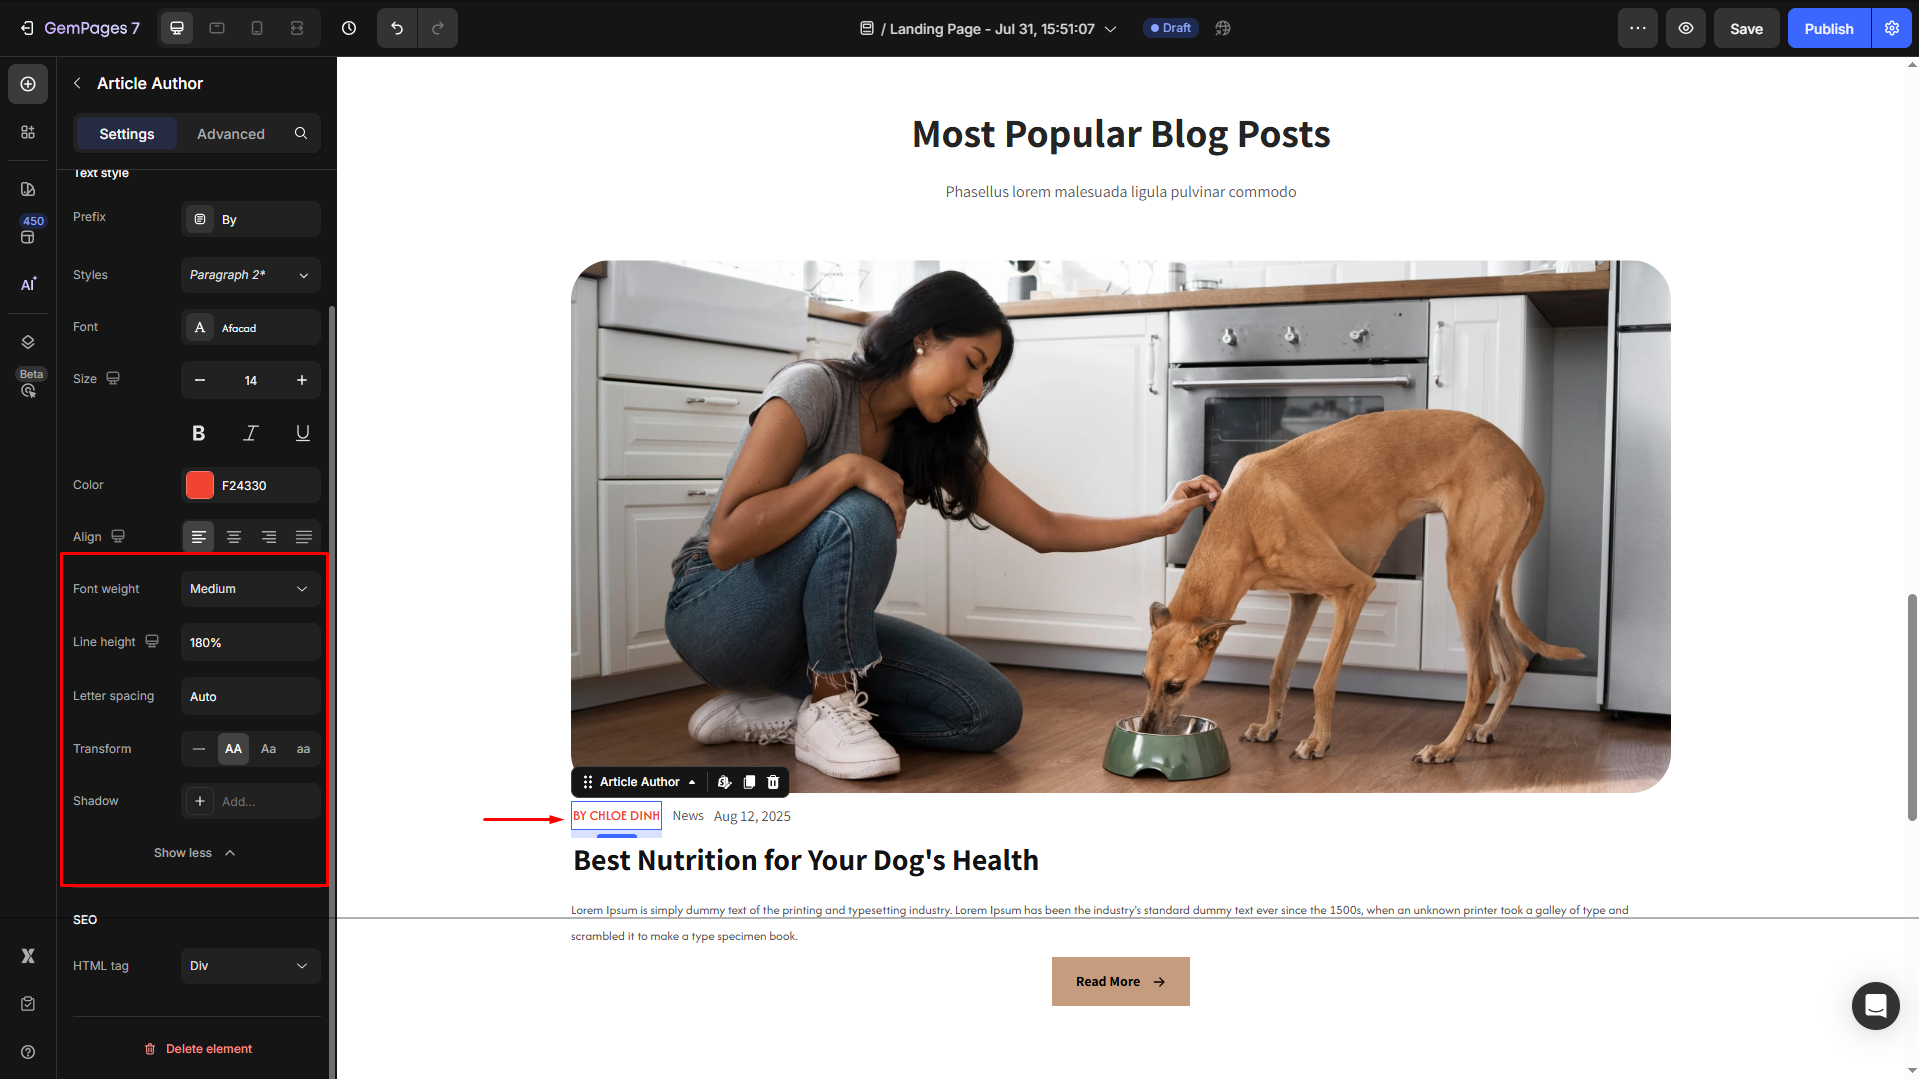
Text style
Configure the button text your way, including:
- Prefix: Add a prefix before the author’s name, such as “By,” to provide context.
- Style: Choose the heading.
- Font: Select a font style that matches your brand identity.
- Size: Adjust the font size to make the heading prominent.
- Color: Pick a color that complements your design.
- Align: Adjust your text alignment to left, center, right, or justify.
Click Show more to expand the full settings in the Text style section:
- Font Weight: Control how thick or thin the text appears.
- Line Height: Adjust the space between lines for better readability.
- Letter Spacing: Create a more modern or compact look by changing the space between letters.
- Transform: Convert the text to uppercase, lowercase, or capitalize the first letter of each word.
- Shadow: Add a text shadow to give your headings depth.
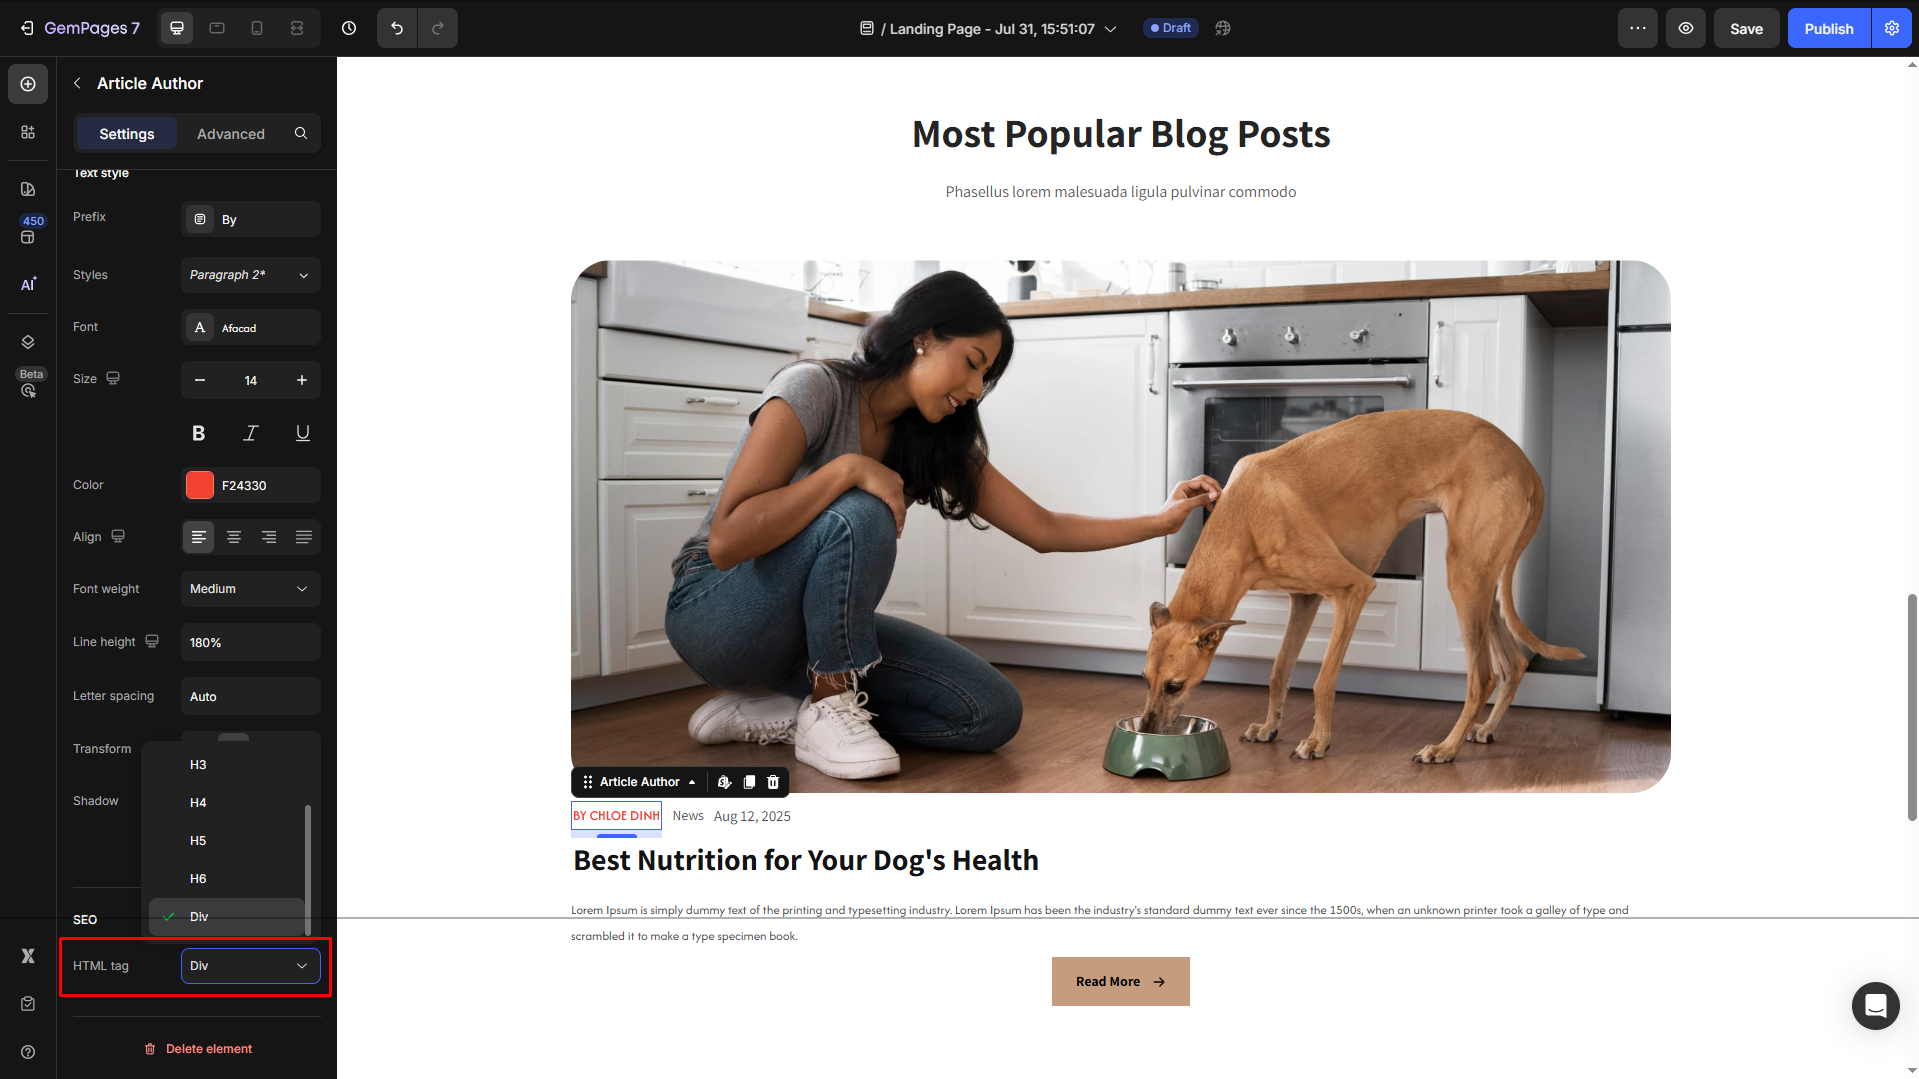
SEO
HTML Tag: Optimize your page’s SEO by selecting the appropriate HTML tag for the title.
- H1–H6: Use semantic heading structure to improve search engine rankings.
- Div: For non-semantic purposes, the title doesn’t need to be indexed as a heading.
Configure the Advanced tab
For more advanced customization, please navigate to the Advanced tab and follow the instructions in this article.


Thank you for your comments