


About the Custom Code element
The Custom Code element in GemPages Editor V7 gives you the flexibility to add your own HTML, CSS, JavaScript, and Liquid code right into your page. It’s a powerful element that lets you:
- Customize with ease: Add unique design elements or interactive features that regular GemPages elements don’t support.
- Easily integrate third-party apps: Embed external apps, widgets, tracking codes, or scripts into your Shopify store without complicated coding.
- Boost store features: Add custom behaviors and interactions to improve how your store looks and works for your customers.
Add a Custom Code element to your page
Follow these simple steps to insert the Custom Code element:
Step 1: Access the GemPages Dashboard, then select your target page to open the editor.
Step 2: Drag & drop the Custom Code element from the left sidebar, under the Advanced section, to the desired area.
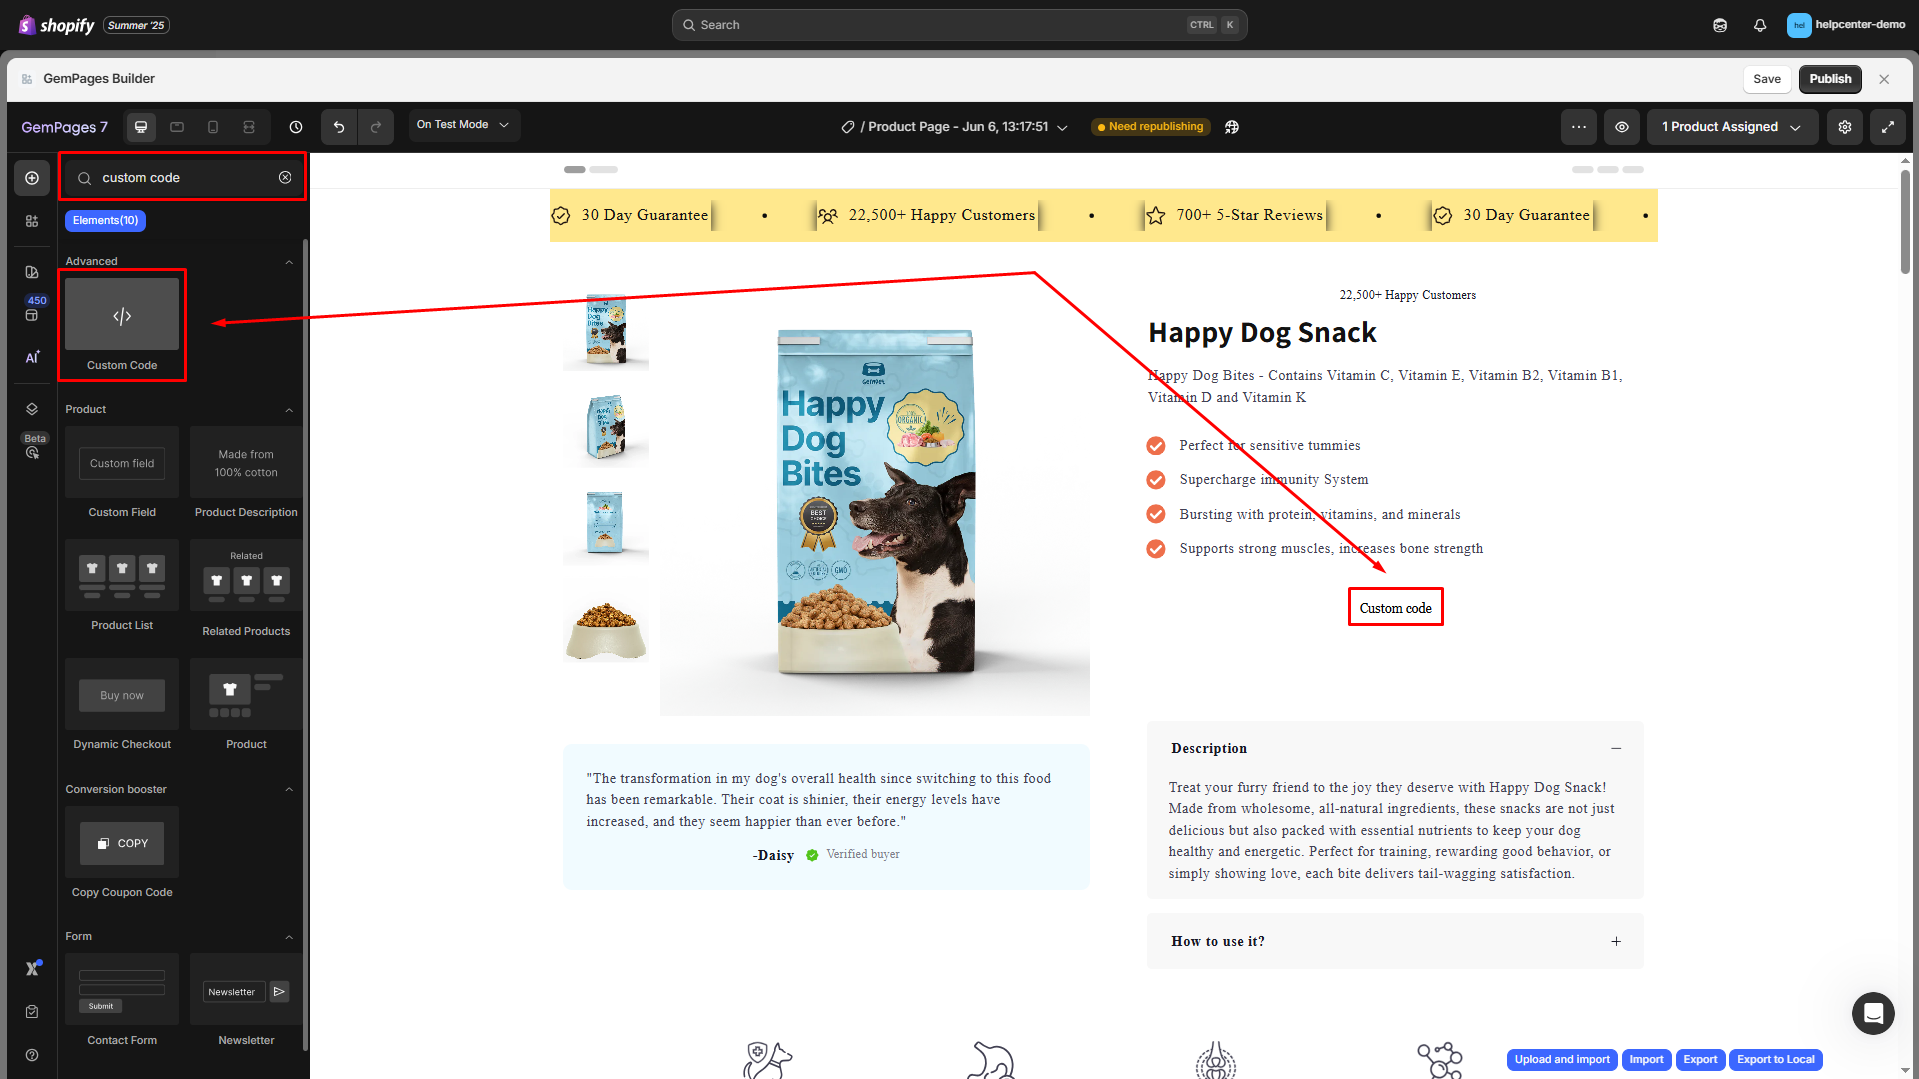
Click on the element to reveal the configuration, including the Settings tab and Advanced tab.
Configure the Settings Tab
The Settings tab allows you to configure how your Custom Code element behaves and appears on the page. Here’s how each section works:
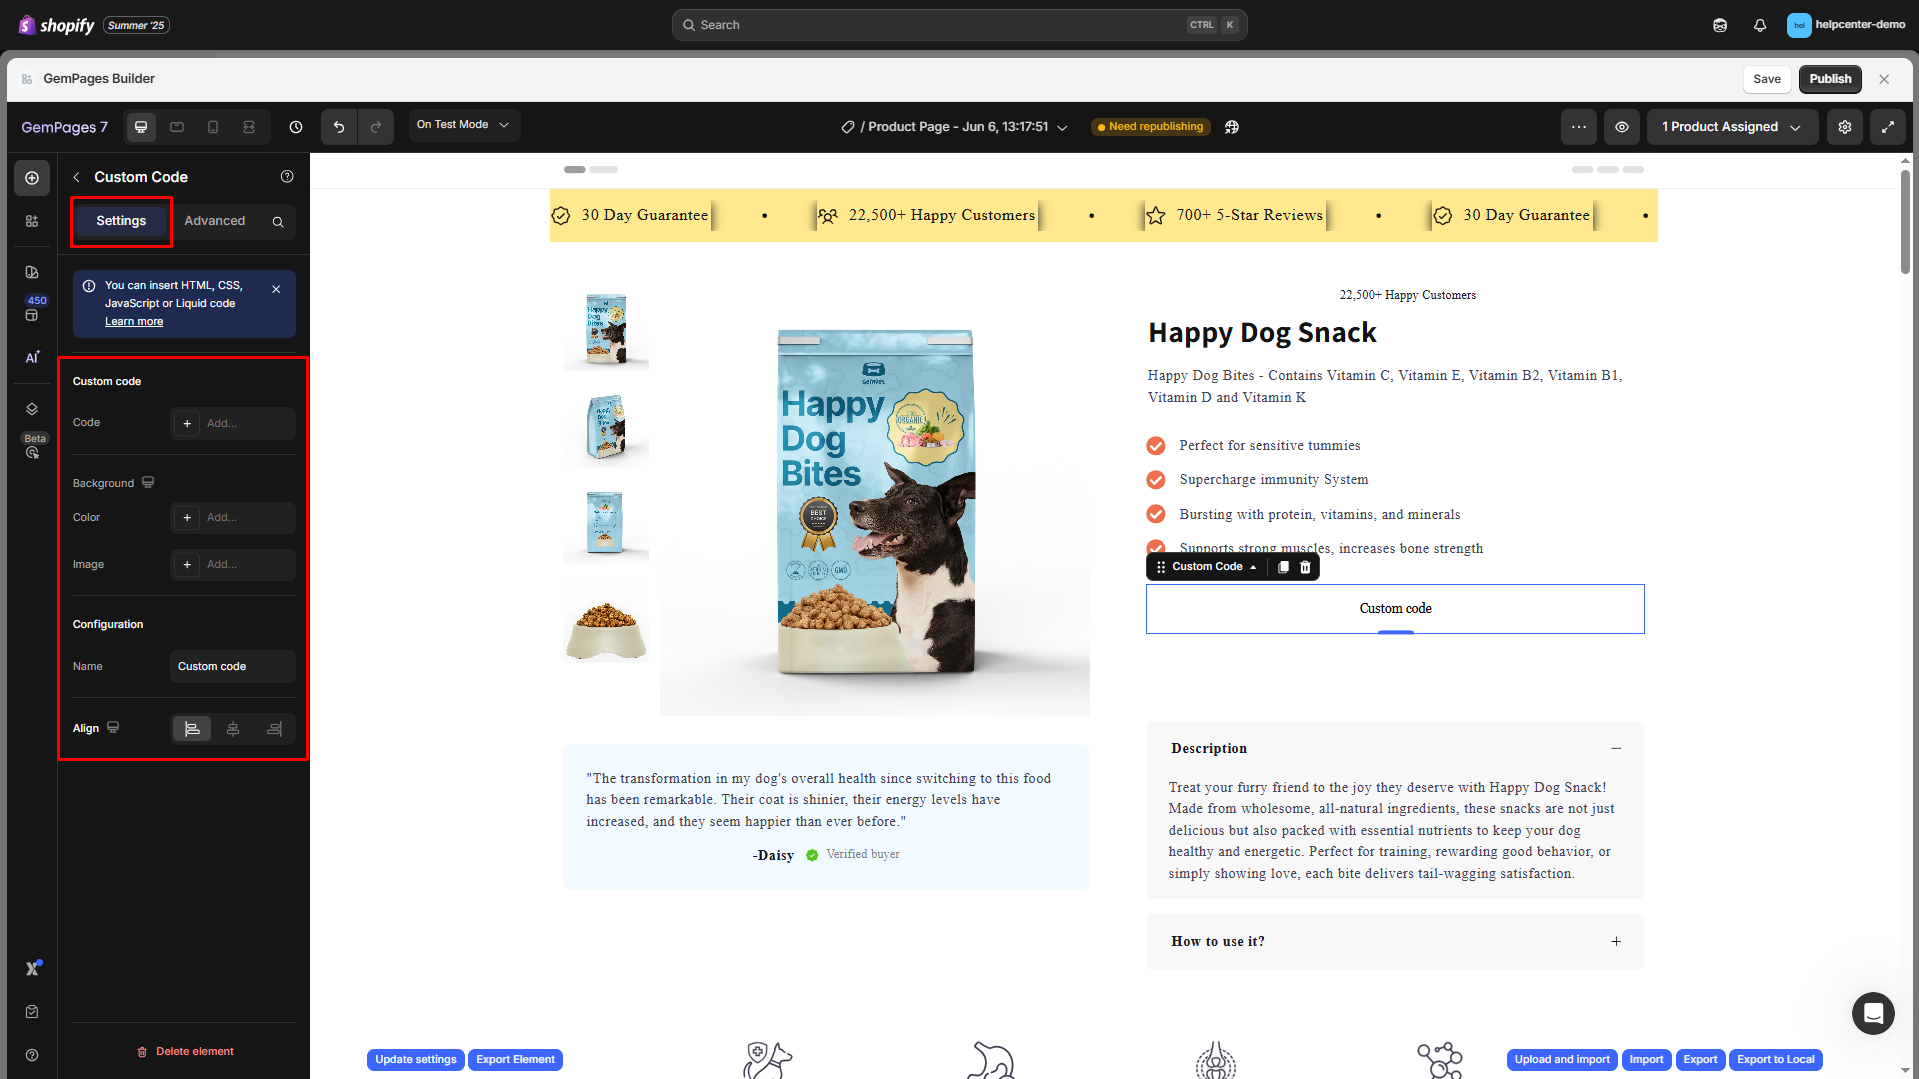
Code
Insert your own custom code by clicking the “+ Add…” button. A Code Editor dialog will be displayed where you can input HTML/Liquid, CSS, or JavaScript snippet code.
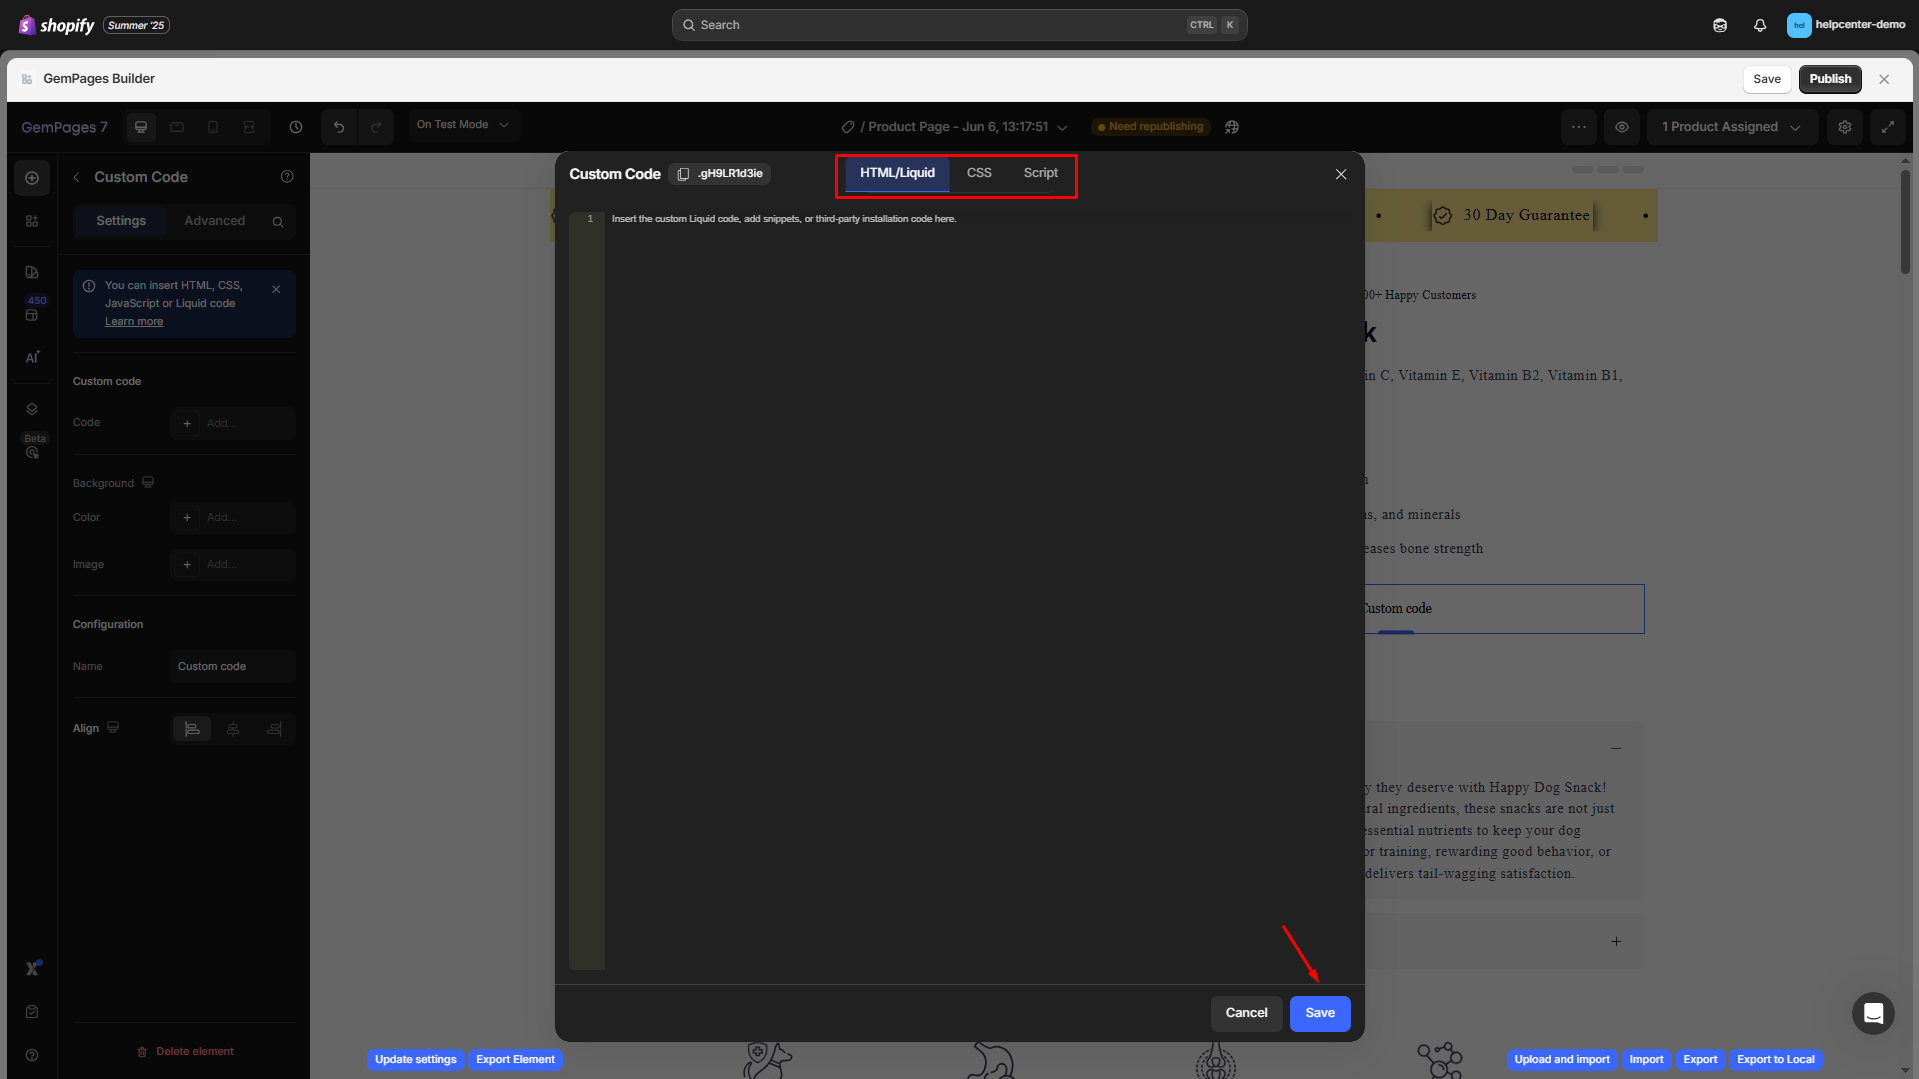
Once done, hit the Save button.
Note: In the HTML tab, you can also insert the 3rd-party installation code to display content.
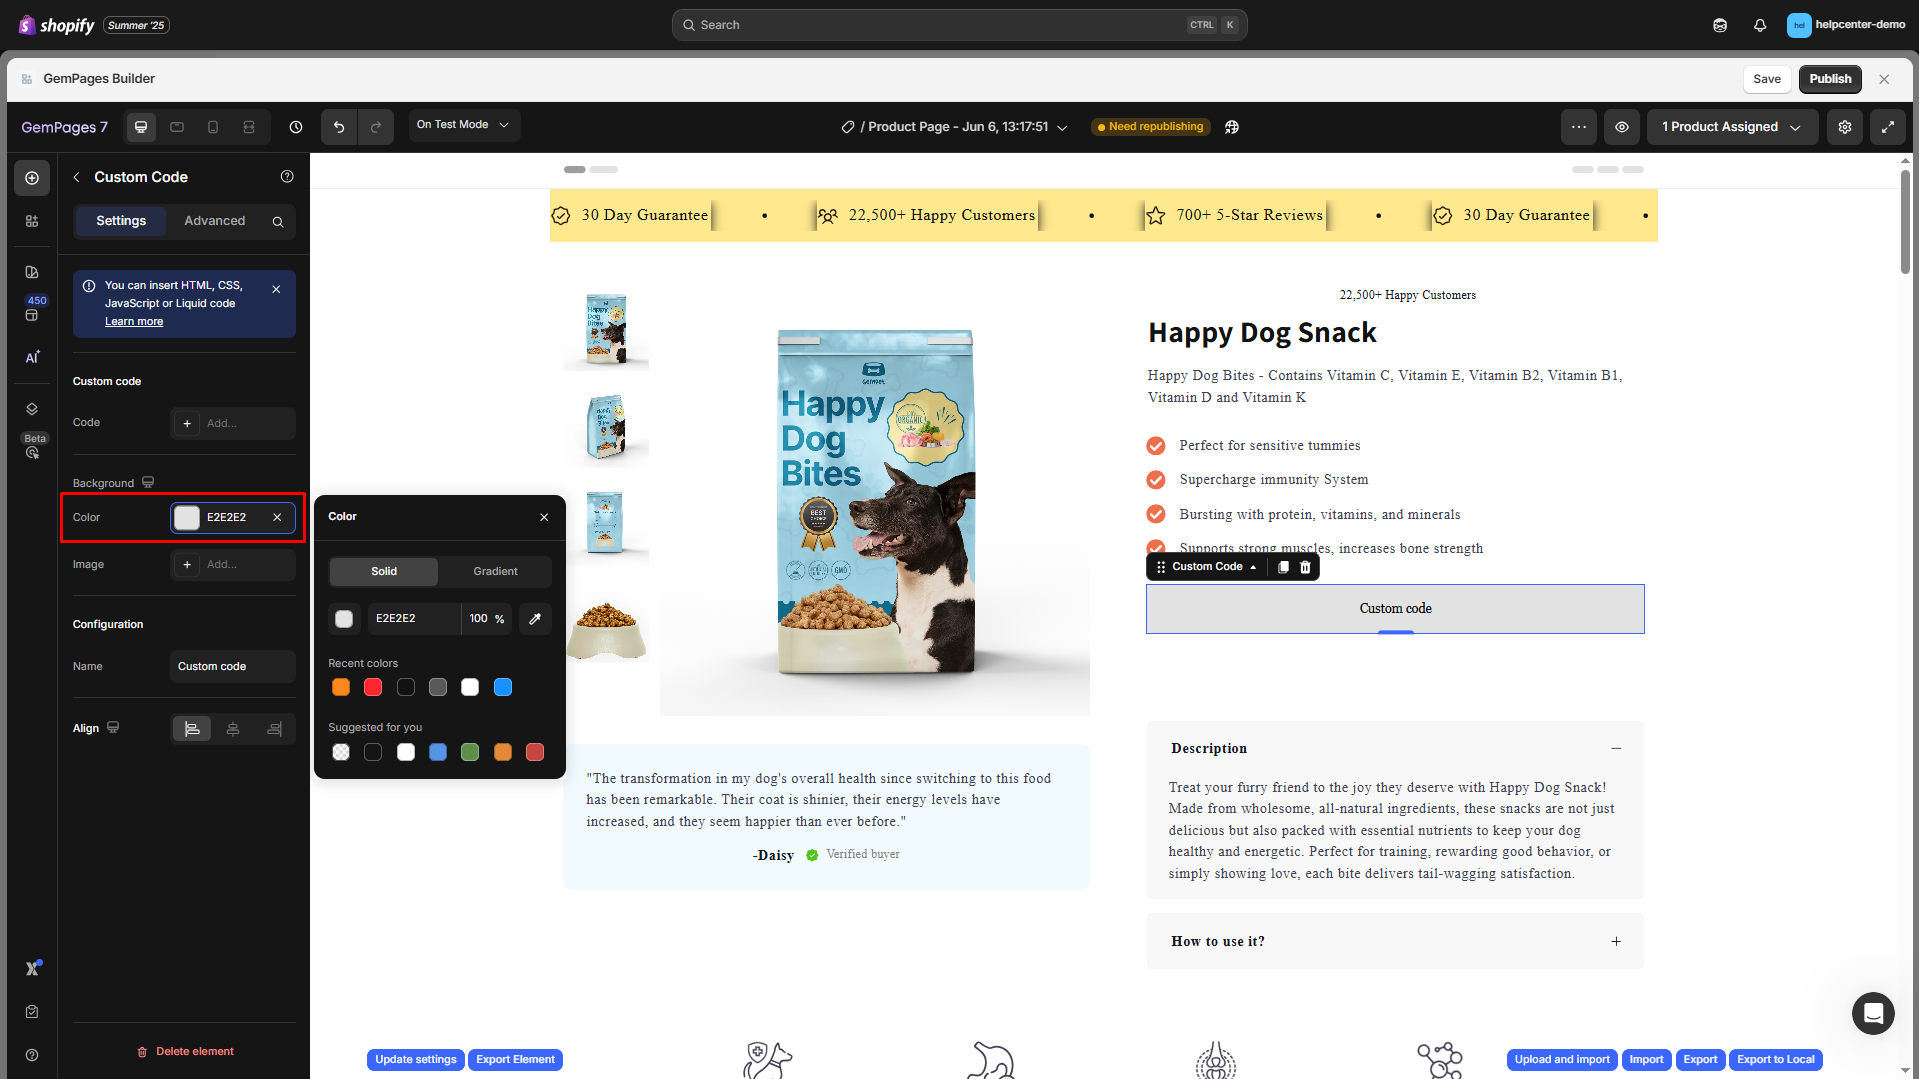
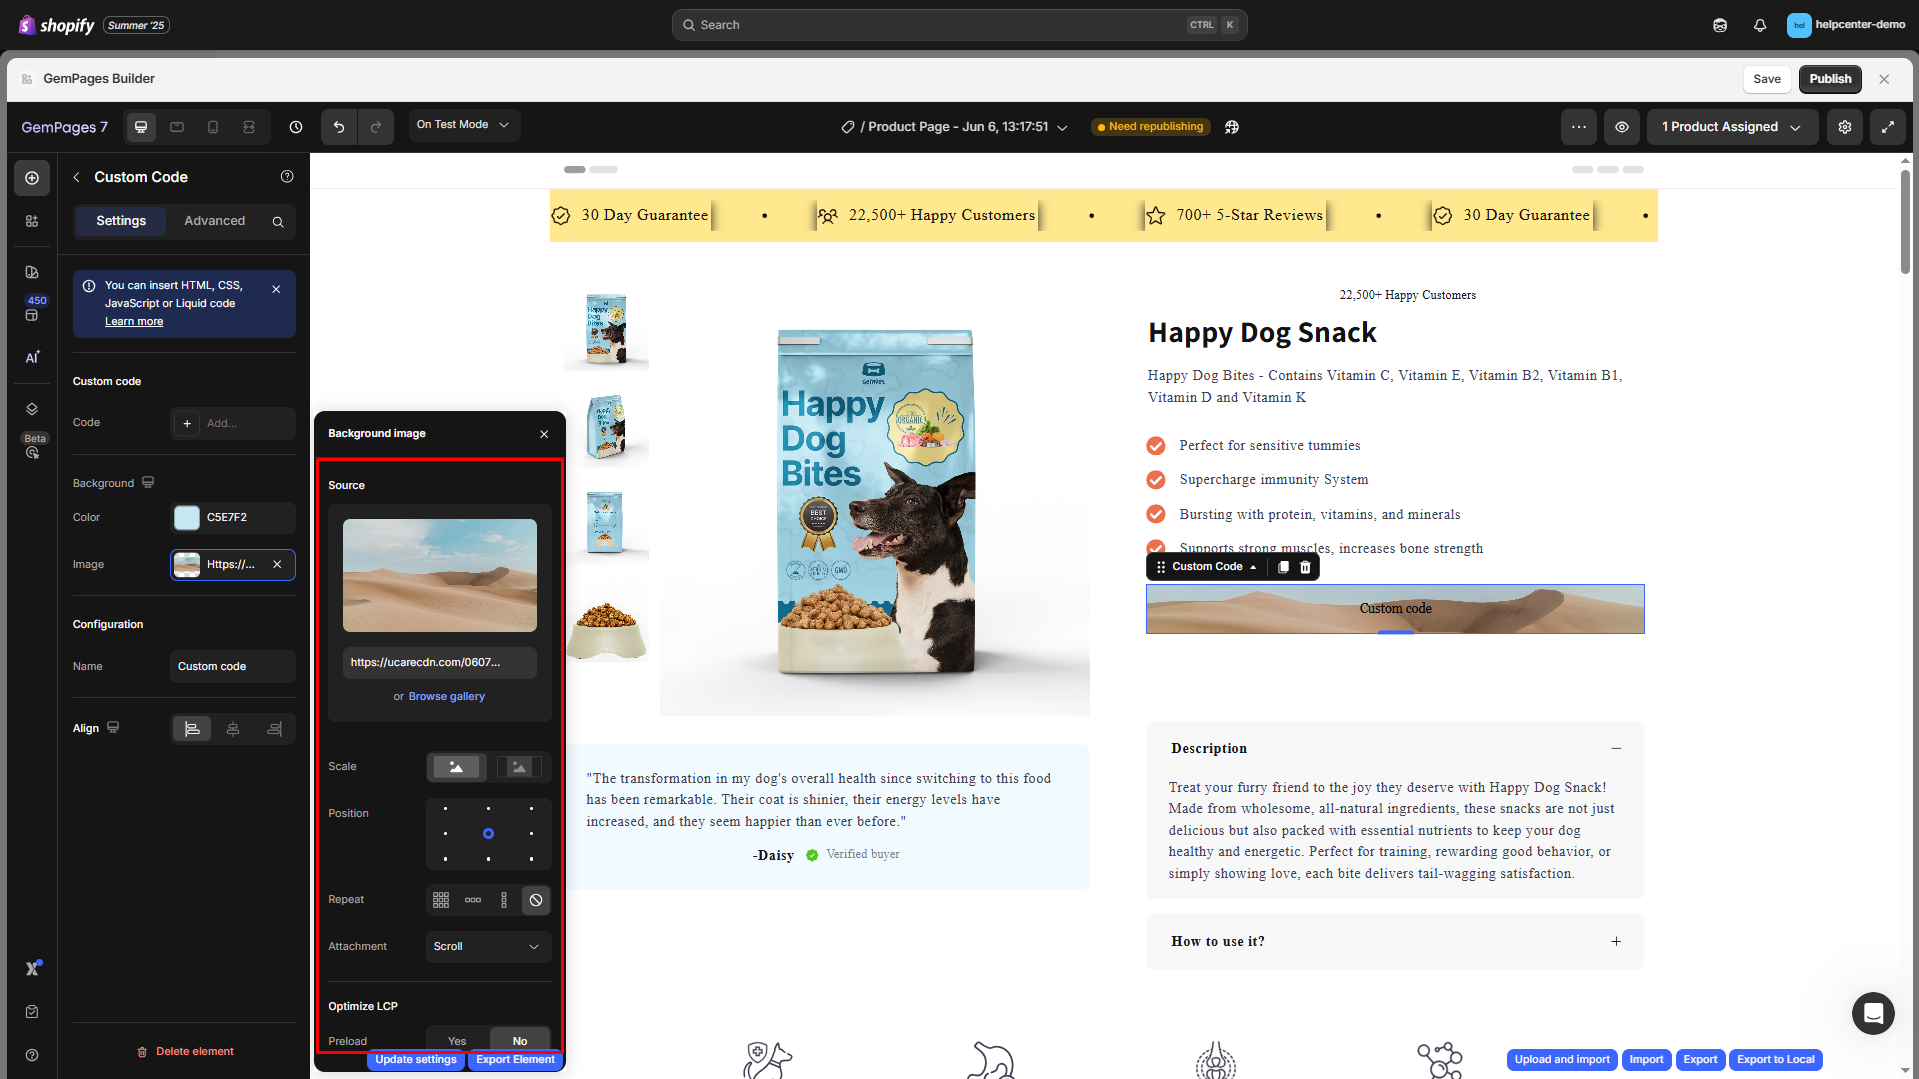
Background
In the Background section, you have the option to modify the visual appearance by selecting a color from the provided palette or inserting a background image.
Color
Choose a solid or gradient color to apply as the background of the element. You can:
- Manually input a HEX code (e.g., #E2E2E2)
- Pick from recent or suggested colors
- Adjust opacity using the percentage slider
Image
Use this option to add a background image if needed.
Click “+ Add…” in the Image section to upload or select a background image.
Once an image is added, you’ll have advanced configuration options:
- Source: Displays the image URL or lets you select from the media gallery.
- Scale: Choose how the image scales within the block (e.g., Cover, Contain, Auto).
- Position: Set the focal point (center, top-left, bottom-right, etc.).
- Repeat: Define if and how the image repeats (No repeat, Repeat, Repeat-X/Y).
- Attachment: Set image scroll behavior (Scroll or Fixed).
- Optimize LCP (Largest Contentful Paint): Recommends the browser to prioritize this image for performance, select Preload = Yes if this element loads above the fold.
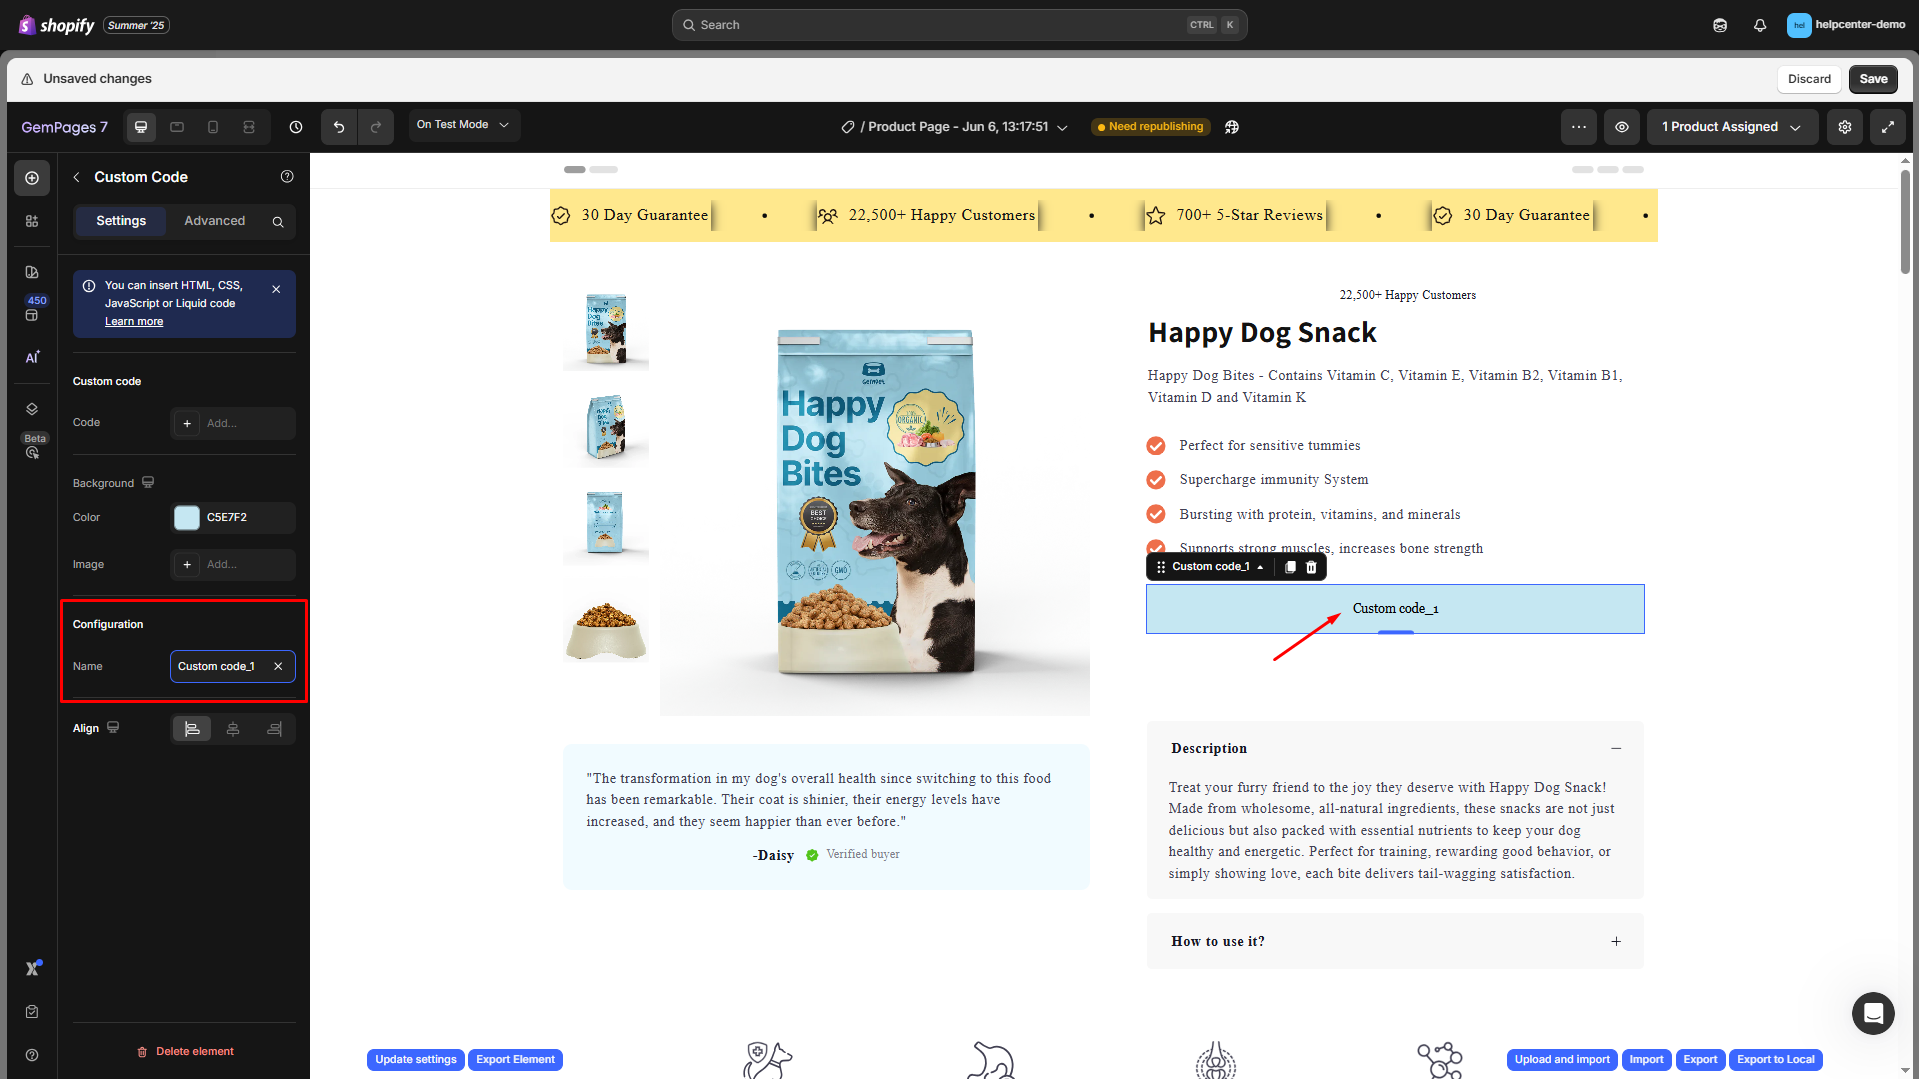
Name
Rename your element for easy identification in the editor, especially useful for complex layouts or multi-section pages.
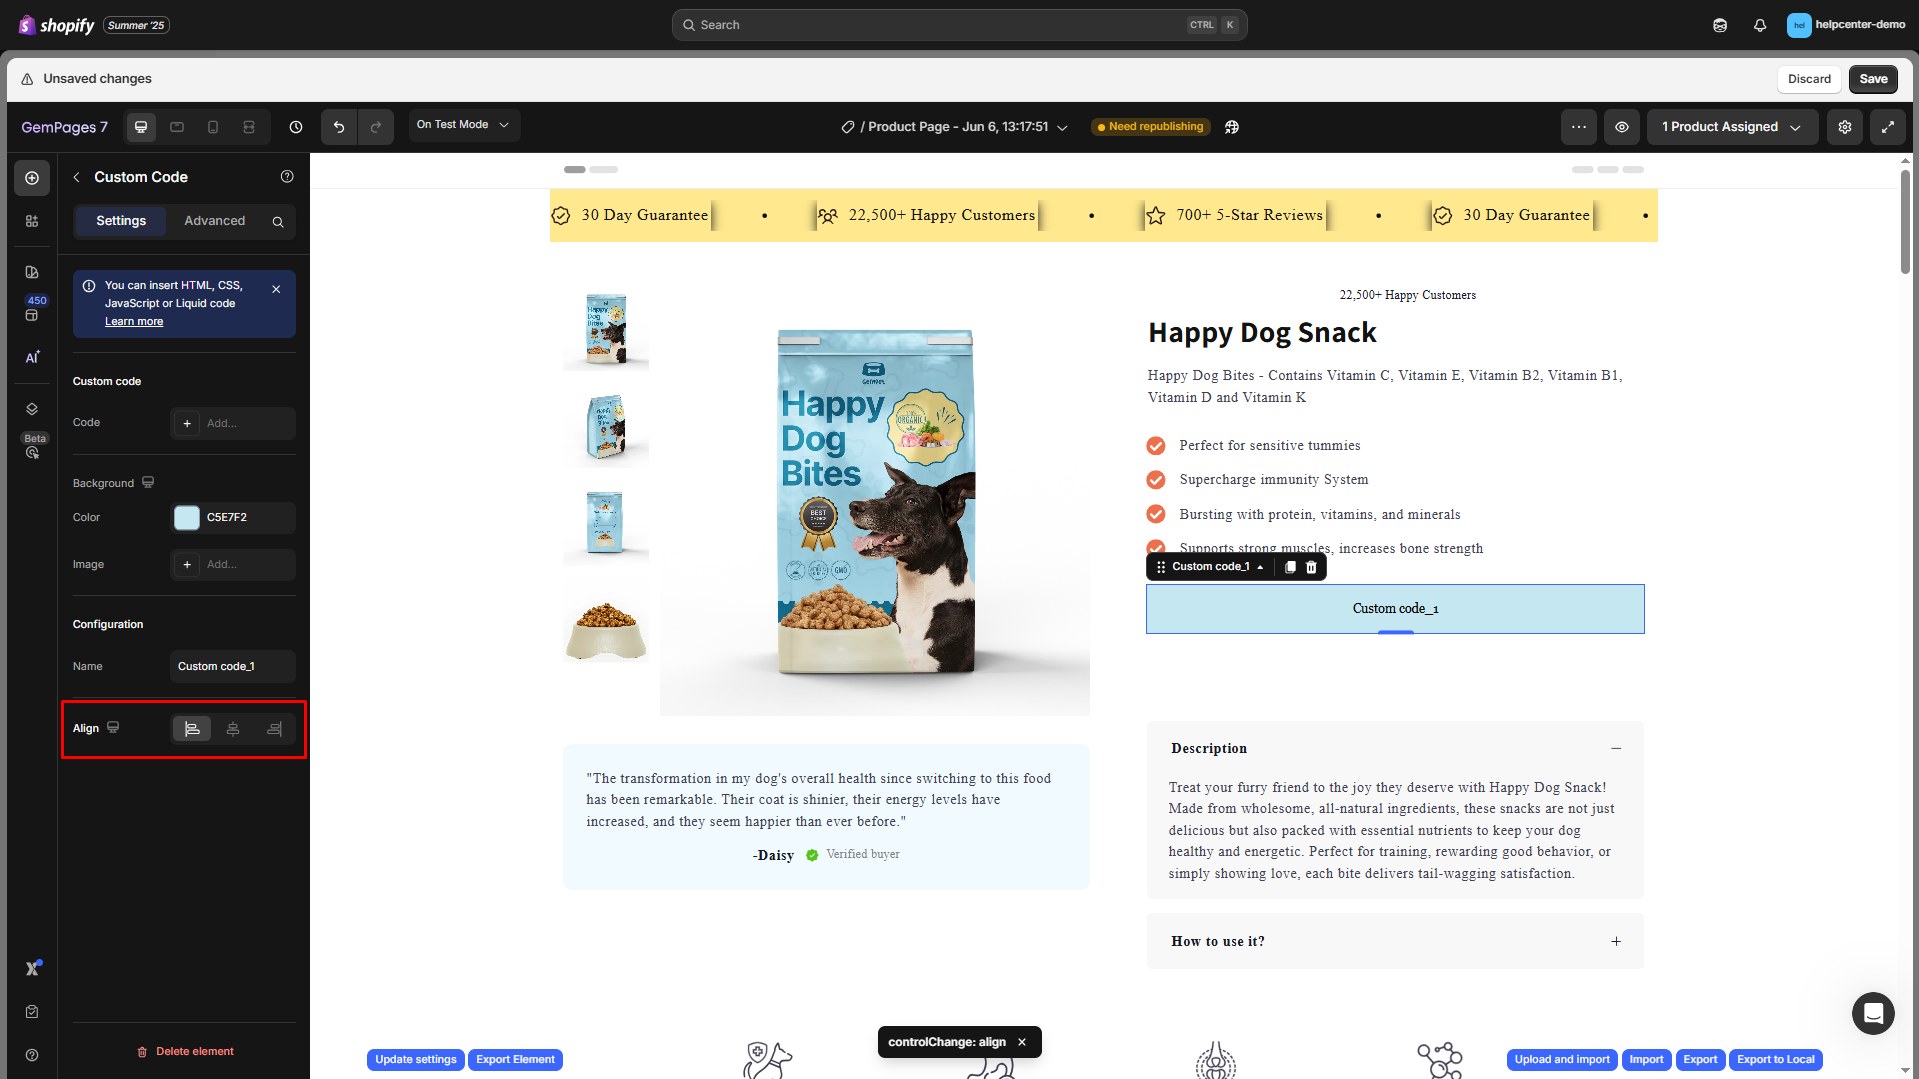
Align
This parameter allows you to determine how the element is positioned on your page. There are three options to choose from: left-aligned, centered, and right-aligned.
Configure the Advanced Tab
For more advanced customization, please navigate to the Advanced tab and follow the instructions in this article.
Step 1: Find the GemPages element where you want to apply custom code, then right-click and select “Custom Code”.
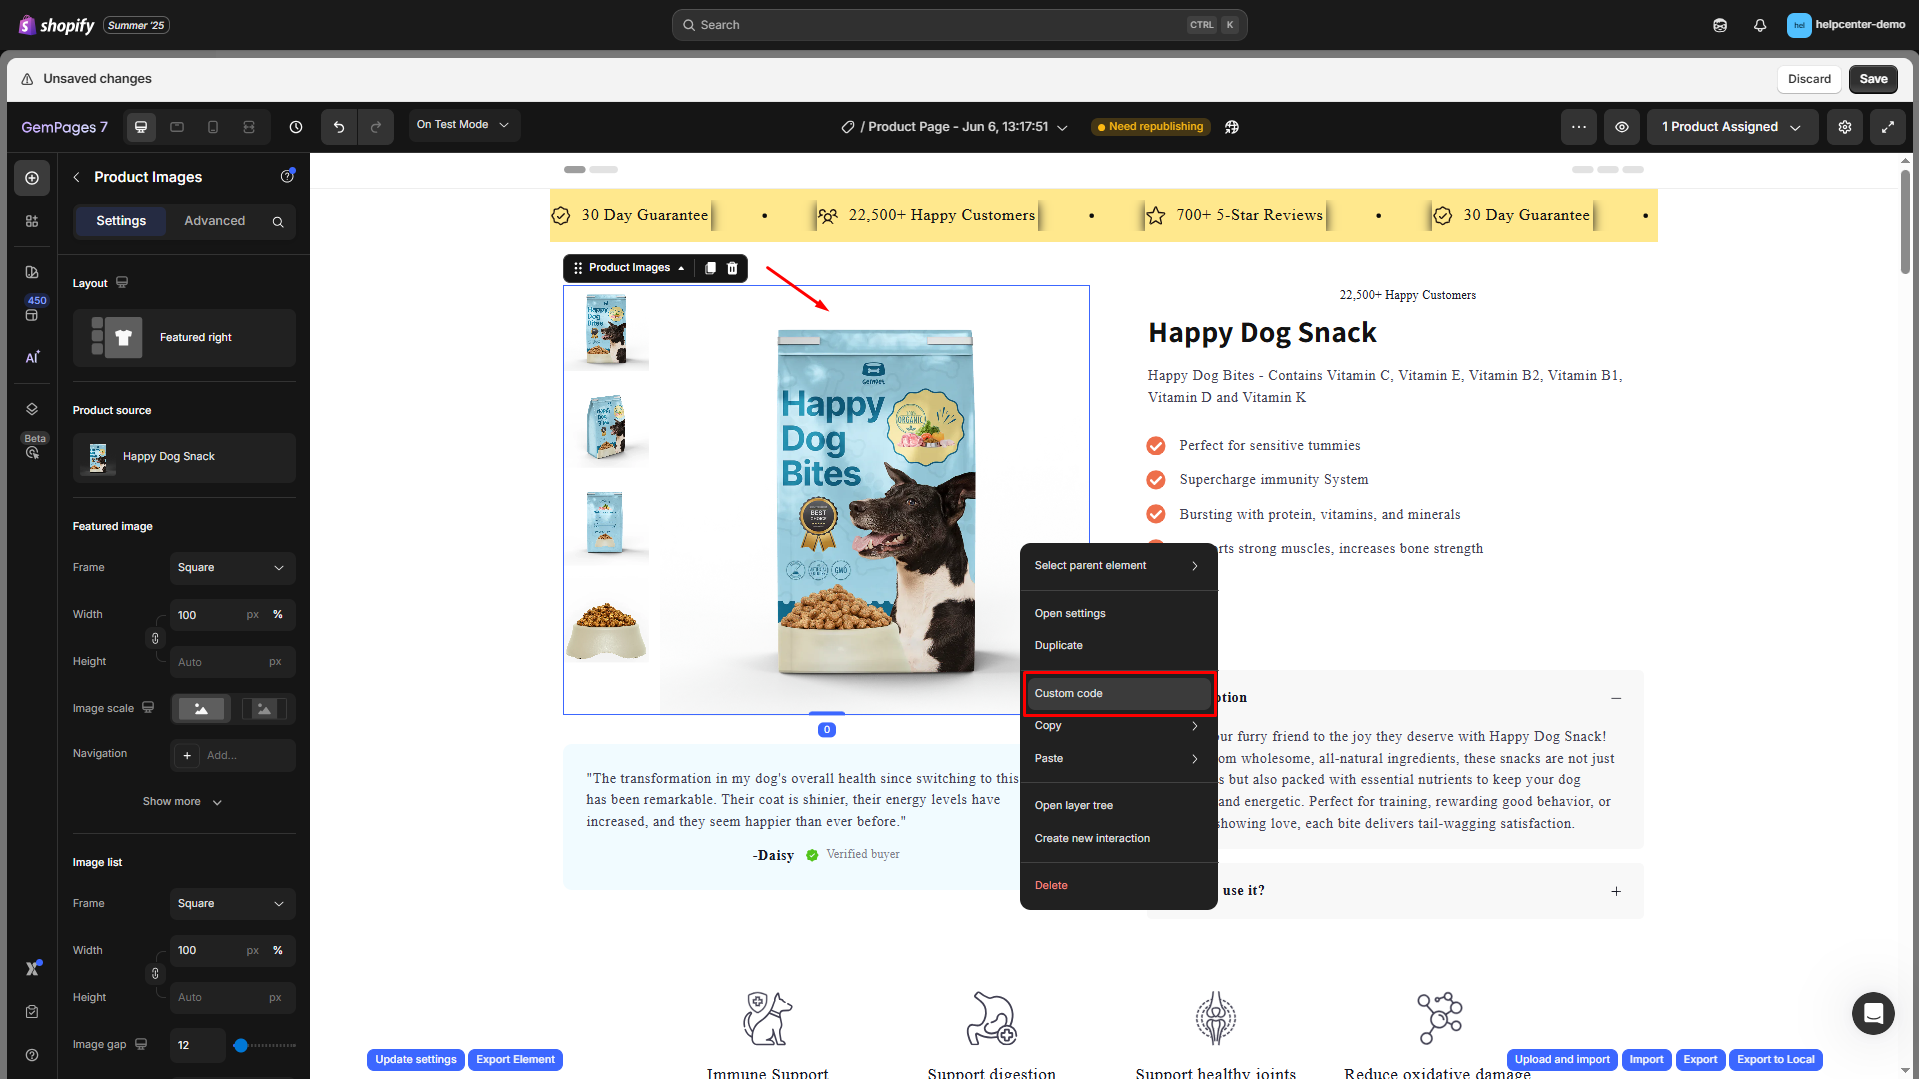
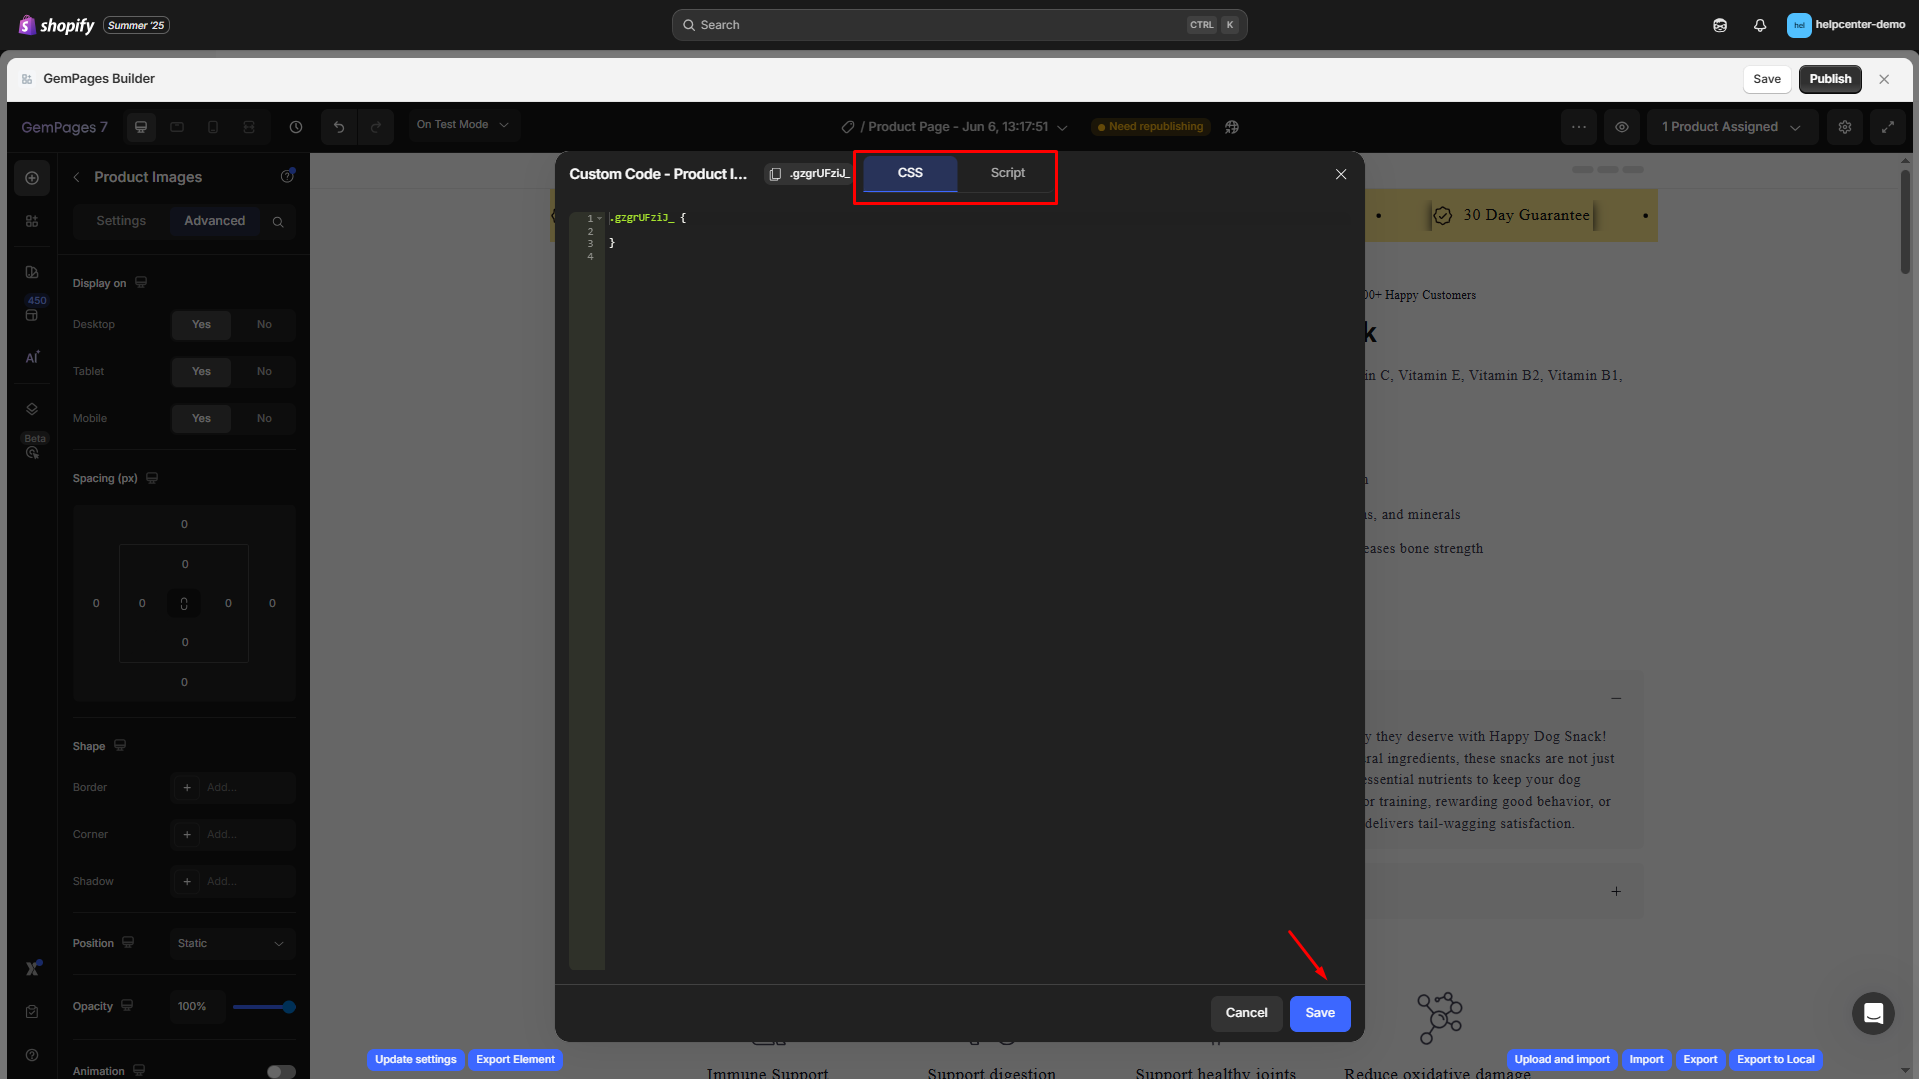
Step 2: Locate the appropriate tab for CSS and Script, and insert the code snippet into the dialog. Hit “Save” when you finish.
How to Remove Custom Code or Custom Liquid
If you no longer need the custom code you’ve added, you can remove it in two ways:
1. Remove a Custom Code element
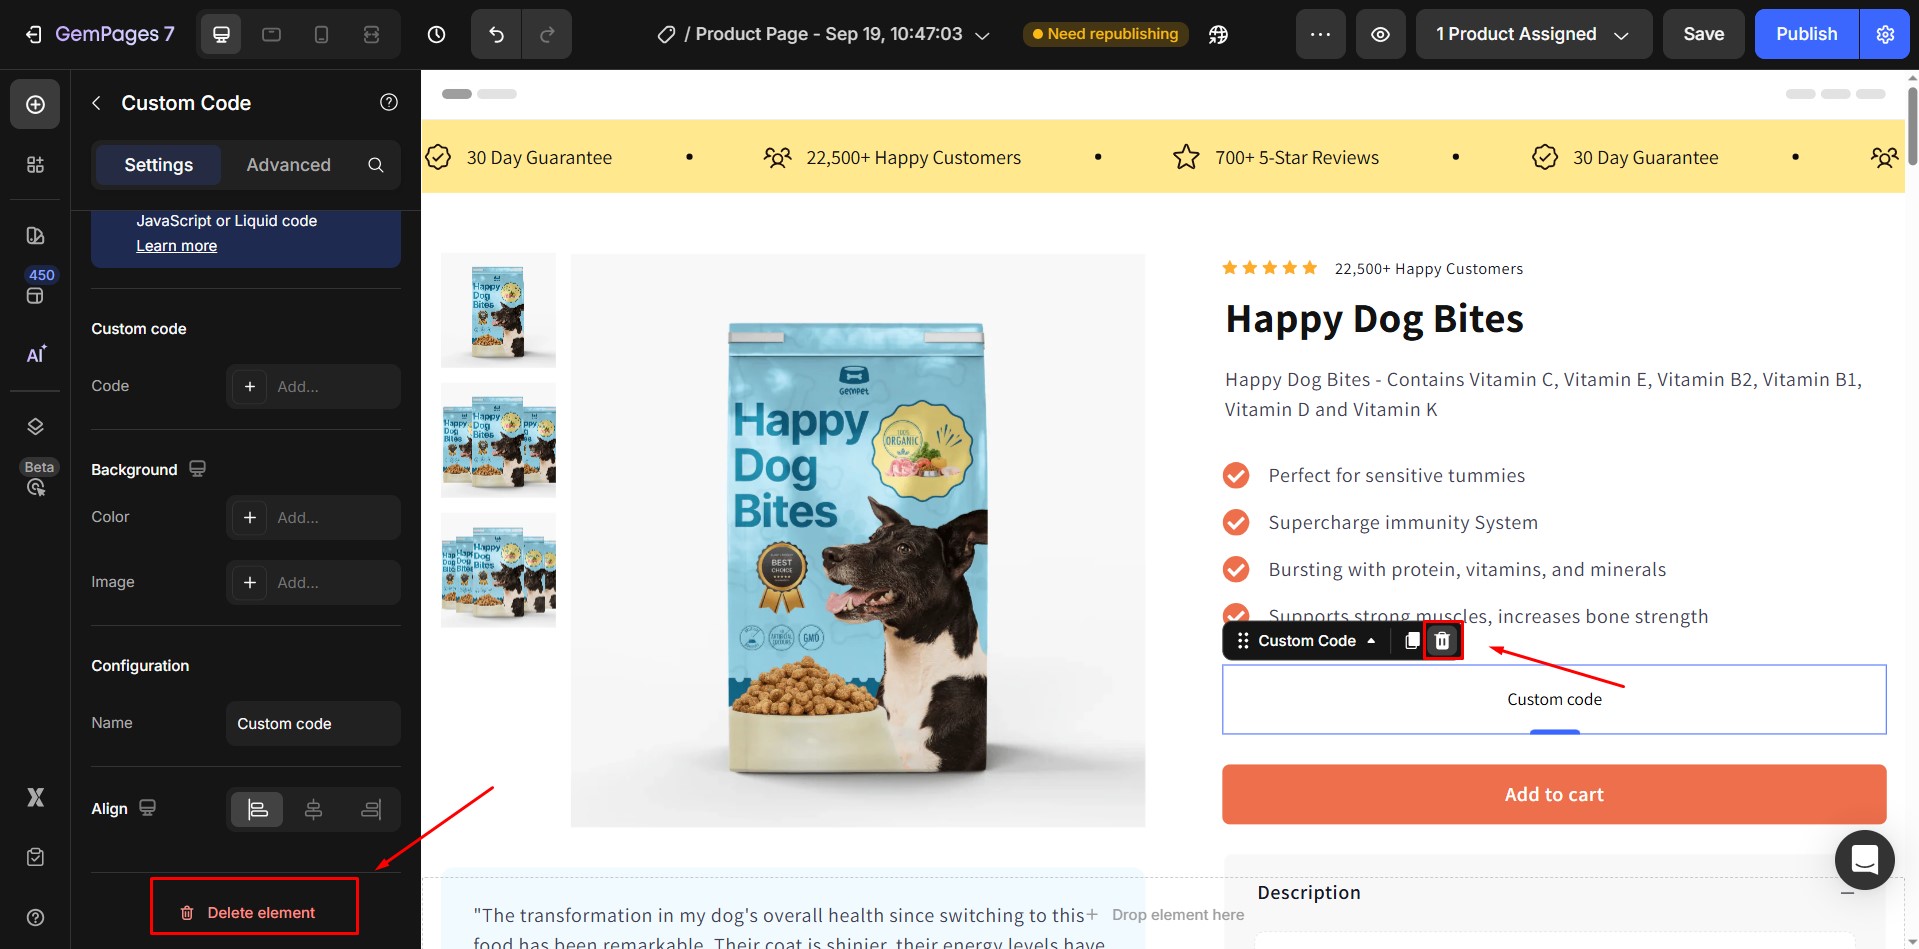
Step 1: In the Editor, click on the Custom Code element you want to delete.
Step 2: Press the trash bin icon (Delete) in the top bar or right-click the element and select Delete.
2. Remove Custom Liquid/Custom Code inside an existing element
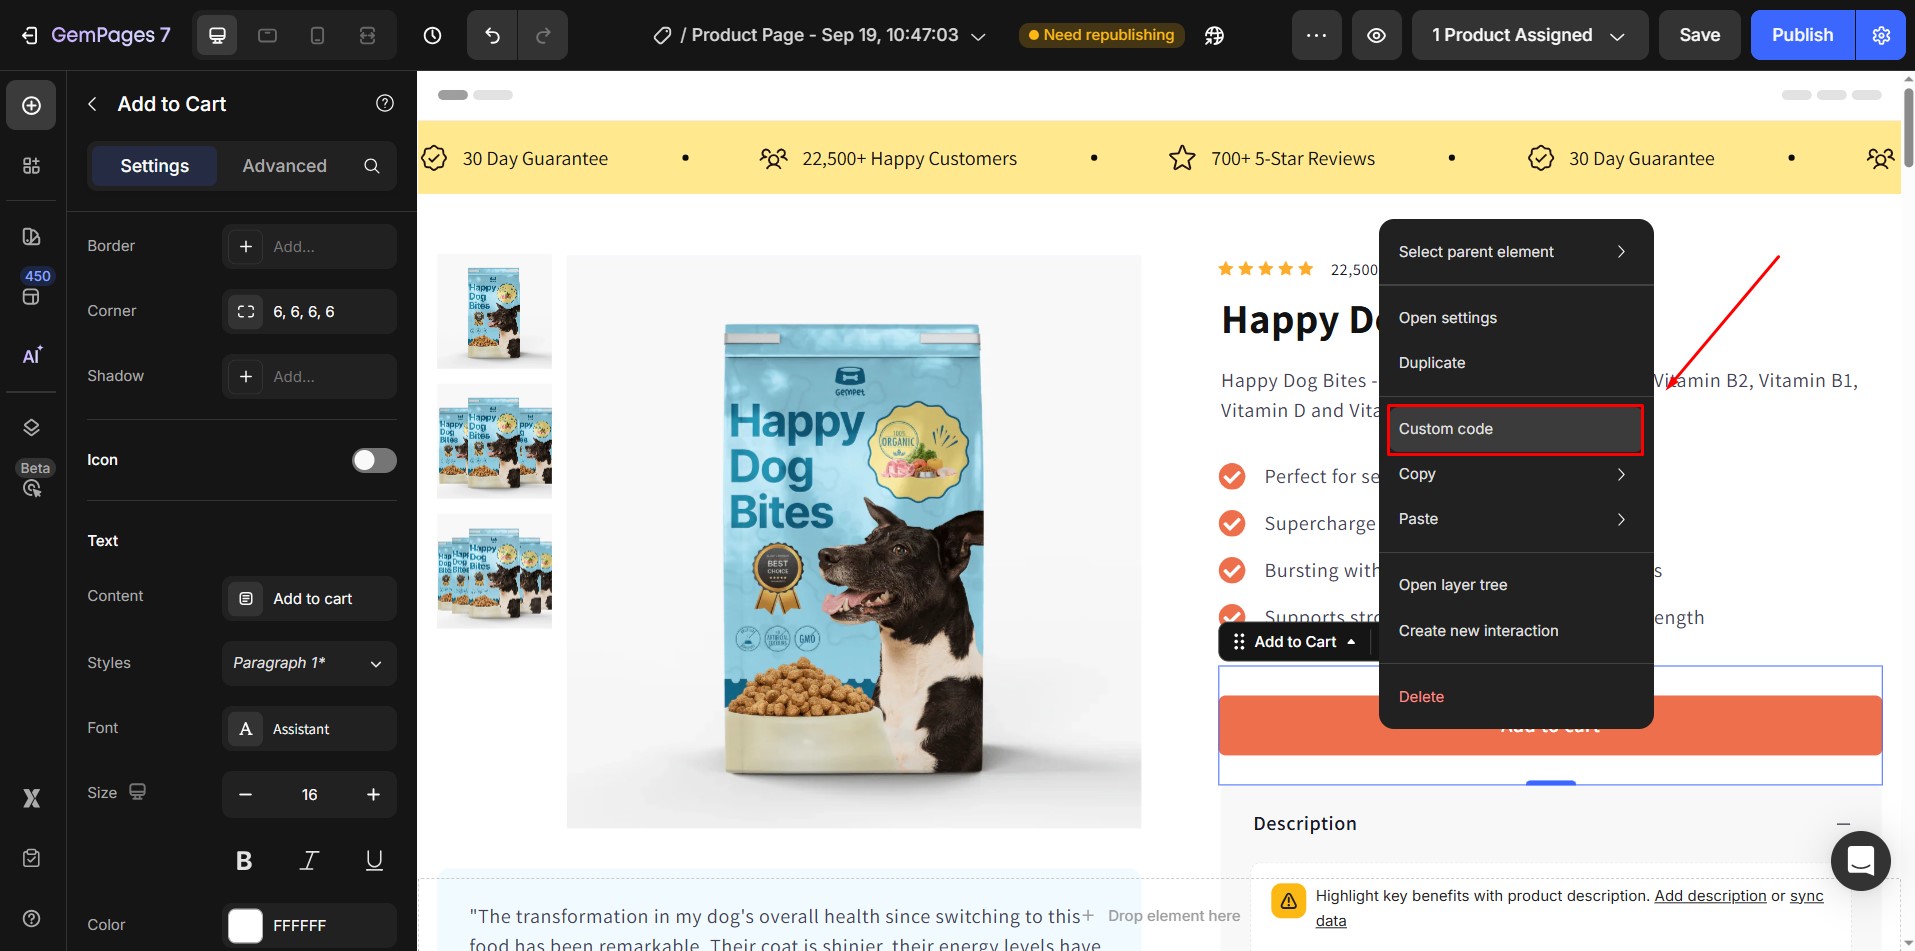
Step 1: Right-click the element where custom code was added → select Custom Code
Step 2: Delete the code inside the CSS, Script field.
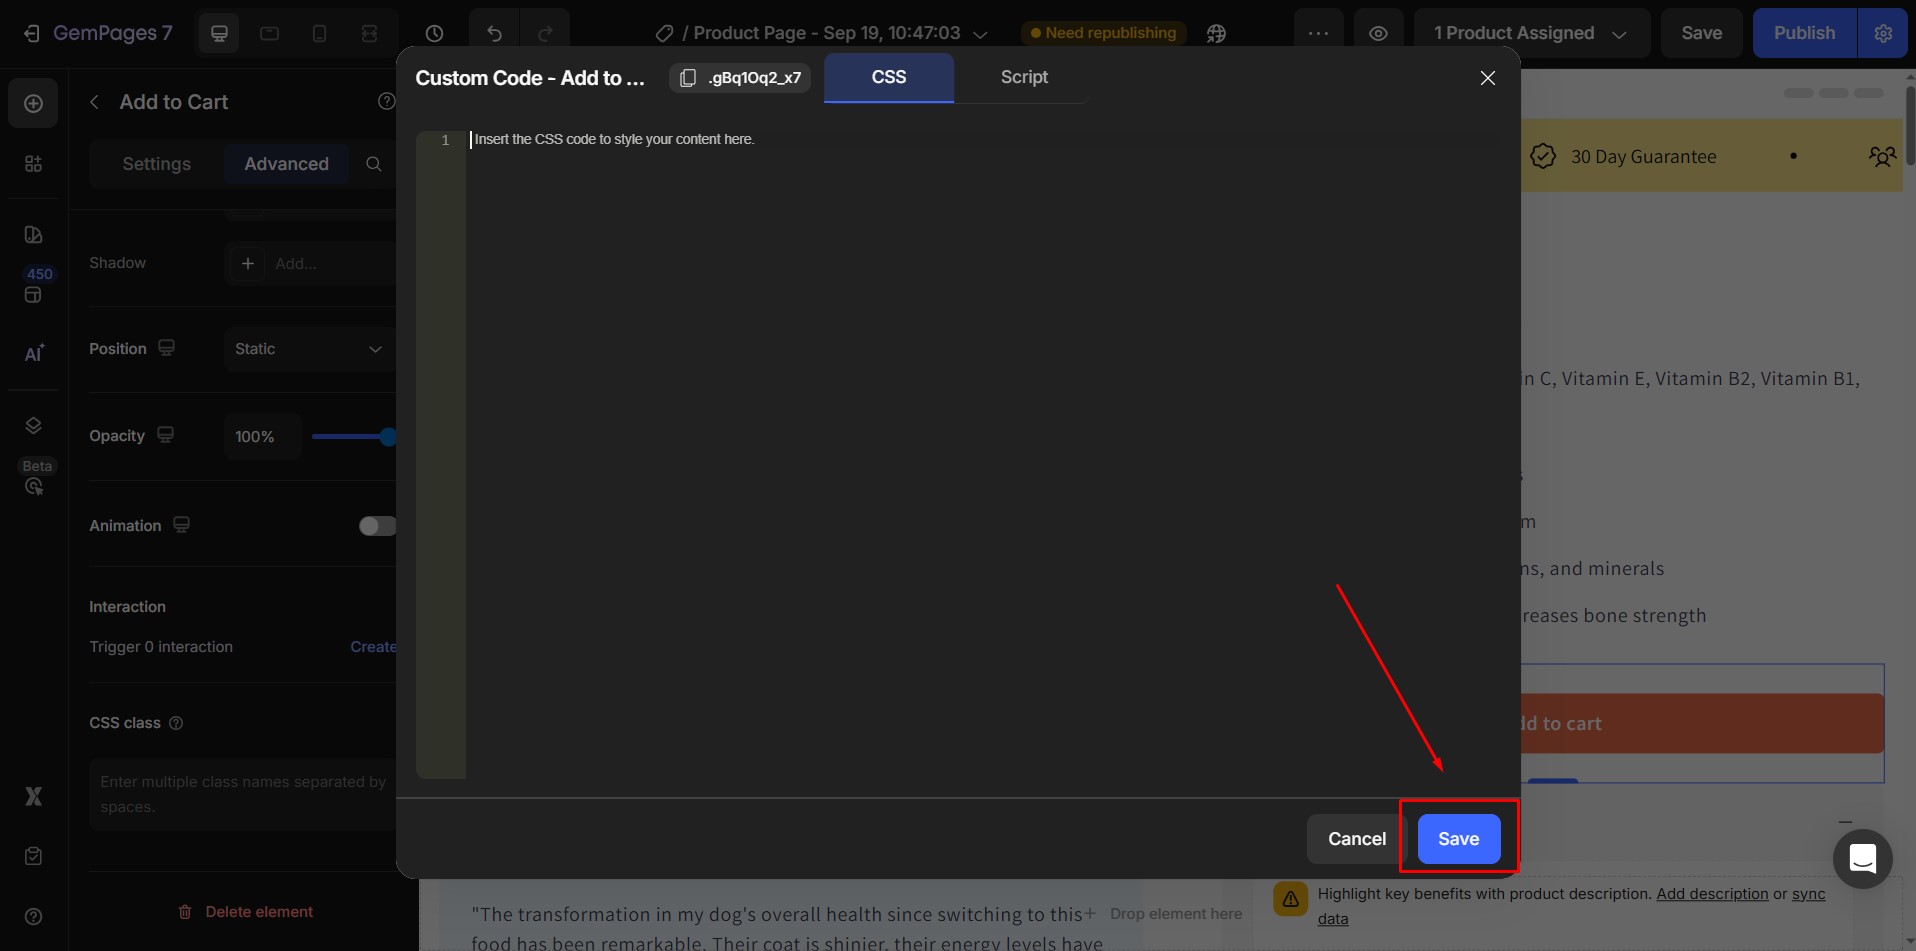
Step 3: Click Save.


Thank you for your comments