


What is an About Us Section/Page?
The About Us section and page are where you introduce your brand, share your mission, and connect with visitors.
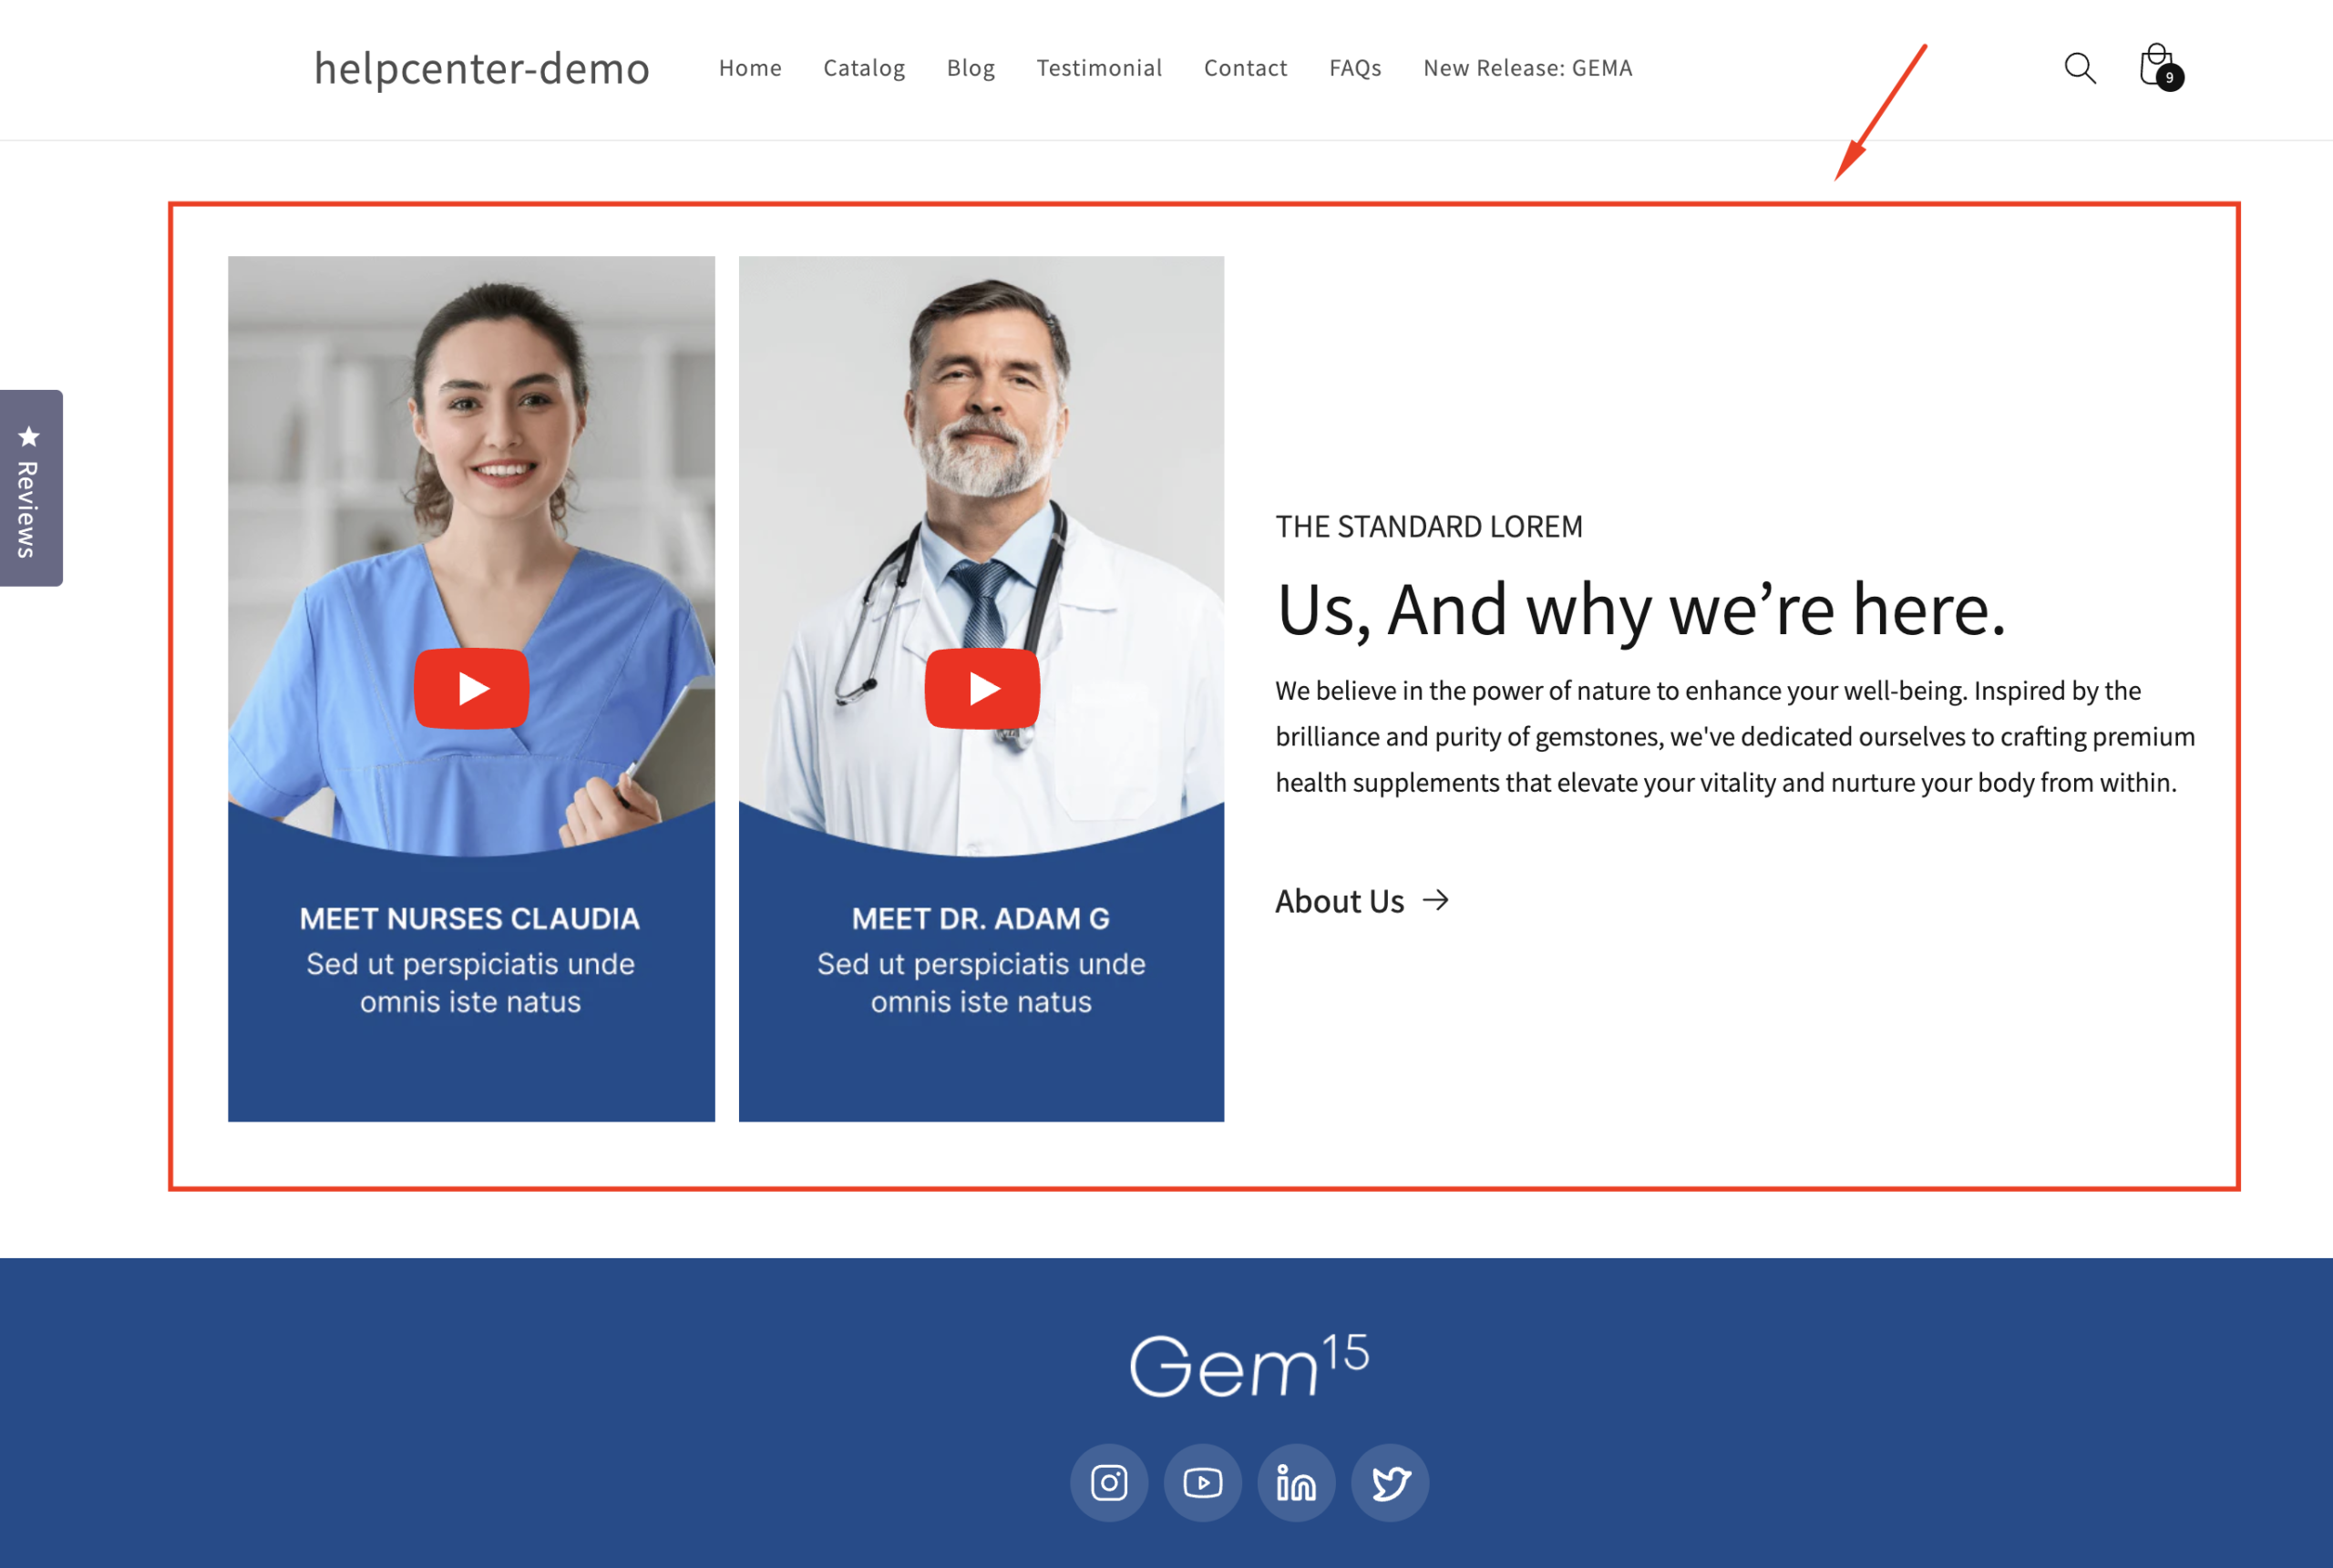
An About Us Section is smaller block of content embedded within a specific page, like your homepage or product pages, to quickly convey your brand story.
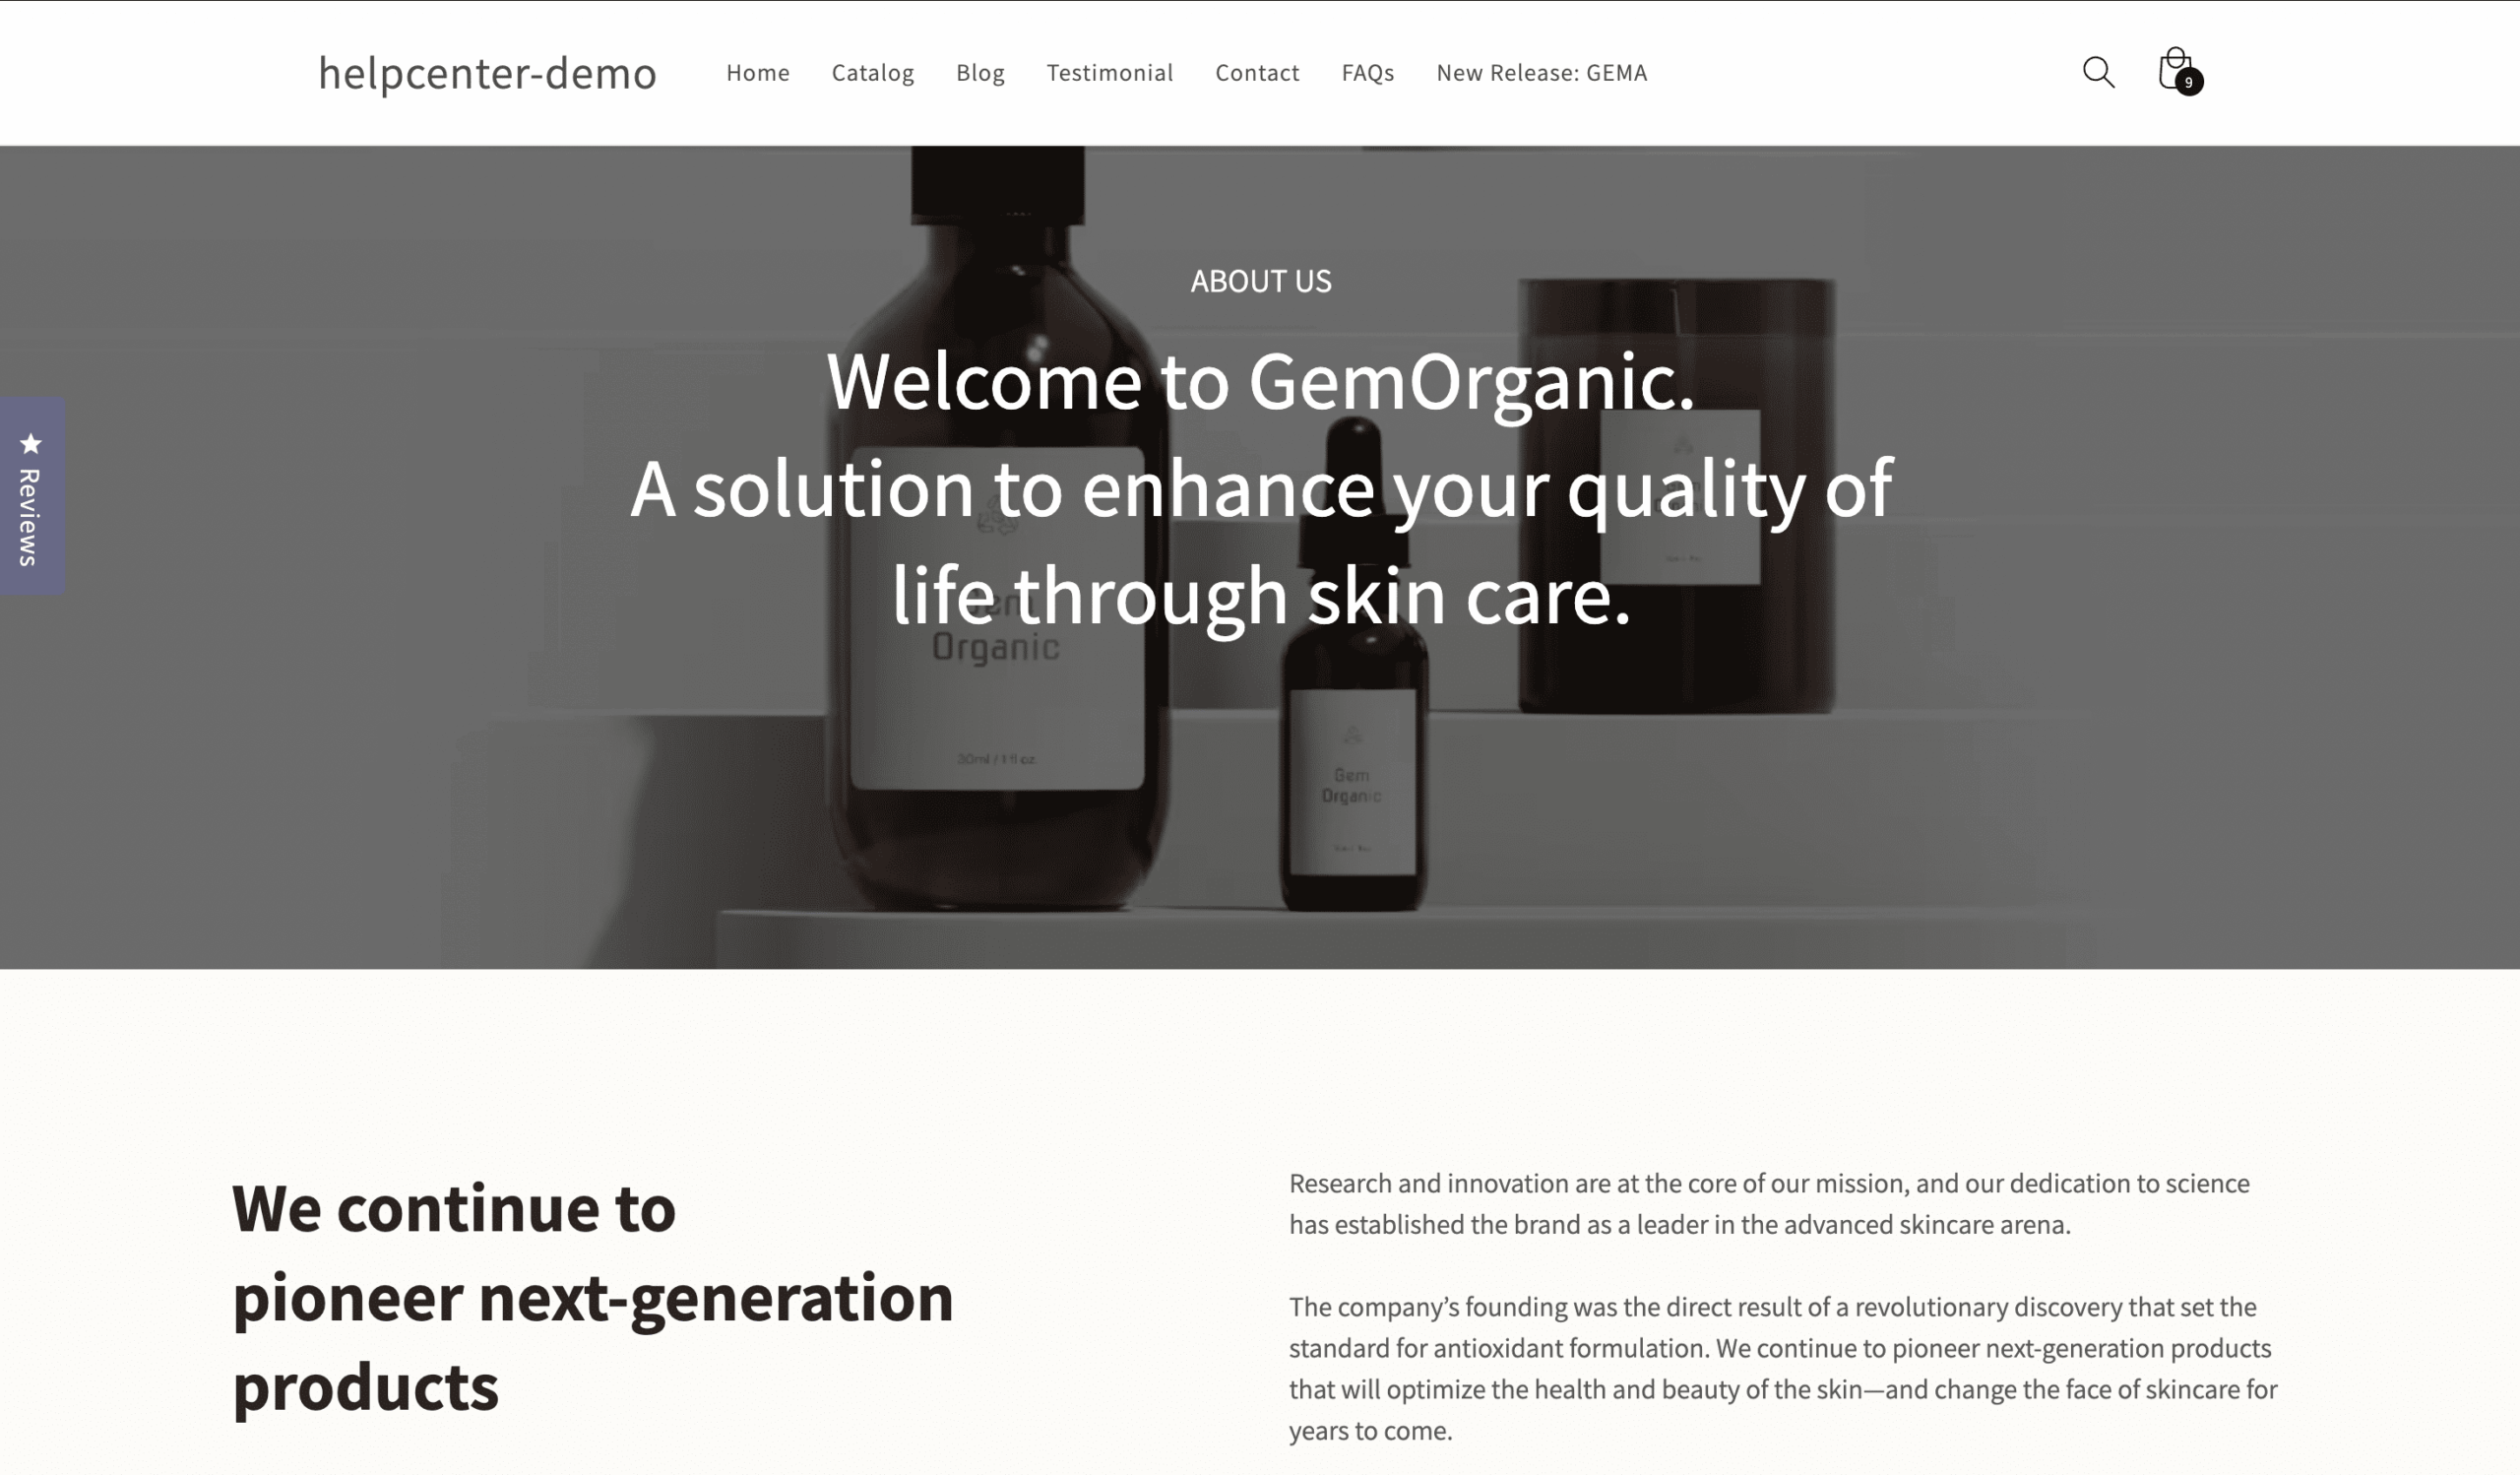
An About Us Page is a standalone page dedicated to providing an in-depth overview of your brand’s values, team, and history.
How to Design an About Us Section with GemPages?
You have two options: use a pre-built section or create one from scratch.
Option 1: Using a Pre-Built Section
Step 1: Navigate to the page where you want to add the About Us section. Click on Templates.
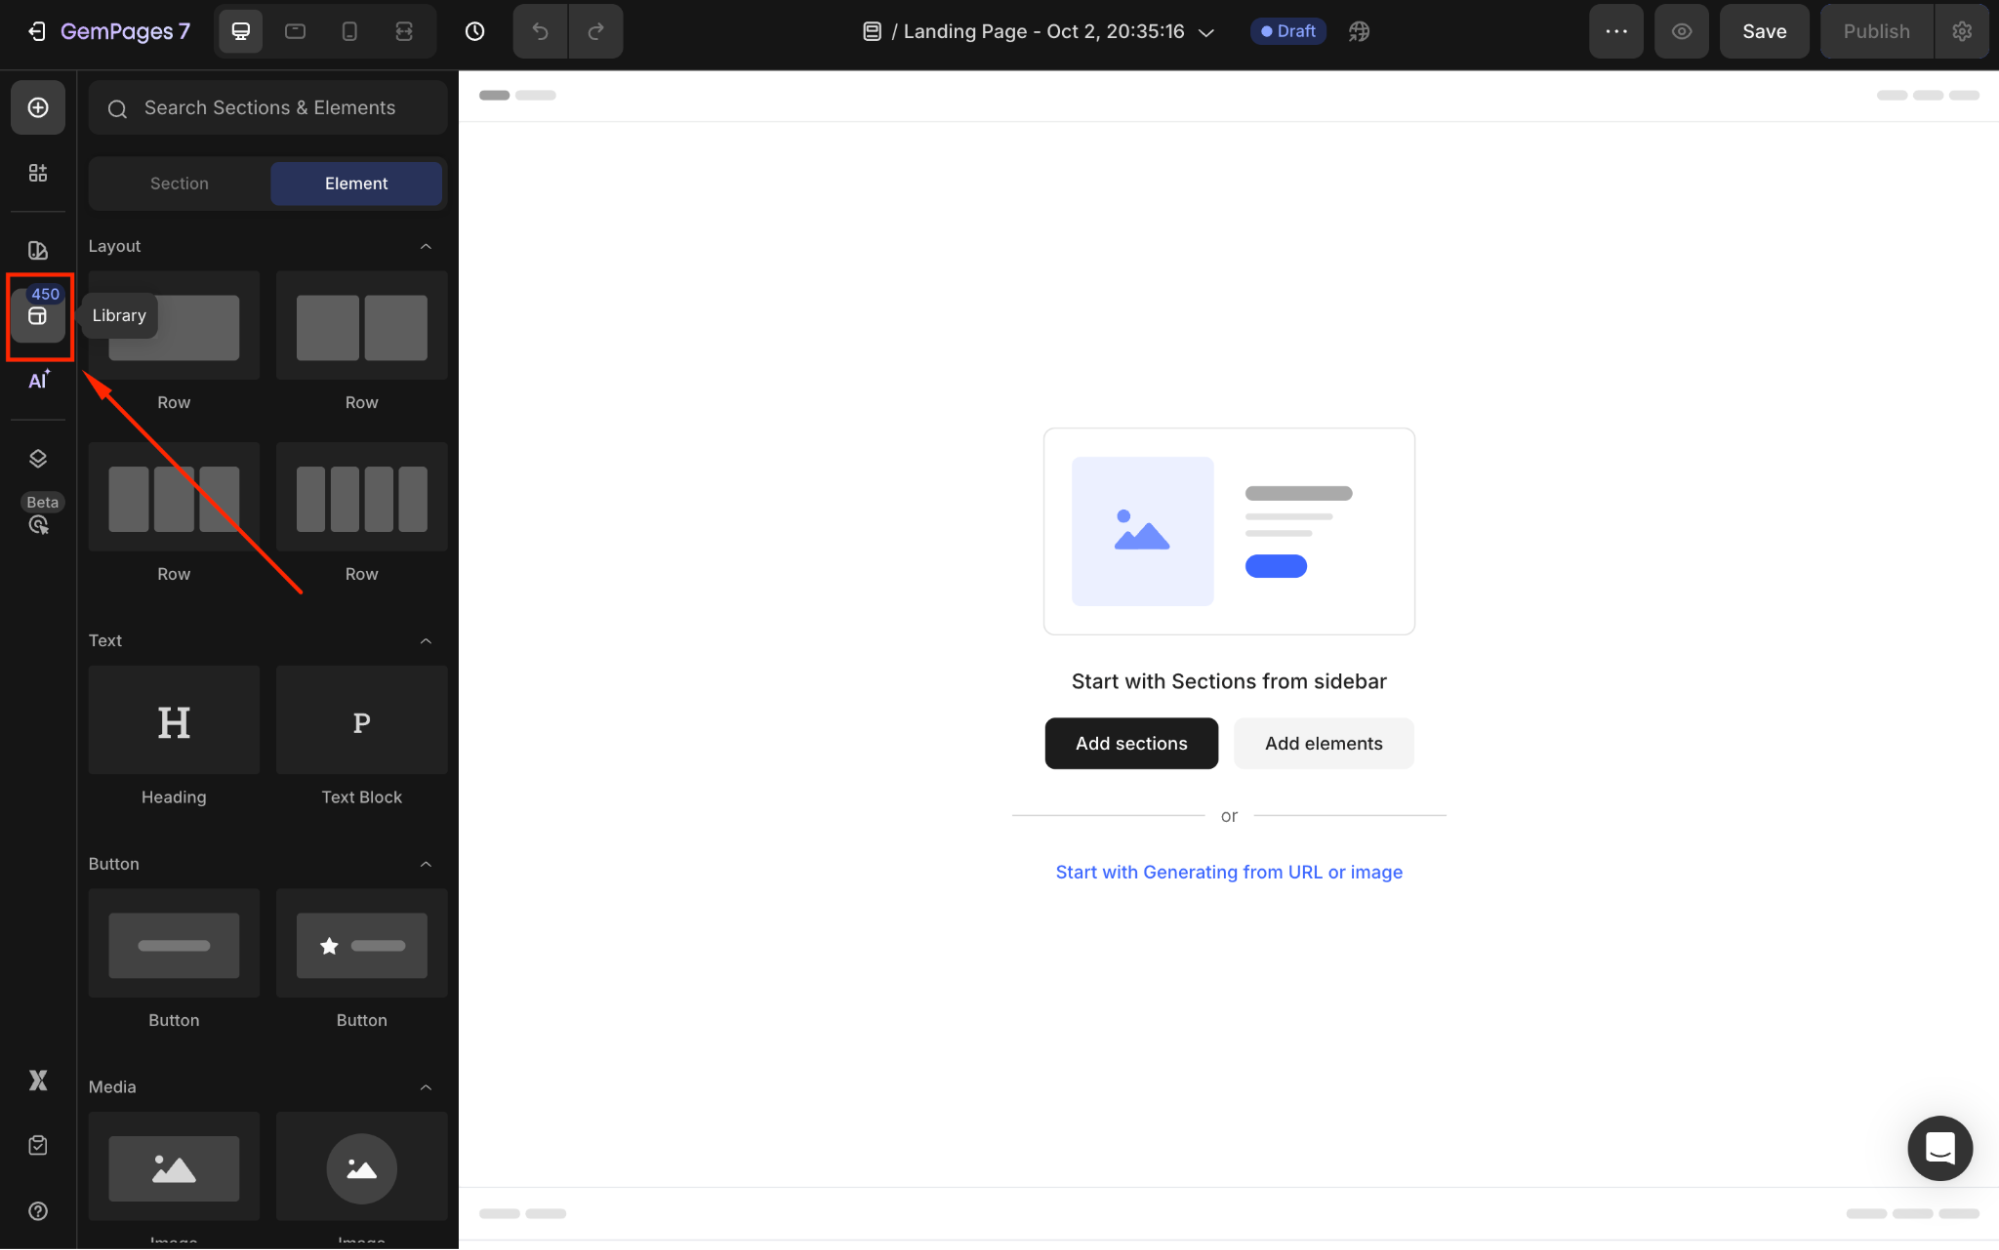
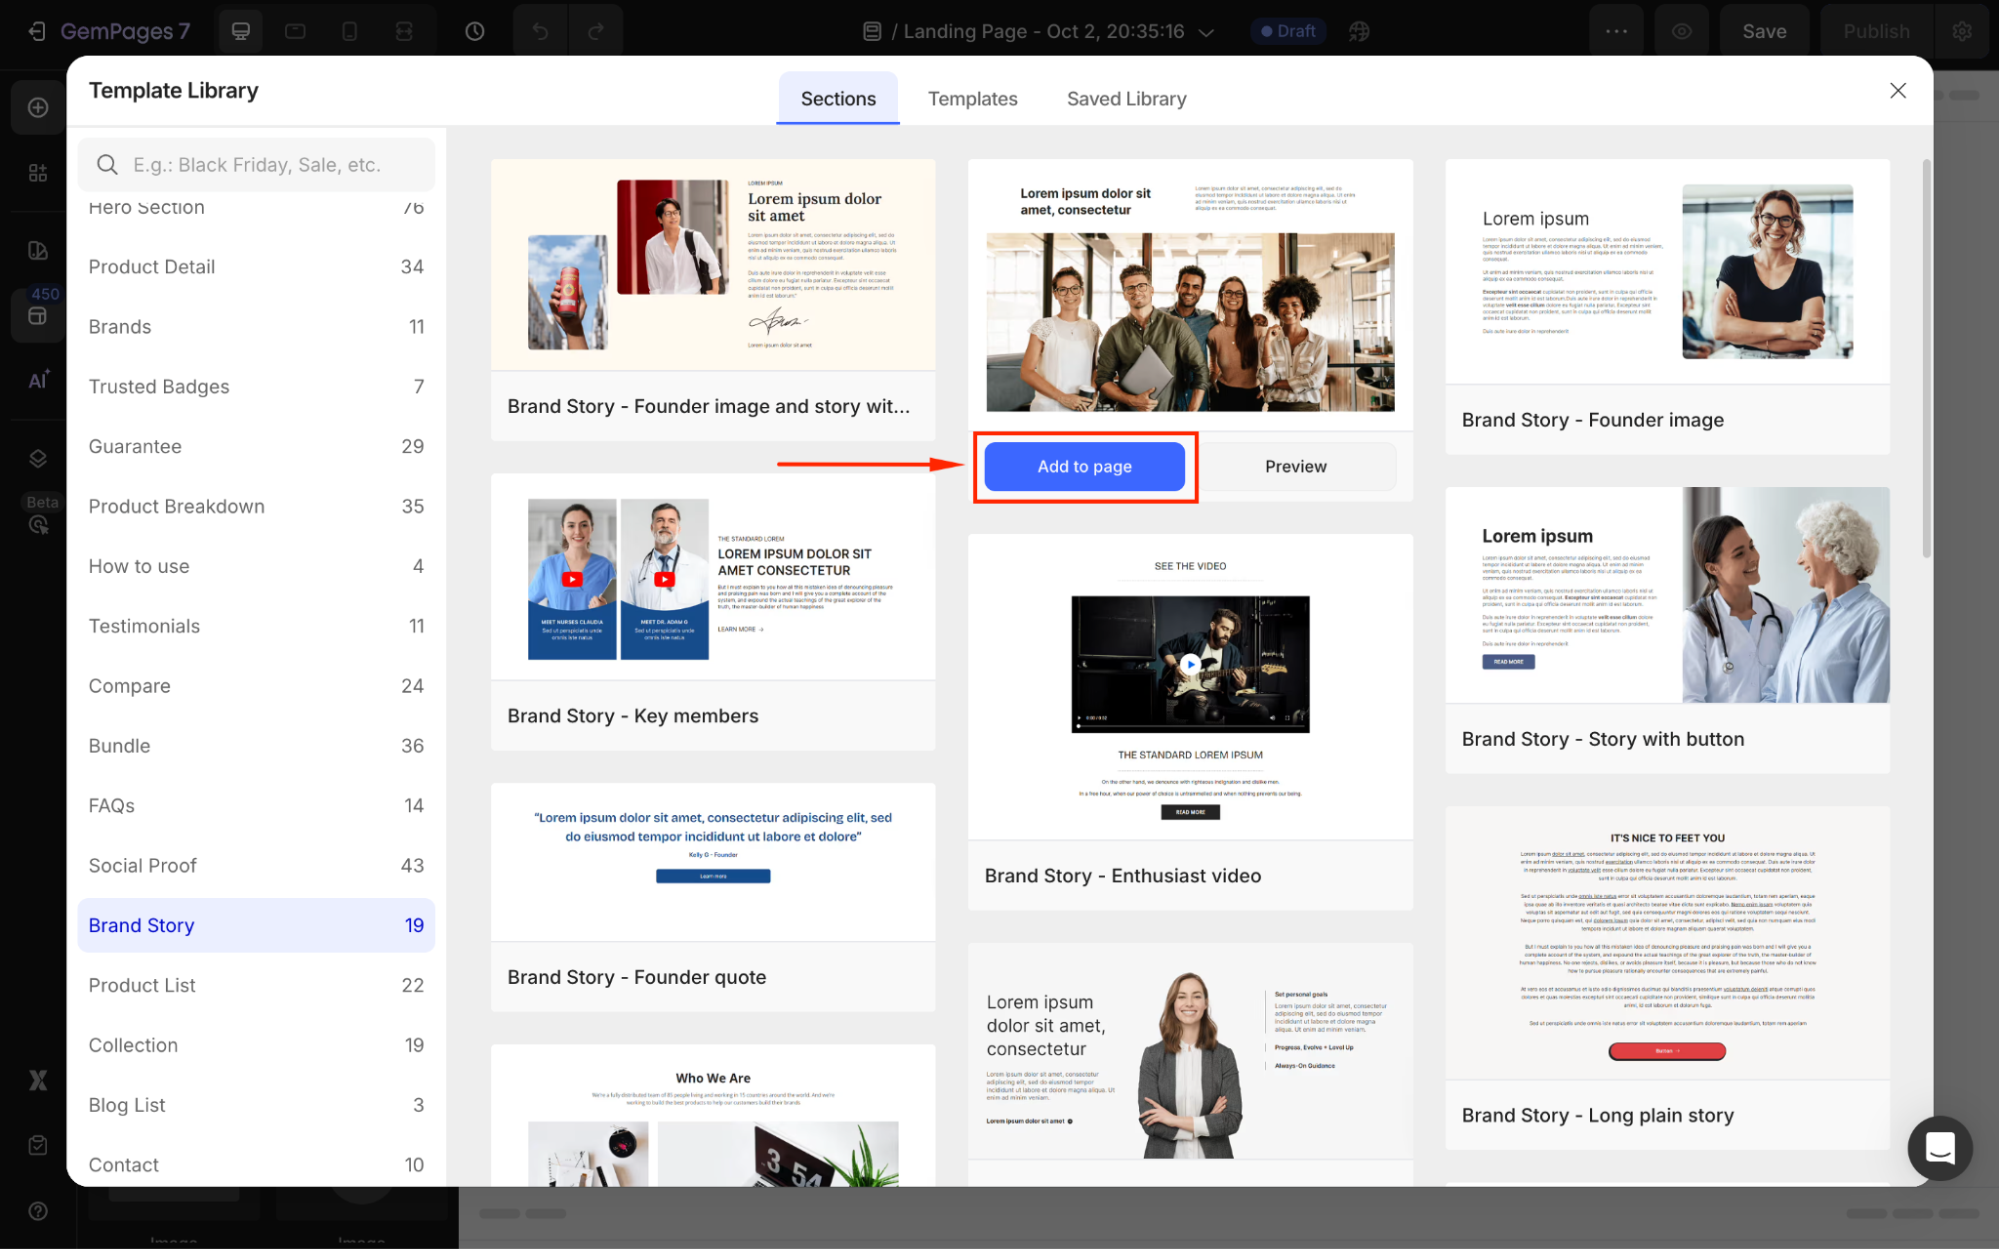
Step 2: Go to the Template Library, select Sections, and choose Brand Story.
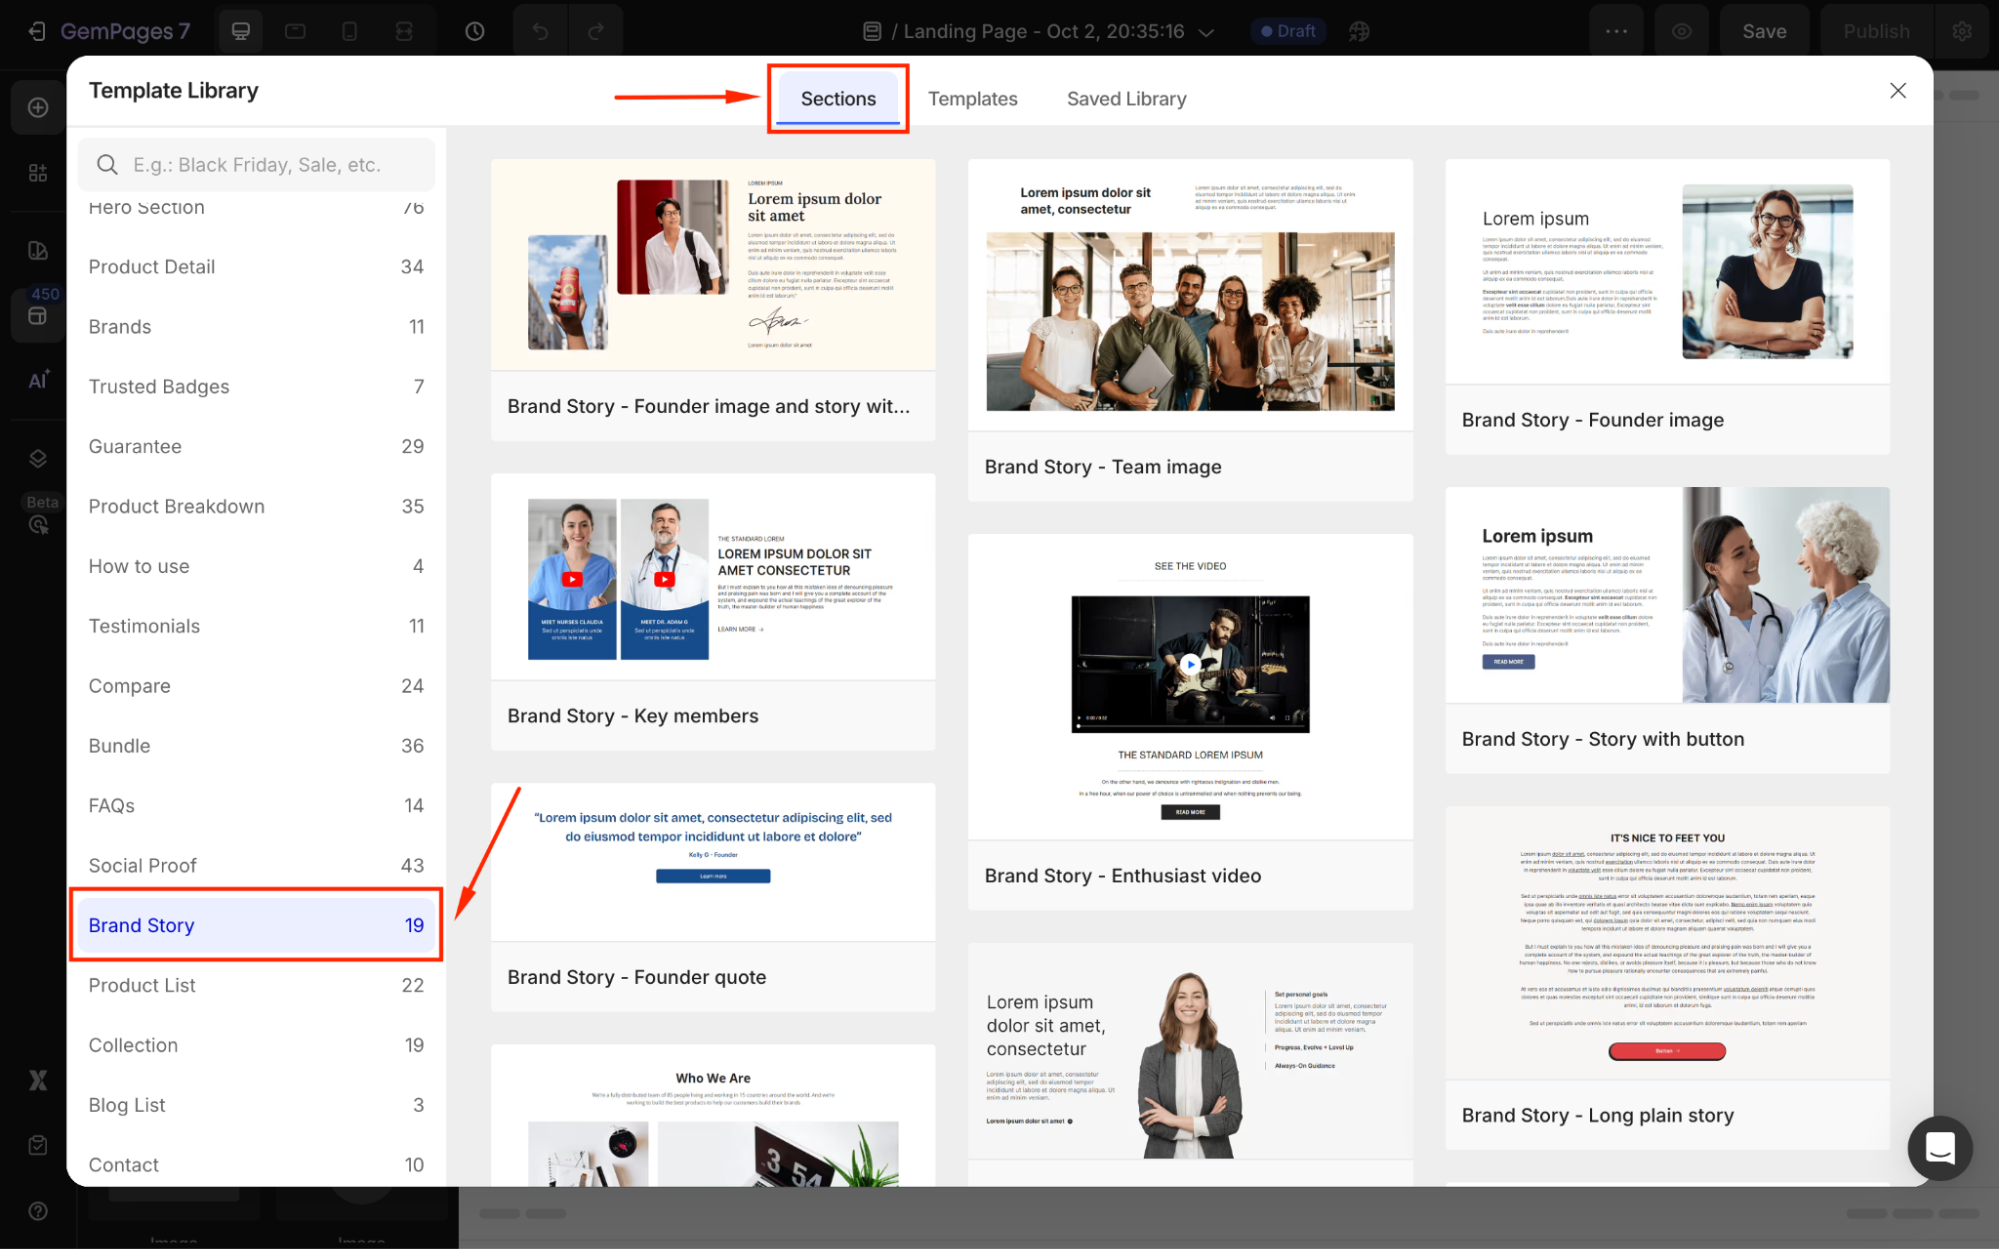
Step 3: Pick a pre-designed section, click Add to Page, and position it where you’d like it to appear.
The selected section will be located in your page editor.
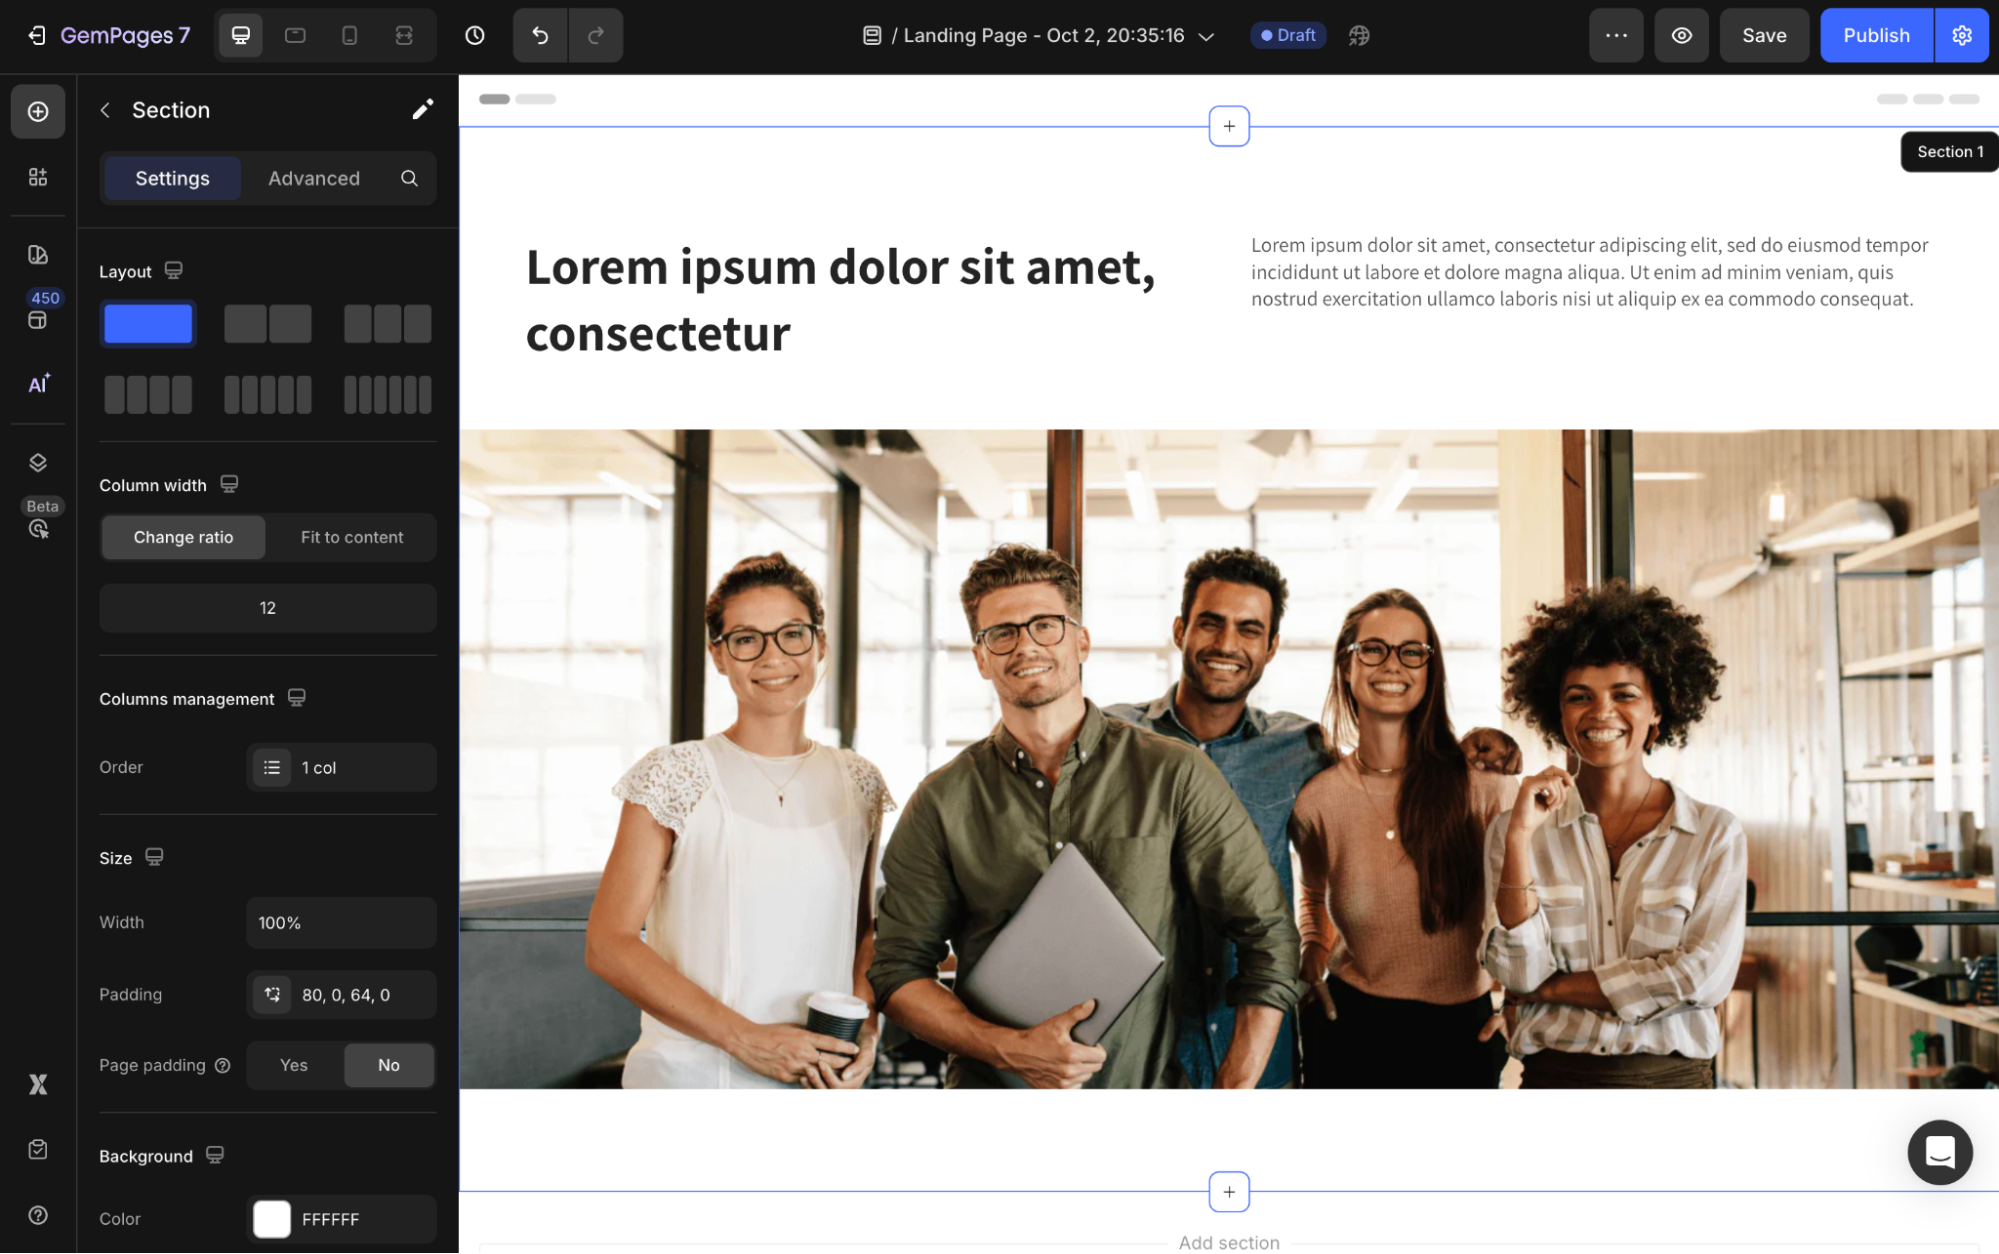
Step 4: Use the Settings and Advanced Tabs to edit the text, colors, and layout to match your brand identity.

Option 2: Creating from Scratch
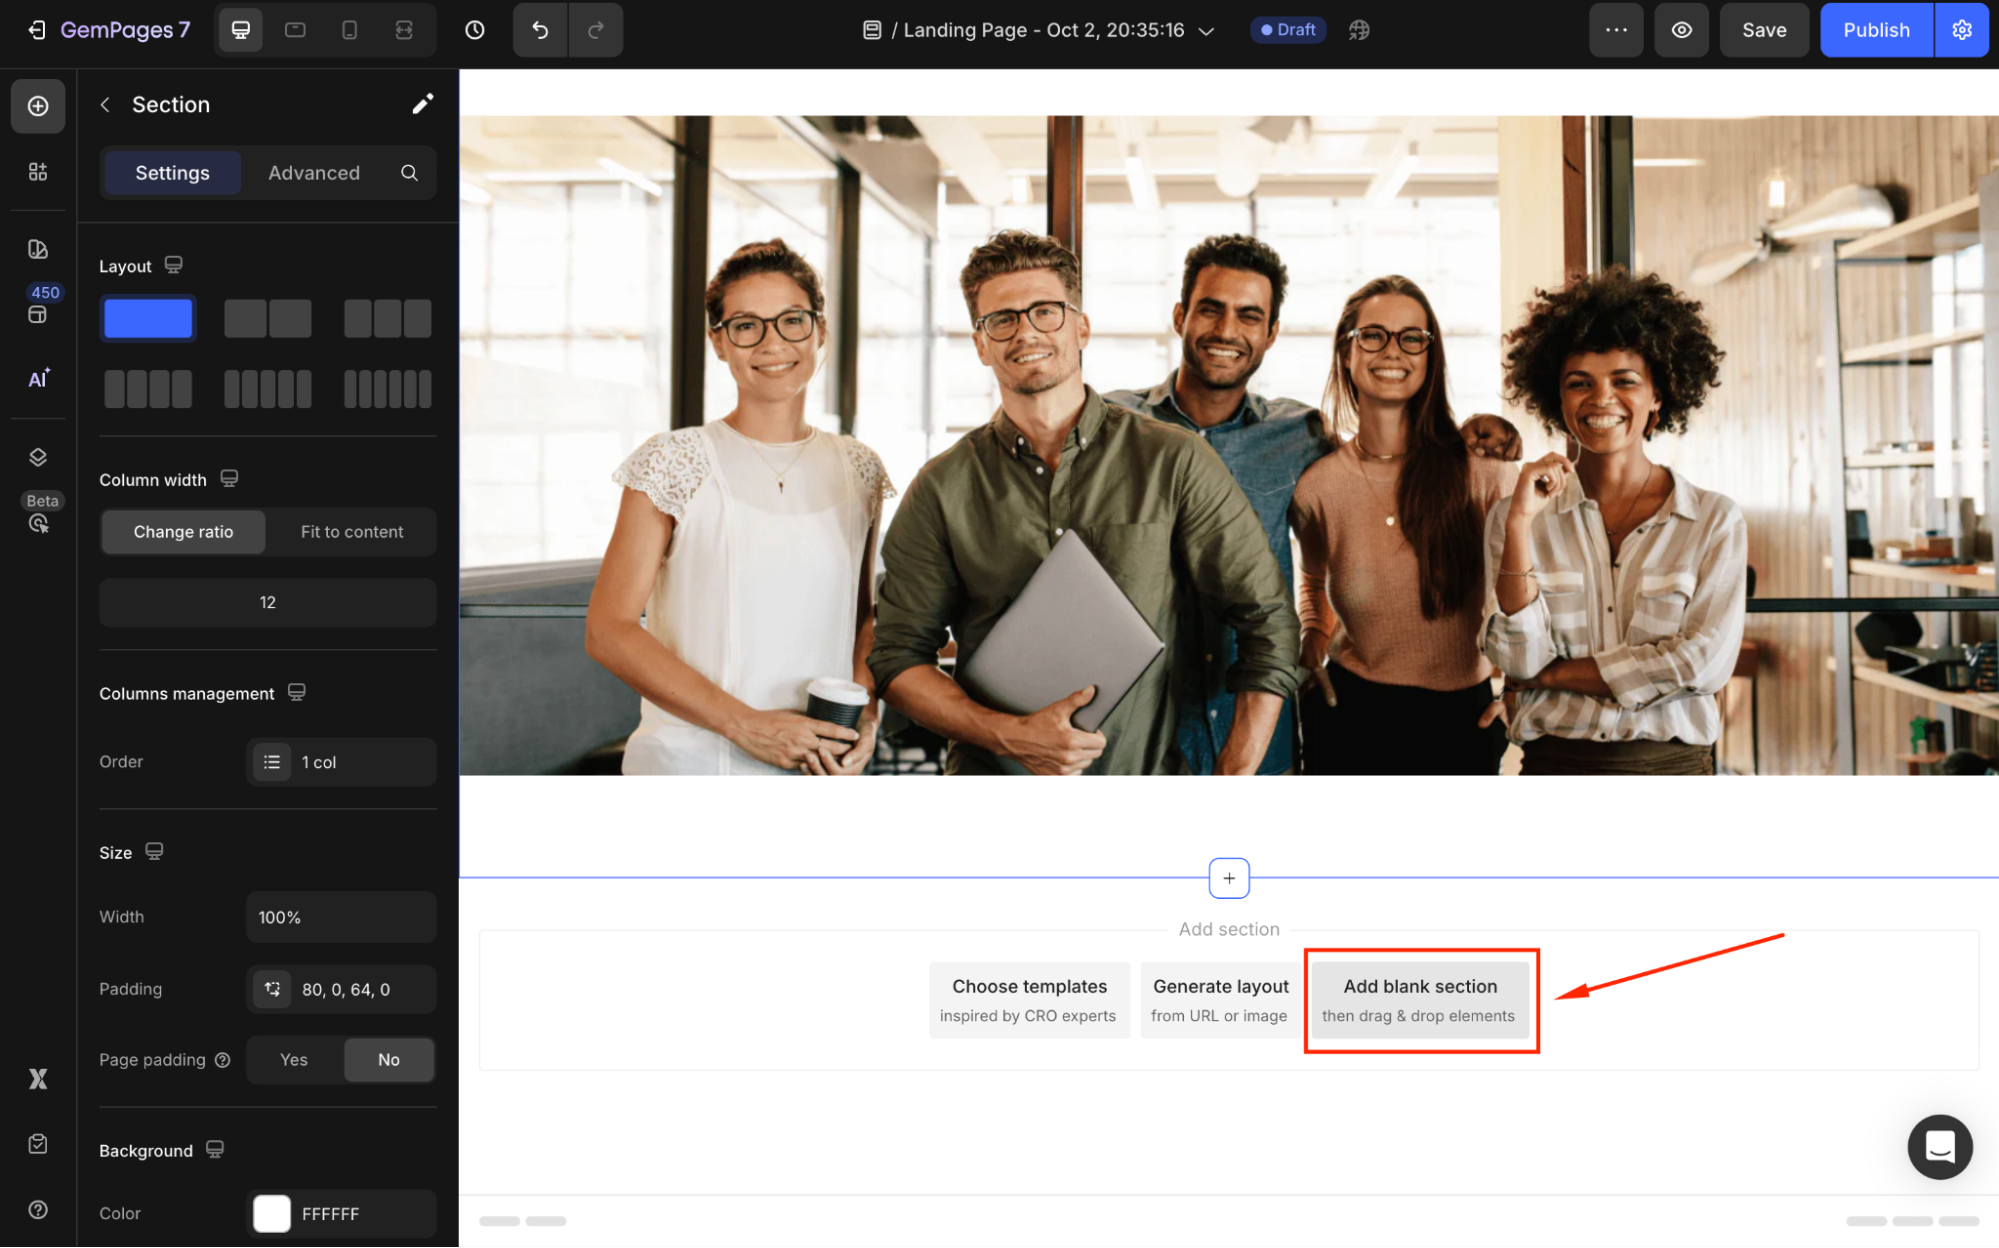
Step 1: Open the page where you want the About Us section. Scroll to the bottom and click Add Blank Section.
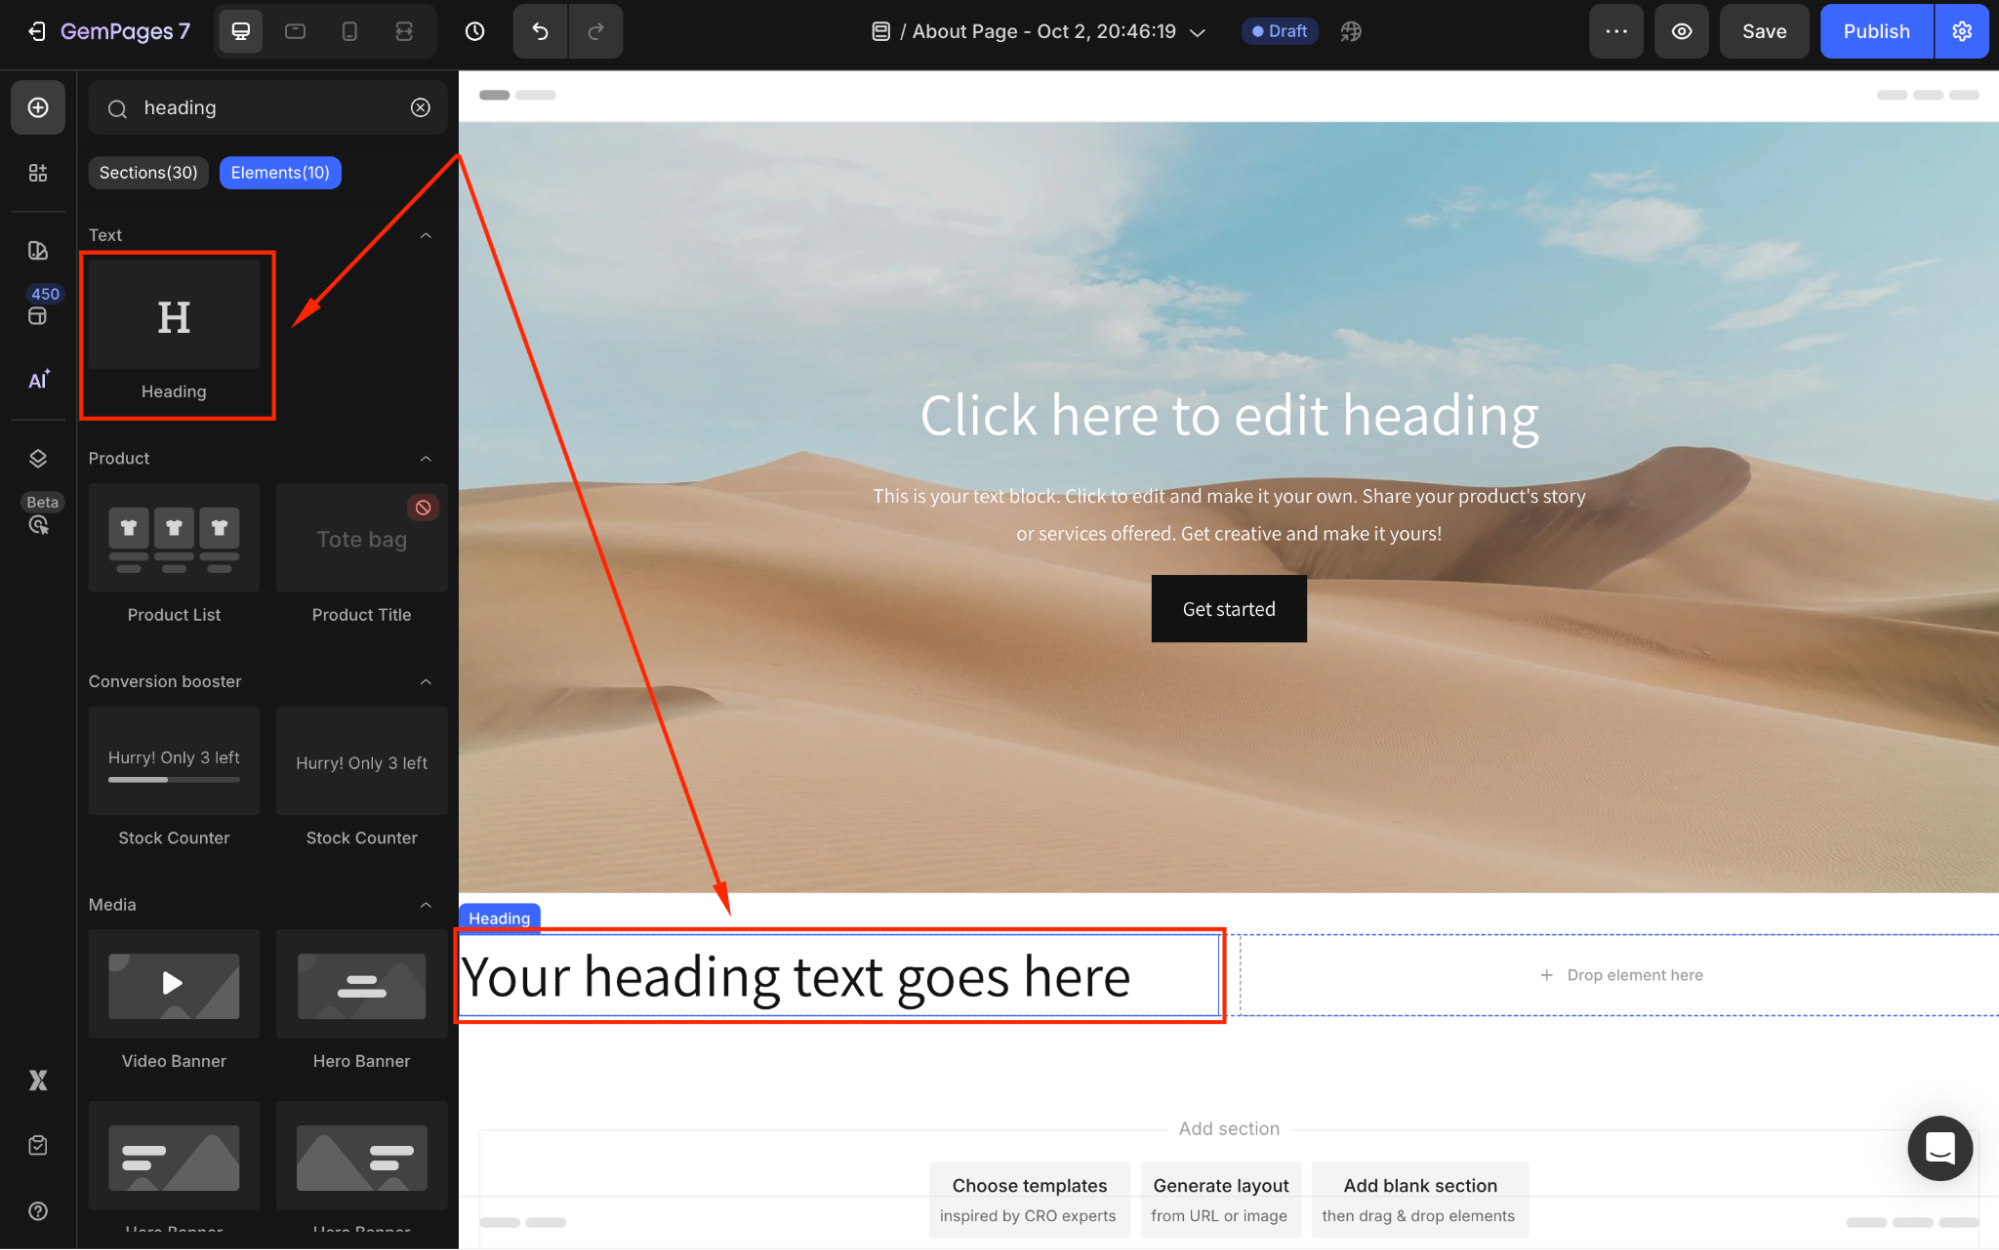
Step 2: Drag and drop heading, text block, image elements, etc to build your section.
Step 3: Use the Settings and Advanced Tabs to style each element and create a cohesive design.
How to Design an About Us Page with GemPages?
Creating a full About Us page also gives you two options: using a pre-built template or starting from scratch.
Option 1: Using a Pre-Built Template
Step 1: In the GemPages Dashboard, go to Pages > Create New Page. Then, select About Page as the use case.
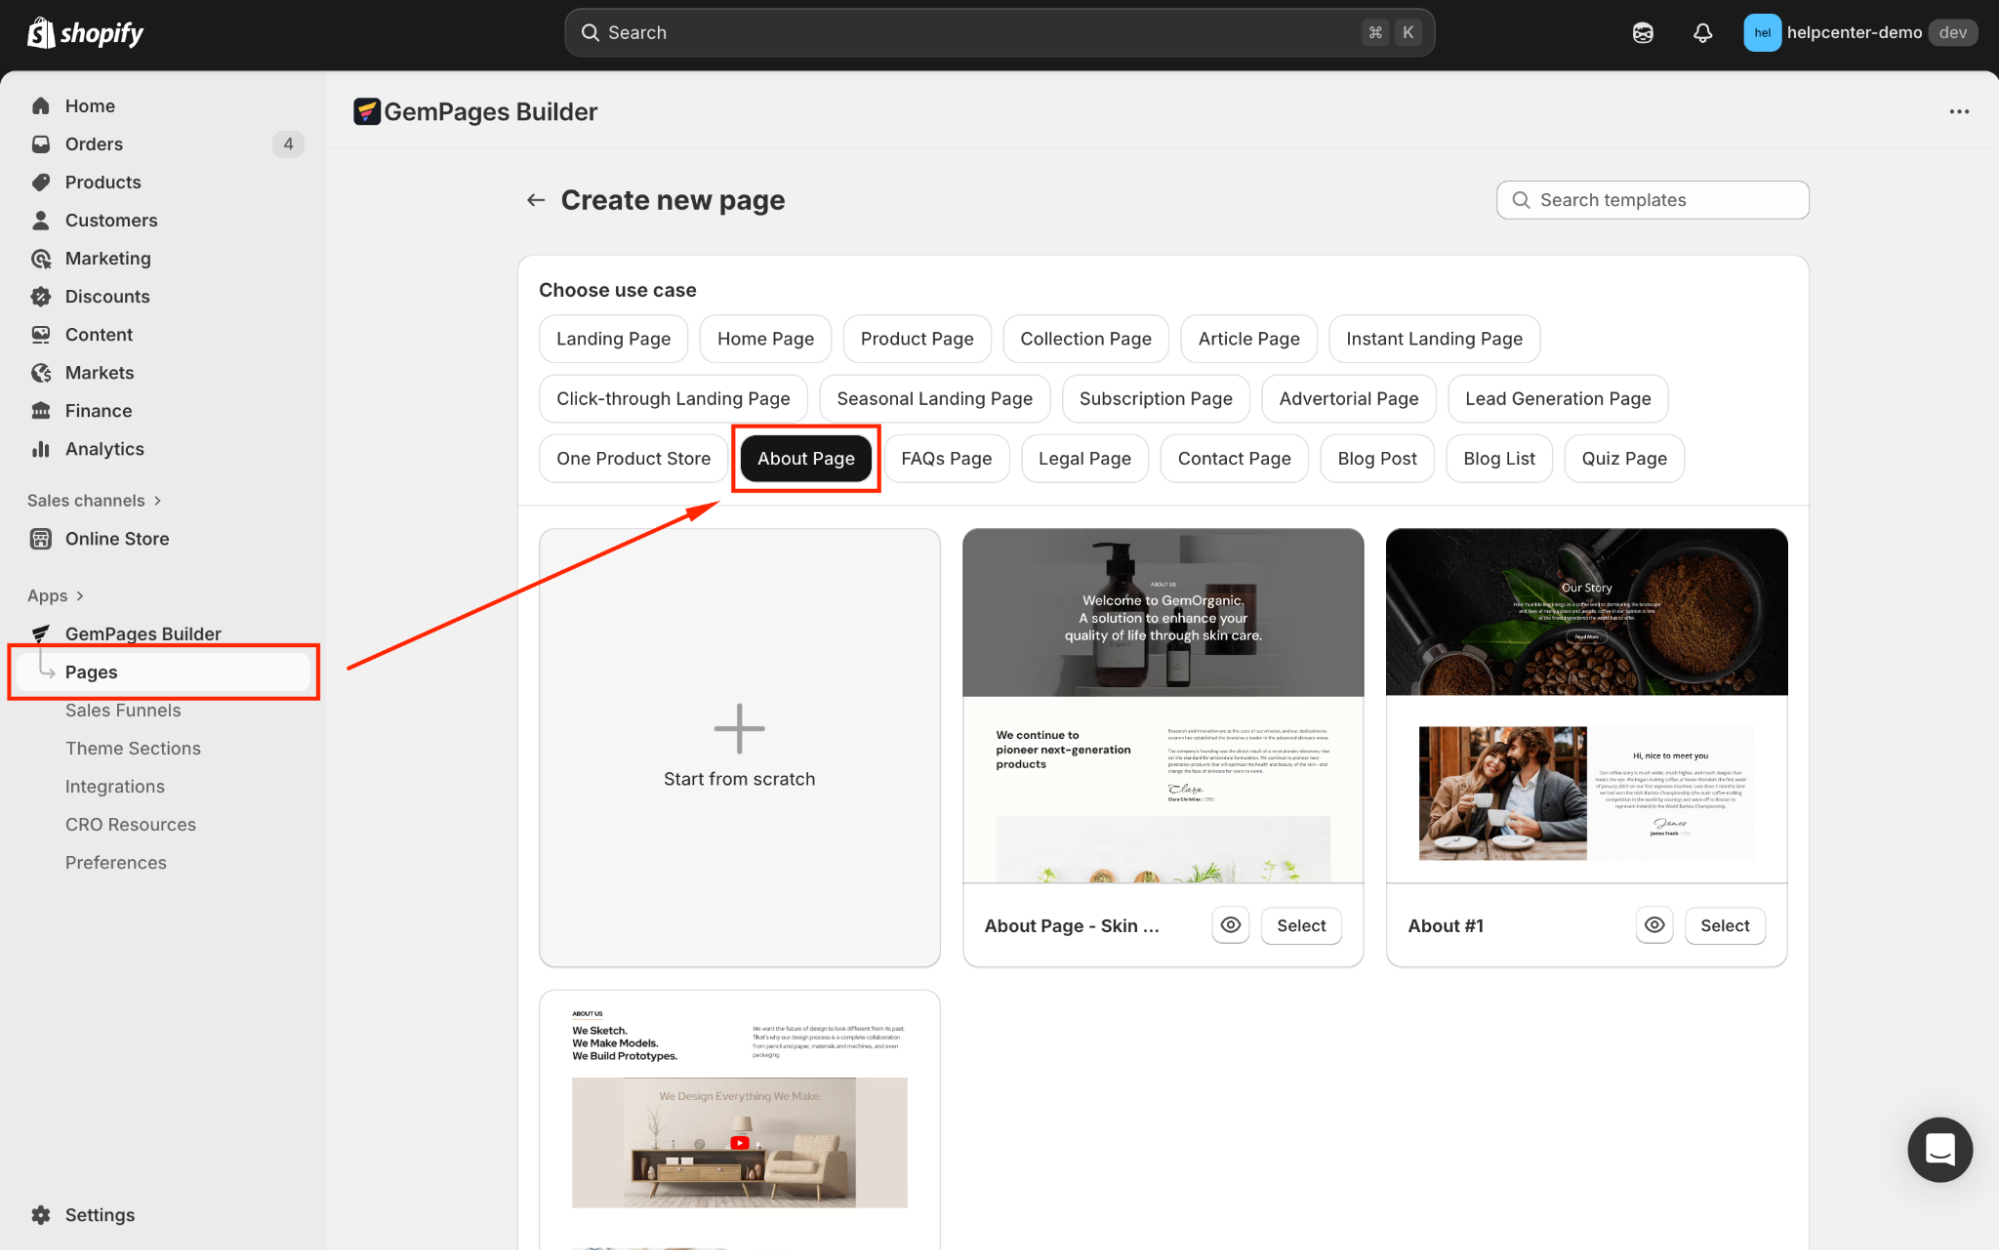
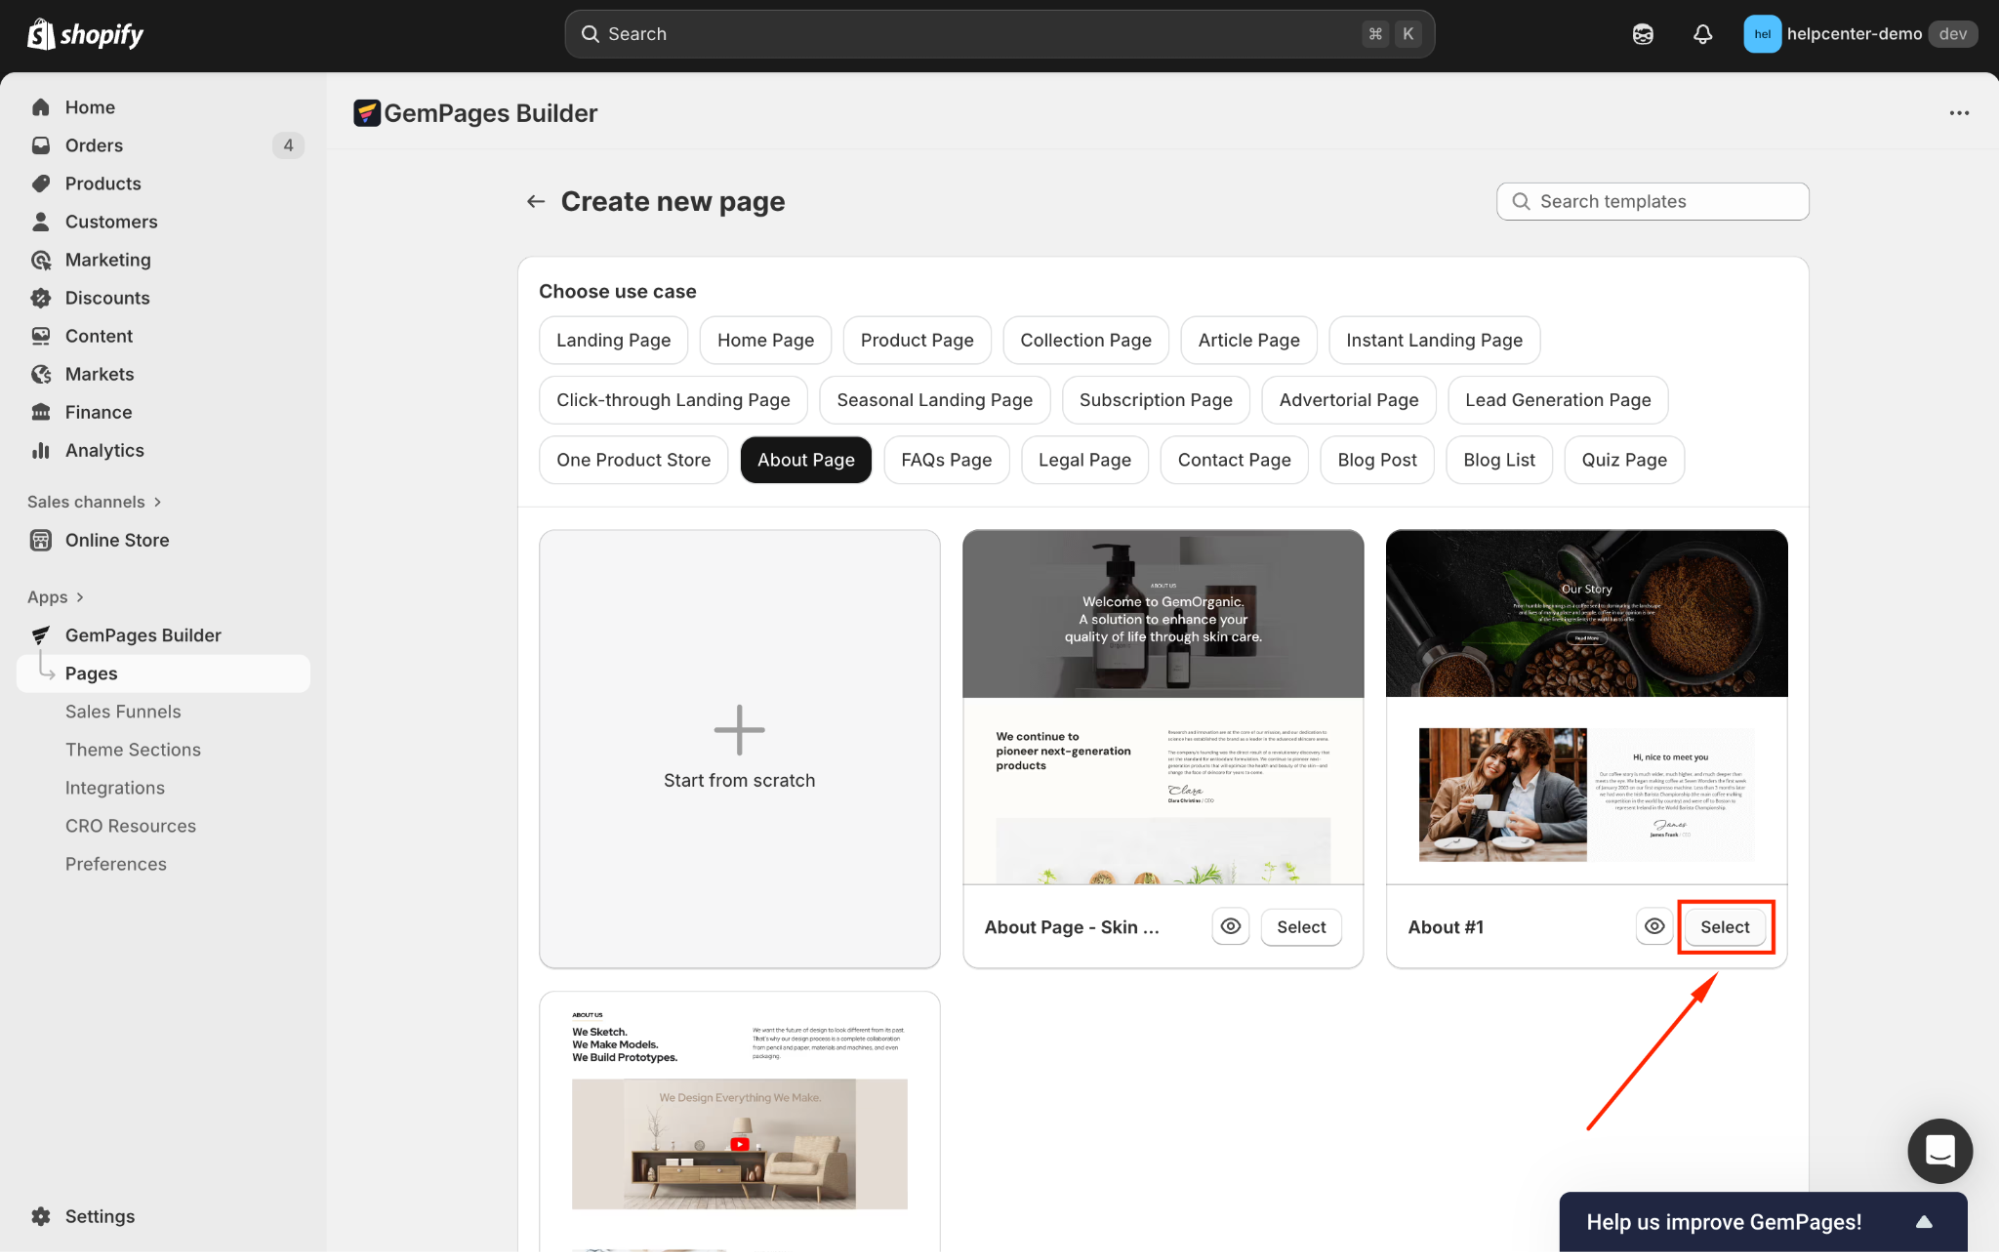
Step 2: You’ll see all predesigned templates tailored for the About Us page. Hit Select to start with your preferred one.
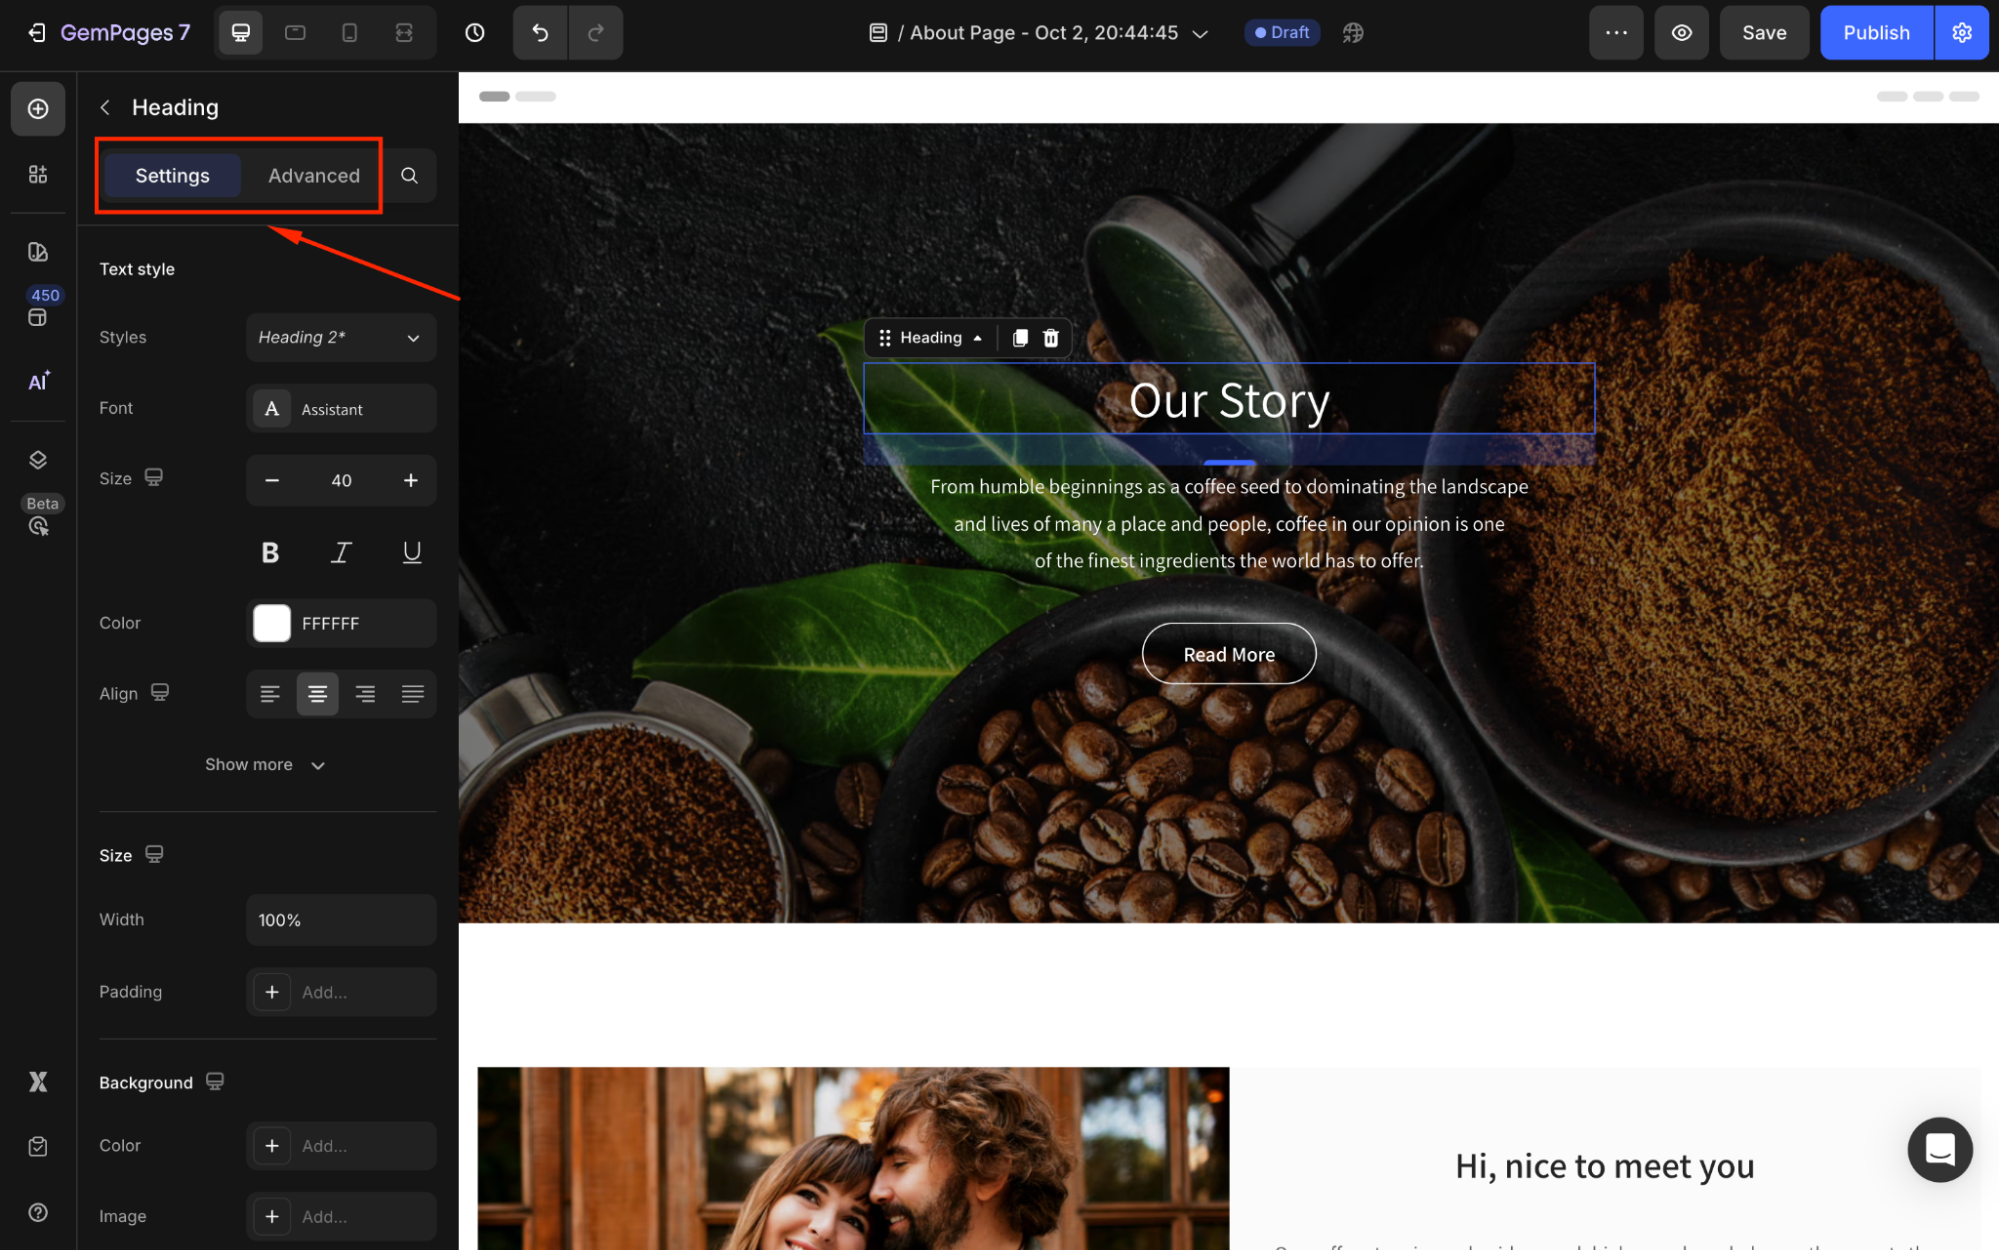
Step 3: After entering the editor, use the Settings and Advanced Tabs to personalize the template by editing text, images, layouts, adding elements, sections, etc.
Step 4: Once done, save your changes and hit Publish to make your About Us page live in the storefront.
Option 2: Starting from Scratch
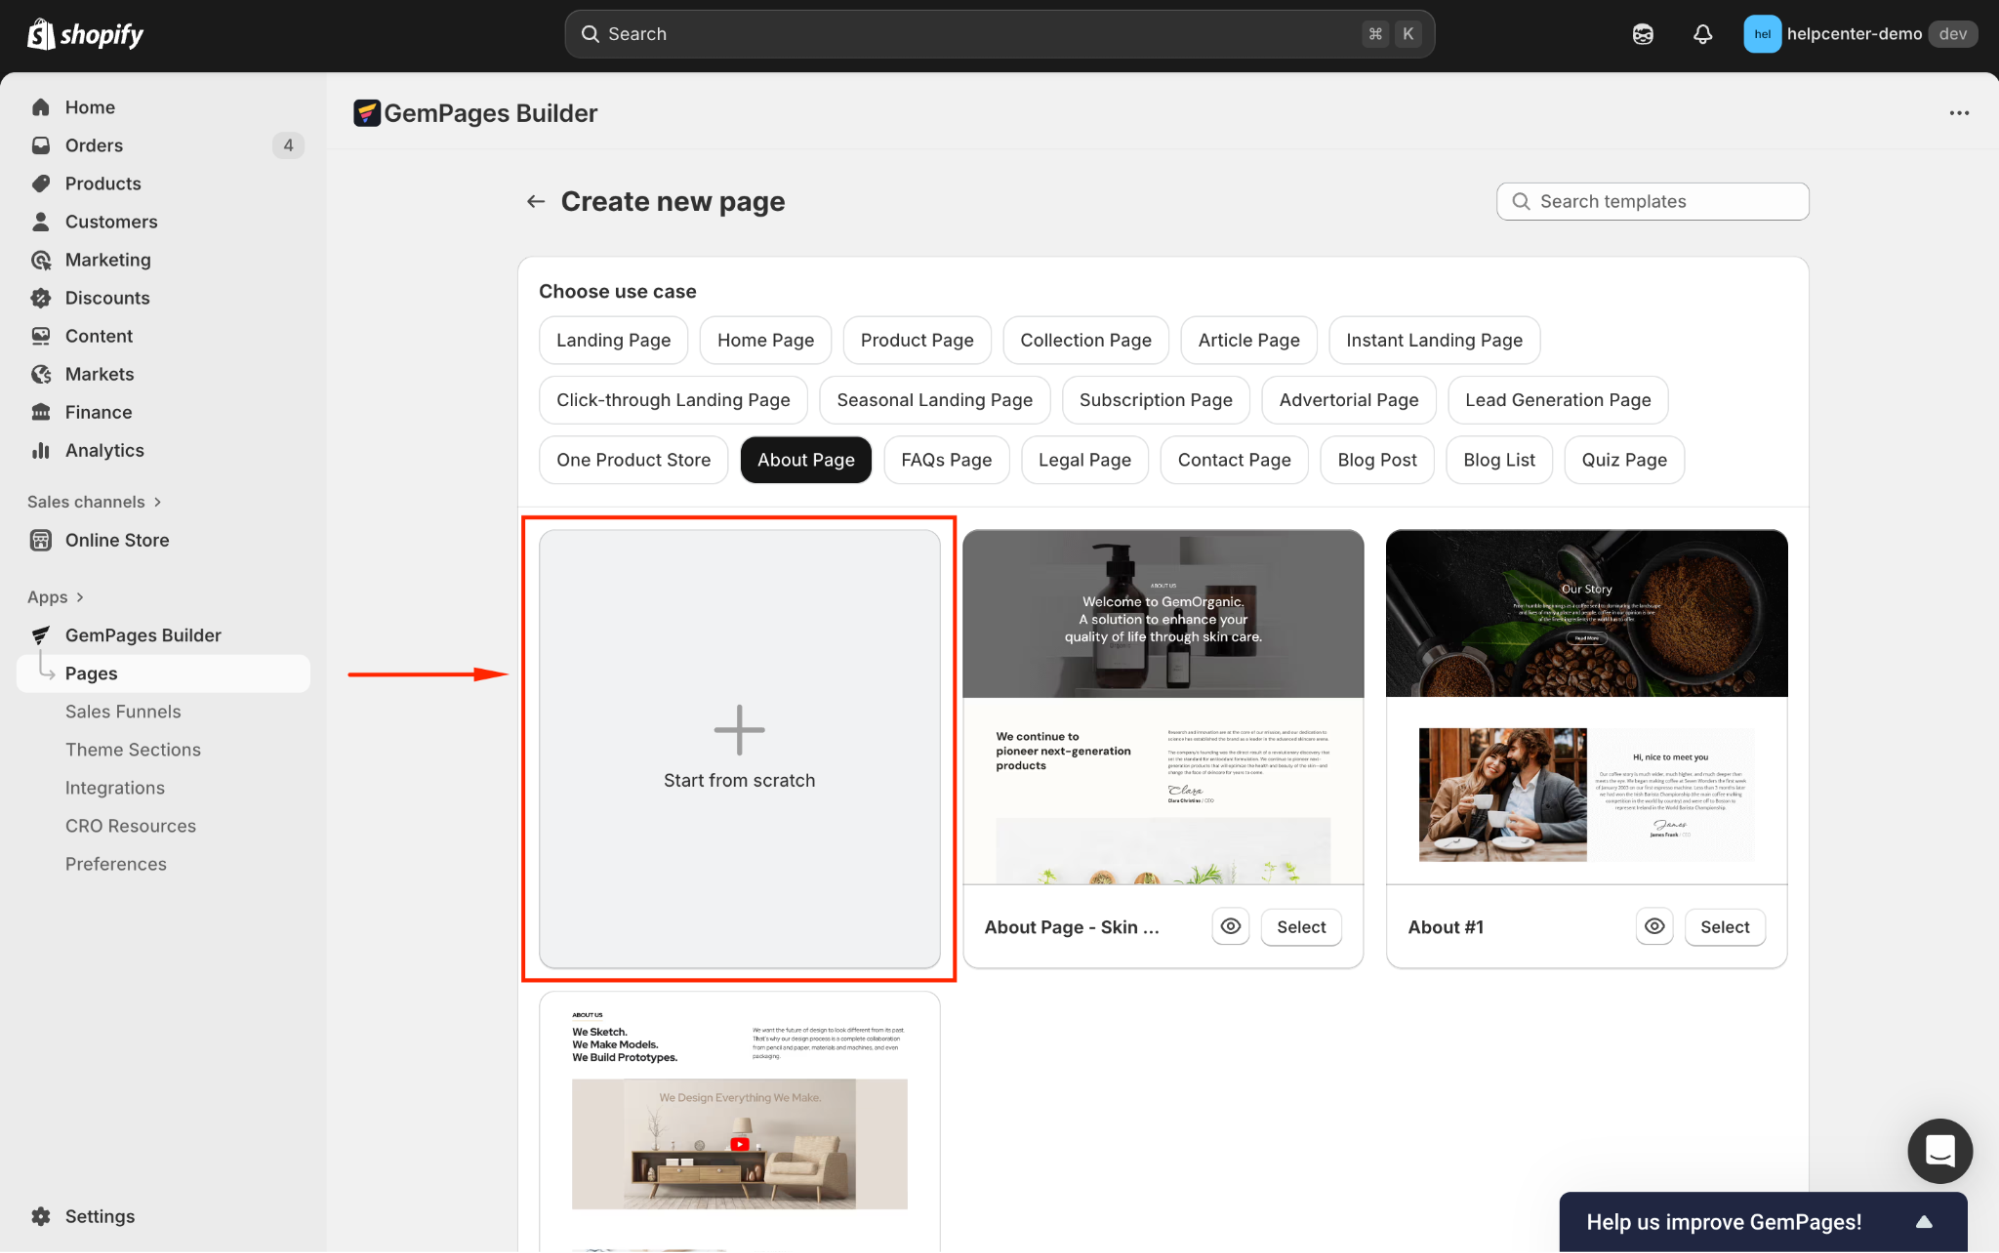
Step 1: Go to Pages > Create New Page. Select About Page as the use case and click on Start from Scratch.
Step 2: Build your page by dragging and dropping elements, such as:
- Hero Banner for a bold introduction.
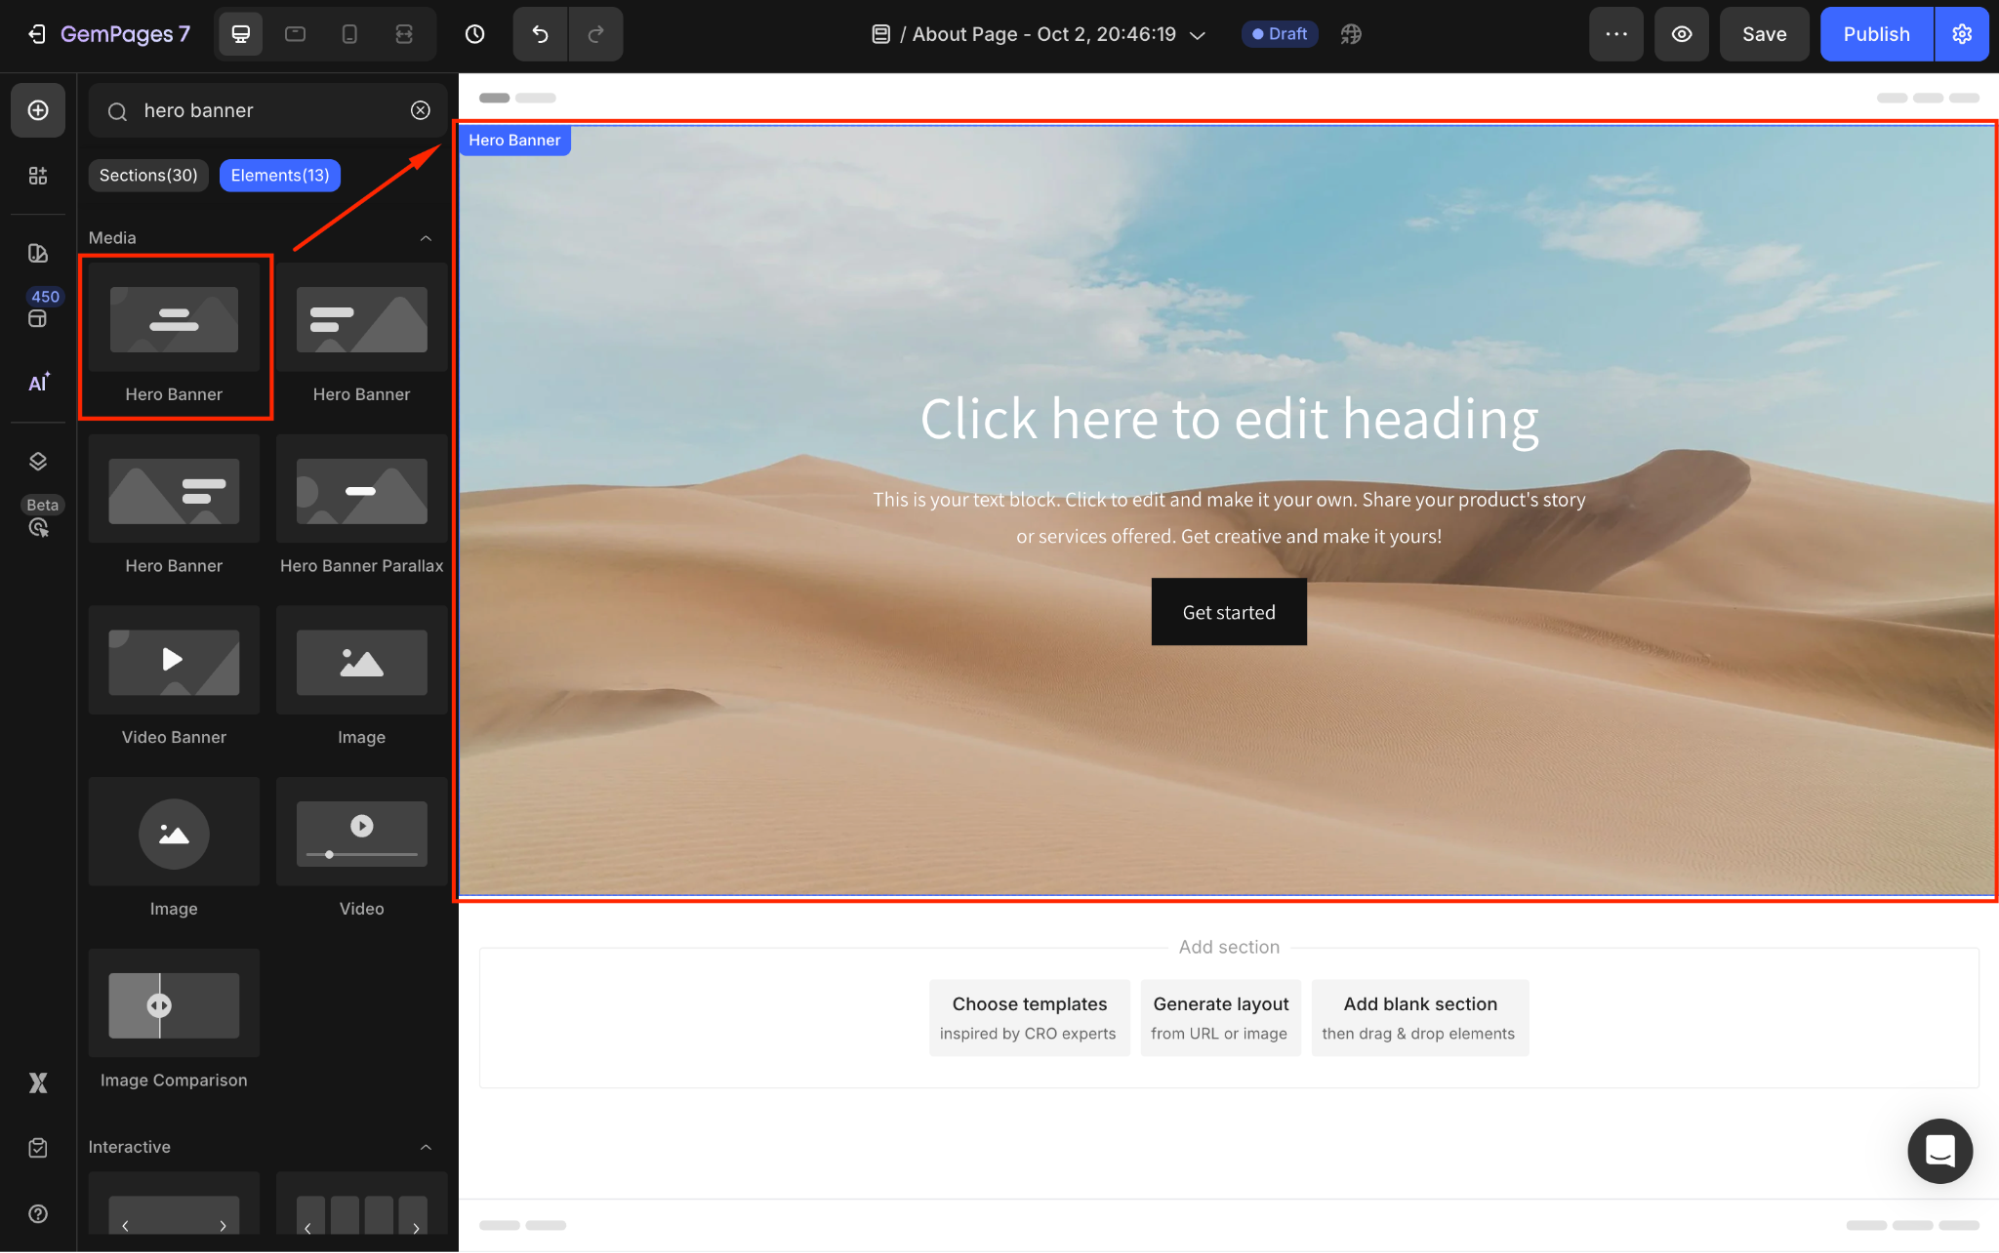
- Heading and Text Blocks to tell your story.
- Image elements to showcase your brand visually.

Similarly, you can enhance your design by adding more elements such as trust badges, testimonials, or a contact us section to further build trust and improve user engagement.
Step 3: Use the Settings and Advanced Tabs to ensure every element aligns with your branding and design goals.

Step 4: Once done, save the changes and publish your About Us page.
How to Link Your About Us Page to a Button?
If you want visitors to easily navigate to your About Us page, you can add a button anywhere on your store and link it directly:
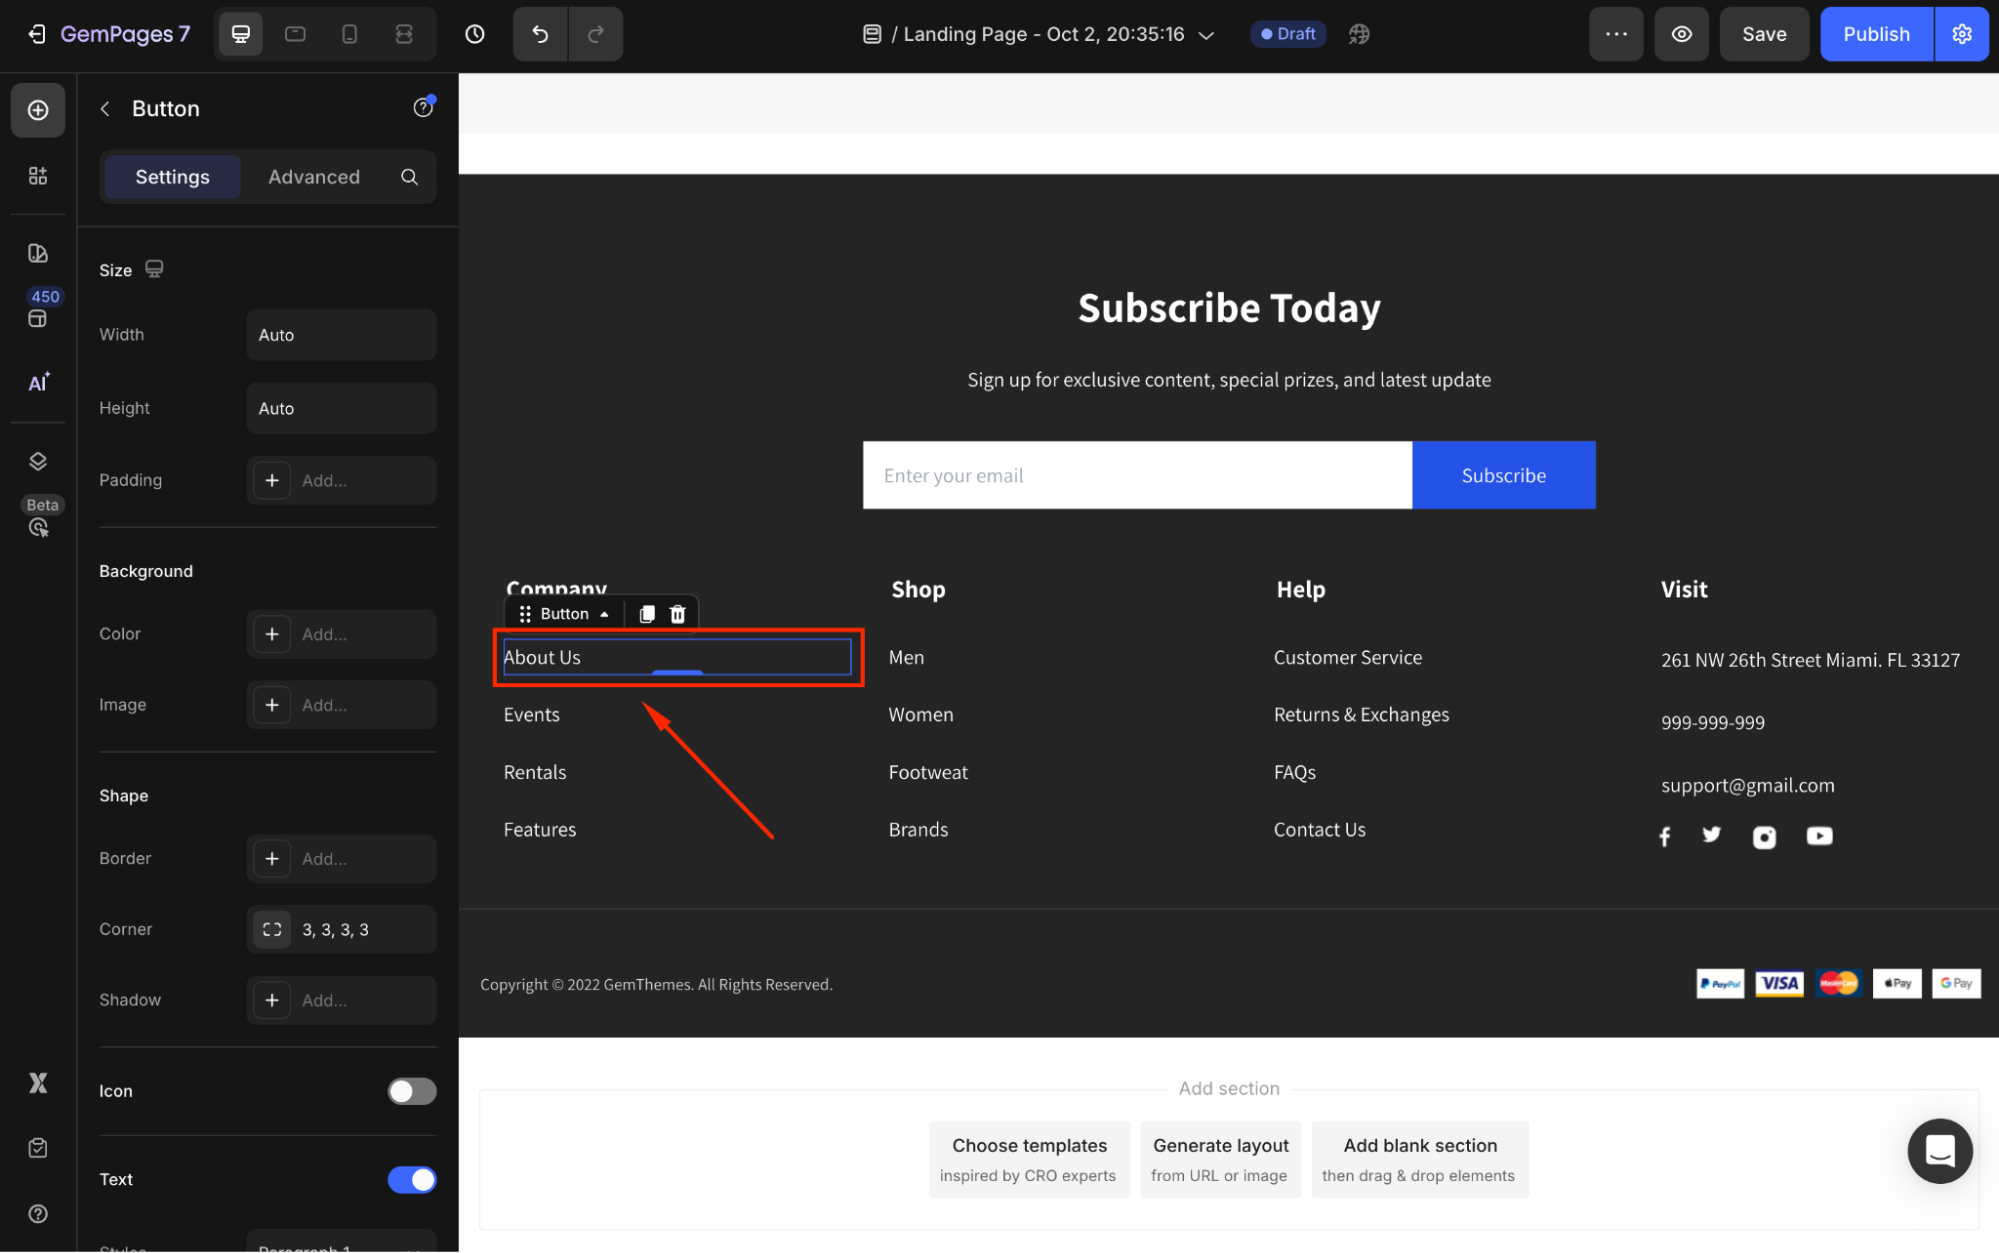
Step 1: In the GemPages Editor, drag & drop the Button element to your desired location (e.g., homepage hero, footer, or product page).
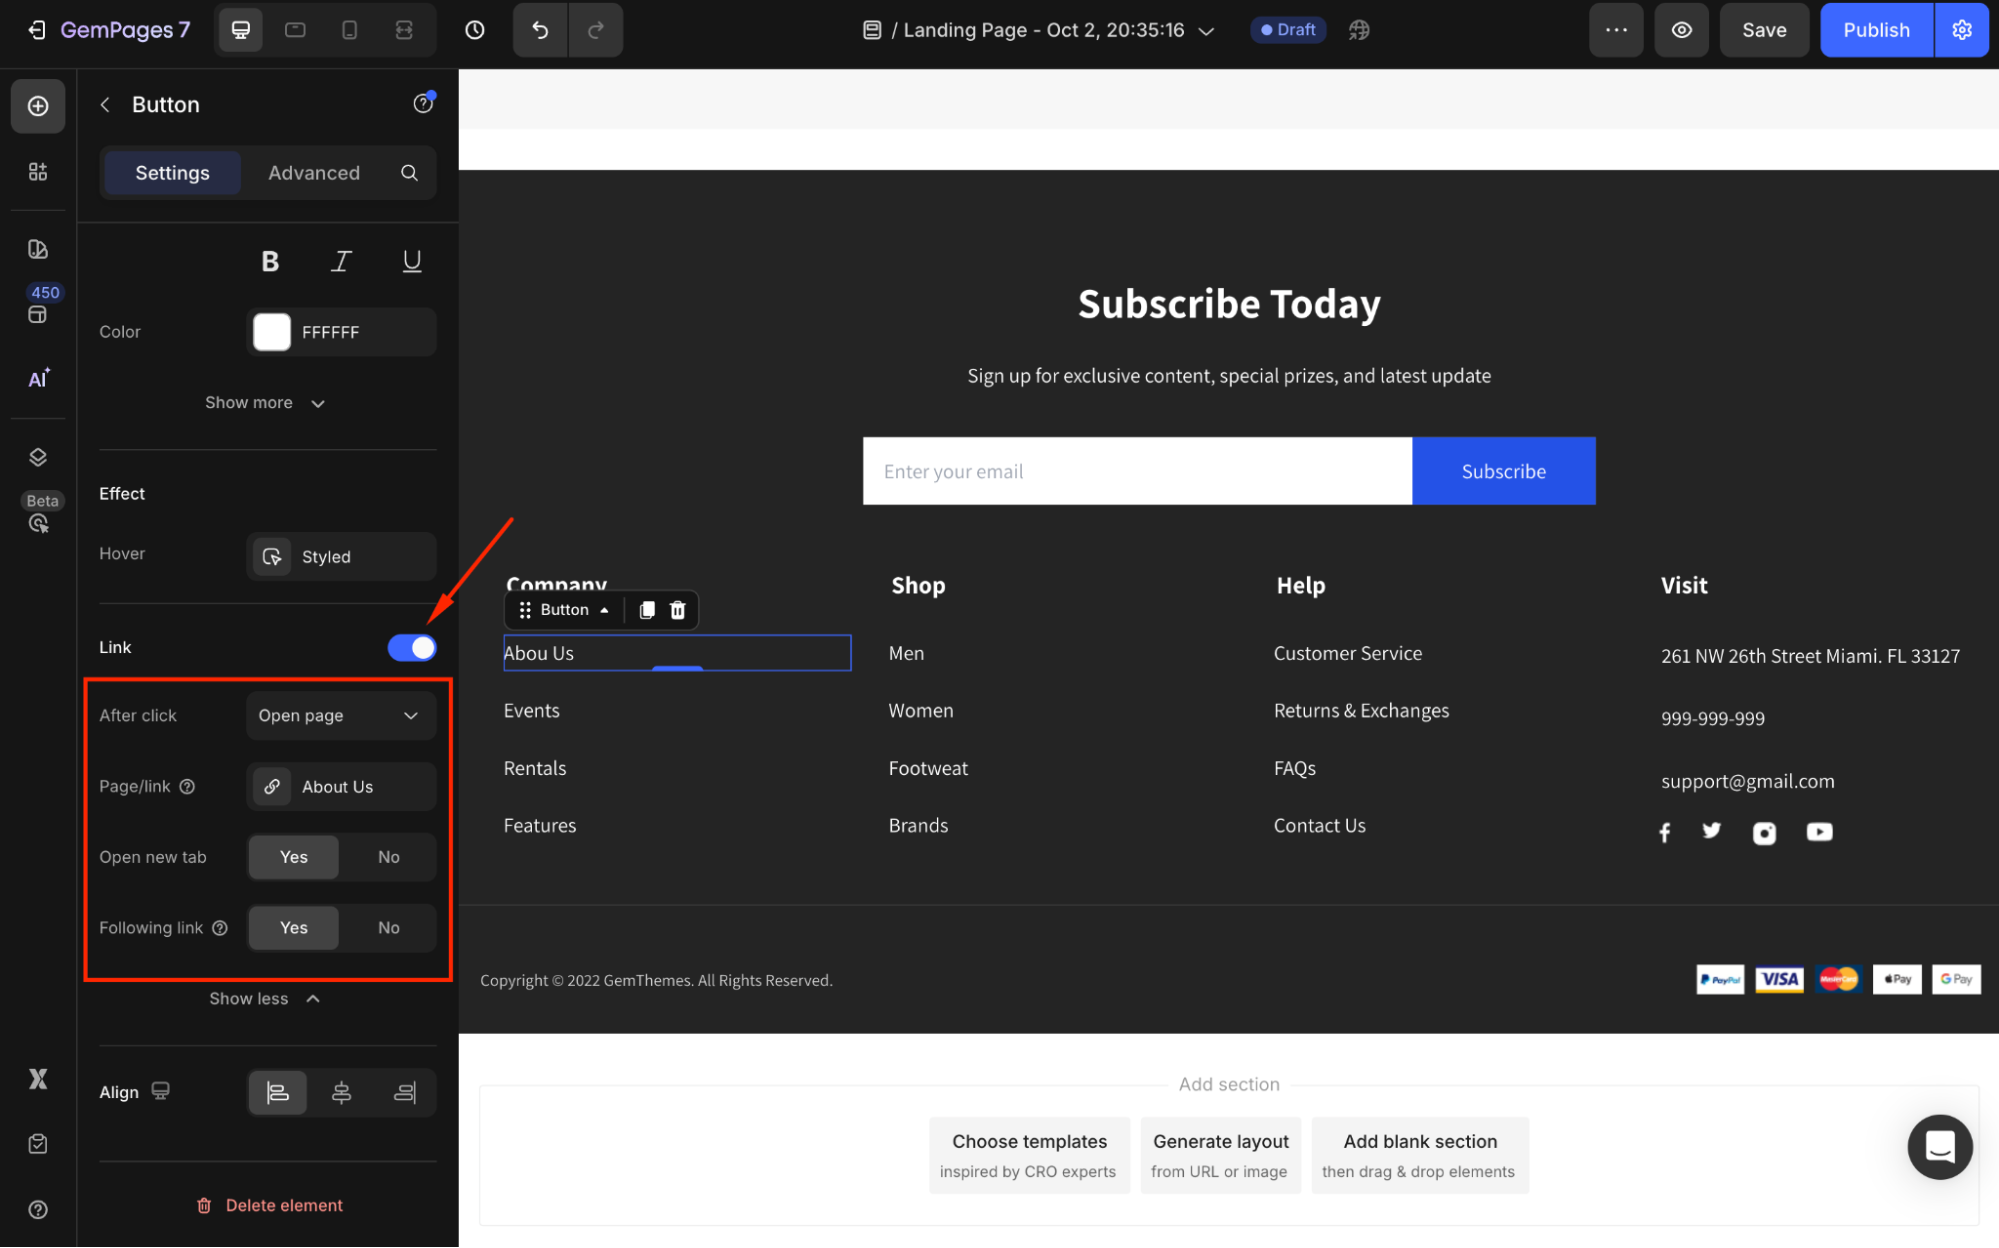
Step 2: In the left sidebar, scroll down to the Link section and toggle it ON.
Step 3: Under Link, choose Open Page and paste the URL of your About Us page. You can set it to be open in a new tab, and select to allow the search engine to follow through the page’s link or not.
Now, when customers click the button, they’ll be taken straight to your About Us page.
FAQs about About Us Section & Page
1. What’s the difference between an About Us section and an About Us page?
The About Us section is a smaller content block placed within an existing page, such as your homepage or product page, to briefly introduce your brand.
The About Us page, on the other hand, is a standalone page dedicated to providing a full overview of your brand story, mission, team, and history.
2. Can I reuse my About Us section on multiple pages?
Yes. When creating a section from scratch, you can save it as a theme section if you plan to reuse it across multiple pages.
3. How do I edit the About Us template after adding it?
Once you open your chosen About Us section or page in the Editor, use the Settings and Advanced tabs in the left sidebar to edit text, colors, layouts, and other design elements.


Thank you for your comments