


This article will guide you step-by-step on how to use the Layer Tree in GemPages Editor V7.
What is the Layer Tree feature?
The Layer Tree in GemPages Editor V7 displays your page’s sections and elements in a clear tree-structured view. This hierarchical layout allows you to:
- Navigate Easily: Quickly find and access specific sections or elements on your page.
- Manage Layout Effectively: Visually control the order and nesting of your design components.
- Boost SEO: A well-structured page hierarchy helps search engines like Google better understand your site, potentially improving your rankings.
How to Use the Layer Tree in GemPages Editor V7
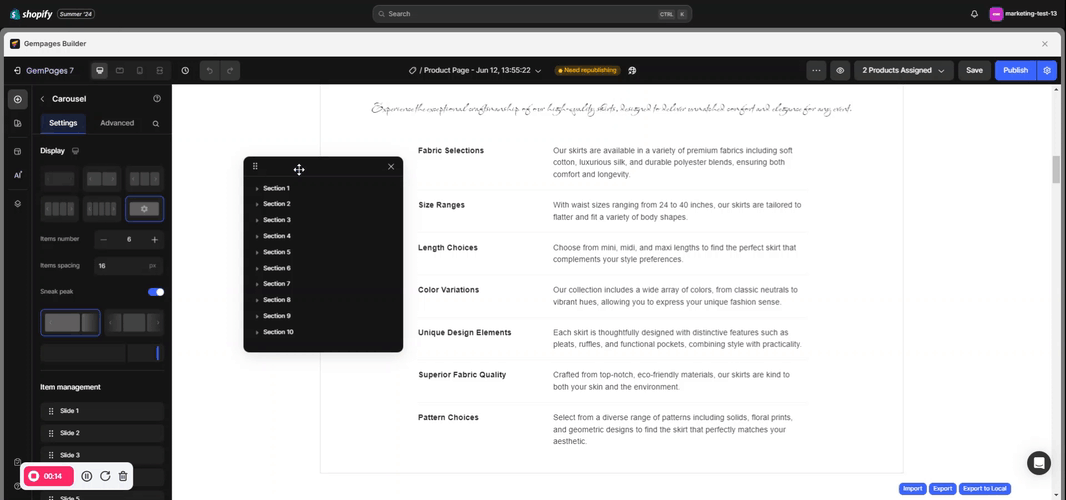
Step 1: Open GemPages Editor V7 and find the Layer Tree icon on the left side of the bar.
Step 2: Click the Layer Tree button to open the panel.
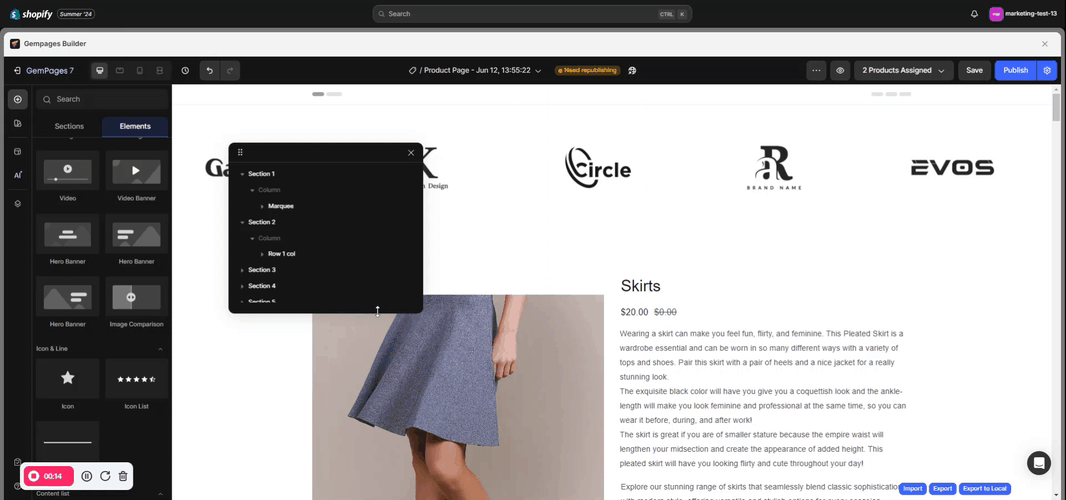
Step 3: Click on any section to expand it and view the elements contained inside.
Hover over each element in the tree to highlight its corresponding area in the design workspace.
Customize Your Layer Tree Panel
You can customize the Layer Tree panel for an optimal workspace experience:
- Move the Layer Tree panel within the design area only, moving it outside (e.g., sidebar or header) is not allowed.
- Adjust the panel’s width and height within the following limits:
- Max width: 320px
- Min width: 180px
- Max height: 700px
- Min height: 150px
Note: The maximum & minimum width and height of the Layer tree modal are as follows:
– Max width = 320px
– Min width = 180px
– Max height = 700px
– Min height = 150px
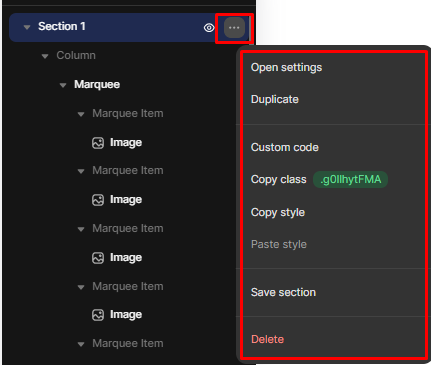
- Open the context menu by clicking the “…” button
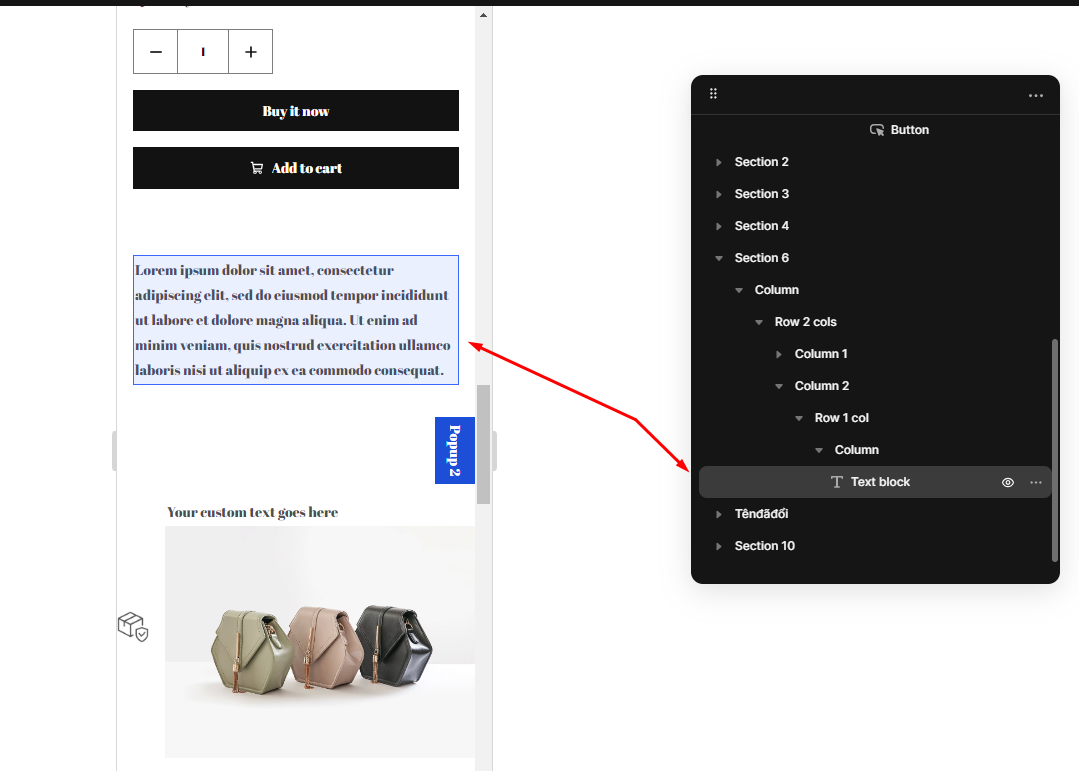
- Highlight each element in the design area by hovering over it.


Thank you for your comments