


Why Create a Personalized Product Page?
A personalized shopping experience helps your store stand out and encourages customers to connect with your products. With GemPages, you can design a personalized product page that allows customers to:
- Enter custom text details such as names, initials, or messages for engraving, printing, or embroidery.
- Select from product variants like sizes, materials, or colors using dropdowns or swatches.
- Upload files and images (e.g., logos, photos, or artwork) for customized products such as photo gifts or branded apparel.
Custom Options for Personalized Product Pages
Custom options and file upload elements play a crucial role in building personalized product pages, allowing customers to tailor products to their specific needs. These features enhance the shopping experience by offering interactivity and customization.
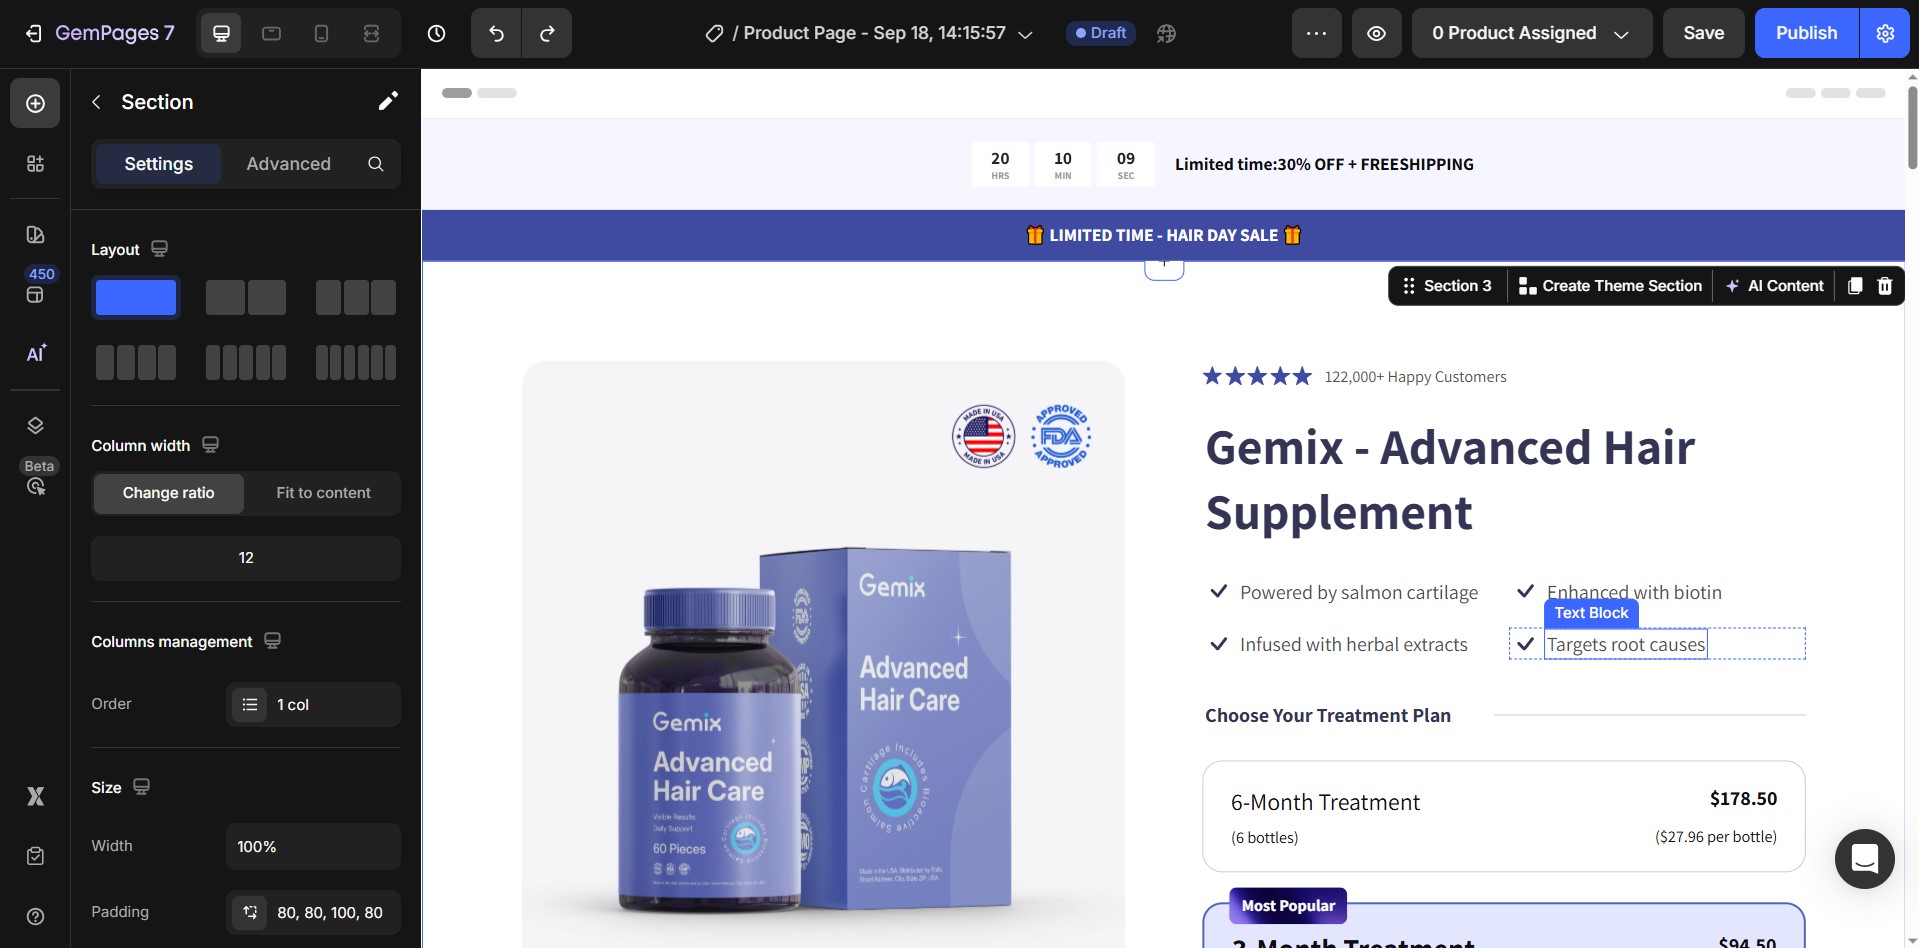
1. Custom Options
- Custom Fields: Allow customers to add personalized details such as names or messages for engraving, and printing.
- Product Variants & Swatches: Provide visual options for customers to select product variants like sizes, types, and colors.
2. File Uploads
Enable customers to upload files such as images or designs for personalized products like photo prints or custom apparel.
These elements help you create a unique, customer-focused shopping experience, increasing engagement and satisfaction.
How to Create a Personalized Product Page with Custom Options and File Upload
Step 1: Create a New Product Page
- Navigate to your GemPages dashboard.
- Create a new product page by following the standard procedure.
- Add essential product details, such as title, tag, price, and description to your product element.
Step 2: Add Custom Options and File Upload Elements
To Add Custom Options:
- Find the appropriate element for your custom options in the Element Library.
- Drag and drop the relevant Custom Option Elements (e.g., Custom Field or Color Swatches) onto the page.
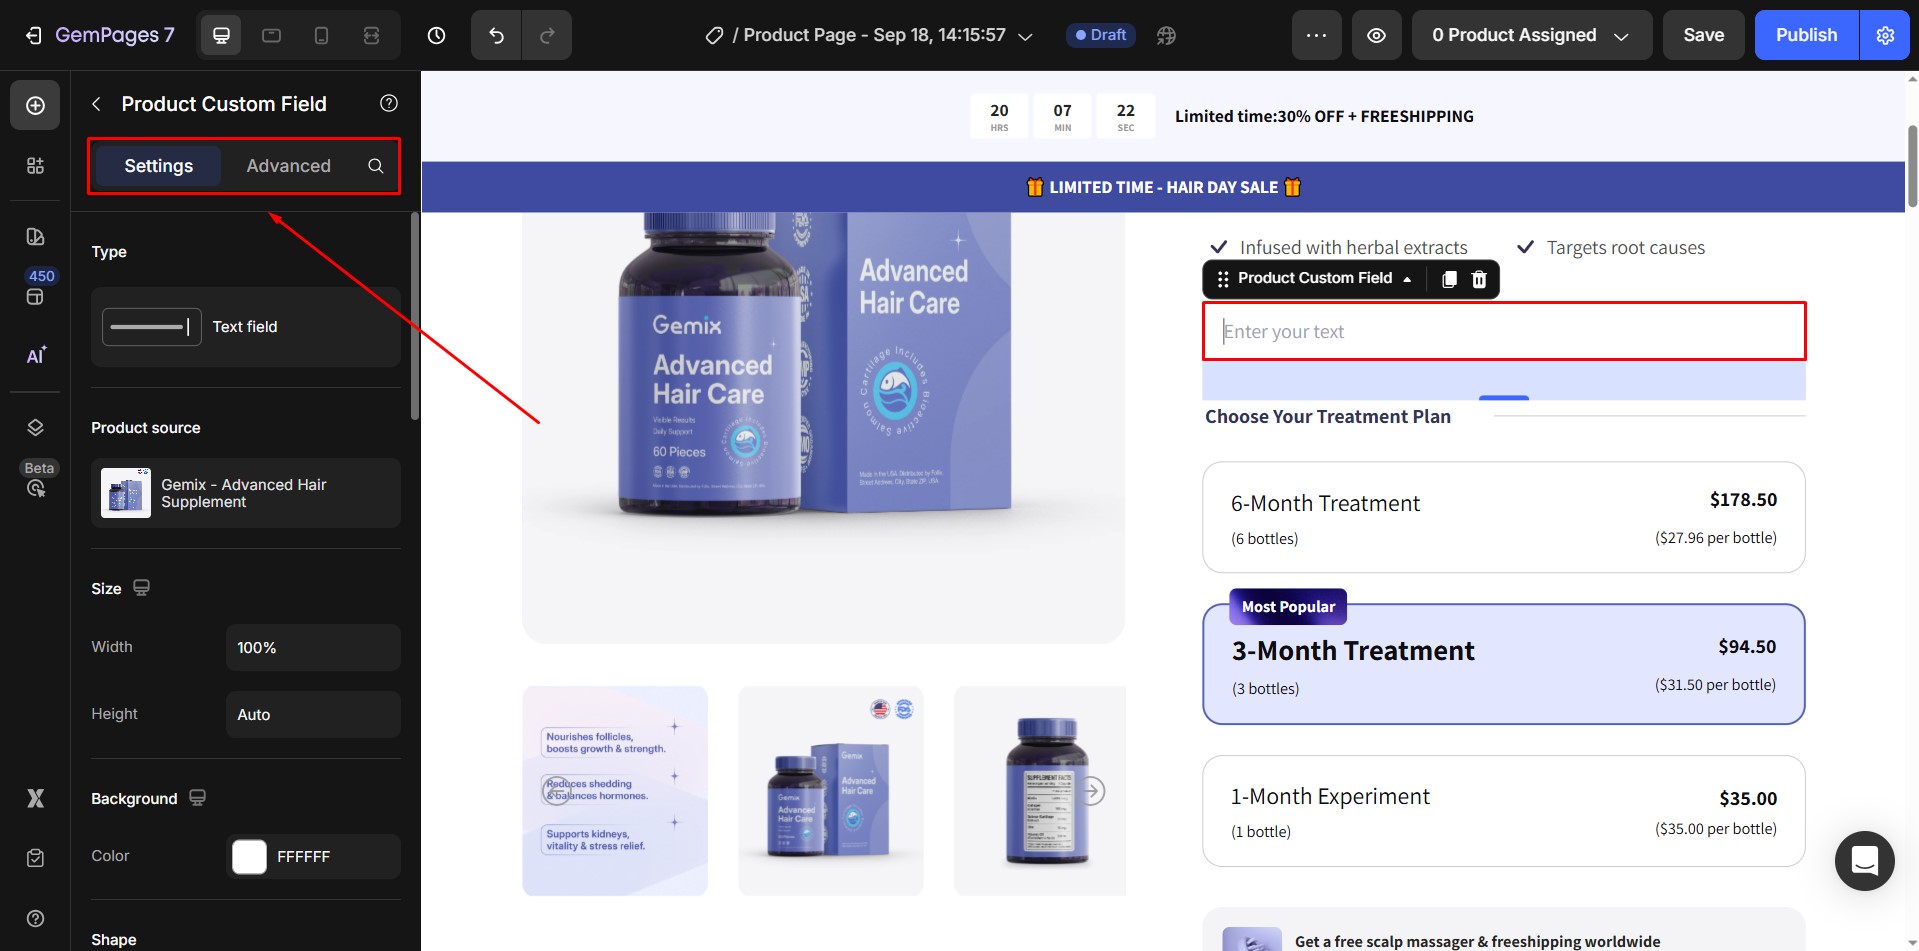
Example: To insert a Custom Field for name printing requests, drag the element into your layout.
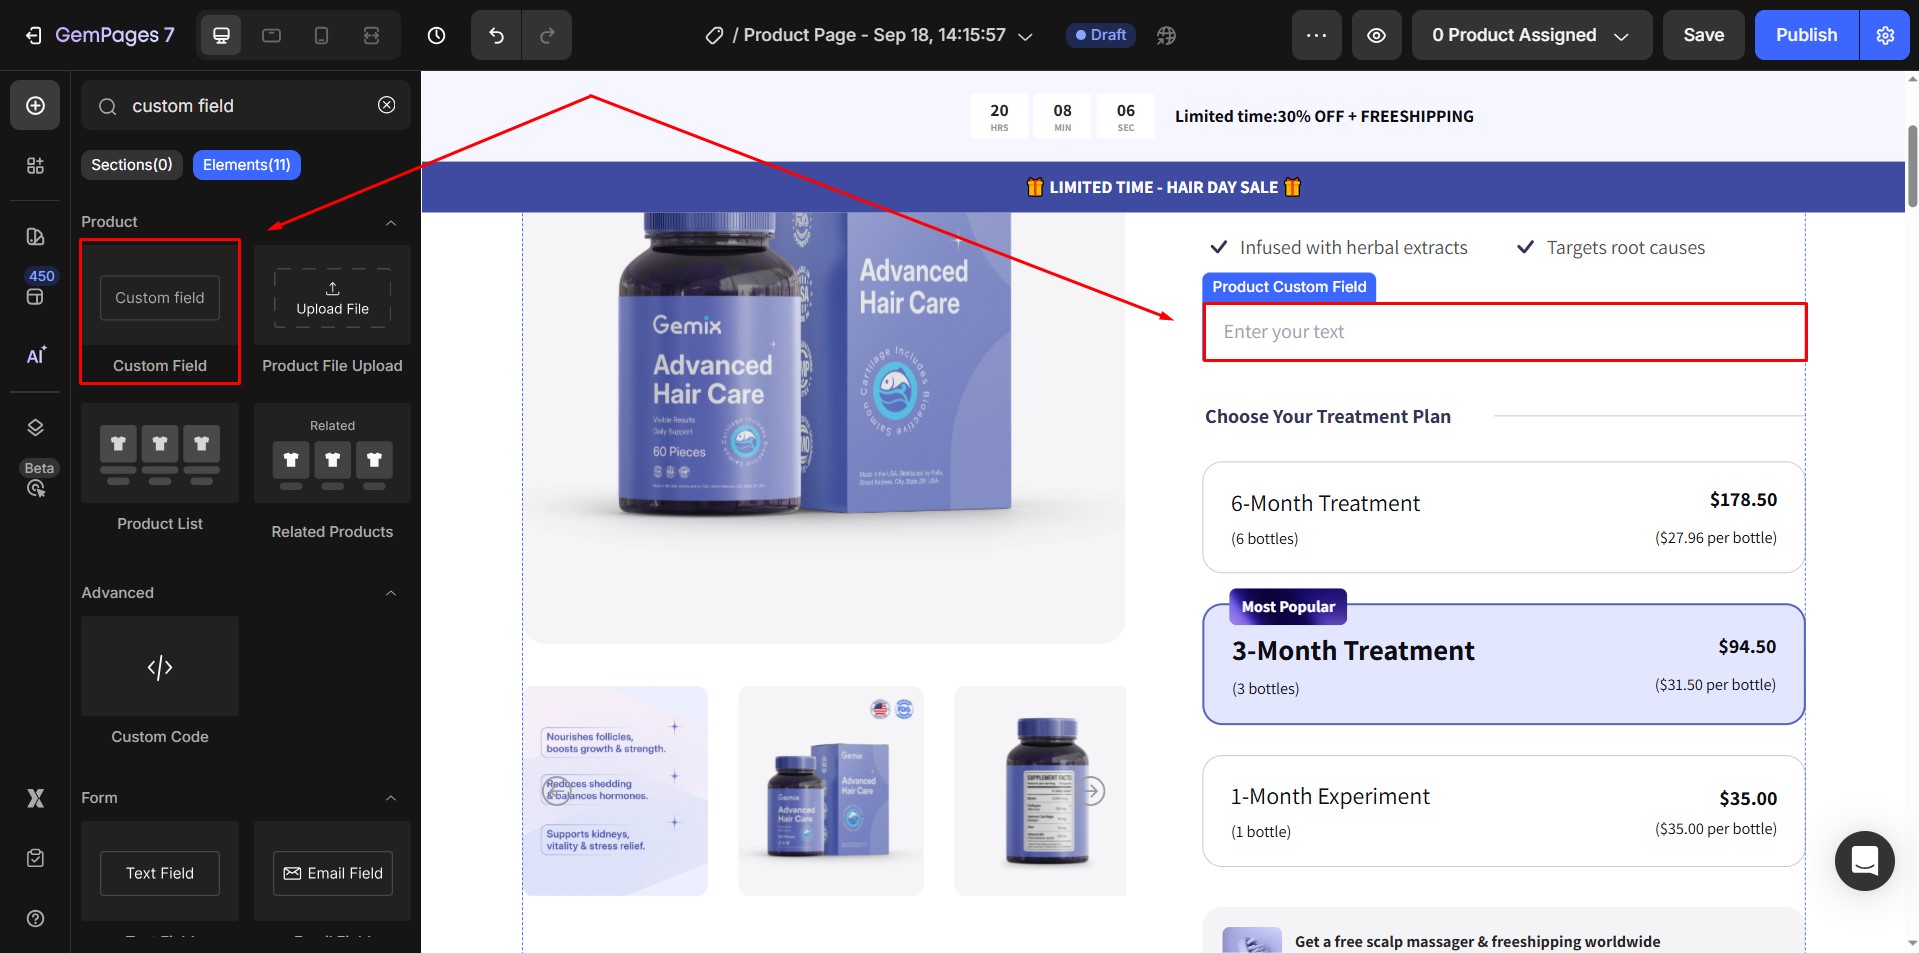
- Configure the text placeholder, size, and alignment.
To Add File Upload Element:
- Drag and drop the File Upload element into the product page.
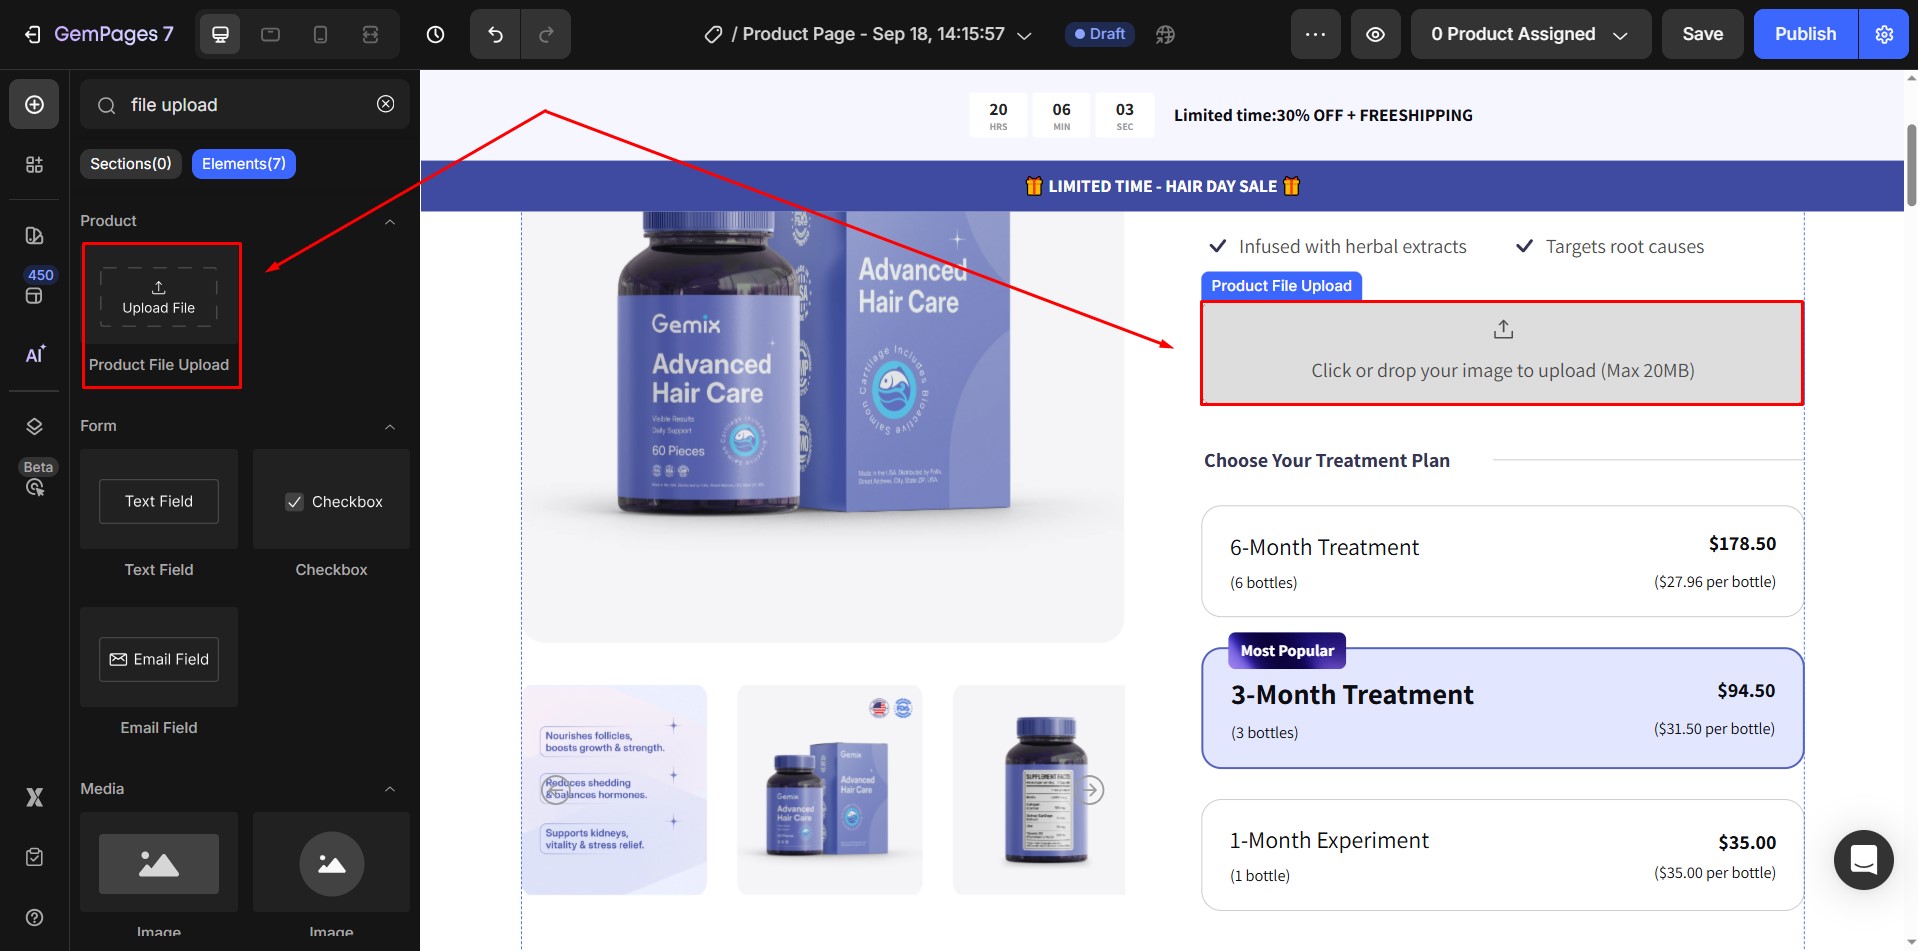
- Configure the File Upload element’s settings to define accepted file types, file size limits, and placeholder instructions.
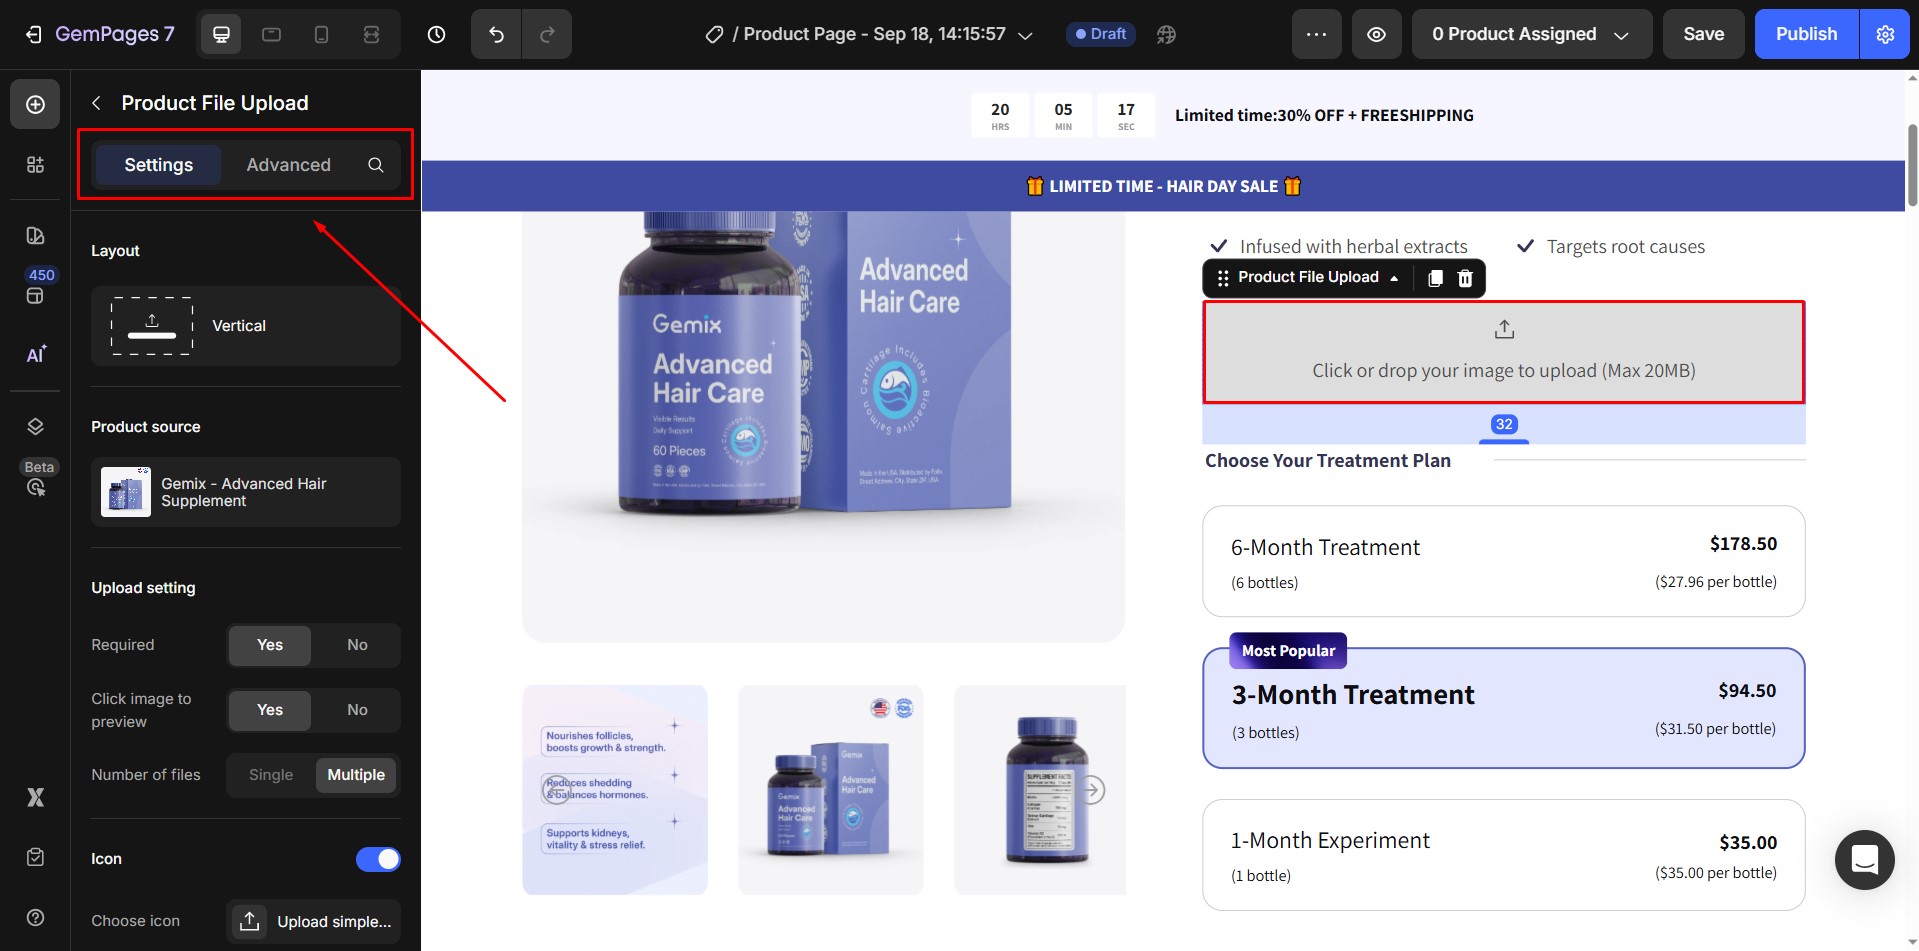
- Provide clear instructions like “Upload your photo or design here” to guide customers through the process.
Use Easify Product Options Variant App for Advanced Customization
For more advanced product customization, you can also use the Easify Product Options Variant app. It offers features like text fields, file uploads, dropdowns, and conditional logic to enhance your product pages effortlessly.


Thank you for your comments