


If you’re looking to design flexible, high-converting pages on Shopify, without relying on developers or rigid theme templates, this guide will walk you through how to use GemPages to take full control of your store’s experience.
GemPages is a no-code, CRO-driven page builder designed for Shopify merchants who want to go beyond basic design limitations and build revenue-focused storefronts, landing pages, and sales funnels in less time.
What is GemPages?
A seamless, high-converting page builder crafted specifically for Shopify merchants. Effortlessly build powerful sales funnels—including post-purchase upsell and downsell flows—with zero hassle.
- Access a library of 400+ expertly designed templates across a wide range of industries and formats—from advertorials and landing pages to product showcases, collection pages, blogs, and storytelling layouts.
- Design a standout, branded storefront using a user-friendly drag-and-drop editor.
- Supports all essential Shopify page types: Homepage, Product, Collection, Blog, FAQ, and Landing Pages.
- Mobile-optimized, stunning templates that align perfectly with the latest Shopify themes.
- Boost sales with built-in CRO tools like countdown timers, low-stock indicators, product bundles, and before/after showcases.
- Minimize design time—instantly turn images or URLs into layouts with the help of AI.
- Fully customizable sales funnels with built-in support for post-purchase upsells and downsells.
How to Install GemPages on Shopify
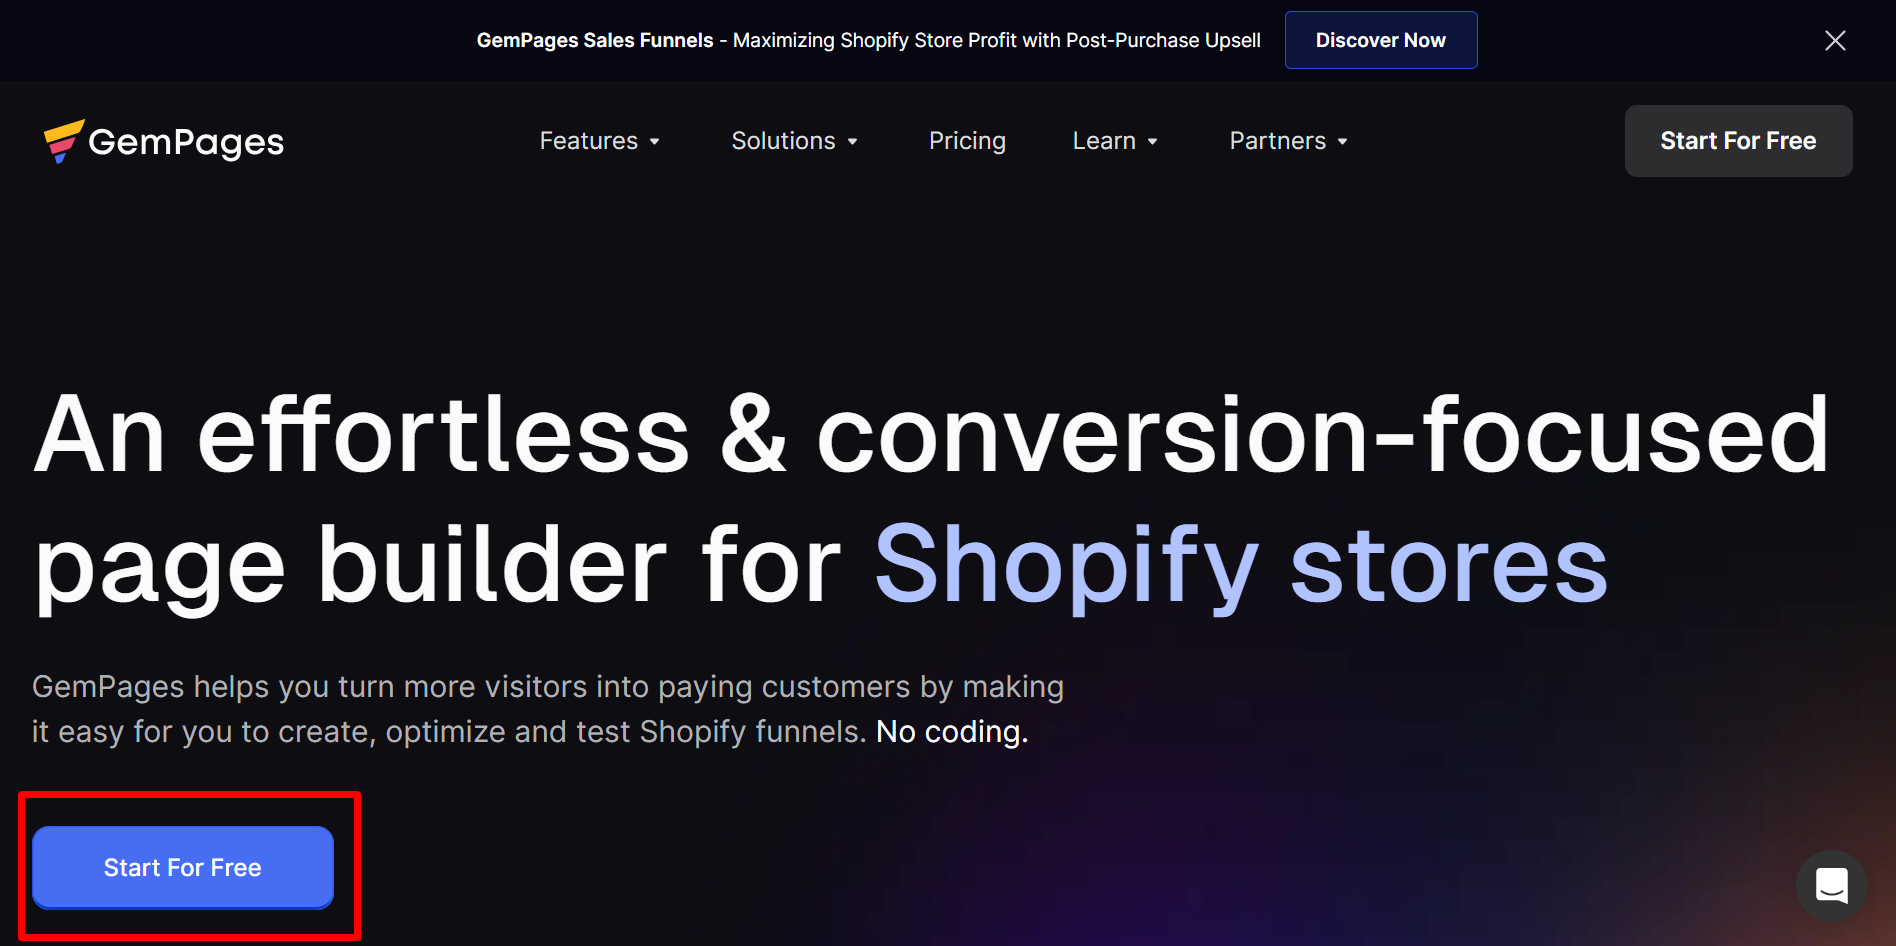
Step 1: Navigate to the GemPages website.
Step 2: Click on “Start for Free” to begin the installation process.
Step 3: Follow the prompts to integrate GemPages with your Shopify store.
Step 4: Once installed, access GemPages from your Shopify admin dashboard.
For more detailed guidelines on installing GemPages, please refer to this article.
How to Access GemPages
After installation:
Step 1: Log in to your Shopify admin panel.
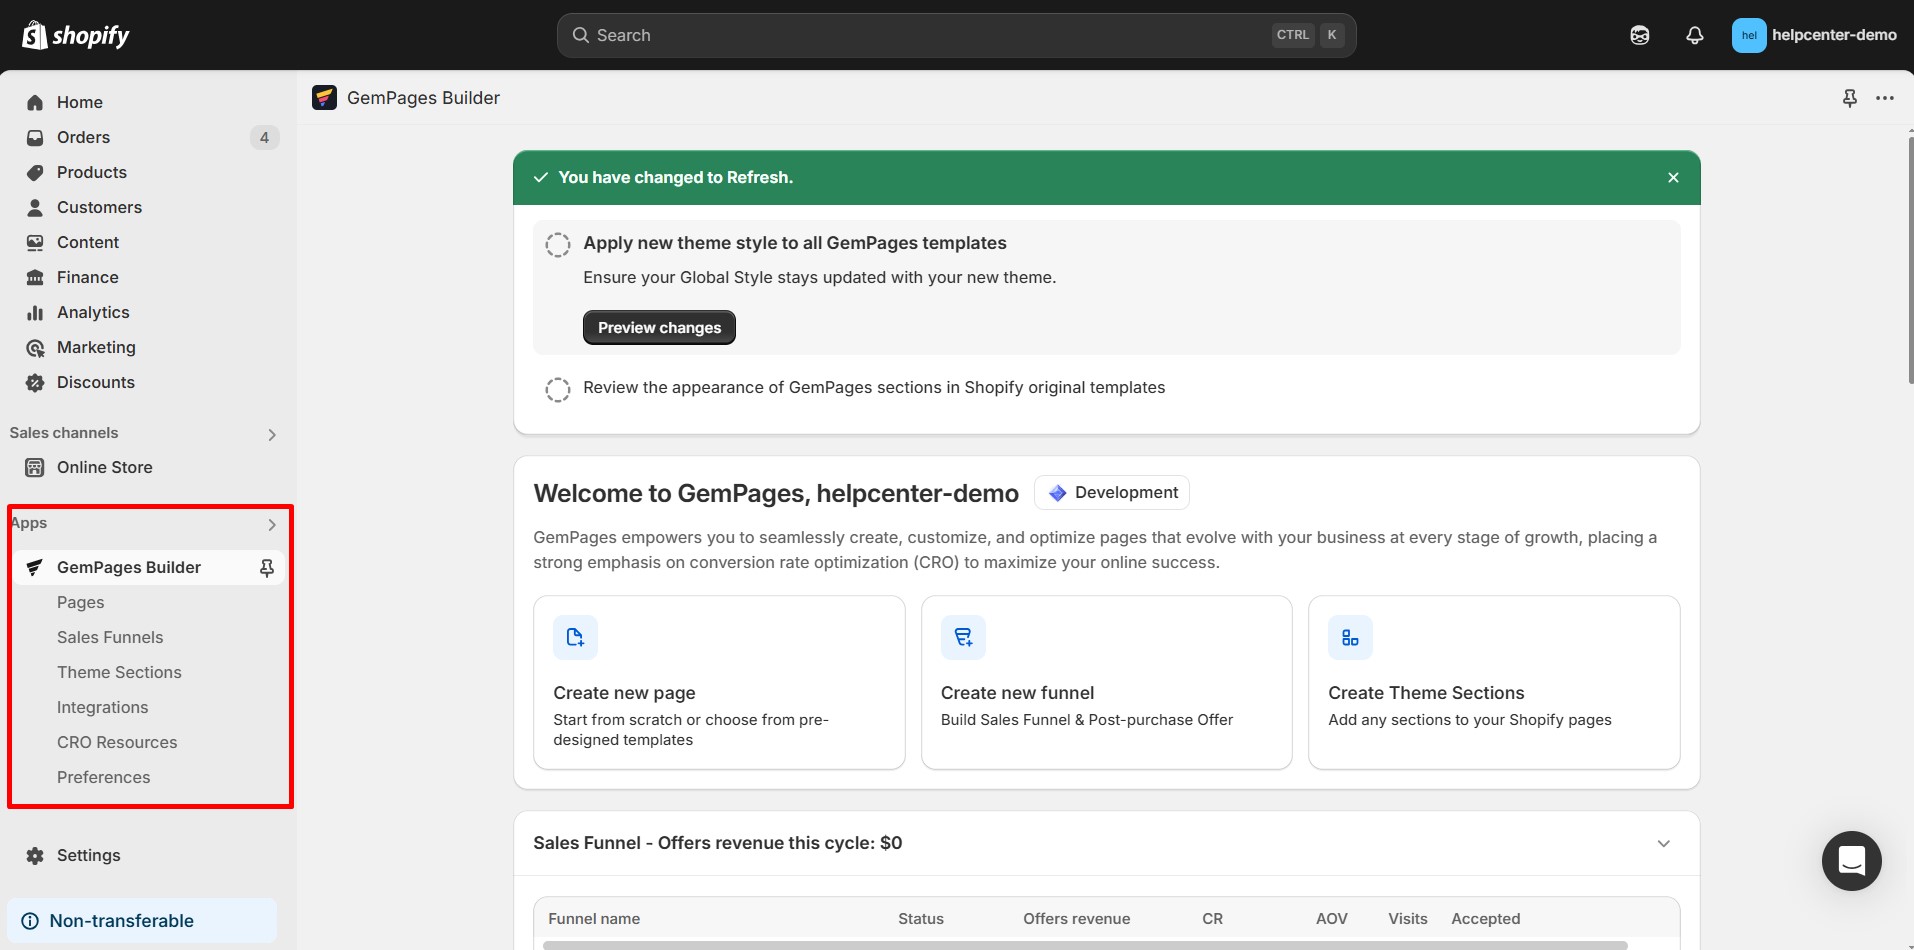
Step 2: In the left-hand sidebar, locate and click on “GemPages” to open the app.
How to Build a Page with GemPages
Creating a high-converting page with GemPages involves more than just dragging and dropping elements. Here’s how you can do it:
Step 1: Access the GemPages Editor
- Navigate to GemPages: From your Shopify admin dashboard, click on Apps and select GemPages Page Builder and click on “Create new page”.
- Choose Your Page Type: Decide whether you’re building a homepage, product page, collection page, or landing page.
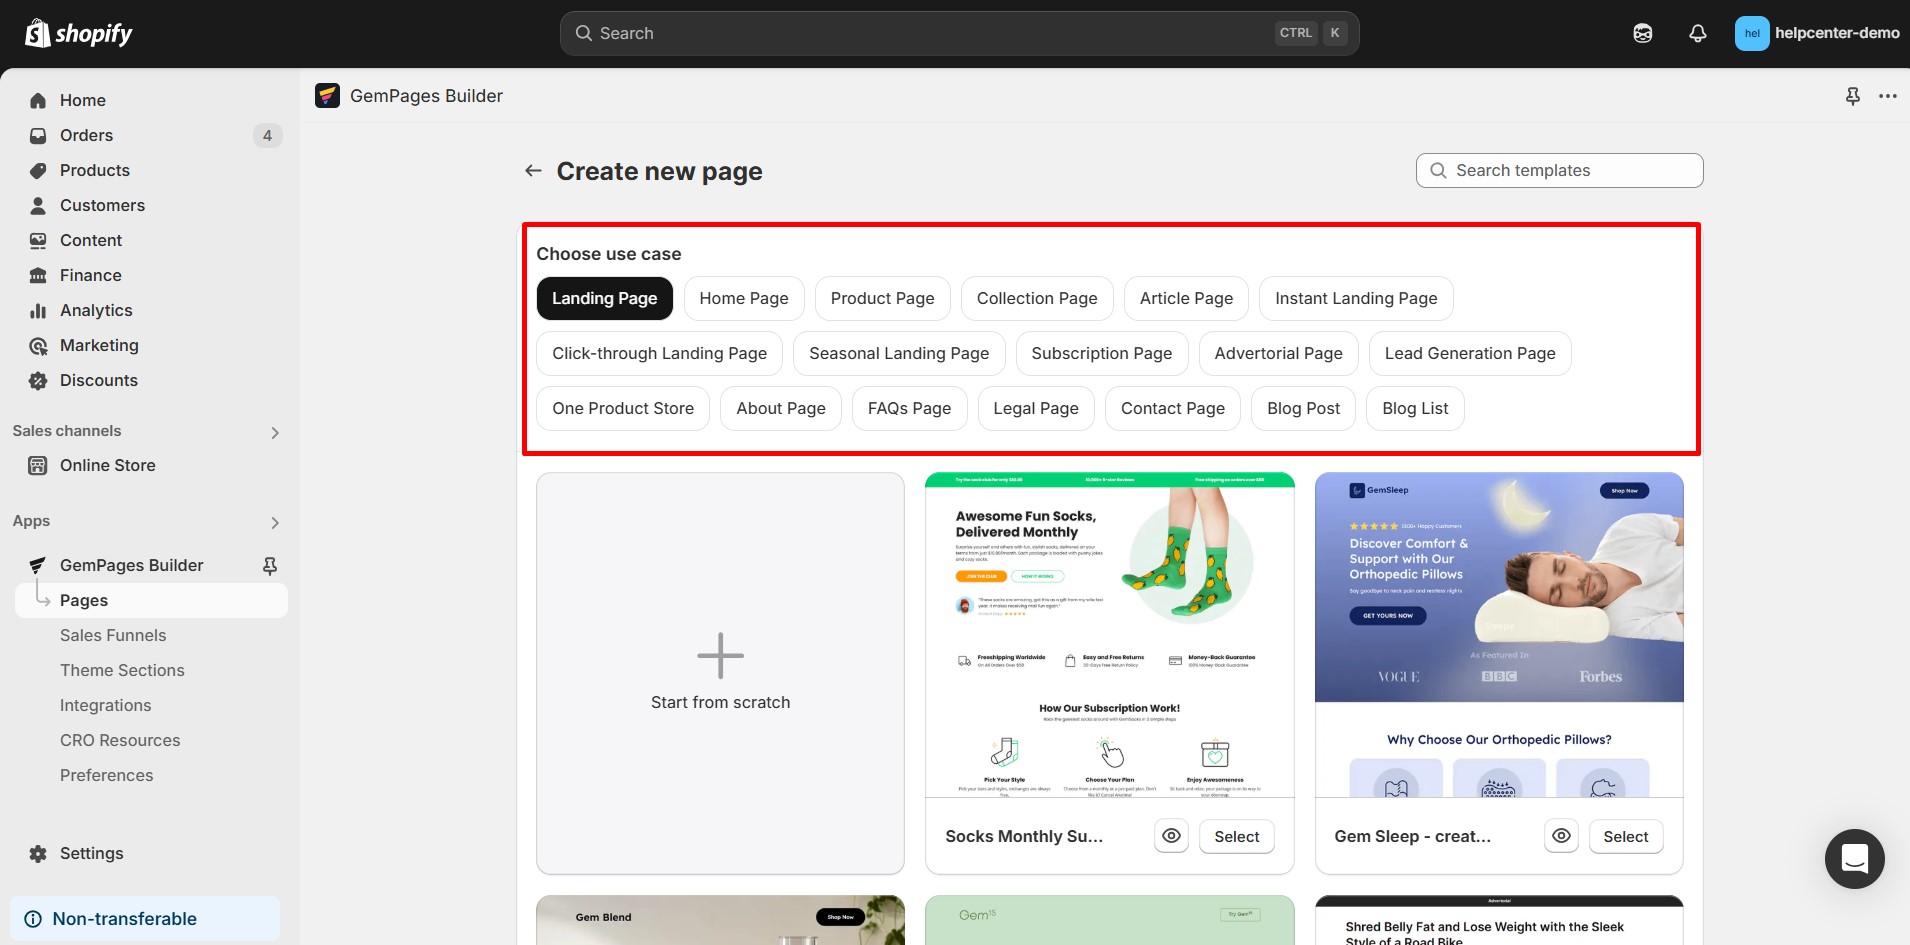
Step 2: Select a Template or Start from Scratch
- Using a Template: GemPages offers a variety of pre-designed templates tailored for different purposes. These templates are optimized for conversions and can serve as a solid foundation.
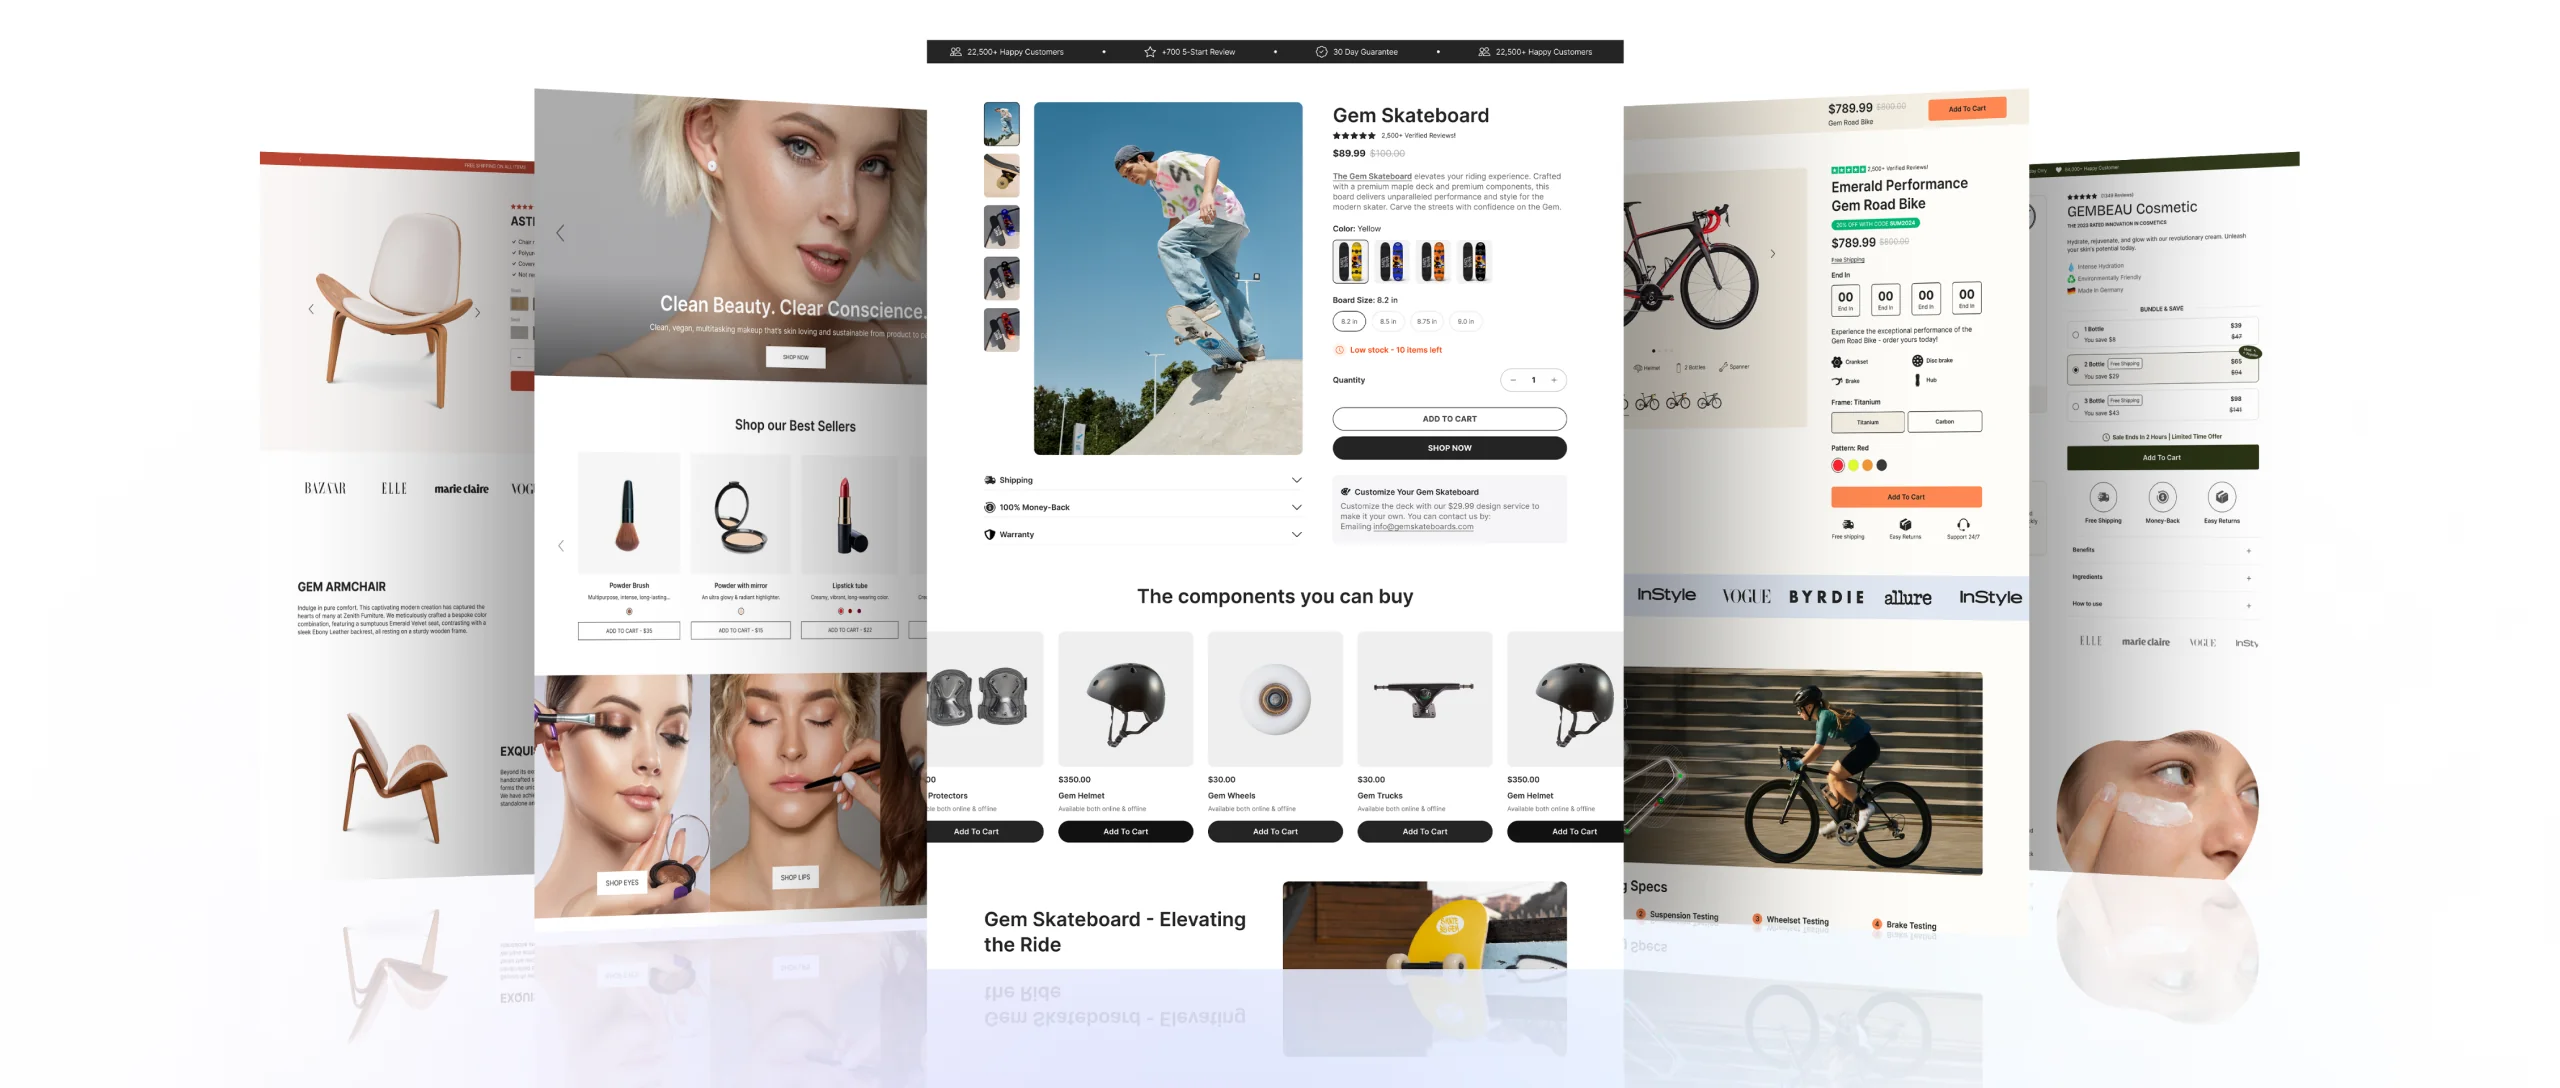
GemPages offers a library of 400+ expertly pre-designed templates across a wide range of industries and formats for you to choose from.
- Starting from Scratch: If you prefer full customization, you can start with a blank canvas. This option gives you complete control over the layout and design.
Step 3: Customize Your Page Layout
- Drag-and-Drop Editor: Utilize the intuitive drag-and-drop editor to add, remove, or rearrange elements on your page.
- Add Sections: Incorporate various sections such as headers, footers, product grids, testimonials, and call-to-action (CTA) buttons.
- Responsive Design: Ensure your page is mobile-friendly by previewing and adjusting the layout for different devices.
Step 4: Incorporate CRO-Focused Elements
To enhance conversions, integrate the following elements:
- Countdown Timers: Create urgency and encourage immediate action.
- Scarcity Badges: Highlight limited stock to prompt quicker purchases.
- Trust Badges: Display security and payment assurance icons to build credibility.
- Social Proof: Show customer reviews and testimonials to build trust.
- Product Recommendations: Suggest related products to increase average order value.
- Sticky Add-to-Cart Buttons: Keep the CTA visible as users scroll, making it easier to add products to the cart.
Step 5: Optimize for SEO
- Meta Tags: Edit the page title and meta description to include relevant keywords.
- Alt Text for Images: Add descriptive alt text to images for better indexing by search engines.
- URL Structure: Ensure the URL is clean and includes primary keywords.
For more information on improving your on-page SEO, please refer to this article.
Step 6: Preview and Test Your Page
- Desktop and Mobile Views: Preview your page on both desktop and mobile devices to ensure responsiveness.
- A/B Testing: Consider creating multiple versions of your page to test different layouts, CTAs, and content. This can help determine what resonates best with your audience.
Step 7: Publish and Monitor Performance
- Publish: Once satisfied with the design and functionality, publish your page.
- Analytics: Use tools like Google Analytics and Shopify Analytics to monitor page performance, including bounce rate, average time on page, and conversion rate.
Getting to Know the Key Features
Sales Funnel Builder
GemPages’ Sales Funnel Builder allows you to create a complete, editable sales funnel, ensuring a seamless buying journey. It covers every step from sales pages to upsell/downsell pages
GemAI: Image to Layout
The image-to-layout feature enables you to convert images or URLs into editable layouts quickly, streamlining the design process.
Theme Section Builder
Theme section builder lets you unlock new growth opportunities by customizing theme sections, enhancing your store’s appearance and functionality.
Frequently Asked Questions
1. Do I need coding skills to use GemPages?
No, GemPages is designed for users without coding experience, offering a user-friendly drag-and-drop interface.
2. Can I use GemPages with any Shopify theme?
Yes, GemPages is compatible with all Shopify themes.
3. Is there a trial version available?
Yes, GemPages offers a free trial to get started.
4. How can I optimize my pages for mobile devices?
GemPages allows you to preview and adjust your pages for mobile responsiveness directly within the editor.
5. Can I integrate GemPages with other Shopify apps?
Yes, GemPages supports integration with various Shopify apps to enhance your store’s functionality.


Thank you for your comments