


This guide will show you how to use the Product File Upload element in GemPages V7 to allow your customers to upload files directly from the product page.
What is the Product File Upload Element?
The Product File Upload element is a part of the Product module in GemPages. It enables customers to upload files such as images, PDFs, or other supported formats while placing an order. This is particularly useful for businesses that need personalized input from customers, including:
- Print-on-demand services: Custom t-shirts, mugs, or other products requiring uploaded images.
- Personalized designs: Engravings, jewelry, or artwork requiring custom files.
- Document-based services: Legal forms, contracts, or other document submissions.
How to use the Product File Upload Element in GemPages V7?
Follow these steps to set up and customize the Product File Upload element on your product pages:
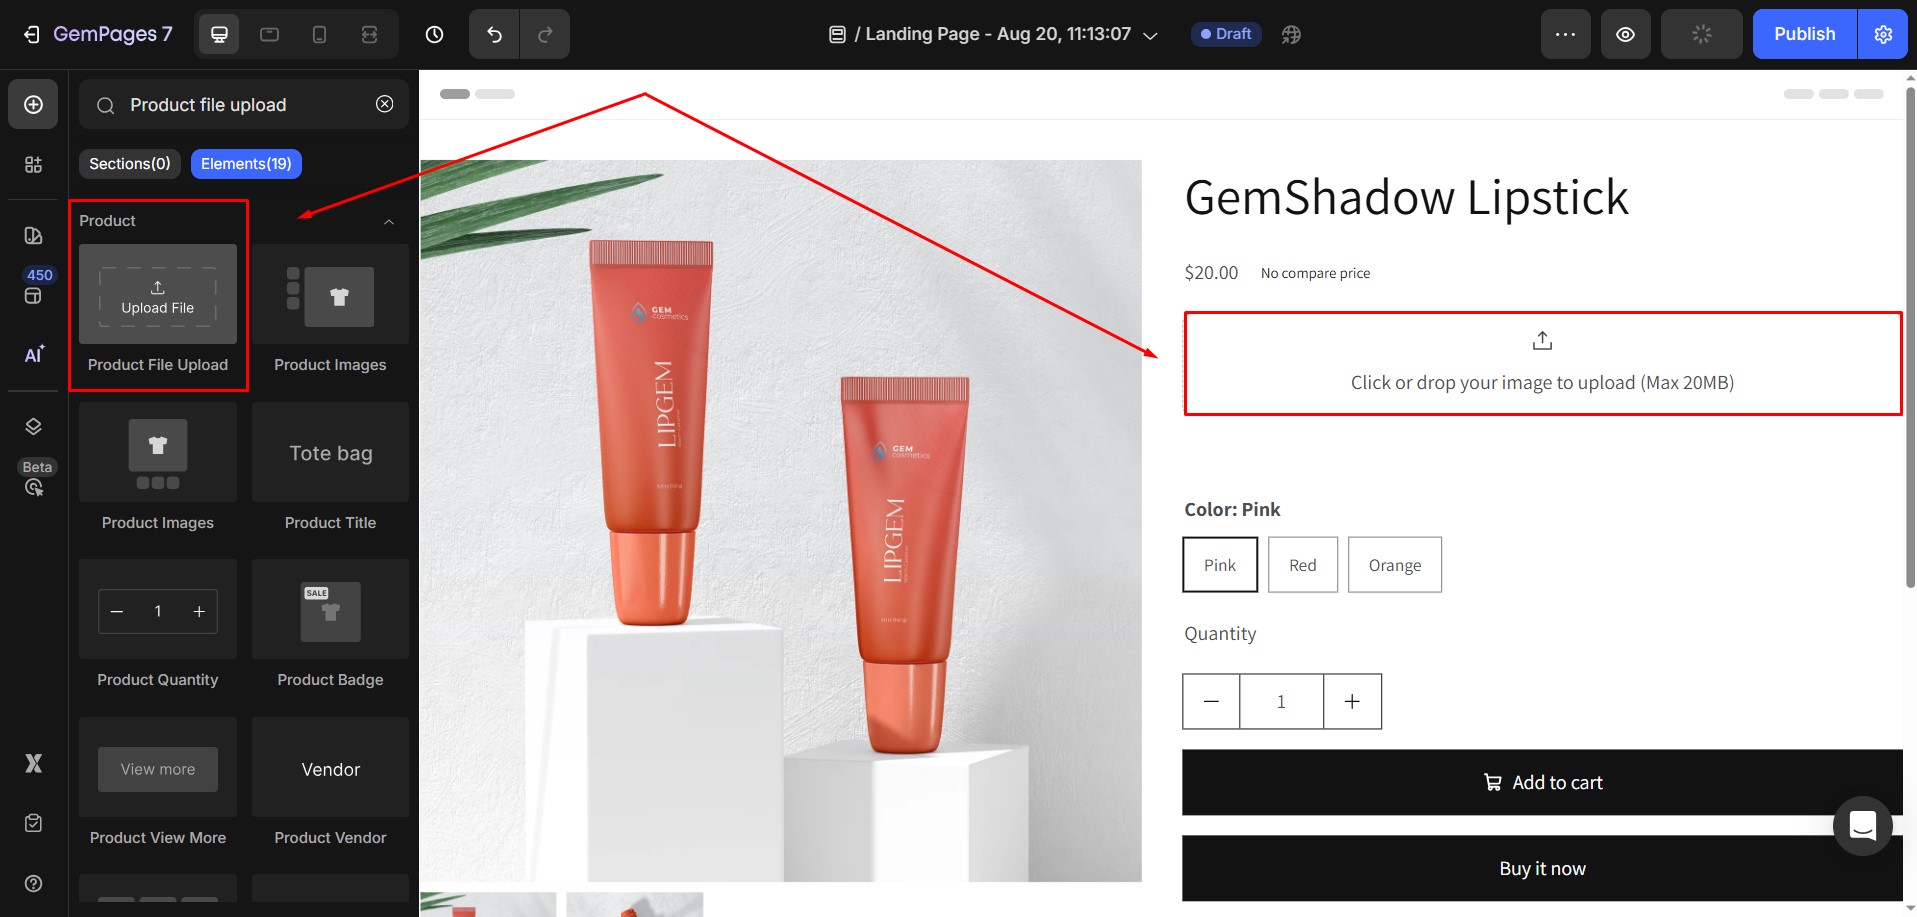
Step 1: Locate the Product File Upload Element
Open the GemPages editor and search for Product File Upload in the elements panel. This element is only available for Product and Product List modules, so ensure you are editing a product page.
Step 2: Drag and Drop the Element
Once you find the Product File Upload element, drag it into your desired location on the product page. GemPages will automatically integrate it with the product module, enabling it to capture customer uploads.
After placing the element, click on it to access two tabs: Settings and Advanced:
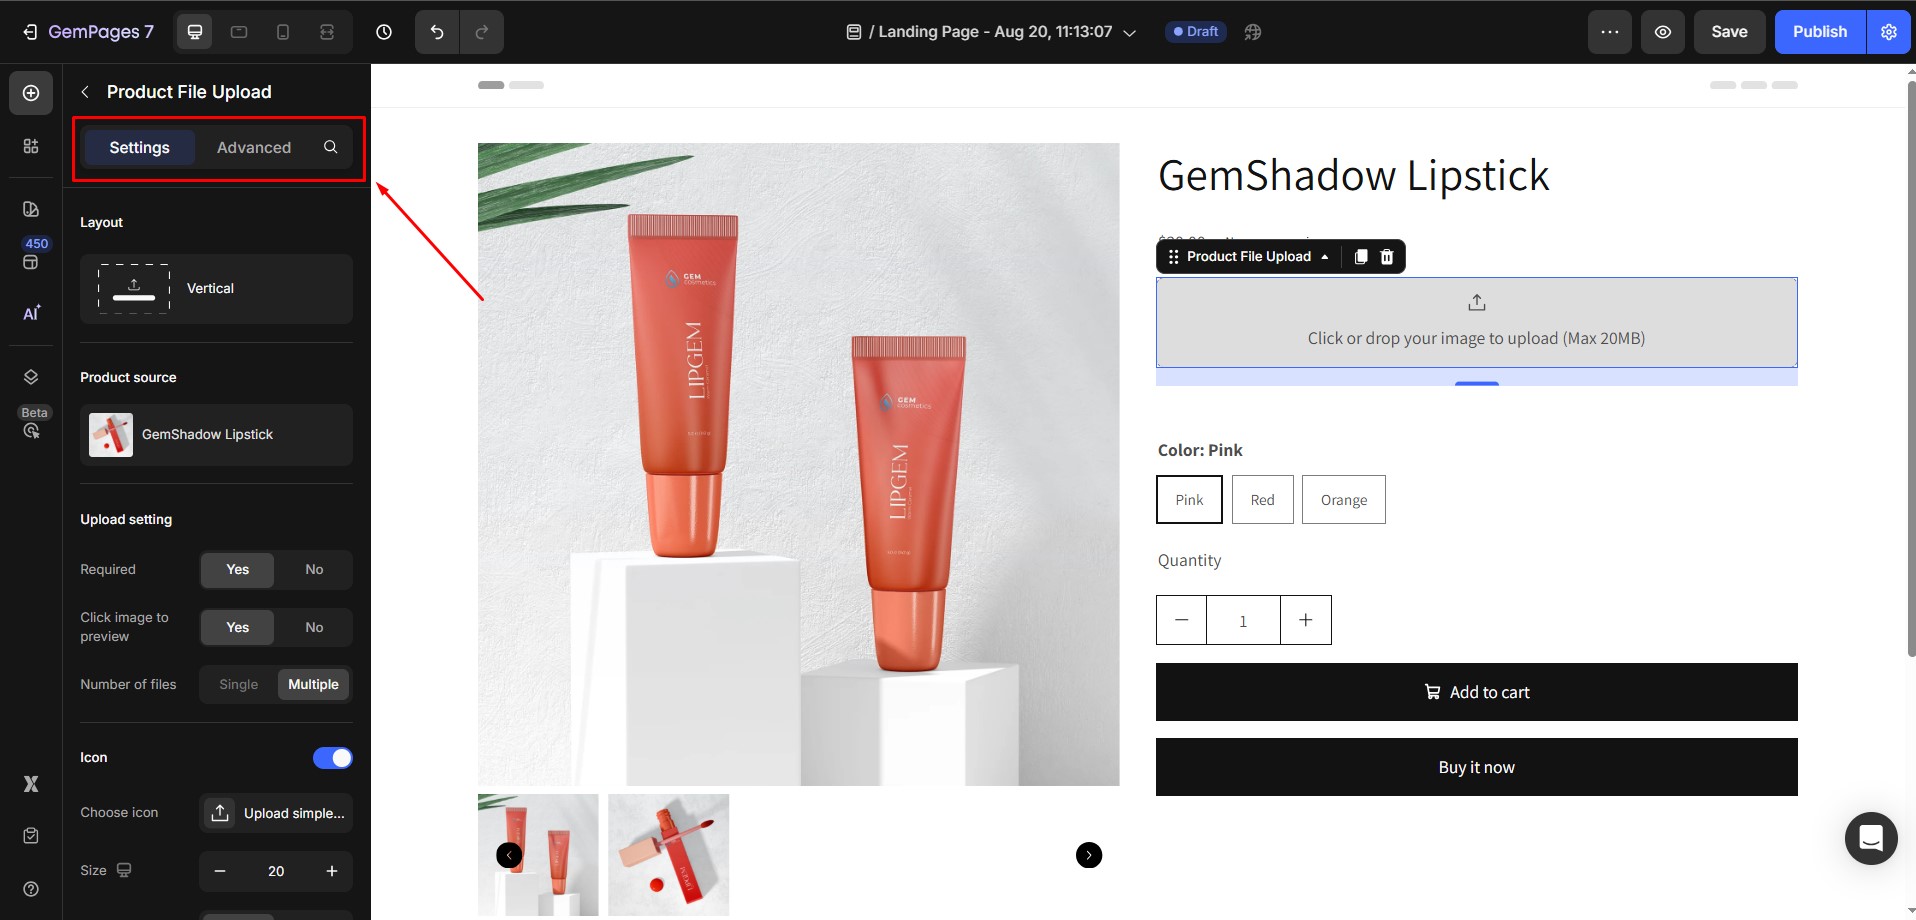
Configure the Settings Tabs
1. Layout
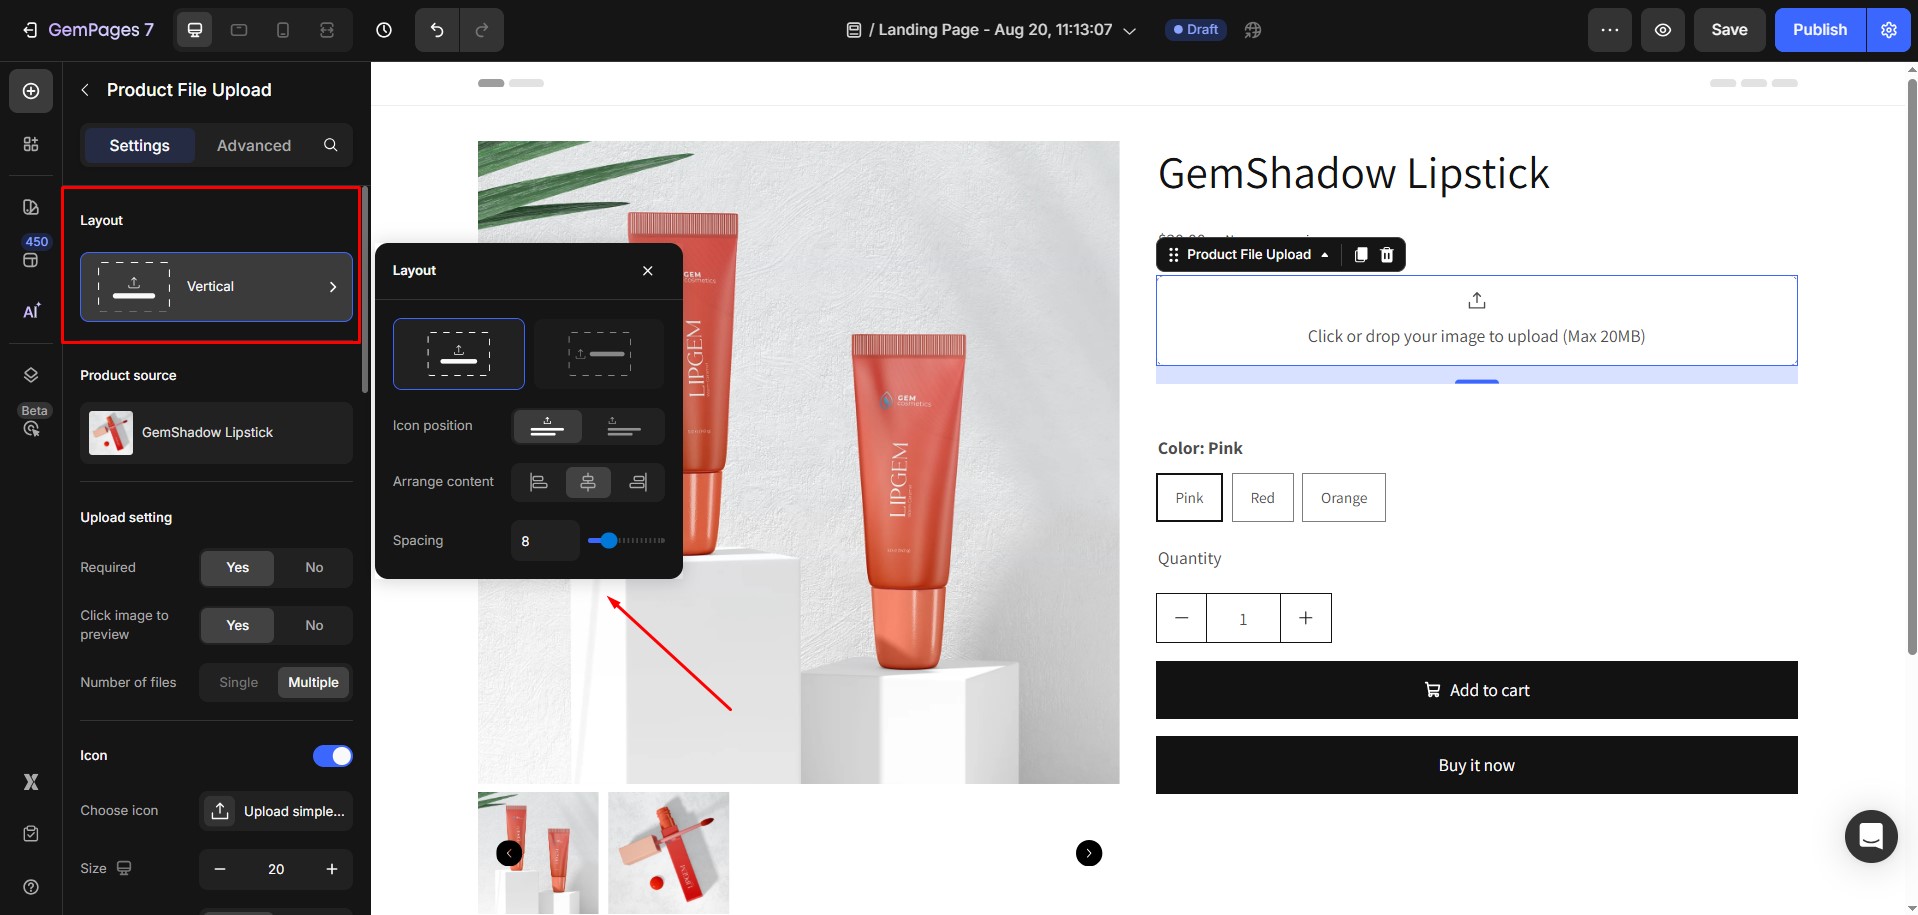
- Layout: Choose vertical or horizontal layout for the element.
- Icon Position: Set the upload icon to appear at the center or on the left.
- Content Alignment: Align text and icons to the left, center, or right.
- Spacing: Adjust the spacing between the icon and text using either a numerical value or the slider.
2. Product source
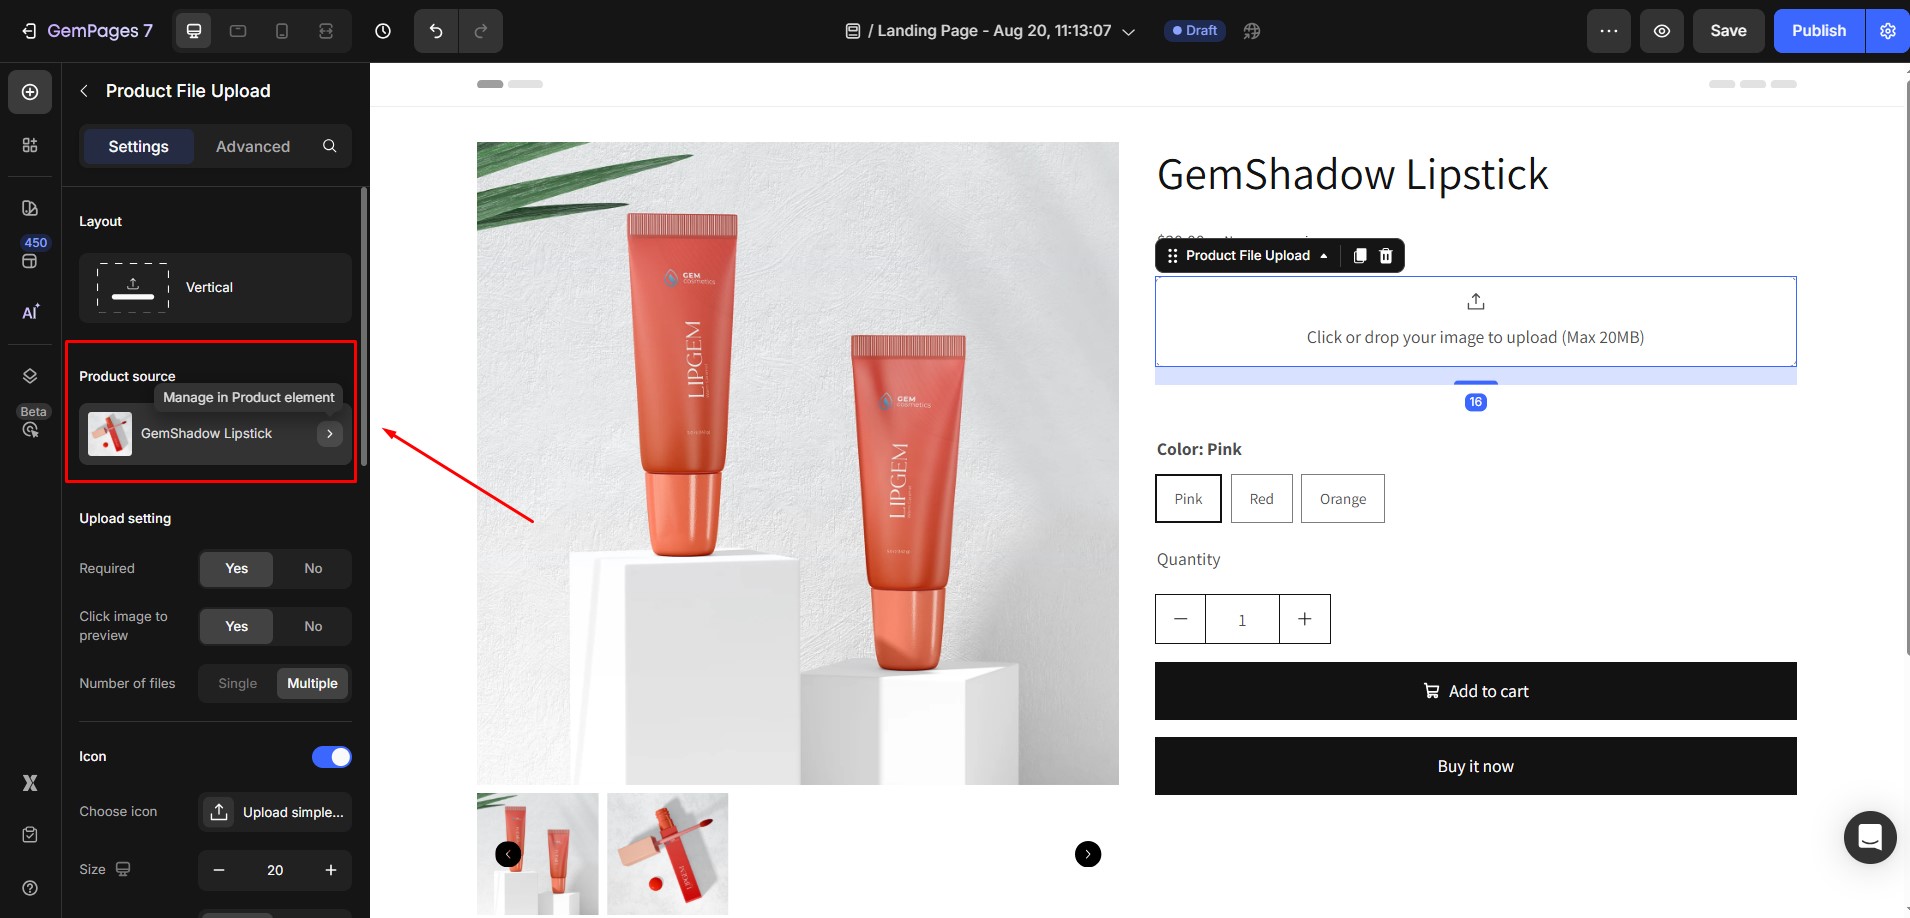
Quickly access the product source settings to switch between products in the editor. This helps you preview how your design looks for different items.
3. Upload settings

- Required: Toggle whether uploading a file is mandatory. Enabling this ensures that customers cannot complete their order without submitting the necessary files.
- Click image to preview: Turn on image previews so customers can see their uploads before finalizing the order.
- Number of files: Choose between allowing a single file upload or multiple files per order.
4. Icon
![]()
Decide if the upload field should display an icon.
- Choose Icon: Select a pre-built icon or upload a custom one.
- Position: Set the icon above or below the upload field.
- Size: Adjust the size to fit your page design.
5. Size
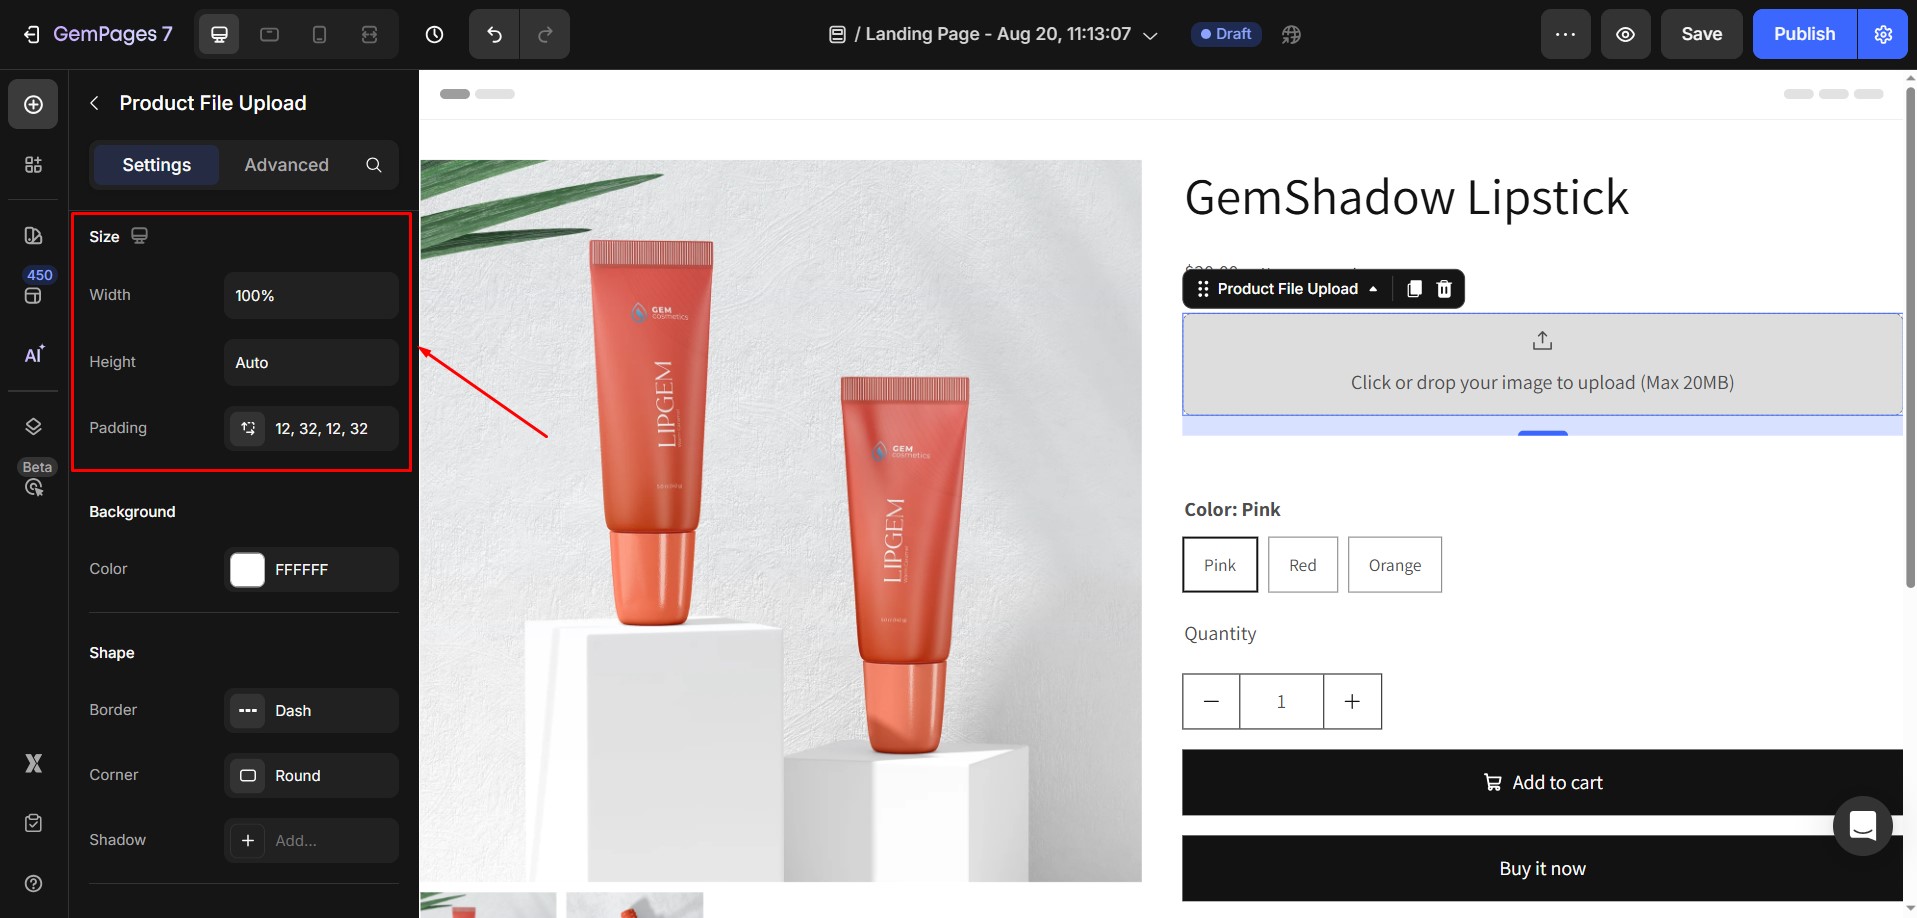
Modify the size of the upload field to ensure it fits seamlessly with the rest of your page design.
- Width and Height: Modify the width and height of the upload field.
- Padding: Adjust the padding to maintain balanced spacing around the field.
6. Background
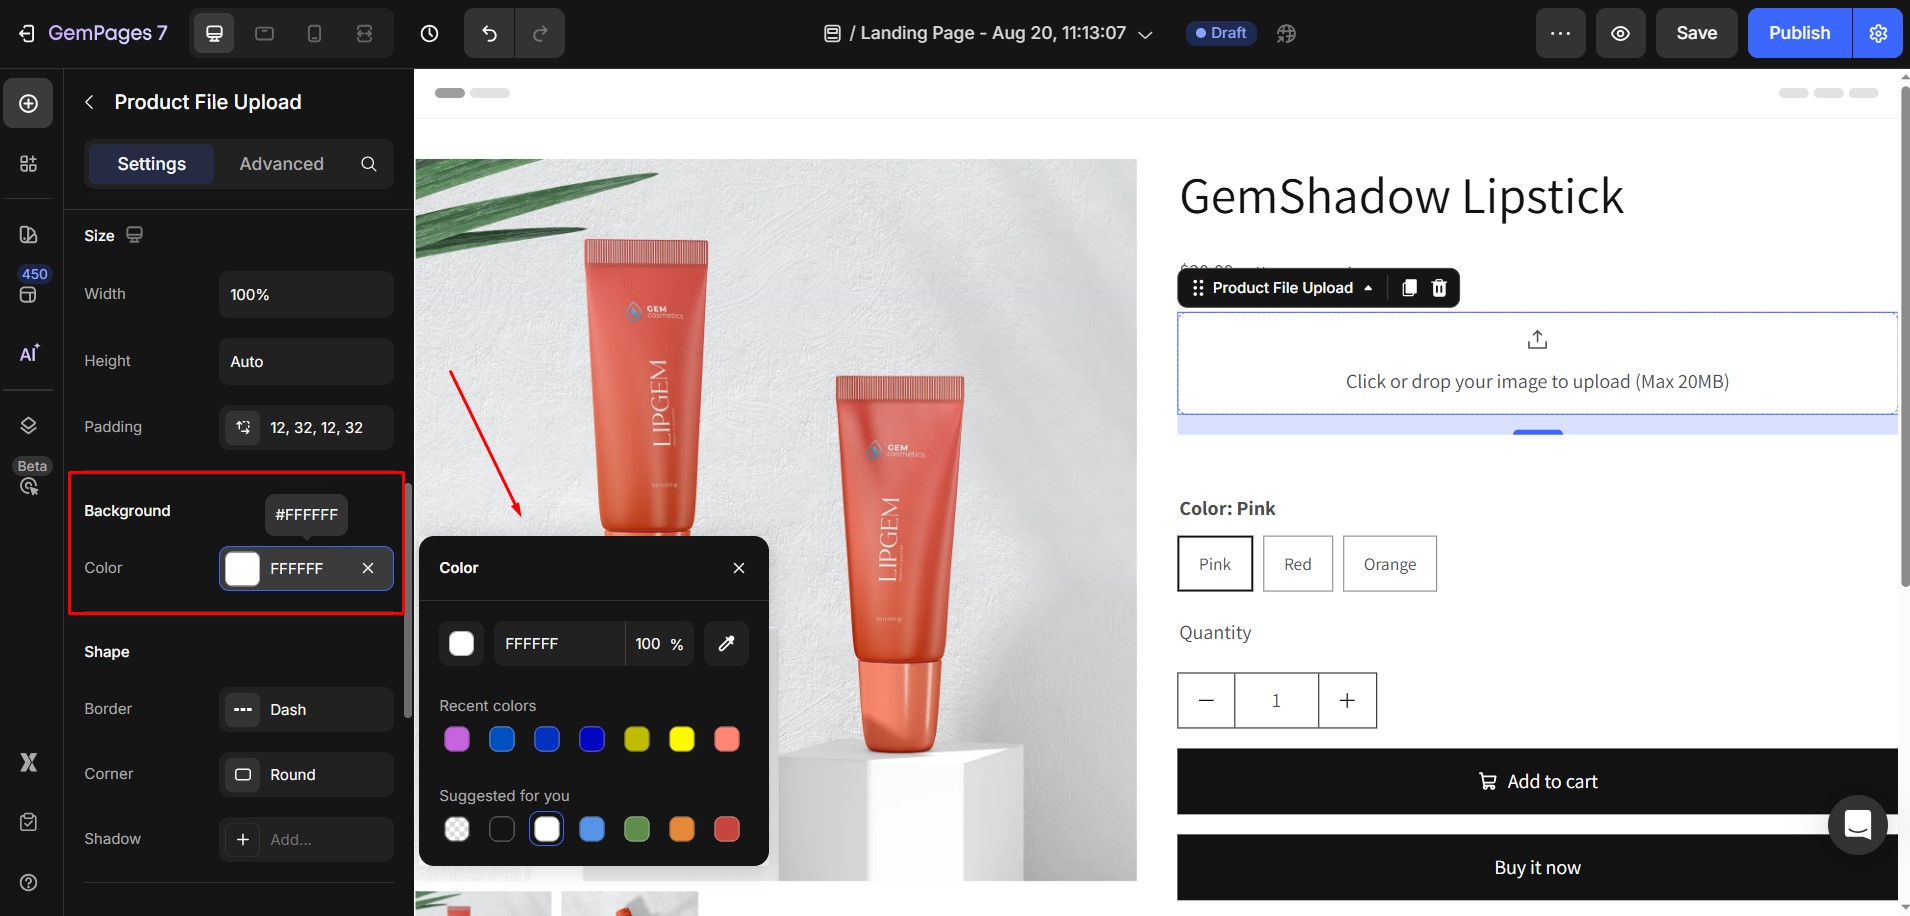
Select a background color that matches your page theme.
7. Shape
Configure the overall shape of the upload field.
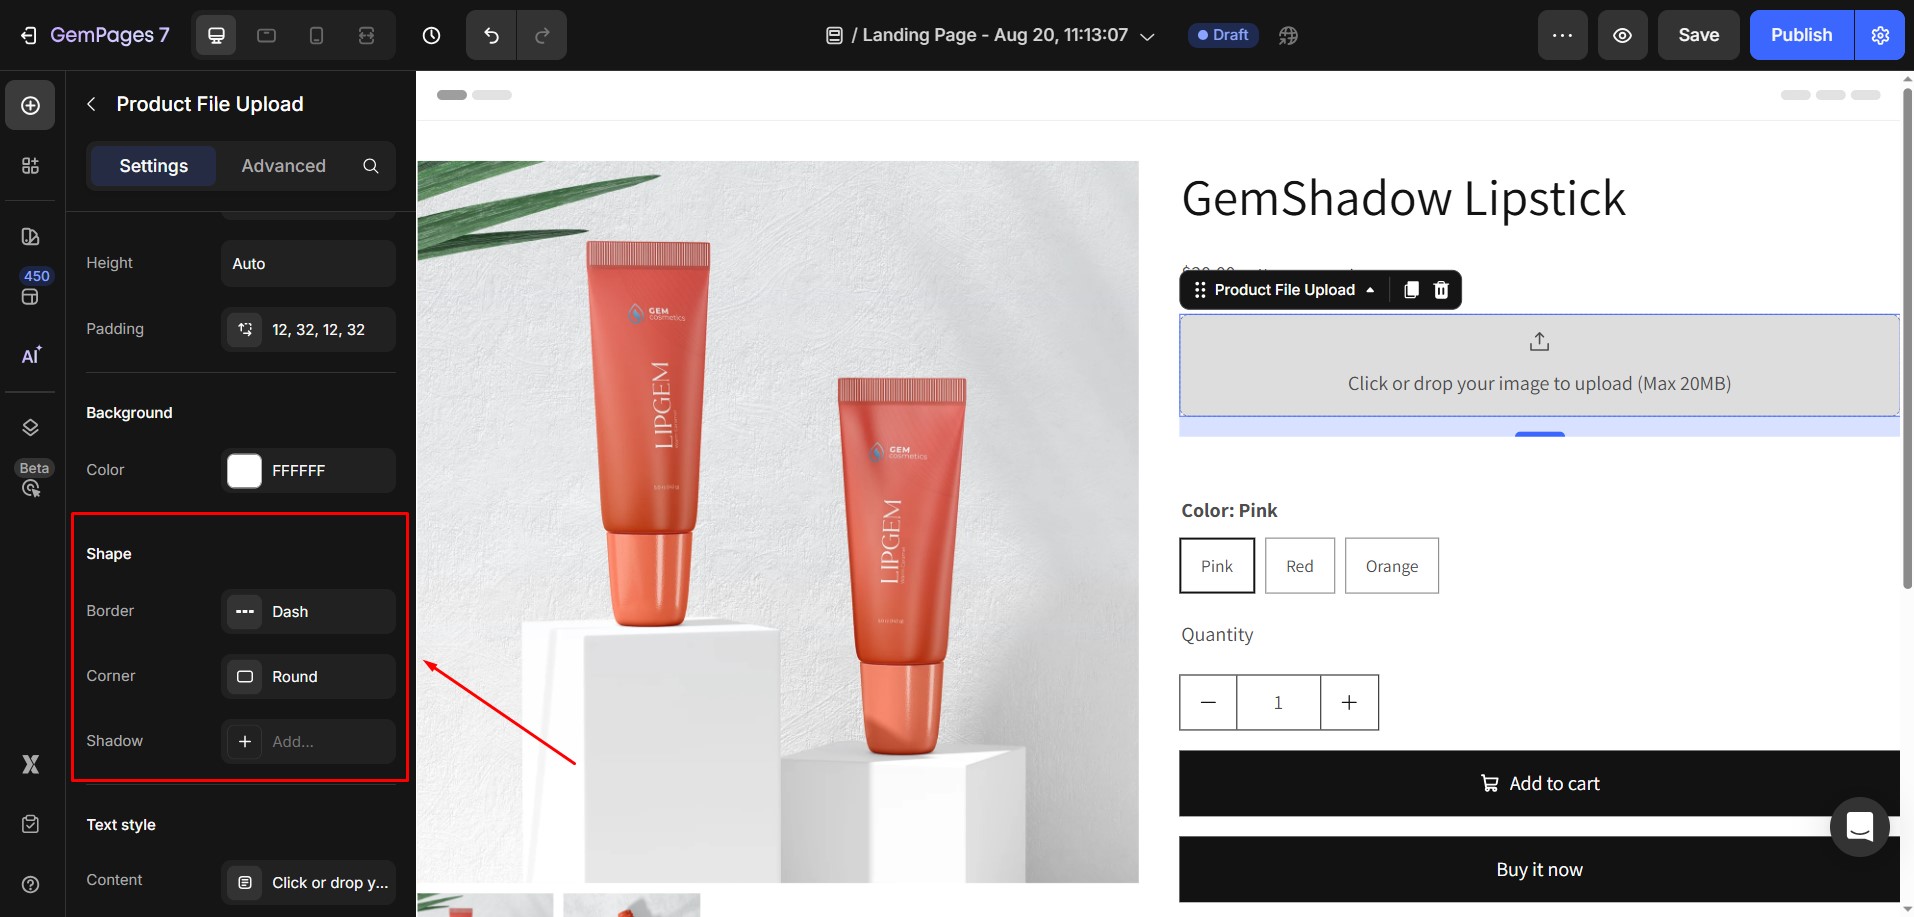
- Border: You can choose the style of the border (solid, dashed, etc.), select the color and set the thickness of the border.
- Corner: Adjust how rounded the corners of the field should be.
- Shadow: Enable or adjust shadow effects for the upload field to enhance visual depth.
8. Text styles
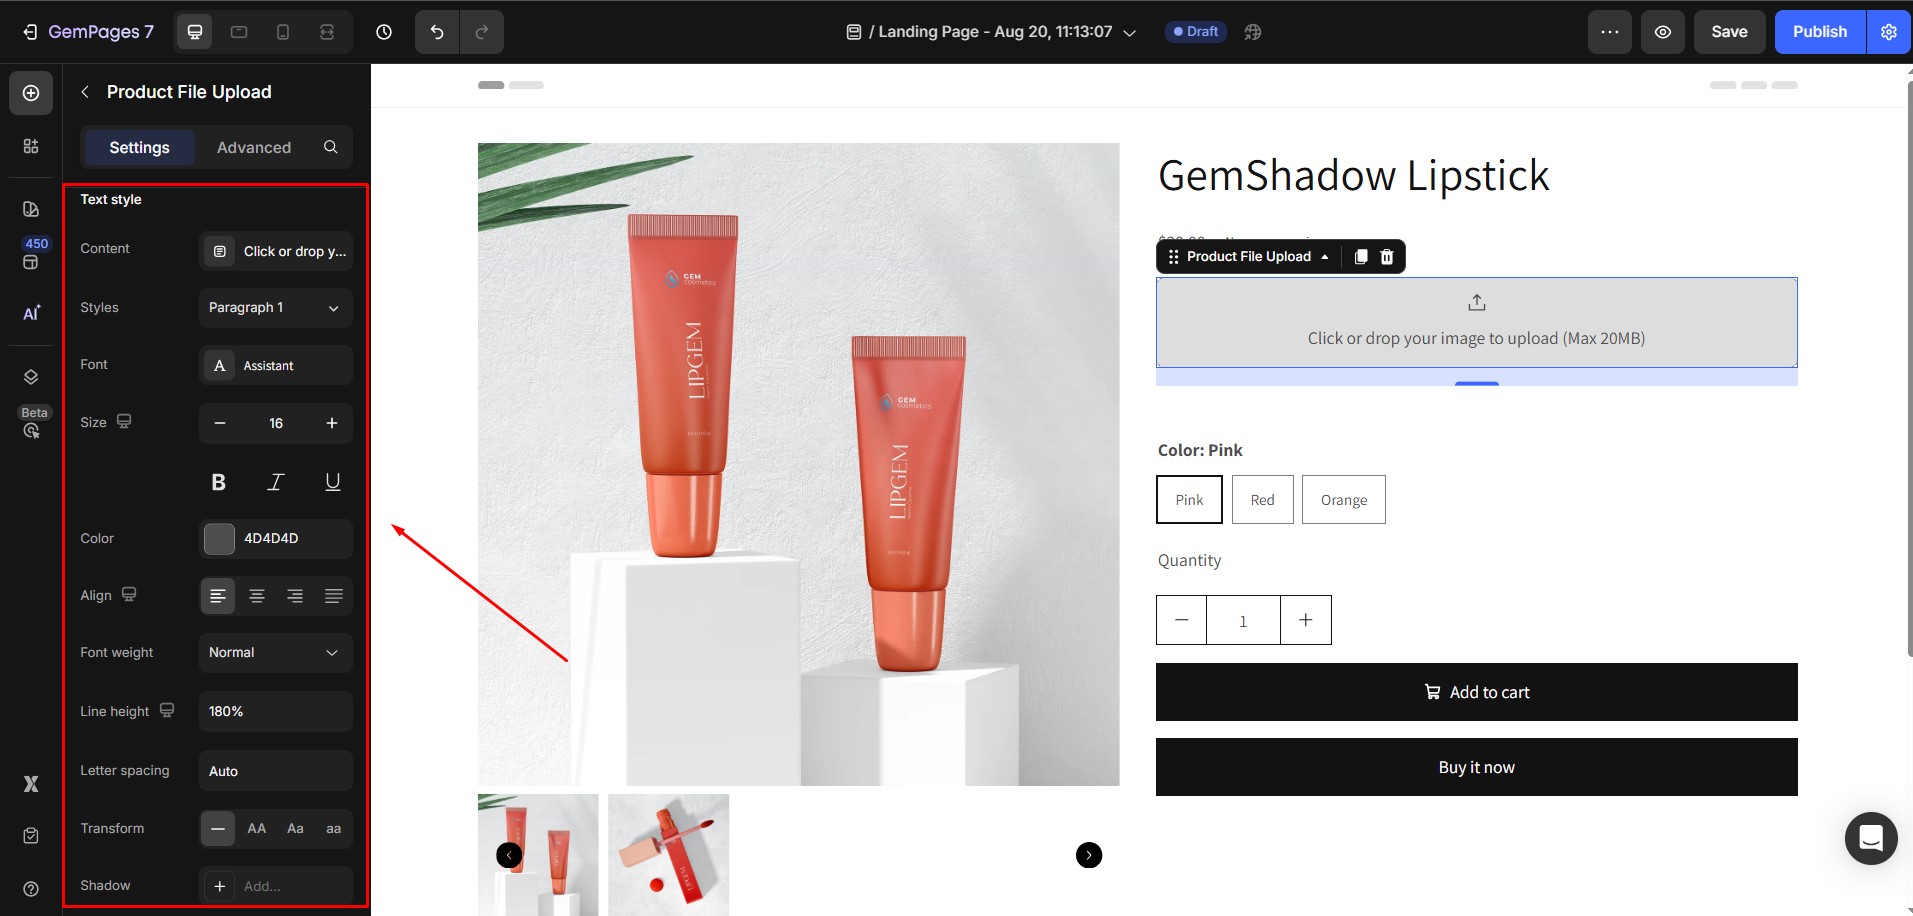
- Content: Edit the text displayed on the Product File Upload button.
- Style: Choose from six heading styles (H1–H6) or three paragraph styles to control text hierarchy.
- Font: Select the font type for the button text.
- Size: Set the font size.
- Color: Choose the text color.
- Align: Align text to left, center, or right.
- Font Weight: Adjust the weight (boldness) of the font.
- Line Height: Set the line height for the text.
- Letter Spacing: Adjust spacing between letters.
- Transform: Apply text transformation (uppercase, lowercase, capitalize).
- Shadow Effect: Add shadow to the text for emphasis or style.
9. Effect
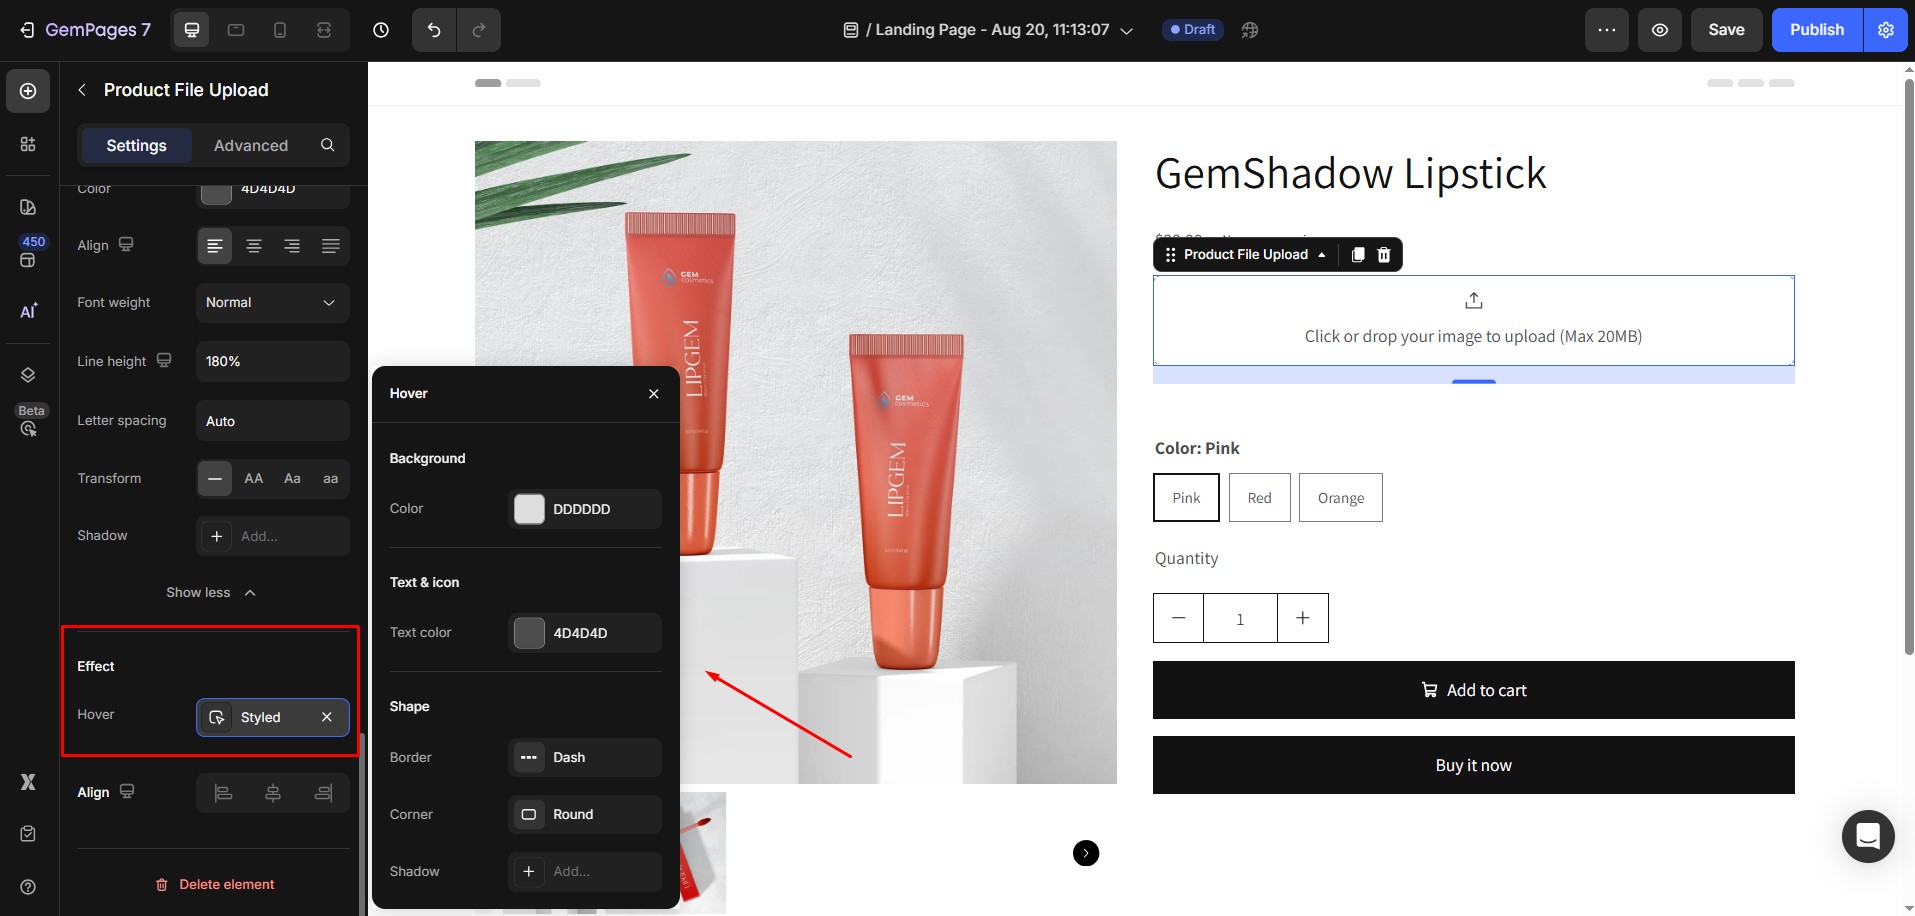
The settings for the Product File Upload when hovering on. Clicking on the setting Hover will open its Popover which contains the Hover effect’s settings.
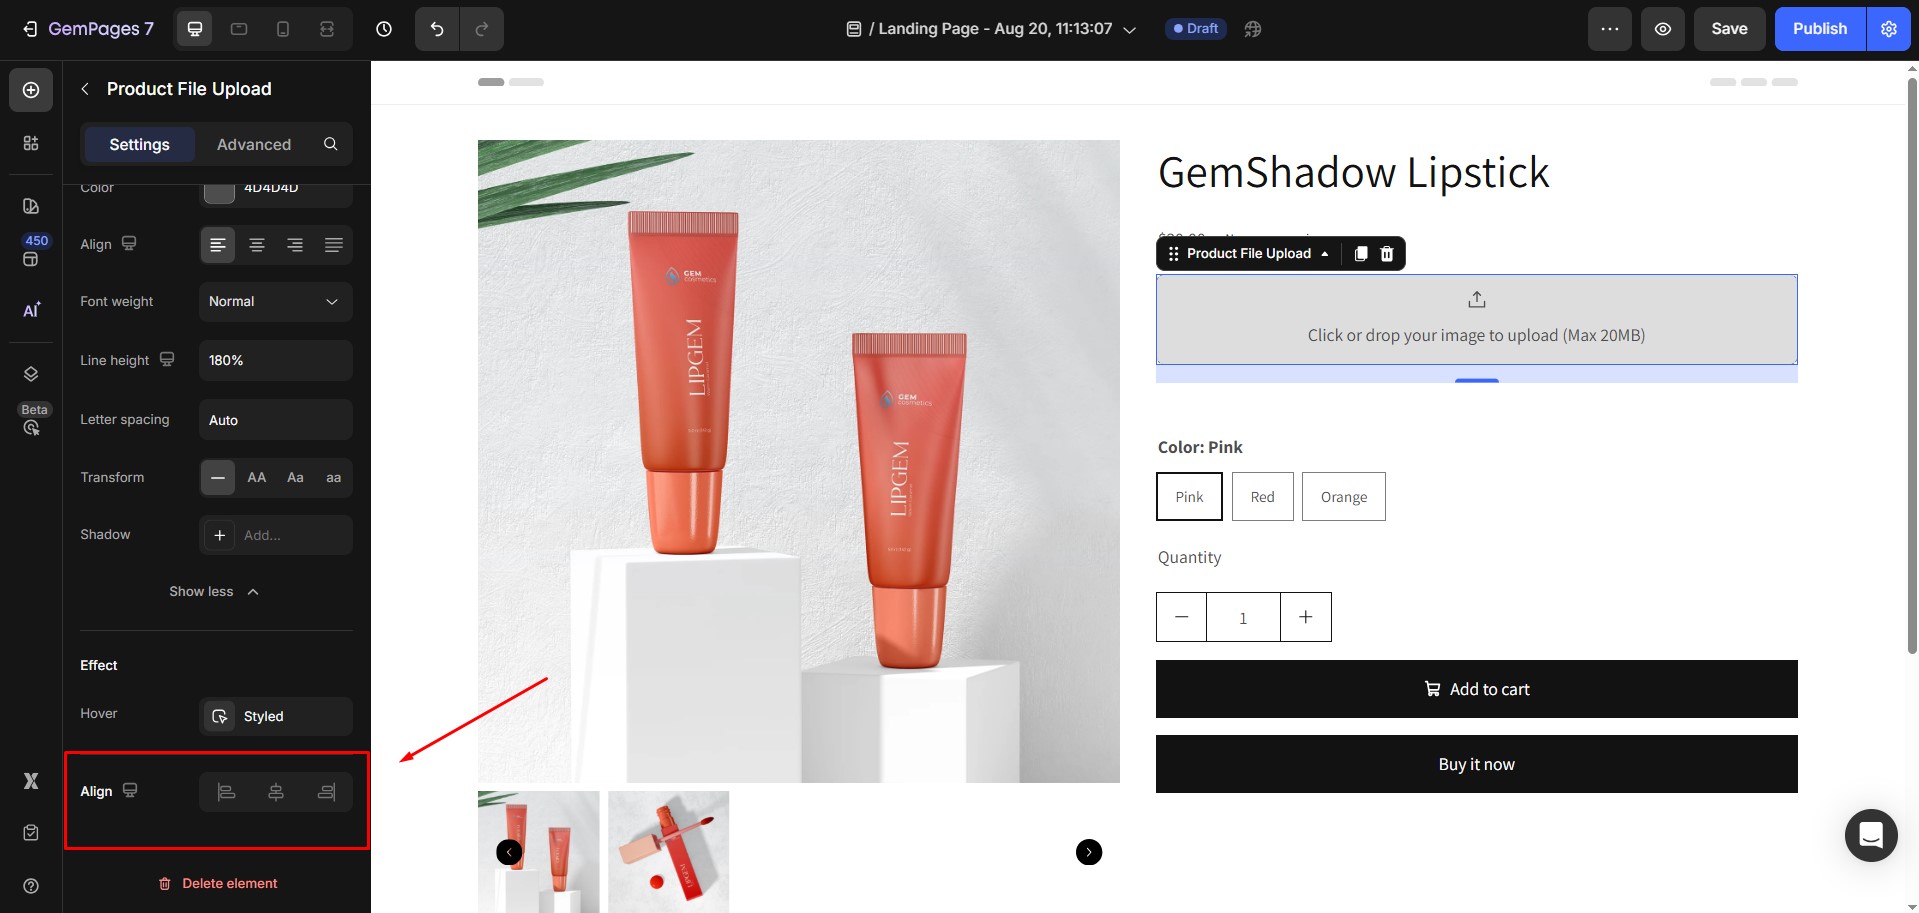
10. Align
Configure the Advanced Tab
For more advanced customization, please navigate to the Advanced tab and follow the instructions in this article.
Frequently Asked Questions (FAQs)
1. Is the Product File Upload element available for Contact Forms?
No, the Product File Upload feature is only available for the Product module. For Contact forms, a separate element is currently under development and will be released soon.
2. What is the maximum file size allowed for uploads?
The Product File Upload feature allows customers to upload files up to a maximum size of 10MB.
3. What file types are supported by the Product File Upload element?
The supported file types are PNG, WEBP, GIF, JPEG, JPG, and PDF.
4. Can customers upload audio files like MP3s?
No. While audio files (e.g., MP3) may appear selectable during the upload, the element does not currently support audio playback or file delivery on the storefront. We recommend sticking to supported file types listed above.
5. Can customers upload multiple files at once?
Yes, you can configure the Product File Upload feature to allow either multiple or single file uploads, depending on your store’s needs.
6. Is there an option for customers to preview their uploaded files?
Yes, you can enable the file preview option for customers to review their uploads before completing their order.
7. How to link to PDF files on your product page?
If you want customers to access a PDF file (such as a size chart, user manual, or product brochure) directly from your product page, you can add a clickable link alongside or above the Product File Upload field.
Option 1: Link to a PDF Stored in Shopify
- Go to your Shopify admin and navigate to Content > Files.
- Upload your PDF file.
- Once uploaded, copy the file URL.
- In the GemPages Editor, add a Text or Button element near your upload field.
- Highlight the text or select the button, then paste the PDF URL into the link settings.
Option 2: Link to an External PDF
If your PDF is hosted outside Shopify (e.g., Google Drive, Dropbox), simply paste the public share link into your text or button link settings in GemPages.
8. Where do I find uploaded files once a customer submits them?
Uploaded files are attached to the order details in the Shopify admin. Go to Orders, open the specific order, and you’ll see the file(s) under the line item properties. This ensures you never miss a customer-submitted file.


Thank you for your comments