


This guide will show you step by step how to create a blog post in Shopify and design a custom blog post page using GemPages.
What is a Blog Post in Shopify?
A blog post in Shopify is a piece of content you publish under your store’s blog section. It’s an effective way to:
- Share news, updates, or announcements.
- Publish educational or inspirational content.
- Improve your store’s SEO and attract organic traffic.
- Connect with customers and build trust with your audience.
How to Create a Blog Post in Shopify?
Step 1: Log in to your Shopify admin dashboard. Navigate to Online Store > Blog Posts.
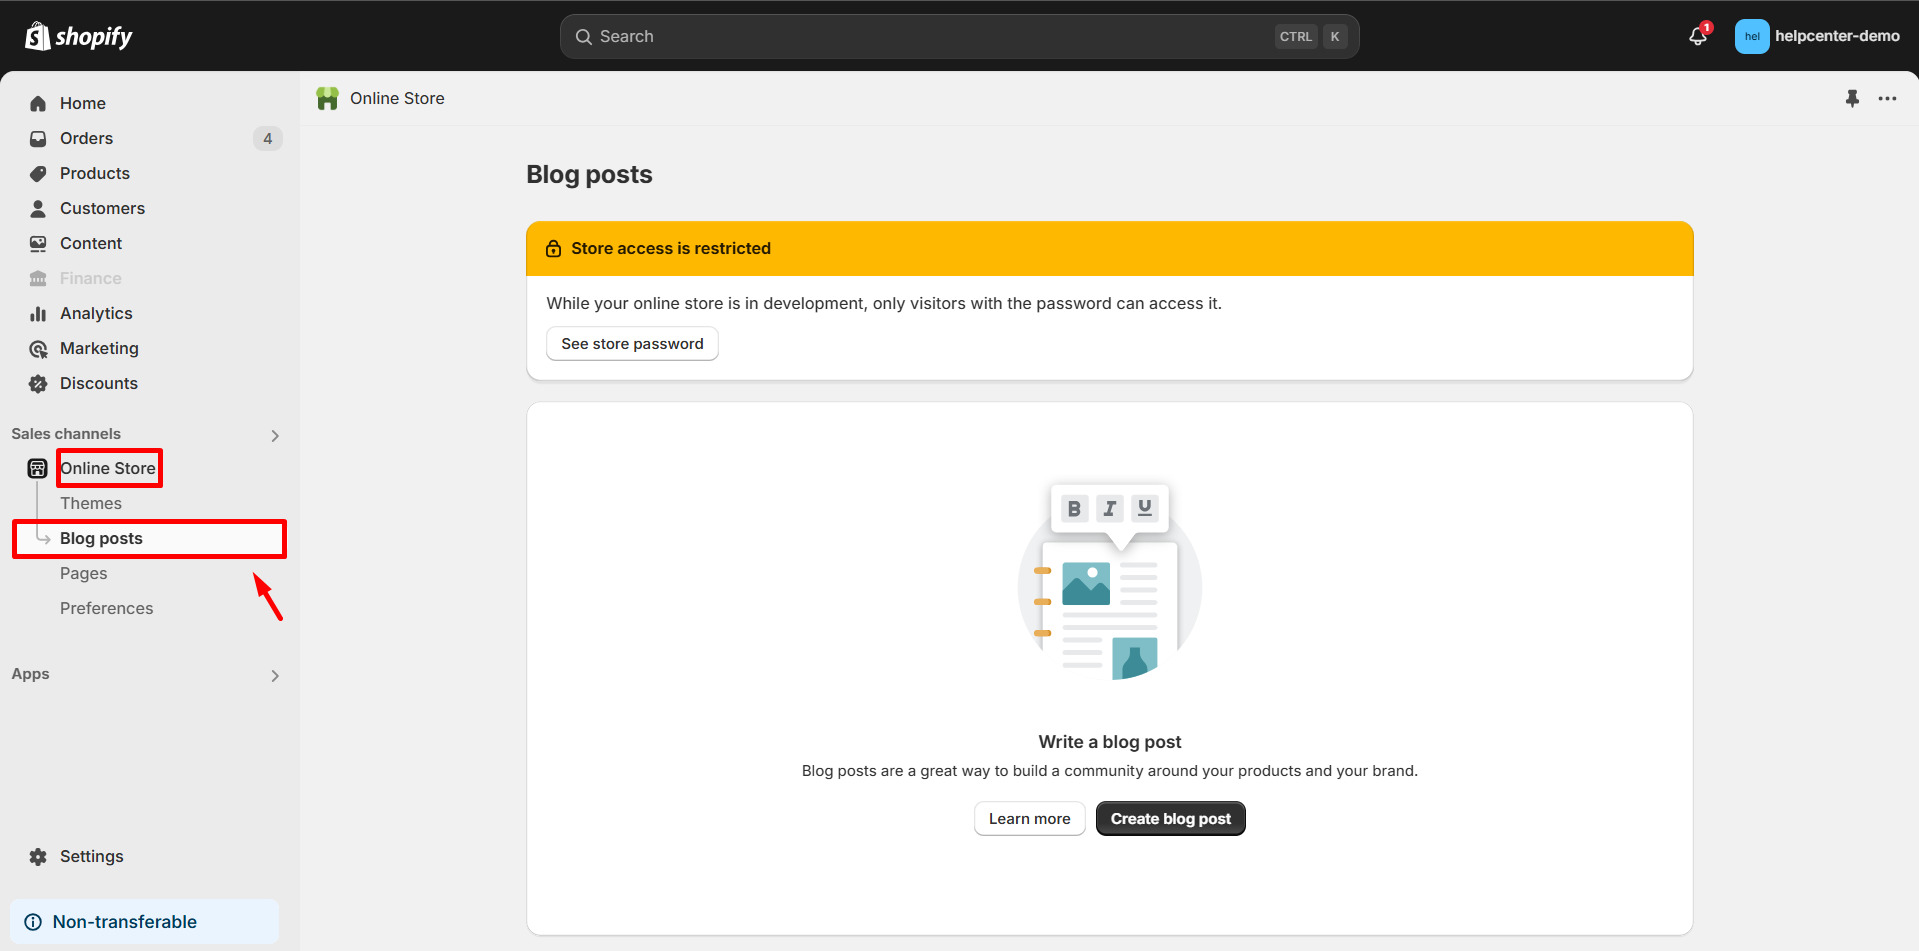
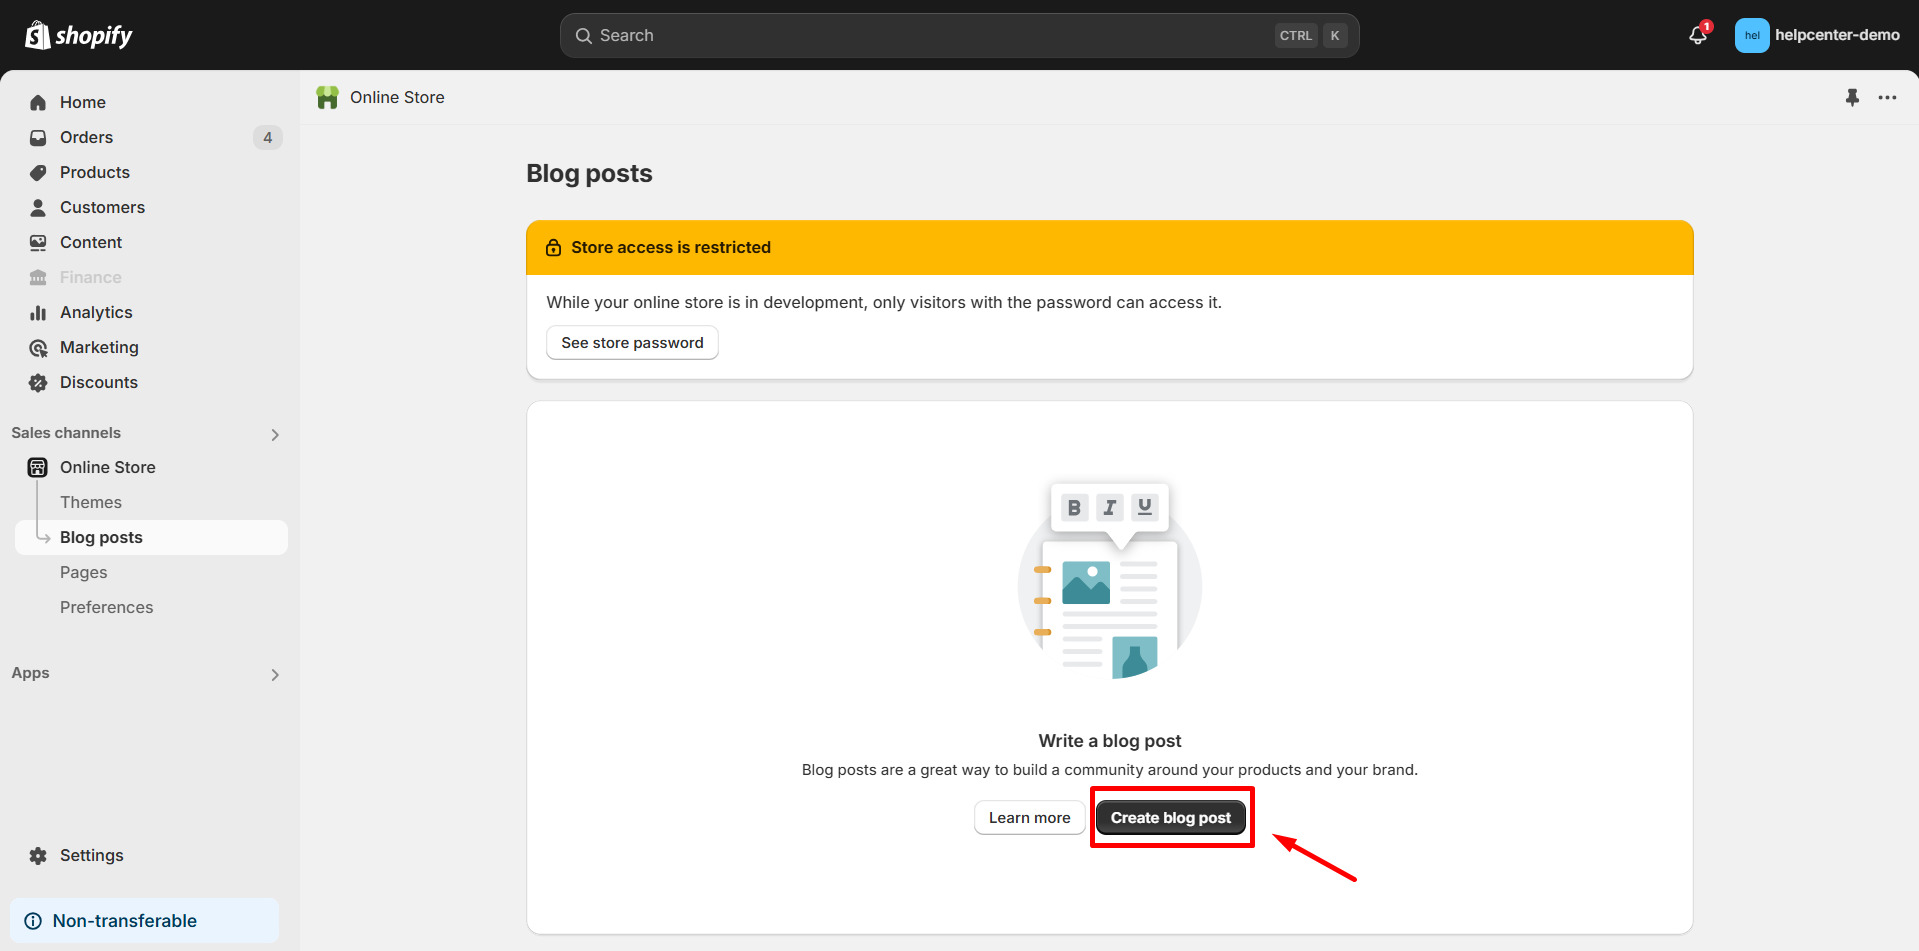
Step 2: On the Blog Posts page, click the Create Blog Post button.
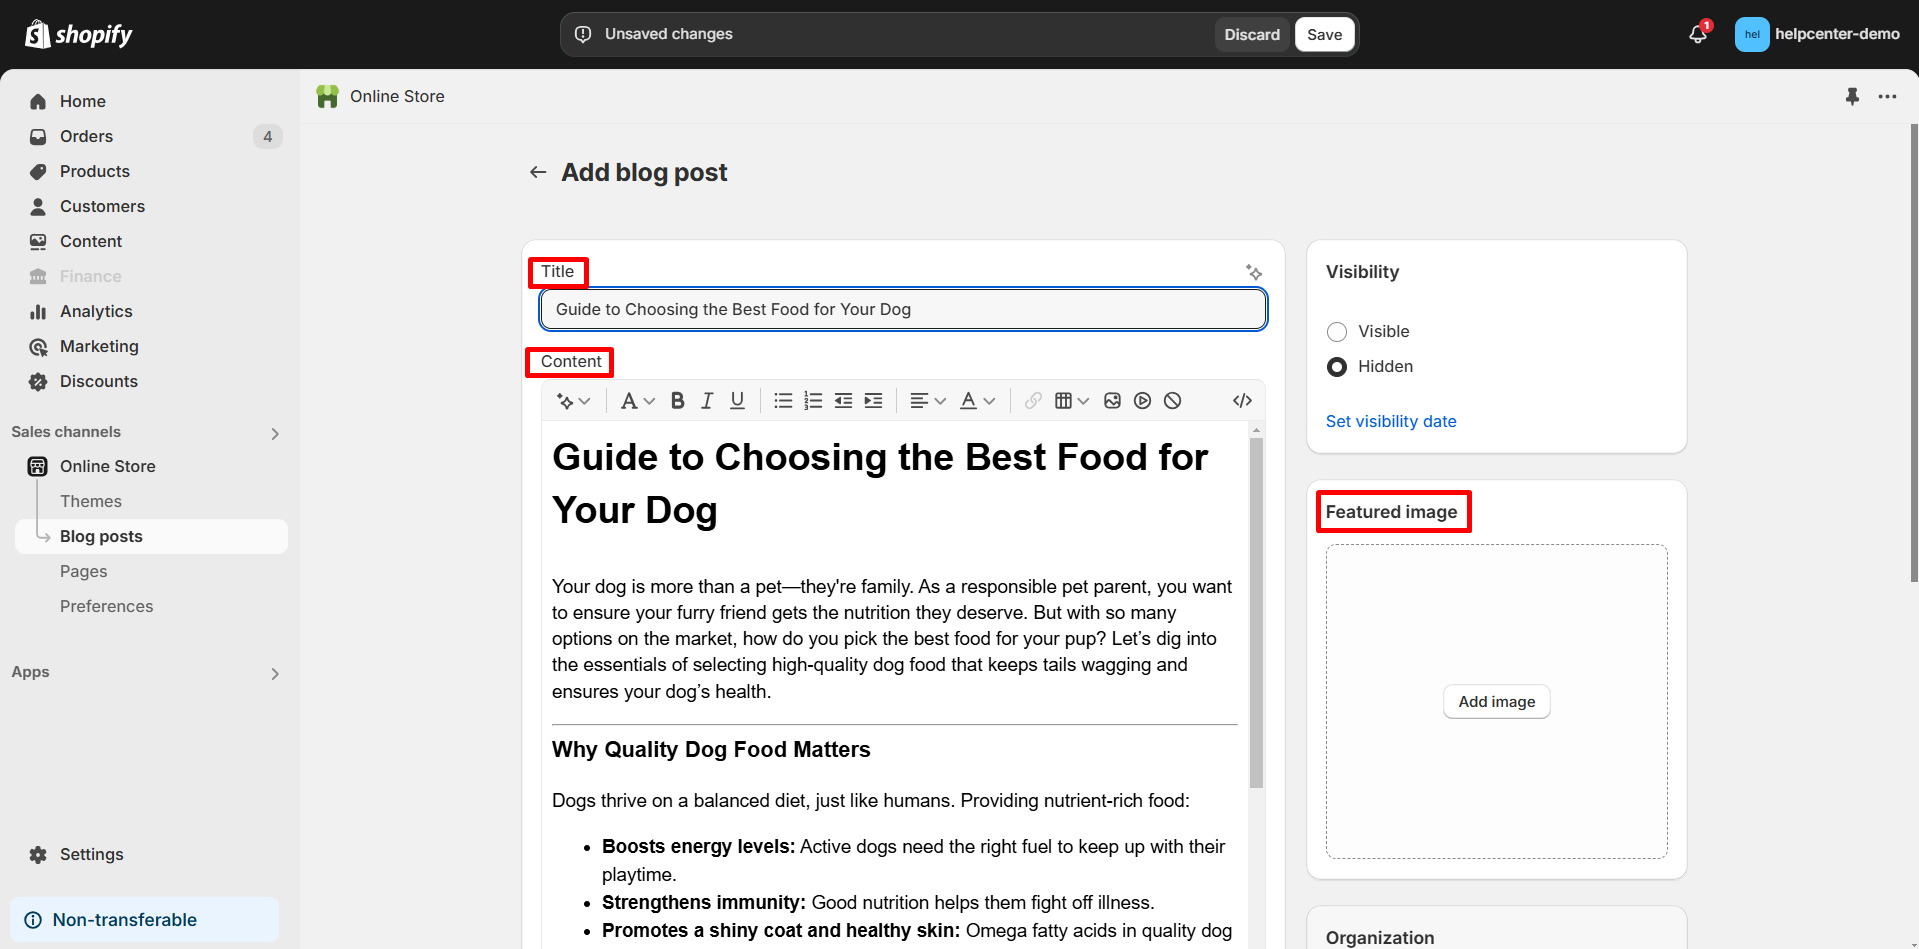
Step 3: Add a compelling title and engaging content. Upload a featured image to make your post visually appealing.
Step 4: Once all details are entered, click Save. Your blog post is now live and ready to display.
How to Create a Blog Post Page with GemPages?
If you want more design flexibility, you can use GemPages to create a blog post page and customize its layout.
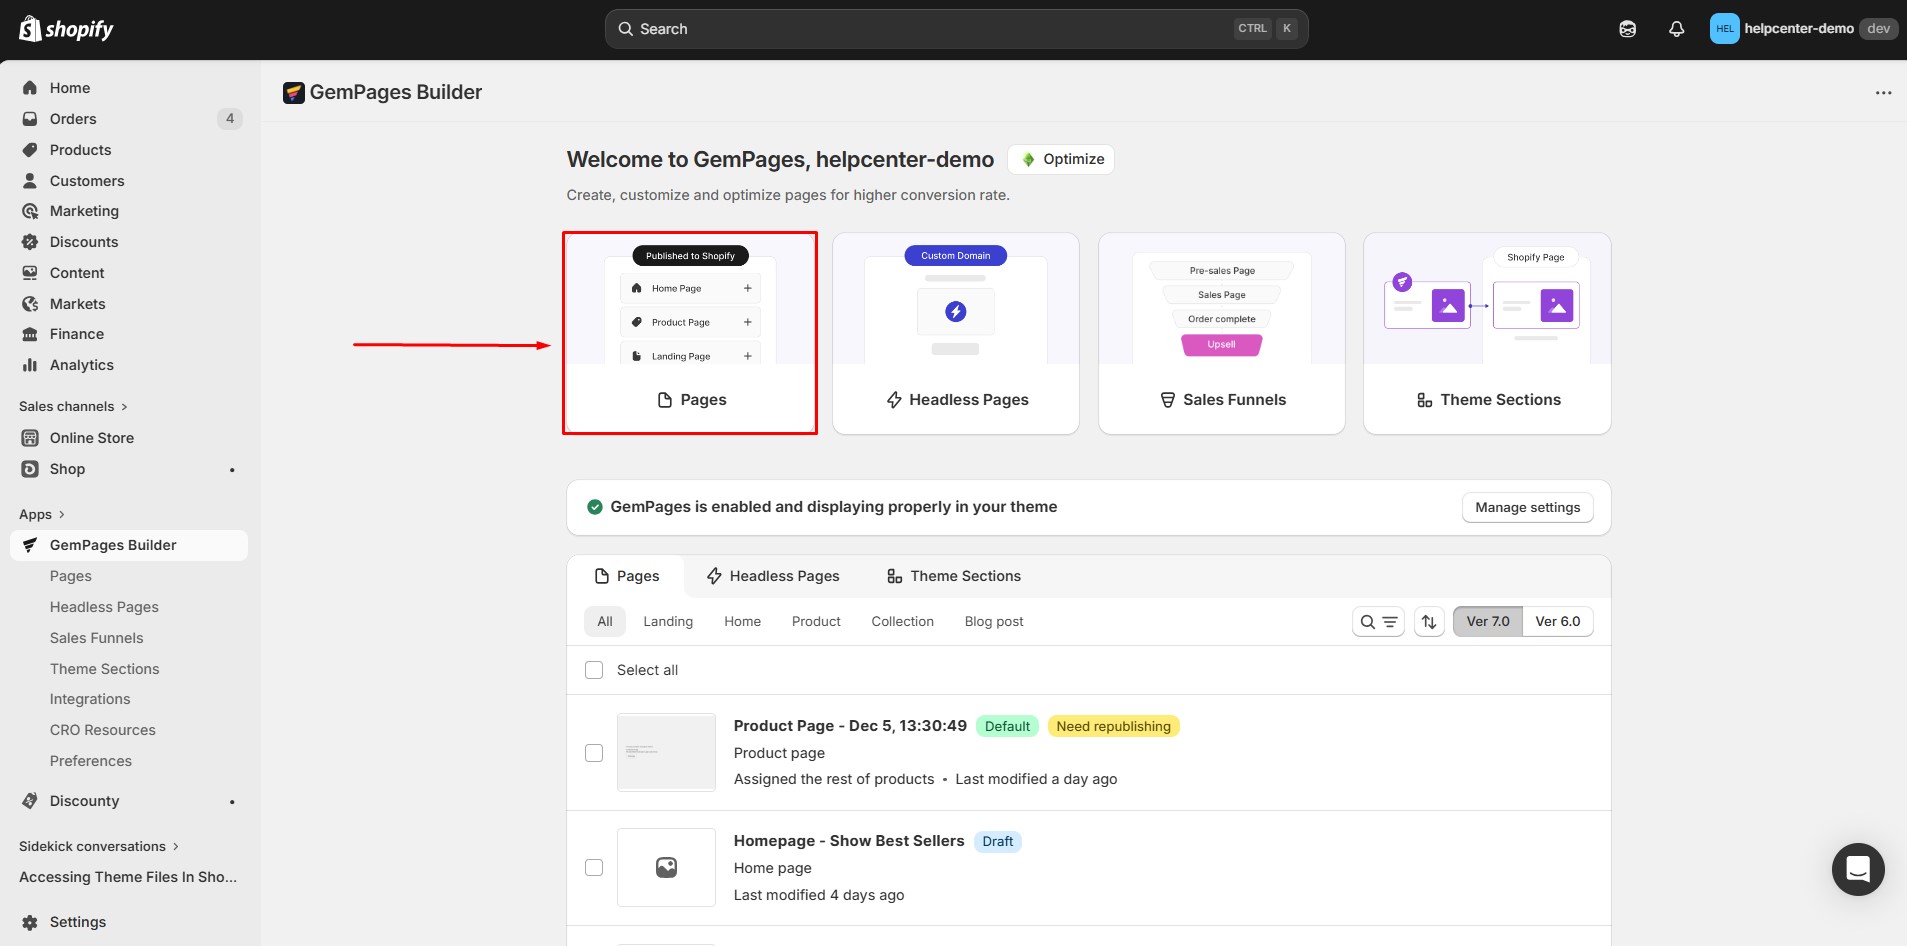
Step 1: Open the GemPages Dashboard => Pages.
Step 2: Choose how to build your blog page.
You will now have three options to create your blog page.
Option 1: Start from Scratch
Choose Start from scratch if you want to design your blog page using a blank canvas.
This option gives you full flexibility to design your layout exactly as you want.
Option 2: Use a Ready-Made Template
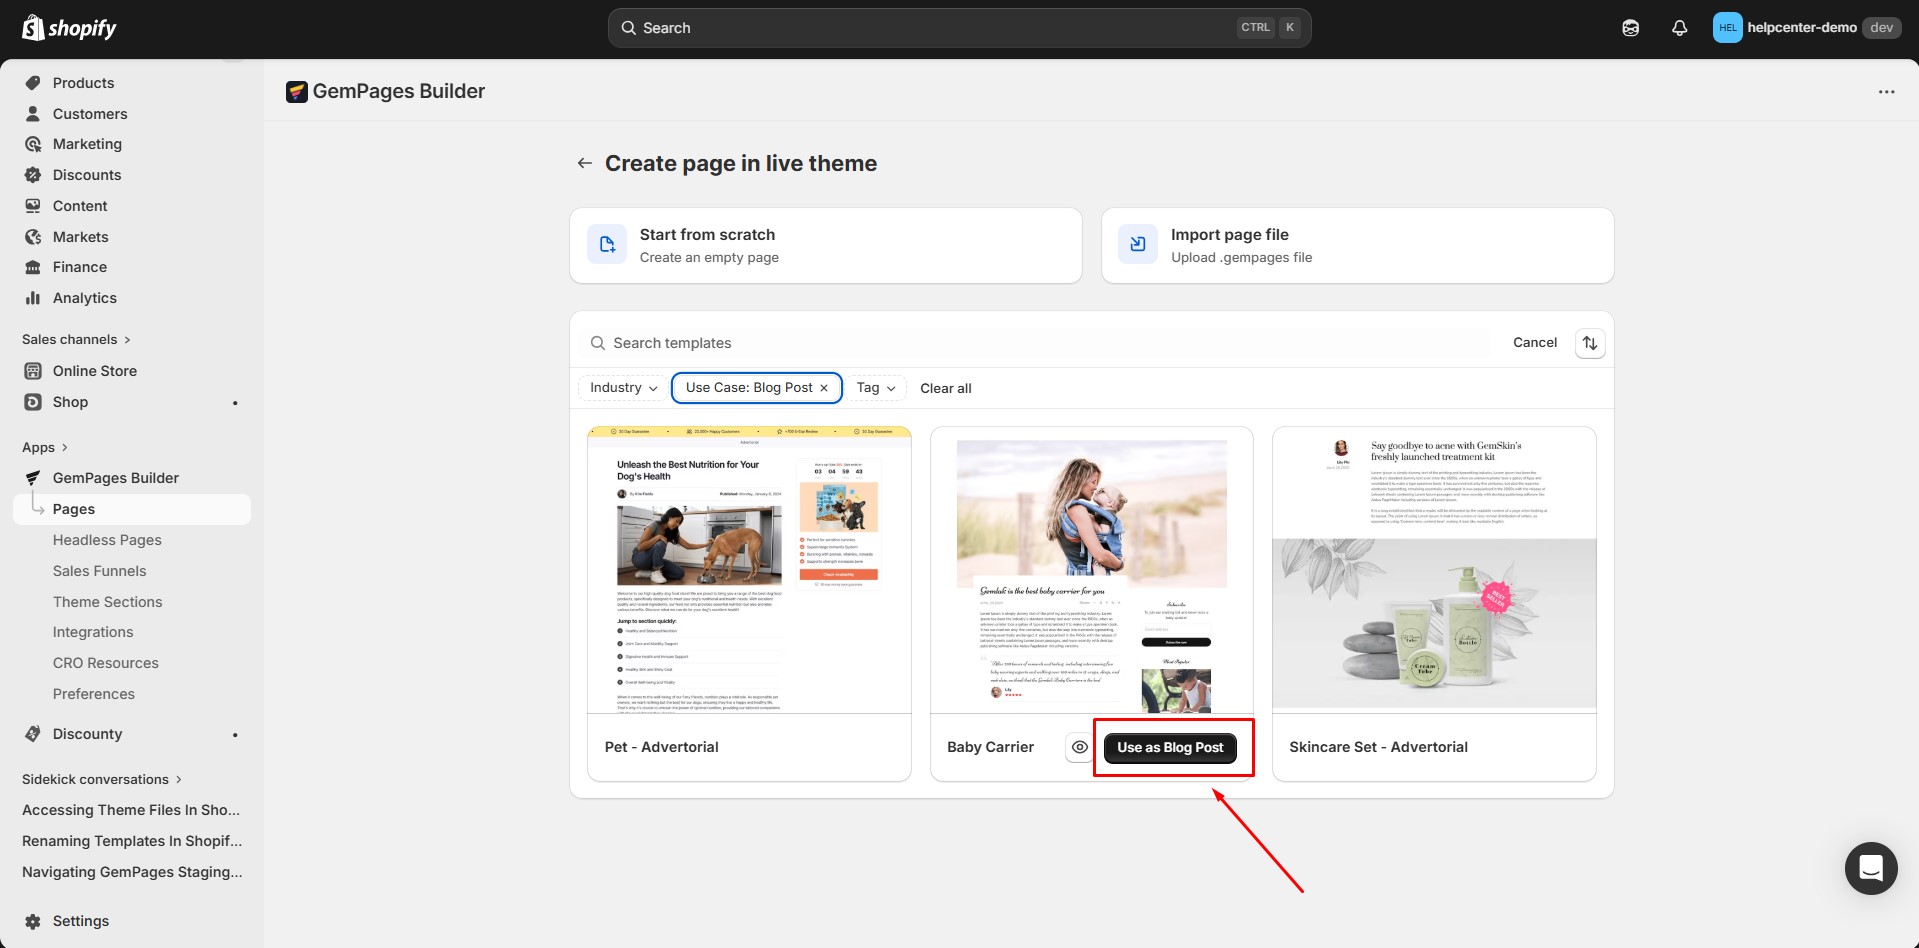
You can choose from a library of professionally designed templates to speed up your workflow.
To use a template:
- Browse available templates
- To quickly find the right page type, use the filters in the Use Case section.
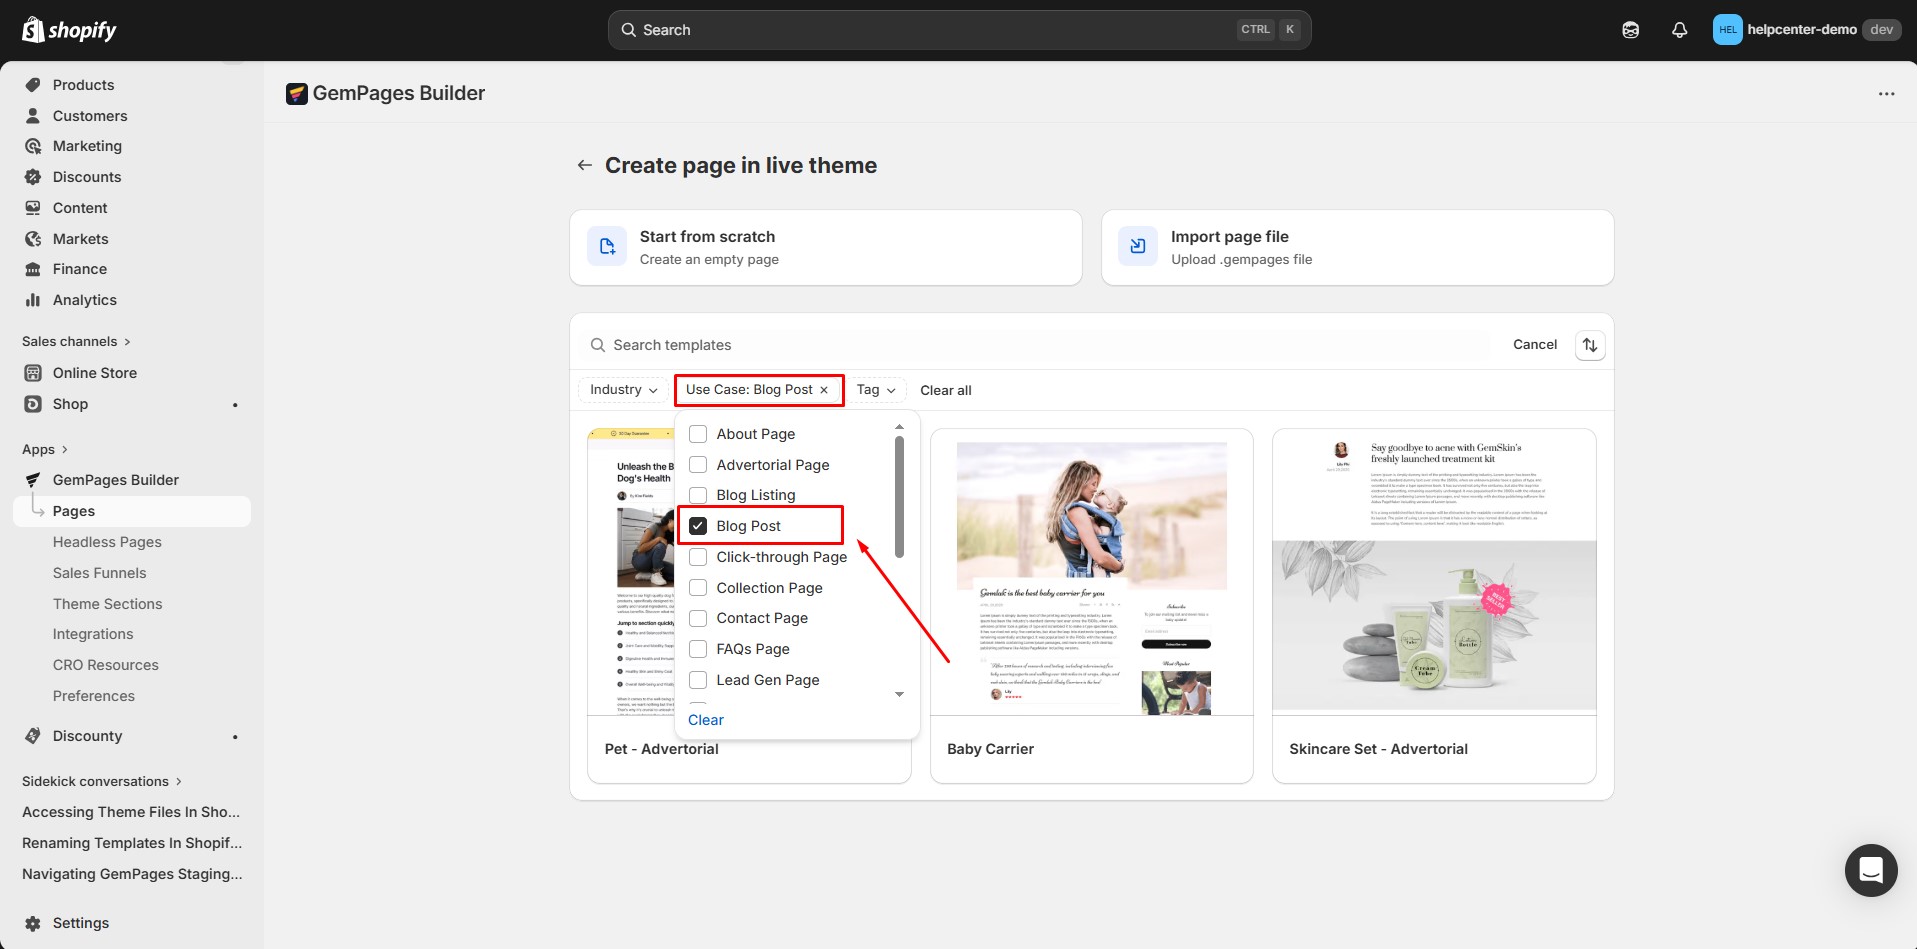
- Hover over the template you want to use. Click Use as blog post.
Option 3: Import a GemPages File
You can also create a blog post by importing a previously exported GemPages file.
This option is useful when:
- Reusing saved layouts
- Sharing designs between stores
- Migrating pages
For more details about this method, refer to this article: https://help.gempages.net/articles/export-import-templates
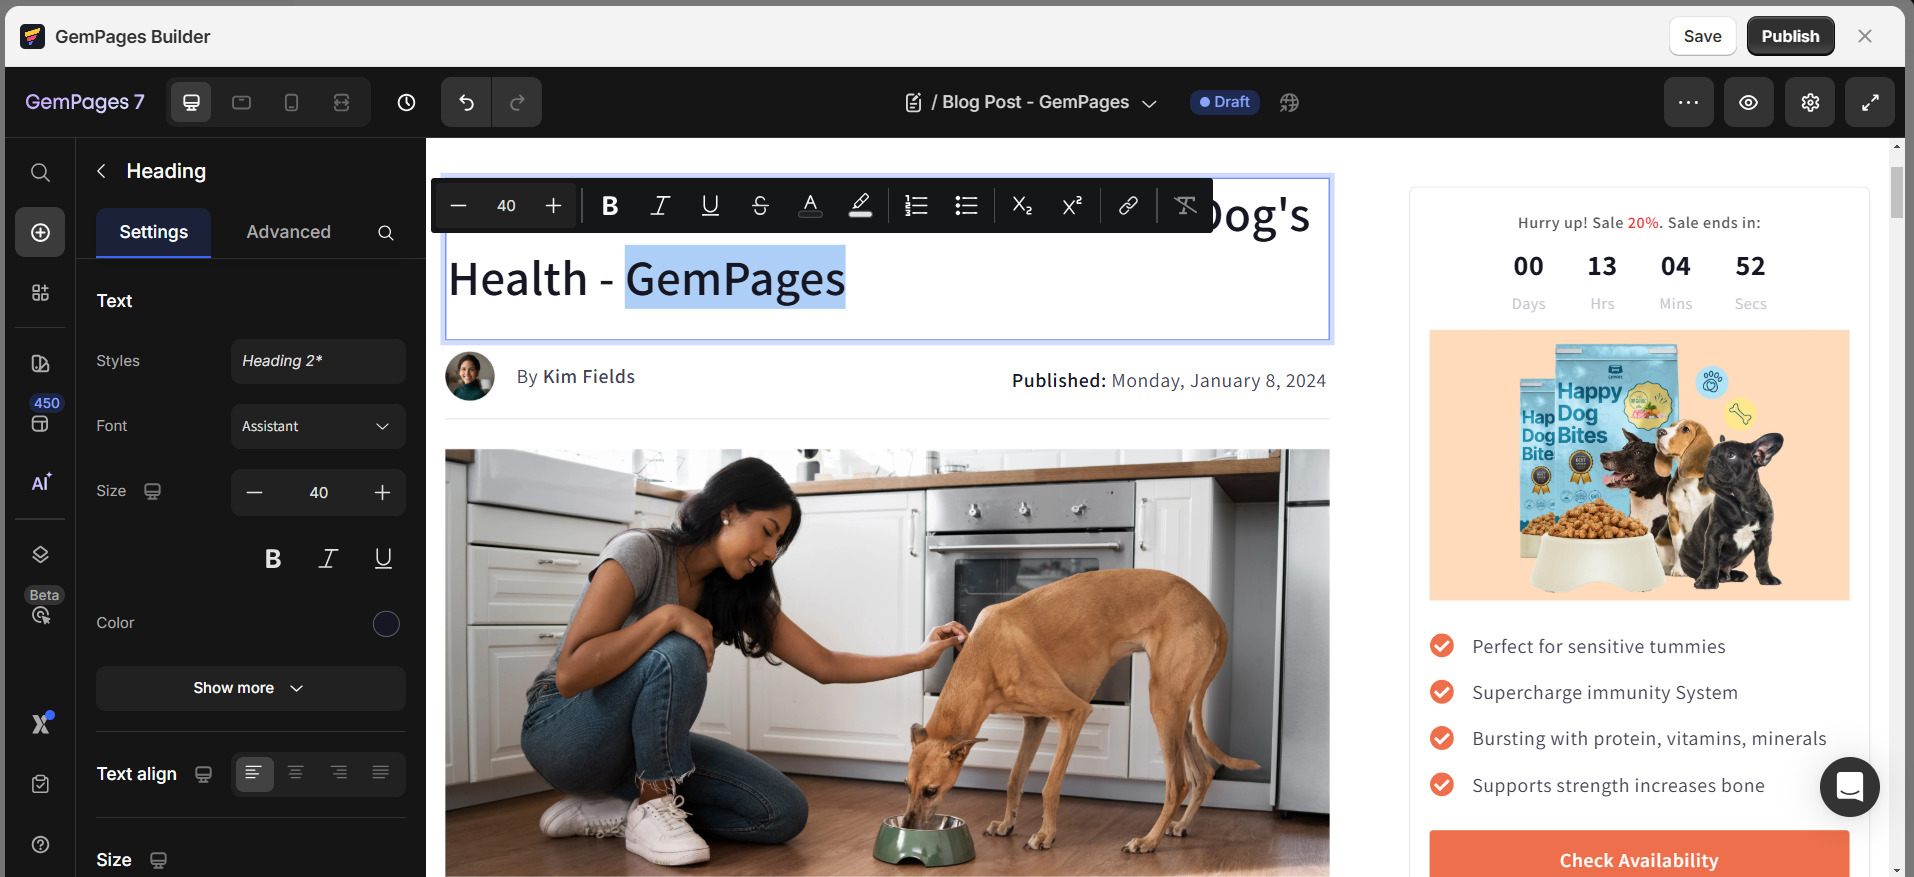
Step 3: Use drag-and-drop elements (text, images, headings, buttons, etc.) to build your blog post page.
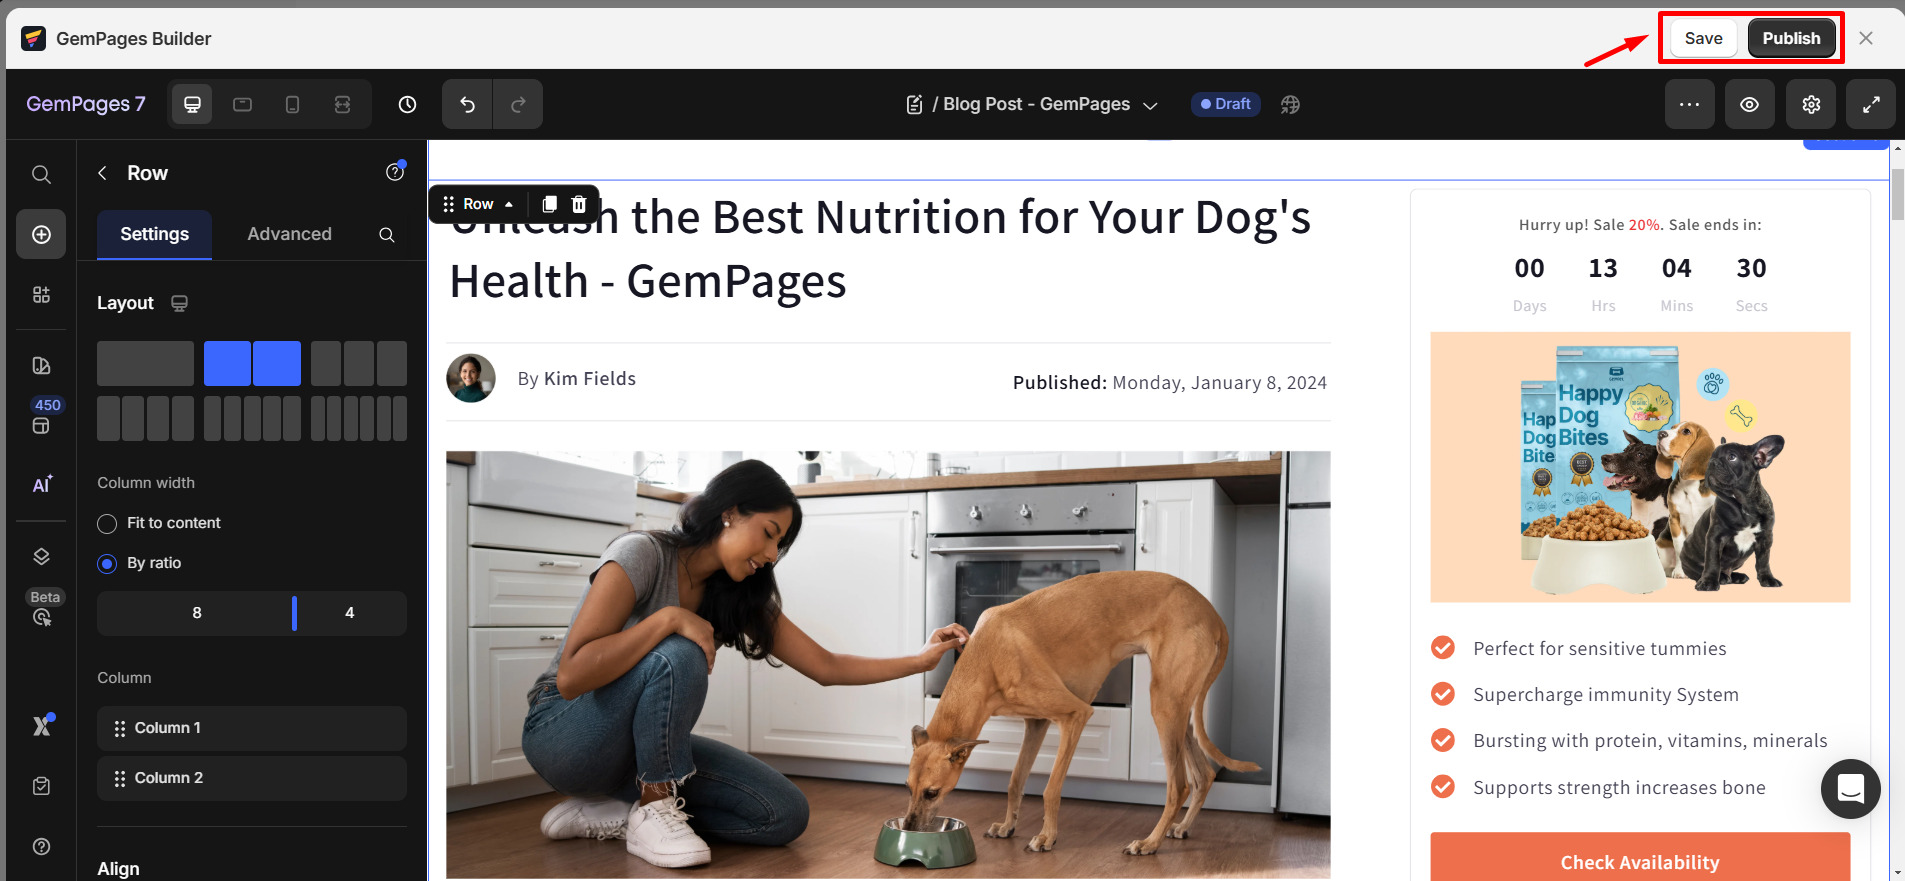
Step 4: Click Save & Publish to make your blog post live.
Step 5: Go to Content > Blog Post to see posts created via Shopify and GemPages.

How to Create a Blog Page Using the Image to Layout Feature
The Image to Layout feature allows you to convert an image or a URL into an editable page layout.
This helps speed up page creation by automatically detecting sections and generating a structured layout based on visual input.
You can use:
- A screenshot
- A webpage URL
The system will analyze the input and generate editable sections inside the Editor.
Step 1: Create a New Page From Scratch
Click Start from scratch to create a blank page. Once you enter the Editor, you will see the option to convert a URL or an image into a page layout.
Step 2: Choose Your Input Method
At this point, you will have two options:
- Paste a URL to Create a Layout
Paste a webpage URL into the input box. The system will analyze the URL and extract layout elements.
- Upload an Image
Click the upload area and select an image from your device. This image will be used to generate a page structure.
Step 3: Generate the Layout
- After entering a URL or uploading an image:
- Click Generate.
Important: Make sure you have the legal right to use the images for your page. GemPages is not responsible for any copyright disputes between you and the image owner.
Configure Your Blog Post After Creating an Article Page in GemPages
Step 1: Go to Shopify Admin → Content → Blog posts. Locate the blog post created via GemPages. Click the blog post to open its editor.
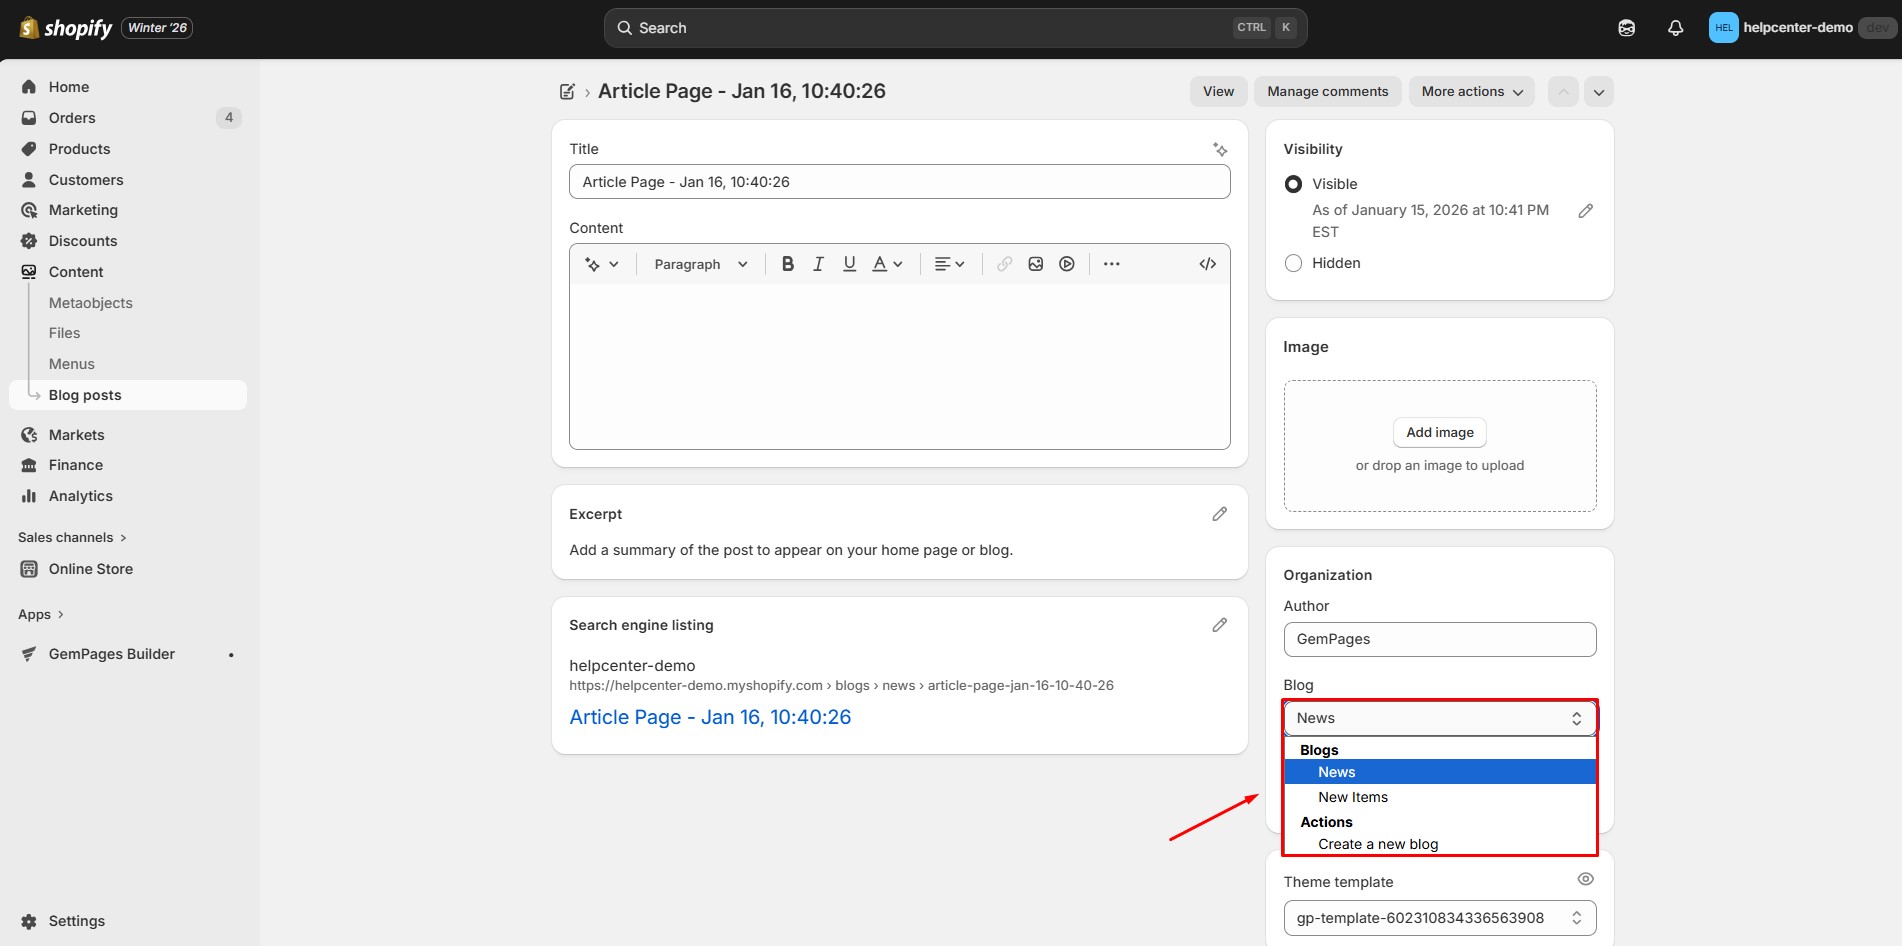
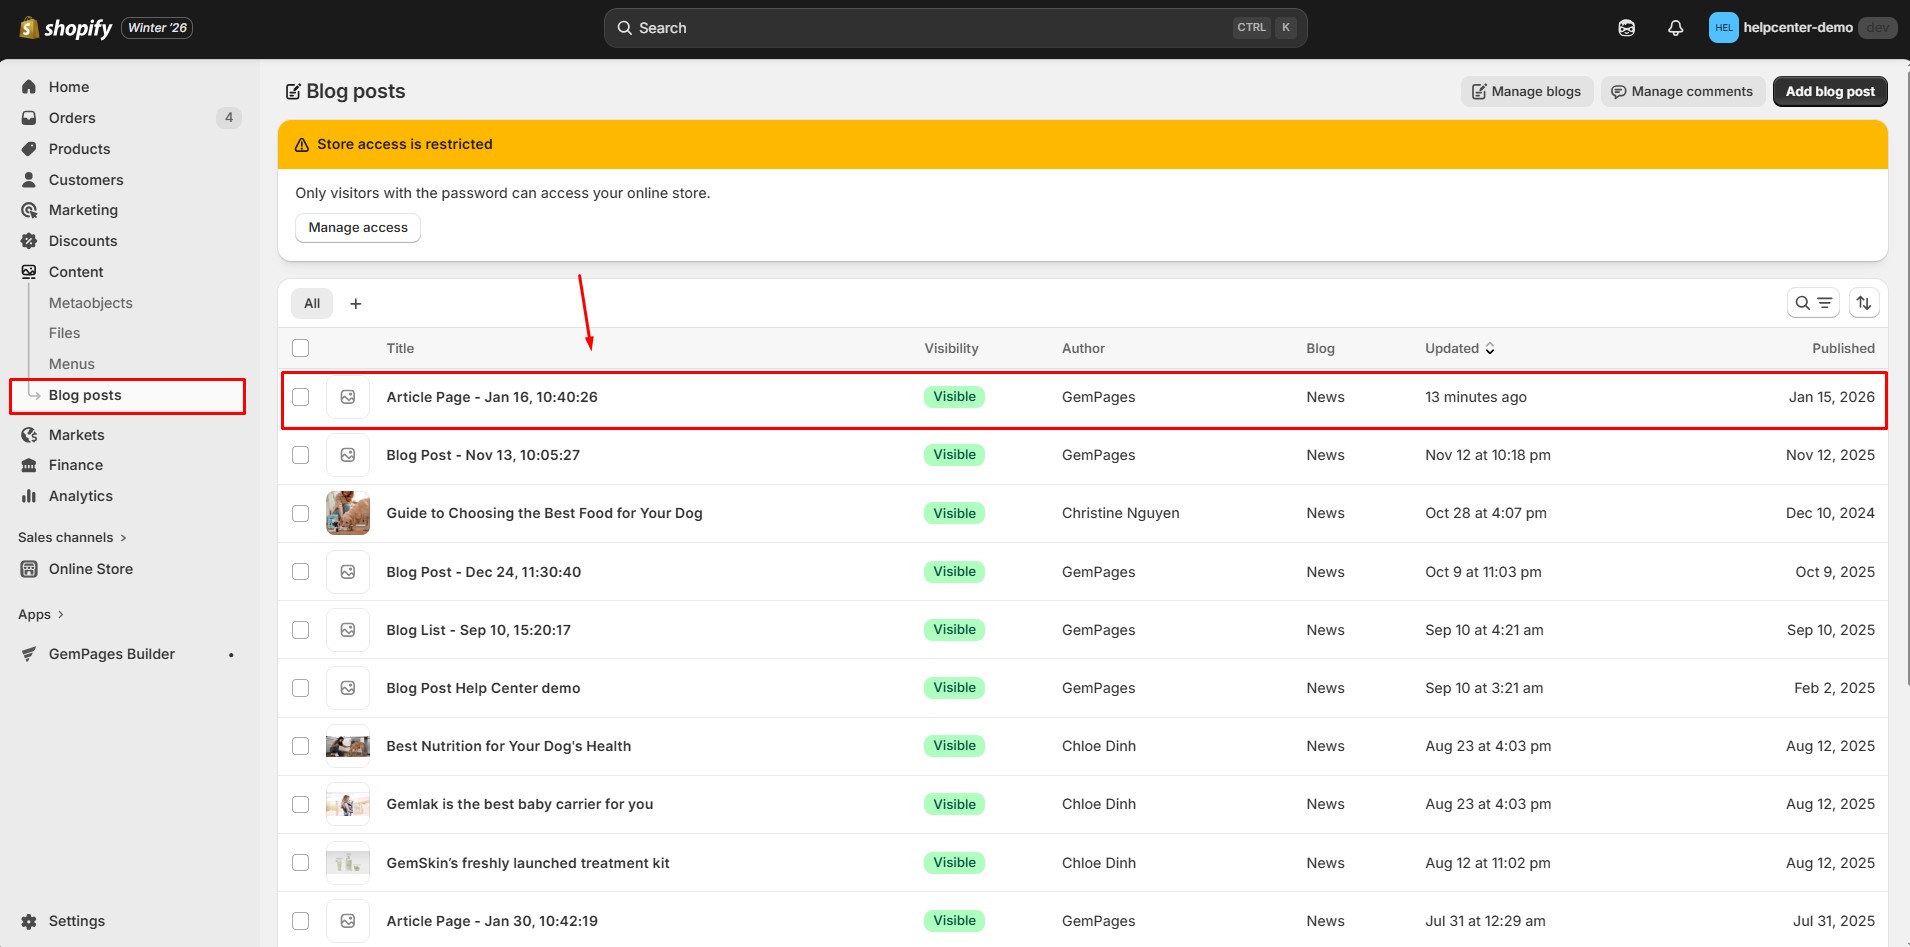 Step 2: In the right-hand panel, find the Organization => Blog section, select the blog you want this post to belong to (for example, News or Updates). If a blog post isn’t assigned to a blog, it won’t appear on the blog listing page.
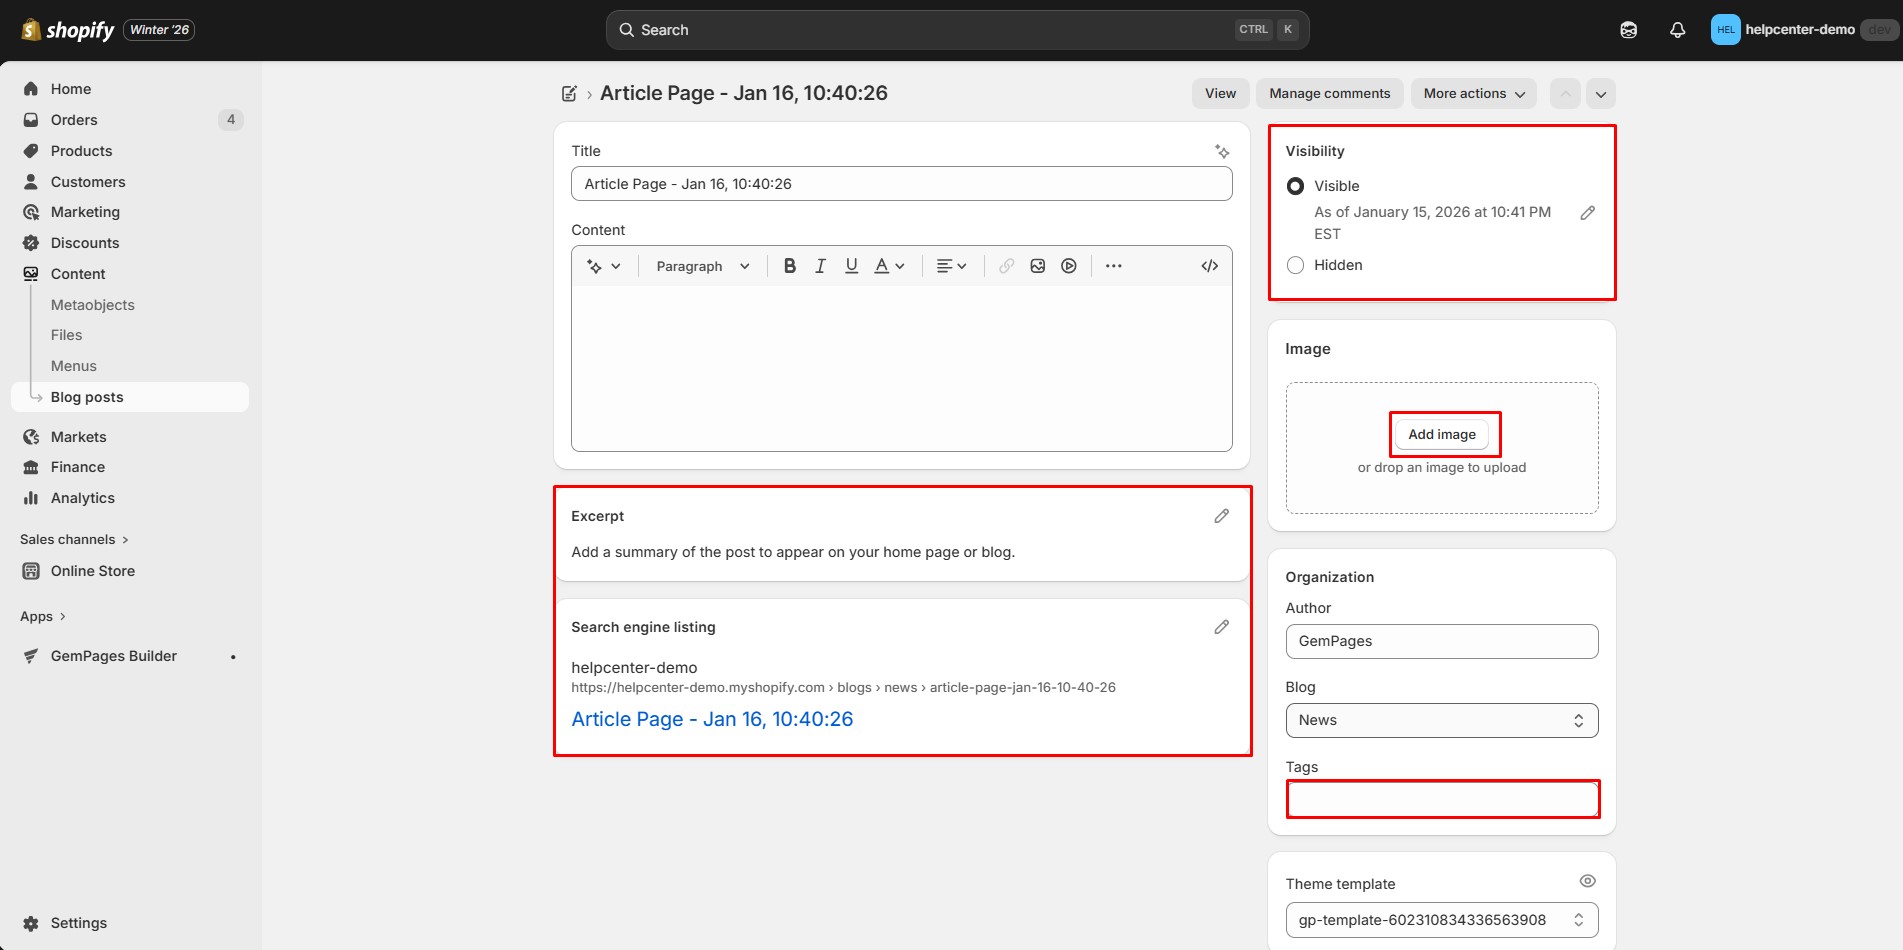
 Step 3: Configure the remaining blog post settings in Shopify:
- Image: Add a featured image for the post
- Author: Set the author name
- Tags: Add tags to help organize content
- Excerpt: Add a short summary for blog listings
- Visibility: Make sure the post is set to Visible
 Step 4: Save and Check on the Storefront
Best Practices for Creating Blog Posts
- Choose a clear, keyword-focused title: Use phrases like create a blog post, Shopify blog post, or topic-specific keywords that your audience is actively searching for.
- Write a strong introduction: The first 2–3 sentences should clearly explain what the blog post is about. This helps both readers and search engines understand the content quickly.
- Structure your content with headings (H2, H3): Breaking your blog post into sections improves readability and helps Google index your content more effectively.
- Use featured images consistently: Always add a featured image in Shopify and display it using the Article Image element in GemPages to maintain visual consistency across your blog.
- Optimize internal links: Link to related blog posts, product pages, or Help Center articles to improve SEO and keep readers on your site longer.
- Preview before publishing: Check both desktop and mobile views to ensure your Shopify blog post layout looks clean and readable across all devices.
Learn more:
- Edit Existing Blog Post with GemPages
- Design the Latest Blog Posts Section with Article List Element
- Create a New Blog Listing Page
Troubleshooting: Blog Post Not Showing on the Website
1. The blog post is not published
2. The blog post is not assigned to a blog
3. The Article Page (GemPages) is not published
FAQs about Blog Post
1. What is a blog post in Shopify?
A blog post in Shopify is a piece of content published under your store’s blog section. It helps share news, updates, educational, or inspirational content, improve SEO, and build trust with customers.
2. How do I create a blog post in Shopify?
You can create a blog post by going to Online Store > Blog Posts in your Shopify admin, then clicking Create Blog Post, adding your title, content, and featured image, and finally clicking Save.
3. Can I design my blog post page with GemPages?
Yes. You can use GemPages to create and design a custom blog post page with drag-and-drop elements for more flexibility and control over layout and visuals.
4. Where can I view my created blog posts?
You can view your blog posts under Content > Blog Post in Shopify, including those created through both Shopify and GemPages.
5. How to display the blog featured image?
First, go to your Shopify admin > Content > Blog posts, then click on the target article to open the editor. Make sure that you have selected the featured image for this article.
Back to the GemPages Editor, and place an Article Image Element inside the Article List Element to display the featured image.
6. How do I add blog posts to a blog?
- Go to Shopify Admin → Content → Blog posts.
- Open the blog post you want to assign.
- In the right-hand panel, find Organization → Blog.
- Select the blog (for example, News, Updates, or any custom blog).
- Click Save.


Thank you for your comments