


What Is a Shopify One-Product Store?
A one-product store is an eCommerce website built specifically to sell a single product or a tightly related product line. Unlike traditional multi-product stores, this model simplifies the entire shopping experience by focusing entirely on a single offer — often referred to as a “hero product.”
How to Build a One-Product Store Using GemPages
Before you start, you’ll need:
- A Shopify account (Create one here)
- A defined product with clear benefits, imagery, and pricing
- The GemPages Page Builder app installed on your Shopify store
GemPages gives you full control over your store’s layout and visual storytelling — even if you have zero coding skills. With GemPages, you can design a wide range of page types — from landing pages to blog posts, FAQs, and more. In this guide, we’ll focus on creating and customizing the two most essential pages for a one-product store: the product page and the homepage.
Here’s a step-by-step breakdown:
Step 1: Set Up Your Shopify Store
First, sign up for a Shopify account at shopify.com. Shopify provides a free trial, so you can get started without any upfront cost.
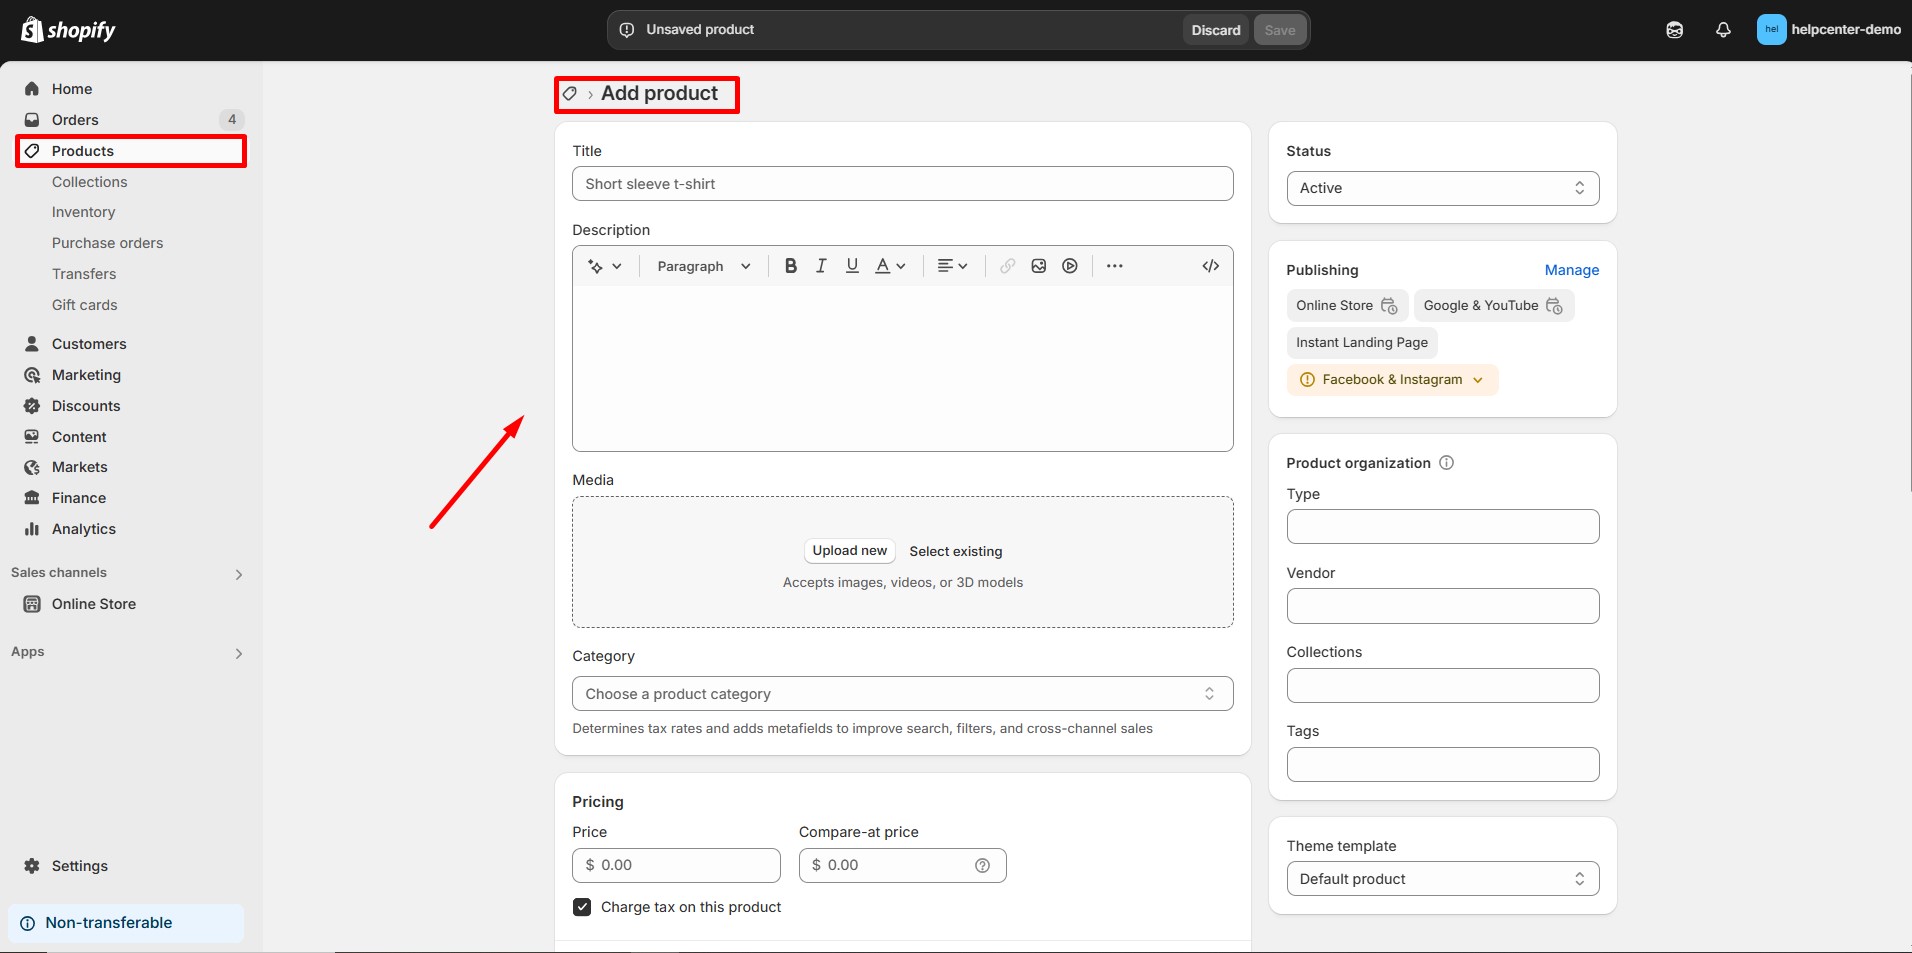
Once inside the dashboard, go to the “Products” tab and add your hero product. Upload high-quality images, write a compelling product description that focuses on benefits (not just features), set the price, and configure inventory and shipping options.
Step 2: Install the GemPages App
From the Shopify App Store, search for “GemPages Page Builder” and install the app.
This gives you access to a full-featured drag-and-drop editor for customizing any pages.

For more information, please refer to this article: Install GemPages to your Shopify Store.
Step 3: Design Your Product Page with GemPages
The product page is the most important part of your one-product store. With GemPages, you can either choose from a variety of high-converting templates or start from scratch.
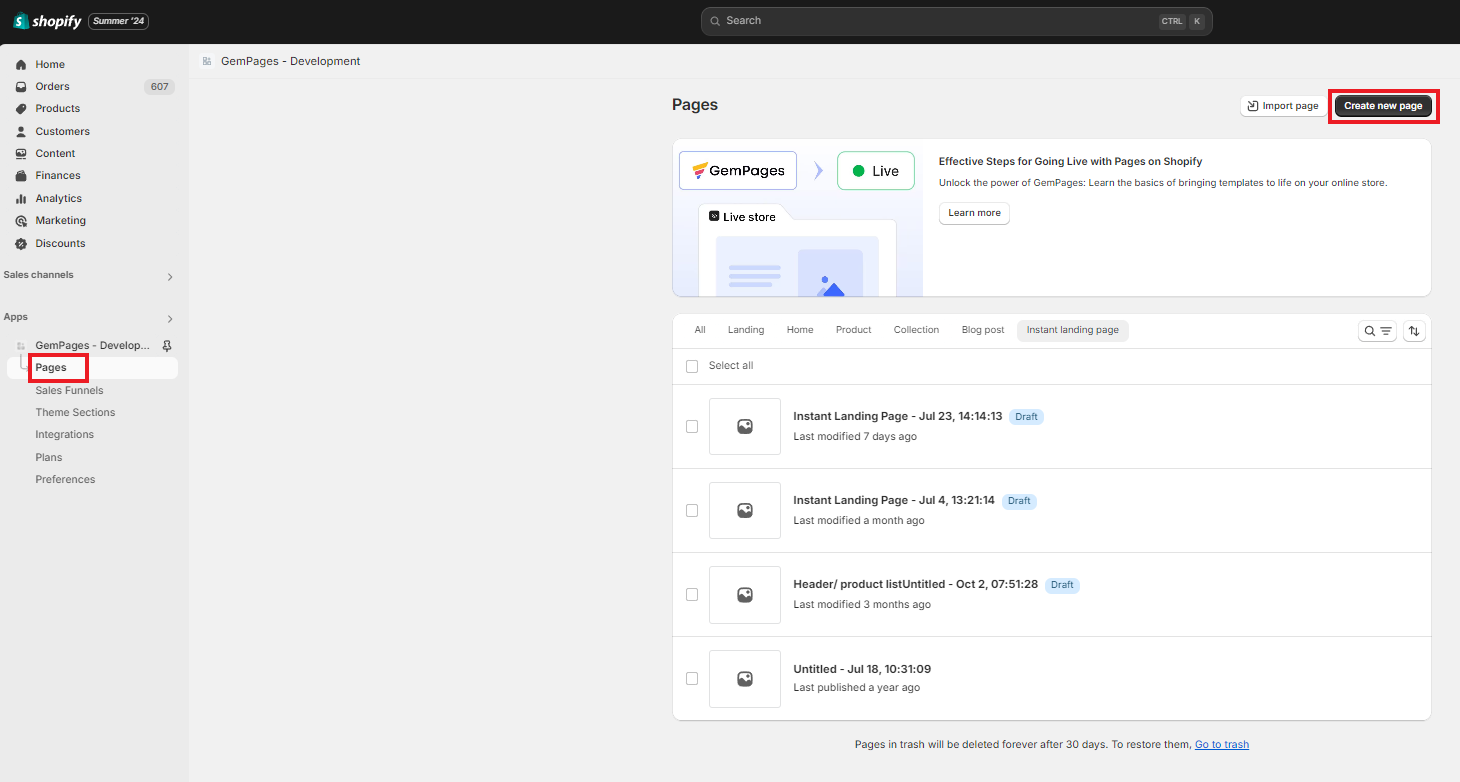
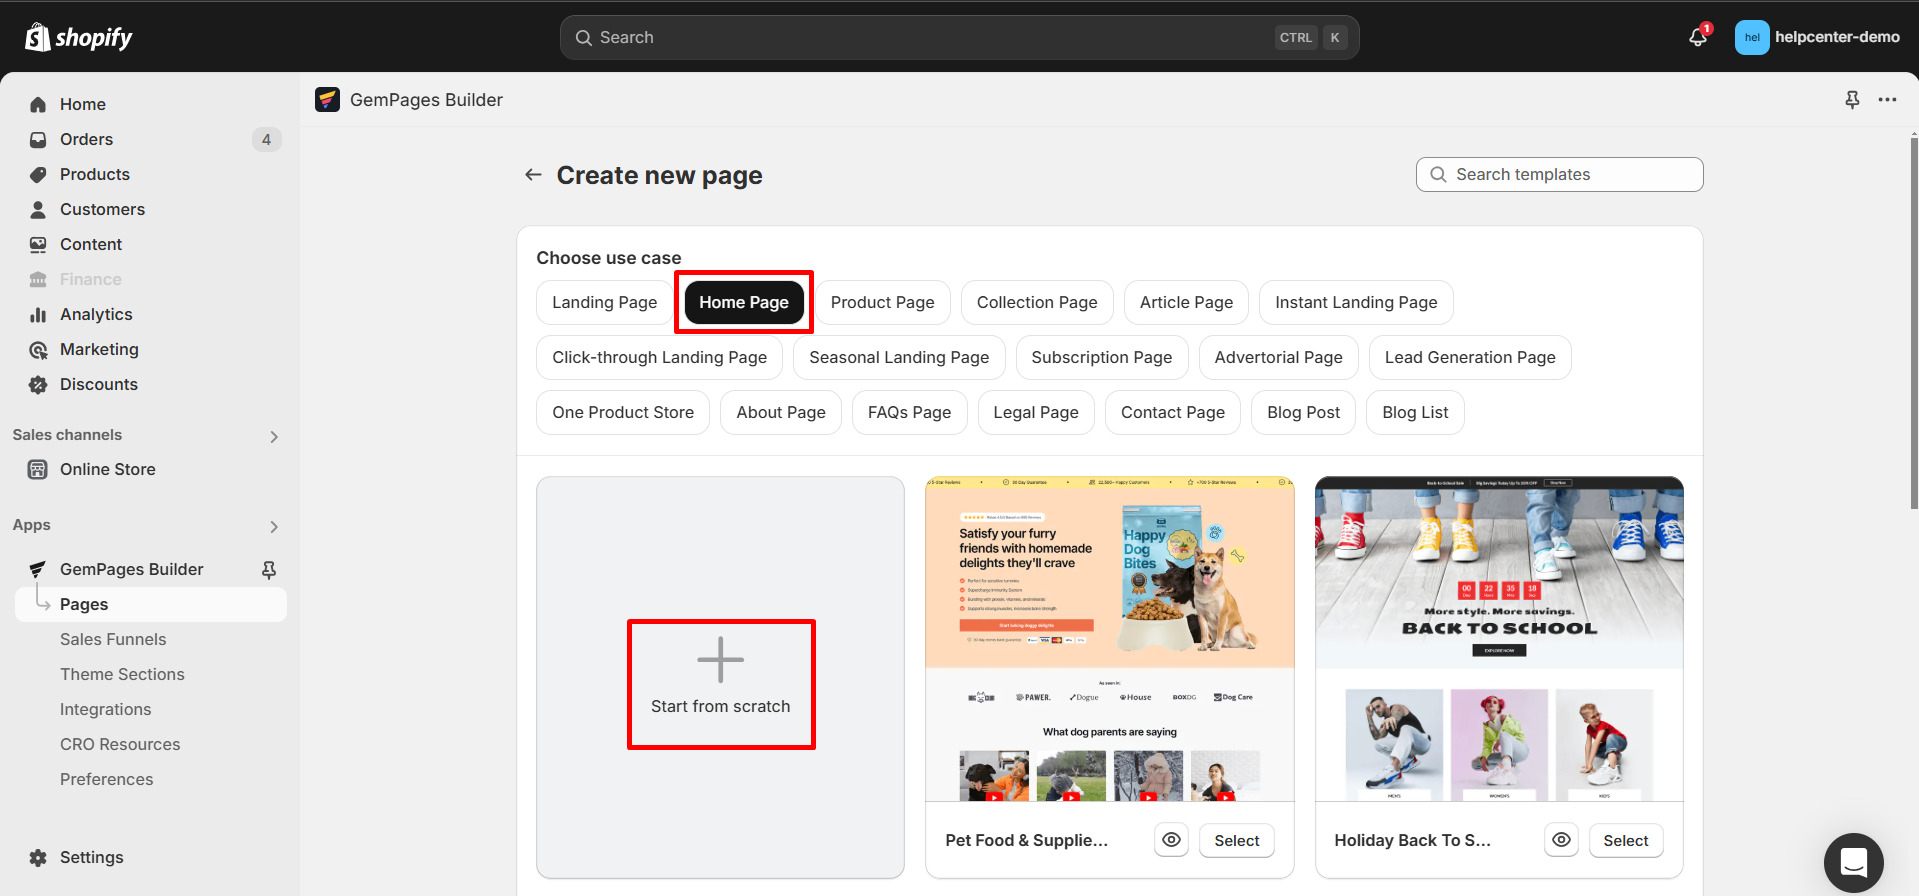
- Open the GemPages Dashboard and choose “Create new page”. Or, head to the Pages section and simply click the “Create new page” button.
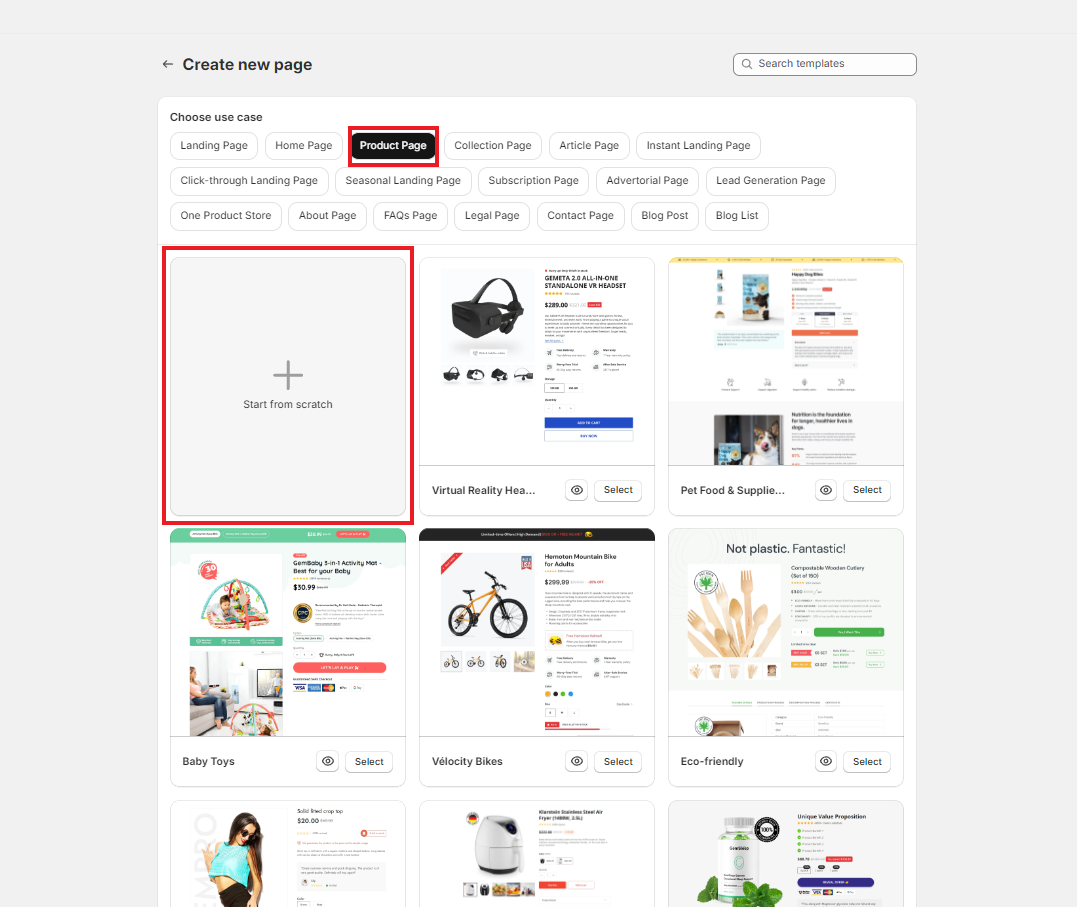
- Click “Product Page” and choose a template. Or, you can click “Start from scratch” to design your own.
- The GemPages Editor will open, displaying either a template or a blank page. You can now design the page.
- Start building your page by dragging and dropping key elements.
For example:
- A large hero image or video banner showcasing the product
- Product Details
- Trust signals like secure checkout badges, free shipping guarantees, or satisfaction policies
- A Frequently Asked Questions (FAQ) section
- A final call-to-action near the bottom of the page
- Size Chart to Product Page
- Product reviews & Star rating
- Add Wishlist Button
- Etc.
Make sure the flow of the page tells a story — explain the problem, present your product as the solution, and back it up with proof.
Once you have your product page, you need to assign your product to that template to make it go live. Click here for a detailed instruction.
To replace the default Shopify theme product page with the one you just built using GemPages, please refer to this detailed guide: Replace your Default Product Page with GemPages Product Page.
Step 4: Build a Homepage
Even if your entire focus is on one product, your homepage should still reflect your brand and guide users to take action. Use the homepage to build trust, introduce your brand mission, and emphasize why this product matters.
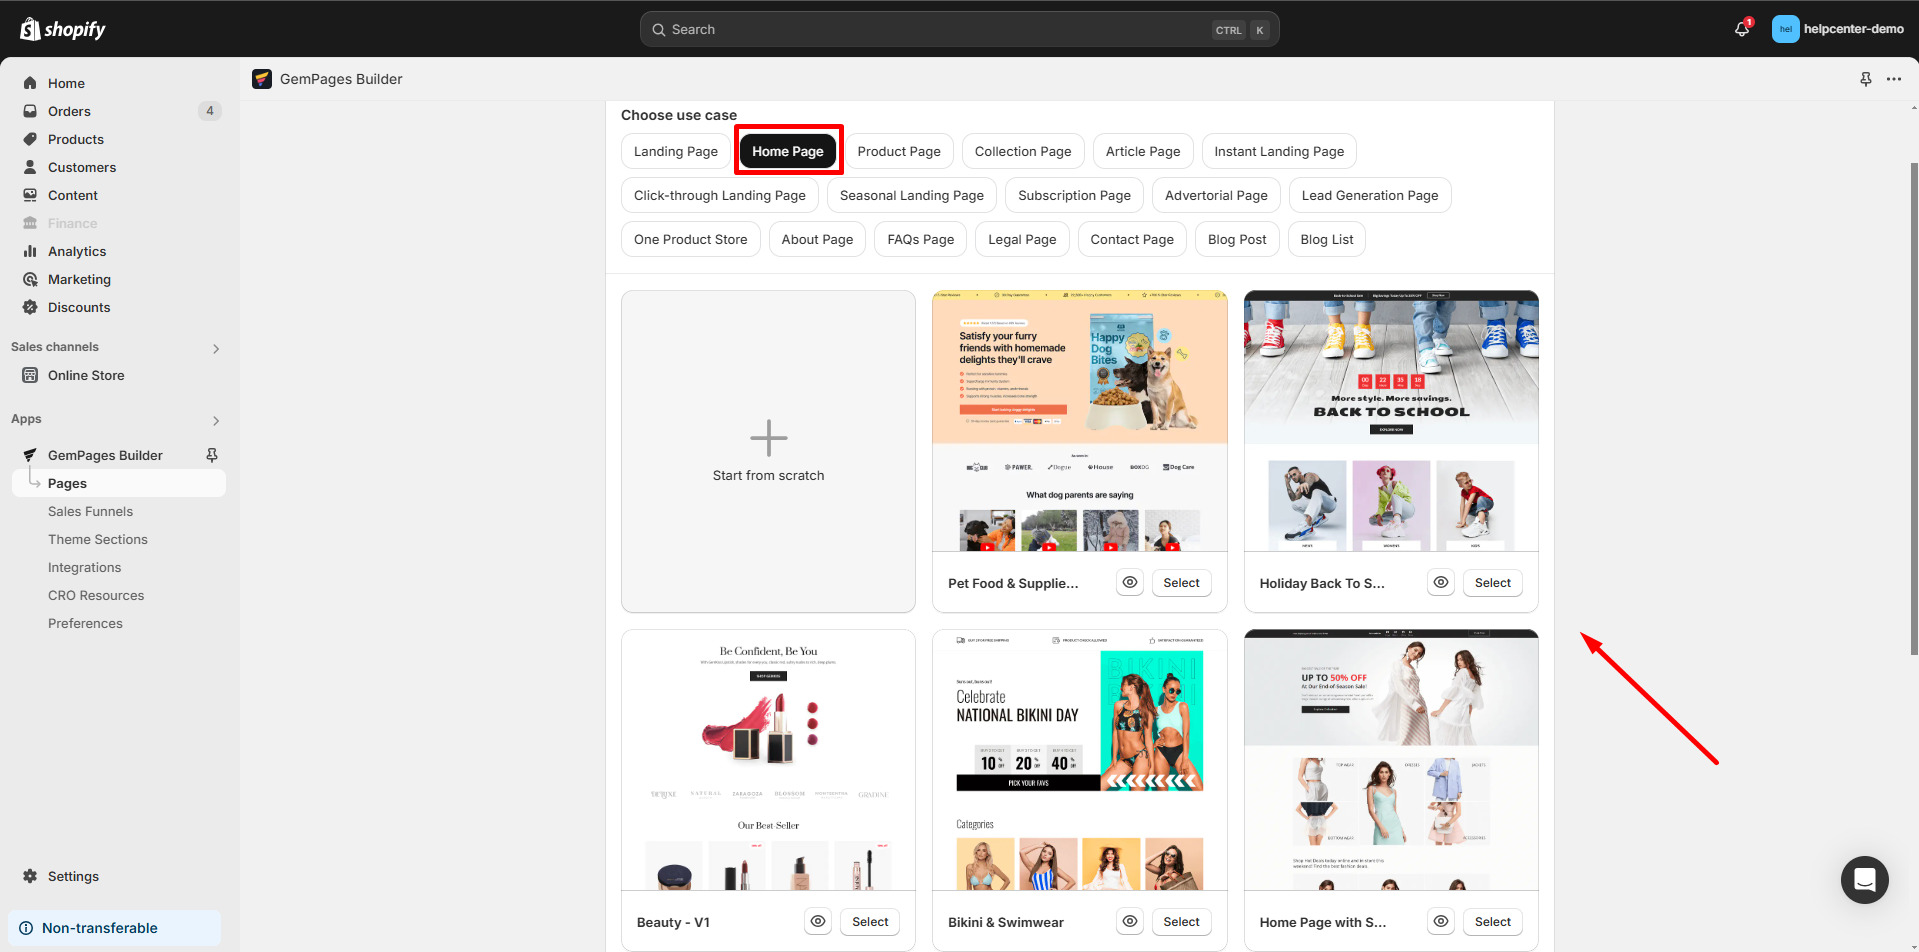
- Open your GemPages dashboard. Navigate to Pages and click Create New Page.
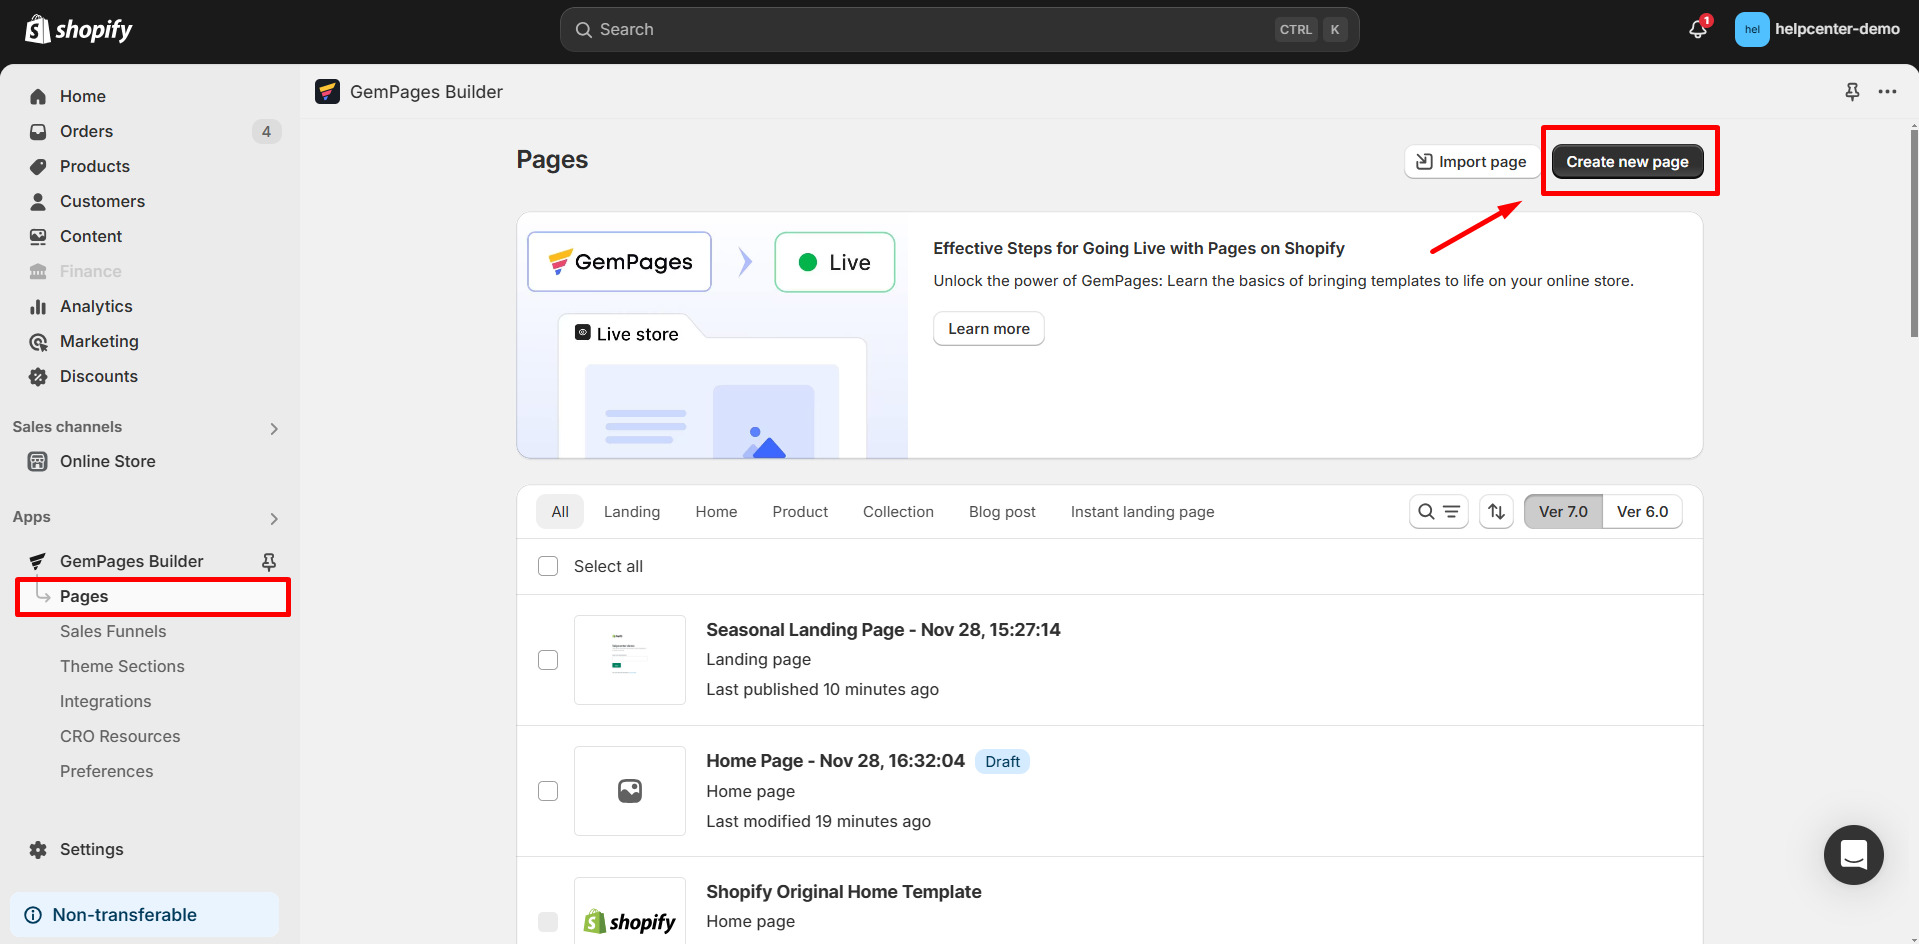
- Choose Homepage as the page type. You will also have two options:
Option 1: Start from Scratch
Use the drag-and-drop editor to build your homepage element by element.
Option 2: Use a Pre-Built Template
Choose from a library of pre-designed templates tailored for various industries.
- Customize the page as you prefer.
Recommended content includes:
- A bold hero section that links directly to the product
- A short story or message from the founder
- Product benefits and use cases
- Visuals or customer testimonials
- Media mentions or social proof if available
- Return policy and contact info, etc.
Keep everything focused and streamlined — avoid unnecessary distractions.
To make the homepage you’ve designed the default homepage, please refer to this article: Make a Default Homepage.
Step 5: Optimize for Mobile Devices
Most visitors will come from mobile, so your design must work perfectly on smaller screens. In GemPages, you can switch between desktop, tablet, and mobile views, and adjust the layout accordingly.
Make sure buttons are easy to tap, text is readable without zooming, and that product images load quickly. Always preview your page on mobile before publishing.
For more information on GemPages responsive design, please refer to this article.
Step 6: Simplify Navigation and Funnel the User
In a one-product store, every second of attention matters. Go to your Shopify navigation settings and remove any unnecessary menu items. Keep the navigation as simple as possible — ideally just “Home,” “About,” “Contact,” and “FAQs.”
To link your page to the Shopify menu, please check the detailed guide in this article.
Extra Tips to Boost Performance
- Use urgency tactics like limited-time offers or countdown timers.
- Add post-purchase upsells using additional pages built in GemPages.
- Include social proof — photos from real customers, reviews, and testimonials.
- Optimize your “Buy Now” buttons with action-oriented text.
- Enhance your store with powerful Shopify apps. GemPages now integrates seamlessly with a wide range of tools to boost functionality. See the full list of supported apps here.


Thank you for your comments