


This guide explains the difference between a Product Page and a Product Template in Shopify, and shows how to create dynamic or personalized layouts using GemPages for your store.
Product Page vs. Product Template
Knowing the differences between a Product Page and a Product Template can help you create the right designs for your needs.
- Product Page: A page on your Shopify store showcasing a specific product.
- Product Template: A design layout created in GemPages that can be assigned to one or more product pages, defining their appearance and layout.
How it works:
- When One Product is assigned to a Template: The product page adopts the template’s style and layout.
- When Multiple Products are Assigned to a Template: All assigned product pages share the same template design.
Here’s a comparison table for better clarity:
| Feature | Product Page | Product Template |
| Definition | Showcases a single product. | Reusable layout for multiple products. |
| Use Case | Unique designs for flagship items. | Consistent layouts across products. |
| Flexibility | High; each page is customized individually. | Limited; changes affect all assigned pages. |
| Time Efficiency | Time-consuming for multiple pages. | Time-efficient for batch designs. |
| SEO Considerations | Individual settings. | Shared settings, customizable per product. |
| Editing | Edits affect one page only. | Edits update all assigned products. |
| GemPages Support | Fully supports single-page customization. | Fully supports template design. |
How to Create a Product Template for Multiple Products?
Follow these steps to create a dynamic Product Template that works for all or specific products:
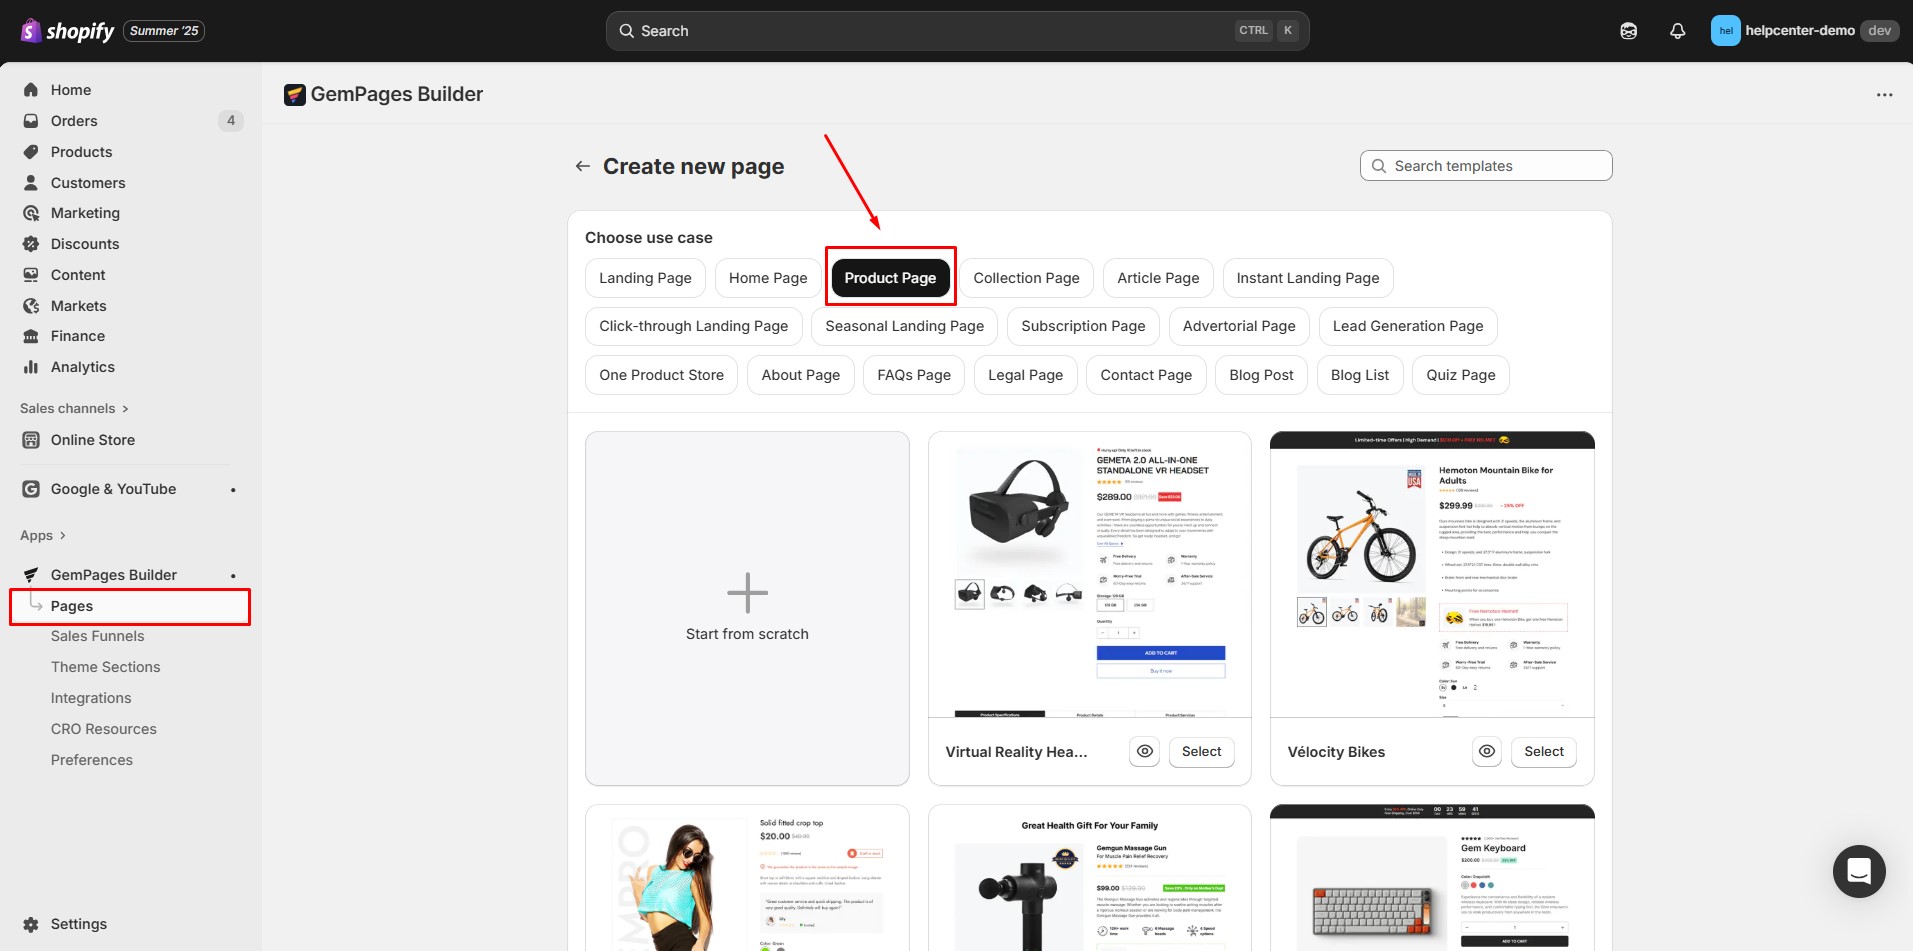
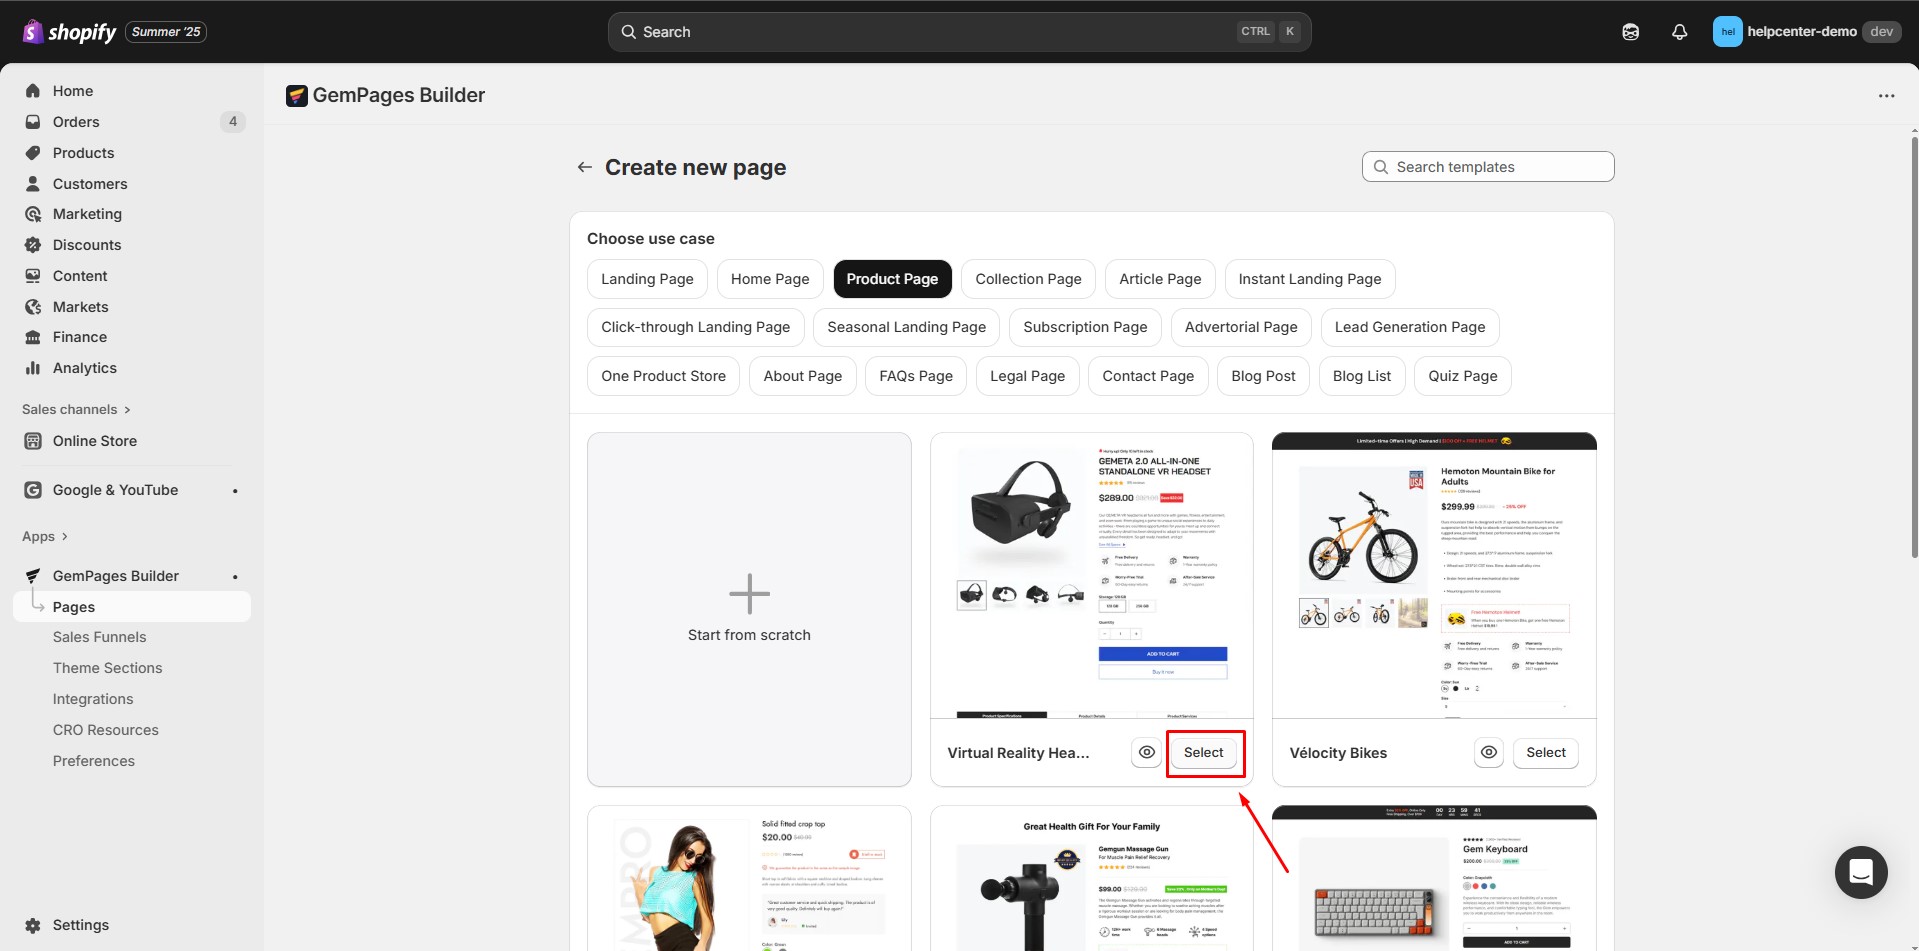
Step 1: Open the GemPages Dashboard. Click Create New Page, then select Product Page as the page type.
Choose to:
- Start from scratch for a completely custom design.

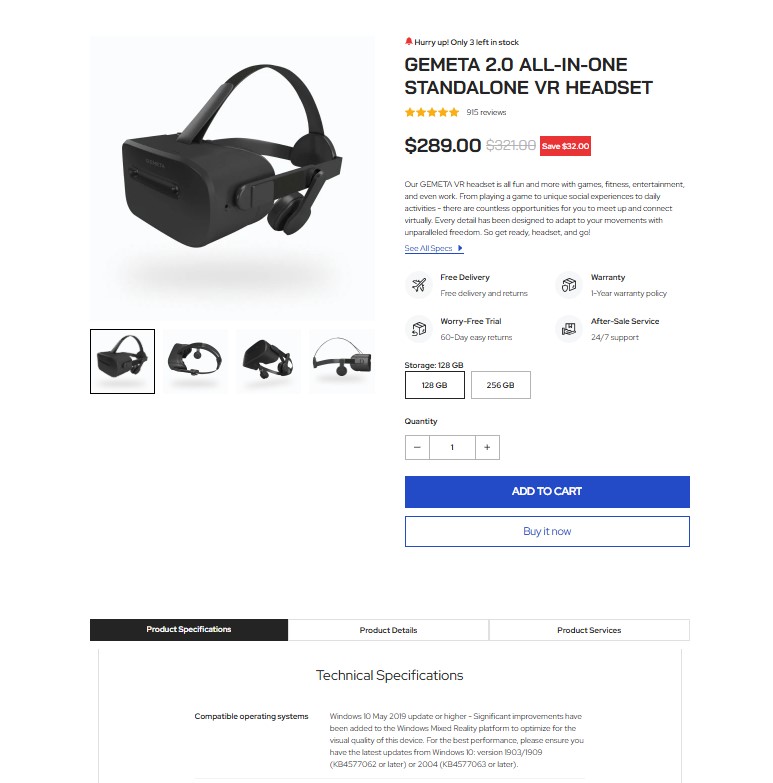
- Use a pre-made template for faster setup (this guide uses a pre-made template as an example).
Step 2: To create a Product Template that works across multiple product pages and updates dynamically, you need to include the following dynamic product elements:
- Product Title
- Product Images
- Product Price
- Add to Cart Button
- Product Description
- Product Variants and Swatches Element
- Product View More Element
- Product Custom Field Element
- Other Optional Elements: Product Reviews, Estimated Shipping Time, and more.
These elements ensure that the template dynamically updates with product-specific content for every page it is assigned to.
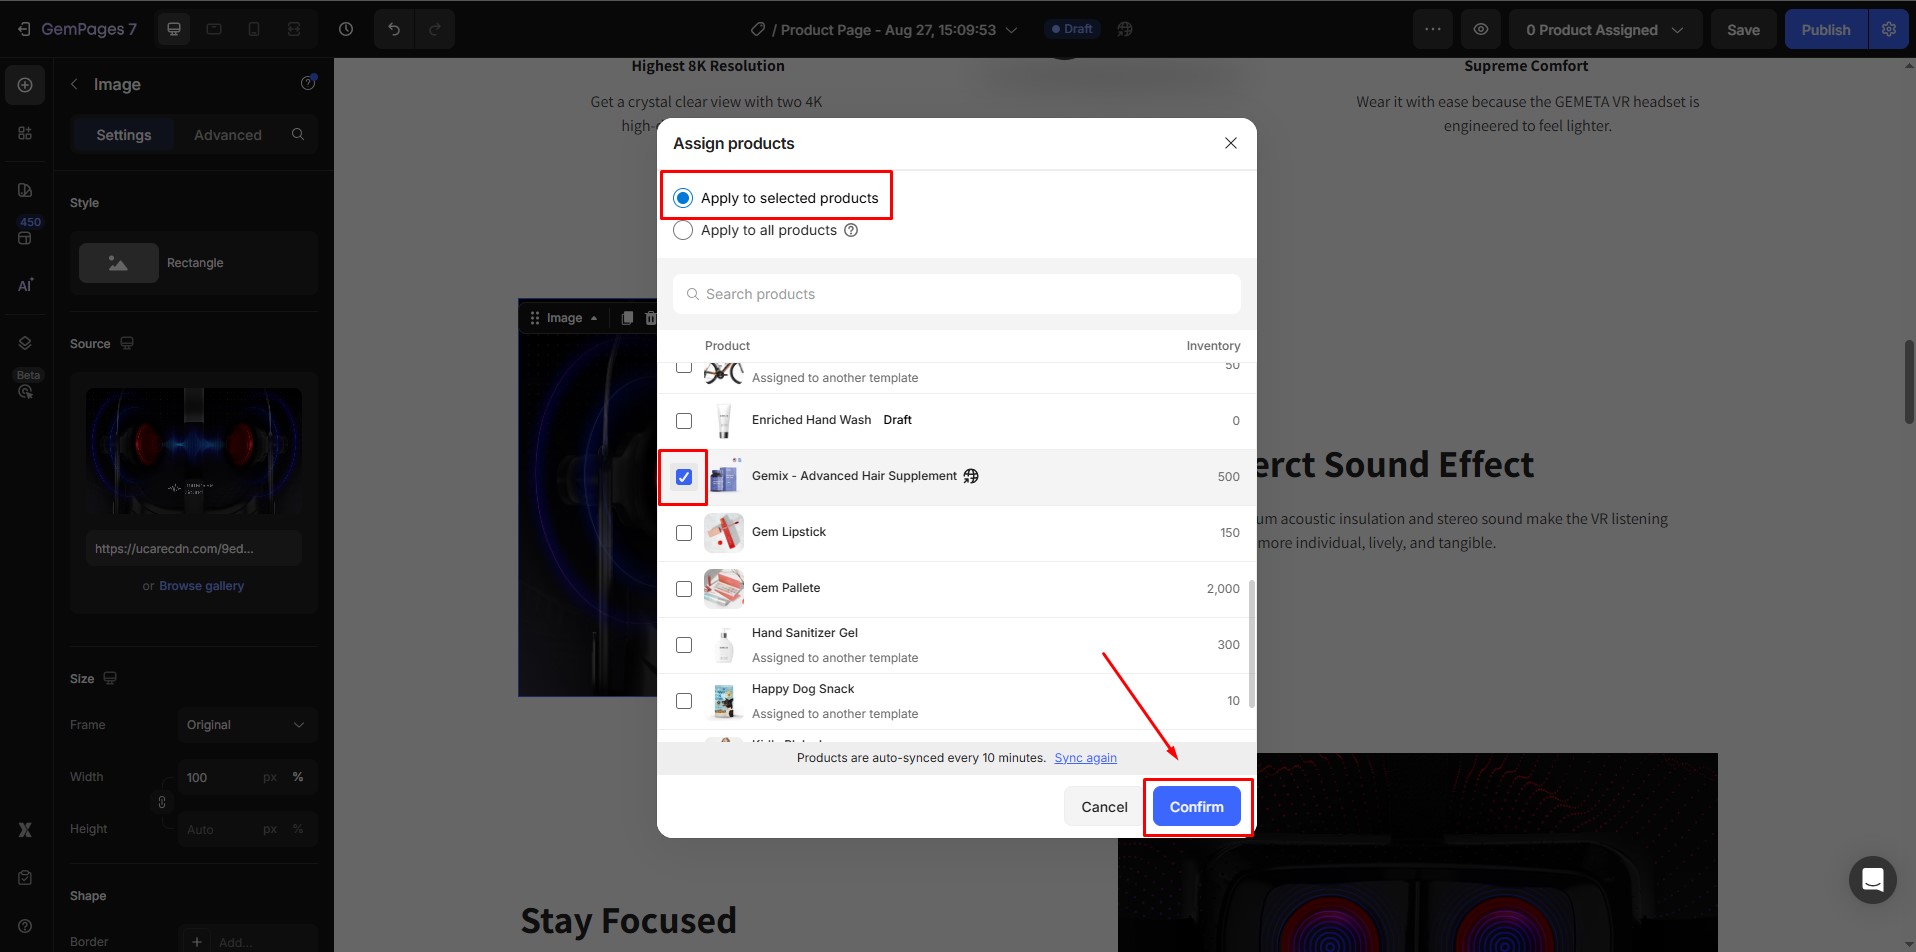
Step 3: In the GemPages Editor, click the Product Assigned button on the top-left bar to choose where to apply your Product Template :
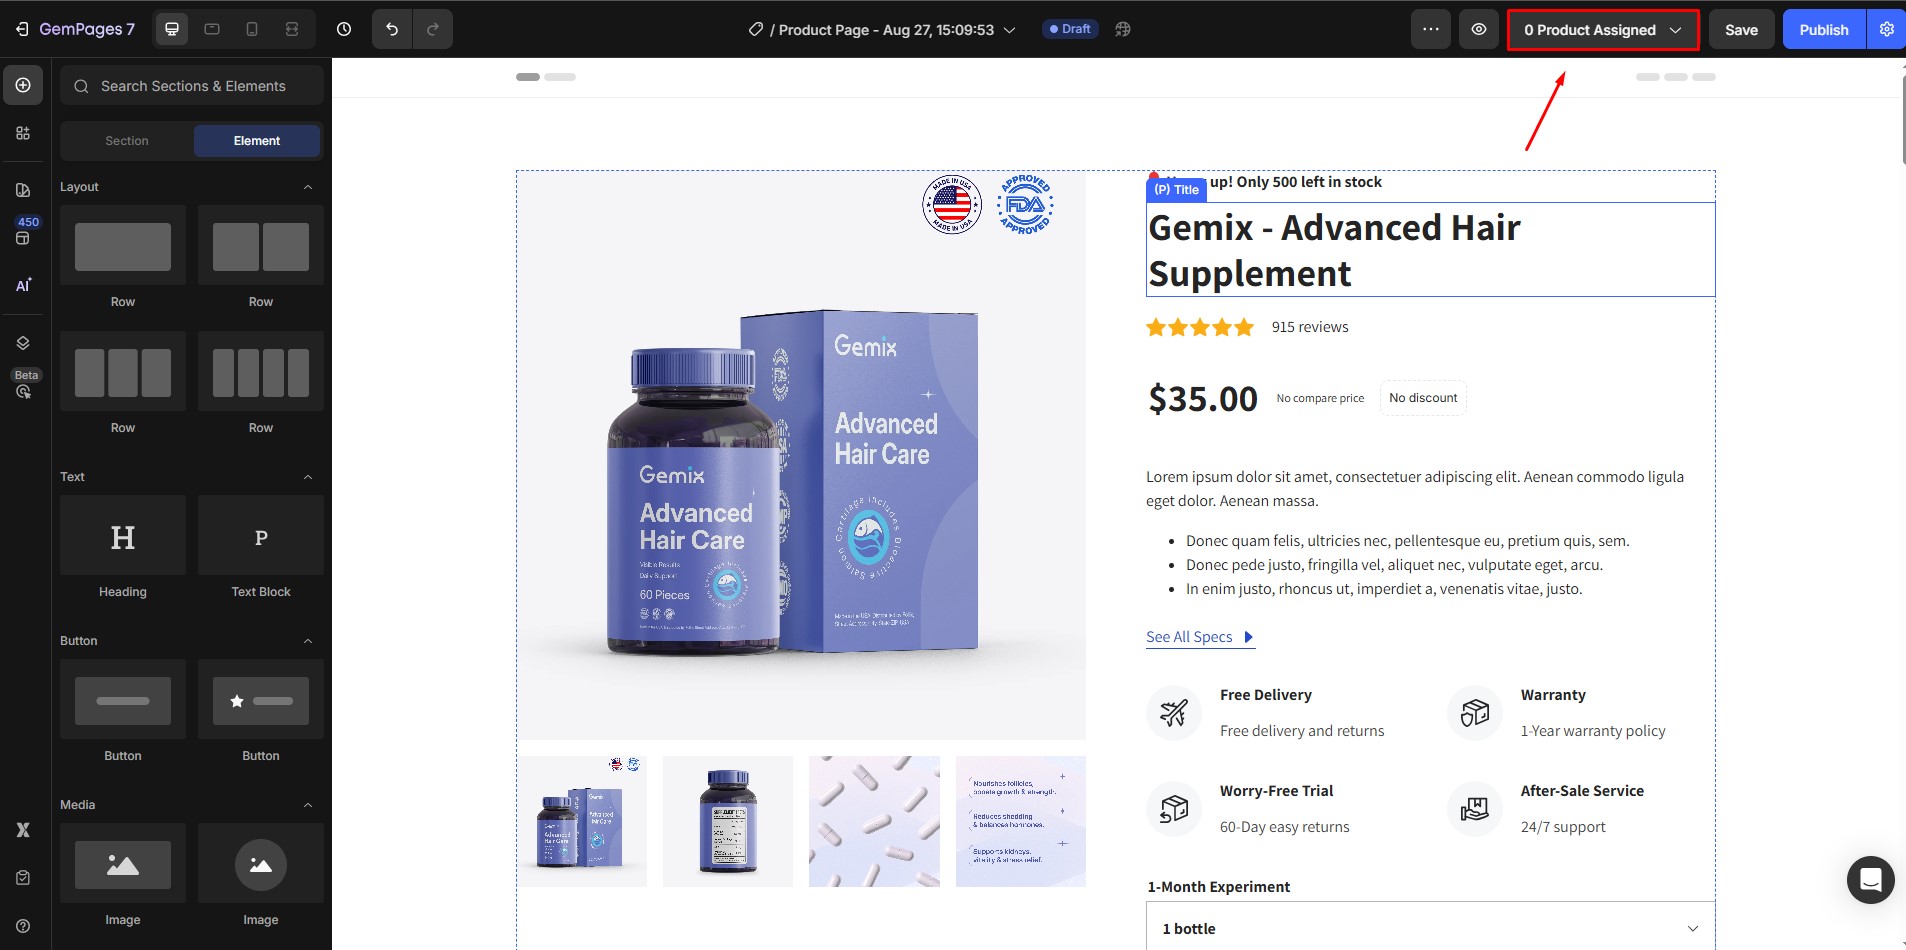
Choose from 2 options and click Confirm.
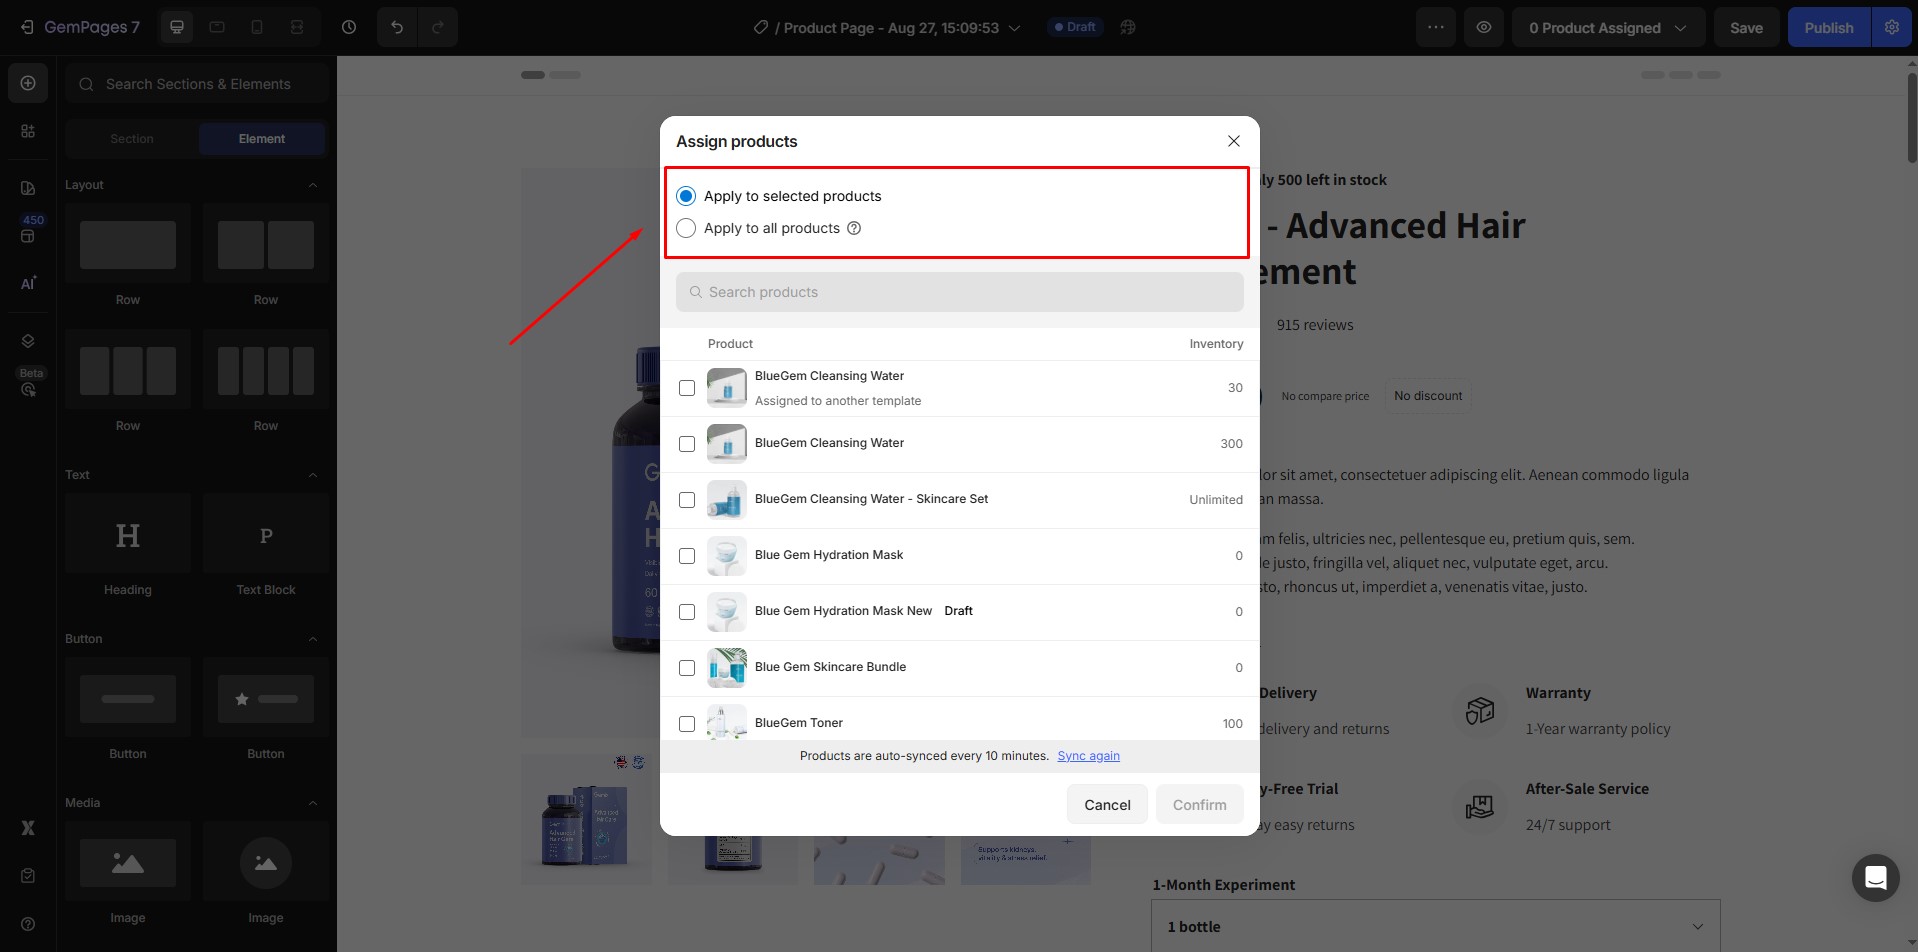
- All Products: The template will be applied to every product in your store.
- Specific Products: Select the specific products you want to use this template for.
How to Create a Product Template for a Specific Product Page?
If you want to design a unique page for one product only, you don’t need to rely on dynamic elements. Instead, you can use static elements to fully customize the page for that product.
If you’re designing a unique page for a specific product, follow these steps:
Step 1: Go to GemPages and Create a New Product Page
Step 2: Since this page is for a single product, you can directly add static elements instead of dynamic ones:
- Images, and Videos: Add exclusive visuals for this product.
- Text: Highlight unique selling points with custom messaging.
- Buttons: Add custom calls-to-action like “Pre-Order Now” or “Learn More.”
Note: You can still use dynamic elements for a single product page, but static elements are often preferred for fully customized designs.
Step 3: In GemPages Editor, click the Product Assigned button (top-left). Select the specific product this page is created for.
This method is ideal if you want to showcase one flagship product with a completely custom design, independent from other product pages in your store.


