


This guide will walk you through the steps to set up Klaviyo with GemPages Editor v7. If you are currently using GemPages Editor V6, you can refer to this article.
About Klaviyo Email Marketing & SMS
Klaviyo is a powerful platform designed for eCommerce businesses to manage their email marketing and SMS campaigns. It’s known for its user-friendly interface and powerful automation features that help you create targeted campaigns based on customer behavior.
Klaviyo: Email Marketing & SMS brings various outstanding features for store owners and customers, including:
- Highly Targeted, Personalized Communication: Send tailored emails and SMS based on user data.
- Data Integration with Shopify & Other Tools: Use data from web behavior, product catalog, tags, and more.
- Advanced Segmentation & Automation: Build flows with real-time and historical data.
- Real-Time Performance Tracking: See revenue per campaign, segment, or automation flow.
- Built-in AI & Pre-made Templates: Launch campaigns faster with proven formats.
- Review Collection Tools: Gather and display customer reviews to increase social proof.
With GemPages v7, you can embed your Klaviyo Sign-up Form directly into your page using the Klaviyo element.
How to Install Klaviyo?
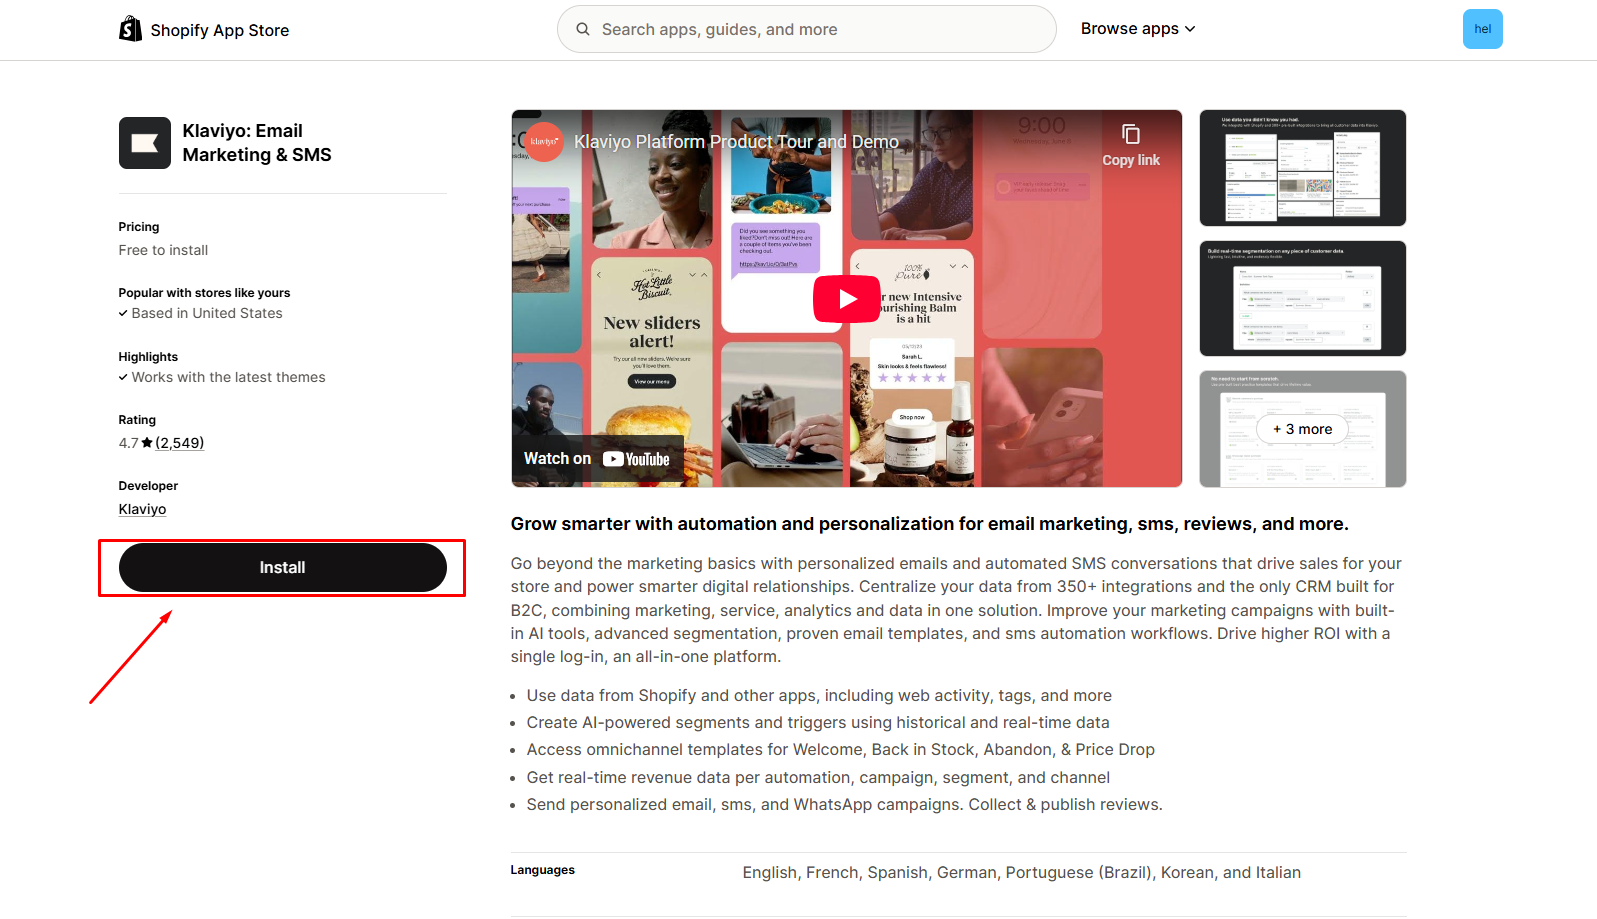
Step 1: Install Klaviyo: Email Marketing & SMS app in the search bar from the Shopify app store.
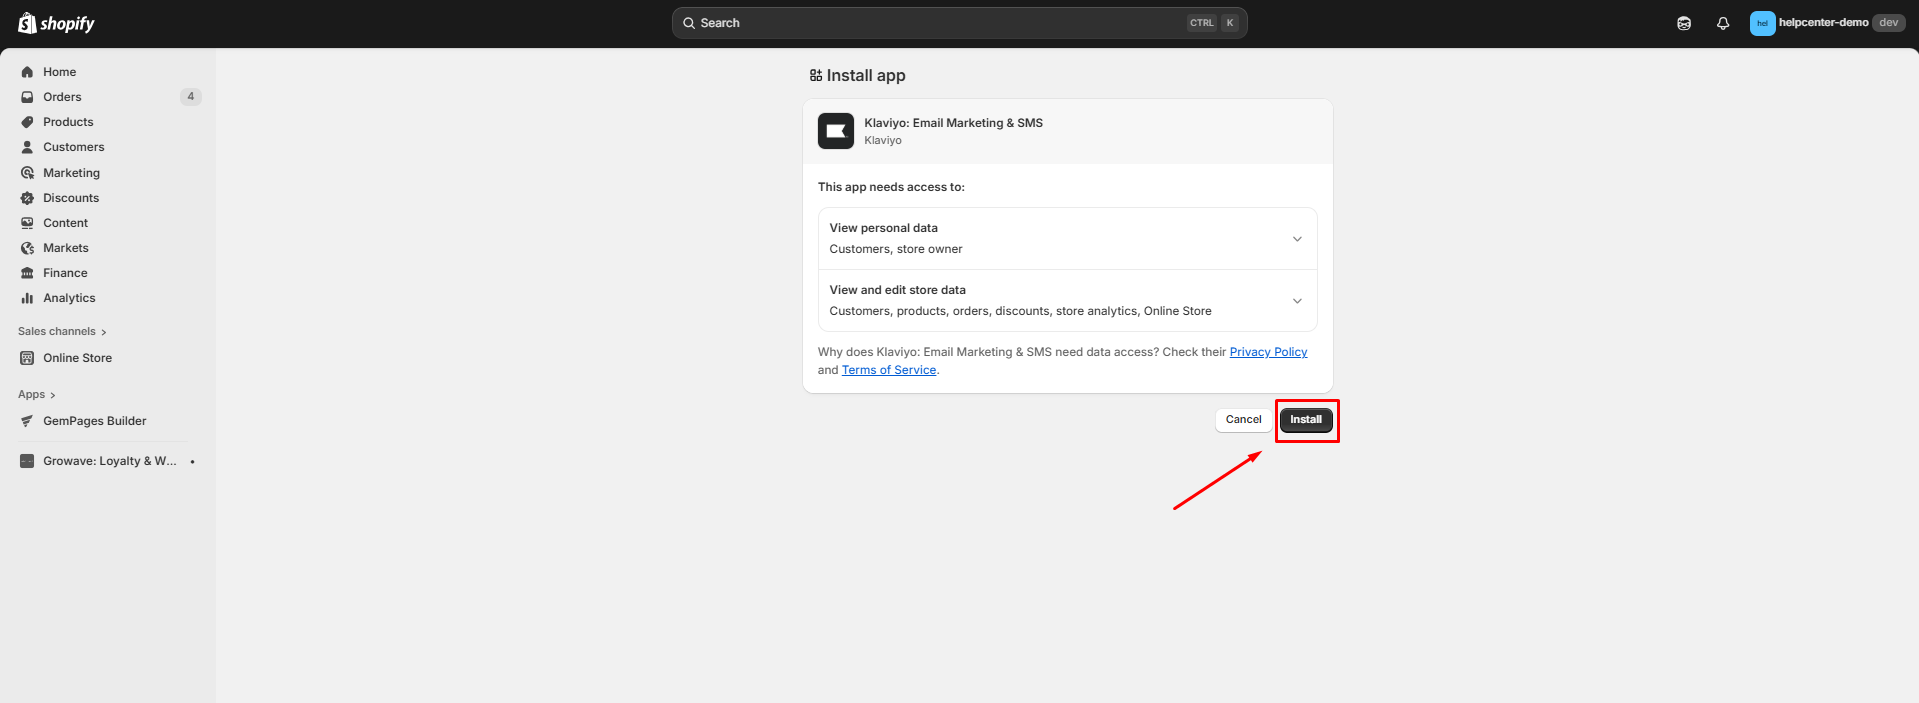
Step 2: Click Install after reviewing the permissions.
Step 3: Create your Klaviyo account to connect to Shopify.
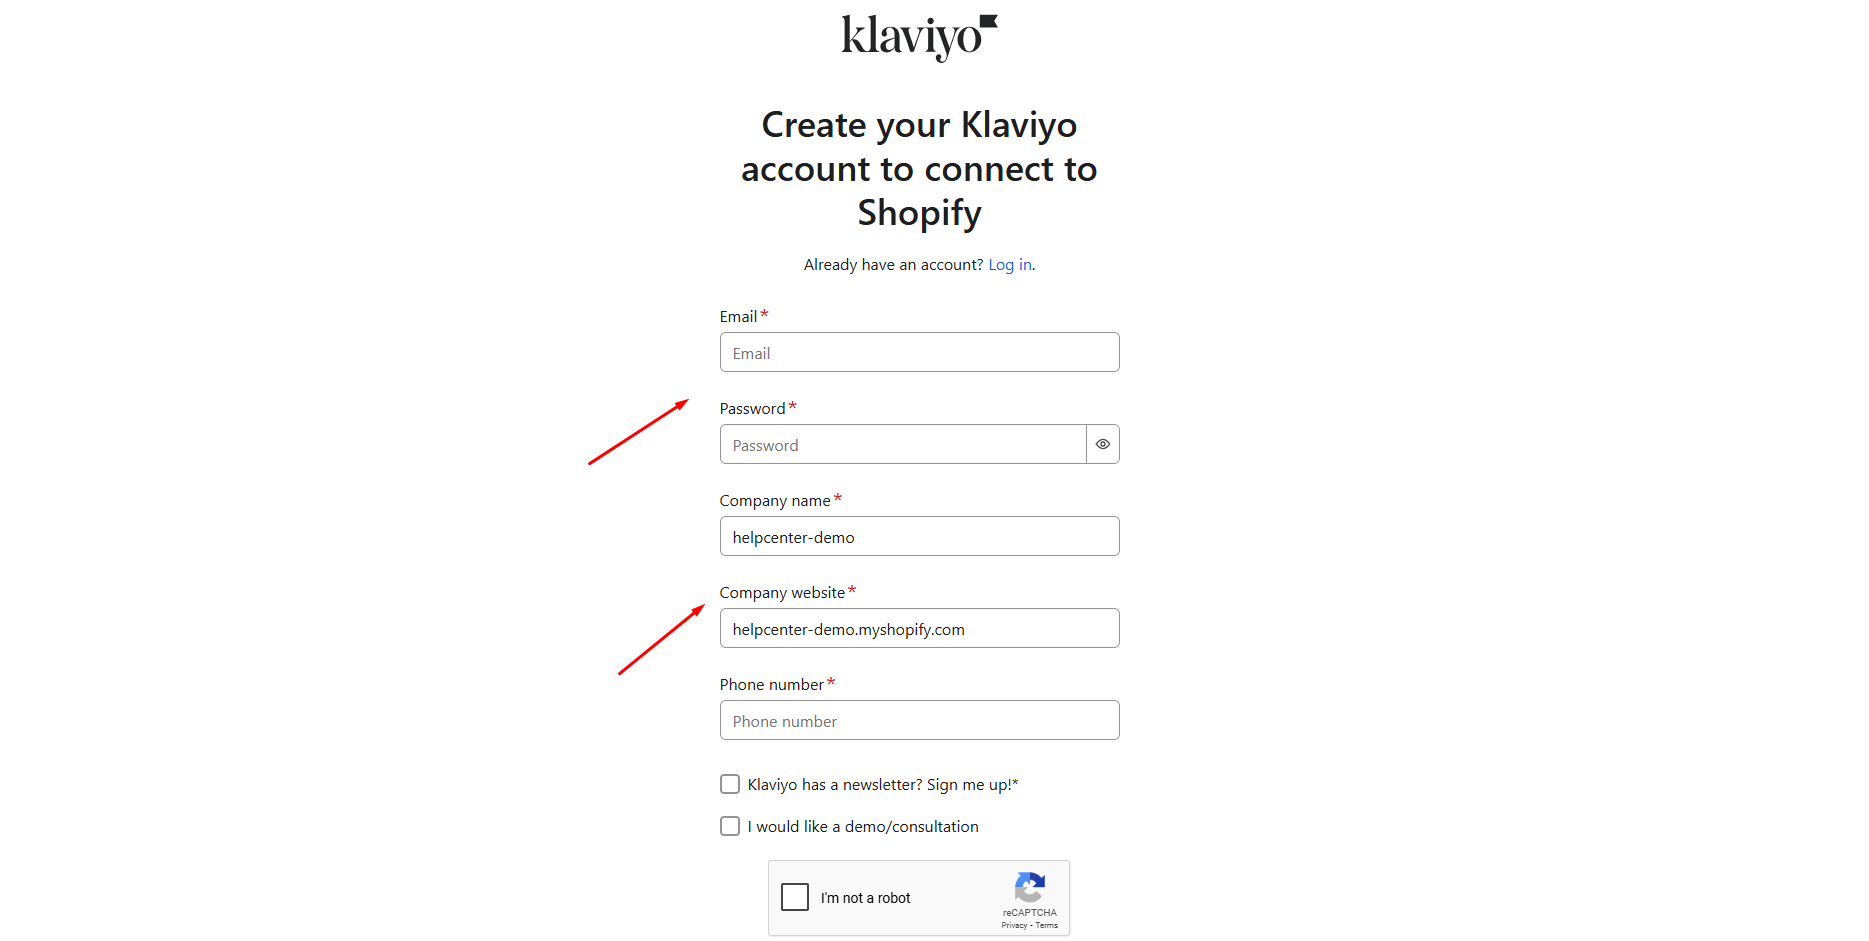 To create your Klaviyo account, enter the required fields, including your work email, phone number, company name, website, and password.
Step 4: Activate your account with the link sent to your email.
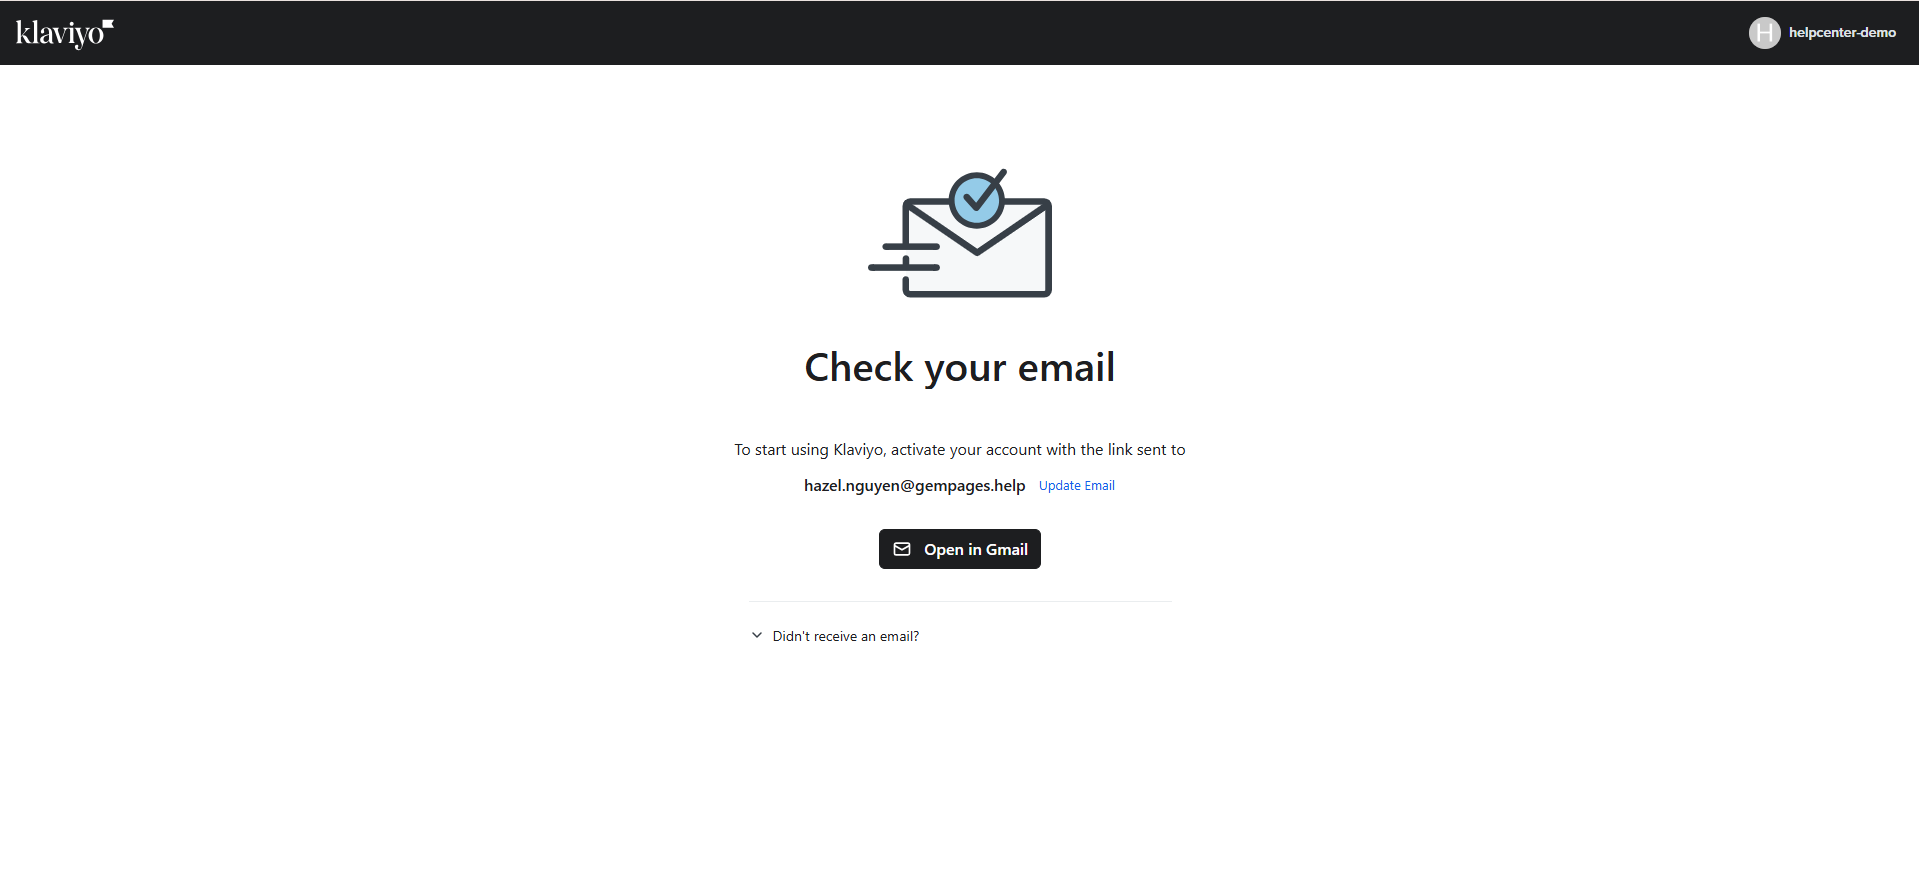 After activating your account, you can start the app’s setup process immediately.
How to Integrate Klaviyo with GemPages Editor V7
Step 1: Create a sign-up form in the Sign-up Forms section.
You can create a sign-up form from pre-made templates or make a brand-new one.
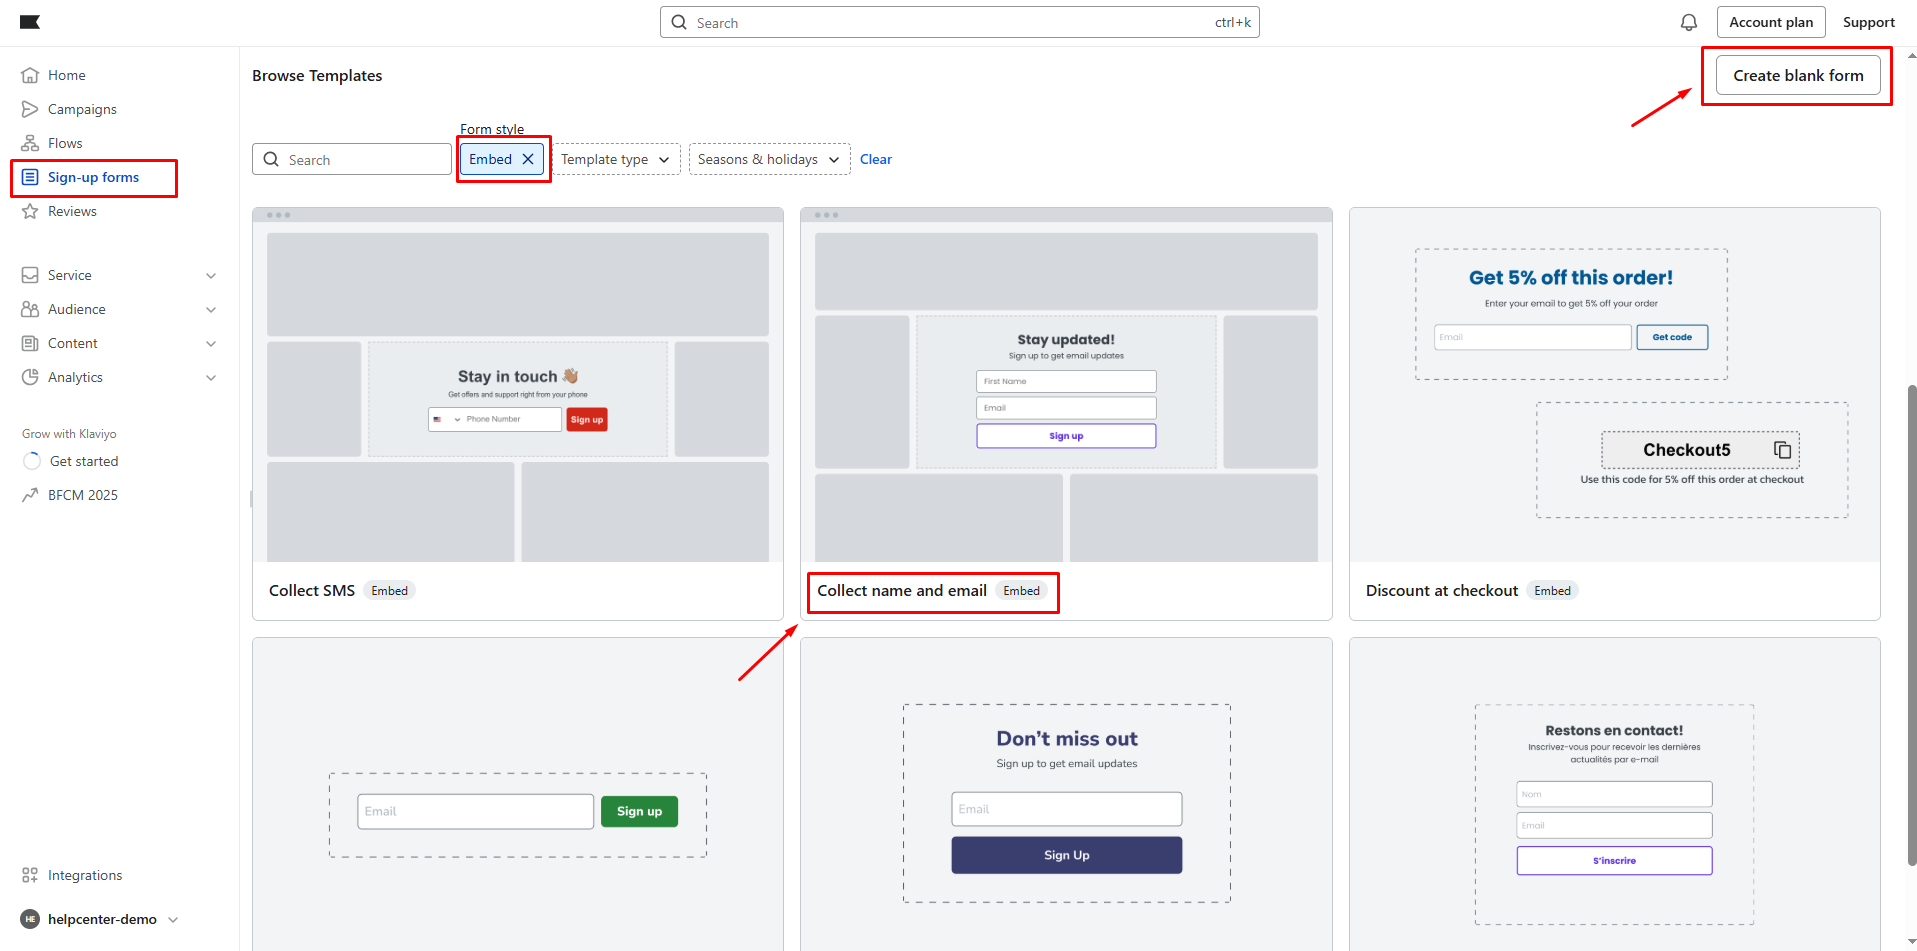
- Pre-made templates:
First, you need to select the “Embed” template type. Then, you can select a template that suits your needs and create a form from it.
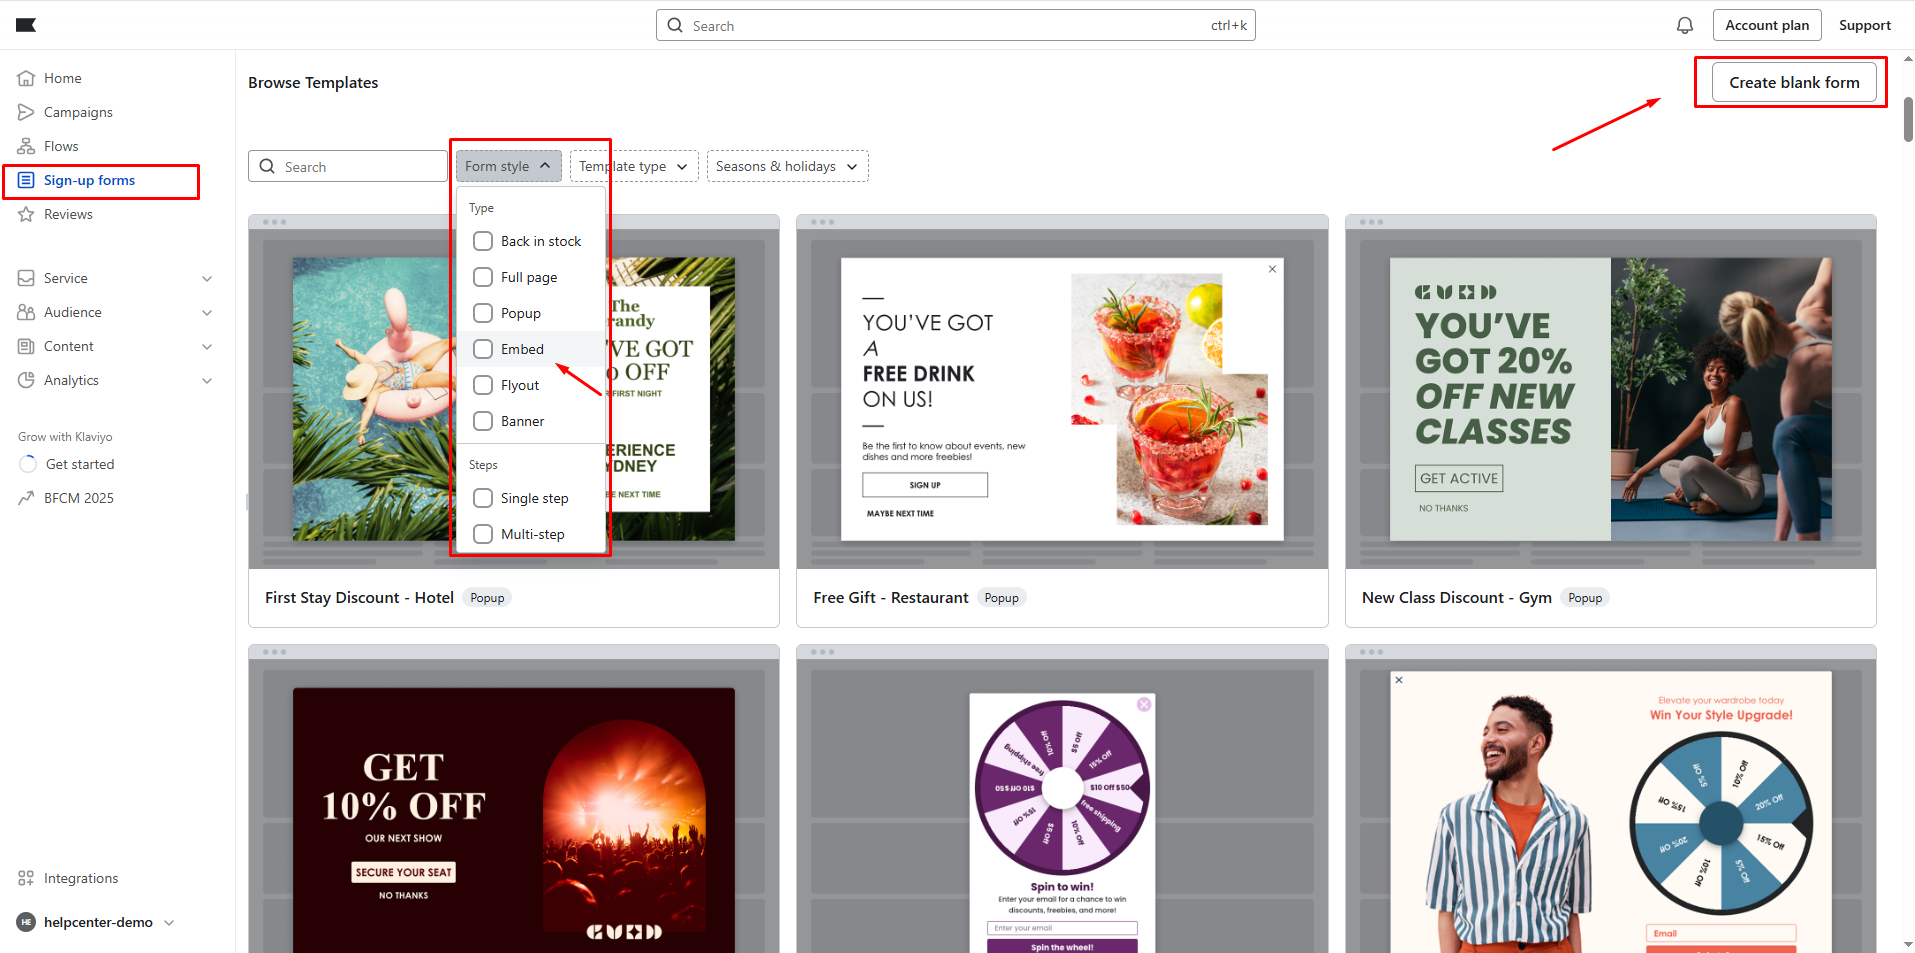
- Create a new sign-up form:
You can create a brand new sign-up form by clicking the Create button on the top-right of the page. Then, you need to select the “Embed” template type.
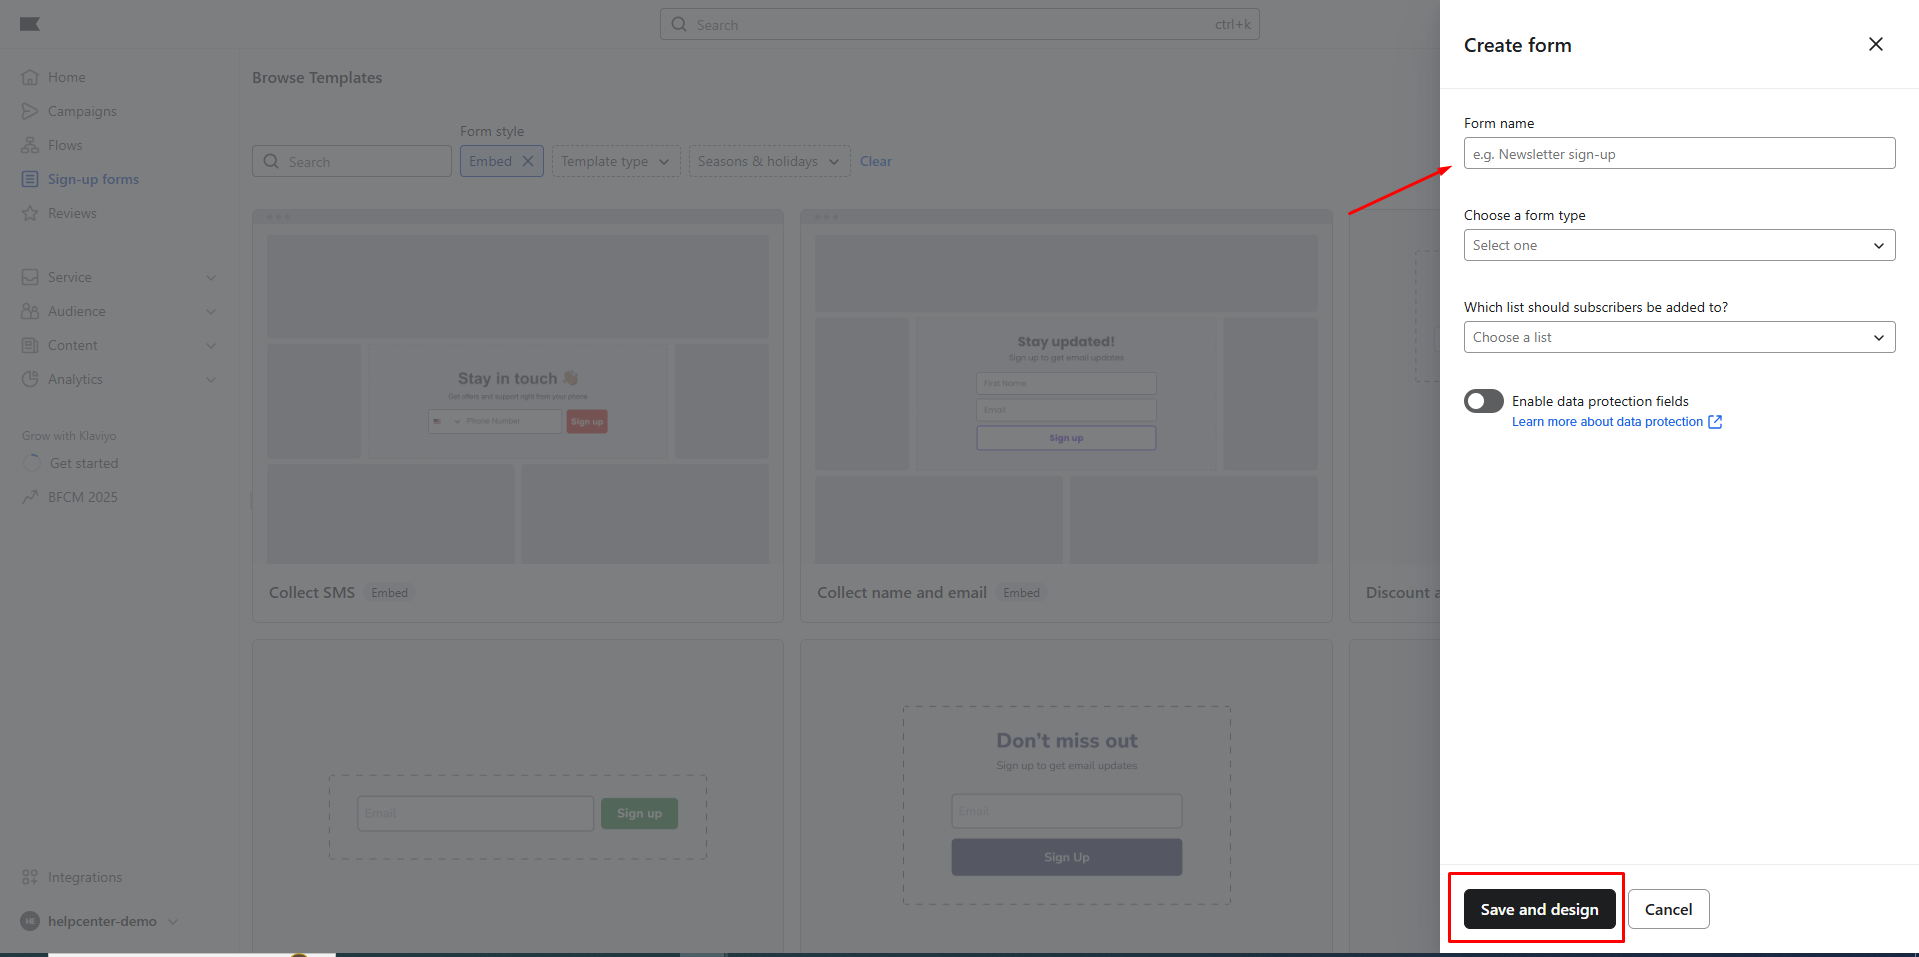
You can customize the form’s name, form type, and the list to which the subscribers should be added. After that, click “Save and Design.”
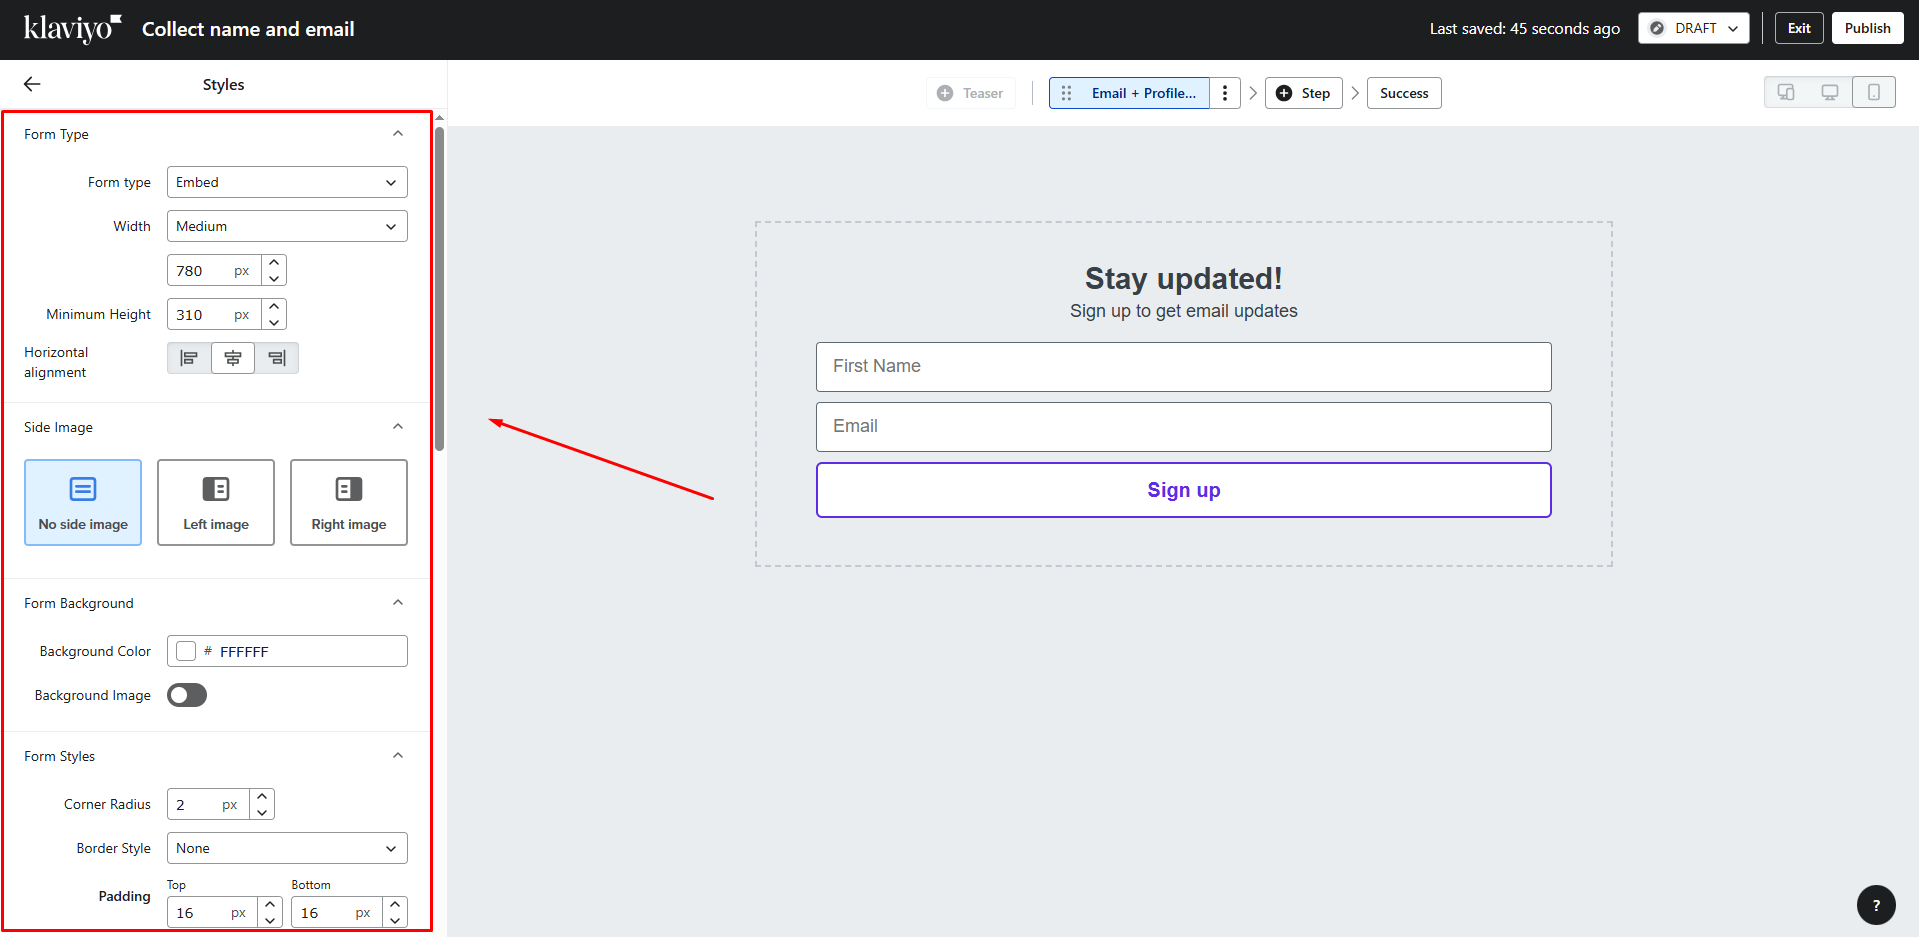
Step 2: Customize the sign-up form.
When you finish creating the form, you can start customizing it as you prefer.
 In the “Styles” section, you can edit Form Type, Slide images, Form Background, and Form styles.
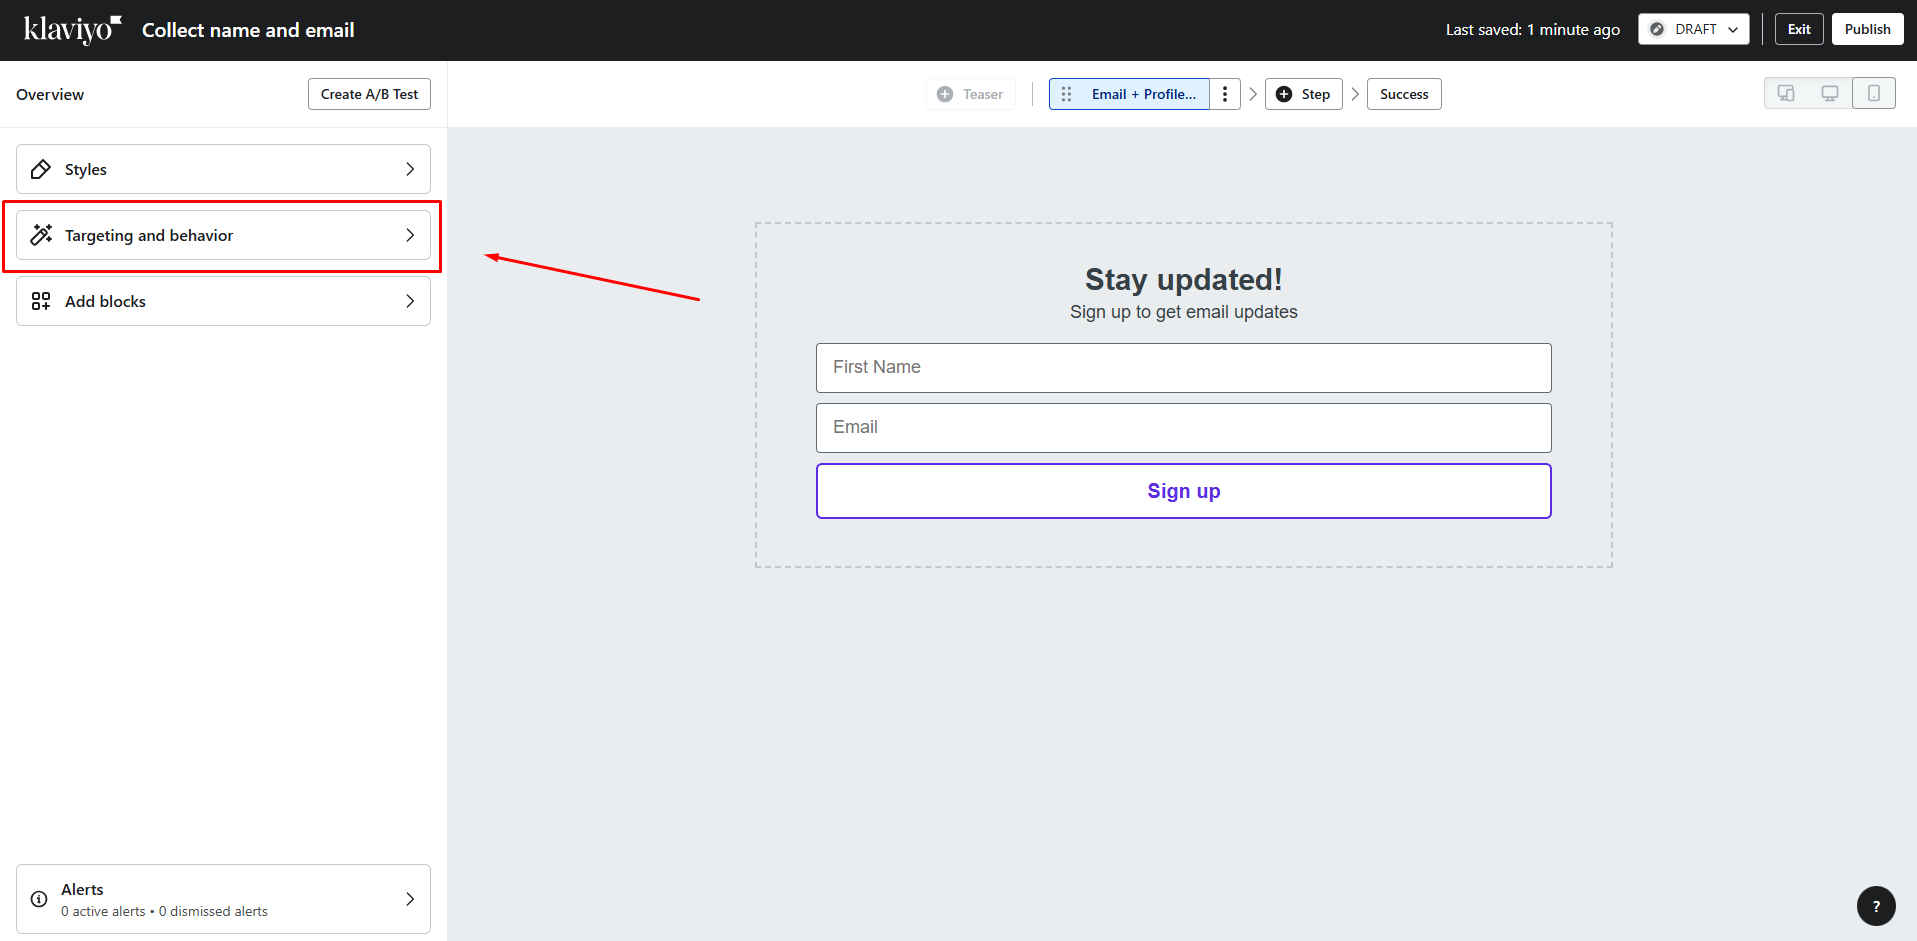
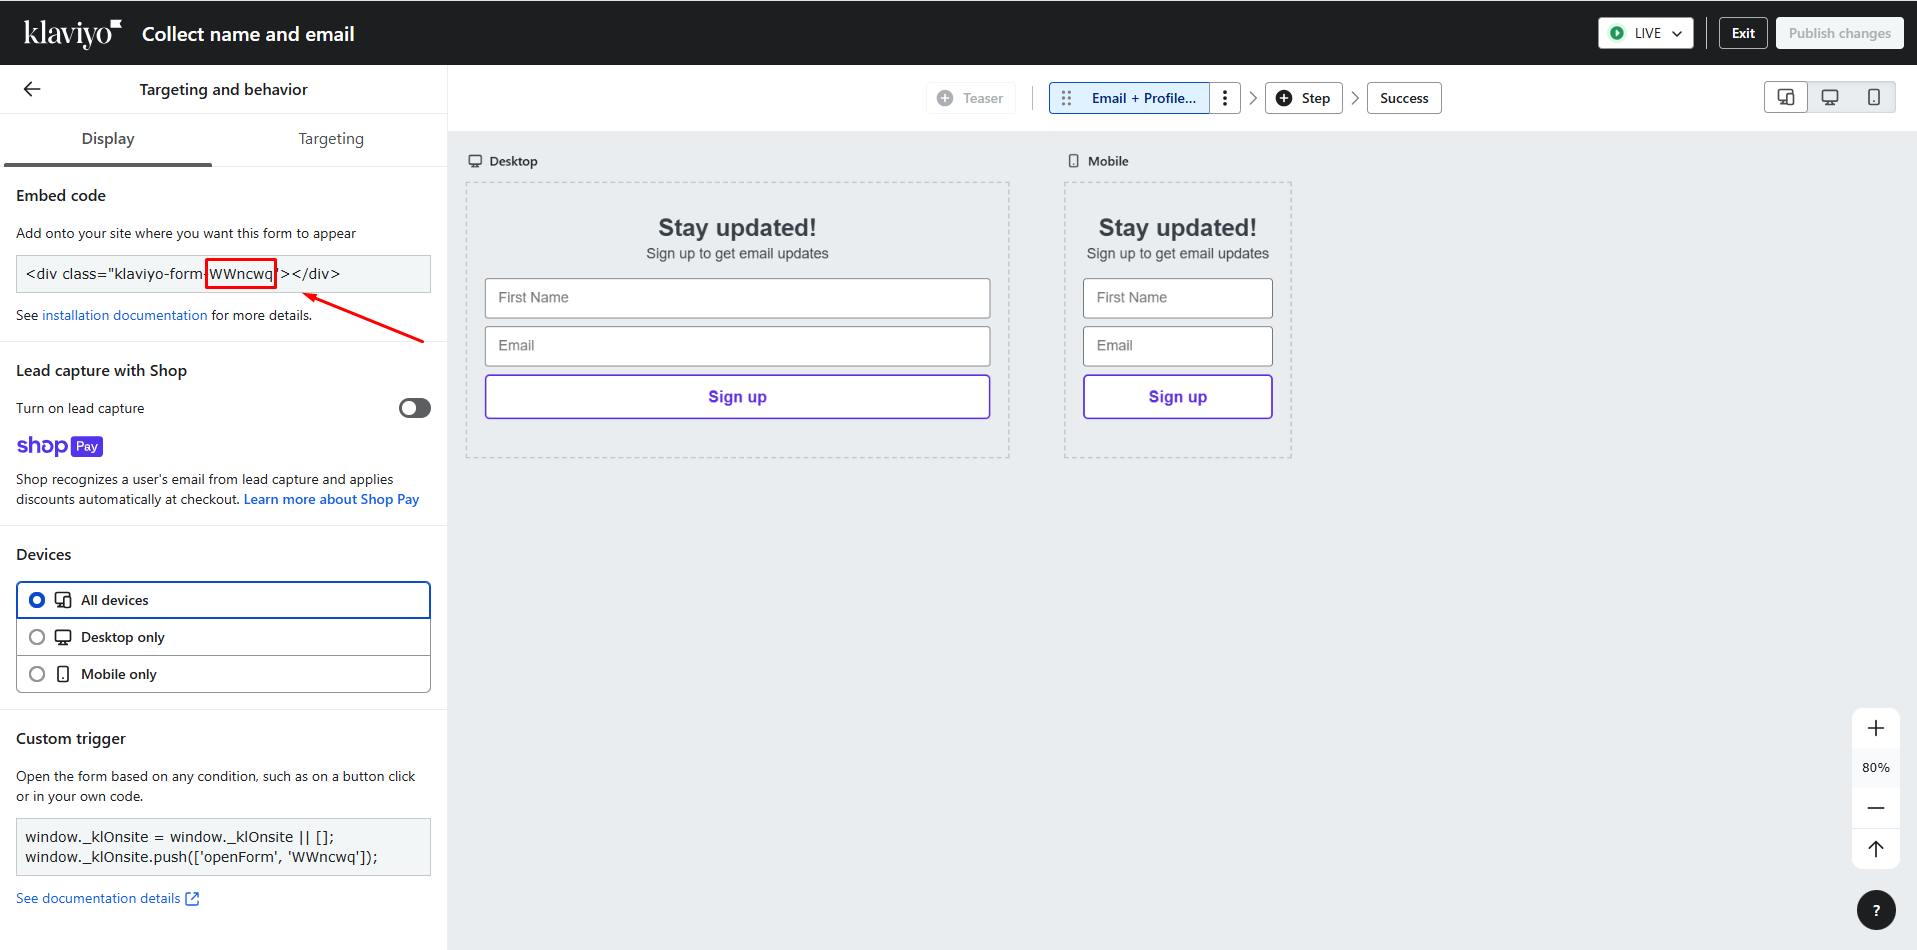
Step 3: Get the embed code.
To get the embed code, go to the Targeting & behavior section.
You only need to retrieve the code as highlighted below.

How to Add Klaviyo to GemPages v7
Before you start, please note that:
- Form behavior, submission handling, and subscriber list assignment will follow the settings you configured in Klaviyo.
- GemPages only displays the form and does not modify how Klaviyo stores or triggers data.
- If you need to change how submissions are routed to a list, segment, or flow, you must adjust those settings directly in Klaviyo.
Step 1: Go to GemPages Editor V7 and find the app in the search bar.
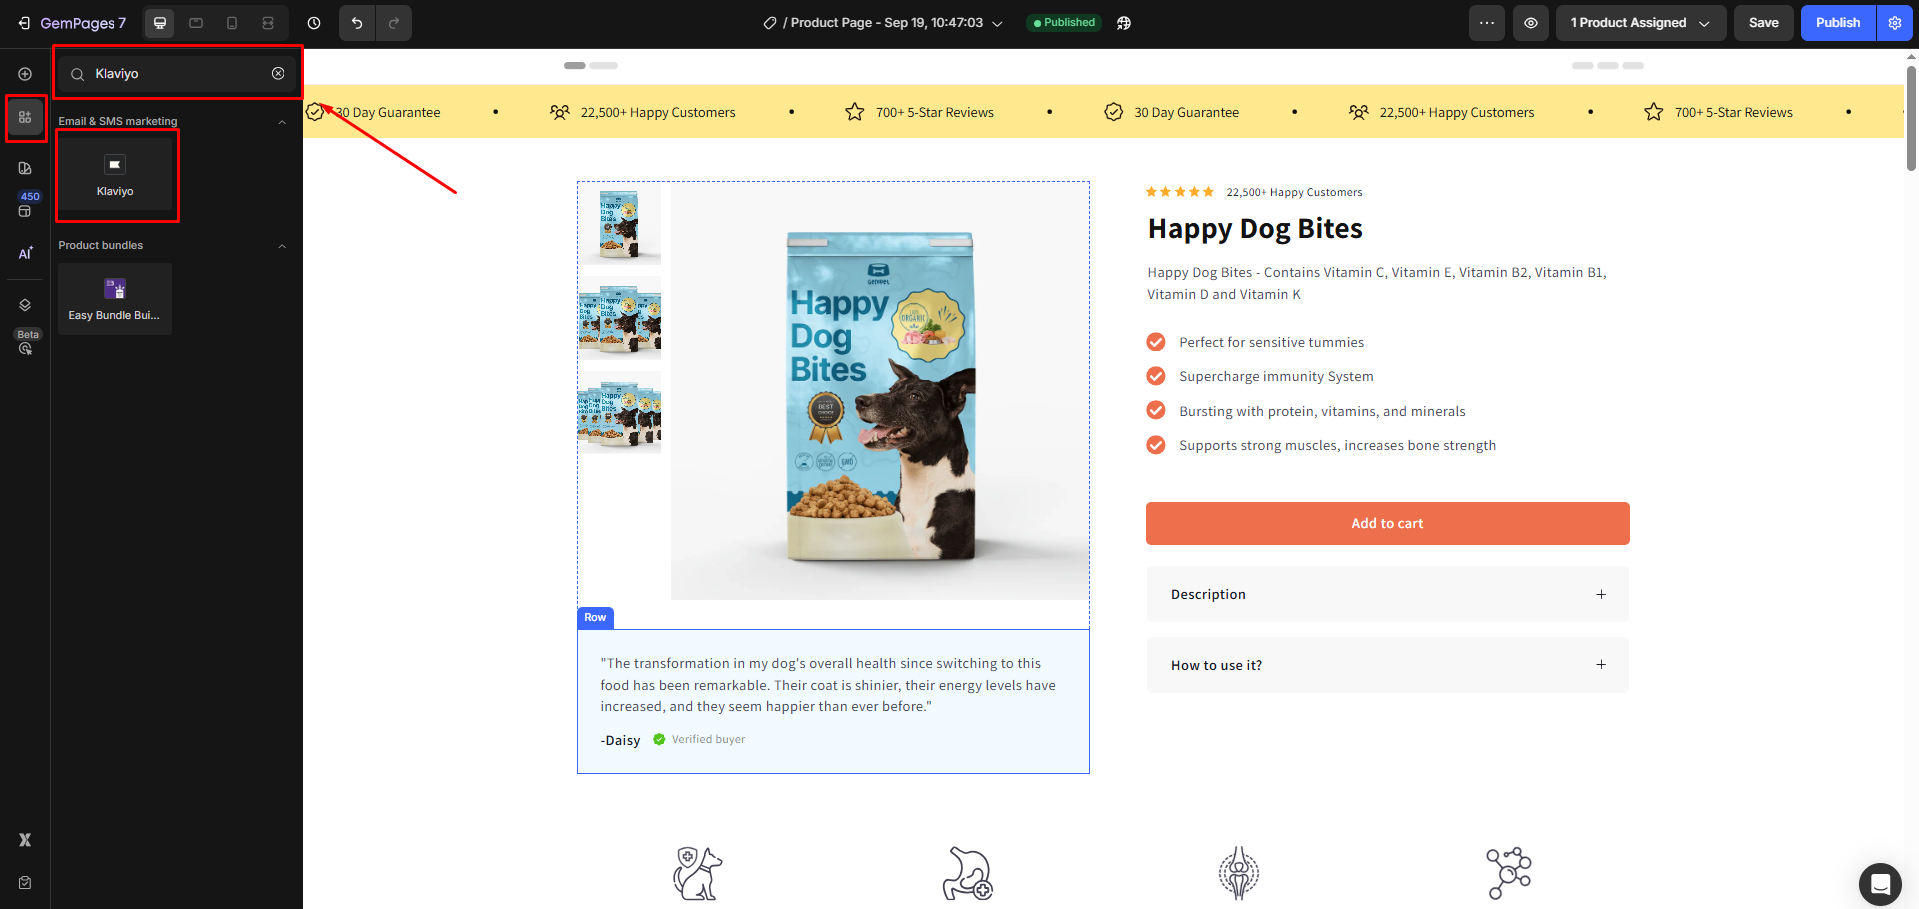
Step 2: Drag and drop the Klaviyo element into the desired position.
You must paste the code from the Klaviyo app to the Form code input in the Klaviyo element setting.
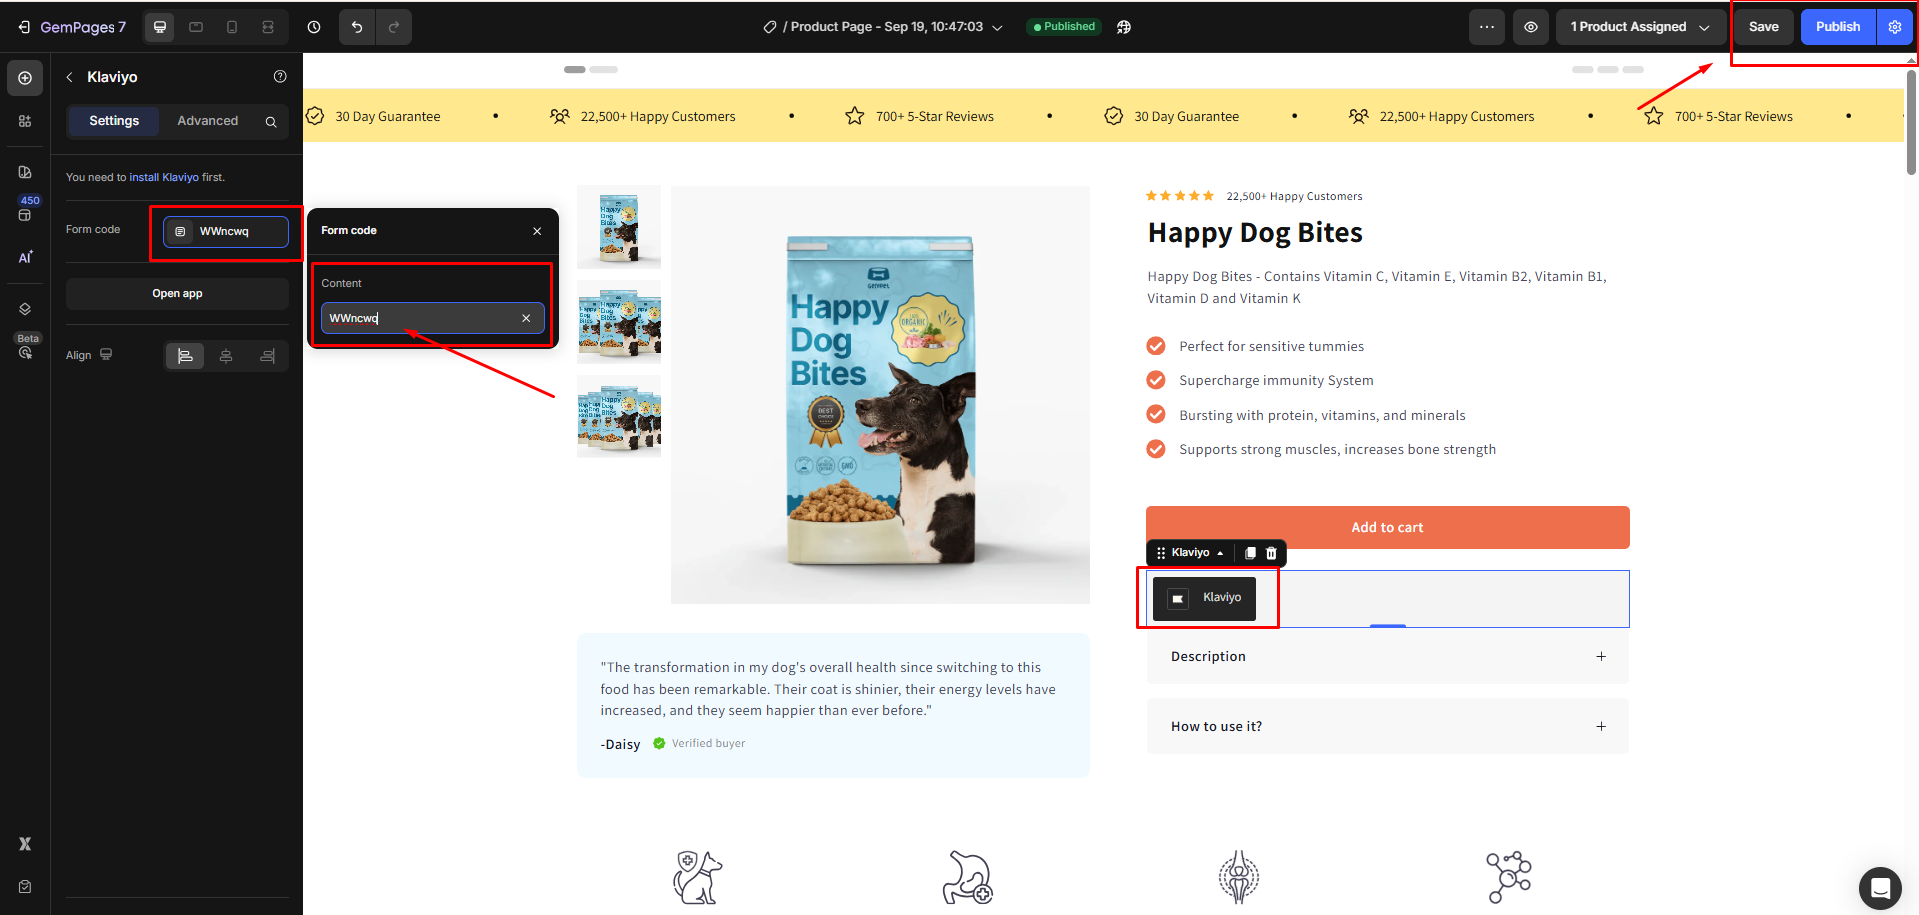
Step 3: Save and publish to view the sign-up form on the live page.
FAQs about Klaviyo Integration
1. Does GemPages store form submissions?
No. GemPages only renders the form on your page. All data submitted through the Klaviyo form will be handled and stored inside Klaviyo.
2. Can I customize the Klaviyo form inside GemPages?
You can customize the position inside the Editor. For styling, field logic, targeting, and automation, you must edit the form inside Klaviyo.
3. Can I trigger Klaviyo flows after the form submission from GemPages?
Yes. As long as your flow is set up inside Klaviyo, it will trigger normally once the form data is sent from GemPages.
4. Can I hide the Klaviyo popup on specific pages?
Yes. Popup visibility and page targeting are managed directly in Klaviyo. To show or hide a popup on specific pages, you need to configure the form’s targeting and behavior settings in Klaviyo.
For detailed instructions, refer to Klaviyo’s official guide.


Thank you for your comments