


By default, your Shopify Product page uses the theme’s built-in layout. But with GemPages, you can design and publish a fully customized product page, and make it your new default. This article walks you through how to:
- Set your custom GemPages Product template as the default for your Online Store.
- Revert to the original Shopify Product template.
- Manually restore the default Product layout from the Shopify code editor if needed.
Set a GemPages Product Page as the Default Template
Follow these steps to set a product page built with GemPages as your default template.
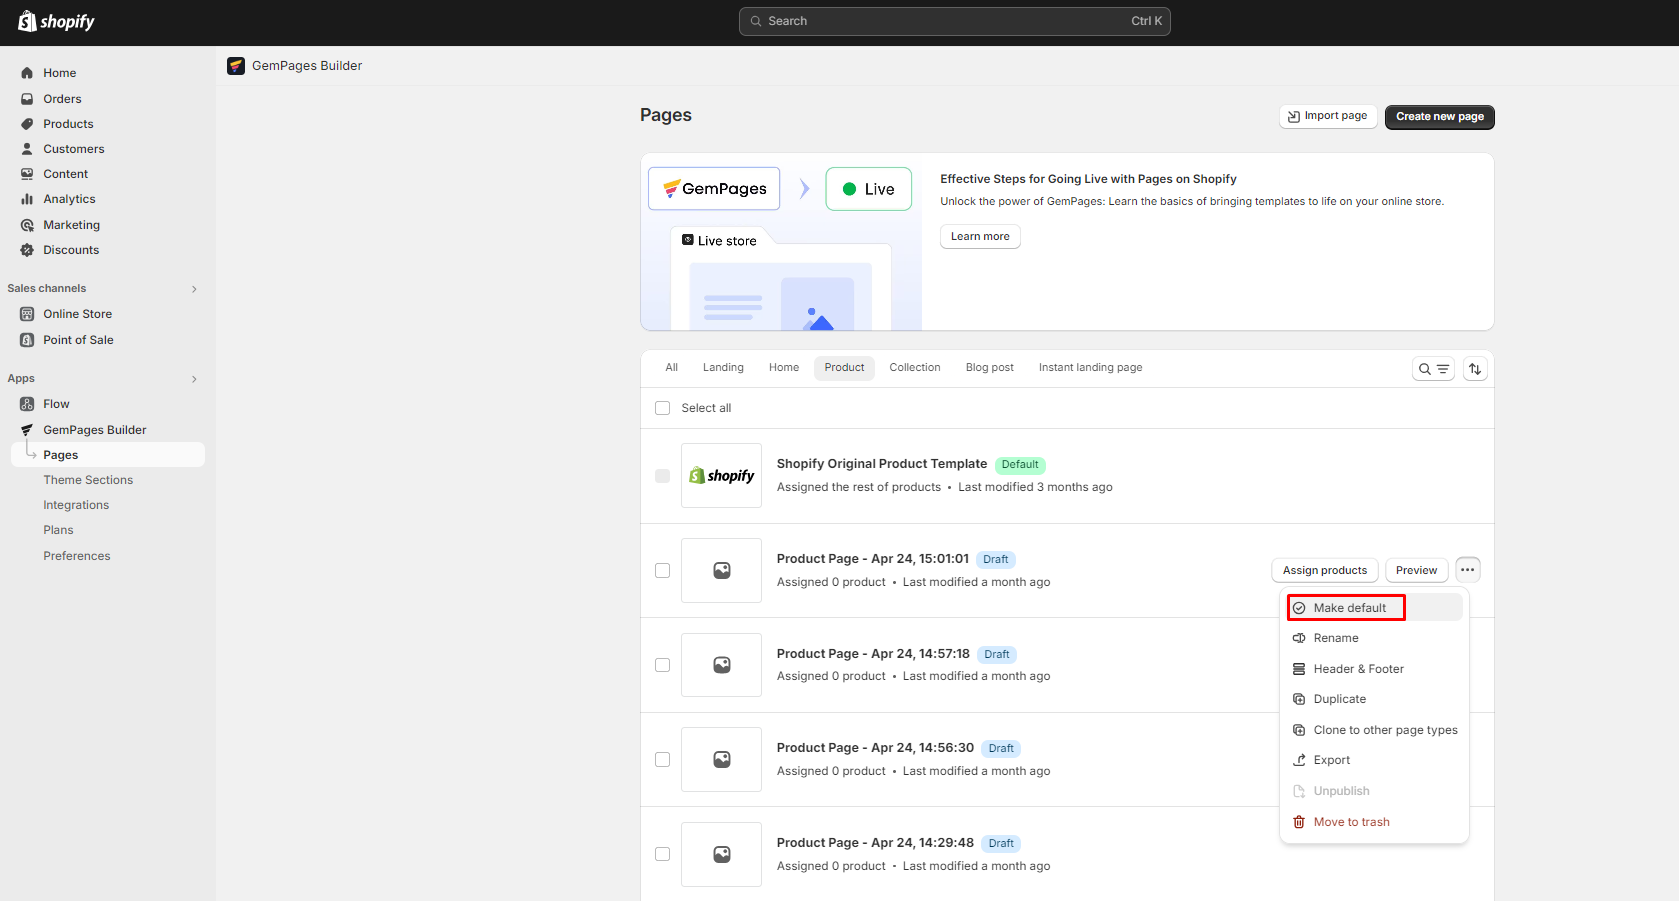
Step 1: Go to GemPages Dashboard > Pages > Product, and locate the Product page you would like to set as the default.
Step 2: Click on the 3-dot icon to show more options. Next, select “Make Default.”
Step 3: A new window will appear, prompting you to confirm the action.
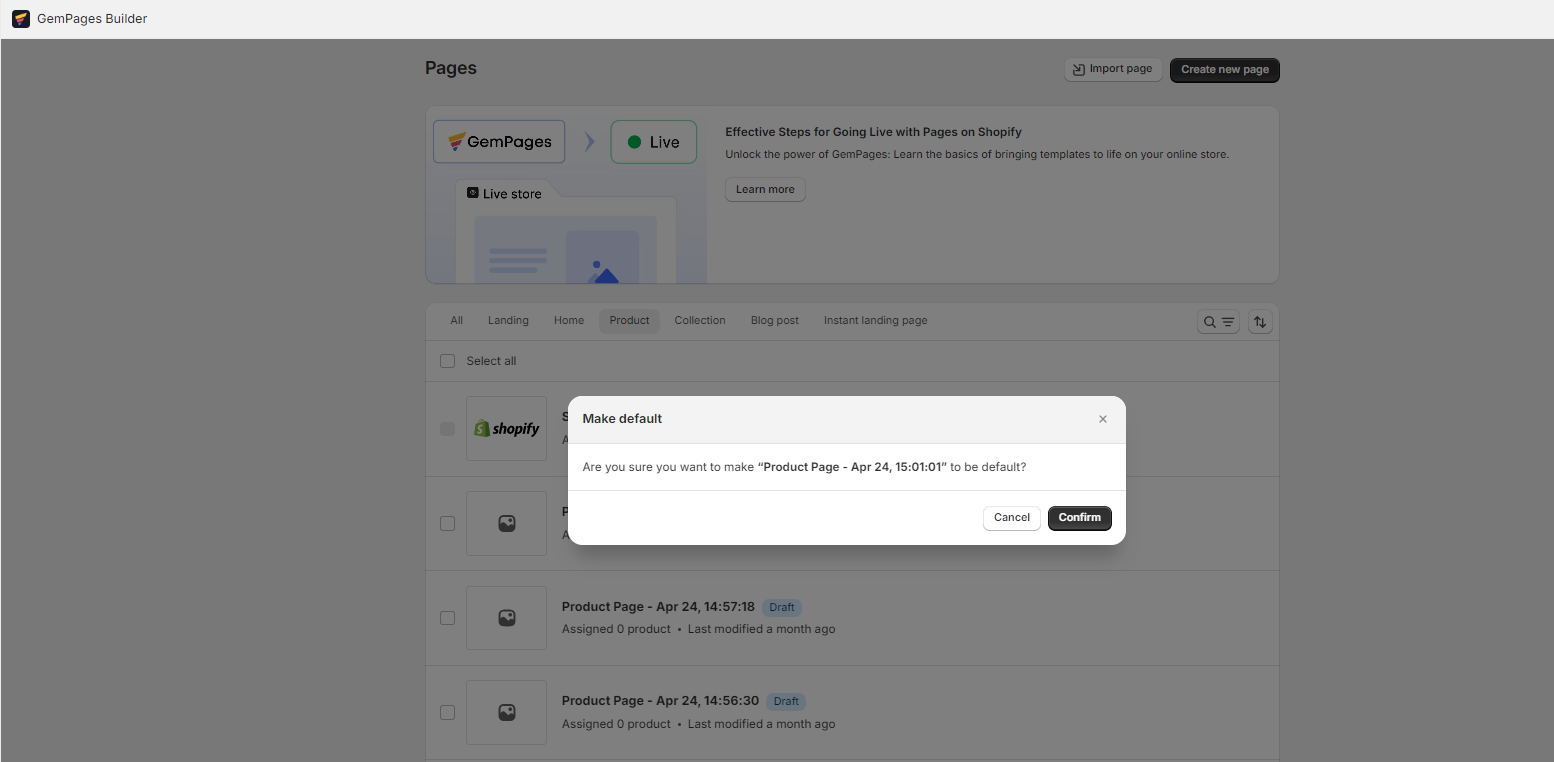
Click on the “Confirm” button to set this Product page template as the default one for your Online Store. Otherwise, hit “Cancel” to abort.
Revert Back to the Original Shopify Product Template
If you want to switch back to the original Shopify theme layout, follow these steps:
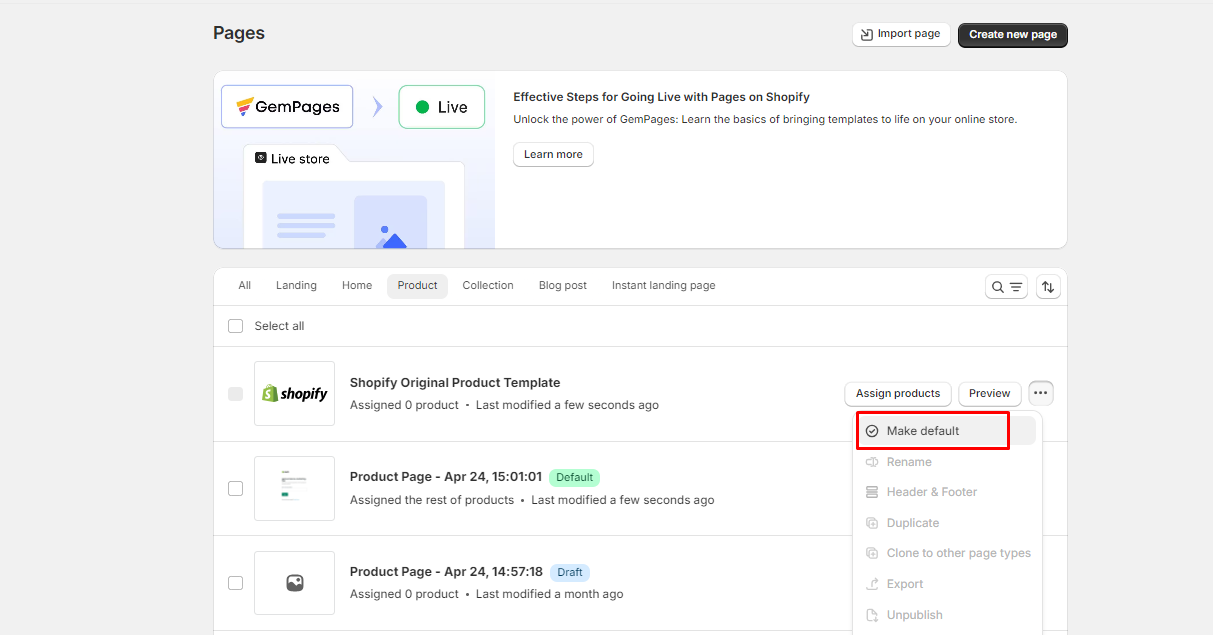
Step 1: Go to GemPages Dashboard > Pages > Product and locate the Shopify Original Product Template, which is always located at the top of your list.
Step 2: Click on the 3-dot icon to show more options. Next, select “Make default”.
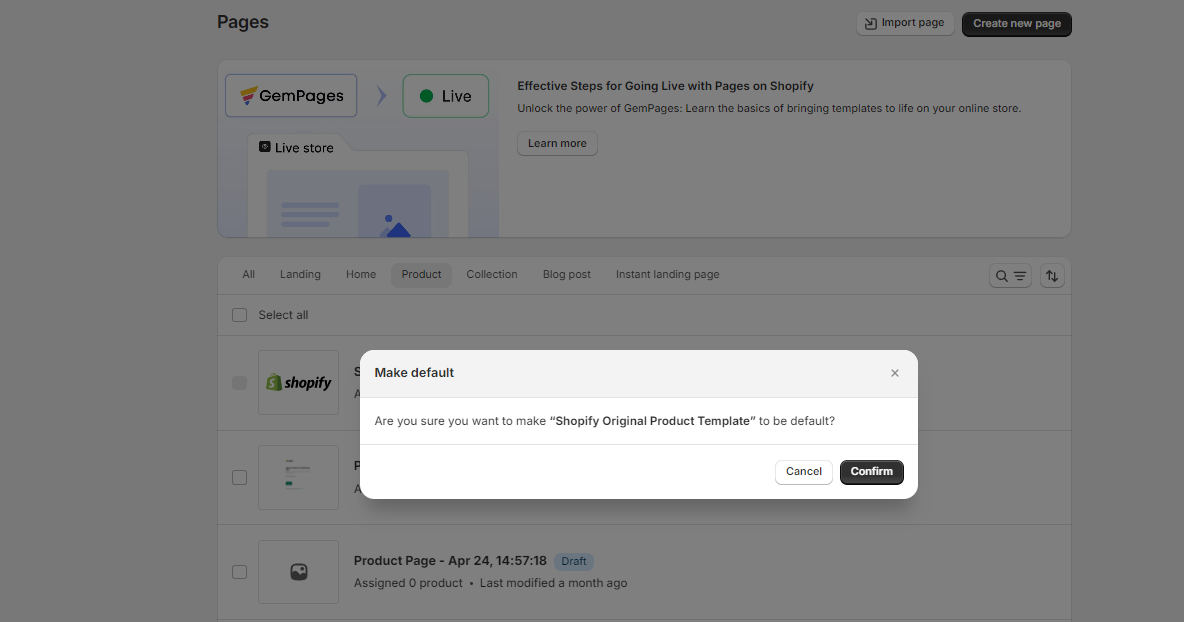
Step 3: Hit the “Confirm” button to proceed with the action.
For Uninstalled Users
If you are looking to remove all GemPages code from Shopify, check out the full instruction in this article.
The steps below will guide you to quickly revert just your Product page back to Shopify’s default template.
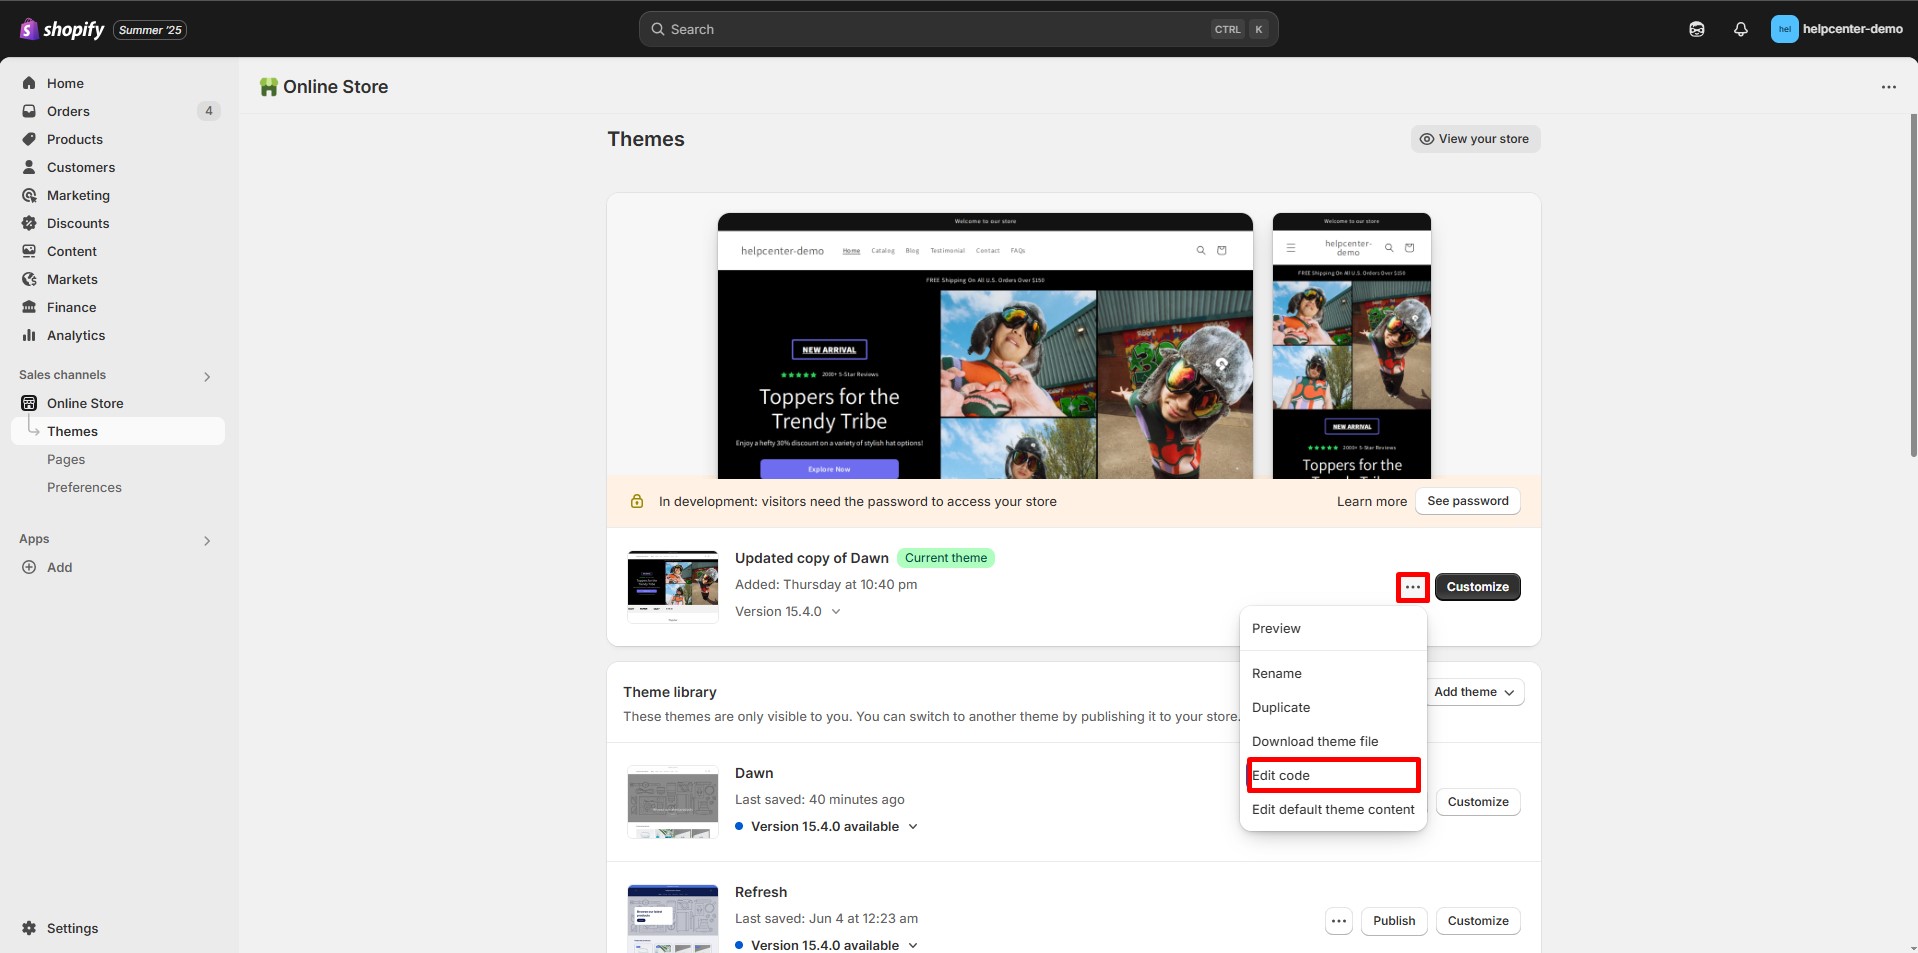
Step 1: Go to Shopify Admin > Online Store > Themes
Step 2: Click on the 3-dot icon to show more options. Select Edit code.
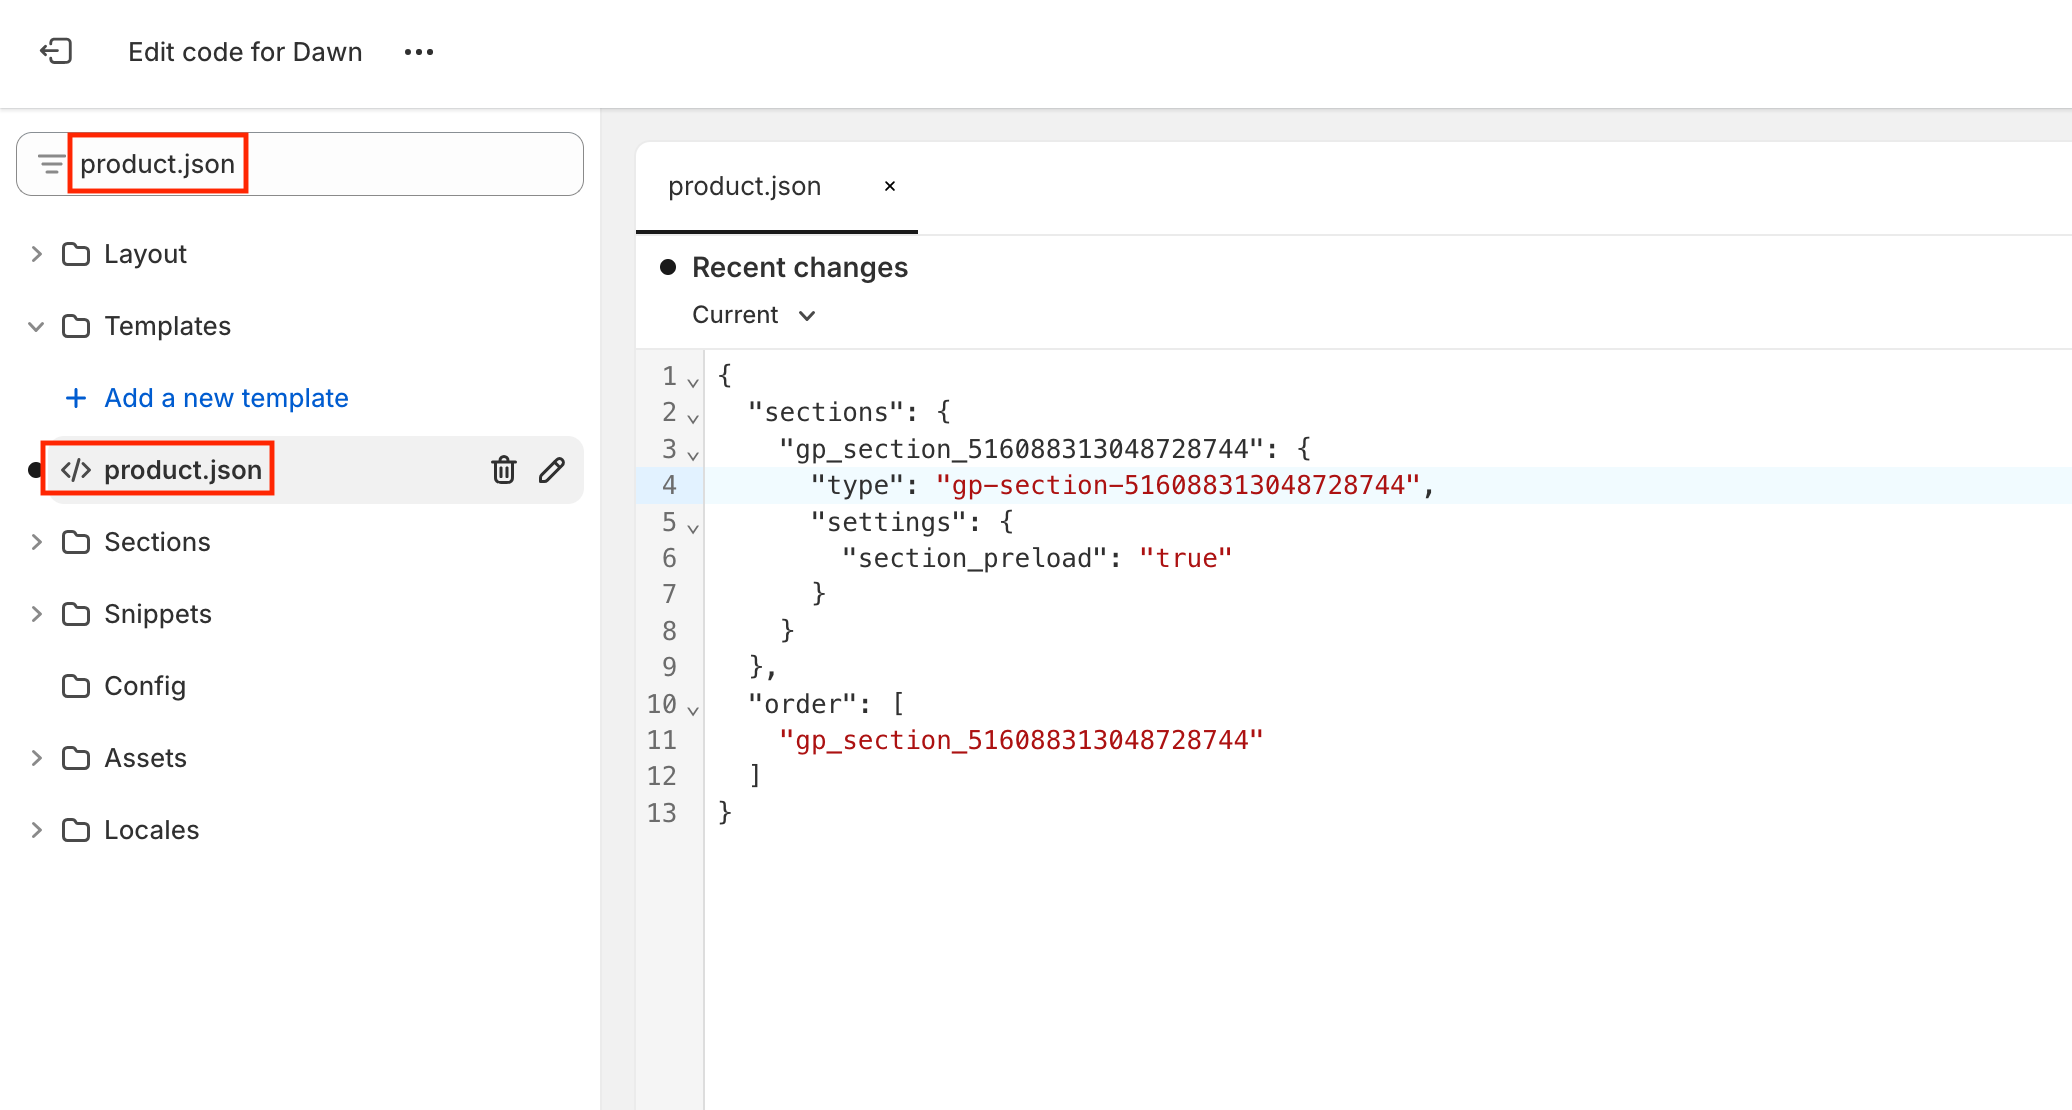
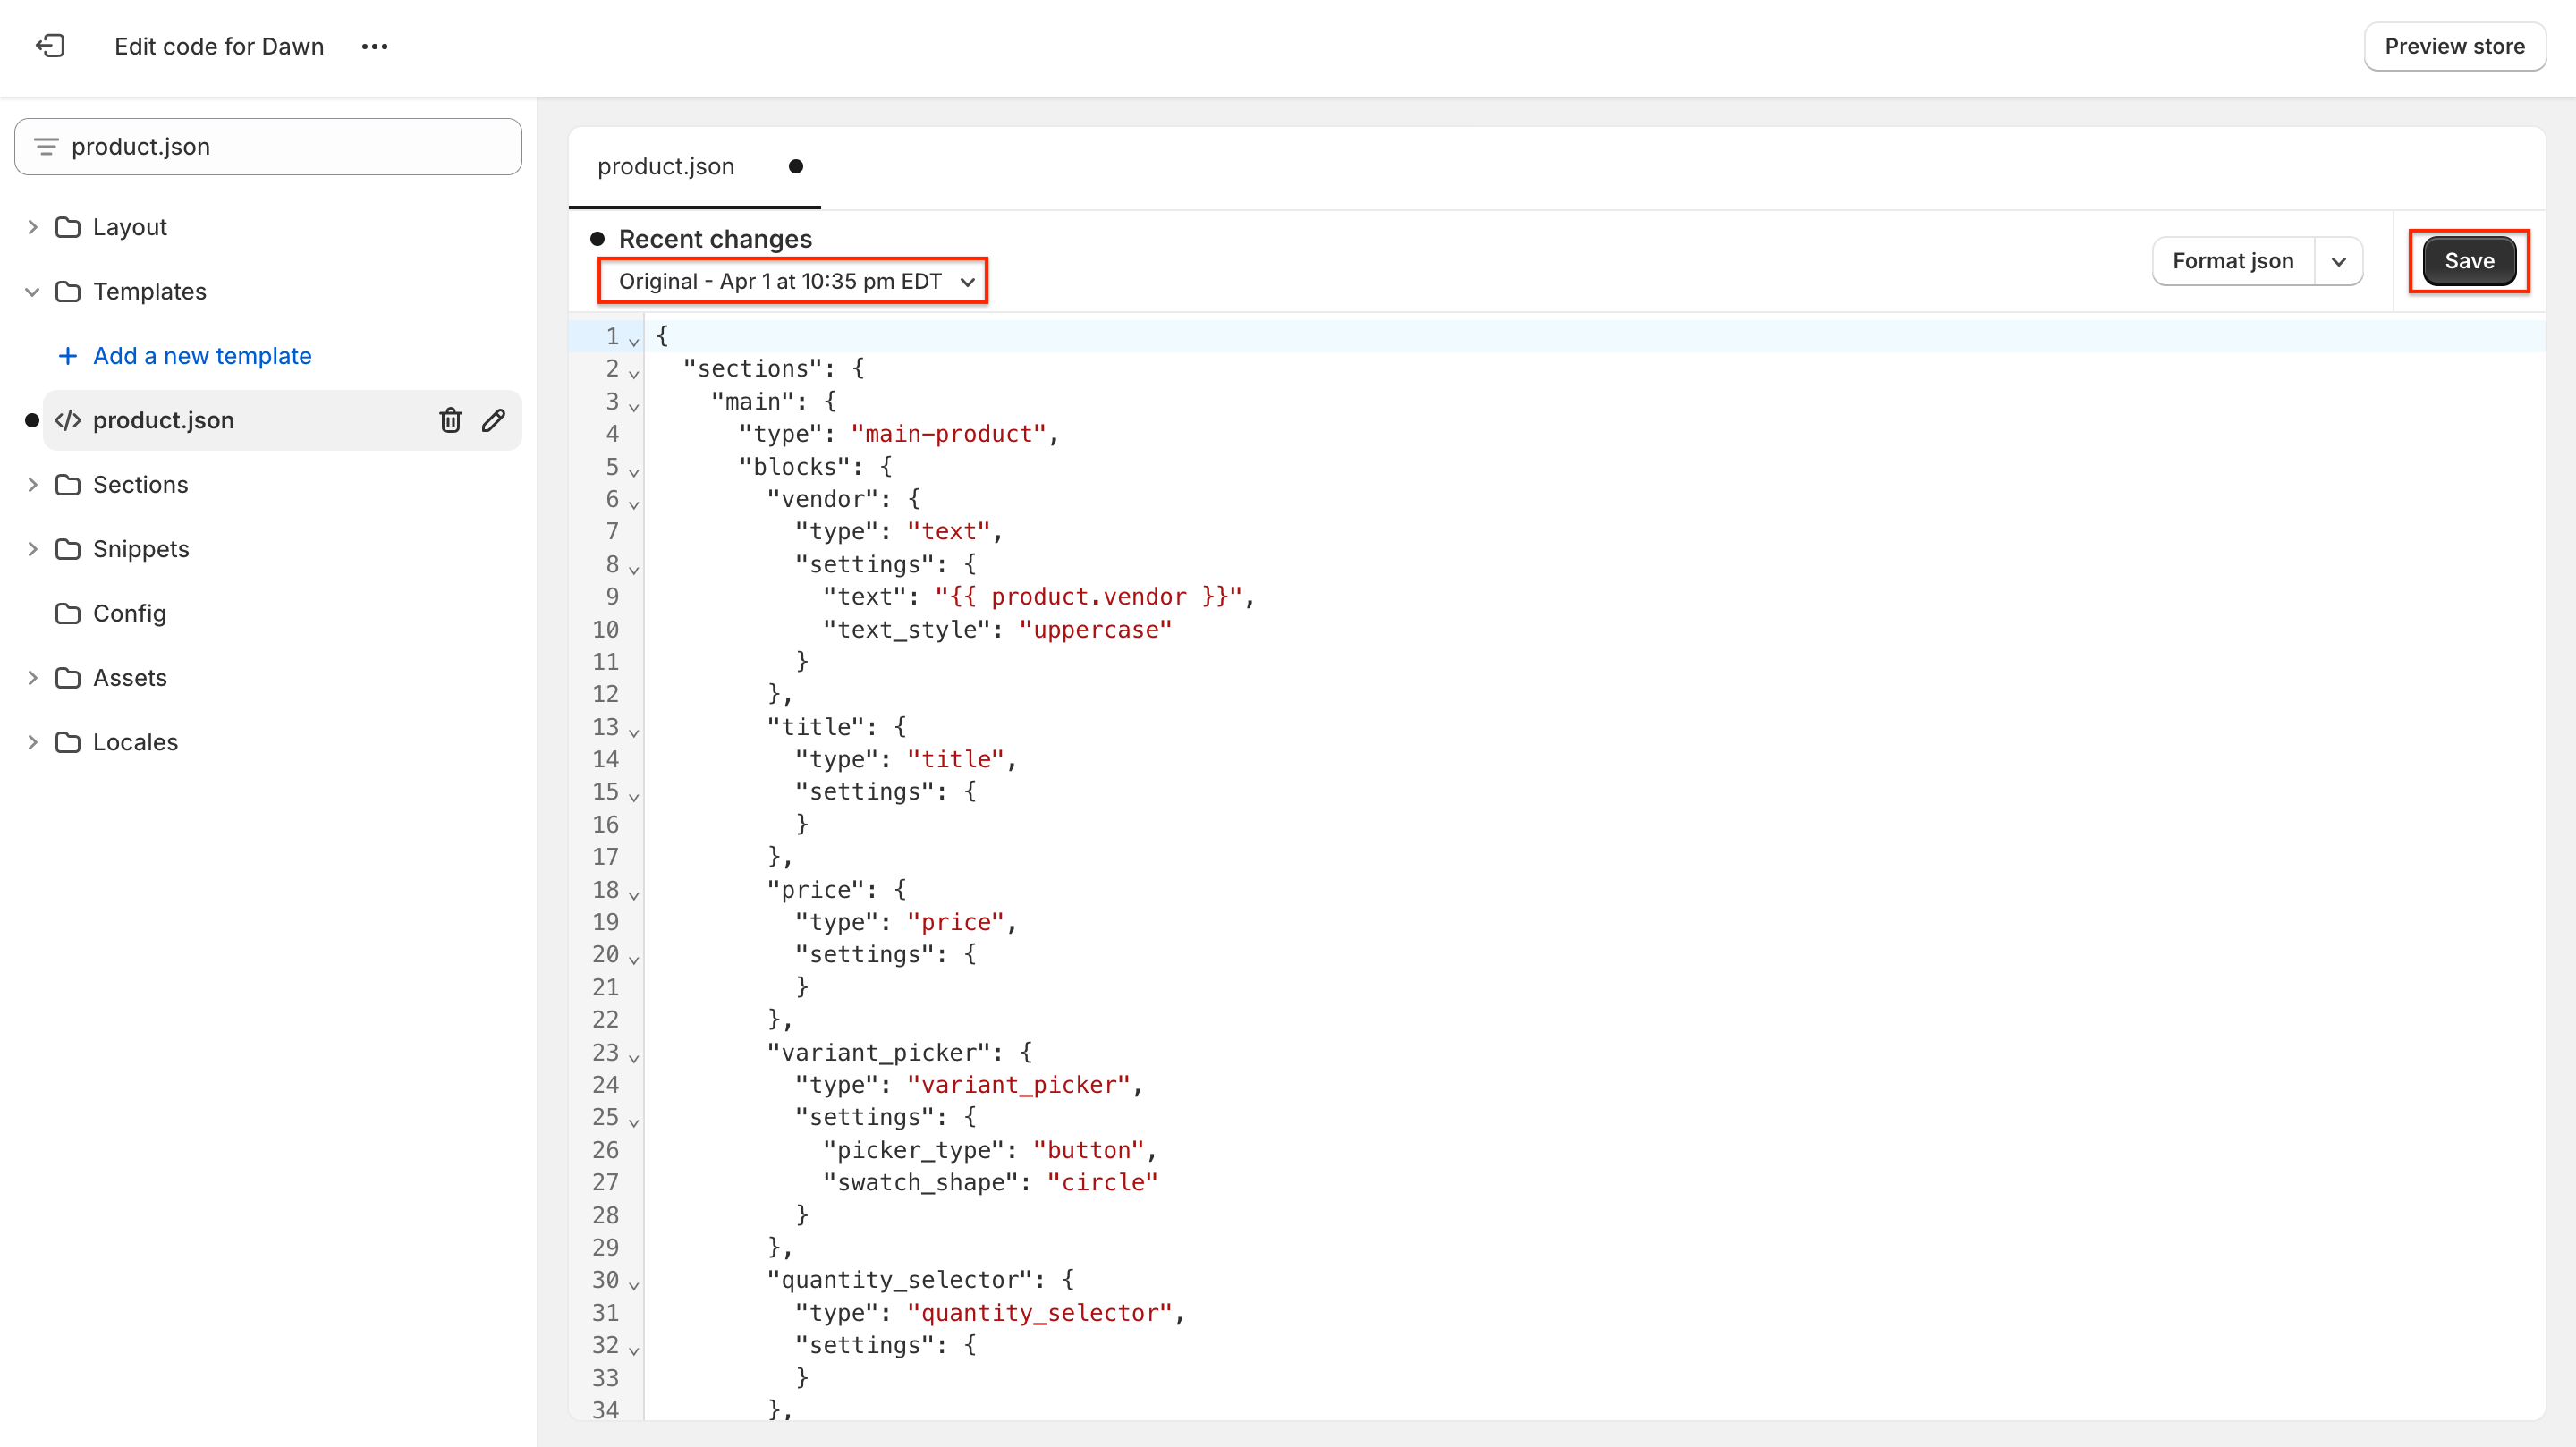
Step 3: Search for the “product.json” file and open it.
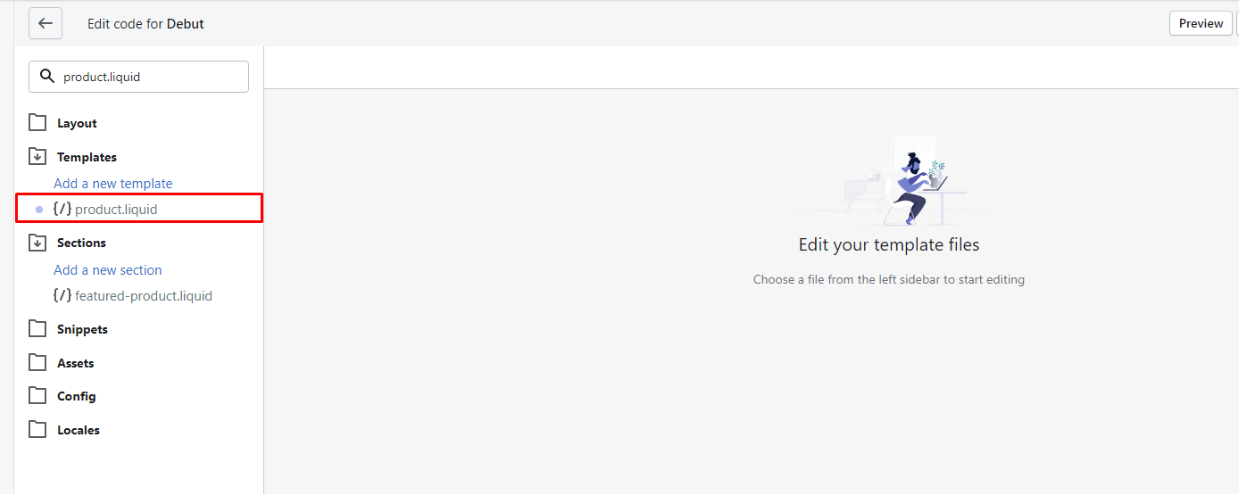
In case you use Theme 1.0, please look for “product.liquid” instead of the product.json file.
Step 4: On the right-side editing panel, click on “Current” and select “Original” from the drop-down menu. Each version in this menu includes an exact timestamp of when it was created.
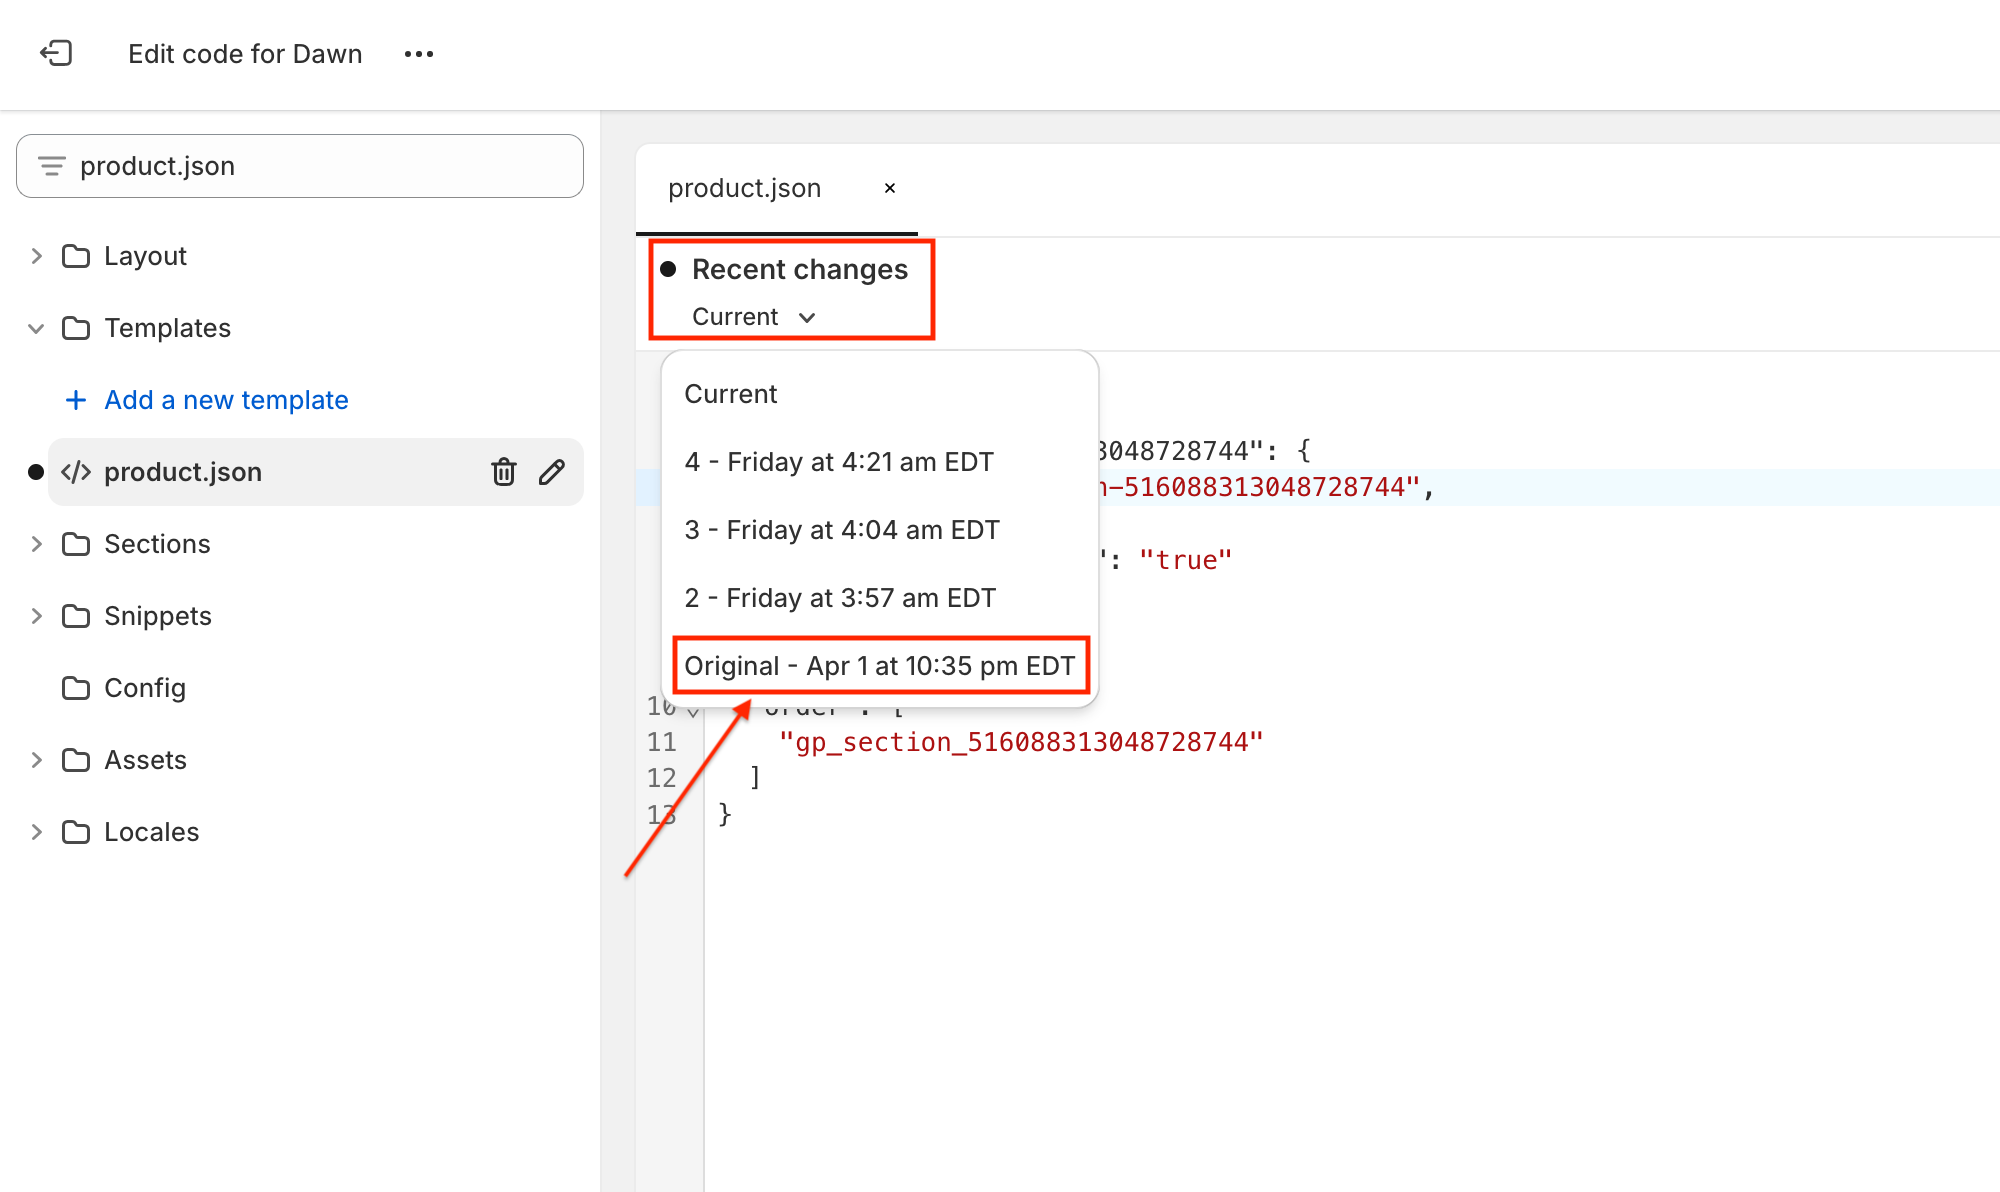
Step 5: Hit Save and exit out of the theme editor.
And that’s it! Check out our full instructions on how to set your default Homepage and Collection page.
FAQs
1. How do I make a product page created in GemPages the default template for all products?
From the GemPages Dashboard, go to Pages > Product, click the three-dot icon (⋮) on your preferred page, and select “Make Default”. This will apply your custom design to all product pages in your Shopify store.
2. Can I set different GemPages templates for different products?
Yes. If you don’t want to apply one template to all products, you can assign specific products to a GemPages template instead. Check out our product assignment guide for step-by-step instructions.
3. What happens when I make a GemPages product page the default template?
It replaces the default Shopify product layout with your GemPages-designed page across all unassigned product pages in your store.
4. How can I go back to using the original Shopify product template?
You can revert by:
- Going to GemPages > Pages > Product
- Selecting the Shopify Original Product Template at the top
- Clicking “Make Default”
This resets all product pages to use the original theme layout.
5. Does making a product page default affect the mobile layout too?
Yes. The layout applies across devices. Make sure to check and optimize the mobile version before publishing as the default.


Thank you for your comments