


Creating and publishing a landing page with GemPages is simple and allows you to design pages tailored to your store’s needs. This step-by-step guide will help you publish your landing page, set it as your homepage if desired, and link it to your Shopify menus.
How to Create and Publish a Landing Page with GemPages
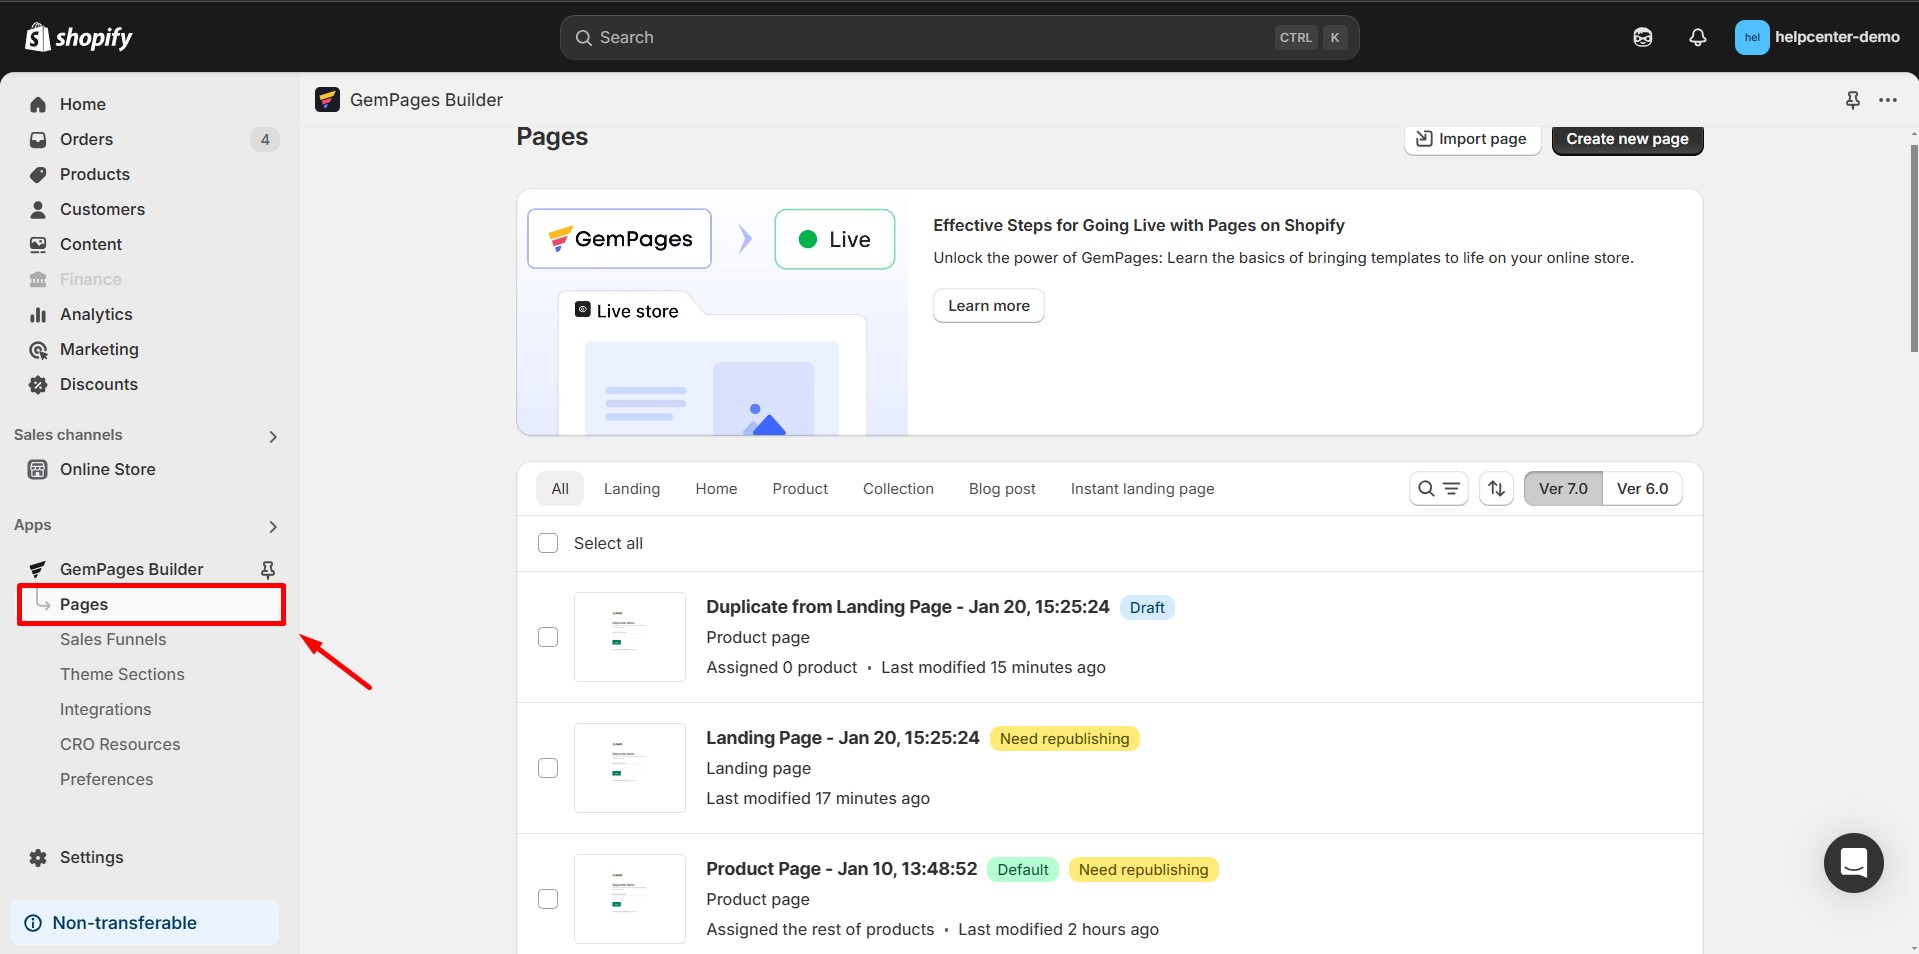
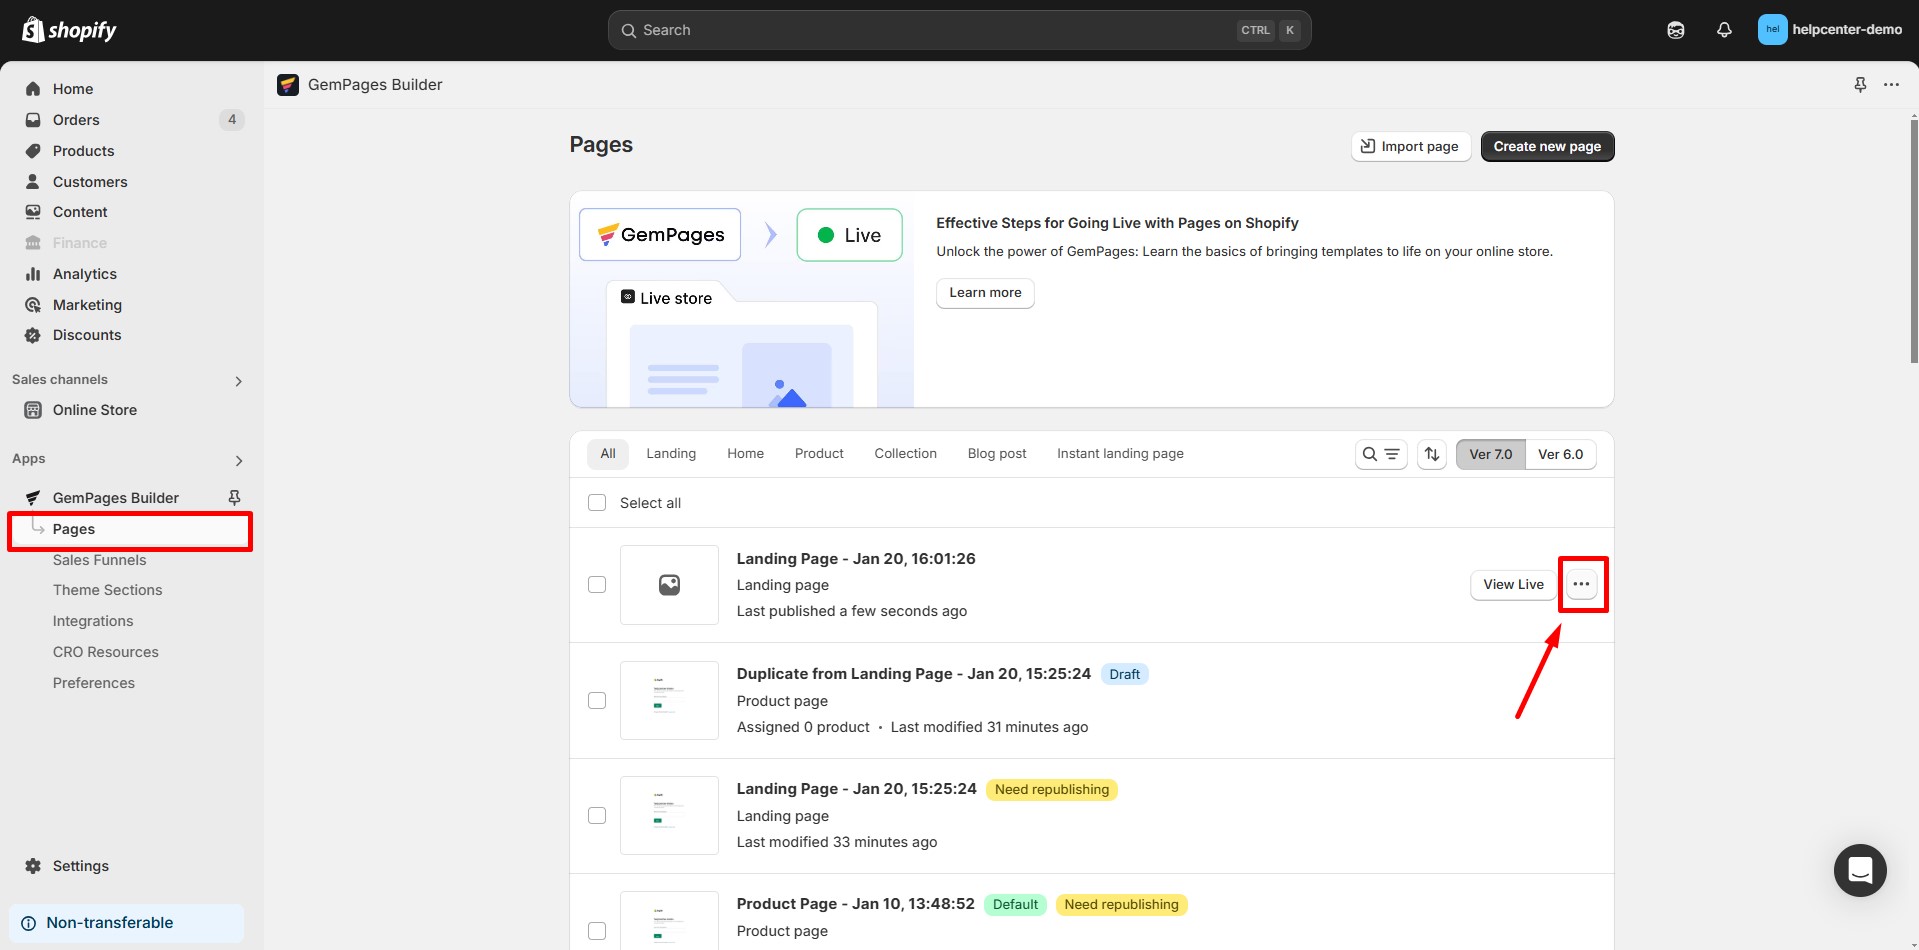
Step 1: In the GemPages dashboard, click on the Pages tab.
Step 2: Click the Create New Page button. Choose Landing Page as the page type.
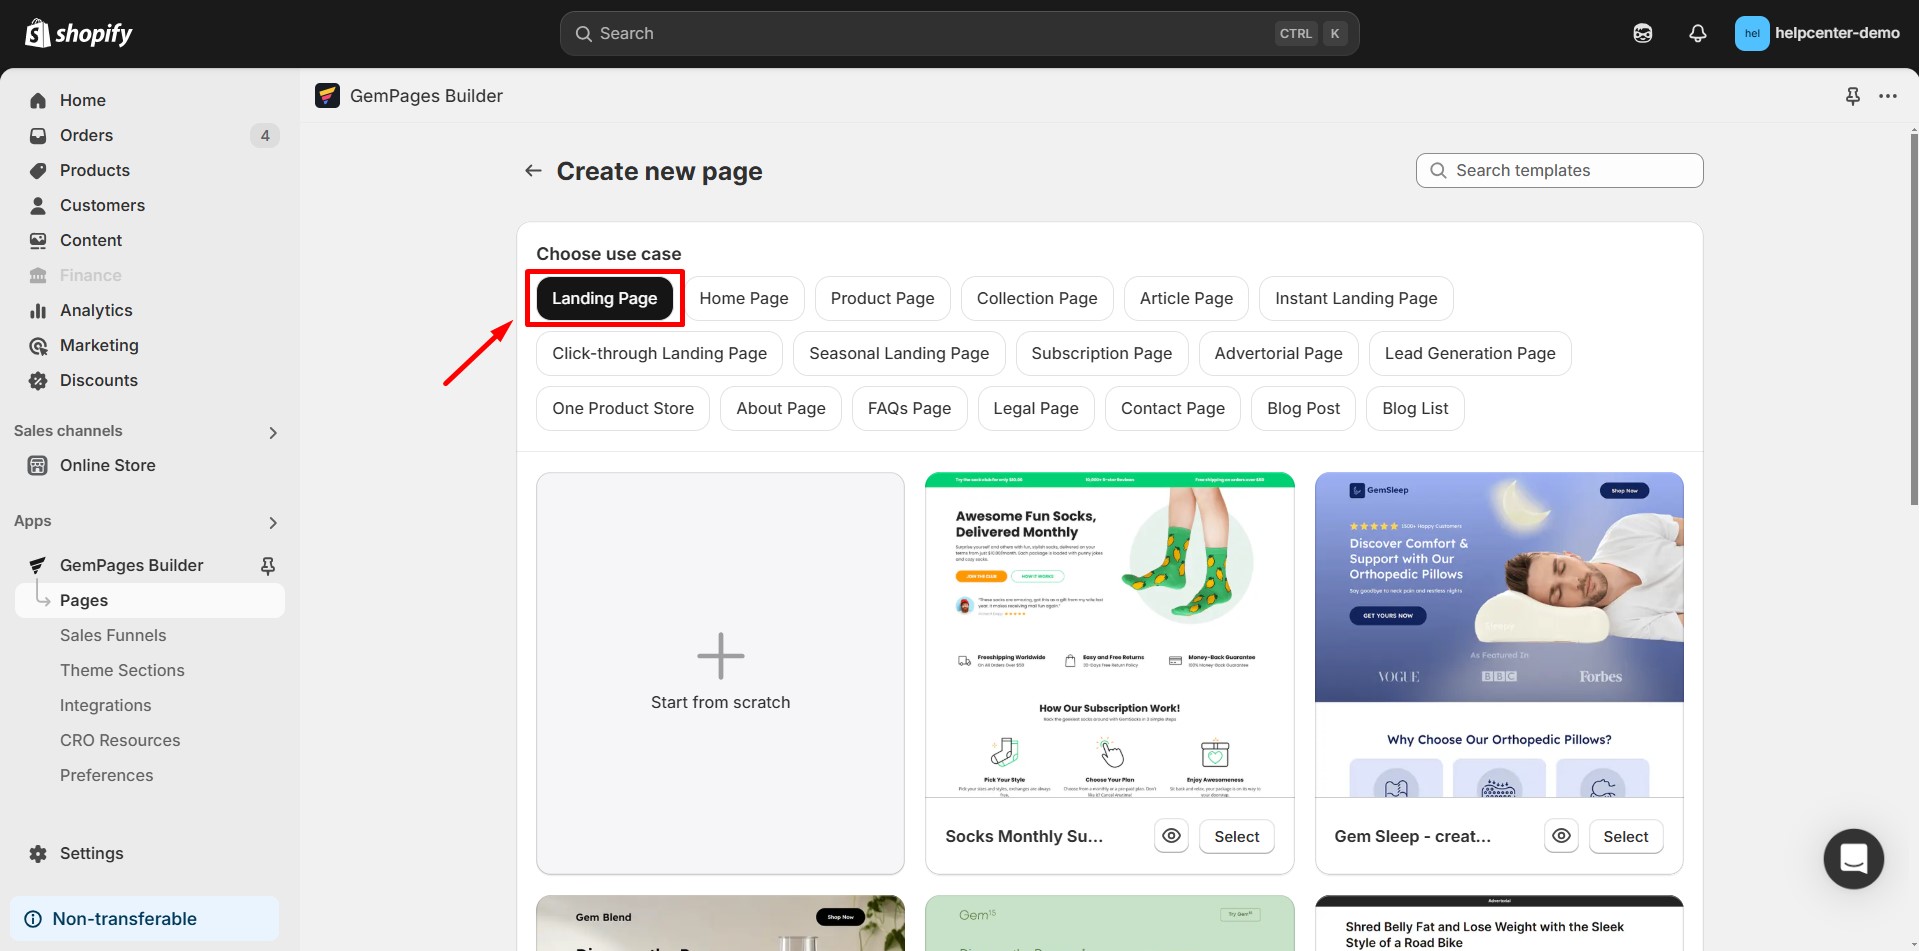
Step 3: Select a pre-designed template or start with a blank page.
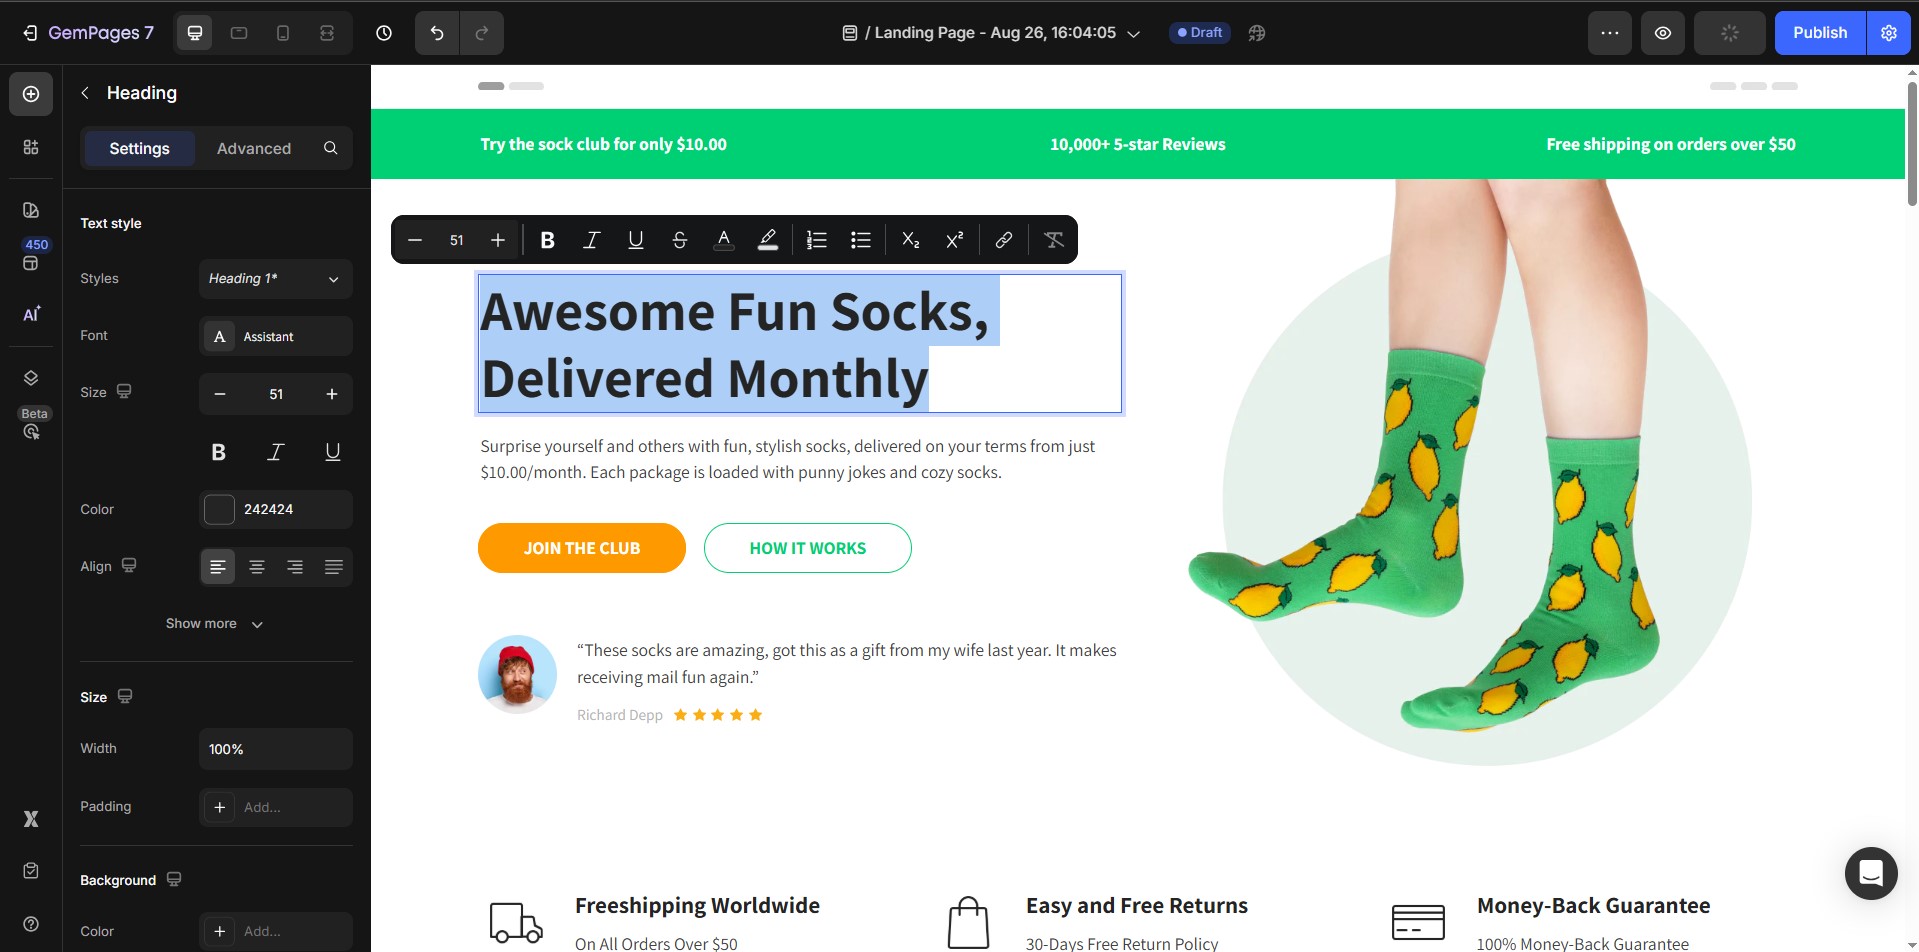
Step 4: Customize the landing page using the drag-and-drop editor.
Step 5: To configure your landing page’s SEO, social sharing image, and header/footer settings in GemPages, click the Publish Settings icon in the top-right corner of the editor.
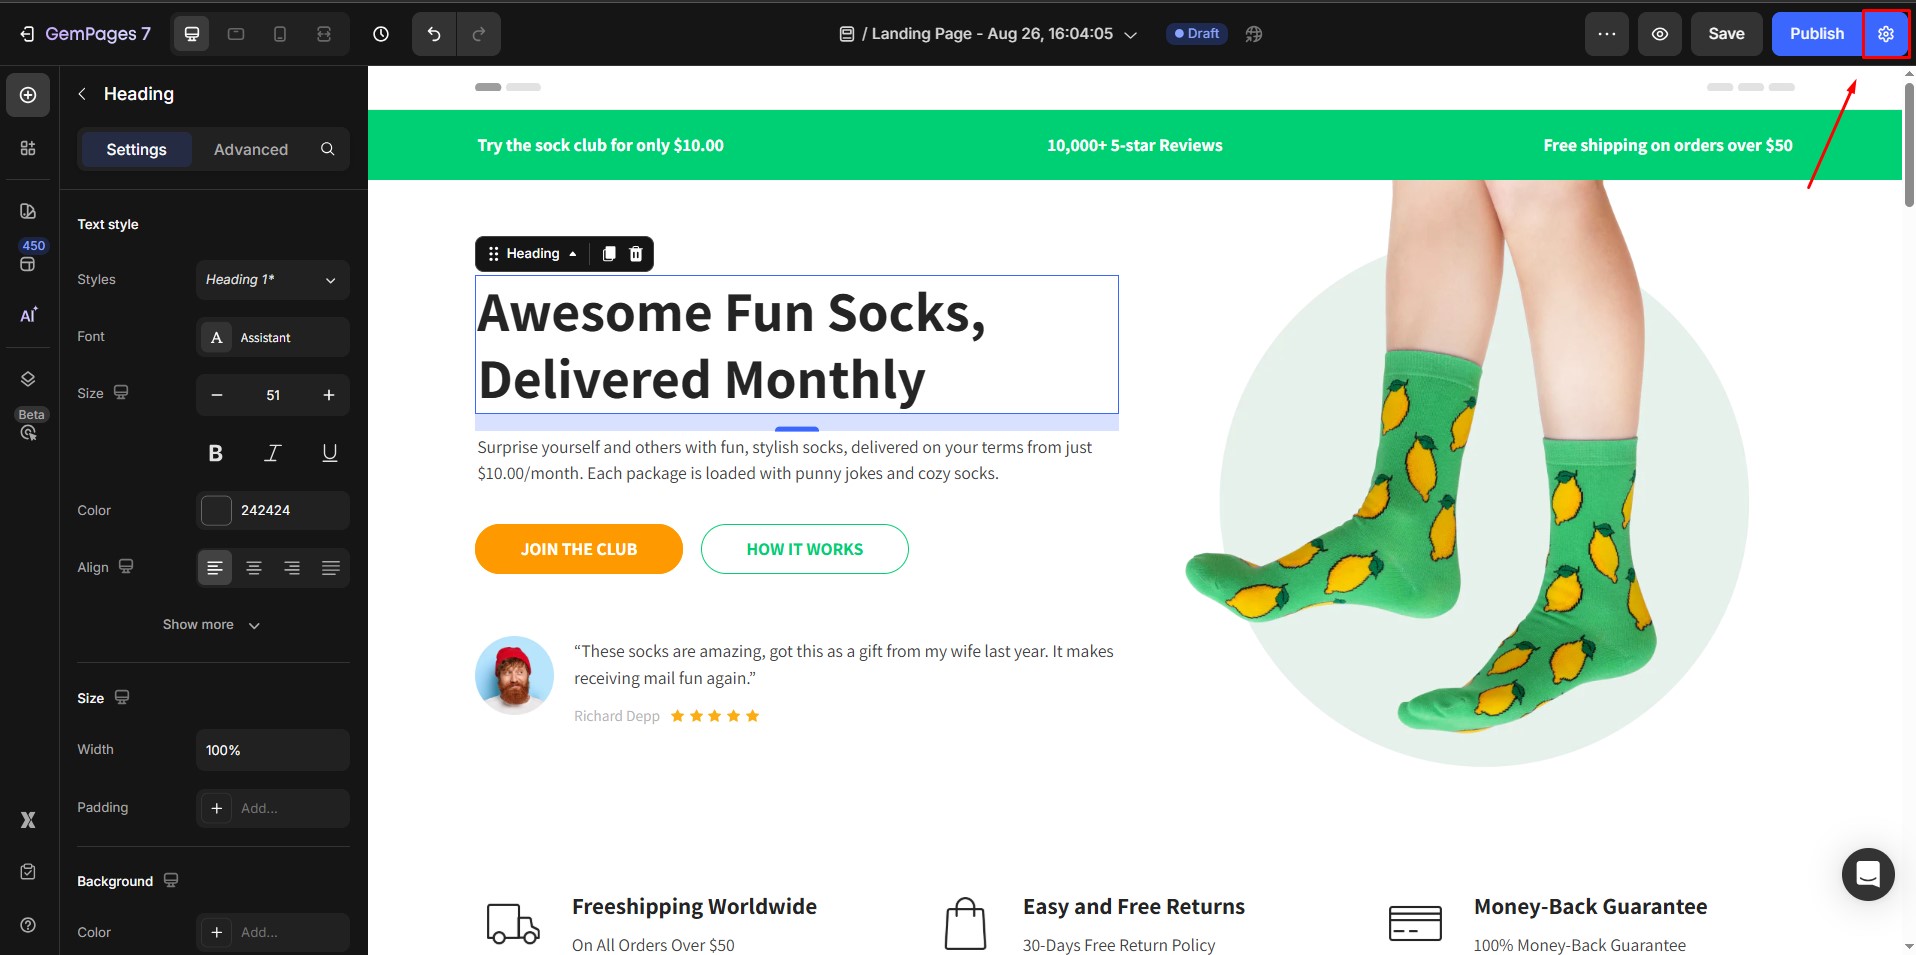
Step 6: After finalizing your design and settings, click the Save button. To make the page live, click the Publish button.
Each published landing page will have its own unique URL (e.g., https://yourstore.com/pages/promo-offer). Customers can only access that page if you:
- Add it to your Shopify menu, or
- Share the direct link with them.
If the page isn’t linked anywhere, it will remain hidden from your storefront.
Manage Publish Settings for Your Landing Page
You can access Publish Settings directly inside the GemPages editor to control how your landing page appears on your live store and in search results.
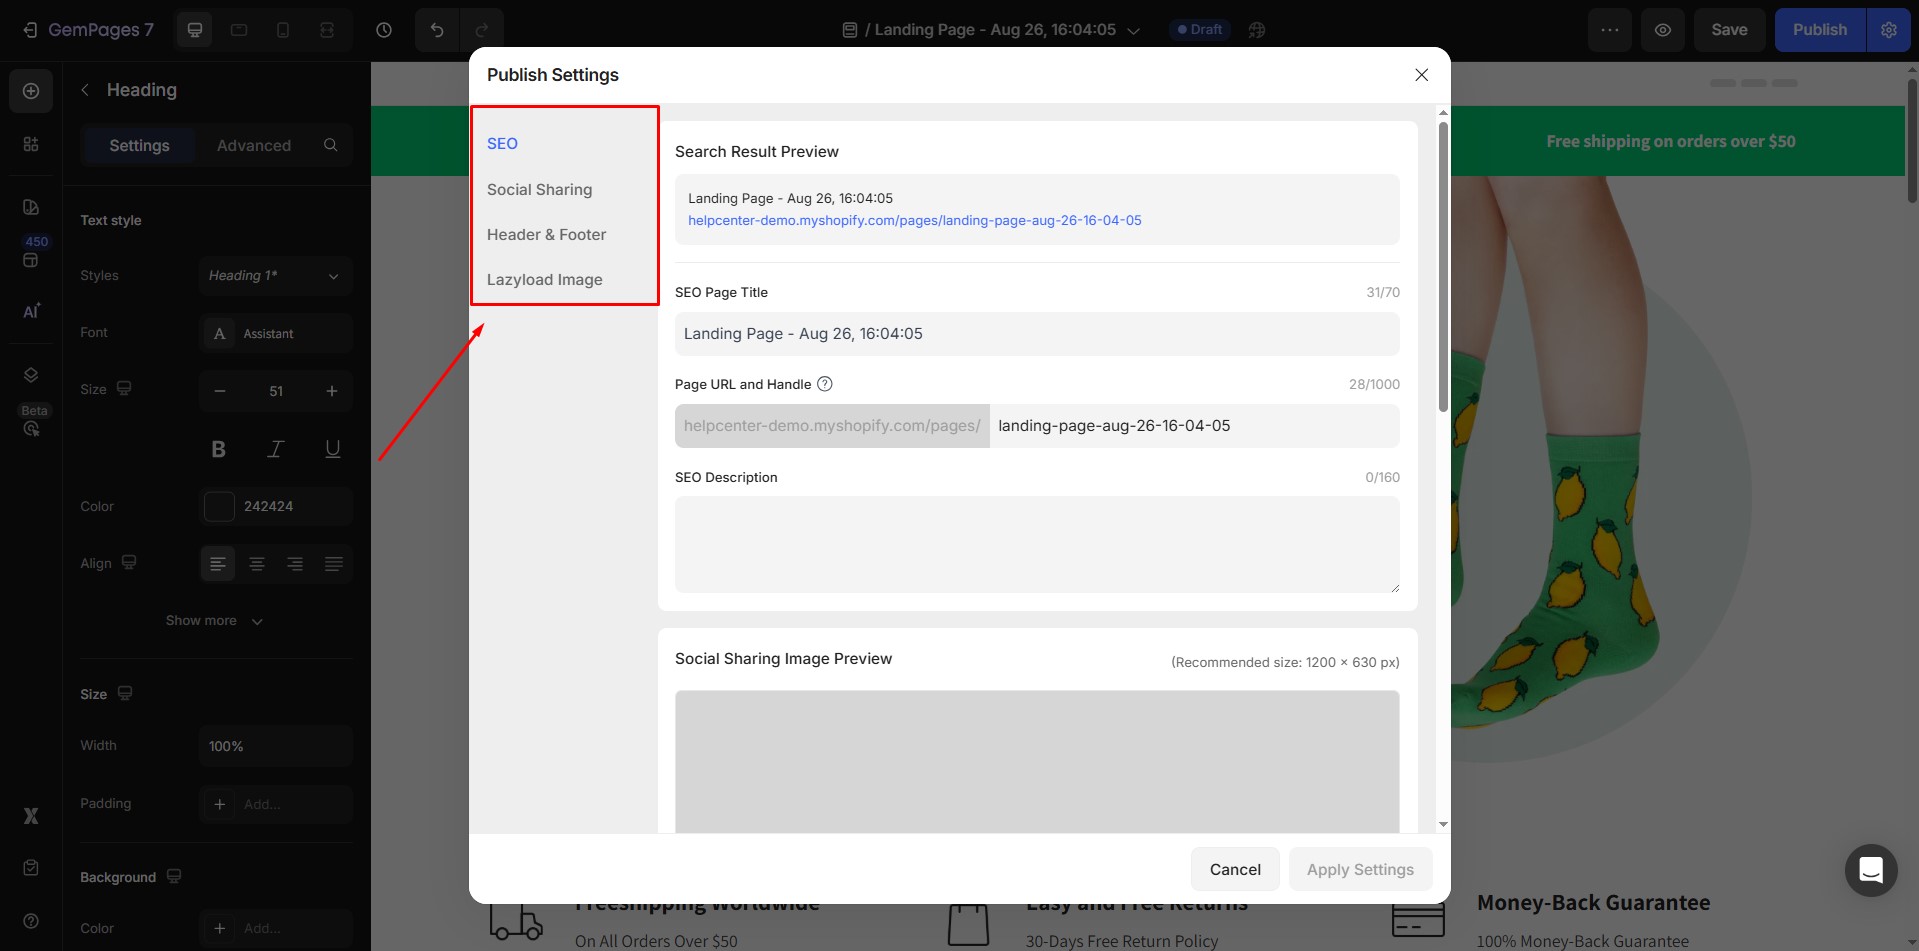
To open Publish Settings: Click the Publish Settings icon in the top-right corner of the GemPages editor.
![]()
- View URL: See the live URL of your landing page.
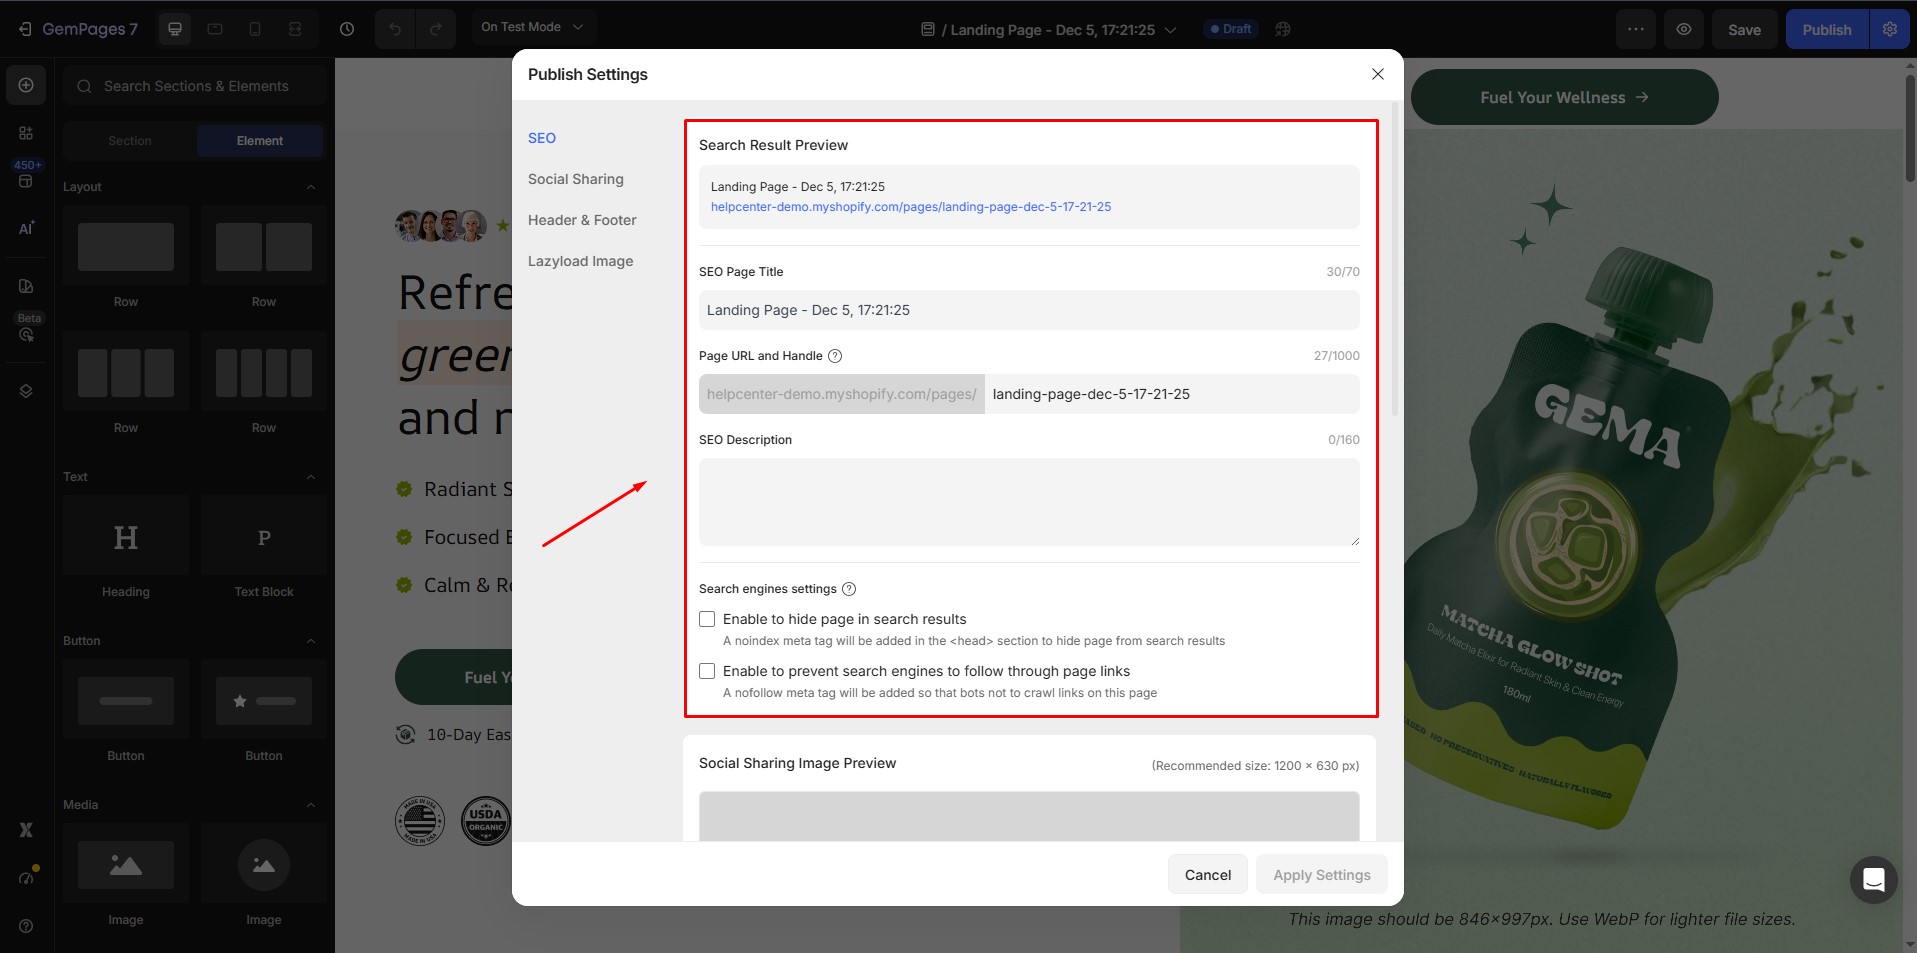
- SEO Page Title: Set the title that appears in browser tabs and search engine results.
- Edit Page URL and Handle: Customize the page URL and handle to make it more SEO-friendly.
- SEO Description: Add or edit the meta description that appears under your page title in search engines.
- Noindex / Nofollow: Choose whether to prevent search engines from indexing this landing page or following its links.
- Social Sharing Image Preview: Upload or change the image that appears when your page is shared on social media.
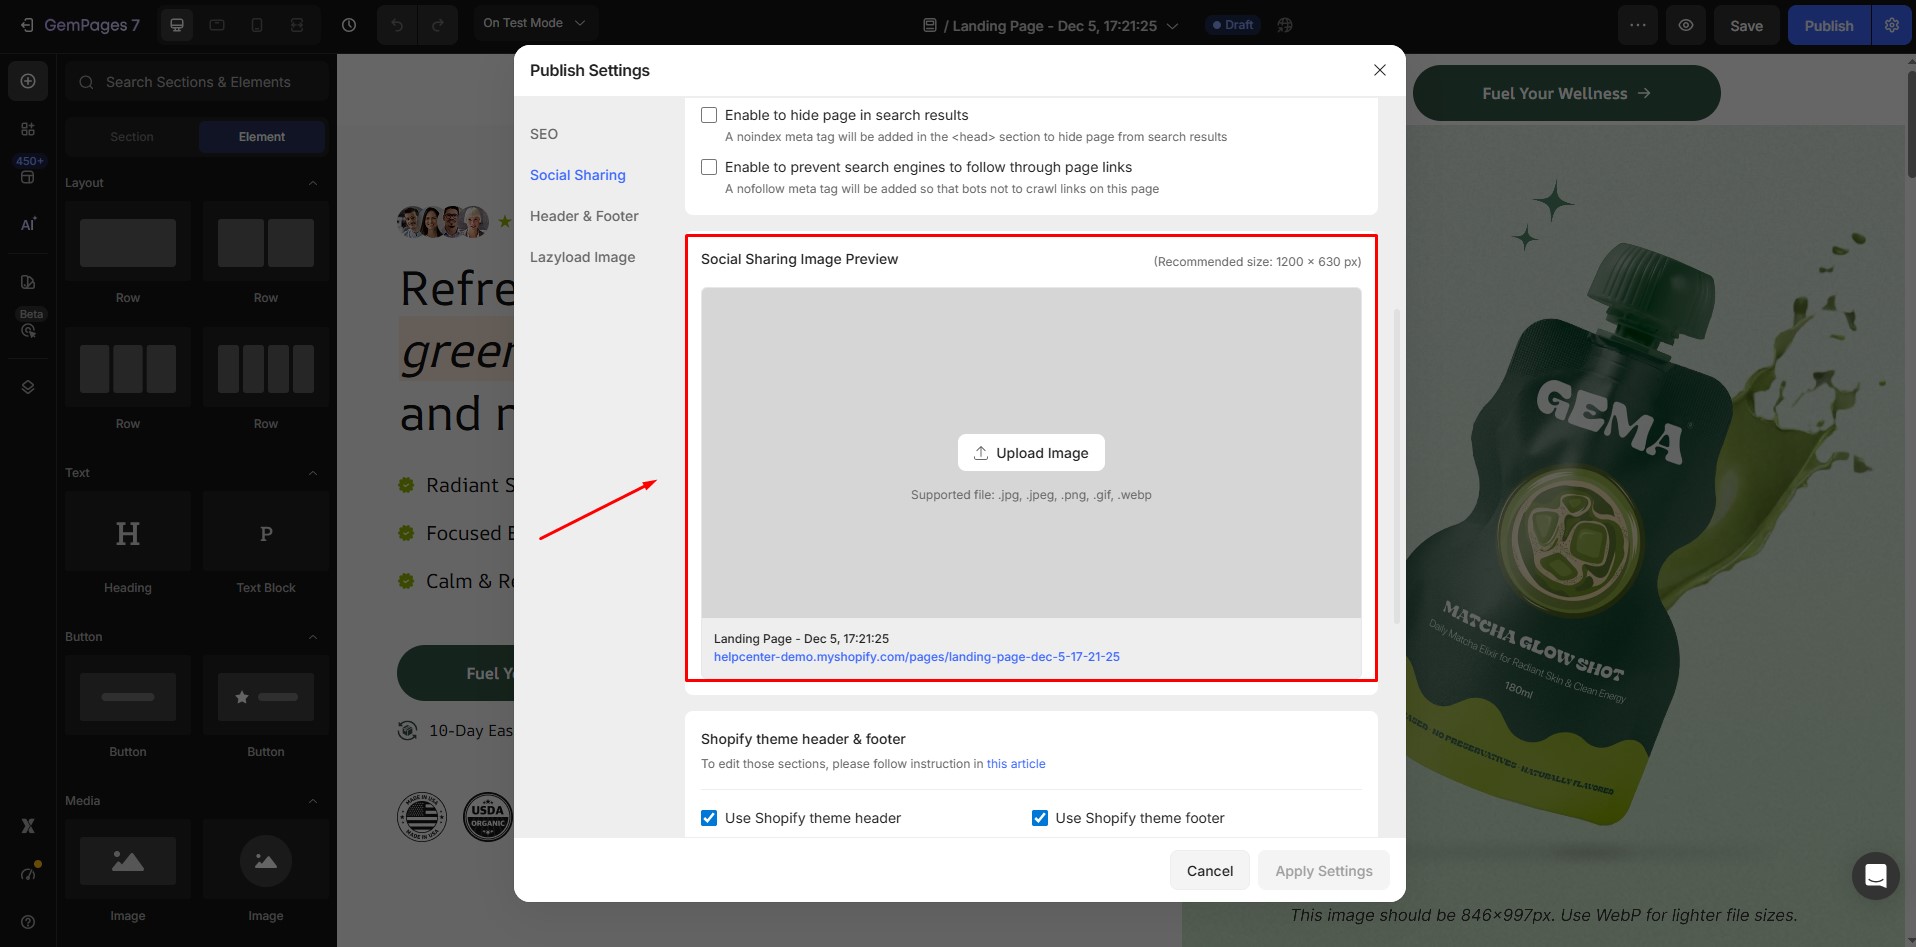
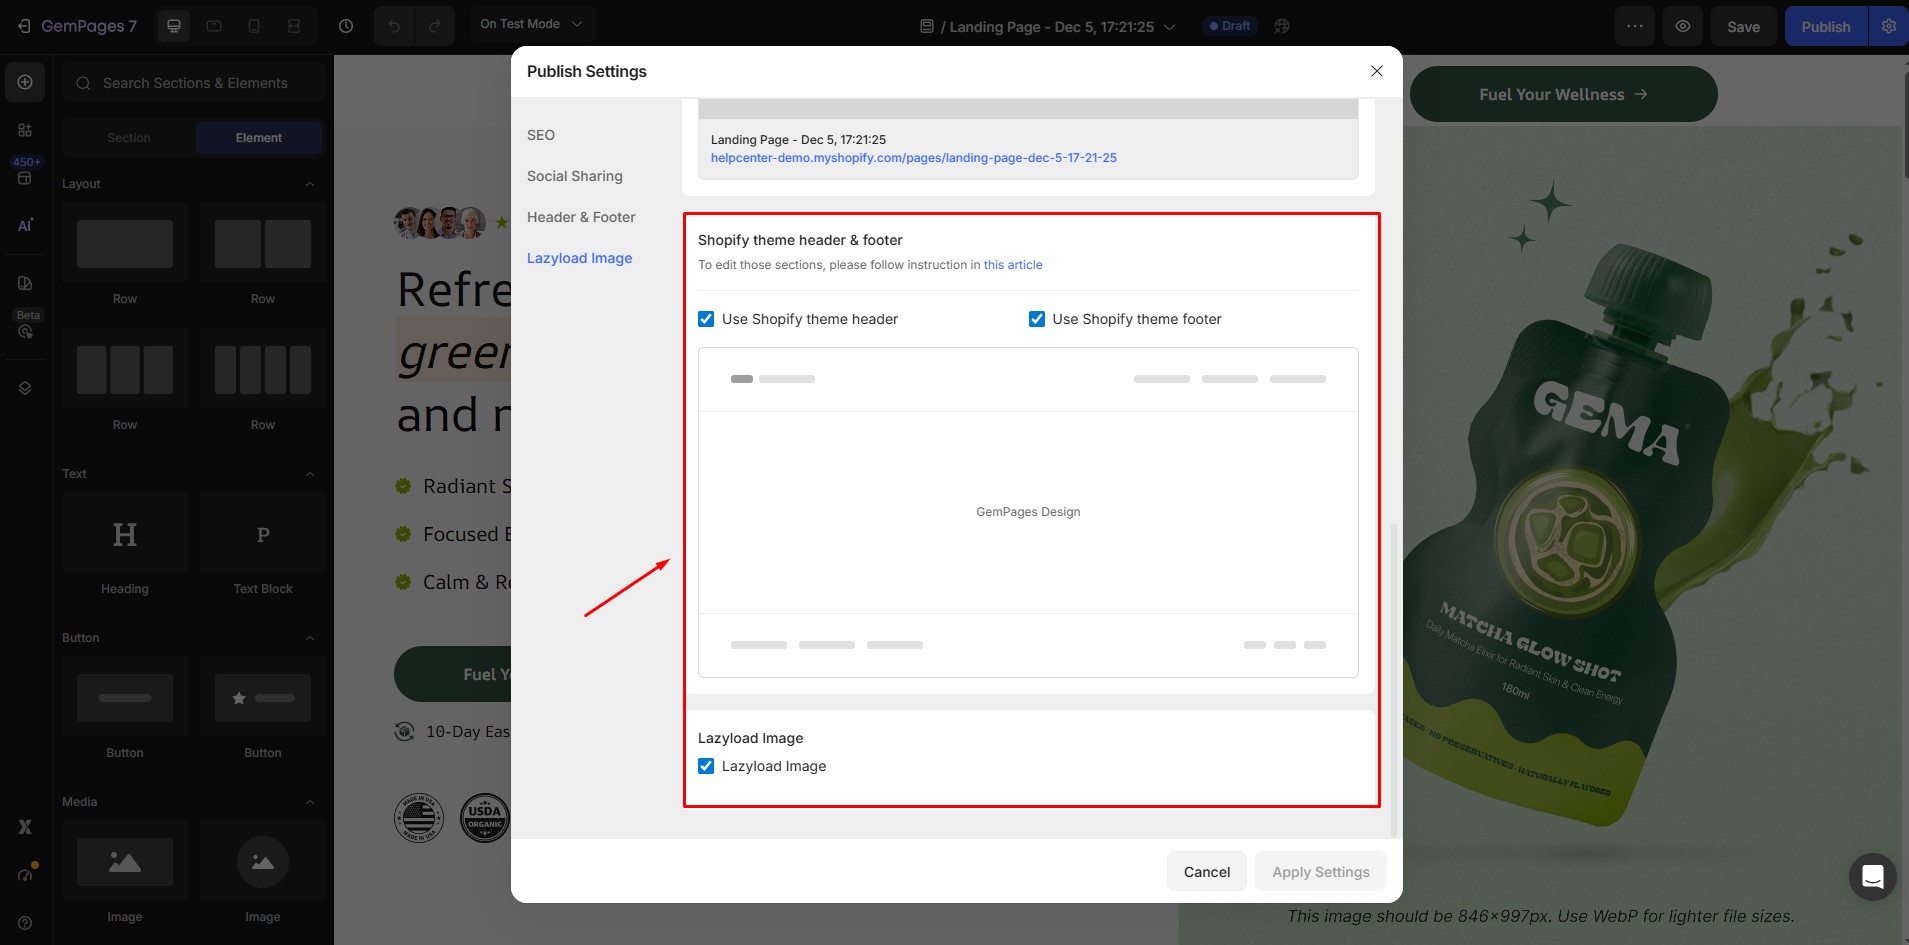
- Header and Footer: Decide whether to display your store’s header and footer on this landing page.
How to Name Your Landing Page (Internal Use Only)
You can rename your landing page in the GemPages dashboard to help organize and identify different campaigns. This internal name is only visible to you and your team inside GemPages, and customers cannot see it unless you add the page to your storefront navigation.
Example:
- Internal name (visible only in dashboard):
Summer Sale Test Page - Public URL handle (visible to customers):
https://yourstore.com/pages/summer-sale
To rename a page, go to your GemPages dashboard. Then, hover over the page name, click the edit icon, and enter the updated name for your landing page.
How to Set the Landing Page as Your Home Page (Optional)
If you want to use this landing page as your store’s home page:
Step 1: In the GemPages dashboard, locate the landing page you’ve created.
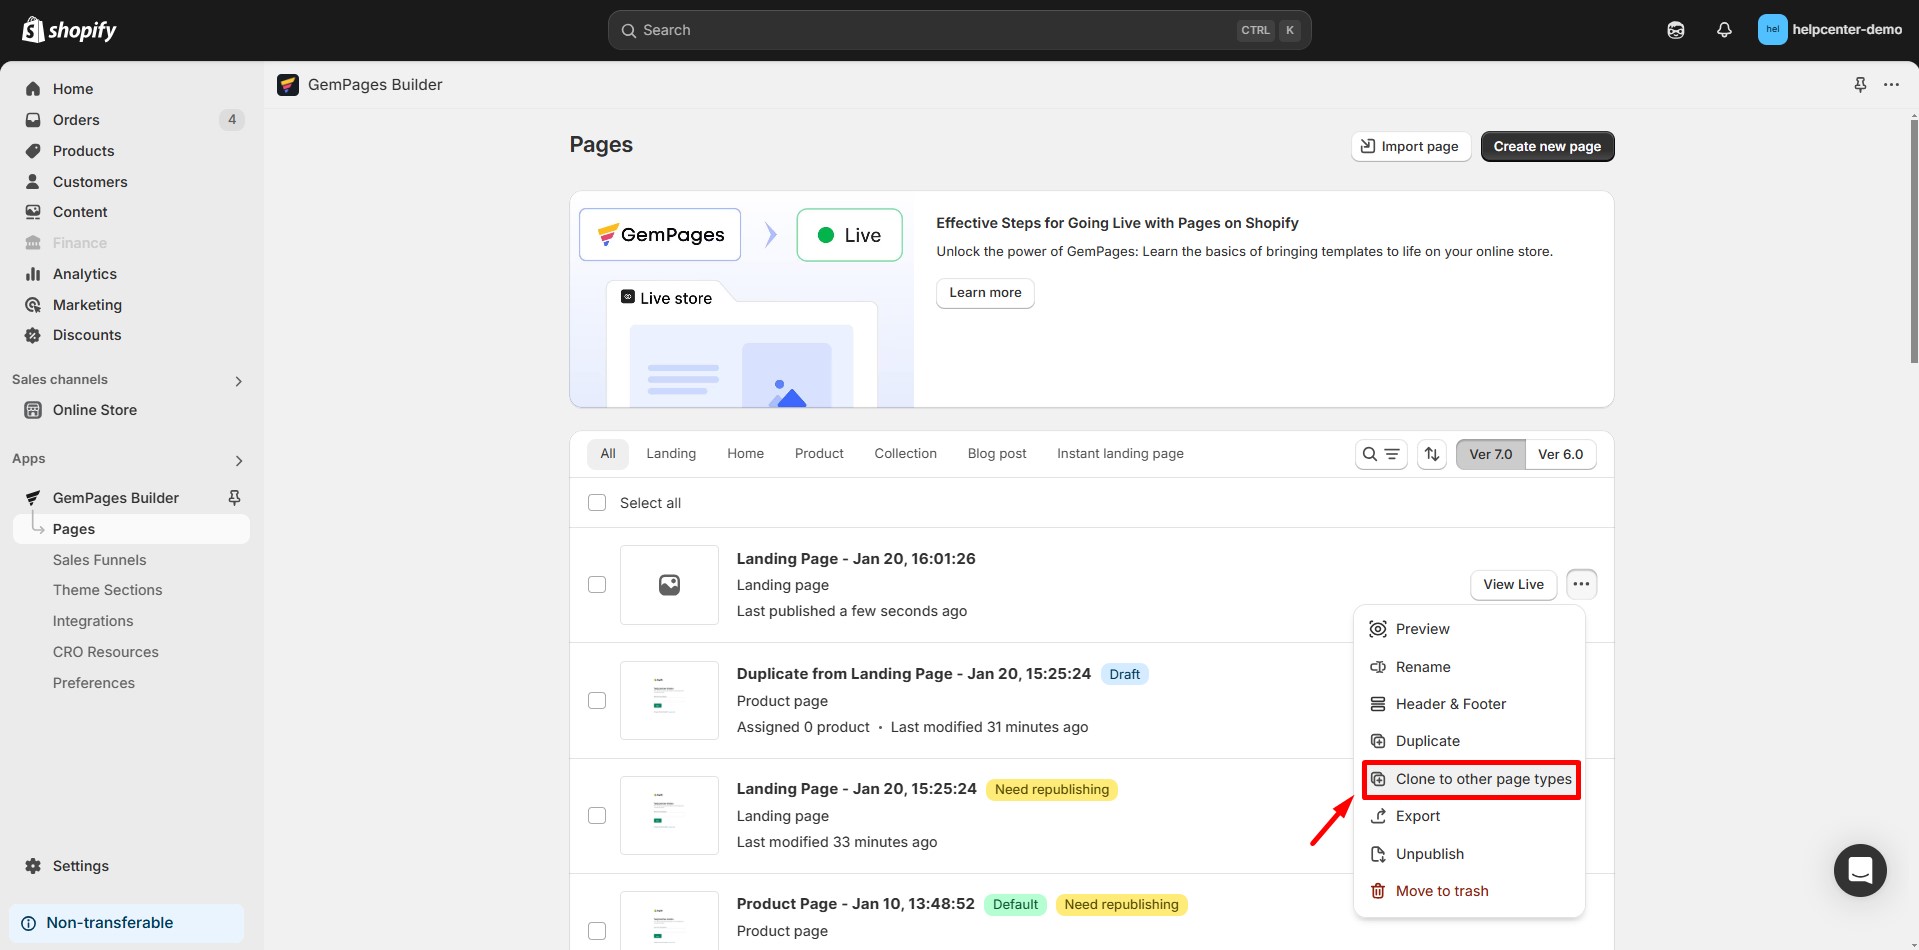
Step 2: Click on the three-dot icon next to the page name.
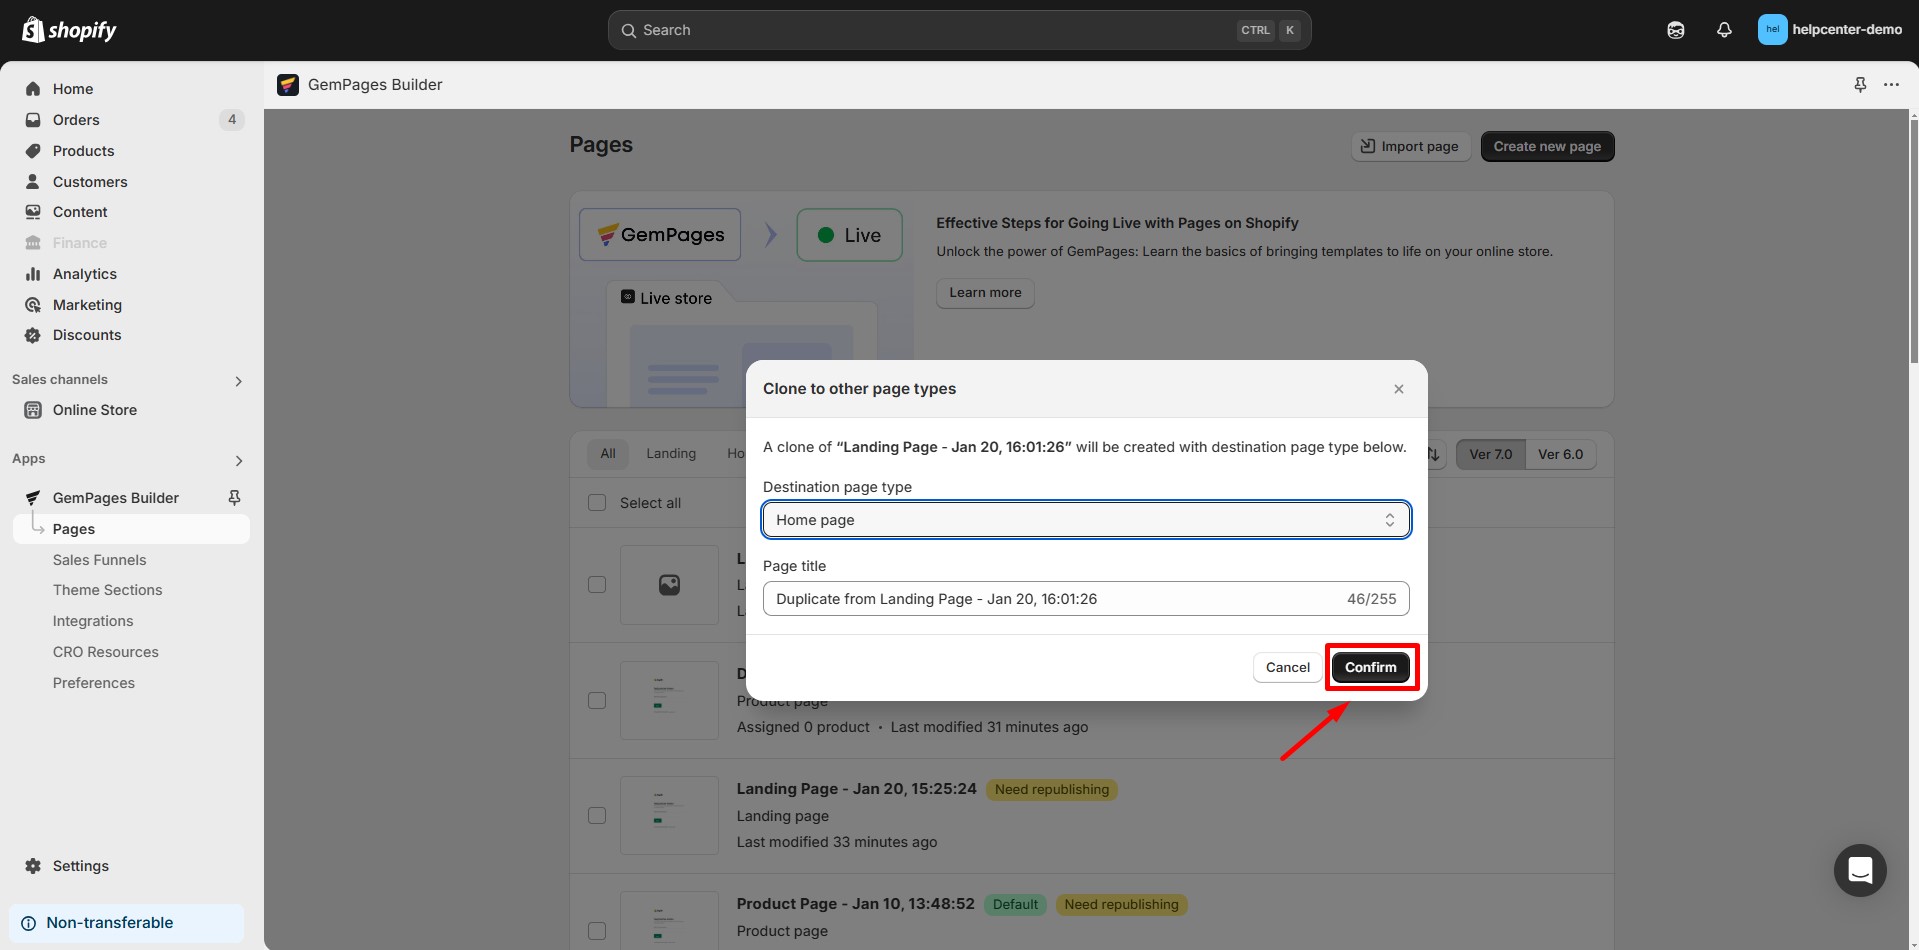
Step 3: Select “Clone to other page types“ from the dropdown menu. Choose Home Page as the new page type.
Step 4: Confirm the action and publish the new home page.
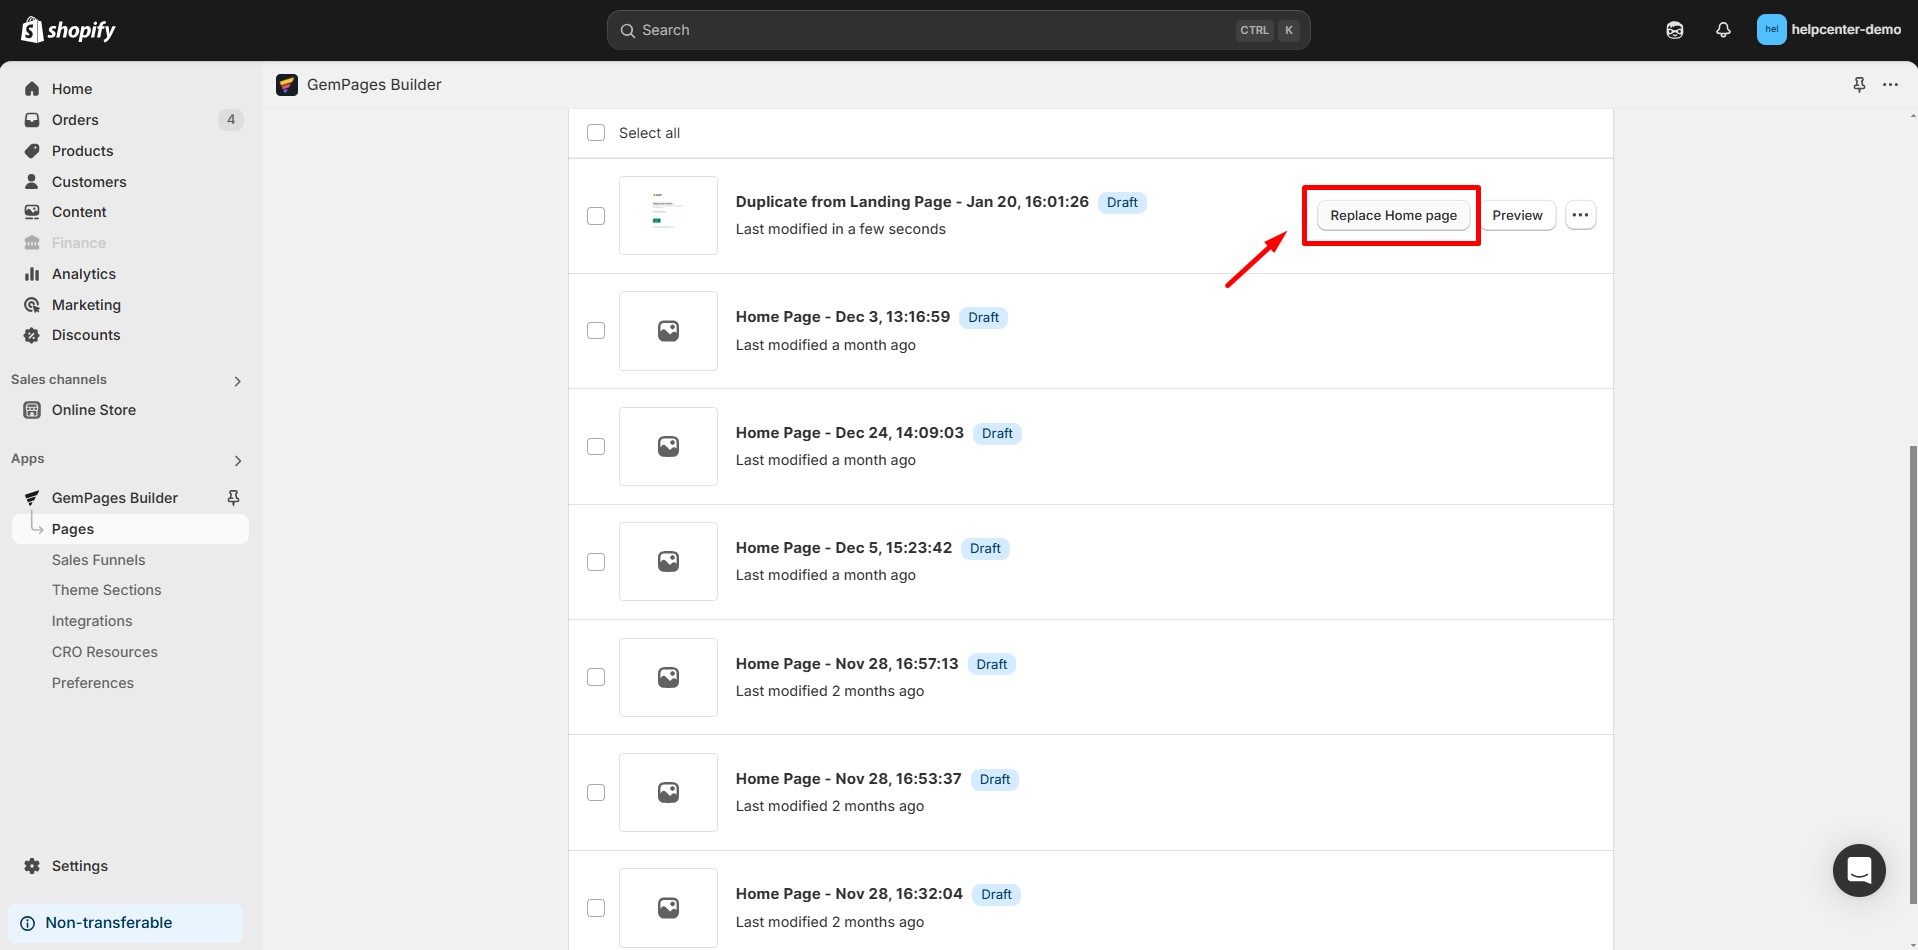
Step 5: To set this page as the default homepage, click the Replace Home Page.
How to Link your Landing Page to Shopify Menu (Optional)
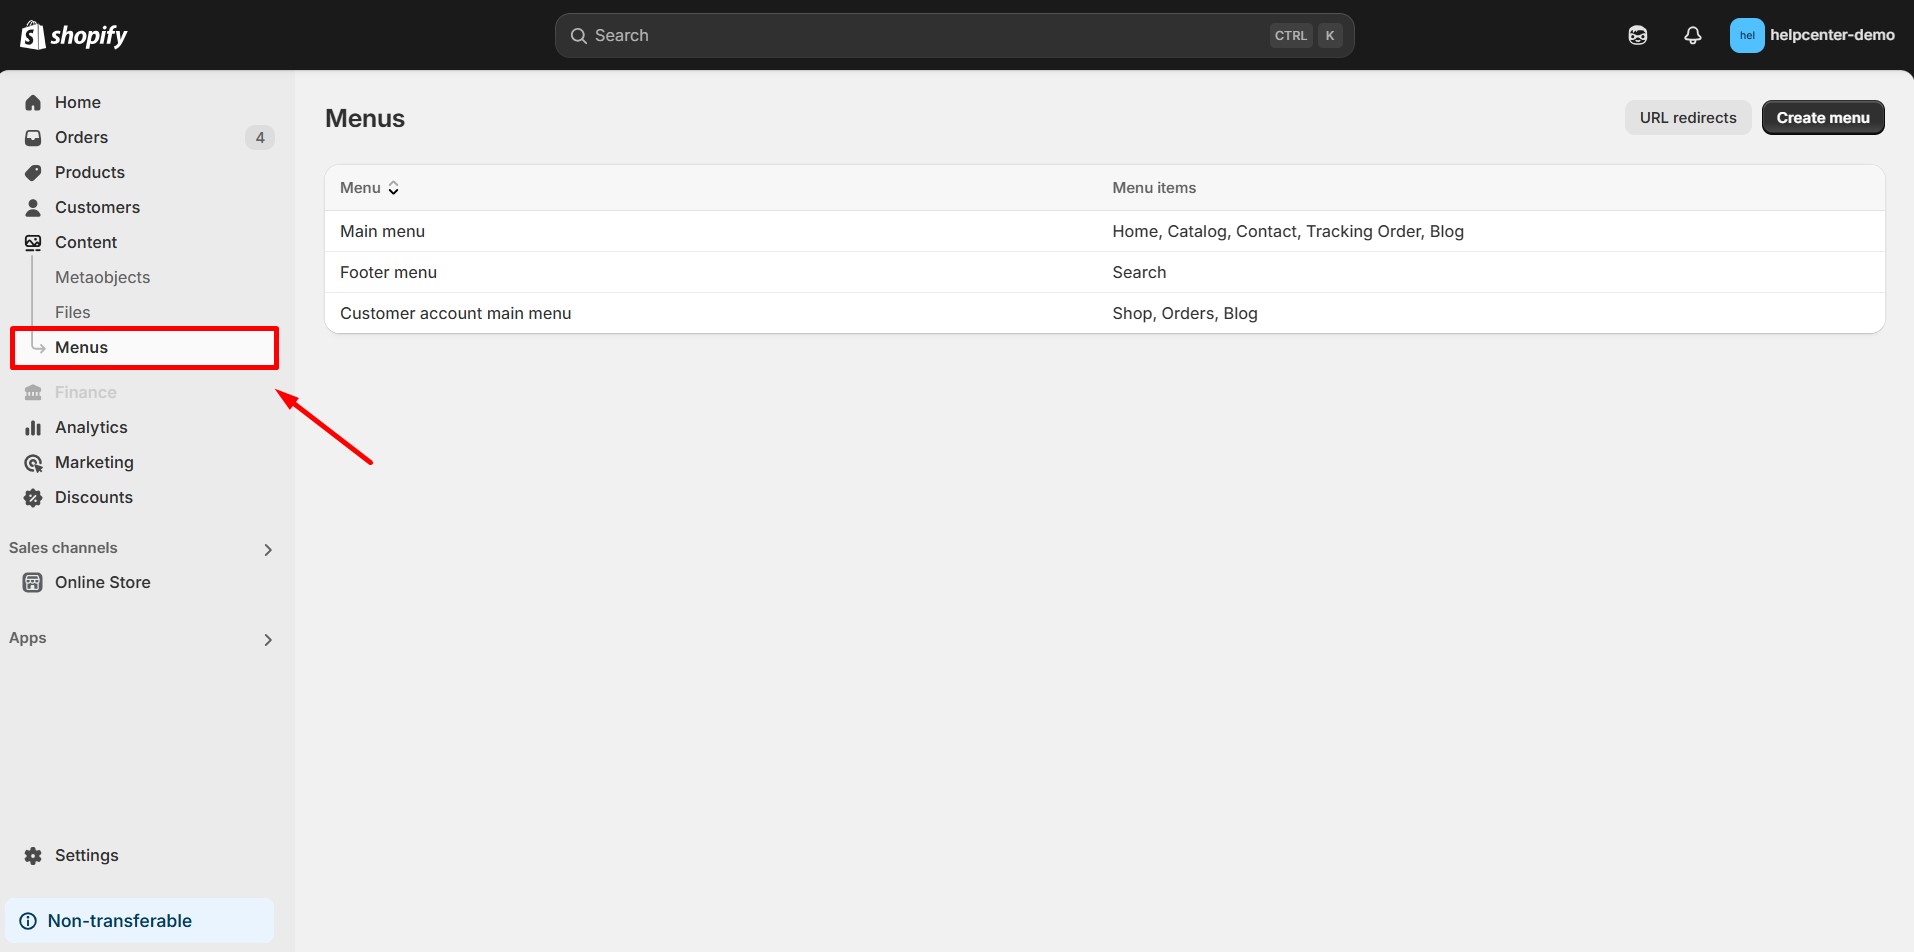
Step 1: In your Shopify admin dashboard, navigate to Online Store > Content > Menus.
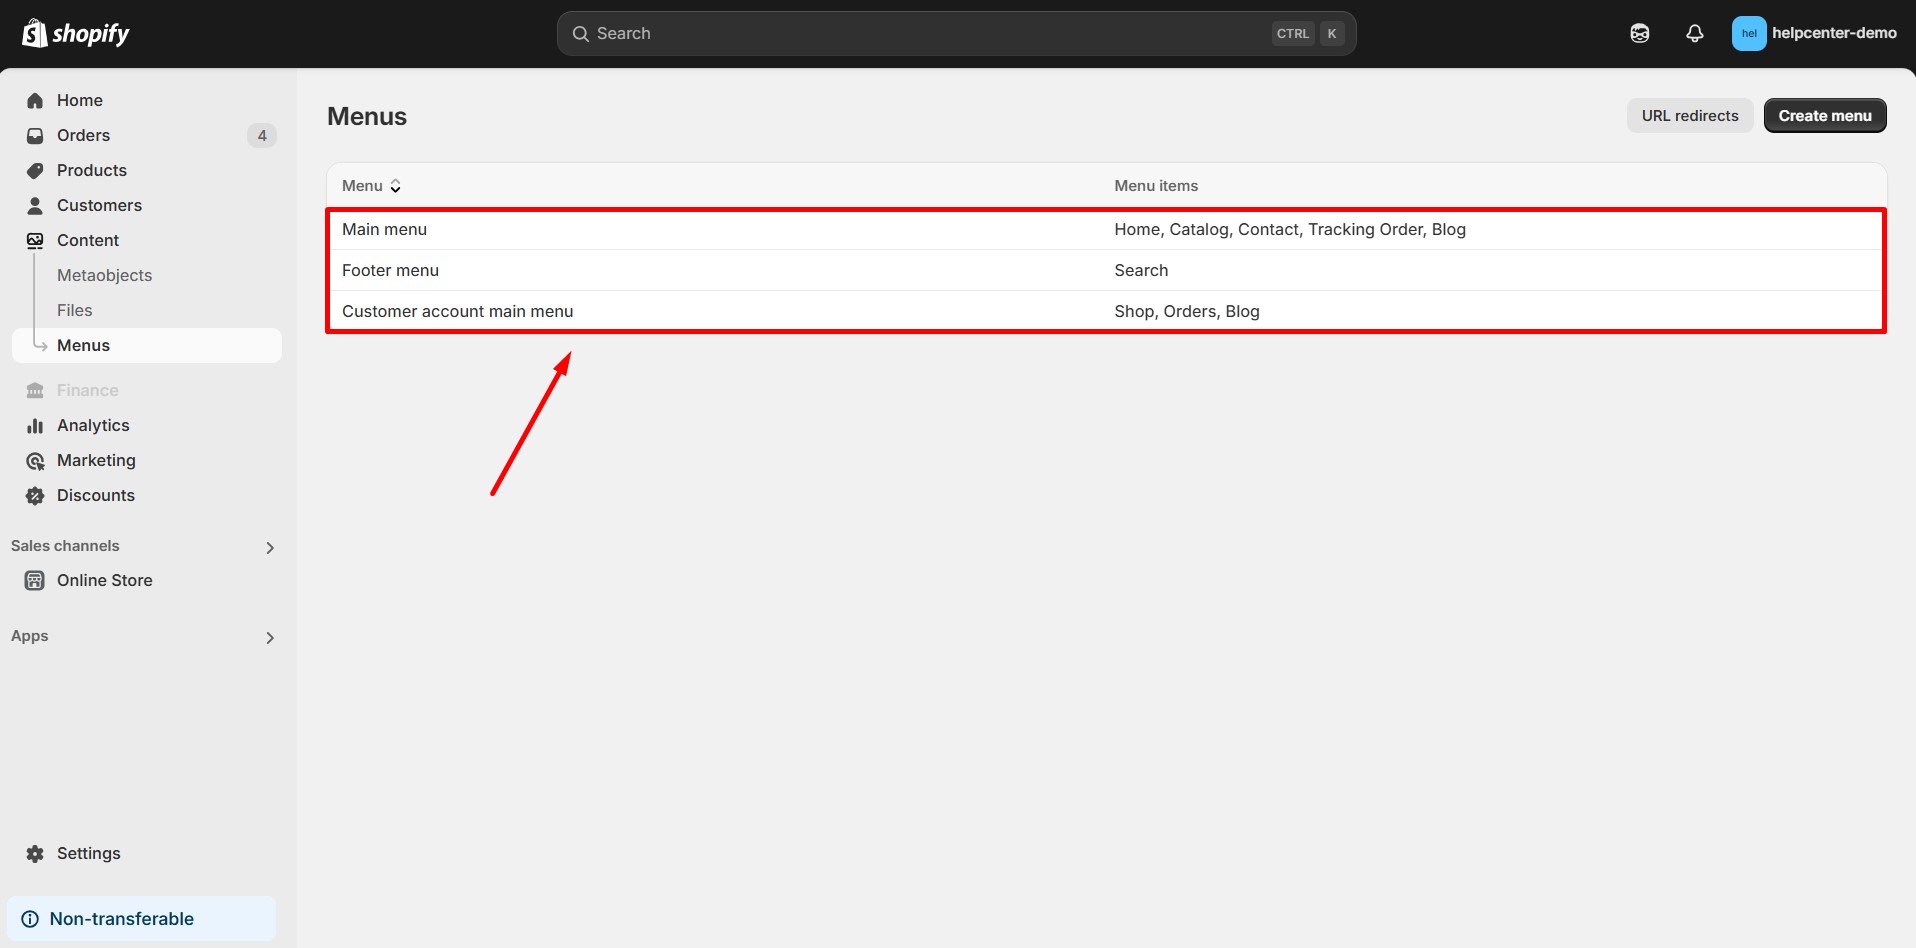
Step 2: Select the menu where you want to add the landing page (e.g., Main menu or Footer menu).
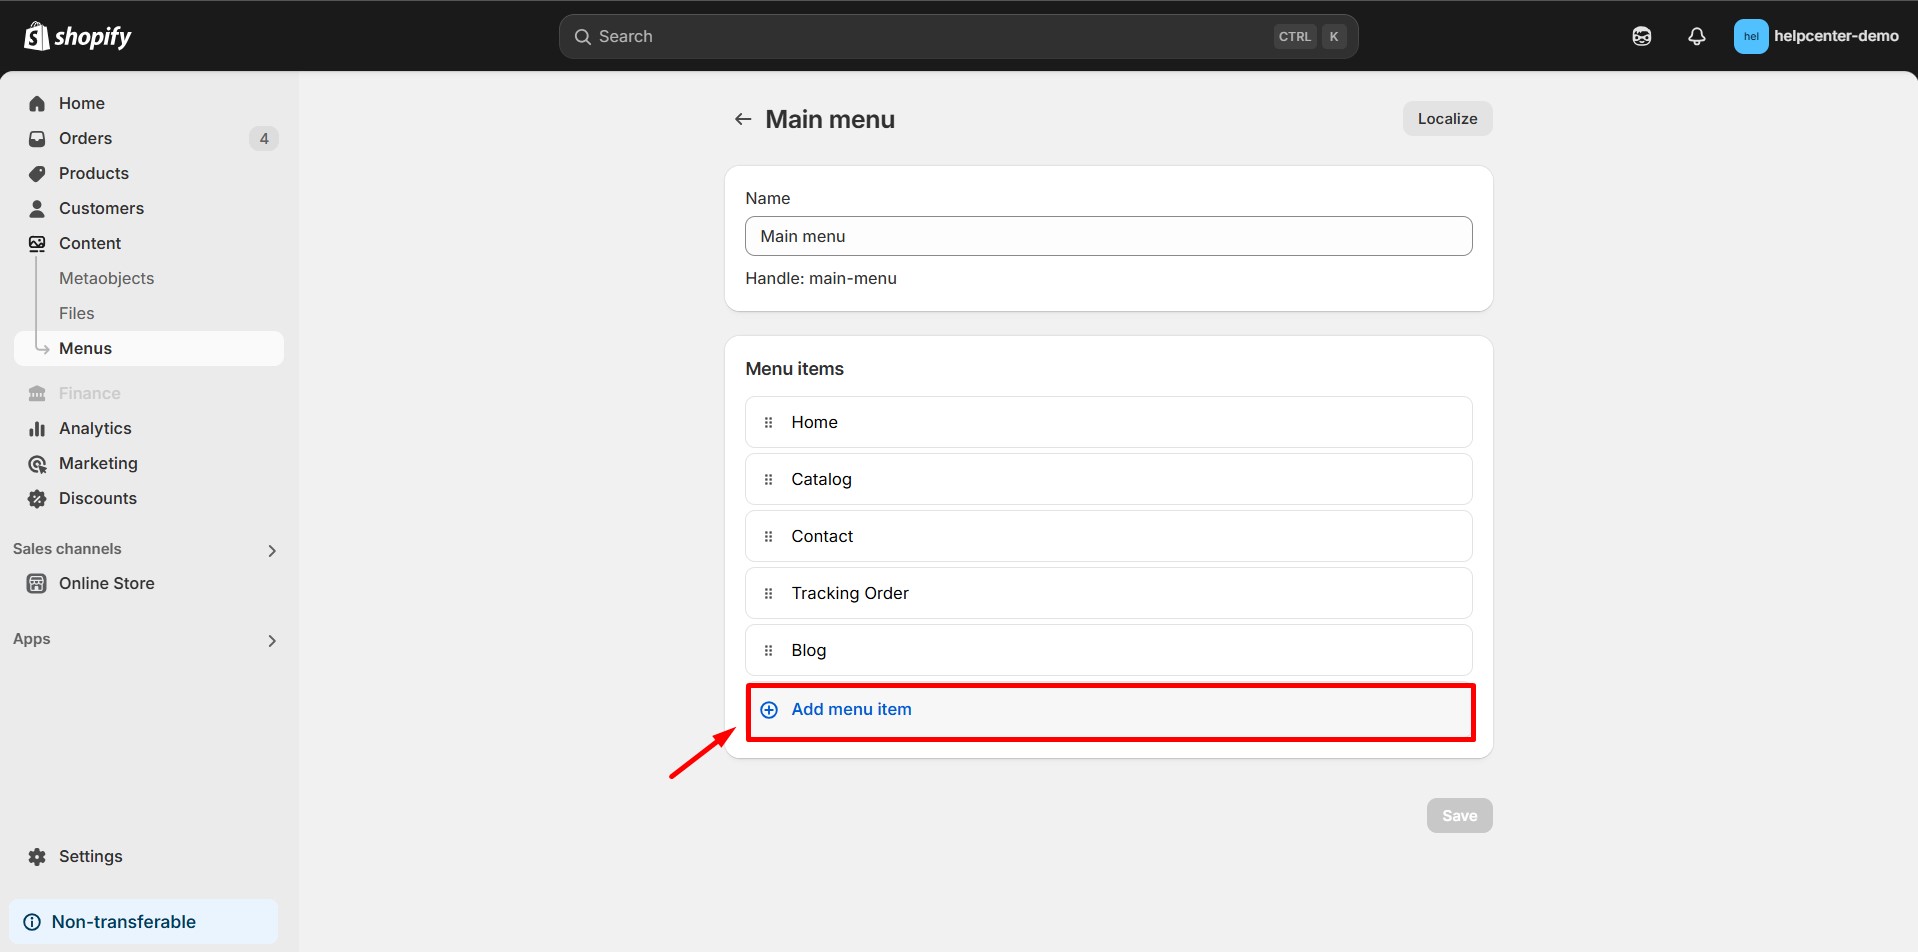
Step 3: Click on Add menu item. Enter a Name for the menu item (this will be the label displayed in your store’s navigation). In the Link field, select Pages, then choose the landing page you created with GemPages.
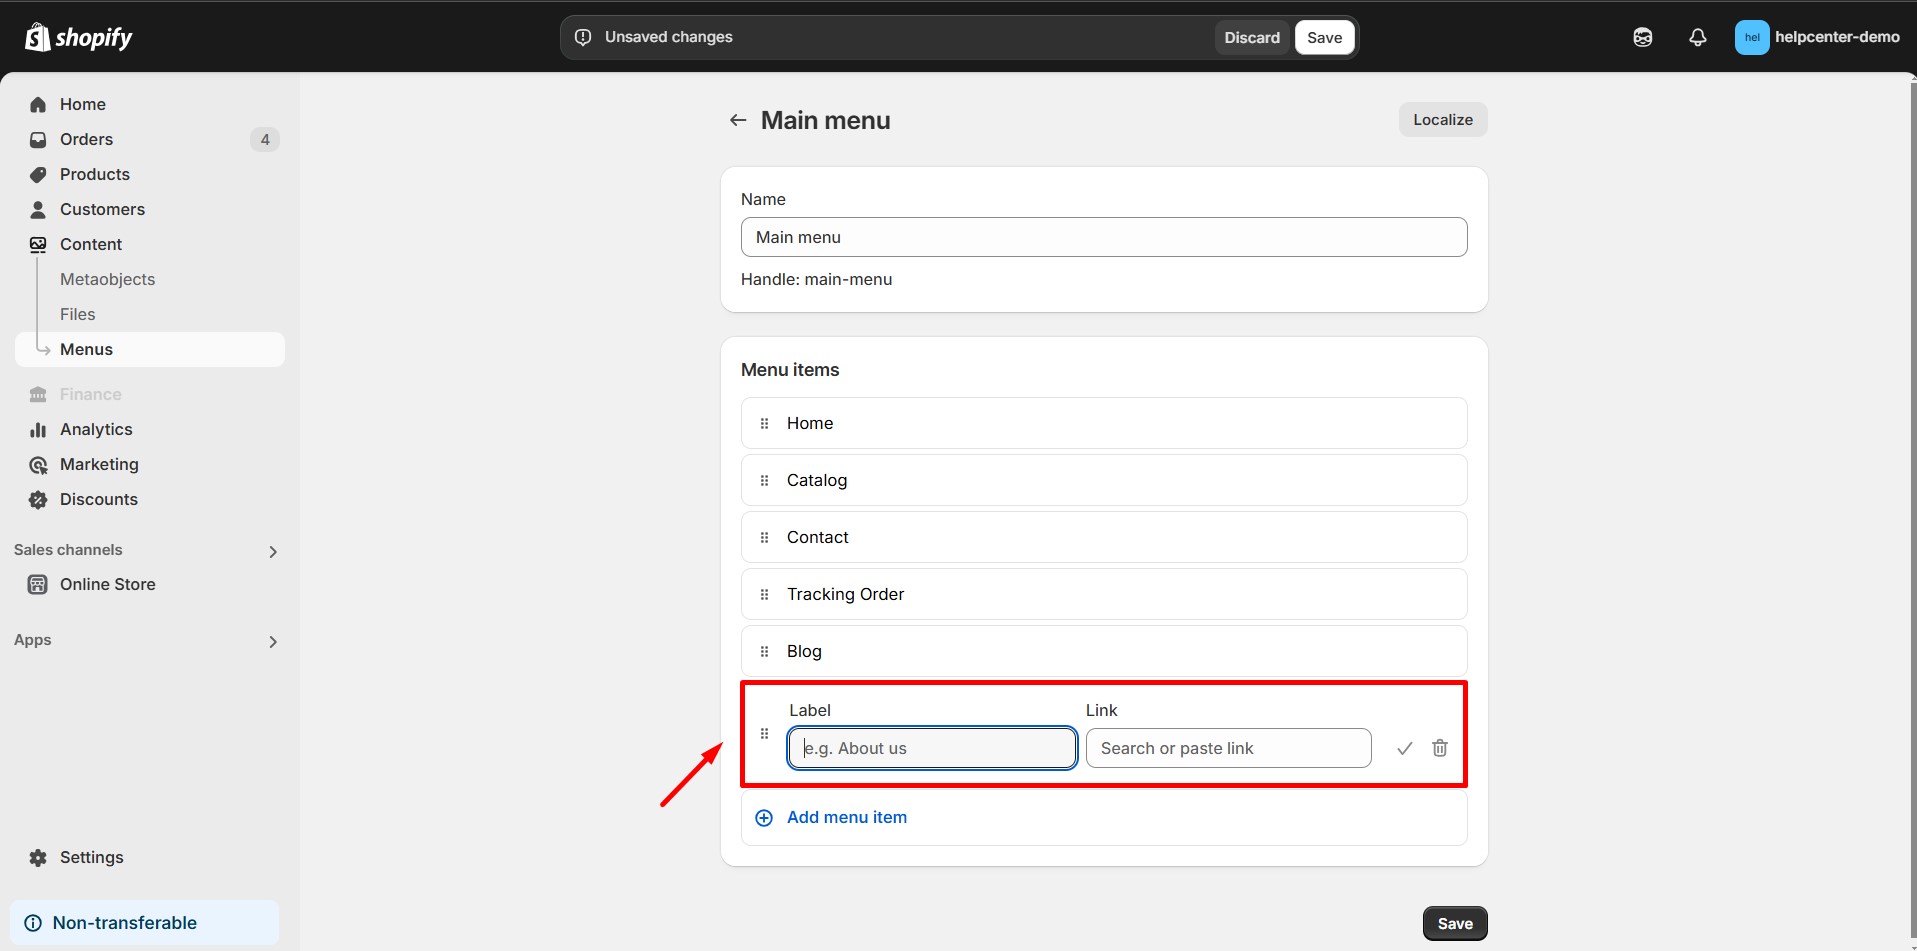
Step 4: Click Add, then Save menu to apply the changes.
FAQs
1. How do I override a landing page with a new design?
- From the GemPages dashboard, locate the landing page you want to update.
- Click Edit to open the page in the GemPages editor.
- Adjust the design as needed (layout, content, images, sections, etc.).
- Click Save, then click Publish.


Thank you for your comments