


About the Video element
Unlike version 6, the latest version of the editor combines various video elements, such as YouTube and Vimeo, into a single Video element.
With this updated feature, users can easily showcase videos on various page types and customize them to capture their customers’ attention quickly.
How to Add a Video Element?
Step 1: Open the GemPages Editor and select a page to edit. Find the Video element on the left sidebar under the Media section, or use the search bar for quick access.
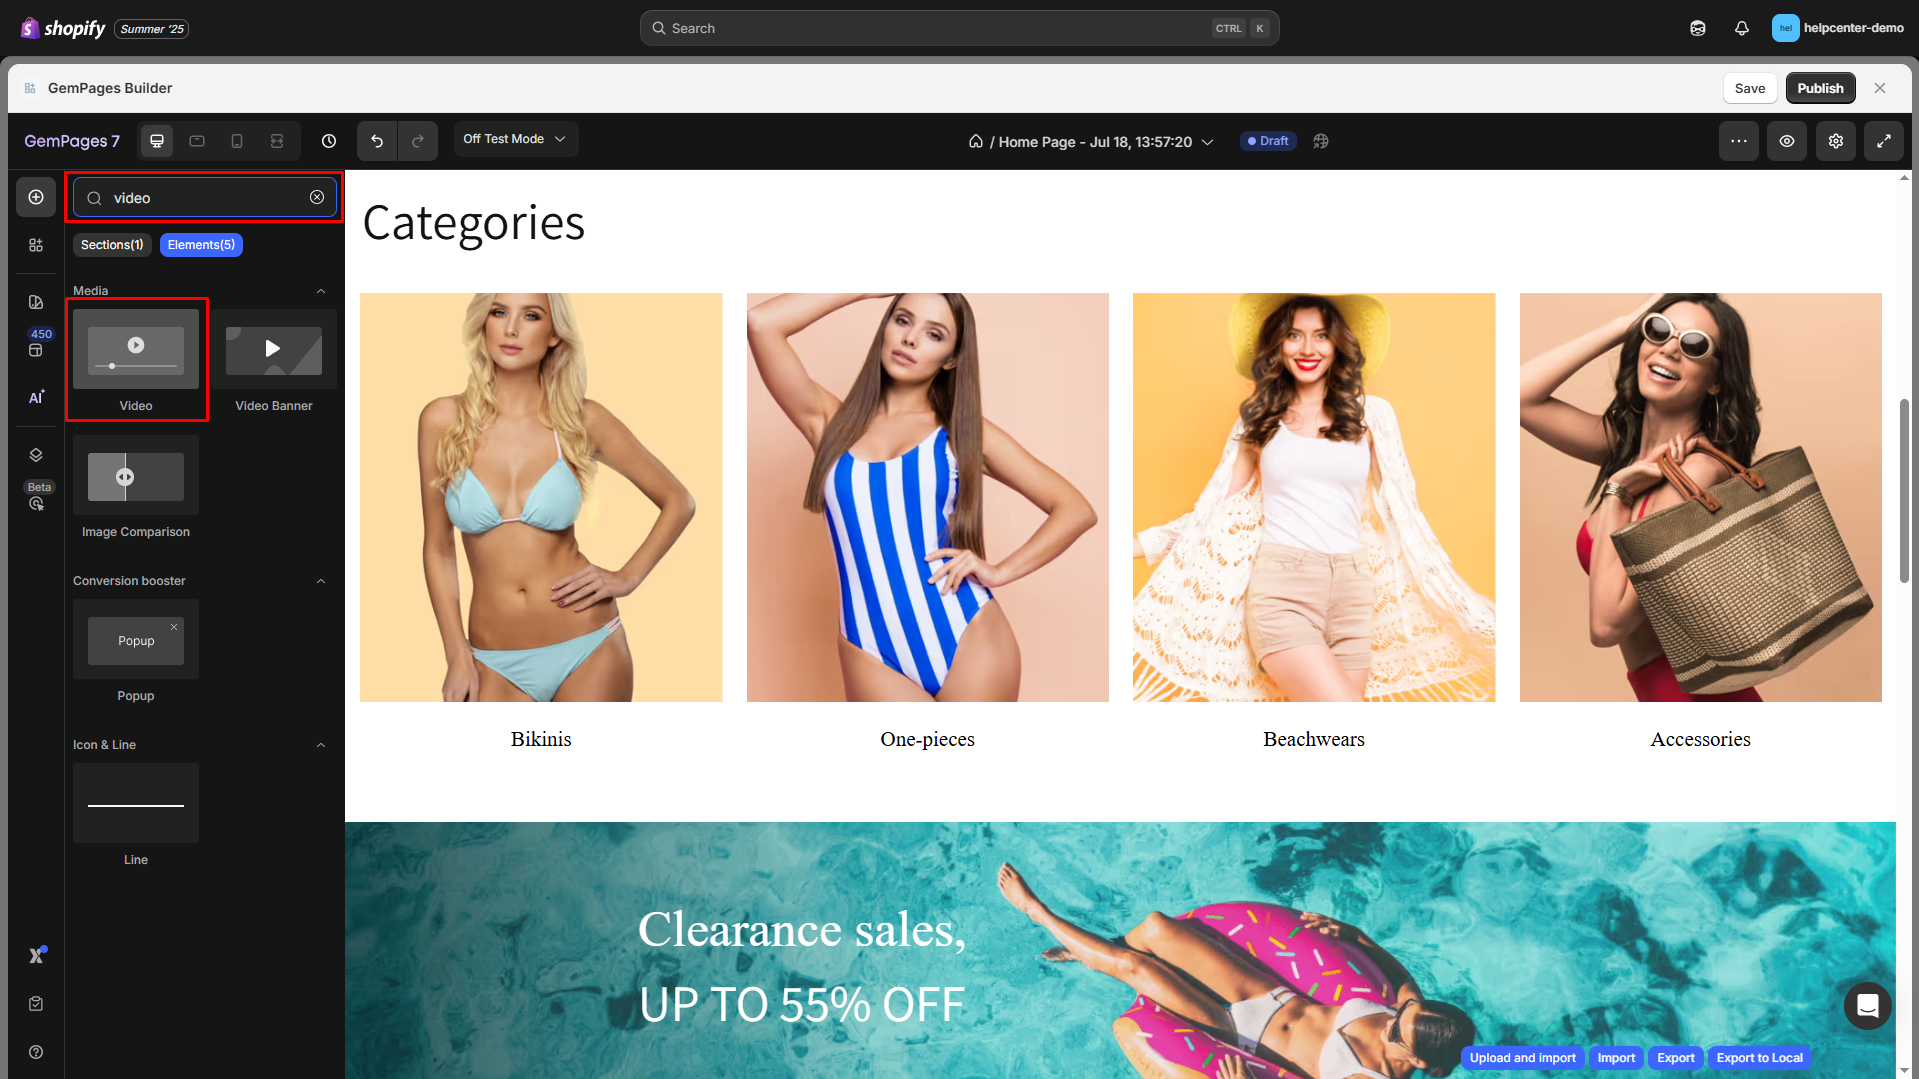
Step 2: Drag & drop the element to any position you prefer.
When you click on the Video element, its configuration options will appear on the left sidebar. These options will be explained in the upcoming sections.
Configure the Settings Tab
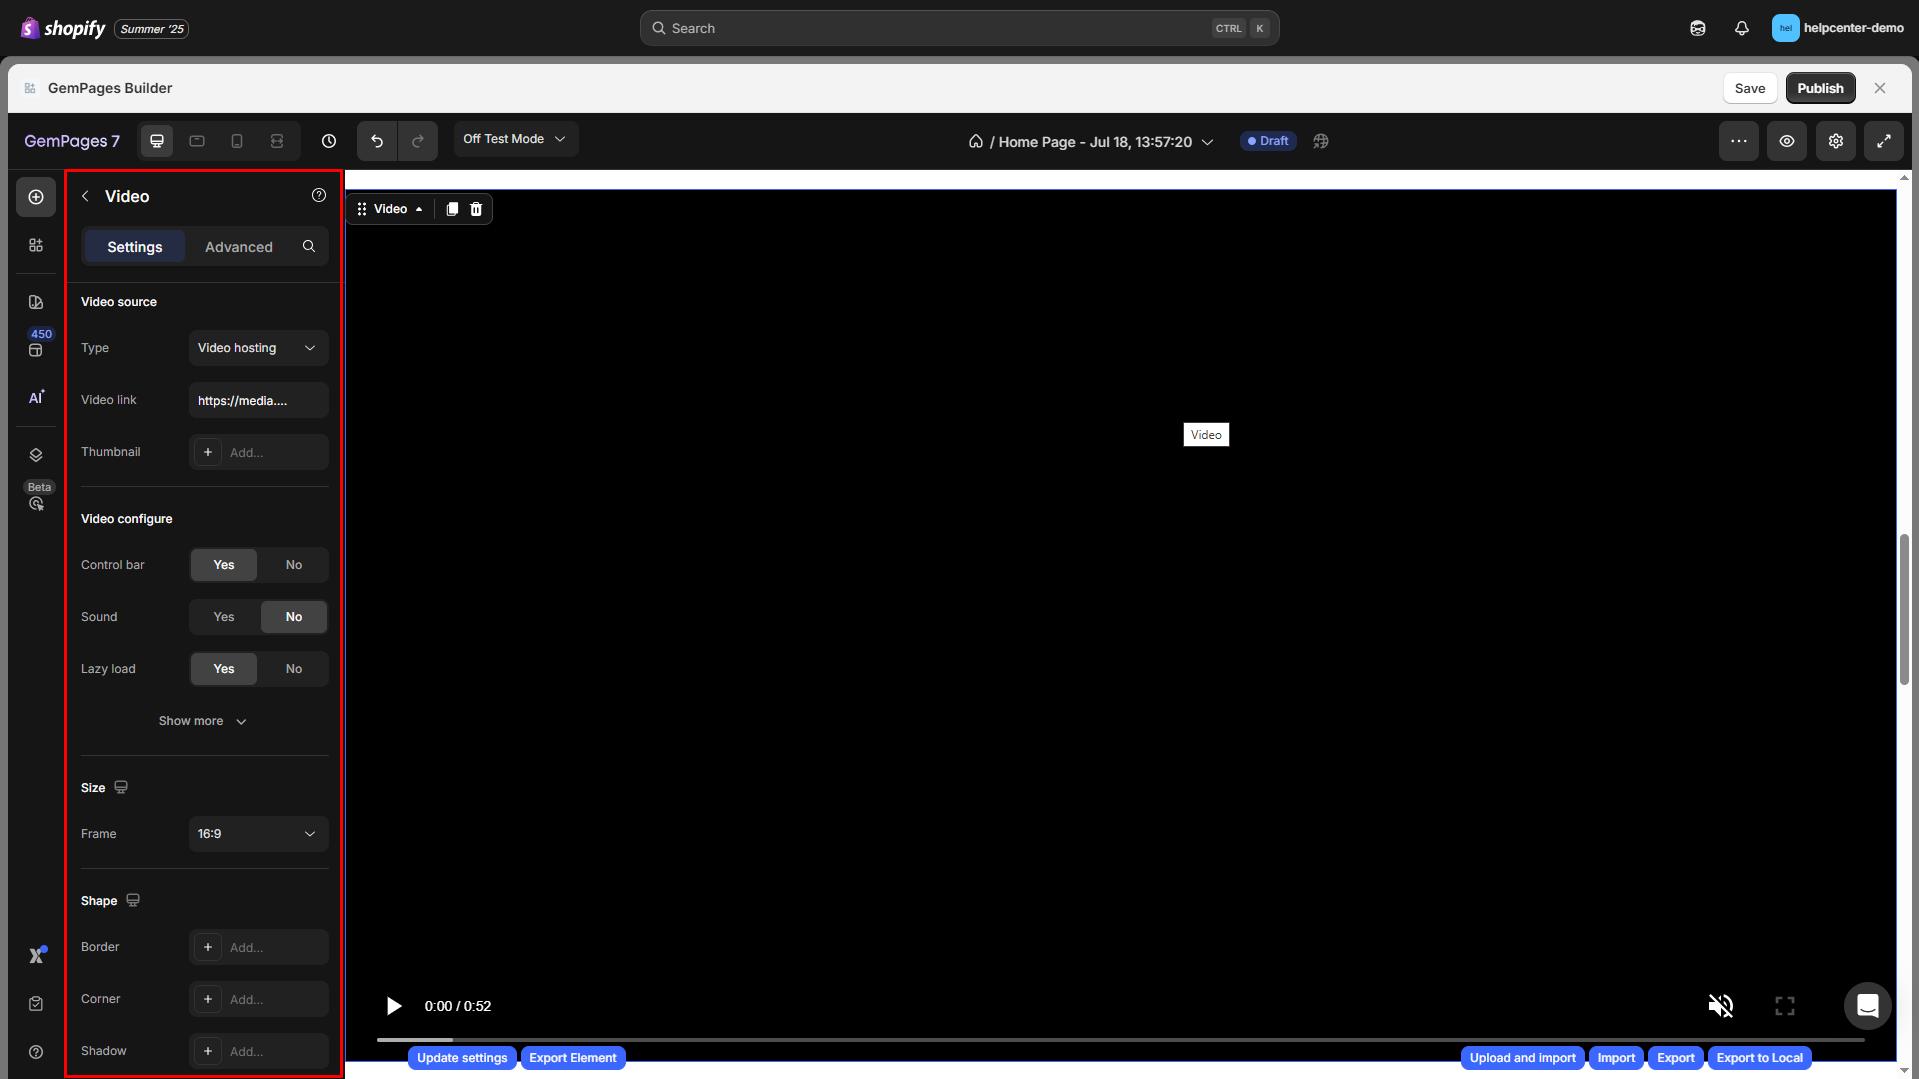
The Settings tab gives you full control over how your video displays and behaves on your page, including:
Video Source
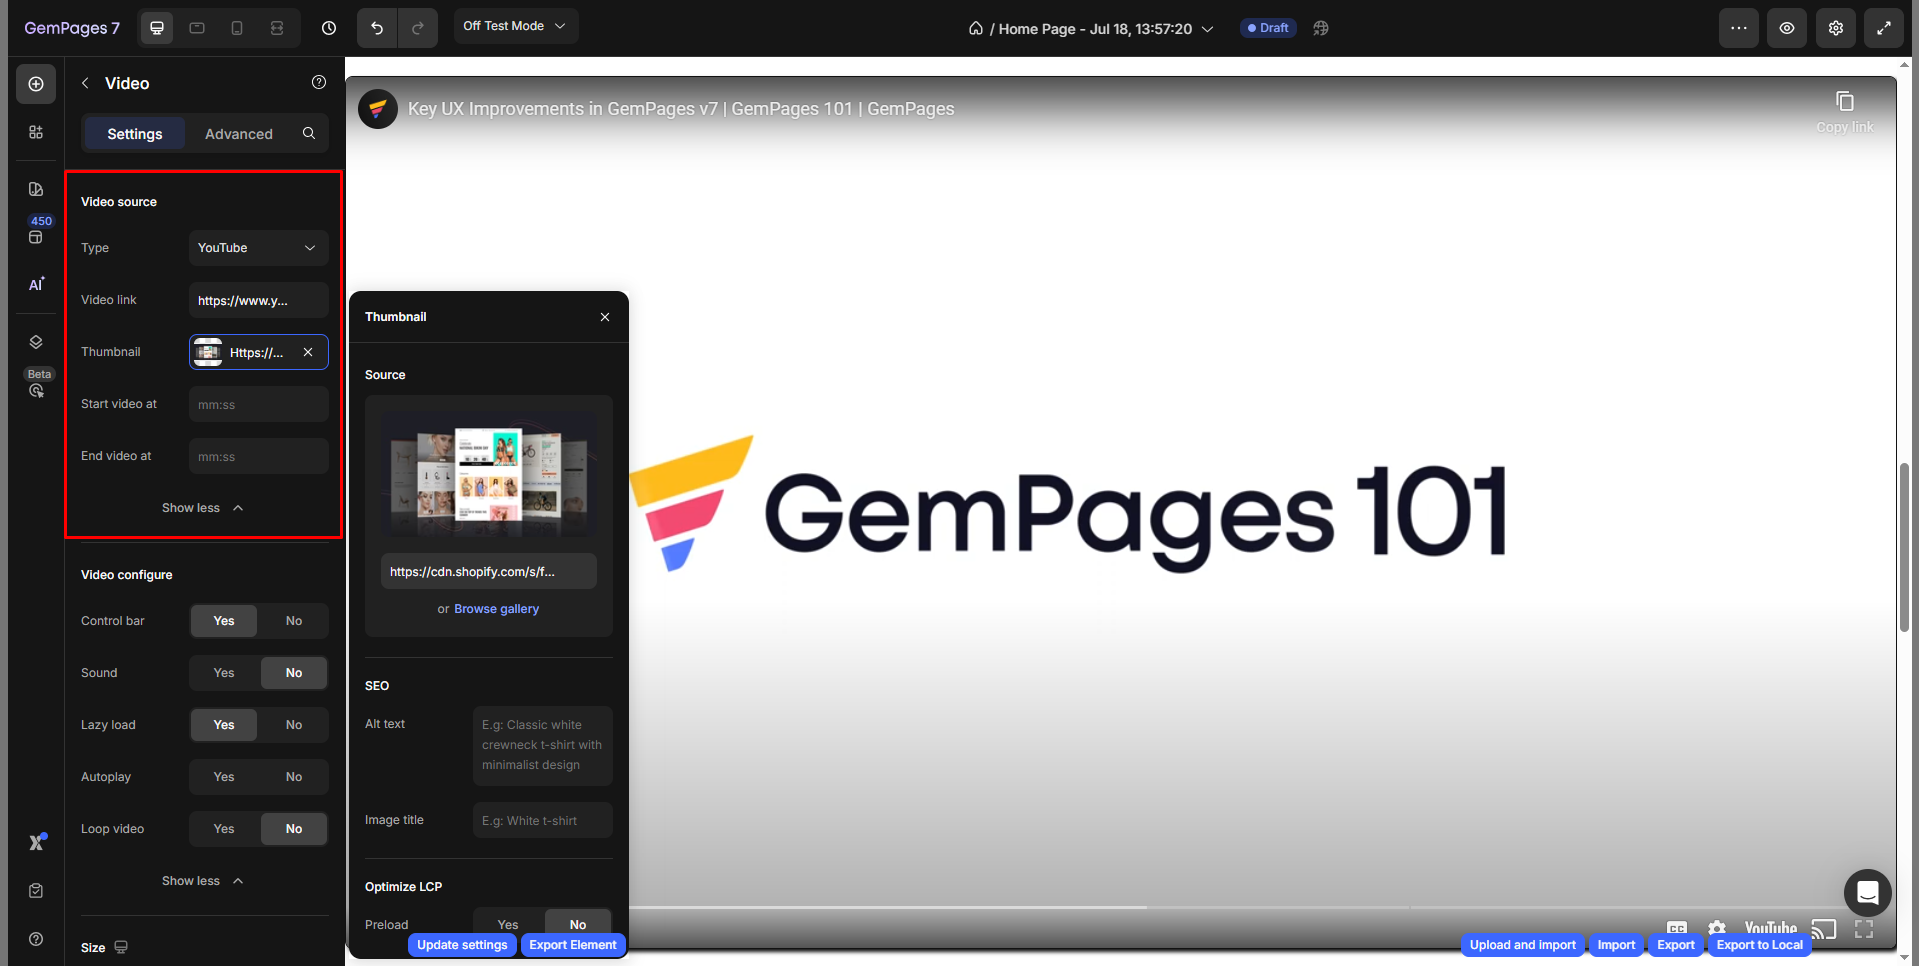
- Type: Choose your video platform: YouTube, Vimeo, or Video hosting (upload videos directly to Shopify or use external hosting links).
- Video link: Paste the video URL or hosting link.
- Thumbnail: Upload a custom preview image that displays before the video plays (especially useful when autoplay is disabled).
- Start video at: Choose the starting point for your video.
- End video at: Choose the ending point for your video.
Note:
- For the YouTube option, this element supports both YouTube Shorts and long YouTube videos, offering versatile content choices.
- For the Video hosting option, upload your video to Shopify and paste the video link into the web link box. Be sure to preview the result on the live page.
- When uploading your own videos via Shopify Files, we recommend using
.mp4or.movformats for the best compatibility. If you embed from YouTube or Vimeo, the format is managed by the platform itself.
Below is a step-by-step guide to uploading your own video to Shopify using Shopify CDN (Content Delivery Network) as the host.
Step 1: Go to Shopify Admin > Content > Files.
Step 2: Click on the “Upload files” button in the top right corner. If you haven’t uploaded any files here, the “Upload files” button will appear in the middle of the screen.
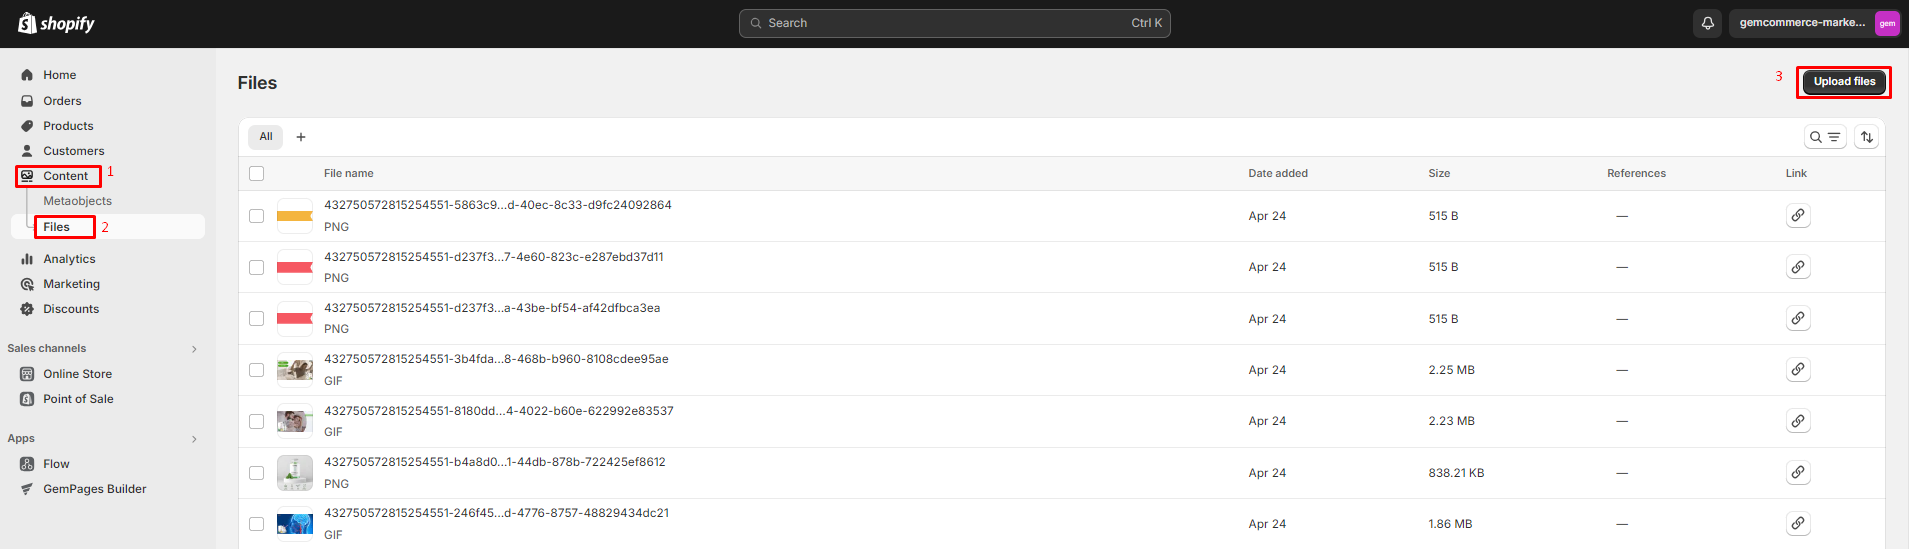
Step 3: Select the file to upload from your device.
Step 4: After finishing the upload, copy the URL by clicking on the chain icon.

Return to the GemPages Dashboard and paste the copied link into the Weblink box.
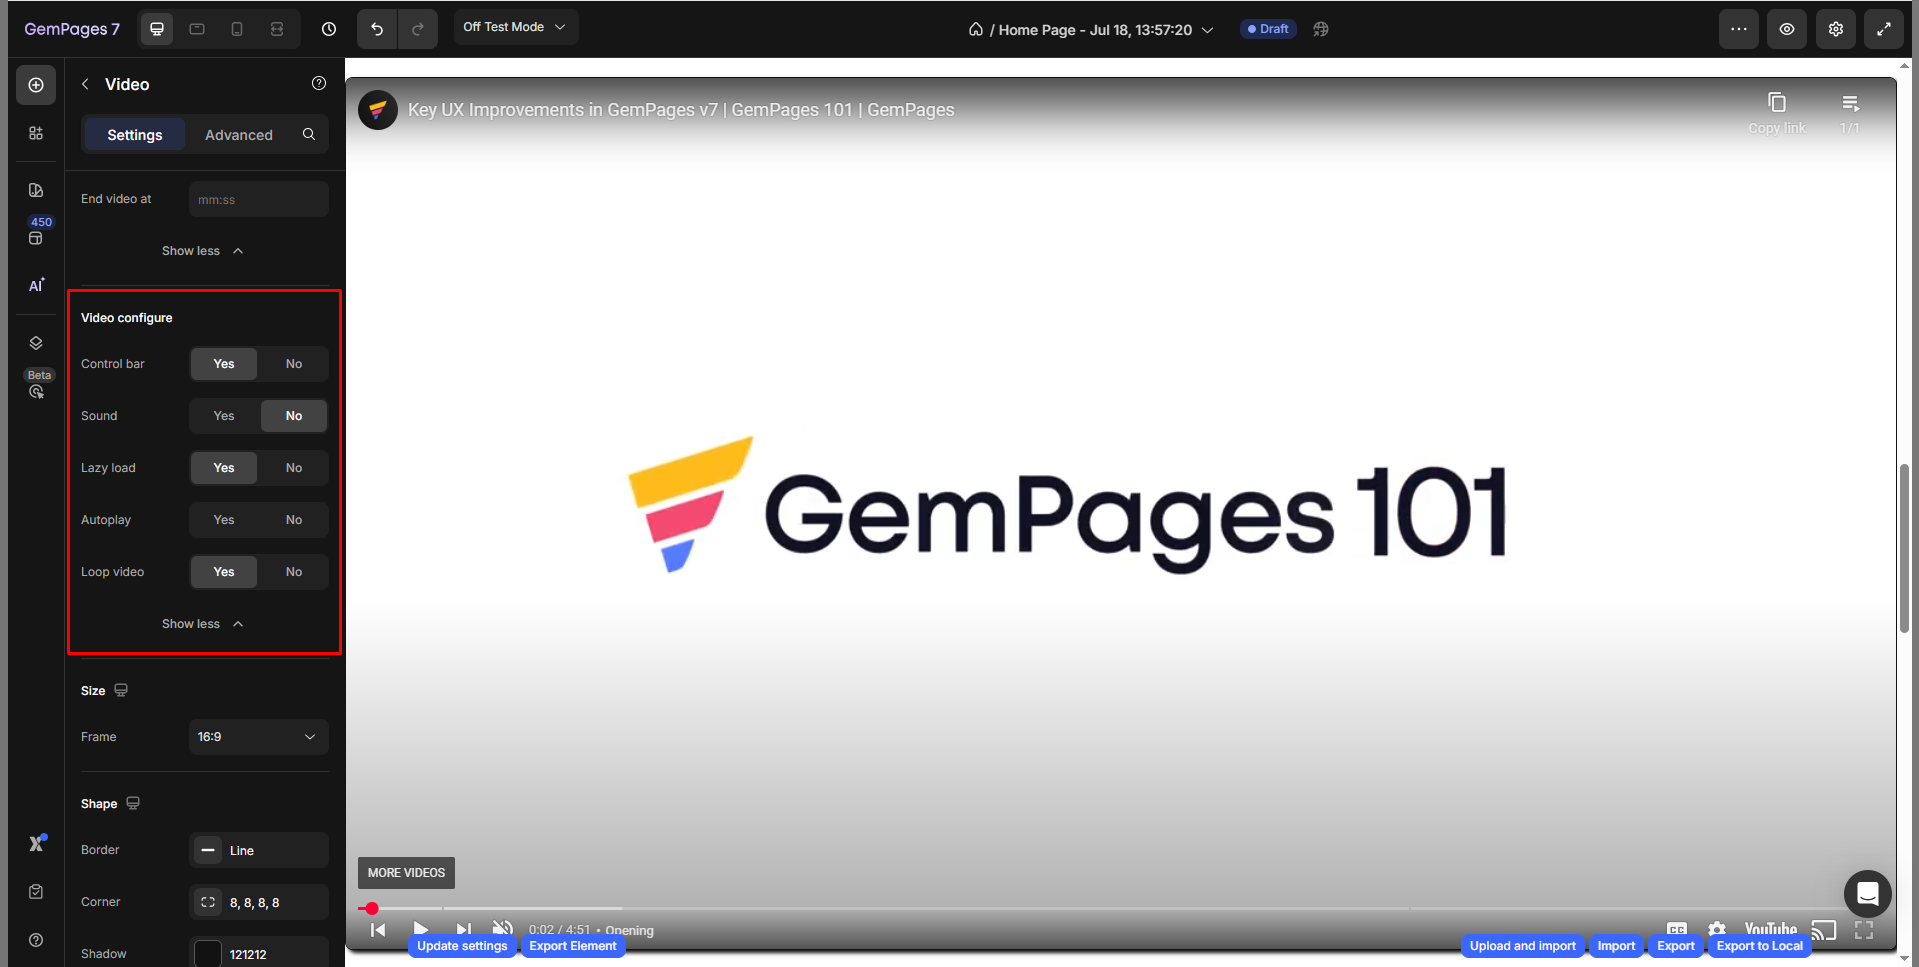
Video Configure
Control how your video behaves when loaded on the page:
- Control bar: Enable or disable the video player’s controls (play, pause, progress bar, etc.).
- Sound: Turn sound on/off by default.
- Lazy load: Load the video only when it’s in the viewport to improve page speed.
- Autoplay: Automatically play the video when the page loads.
- Loop video: Repeat the video in a continuous loop.
Note:
- YouTube videos will not autoplay when lazy load is enabled.
- Please be aware that certain browsers have implemented restrictions on autoplay. In such cases, your video will return to the thumbnail image, requiring viewers to manually click play to initiate playback.
- Enabling the sound of your video might also result in autoplay being disabled.
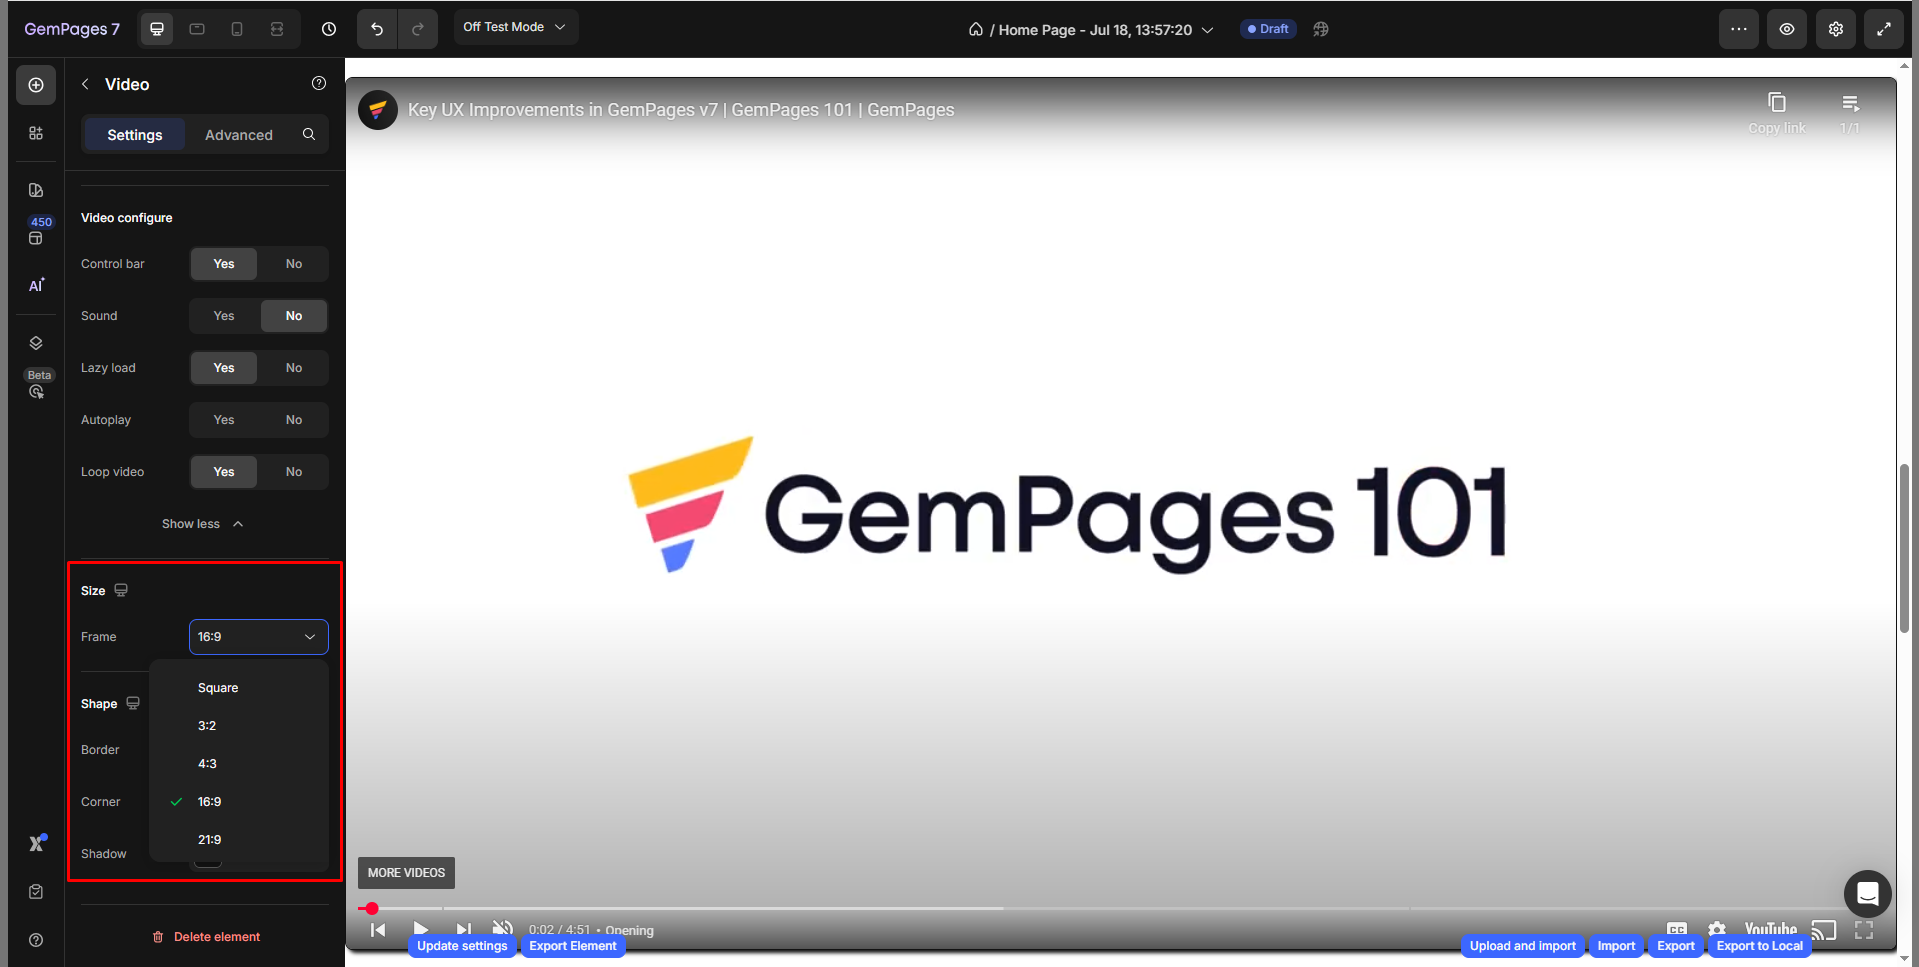
Size
Frame: Select your video aspect ratio, including square, 3:2, 4:3, 16:9, and 21:9.
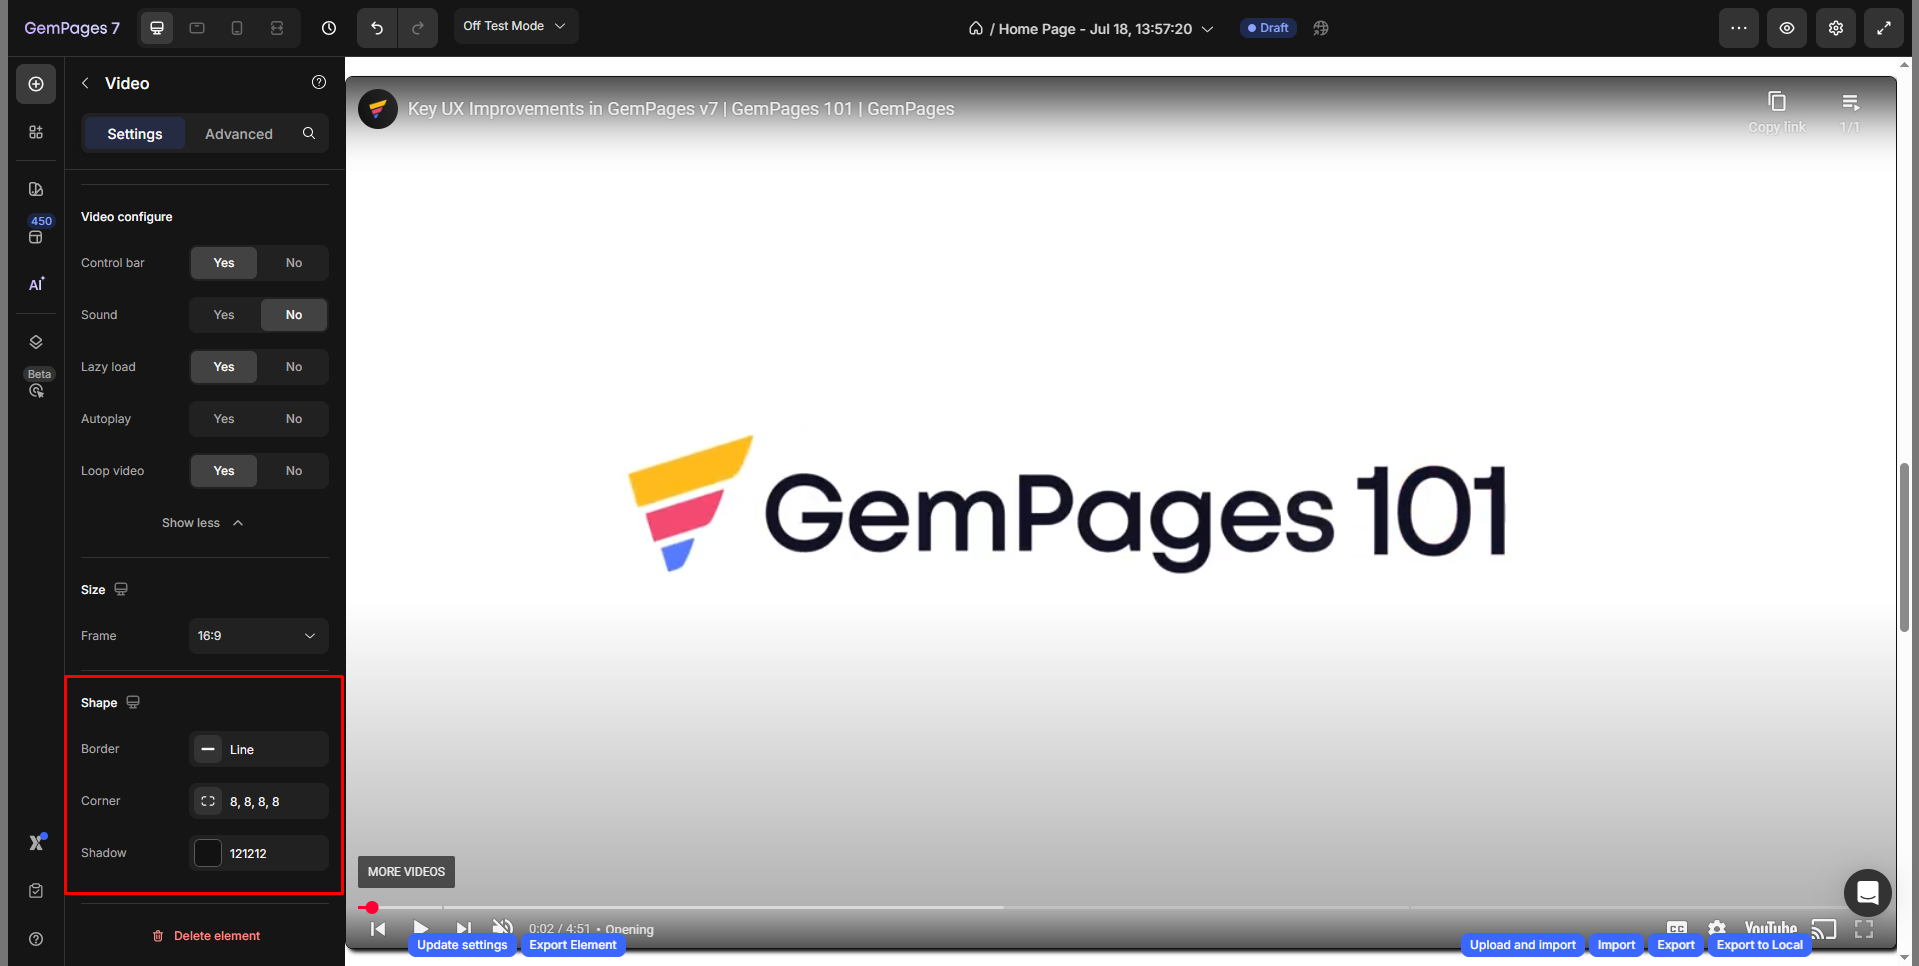
Shape
Style your video frame using these options:
- Border: Add a border around your video. Set color, thickness, and stroke style (solid, dashed, dotted).
- Corner: Round the edges of your video frame by adjusting the radius. You can modify all corners at once or individually.
- Shadow: Add a shadow effect for depth or focus. Configure:
- Type: Inner, outer, centered, directional
- Direction: Set the angle of shadow (e.g., 45°)
- Color, Distance, Blur, and Size
Configure the Advanced Tab
For more advanced customization, please navigate to the Advanced tab and follow the instructions in this article.
FAQs about Video Element
How to Add a Vturb Video in GemPages
You can embed a Vturb video in GemPages using the Custom Code element.
Step 1: Get your Vturb embed code
- Go to your Vturb dashboard
- Select the video you want to use
- Click Embed / Share
- Copy the full embed code
Step 2: Add Custom Code element in GemPages
- Open your page in GemPages Editor
- Drag the Custom Code element into your layout
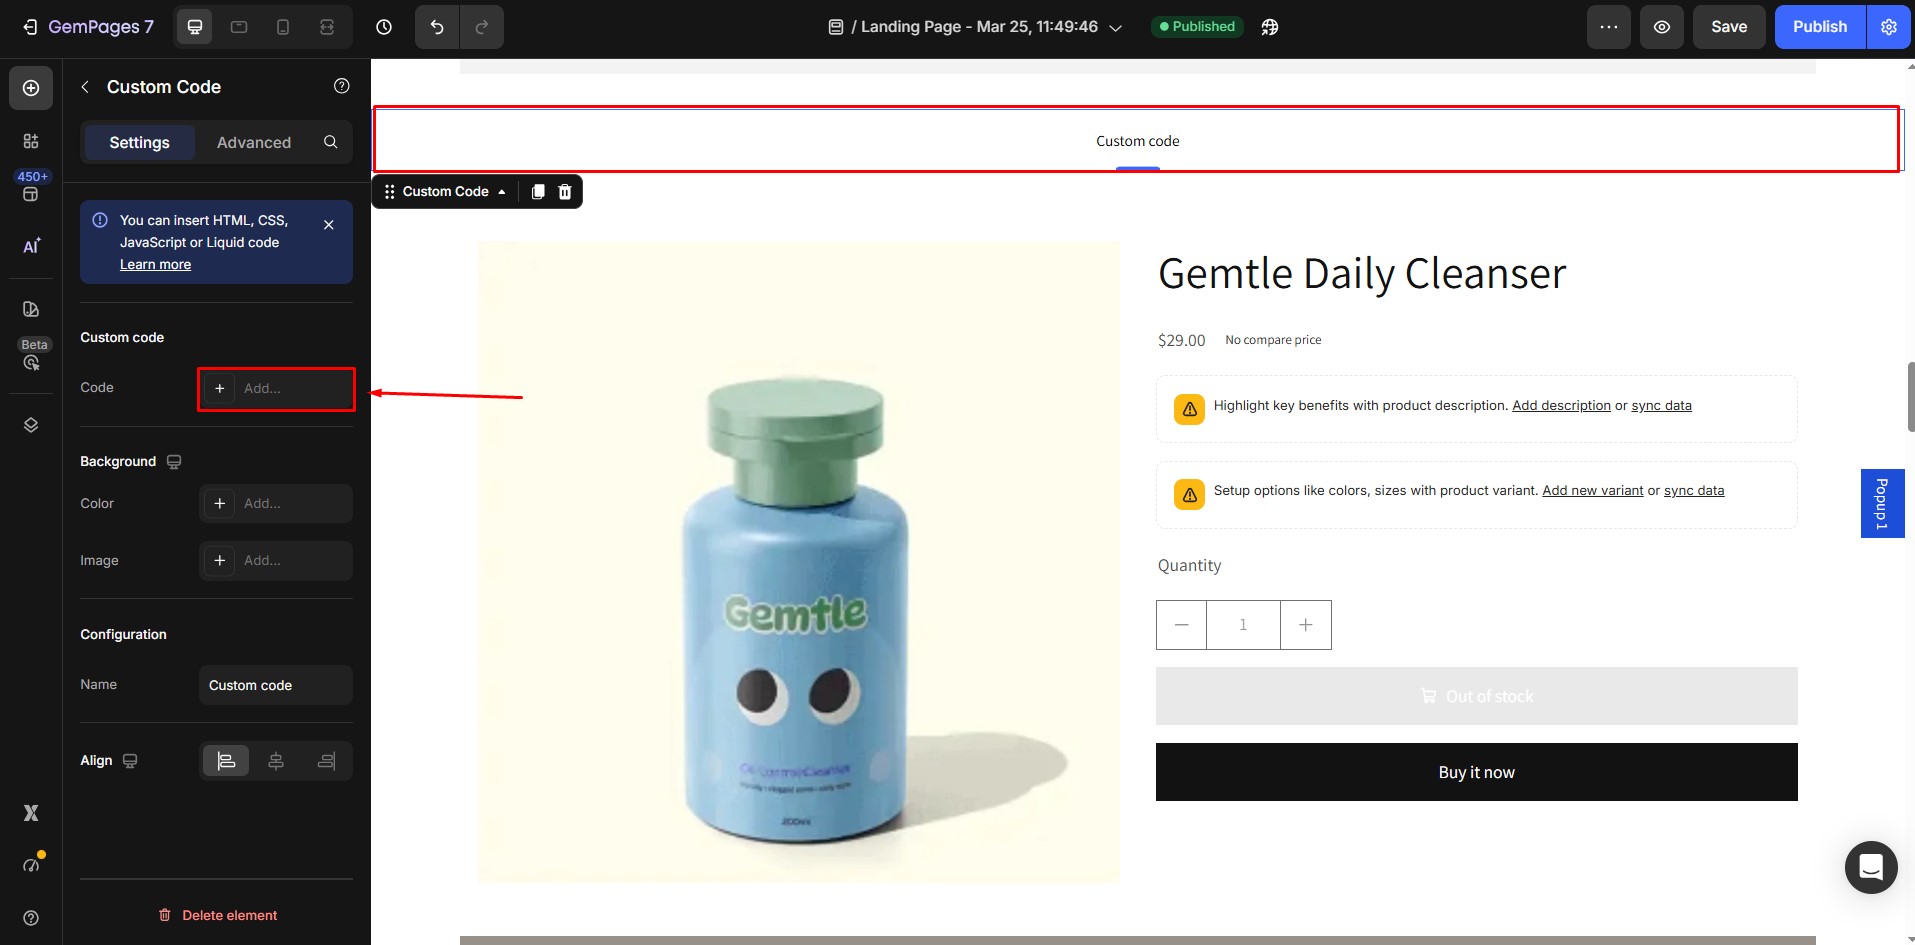
- Select the HTML/Liquid tab
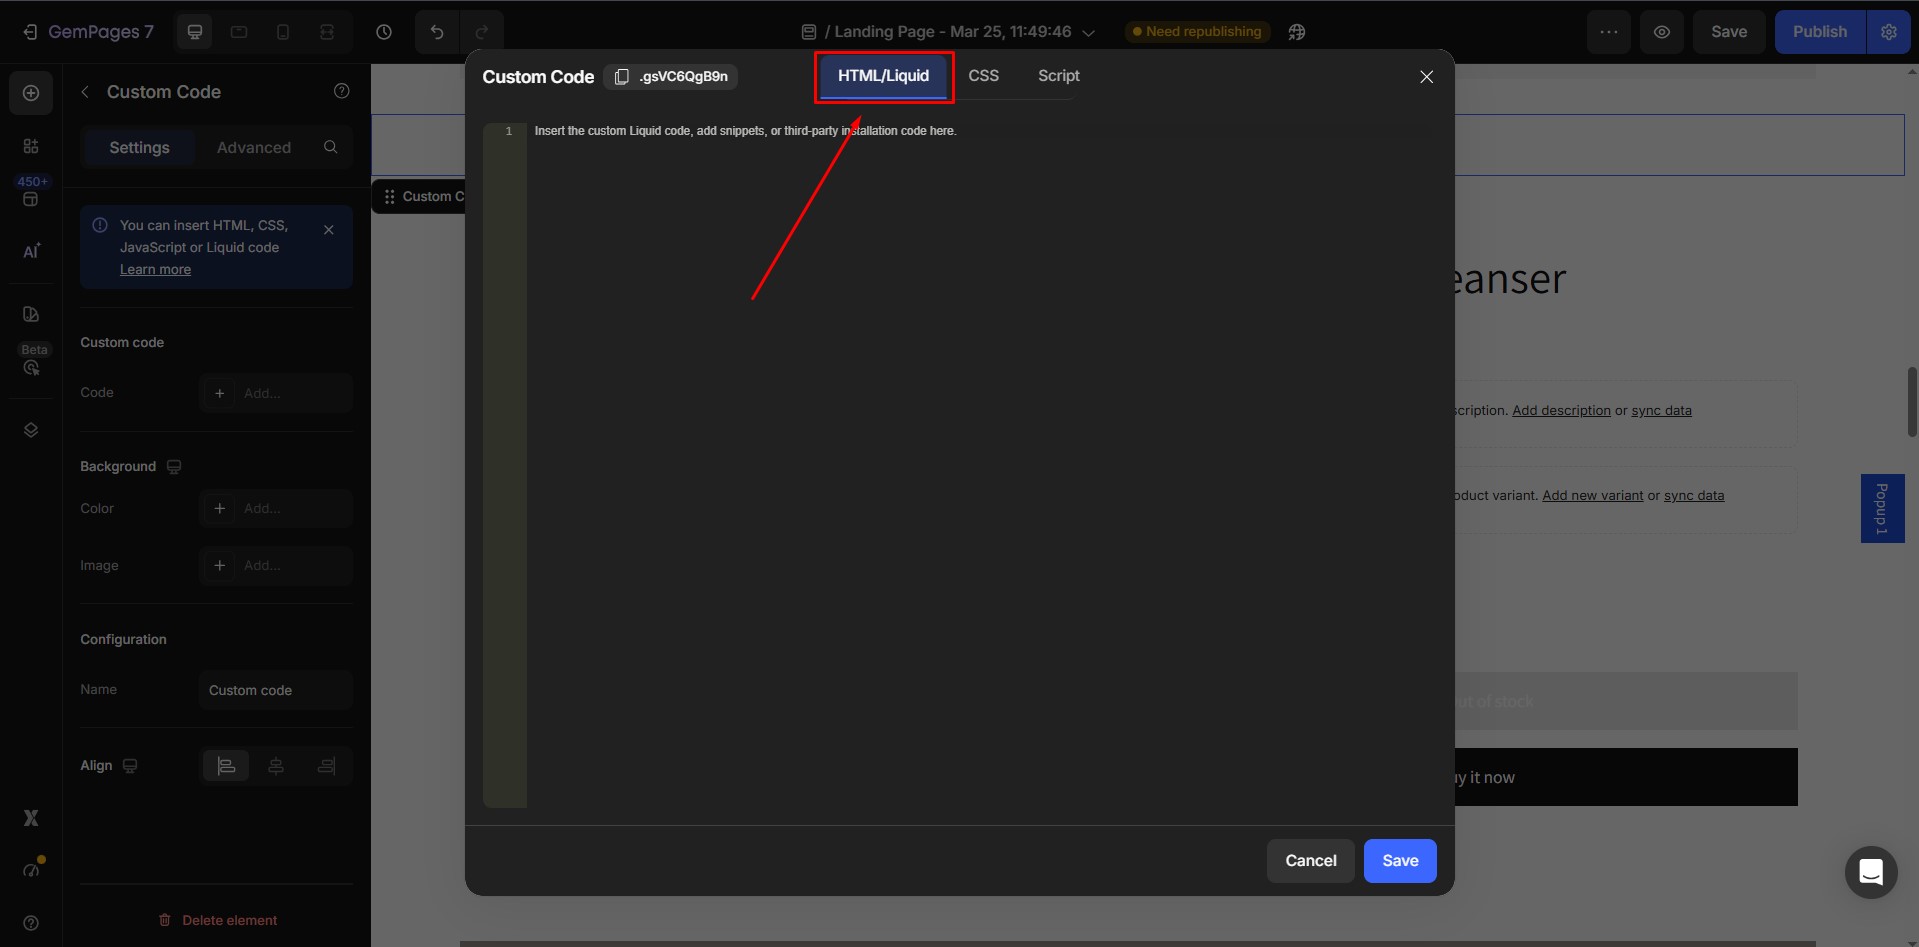 Step 3: Paste the embed code
- Paste the full Vturb embed code into the HTML/Liquid field
- Click Save and then Publish
Important Notes:
- Always use the embed code generated from your Vturb account
- Do not reuse or modify another video’s ID
- Make sure the video is published and active in Vturb


Thank you for your comments