


About the Discount Tag element
The Discount Tag is a child element of the Product Module in GemPages. Its main function is to display the discount applied to a product, either in percentage (%) or amount (e.g. $10 off). This is especially useful for stores running sales, limited-time offers, or displaying price drops visually.
Typical use cases:
- Show % off next to the sale price
- Highlight savings in product lists
- Display discount info on landing pages or collection pages

How to add the Discount Tag element to your page?
Since it’s part of the Product Module, the Discount Tag must be placed within the module to function correctly.
Recommended setup: Display with Product Price & Compared Price
Follow these steps to add a Discount Tag element to your page using GemPages Editor v7.
Step 1: In the GemPages Dashboard, select your page to work on and enter the Editor. If you don’t have a Product Module, drag & drop one onto your page.
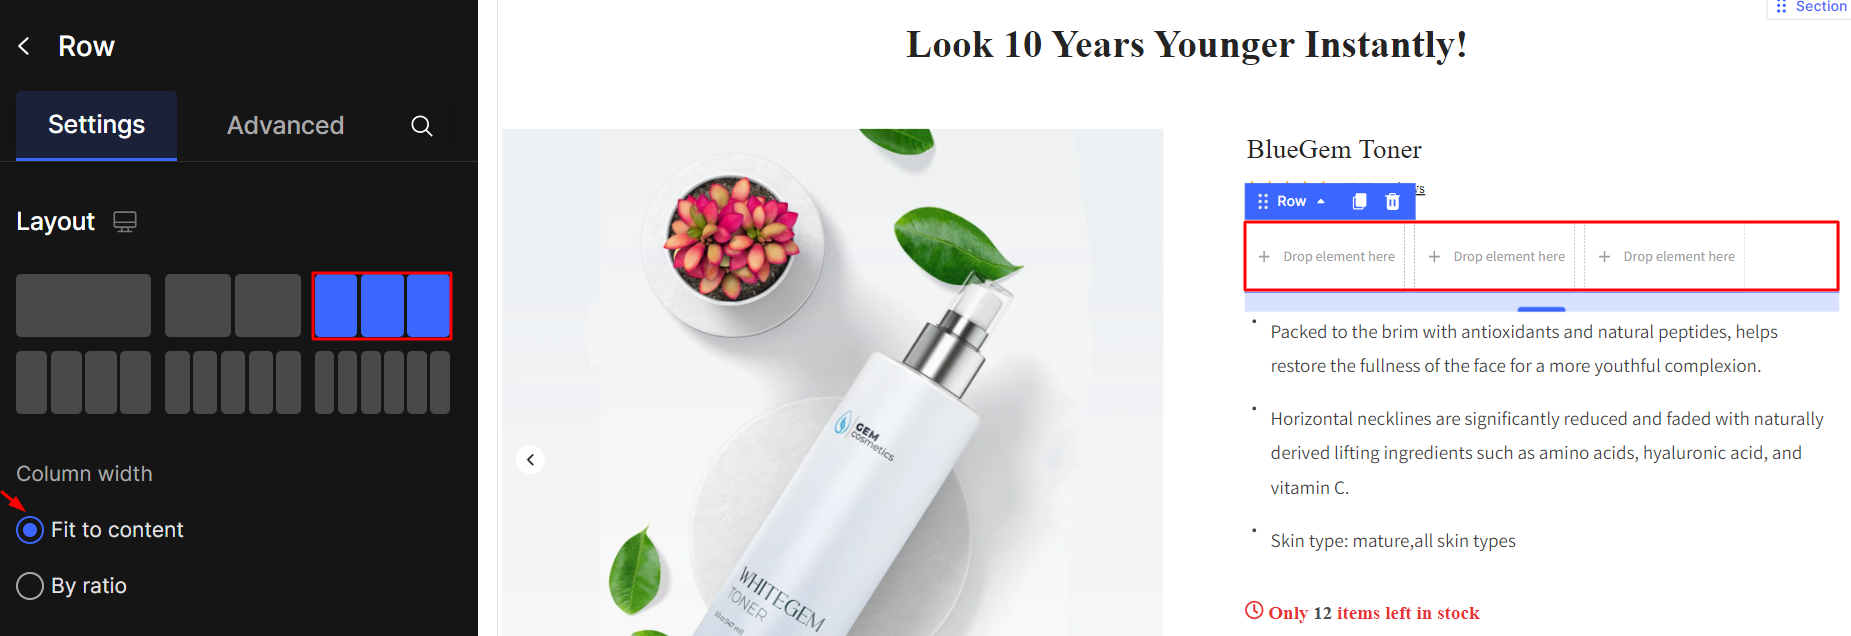
Step 2: Place a Row element in your desired location and divide it into three columns. Under Column Width, select “Fit to Content.”
Step 3: Place the Product Price in the first column, followed by the Compared Price in the second column. The Discount Tag should be placed in the last column.
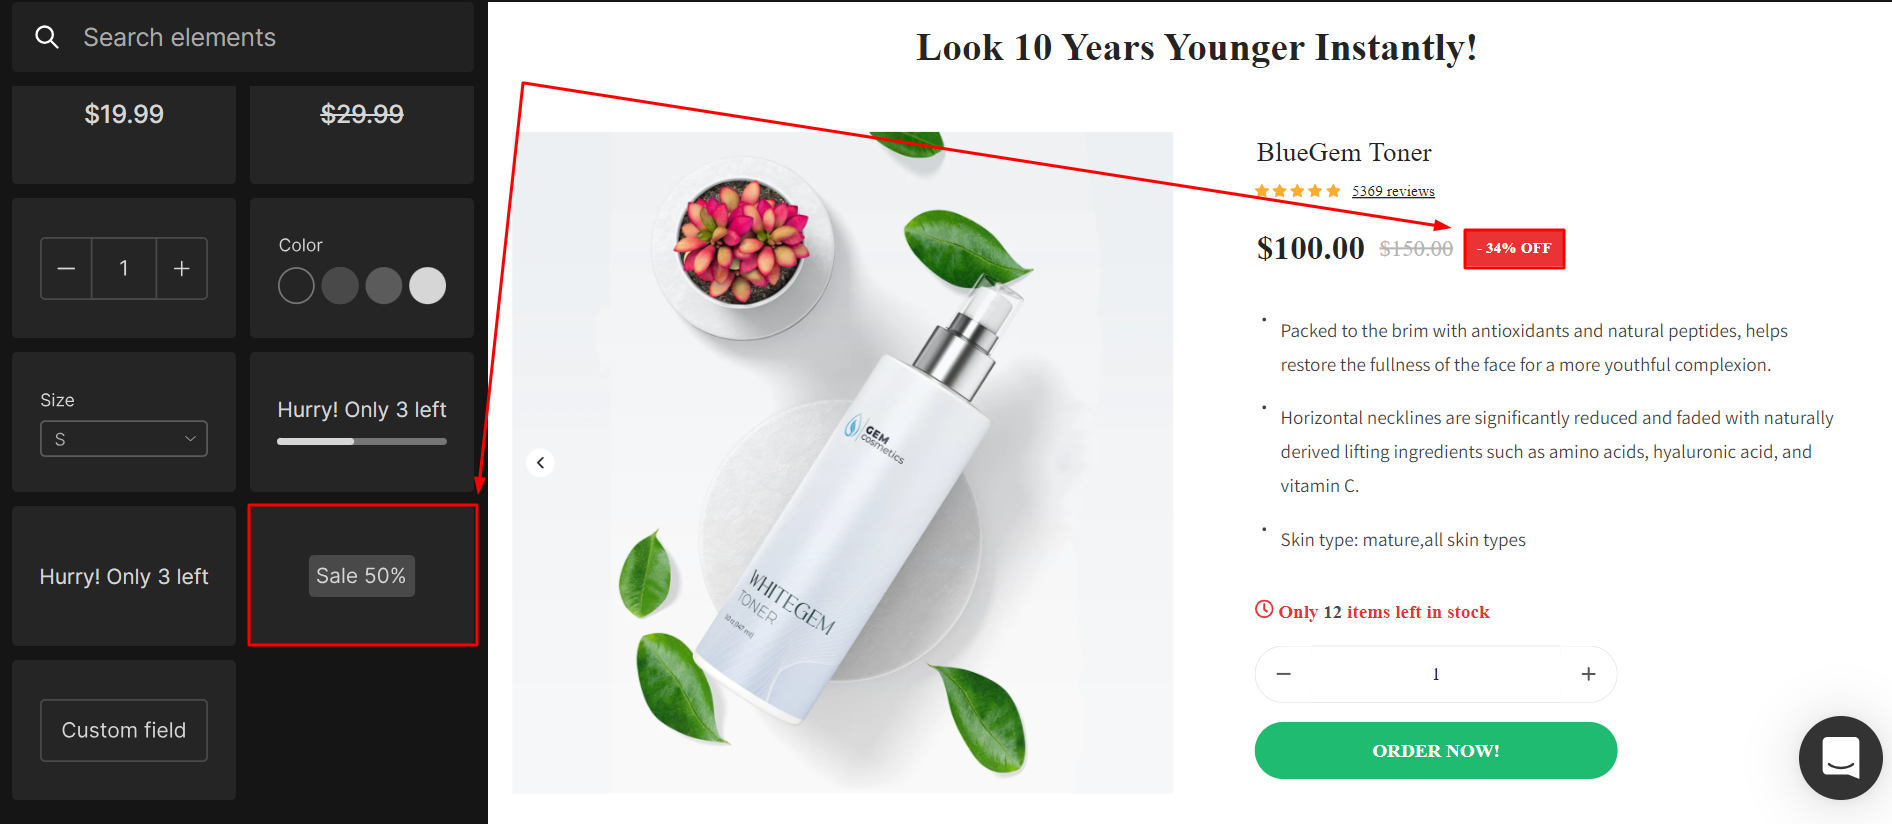
Please note that you can also position the Discount Tag within the Product List to display discounts for each product in the collection.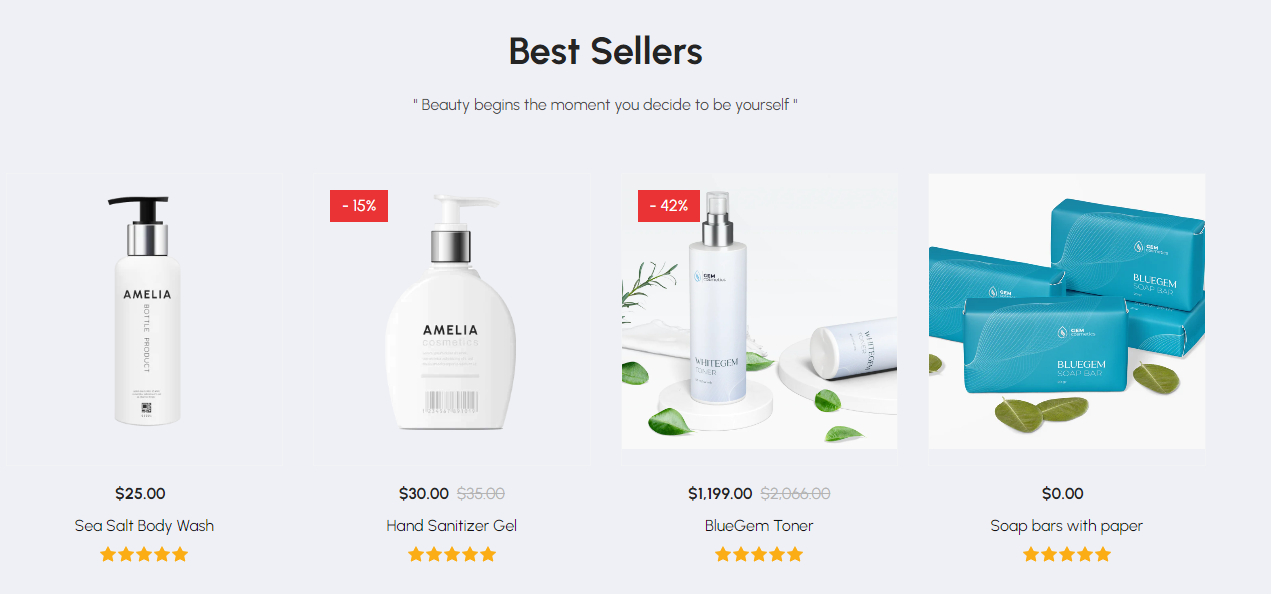
Clicking on the Discount Tag element, you will notice the settings configuration displayed on the left sidebar. It consists of two primary tabs: Settings and Advanced.
Configure the Settings Tab
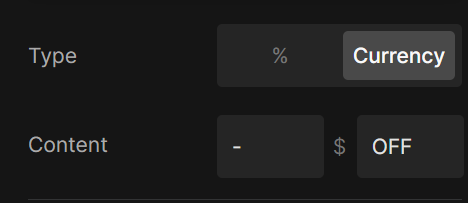
Type – Content
You have the choice to display either the saved amount or the percentage for your product. In the Content section, enter the tag you wish to showcase.
Keep in mind that the currency will mirror your Shopify Admin. If you wish to modify the format, you can do so by going to Shopify Admin > Settings.
Text
Style: Select a style for the text from the available pre-determined styles.
Font: Choose the font for your text label from the drop-down menu. In case, you would like to use other fonts, check out how to use a custom font here.
Sizes: Determine your preferred font size.
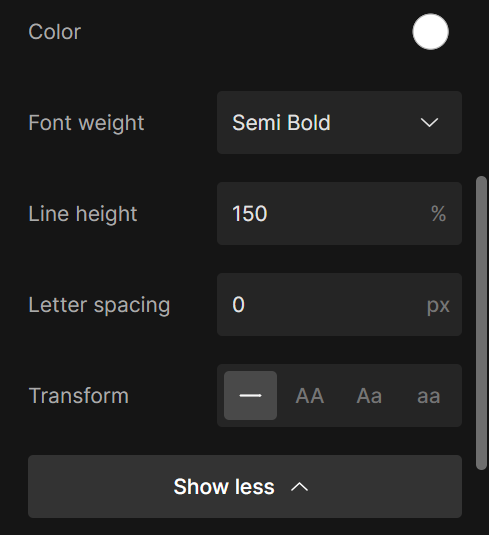
Color: Choose a color from the palette or input the color hex code.

Click on the “Show more” button to reveal more customization options.
Font Weight: Choose your desired font weight from the provided drop-down menu.
Line Height: Adjust the height of the text by specifying a percentage value.
Letter Spacing: Modify the spacing between letters by inputting a value in pixels.
Text transform: Transform the text to uppercase, lowercase, or capitalize as desired.
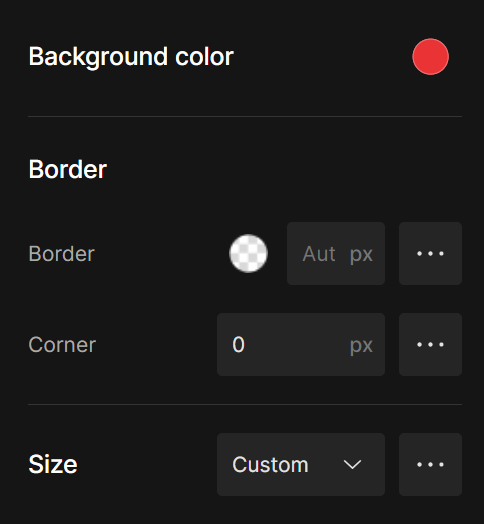
Background color
Choose a color from the palette or input the hex color code for the background color of the discount tag.
Border
Border: Define the appearance of your tag’s border by selecting the border color, style, and position.
Corner: Enter your preferred value in the provided box to attain the desired border curvature.
Size
Choose a size from the dropdown or customize your tag size by clicking on the three-dot button.
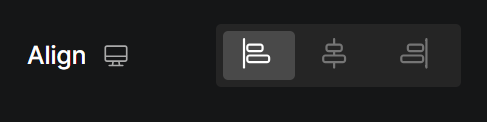
Align
This parameter allows you to determine how the element is positioned on your page. There are three options to choose from: left-aligned, centered, and right-aligned.
Configure the Advanced Tab
For more advanced customization, please navigate to the Advanced tab and follow the instructions in this article.
FAQs
1. Why is the discount tag not showing?
Make sure:
- The Discount Tag is placed inside a Product Module
- The product has both a Price and a Compared Price set in Shopify. If no comparable price is defined, the discount cannot be calculated.
2. Can I use the discount tag on the product list?
Yes, you can drag the Discount Tag into the Product List element to show discounts across collections or landing pages.
3. Can I change the format of the discount display (e.g., show “Save $10” instead of “-10%”)?
Yes. In the “Type” setting, choose between Amount or Percentage, and customize the text accordingly.
4. The discount is showing 0%, what should I do?
Double-check your Shopify product setup:
- The compared price must be higher than the price.
- Both fields must be filled for the discount to calculate correctly.
5. Can I style the tag differently for mobile view?
Yes, by using GemPages’ responsive settings, you can adjust size, alignment, or visibility per device.


Thank you for your comments