


Shopify by default offers a limited filtering system, supported only by tags and a simple search function. This creates difficulties for merchants to organize their stores, and for shoppers to find the product they want as well.
About Boost AI Search & Filter
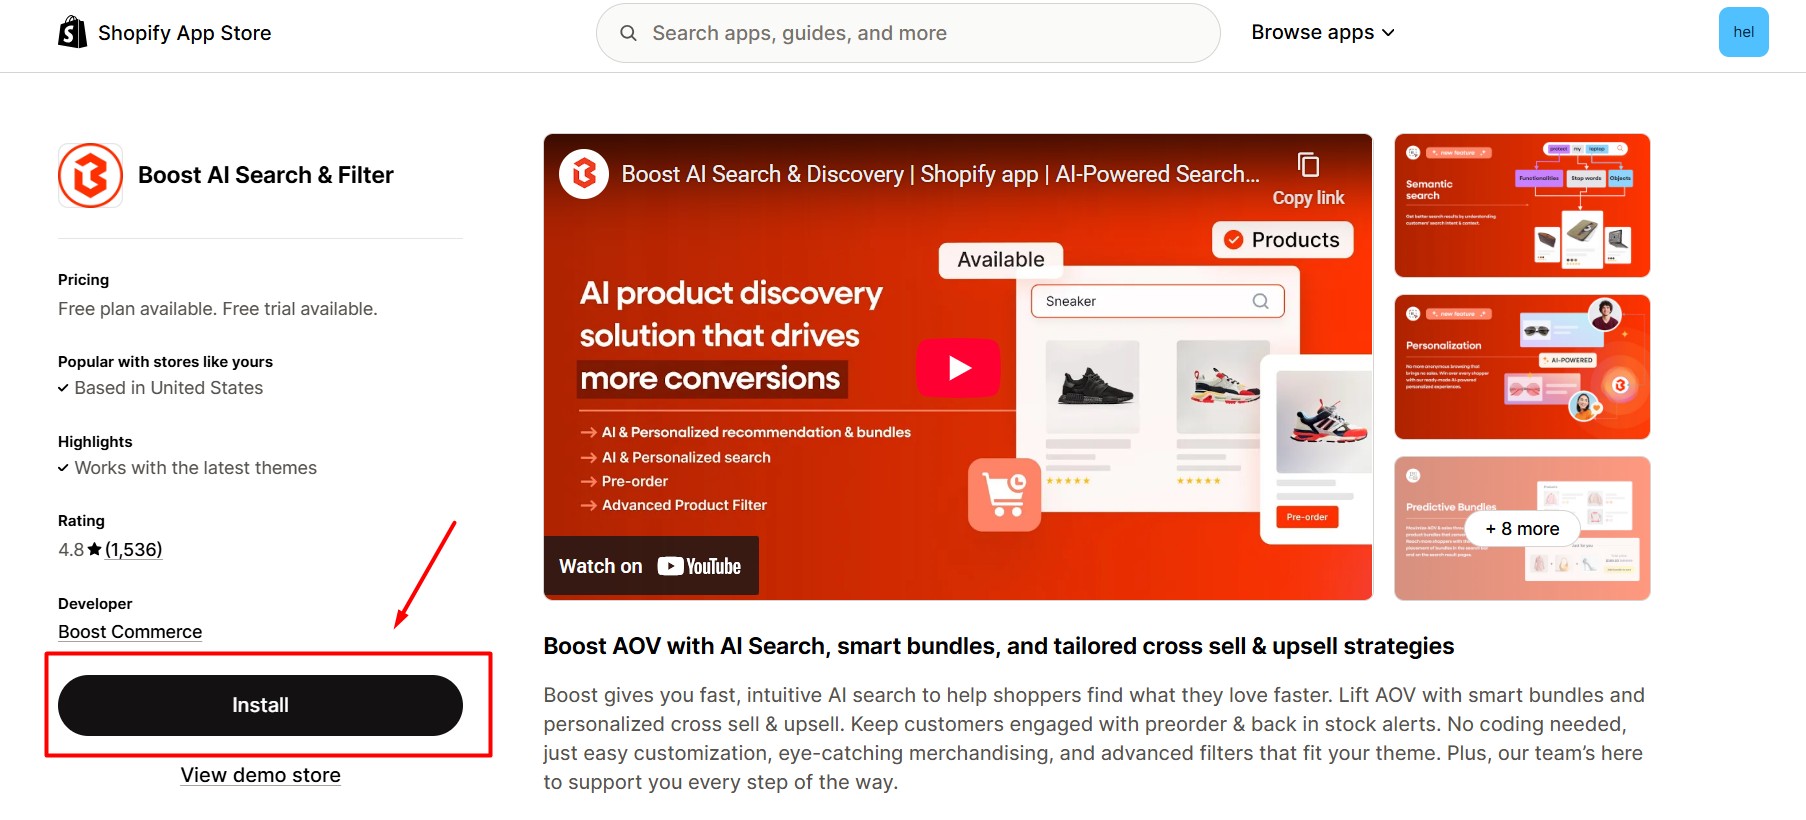
Boost AI Search & Filter helps Shopify merchants enhance product discovery and increase sales with intelligent search, personalized recommendations, and dynamic merchandising tools. The app makes it easy to deliver faster, more accurate results and improve the shopping experience — all without coding.
Key Features of Boost AI Search & Filter
- AI-powered Search: Provide fast, precise results that reflect real shopper intent.
- AI Recommendations: Drive upsell and cross-sell opportunities across home, product, and cart pages.
- Visual Merchandising: Pin, promote, demote, or hide products to highlight bestsellers.
- Advanced Product Filters: Create filters based on tags, metafields, variants, and more.
- AI Bundles & Personalization: Automatically generate smart product bundles tailored to each shopper’s browsing behavior.
How to Install and Set Up Boost AI Search &
Step 1: Install the Boost AI Search & Filter app from the Shopify App Store.
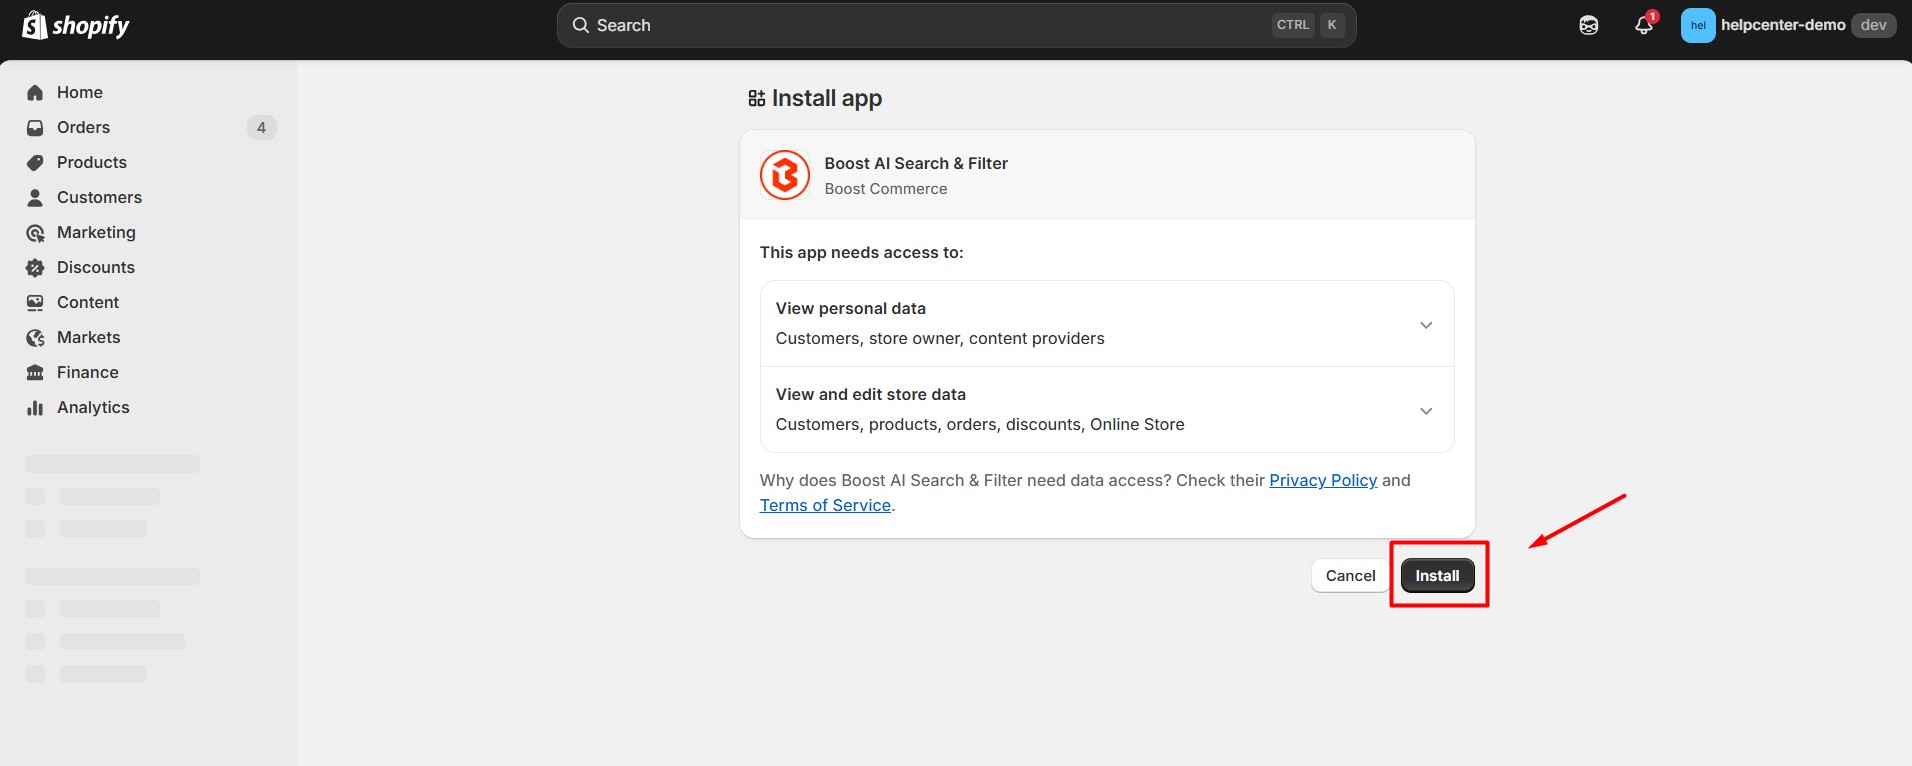
Step 2: Click “Install” after reviewing the permissions.
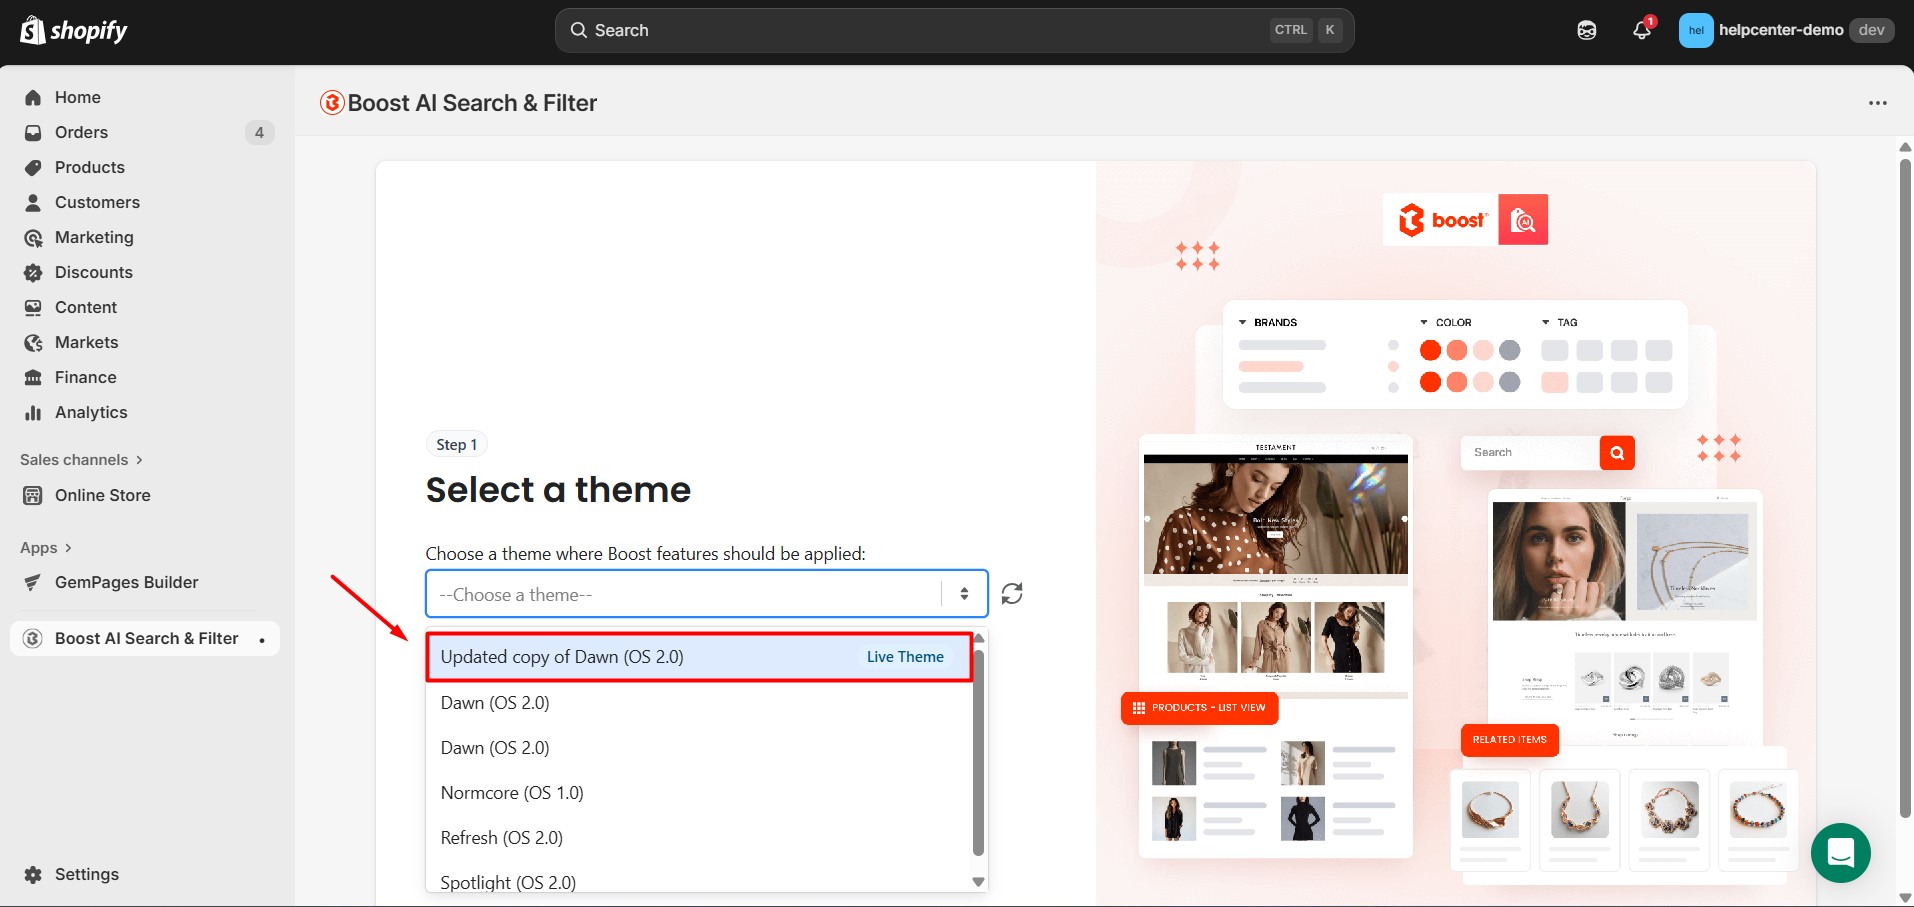
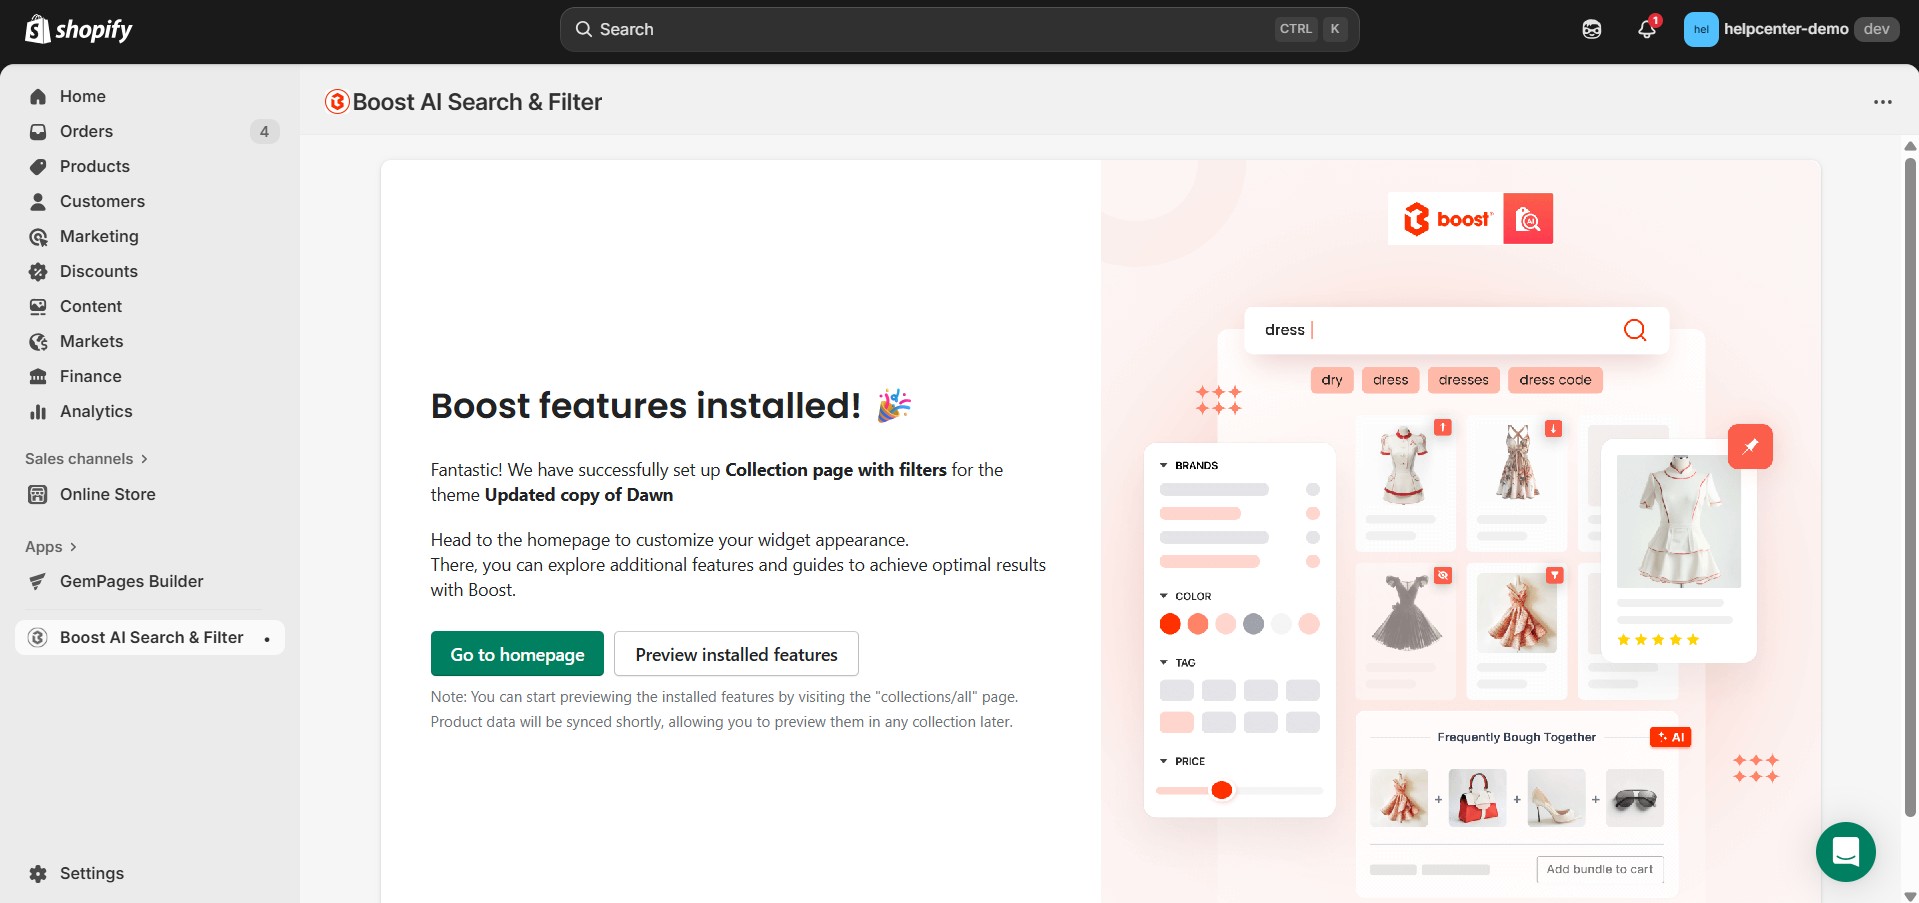
Step 3: Once installed, you’ll be redirected to the Boost AI Search & Filter dashboard. From here, select the Shopify theme where you’d like Boost features to appear.
Step 4: Select the Boost features you want to activate. For example, to apply smart filters to your Collection pages, choose Collection Page with Filters, then click Install.
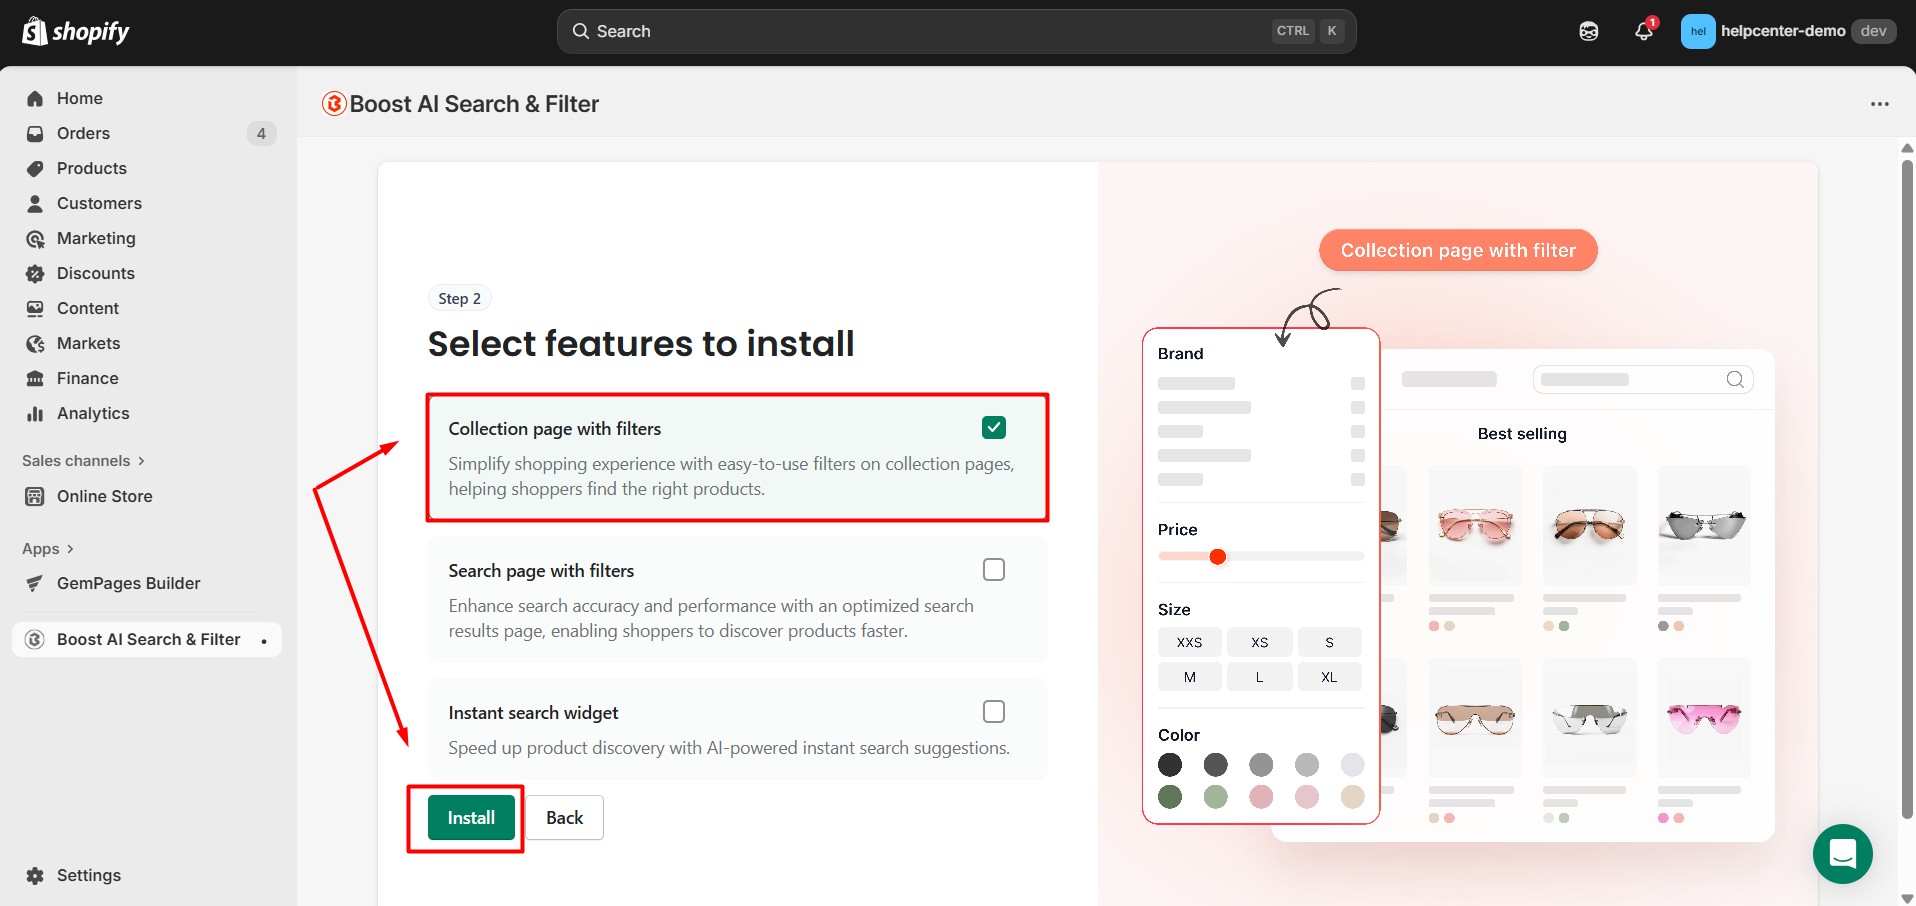
This process may take a few minutes to complete.
If you encounter any issues during setup, refer to the Boost documentation or contact their support team for detailed assistance.
How to Add Boost AI Search & Filter to GemPages
Step 1: From your GemPages dashboard, select the preferred template and enter the Editor.
Step 2: Look for the Boost AI Search & Filter element on the left sidebar. Next, drag and drop the element to your chosen position.

Step 3: When everything is in place, click Save and Publish.


Thank you for your comments