


Whether you’re working on landing pages, blog posts, or Shopify-integrated pages, this guide will walk you through the full functionality of Publish Settings in both Editor v6 and Editor v7.
What is Publish Setting?
Publish Settings is where you manage important details about your page, like the title that shows up in Google search results, how your page looks when shared on social media, and whether to show or hide the header and footer.
Think of it as your page’s control center. And as GemPages grows, this panel will continue to get new features. We’ll keep updating this guide as those features are released.
How to Access Publish Settings
For Version 6
Step 1: Go to your GemPages Dashboard, and select one of your pages to enter the Editor.
Step 2: Locate and click on the 3-dot button on the farthest right to bring up more options.

Step 3: Click on “Publish Settings” at the bottom of the menu.

A new panel will appear. The Publish Settings panel is made up of four tabs: SEO, Social Sharing, Advanced, and Layout.
For Version 7
Step 1: Go to your GemPages Dashboard, and select one of your pages to enter the Editor.
Step 2: Click on the Settings icon at the top right corner of the Editor.
![]()
Once you do so, the Publish Settings window will appear, comprising three tabs: SEO, Social Sharing, and Header and Footer.
What You Can Do in Publish Settings
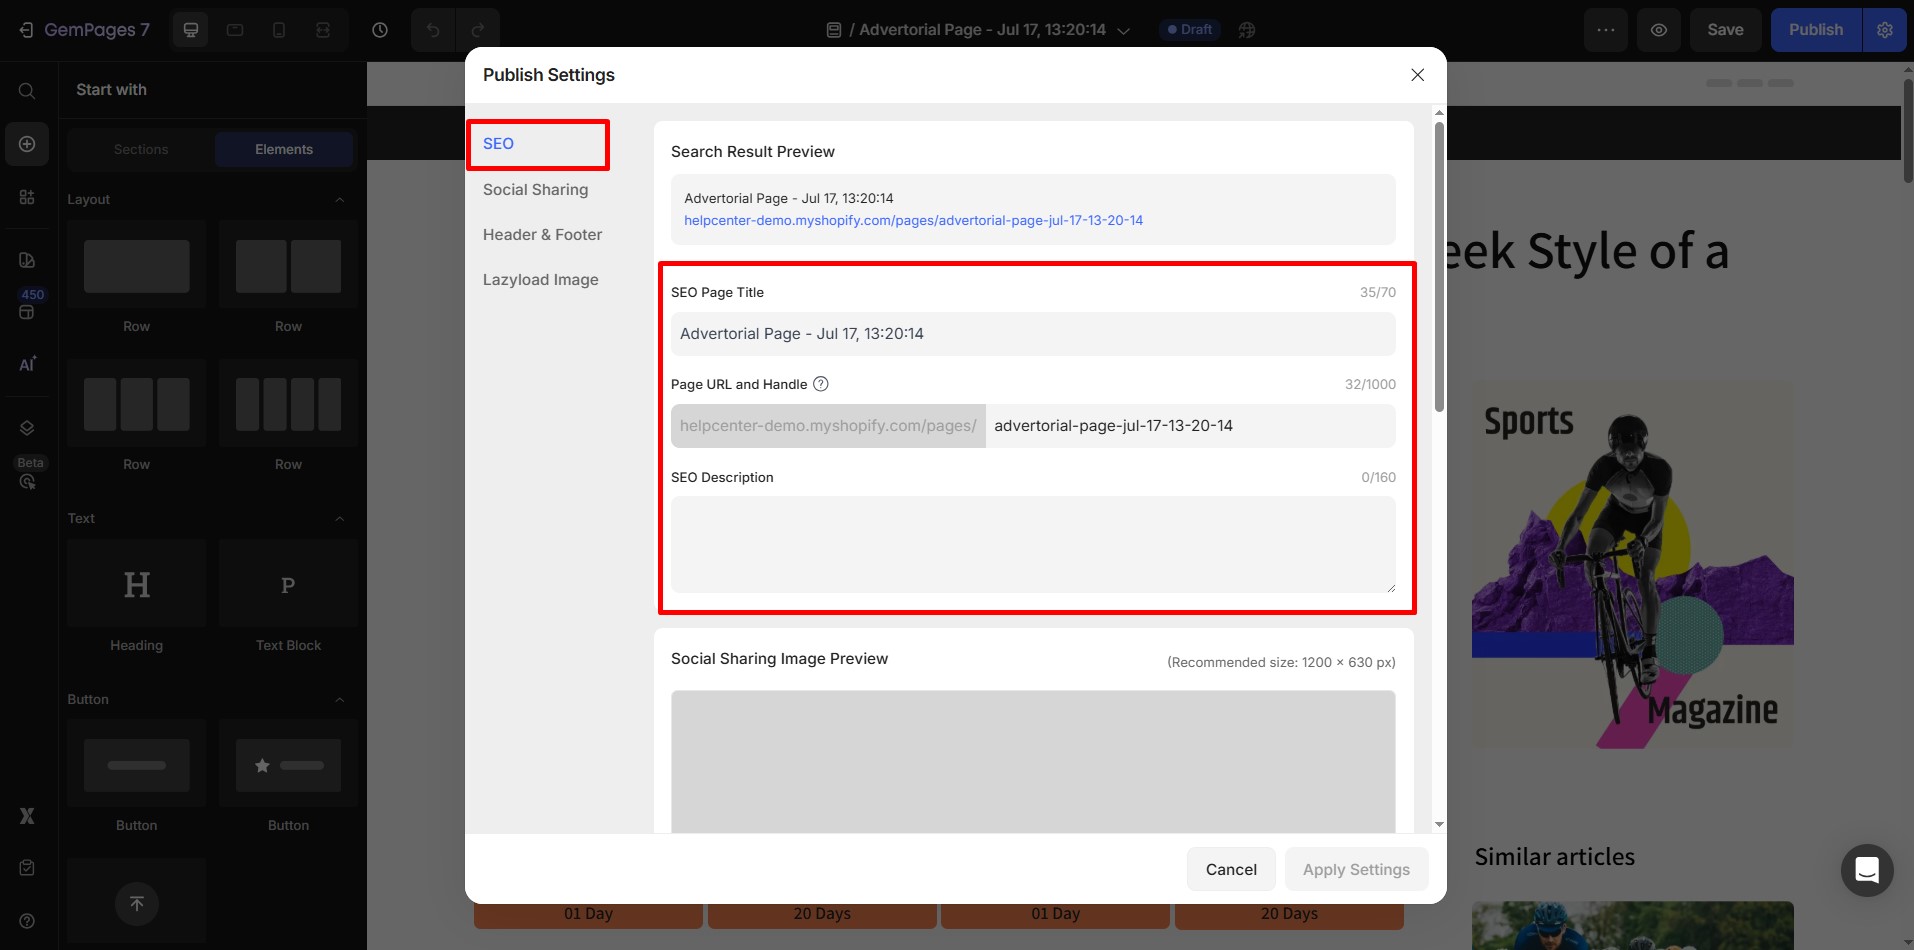
1. SEO
For Landing Pages and Blog Posts
- Search Result Preview: A live preview of your page on the search results page will be displayed here.
- SEO Page Title: Edit your page title here.
- Page URL and handle: Input your prefered page URL address.
- SEO description: Fill in the meta description in the field.
For other Page Types
For different page types, it’s not possible to edit the SEO-related options from this location. Kindly proceed to your Shopify Admin and refer to this article for instructions on how to edit your SEO settings.
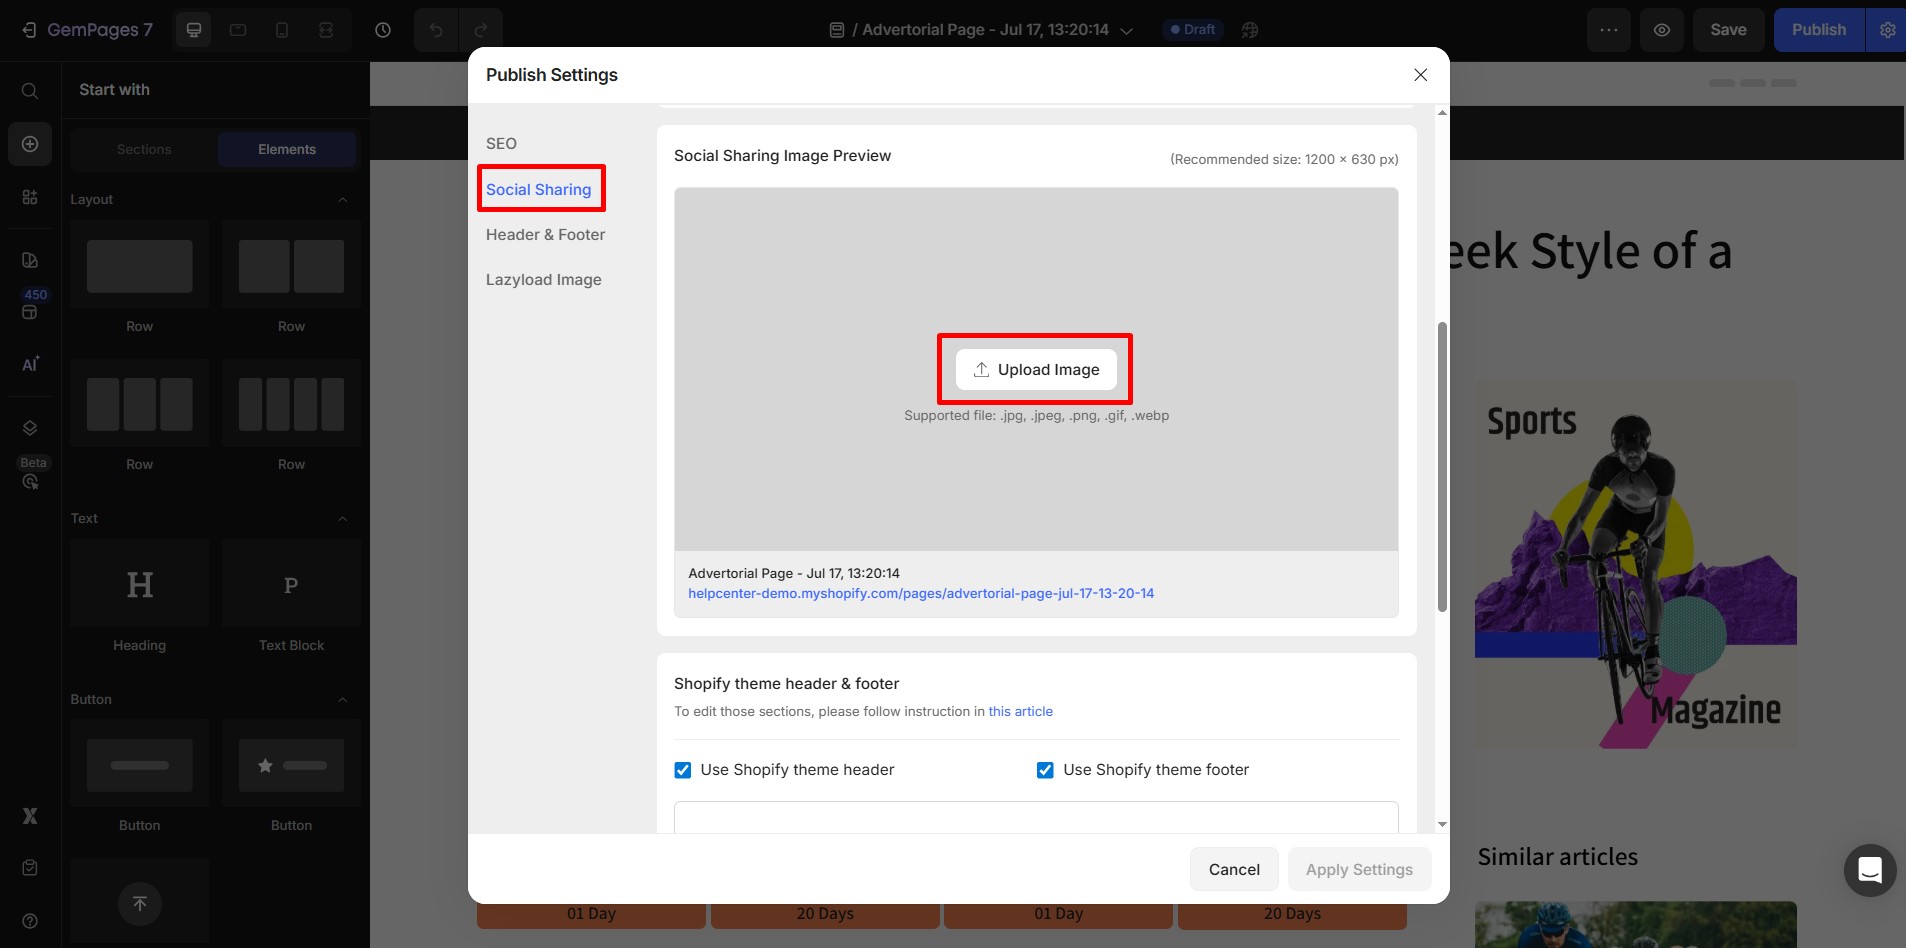
2. Social sharing
You can now upload and use a Featured image (thumbnail) for your page right inside the Editor instead of going to the Shopify Admin panel.
Simply click on the “Upload Image” button and select the image from your device storage.
For Homepage, Product Pages, and Collection Pages
These page types are directly managed by Shopify, and they only use GemPages as a template applied on top. For that reason, SEO-related configurations will have to be done from your Shopify Admin panel. See this Shopify article for more details.
For other Page Types
For Shopify-managed pages like the Homepage, Product, and Collection pages, you’ll still need to set social sharing images from the Shopify Admin.
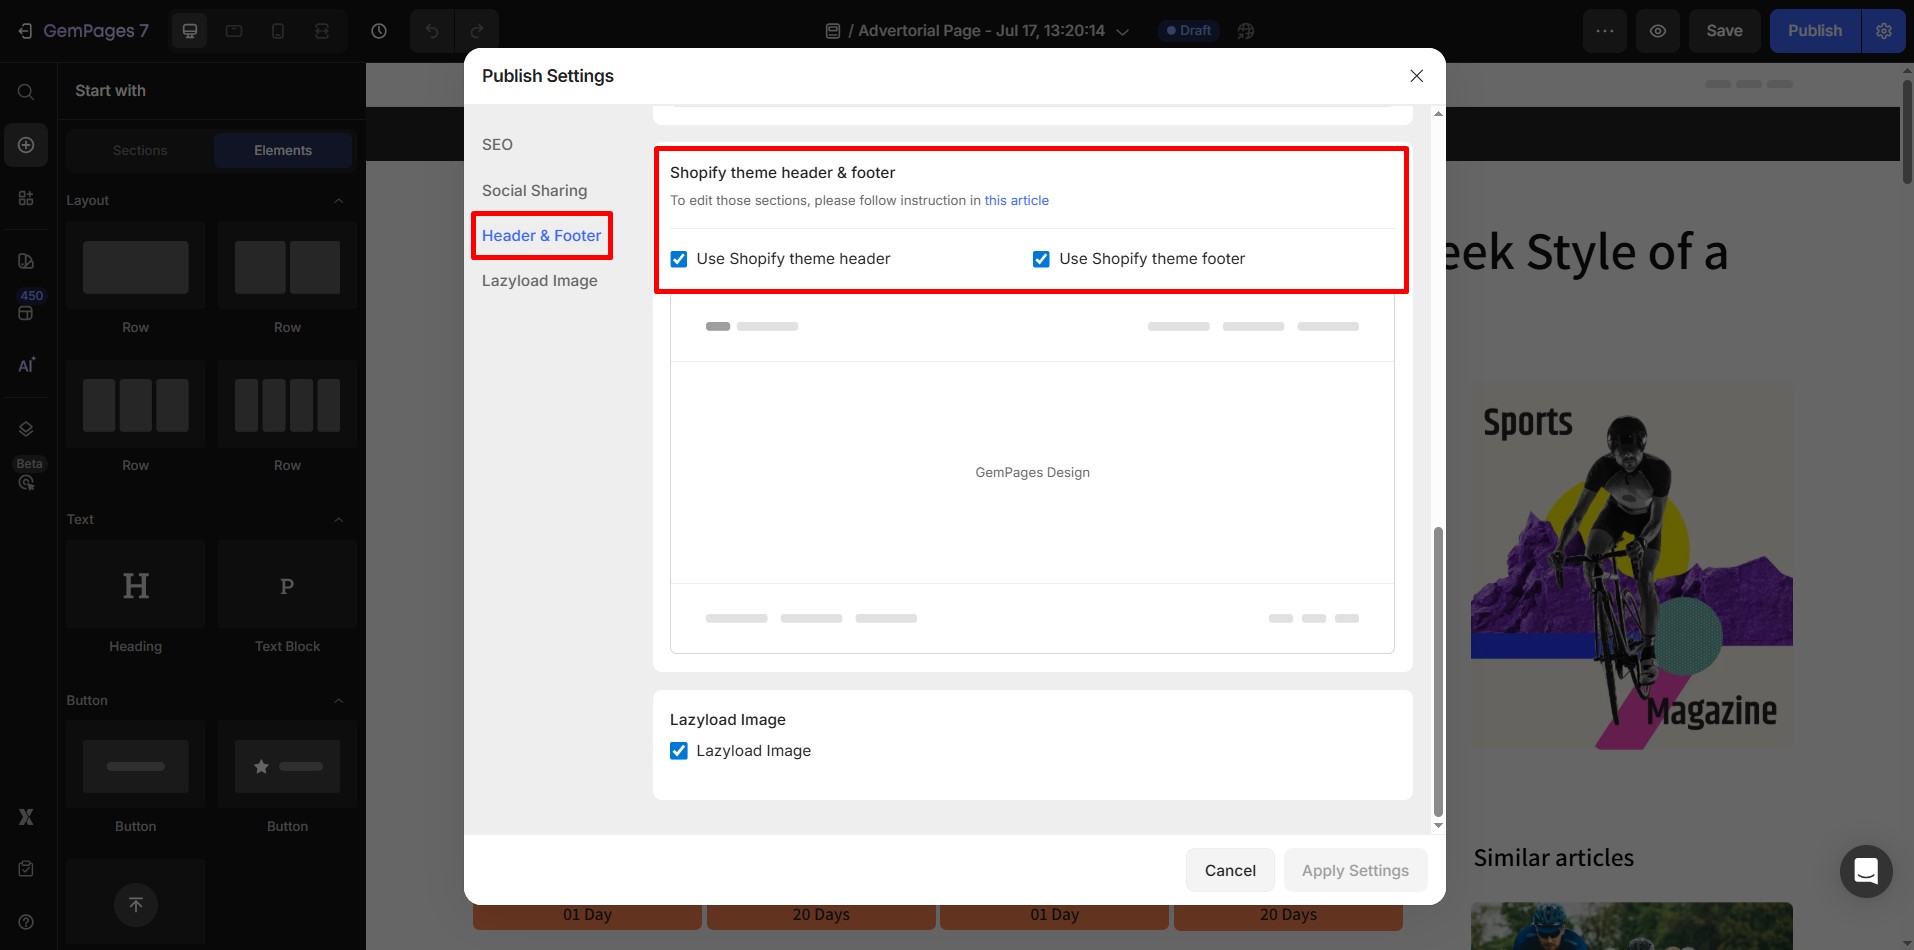
3. Layout/ Header and Footer
In this tab, you can decide to show or hide the Header and Footer sections of your page.
For more articles, please click here.
4. Lazyload image
Turn Lazy Load on or off to control how images load on your page.
- Toggle On: Images will load only when they appear in the user’s view, improving page speed.
- Toggle Off: All images will load immediately, which may slow down the initial load time.

For more information on the lazyload image feature of GemPages, please refer to this article: Enable Lazyload and Preload Your Section and Image.


Thank you for your comments